When you click on links to various merchants on this site and make a purchase, this can result in this site earning a commission. Affiliate programs and affiliations include, but are not limited to, the eBay Partner Network.
Ok looking at intake options to help decrease my IATs. I spoke to WF about the typical IATs they see on their Kmiatas, which is around 20* above ambient.
Jhony has been working on head-light blanks and could get me a set pretty easily. I'd eventually put in some LED strips for lighting just in case of night race or whatever. A coned inlet on the headlight blank mold would be sweet, but I think I'll have to do with a hole cut in it.
Option 1, this is a quick and dirty change. No boxing in and I'll likely change to this method now just to get it out from behind the radiator. The intake length is shorter, which can hurt max power numbers, but I'll be running detuned almost all the time anyways.
Option 2, short intake again. This would delete the headlight and have the blank put in with a hole. I would also box the intake in with gold reflective tape on the outside. This is my current favorite.
Option 3, longer intake and I would run it down in front of the tire. I would need to cover the filter to save it from water/debris.
Another route for kind of a combination of option 2 and 3 I could buy this guy: https://www.summitracing.com/parts/knn-rc-5052ab
Run the snorkel down to a cool forced source to have the ram-air into that velocity stack. I wouldn't need to cut a hole into the headlight blank either, which helps aero drag.
Any data out there on how intake length effects the power band? Option 1 isn't going to much of an improvement in temps because it still sucking air from the engine bay. Option 2 doesn't have to have gold reflector. There are plenty of other radiant heat barriers. My favorite are the insulated backed ones to reduce heat transfer to the shield. Option 3 would give some more options to tune the length, but would require some dyno time to see how it effects power band.
Any data out there on how intake length effects the power band? Option 1 isn't going to much of an improvement in temps because it still sucking air from the engine bay. Option 2 doesn't have to have gold reflector. There are plenty of other radiant heat barriers. My favorite are the insulated backed ones to reduce heat transfer to the shield. Option 3 would give some more options to tune the length, but would require some dyno time to see how it effects power band.
No data that I know of, only what multiple sources have told me worked best for them(Kmiata included). Option 1 is still pulling from the engine bay BUT it's not getting cooked by the radiator. I bet ya IATs will be lower :-D
My good pals at Winning Formula hooked me up with their go-to oil cooler setup. They gave me all the part numbers and how they install it/route the lines. It's a full Setrab setup, 19 row, using heavy-duty rubber hose, push-lock m22 to 10AN fittings, and oetiker clamps. The whole sha-bang was $515 new from Pegasus. I might be able to install it before my next track day, which is NCM April 4th with PhD/Nankang
That's how our e46 bumper is attached on the sides as well. They work super well and have come in handy when we needed to remove the whole front to get to the radiator during a race. I've been a fan
Make sure to really get the clamps crimped correctly on the push loc garbage. I've seen first hand 3 oil fires due to push loc over the years, the only thing I trust it for is like crankcase vents and catch cans etc
Also Quik latch hells yeah lmao. I'm thinking about that for the bumper as well.
Make sure to really get the clamps crimped correctly on the push loc garbage. I've seen first hand 3 oil fires due to push loc over the years, the only thing I trust it for is like crankcase vents and catch cans etc
Having built up a bunch of hose for everything from aircraft to race cars I have to agree.
Love PushLoc for PCV catch cans ext. Really don't like them for critical / flammable fluid hose holding north of 100 pulsing psi along with twist loads from hose expansion and engine torque.
Good hose and reusable swivel ends aren't that much more expensive & not very hard to assemble.
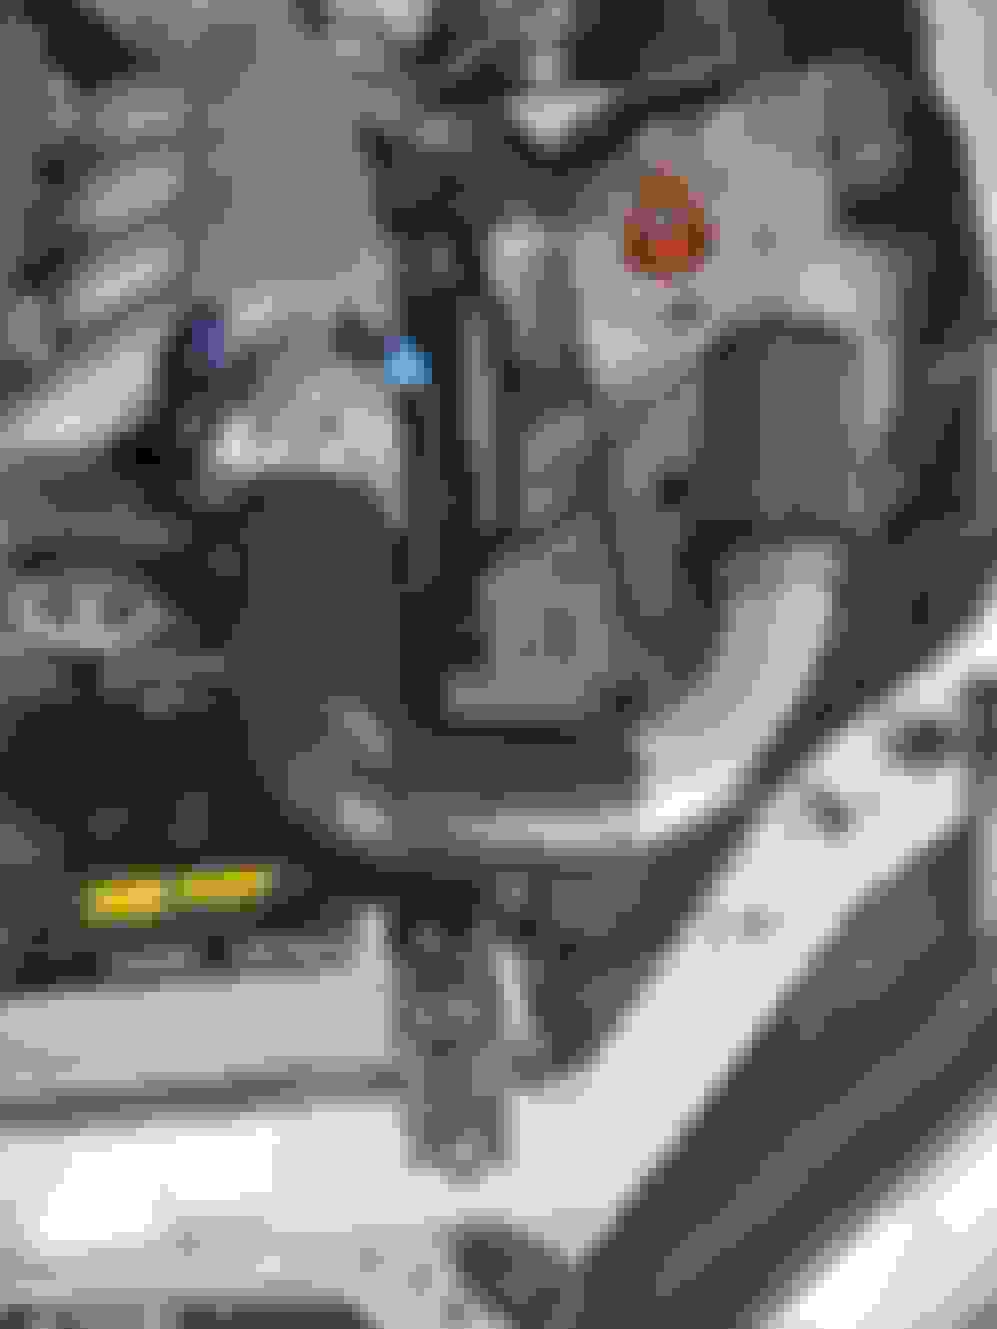
Finished up the oil cooler install. In regards to these push-on barbs, since WF has run this setup for a lonnnggggg time I'm pretty confident about it.
For the hose route, I had to make a modification to my radiator. Small clearancing and it's a tight fit, on purpose. The thermo-tec sleeve removes nearly any worry of chaffing/cutting. Plus the hose itself is tough as damnit.
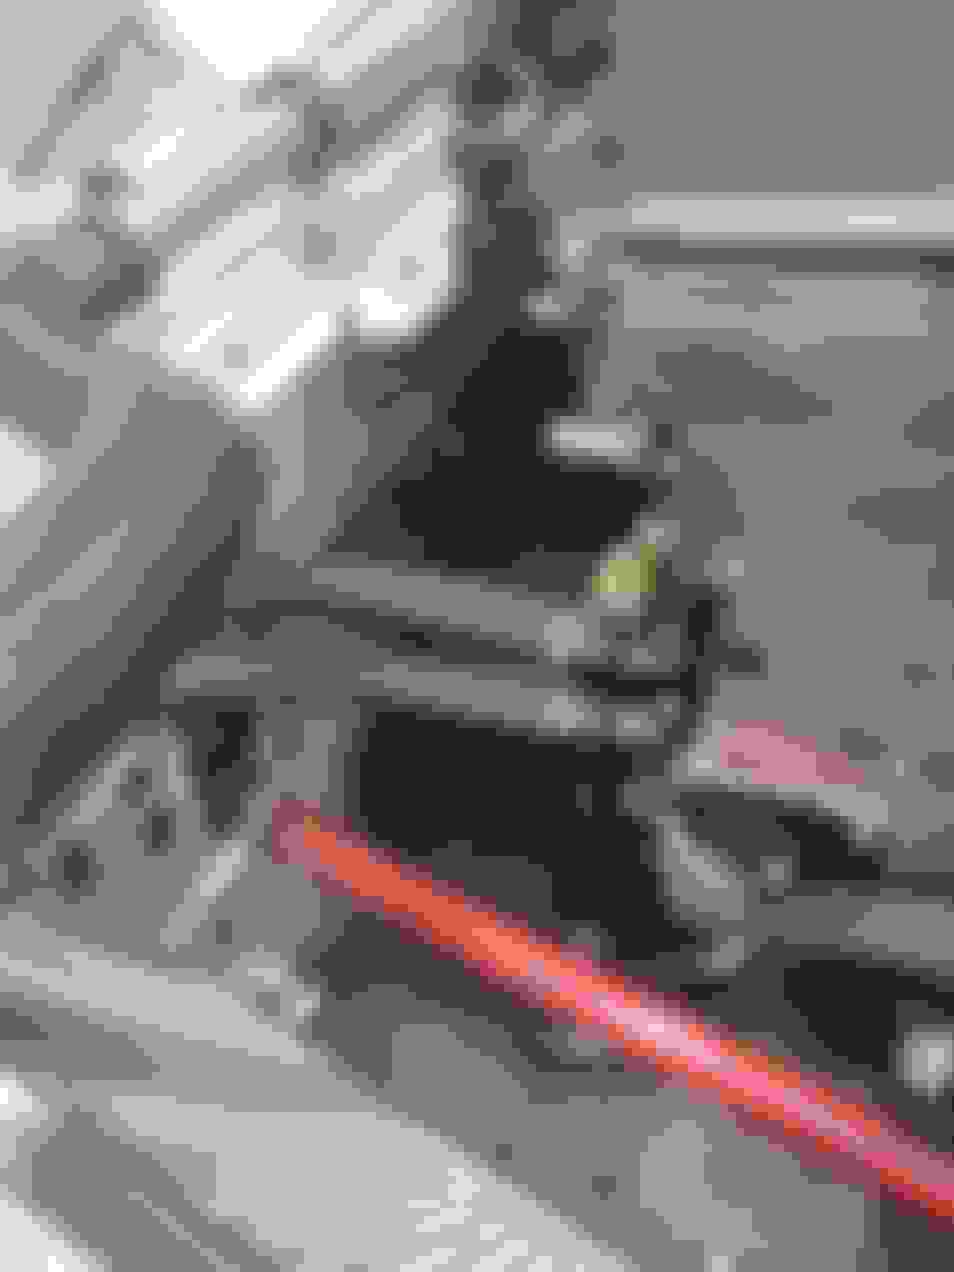
On the adapter that goes through the sandwich plate, the female side of it was longer than the male side of the OEM Honda filter adapter. I made use the filter adapter was 100% into the block and the hex of the adapter still wouldn't clamp down on the sandwich plate properly. Pics for the class!
So I got this new tool to resolve this problem! I measured out the length of the OEM filter adapter and the depth of this adapter and cut it down. Went on without a catch afterward.
Installed!
Tight squeeze, no pinch.
The bottom mount is temporary. I'd like to do a stiffer mount on both bottom corners. The top mount is pretty sturdy, but over time I bet the vibration could cause problems....... I've seen it before on my buddy's E36 with a smaller oil cooler lol.
Now for the content you guys really want...... aerocatch hood latches!!!! I got them from a buddy for free, hard to beat that.
I'll need to move my number and class stickers. Also these were of course a big pain in the *** to get lined up with a yuge gap on the passenger side, but they're on and they work.
Well I had a fun weekend at NCM. Got there Saturday afternoon and the WF guys were there testing. I already planned to have Tom O'Gorman set some data laps in my car and he was there already too. So I slapped the front aero on the car and he went out!
I'll let the video do the talking.......
detuned to ~188rwhp
~2390lbs with Tom (2420lbs is GLTC weight for my car)
205/50/15 R7s on 15x9 ~10 heat-cycle 2018 date-stamps
9LR medium aero kit, front splitter set flush with air-dam.
Xidas 900/550 1.125" RB front bar set to soft/ 14mm rear
V8R Stoptech ST42 front, oem rear w/ sport rotor, PFC 11s front/rear, rear prop valve 100% open.
6spd 4.30 "open diff"(worn out torsen)
I forgot to cut-off the aim data so the video runs longer, but whatever. My torsen isn't doing much, but I also need to do a corner balance to help that passenger corner overall. As it was also getting that rear lock-up. OSG is on the list, but I can't swing that right now.
Fortunately, Tom drove like 6 GLTC cars that day so he was able to give GREAT feed-back(of course). Most notably he drove Emile's "top-pack" Kmiata which is ~183rwhp, ~2400lbs, flat-curve modifier(extra 3%), mk60 ABS, 225 R7s on 15x9 with ~15-20 HC, 5spd/4.3 OSG, Ohlins 1100/650 and stock sways I believe. He clicked off 1/10th faster in my car vs Emile's. I talked to Tom about this in person and Dan got it written out.
"Emile�s car feels much stiffer and finicky, less compliant and progressive. Caveat being Emile�s car has a bad stumble at partial throttle, either related to a specific throttle position or lift off/tip in on the throttle that he suspects is related to the flat HP throttle plate tune.
Marcus� has better ergonomics for me in the cockpit, first. The car felt softer right away, found out after it is both by spring and bars I think. The mechanical grip was higher and was more progressive in communicating what it was doing. 6 speed with the 4.3 also felt better than the 5spd in Emile�s car�
�The fact that Marcus� car could have 225s on wider wheels, and have ABS, and change nothing else is wild.�
So now that I have no excuses on the car to not do well I'm guna go ahead and cry.
I did run into TPS problems on my second session on Sunday though, so that cut my day short. I was playing around with some other GLTC guys and we were all getting up to speed trying to figure out the track in this trim. Here's my video, which ends with the TPS failing.
The car stopped responding properly to throttle, so I figured the TPS is bad or the throttle cable came off or something similar. When I got off and plugged in Kmanager the TPS was reading 0, physically checked the wiring/plug and it looked ok, didn't test voltage yet. I run an Acuity TPS with the K to B adapter as the Kmiata TB uses B-series style TPS so users can get B-series TPS on their setups if they wanted. The car would start and run, but it would idle high at 2k RPM, then eventually rise/fall in RPM from 1200-1800rpm(like it did at the end of the last lap in my video). It also was running PIG rich, 10:1 the AFR said.
So thinking it was a bad sensor I went out to find one, but nothing within an hour of the track. Got back to the car, keeping in mind it's cooled off at this point, and it was reading TPS, although inconsistently and incorrectly. If you held the throttle open it would read 8%, 12%, 20%, then back to 0% and stay at 0% for awhile, all while holding the throttle open at the same position. It would still idle high, around 1800, and run pig rich, 10:1 still. Looked over the wiring some more and then decided to call it a day since it was approaching 3pm my time.
Last night I got a known working OEM TPS sensor and put it on the car, no change. Now I have 1 solders on the wires leading up to the TPS plug, knowing that heat potentially initiated the issue I figured maybe these cold solders are bad. I get a 5v reading while after the solders as I'm on the 5v and GND of the TPS wires, but I know bad connections can cause funky problems. I'm going to rewire this with some decent crimps and try again. I suppose my MAP sensor's wiring could be in a similar situation as well. Either way I gotta get it fixed before next weekend which is GLTC race at NCM!
So is the overall consensus that the splitter isn't worth the 3% for GLTC? Maybe i should cut mine flush for NCM too. Its not looking too pretty after last year anyways.
 03-24-2021, 12:02 PM


 0
0