When you click on links to various merchants on this site and make a purchase, this can result in this site earning a commission. Affiliate programs and affiliations include, but are not limited to, the eBay Partner Network.
Congrats! How do you rate the Fox suspension after all this time?
I'm still really happy with the Fox. I've put about 15k miles on them and had zero issues so far in terms of reliability. They've seen daily driving, a few road trips and an autocross. I'm surprised the Fox coilovers aren't recommended or even discussed much around here.
Made it to Laguna Seca and back, over 630 miles, without any issues. I was on the fence about finishing this build until I went to Miatas at Laguna Seca 2018. Seeing all the cool turbo cars there gave me the last push that I needed to commit and get it done. This year it was great to make the trip back up in my boosted car. First road trip with the turbo was a success, hopefully many more to follow. Driving over the grapevine at 75 in 5th gear with the a/c on was delightful.
It's been an enjoyable but uneventful few months. Still daily driving the miata and it's been great. It's really incredible that with the right modifications you can trick these little cars into making twice as much horsepower as they have any business making and they'll stay reliable.
I did get a new box from Kraken. I think I mentioned previously that I had to massage the 3 inch downpipe with a hammer in order to clear the steering shaft. Seems to be a common issue because the parts were mocked up on a right hand drive car. After iterating between beating, test fitting, beating some more, I finally got it to just barely clear but it was ugly:
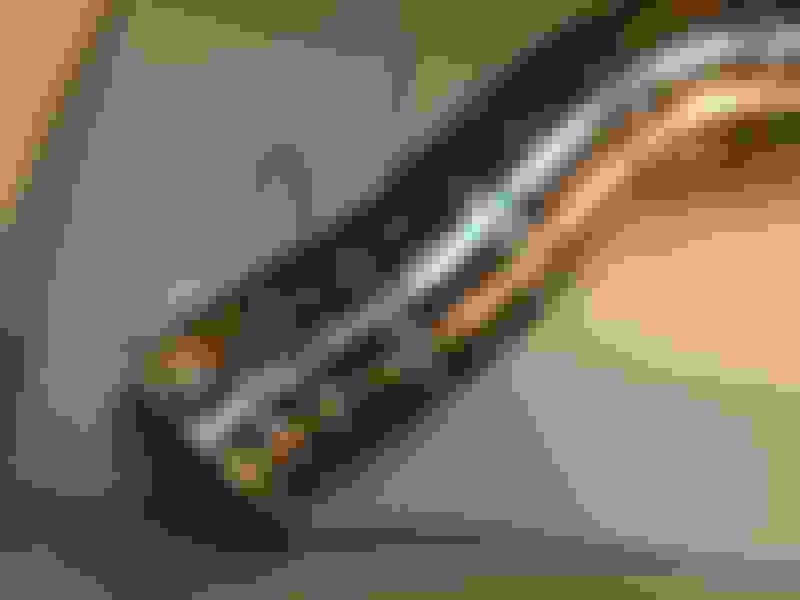
Mike at Kraken asked about the fitment and I explained. He made me a replacement downpipe to better clear the steering shaft for free, I only had to cover shipping. Can't recommend these guys enough.
Here's a better look at the bend to avoid the steering shaft:
Since I had some time off work I dealt with a few minor annoyances. My DIY EBC mounting bracket was rattling like hell when the solenoid was pulsing. At first it wasn't so bad, but the bracket would work itself loose slowly and get progressively louder. I picked up this mounting bracket with a rubber vibration isolator from ebay:
Another 4 months of daily driving with no issues. Until this morning.
Thankfully the diff housing decided to snap when I was very close to home. I was at a stop sign at the end of my street getting ready to turn when I heard a loud pop, then the car wouldn't move. I was able to row through the gears without using the clutch while the car was idling, so I thought it was the transmission at first. I pushed it back down the street and into my garage with a little help, got it up on jack stands and then saw that. Oof. Looks like I'm changing my diff this weekend.
Sourced a 4.1 Torsen and picked up a replacement axle. The one the side of the break was in rough shape.
I hit a wall trying to pull the old diff last night. One of the PPF bolts is stuck. I was able to loosen it with a breaker bar and long pipe extension, but the bolt bent. It's completely unthreaded now and spins freely, but I can't get it free from the differential because of the bend. I'm going to try a few more things this morning, then if I don't have any success I'll pull the whole diff/PPF assembly and attack it when it's off the car.
Before this, I was strongly considering selling the car and buying an ND1. My job has changed and I have a much longer commute, so the fuel economy and reliability are really appealing. It's just an overall smarter choice. Instead I did the opposite and decided to double down on my 20 year old project daily and bought a 6 speed and 3.63 Torsen. Let's go.
The old one fought me the whole time. What a pain in the ***. Finally got it out this afternoon and bolted up the new 4.1. Back on the road. Can't wait to do this all over again for my 3.63.
Found a lead on an RX7 diff housing, going to pull the trigger on that. They are stronger than the miata housings and don't have that weak point on the arm from the factory that did me in. I'll swap the 3.63 Torsen into that when it arrives. I think I'm going to change the diff bushings to new OEM rubber.
Also ordered a Supermiata driveshaft. Pretty much a while-I'm-in-there buy.
I really liked my 5 speed, but I don't enjoy being anywhere near the limit for how much power it can handle. Although I'm only making 220ish whp, this diff failure pushed me even further towards going overbuilt out of caution. So with the 6 speed and new diff housing, I should have a relatively bulletproof drivetrain for my power level.
A bit of an aside, but the diff swap made me realize how much organizing my filthy garage helped make working on the miata easier. I started wrenching on this car in the parking lot of an apartment complex and all my tools fit into a $5 harbor freight bag. Like many of you, I imagine, I just kept accumulating tools. We moved to a place with a garage about 5 years ago and I decided to pick up a tool chest. I was shocked at how much they costed so I just got the cheapest one I could find. It worked well, but soon it was overflowing. I finally broke down and bought a second one a few months ago, a 42 inch chest from harbor freight, along with some socket organizers. What a difference it all made. No more fumbling through the pile of wrenches to get the one I need, just open the drawer, grab it and move on.
When I moved to my current place, one of my first priorities was to get a decent 44" toolbox and start looking for deals on tools. It's really nice to be confident that no matter the job, you'll have a tool for it. Or at least you'll have a place to put it after you buy it!
I really like the car and how much thought you've] put into your mods. Great stuff, I hope you'll be back on the road soon!
Thanks! There's truly nothing quite like encountering a challenge while working on a car and then realizing you have exactly the tool to deal with it. Luckily I was able to get a replacement diff sourced and installed over the weekend so I'm on the road again. As far as a permanent solution, I have a 91 RX-7 housing in the mail, as well as a 3.63 diff to put in it.
A few other reliability upgrades in the works:
Centric premium front hubs with ARP studs from Supermiata being inspected. I also picked up the rear MR2 hubs with ARP studs from Sadfab a couple years ago and never got around to installing them. Once the trans/diff swap is completed, I'm going to have a hub replacement weekend. Speaking of tools, slide hammer and bearing press kit have been ordered.
Brakes will be next. I opted to go with sport brakes rather than a Wilwood kit. As nice as the 11.75" kits look, I went with OEM sports for reliability and streetability. I purchased stainless front/rear lines. Next I'm planning pick up Centric remanufactured sport front calipers and brackets, a used sport booster and master cylinder, and the 1.8 rear caliper relocation bracket from Flowforce to use my current calipers with the larger sport rotors.
I got a good amount done over the long weekend. RX7 FC housing arrived, here's a comparison showing it next to the miata housing.
First step was removing the 30 year old RX7 bushings. This was a pain. I found a post here describing how to use a 3-jaw puller to do it that made it sound easy: https://www.miataturbo.net/suspensio...ushings-63527/
I don't know if the RX7 bushings are tighter or have a stronger sleeve, but I had no luck at all with any of the pullers that I tried. There's just not enough surface area on the lip for the puller to find enough purchase to drive the bushings out. I also tried taking a hammer and chisel to the sleeve at the point where the 2 halves meet, but that didn't help much either. I ended up drilling out the rubber and removing the center section with the inner metal sleeve, then using an air hammer with a chisel attachment on the outer metal sleeve. A lot of air hammering at the split point on the outer metal sleeve broke it free. I struggled with the first bushing for a few hours, but using the drill/air hammer method I had the second one out in about 10 minutes.
I pressed in new OEM rubber bushings. I thought about going with the stiffer comp bushings but I decided it's not worth the NVH increase. These were somewhat difficult to get installed. I used a hose clamp to keep the 2 halves together, then got the bushing started with my bench vise. Once it was mostly installed I switched to the big harbor freight C-clamp from their ball joint service kit and an impact:
These took a lot more force to install than any of the control arm bushings. Finished product:
Next I put in fresh axle seals, and mated the housing to the 3.63 carrier that I bought. Sealed the housing to the carrier with Loctite 5699 gray RTV and let it cure overnight.
And there it is, my endgame Miata differential.
Next I removed the 4.1 I've been driving around with. Here it is with its replacement:
Next I removed my trusty 5 speed. As much as I liked it, I want the extra troque handling headroom on the 6 speed. I'll be selling the 5 speed and my 4.1 shortly. Here's the new 6 speed ready to go in:
I had a much easier time dropping/reinstalling the trans than when I did my clutch a couple years ago. A few simple purchases made all the difference. In case it's useful for anyone:
from Harbor Freight: low lift transmission jack: This thing is great. I use it frequently for things like supporting things during removal/install such as the differential, muffler, midpipe, etc. It also doubles as a stool 1/2 In. Drive Metric Impact Swivel Socket Set, 7 Pc: I think I posted about these earlier, but they deserve another mention. Amazing. 6 ton Steel Jack Stands: The 3-ton stands don't go up high enough for the transmission to have clearance to roll under the car on the lowest transmission jack setting. They're just a few inches too short, it's infuriating. With the jack stand recall I was able to return my 3-ton stands for full price and put that toward 4 6-ton stands. The car goes up enough to just roll the trans out and back in on the jack.
From Amazon/eBay, etc: Sunex 212zum 1/2-Inch Drive 12-Mm 12-Point Universal Impact Socket: Pick up a 12mm swivel to supplement the harbor freight set. Needed for the starter bolts. Sunex 2536 1/2-Inch Drive by 36-Inch Impact Extension: This was worth every penny. The key to removing the bellhousing bolts is using a long extension and an impact. You can cobble together a bunch of shorter extensions and maybe get by, but it feels janky. With the single long extension you don't have a bunch of joints to potential come loose or not transfer full torque from the impact. Extra set of transmission bolts to make into alignment dowels: Cut the heads off, then cut a notch in the center so you can turn them with a screwdriver. The notch is important, otherwise you won't be able to remove them when you get the trans mated to the engine. These, in combination with the trans jack, make mating the bellhousing to the engine way less miserable. I got the bellhousing aligned using the dowels then pushed it forward until it wouldn't go in anymore. There was about an inch or two of space remaining. I left the trans in netural, and then turned the crank very slightly, tried to push the trans in, and then repeated this a few times. When the shaft alignment was right it just popped in. Entire process took only a few minutes. When I put my clutch in a couple years ago, I struggled with this step for the better part of a day.
The new Supermiata driveshaft went in next. PPF aligned to about 61 mm from the frame rails. Exhaust went back on with a new gasket at the catalytic converter. I also took a BFH to the trans tunnel to make a little bit of room where the 2 bolt downpipe/cat flange was contacting it. The Kraken 3 inch exhaust is all v-bands except for that 2 bolt flange. I spent a lot more time trying different orientations for the pieces to get the best fit. I'm happy with how it turned out, and I think I got better seals on all the v-bands because the pieces weren't trying to pop out of place. Speaking of the exhaust, I committed another act of MT.net heresy. The big magnaflow is just a little too loud for me. I find the sound objectively enjoyable, but I end up short-shifting all the time because I'm paranoid about attracting attention due to the noise and getting pulled over. So I installed this silencer:
I put some anti-seize on it, pounded it in with a mallet, then drilled a small hole in the tail pipe to keep it in place with a retaining screw.
Really pleased with the volume now at idle. Tightening up all the v-bands, replacing my exhaust manifold gasket the other week, and the silencer really brought the volume down to almost stock levels. I haven't had a chance to drive it anywhere yet. After finishing the trans/diff swap I went to go for a test drive but noticed that I had a tail light out, so the car will stay put until I can get a new one installed. Really excited to see how it is on the freeway with the 6 speed / 3.63 and the silencer.
Picked up a replacement tail light from the parts store. In line with the theme of this build, where I encounter a problem and then go completely overboard dealing with it, I also ordered a full set of LED bulbs so I don't end up having any burn out on me again. No point in putting all this effort into stealth if I'm driving around with a tail light or license plate light out. I went with a mix of Diode Dynamics and SuperBrightLeds. I switched to Diode Dynamics SL1 9006 for my low beams a while ago and have been really impressed. There's a substantial price, and I'm assuming quality, difference between the 2 vendors. I put Diode Dynamics bulbs in the constant running locations (side tail light/brake) and SuperBrightLeds everywhere else. I've had SBL bulbs in my side markers and dome light since 2015 and they're still working, so I think it's reasonable to save a bit of money since I'm comfortable with the quality. I think I'll pick up SBL high beams later on just so I don't have any more incandescent bulbs.
The shopping list:
Rear tail/brake: Diode Dynamics HP48
Center brake: Diode Dynamics HP11
FM Cruise Control fix (a resistor)
Reverse: SBL 7440-CW27-T-2PK
Rear turn: SBL 7440-A27-T-2PK:
Front turn: SBL 1157-A27-T-2PK
Replacement flasher (3 prong for 99-00): iJDMTOY (1) 3-Pin CF-13 CF13
Pigtail to adapt car harness to new flasher: Xotic Tech 3-Pin Car Flasher Relay Fix LED Light Turn Signal Hyper Blink Flash Fix with Conversion Wire CF13 CF14
I had time to take the car out for a short drive. Extremely satisfied. No major issues with the new trans, driveshaft, or diff are apparent. I didn't get a chance to take it on the freeway, hopefully I'll get a chance today. The difference in exhaust volume is perfect. I'm not sure how much to attribute to the silencer vs. realigning and tightening all the v-bands, but it's exactly what I've been looking for. Last month I had the sudden, inexplicable urge to take the turbo off, convert completely back to stock, and drive around for a couple weeks. Aside from the car being horribly slow, I really appreciated the subtlety of the stock muffler. It really clarified what the baseline level of quiet for this car should be, and now I'm back at that level with the 3 inch exhaust. I didn't notice any impact on performance from the silencer. It's by definition a restriction, but I think that by placing it as far downstream as possible it will have the least impact. I'm not going to re-dyno it, I think that's too much overkill, but I'll take some logs and see if the VE changed enough to make the car run rich.
A few photos of the view from under the car, a perspective that I've spent a little too much time looking at it from over the past couple weeks.
Here's the connection between the Kraken downpipe and sport cat. Tunnel needed a little massaging to accommodate the flange without interference.
A view of the 3 inch exhaust. I'm running the sport cat, a resonator, the big magnaflow, and as of recently the tailpipe silencer. The result is absolutely perfect. As quiet as stock but the 2554R still spools very quickly.
The endgame differential mounted and installed. I hope I never have to remove it. After pulling out my 4.3, putting in a 4.1 temporarily, and then removing the 4.1 and putting in this 3.63 with an RX7 housing, I'm very much over replacing Miata diffs.
The fit between the exhaust and the diff is extremely tight. I was worried that the RX7 housing might interfere but it has the same dimensions as the Miata housing down near the exhaust, so it's fine. Makes me a little nervous, but with the stiff polyurethane hangers that I put on a while back there's very little slop or movement in the exhaust.
The big resonator:
I put the car up in the air because I thought I had a differential leak. Seriously considered selling the car when I saw gear oil on the garage floor yesterday. I ran it up to 60 mph for a bit on jack stands, then let it sit overnight with cardboard underneath. Noting this morning. I warmed it up again today and still didn't find anything. Hopefully it was just old oil that I missed while cleaning the floor.
Good news: SADfab MR-2 rear hubs installed. Had these things sitting around in the garage forever.
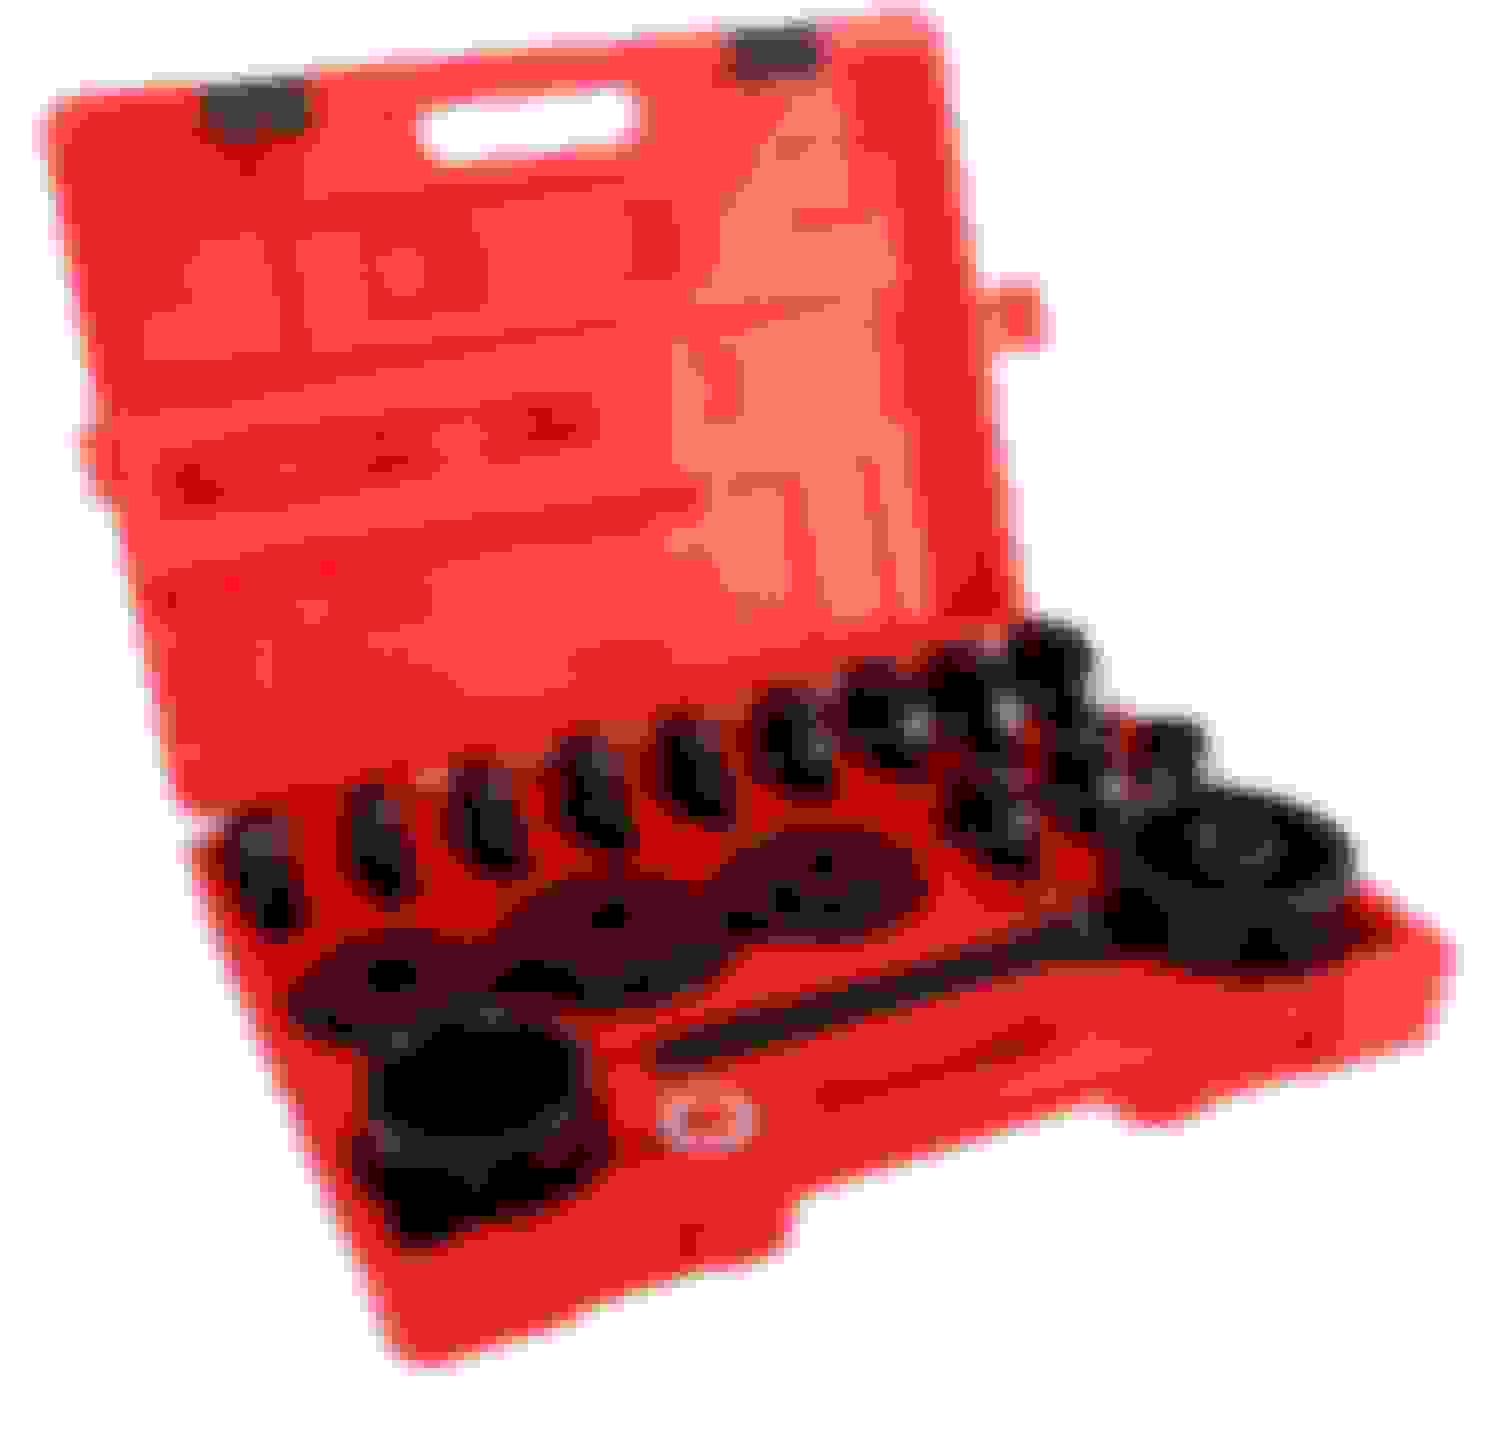
Here's how I did it. Most of the tutorials I found involved using a shop press, which I don't have room for, or hammering bearings with a socket, which did not appeal to me. I picked up 2 specialty tools for a total of $130 that made this job much easier. I recommend them as an alternative if you don't have access to a hydraulic press:
I put the car up on 4 jack stands and removed the rear wheels.
Instead of removing the caliper from the rotor, I just took the rotor and caliper off as one assembly and tied them out of the way with a bungee cord.
First time using a slide hammer. I spent a lot of time getting the 2 junk lug nuts I was using snugged up There wasn't enough room to get a socket around them, so I had to go a fraction of a turn at a time with an open end wrench. I also had to alternate which side I was tightening because the lug nuts would get jammed against the tool. Pain in the ***, but necessary to take up as much slack out of the slide hammer as possible. Interestingly the FWD attachment in this kit worked much better than the RWD for the hubs on our cars. I had to re-park the car to get enough room for the slide hammer on this side because of how narrow my garage is.
Junk lug nuts I was using:
A lot of penetrating oil and a few good slams and the hub popped off.
Then I removed the upright.
Next the rusty circlip needed to come out. This was a pain. Both of mine were completely seized in place.
Applied lots of penetrating oil.
I read that a hammer and chisel can be used to knock the clip loose, but mine wouldn't budge. An air hammer with a chisel attachment did the trick. This thing is becoming one of my favorite tools.
Once the circlip was free, I used some pliers and a wedge chisel to remove it.
Then it was time for the bearing kit to press the old bearing out. Here's a spacer attachment that fits perfectly over the upright.
I used a bench vise to hold the giant nut that the bolt screws into. It's positioned off-center so that the bolt has clearance to go past the bottom of the nut. I used wheel bearing grease on the threads of the bolt. I've found that's key to making these types of tools work properly.
Here's the upright with the bolt and the smallest drift in the kit. Fits perfectly.
The whole assembly:
It came out eventually with a lot of help from my impact. My poor 8 gallon air compressor was struggling. I want to pick up an electric impact but I haven't decided which brand to go with yet.
Next was removing the old wheel seal. I used a hammer and a carefully positioned chisel to knock it out.
I'm going to do a sport brake upgrade, so I removed my dust shields in order to replace them with the sport version shields to accommodate the bigger rotors. I cut a slot using an angle grinder, then peeled the old one off.
Bare upright:
Applied a liberal coating of antisieze.
And tapped the new seal in with a deadblow hammer.
The dust shields are a press-on fit. I used a larger spacer from the bearing kit and pounded it on with a sledge. I also used antiseize on the upright in case this ever needs to come off. I had to just eyeball the orientation with respect to the caliper position. My 1.8L caliper fits fine, but if I have any interference with the sport rears I can try to rotate the shield or trim it slightly.
Now to install the new bearing. Same idea. I made sure to use the correct sized drift so that the force was only being applied to the outer bearing race.
Bearing went in after a lot of ugga duggas and compressor cycles. I bought new circlips because I anticipated mangling mine. Surprisingly the old ones weren't damaged, but I used the fresh ones anyway.
I pressed the hub in the same way, just with a different drift.
Old vs new:
I really like the ARP extended studs. Look at that thread engagement.
Differential is leaking. There's gear oil on the garage floor and I've been trying to figure out where it's coming from. I've been cleaning it, going for a drive, then looking to see what's going on it but just looks like there's oil all over the back part of the housing. I was thinking it was an issue with the fill cap, but there'es even oil above that. It turns out that gear oil is pouring out of the breather cap. I figured out the reason. Here's a shot of the miata housing that I took my 3.63 out of:
Notice the baffle in the top right that goes around the breather valve.
And now, here's the RX7 housing that I put the diff into and bolted onto the car:
On the bright side I'm getting faster at pulling Miata diffs.
I hope this is the last time I see the inside of this differential.
Here's the stupid baffle I pulled from the housing my 3.63 came in. The bolt that attaches it to the housing is weird, the end is pointed like it's self tapping.
All cleaned up and ready for install into the RX7 housing.
Installed and cleaned the housing mating surface. I suspected that my leak might be coming from this seam initially, and although it wasn't I was extra careful for the peace of mind. I also let the RTV cure overnight before filling the diff.
I installed a new breather valve. Mine was clearly working since it was belching out diff oil, but at this point why not. The new breather from Mazda shipped with some sort of yellow thread sealant on it.
I also replaced these things. I wanted to replace them when I initially put this diff in, but I couldn't figure out what they were called. In case anyone else is interested, they are part number NA01-28-880C, Suspension Cross-Member Stop. https://www.prioritymazdaparts.com/o...top-na0128880c
Going to fill up the diff with Amsoil severe gear lube and hope that this is the end of it.
It's been a week and I haven't lost a drop of differential oil. Looks like that ordeal is over with.
I'm thinking about taking the car back to the dyno. When I was removing my ID 725s to put the stock ones back in temporarily for "reasons," I noticed that one of the lower rubber seals was torn so I was leaking a bit of fuel. I had a strong gas smell whenever I was in boost and I had been trying to troubleshoot it by replacing some items such as the fuel filler hose and fuel pump assembly gasket without any success. After putting the ID 725s with fresh seals and the rest of my parts back on, I don't have a gas smell in boost anymore. I was convinced that the tank was being pressurized and the smell was coming from inside the cabin, but I guess enough fuel was leaking through the injector seal to evaporate and cause an odor inside. Happy that problem is solved, but I've also noticed I'm running a little richer in boost than my target AFR table. The difference is up to 1 AFR in some instances. I'm concerned that fixing the leak, as well as adding the tail pipe silencer that would reduce VE, I'm running unnecessarily rich. I've also been hitting over boost protection occasionally now where I wasn't before. During the turbo reinstallation I replaced the flyin miata throttle body inlet elbow.
Here's someone else's photo of what the old one looked like:
It had an insert for a temperature sensor in the middle. I had a boost leak coming from here that I tried to fix with silicone but it would not fully seal. It wasn't severe, but the closed loop EBC was tuned while it had that leak.
I bought a replacement from FM. The newer models don't have that insert any more, so that took care of my boost leak:
I'm also curious to get some data on the performance impact of the silencer. I really can't feel any difference in spool or power, but I haven't spent any time at the top end of the rev range where flow would be impeded the most. Still absolutely loving the peace and quiet. All I hear are turbo noises.


 09-22-2019, 01:39 PM


 0
0