When you click on links to various merchants on this site and make a purchase, this can result in this site earning a commission. Affiliate programs and affiliations include, but are not limited to, the eBay Partner Network.
You can see here the crack following the edge of my weld before it shoots across the weld itself. All 4 runners were in various stages of cracked with 1 being the worse and 4 being the best.
The repair consisted of V'ing out the crack and rewelding with a few passes to to reinforce the area.
The real fix is bracing, most do a big beefy brace from the bottom but oil cooler setup made that difficult. These braces were ment to be a quick temporary patch to get me through the next track day but they turned out so good I'll see if they are a permanent fix.
I had the car out at its second track weekend with Chin motorsports a couple of weeks ago and just haven�t had time to update the thread. Overall it was another successful day and I dropped time to a 1:30.3 with a passenger in the car. Predicted possible lap times with all my best segment times was a 1:29.4. This is more of a reflection of my driving ability than anything. There�s just a huge leap from auto-x to track, teetering the car on the edge of traction at over 100mph with a tire wall staring you down takes some getting used to.
This is my best lap of the day with my buddy Steve coaching me, he�s been tracking for years beat my time with a 100hp NA on hoosiers�..yeah I have no excuses except for the RS4�s��..but no excuses.
The great thing about Chin is the amount of track time you get compared to a NASA, SCCA or trackdaze event. You get 2 � hours of hot track time with that last session being open for all run groups, so you get a chance to run with the big boys. You also get a warmup session at the beginning of the day which is great for bedding brakes or tweaking your tune, there�s no passing but you can run as hard as the guy in front of you. You end up with 3 hrs a day of track time plus the run groups are much smaller, they cost a few pennies more but it�s worth it.
On to the bad, so after the full day on Saturday I found a nut missing on my down pipe. This happened at the last track event, I had some spares so I threw them on and hoped for the best. After the 1st session on Sunday the top stud was missing all together, stretched to failure and I was missing a nut on the next stud down too. The stud was snapped at the thread root so there was no field fixing this. I was able to make it through two more sessions before I broke another stud and bent the remaining studs�.day was done.
I had the Nissan Inconel studs on order before this event but they were on nationwide back order, I was able to get the now 3 broken studs (broke the 3rd trying to remove it) drilled out and replaced. I really believe this is the fix.
Then I noticed on review of the logs from the last session the wastegate was working harder than usual��and my IAC was closer to 0% than usual. Damnit!!!!! Intake manifold was cracked again. This is with less than 100 street miles and the same amount of track time as the first attempt. I was running a few more PSI of boost so maybe the additional vibration was the culprit. This is a fundamental issue with vibration and gluing two used pieces of cast aluminum together. I broke both braces that I added and both breaks were vibration induced. The manifold just has way too much mass too far out from the engine.
Interesting the brace didn't help at all. Is anyone else having this issue? Either way, I approve of the direction in which you are heading.
Yeah if anything it made it worse, which the frequency of the vibration usually goes up the stiffer you make things so maybe that contributed to the issue. I also was repairing a weld so maybe I didn't get the crack ground all the way out and left a stress riser.
In any event starting over fresh with all new materials will be nice and give me a chance to go with a short runner big plenum (relatively) setup that should be lighter and closer to the engine. I mean this is a poke and hope approach to engineering.....might be a dead end.
I'm about as far as I can go until the cnc'd flange shows up.
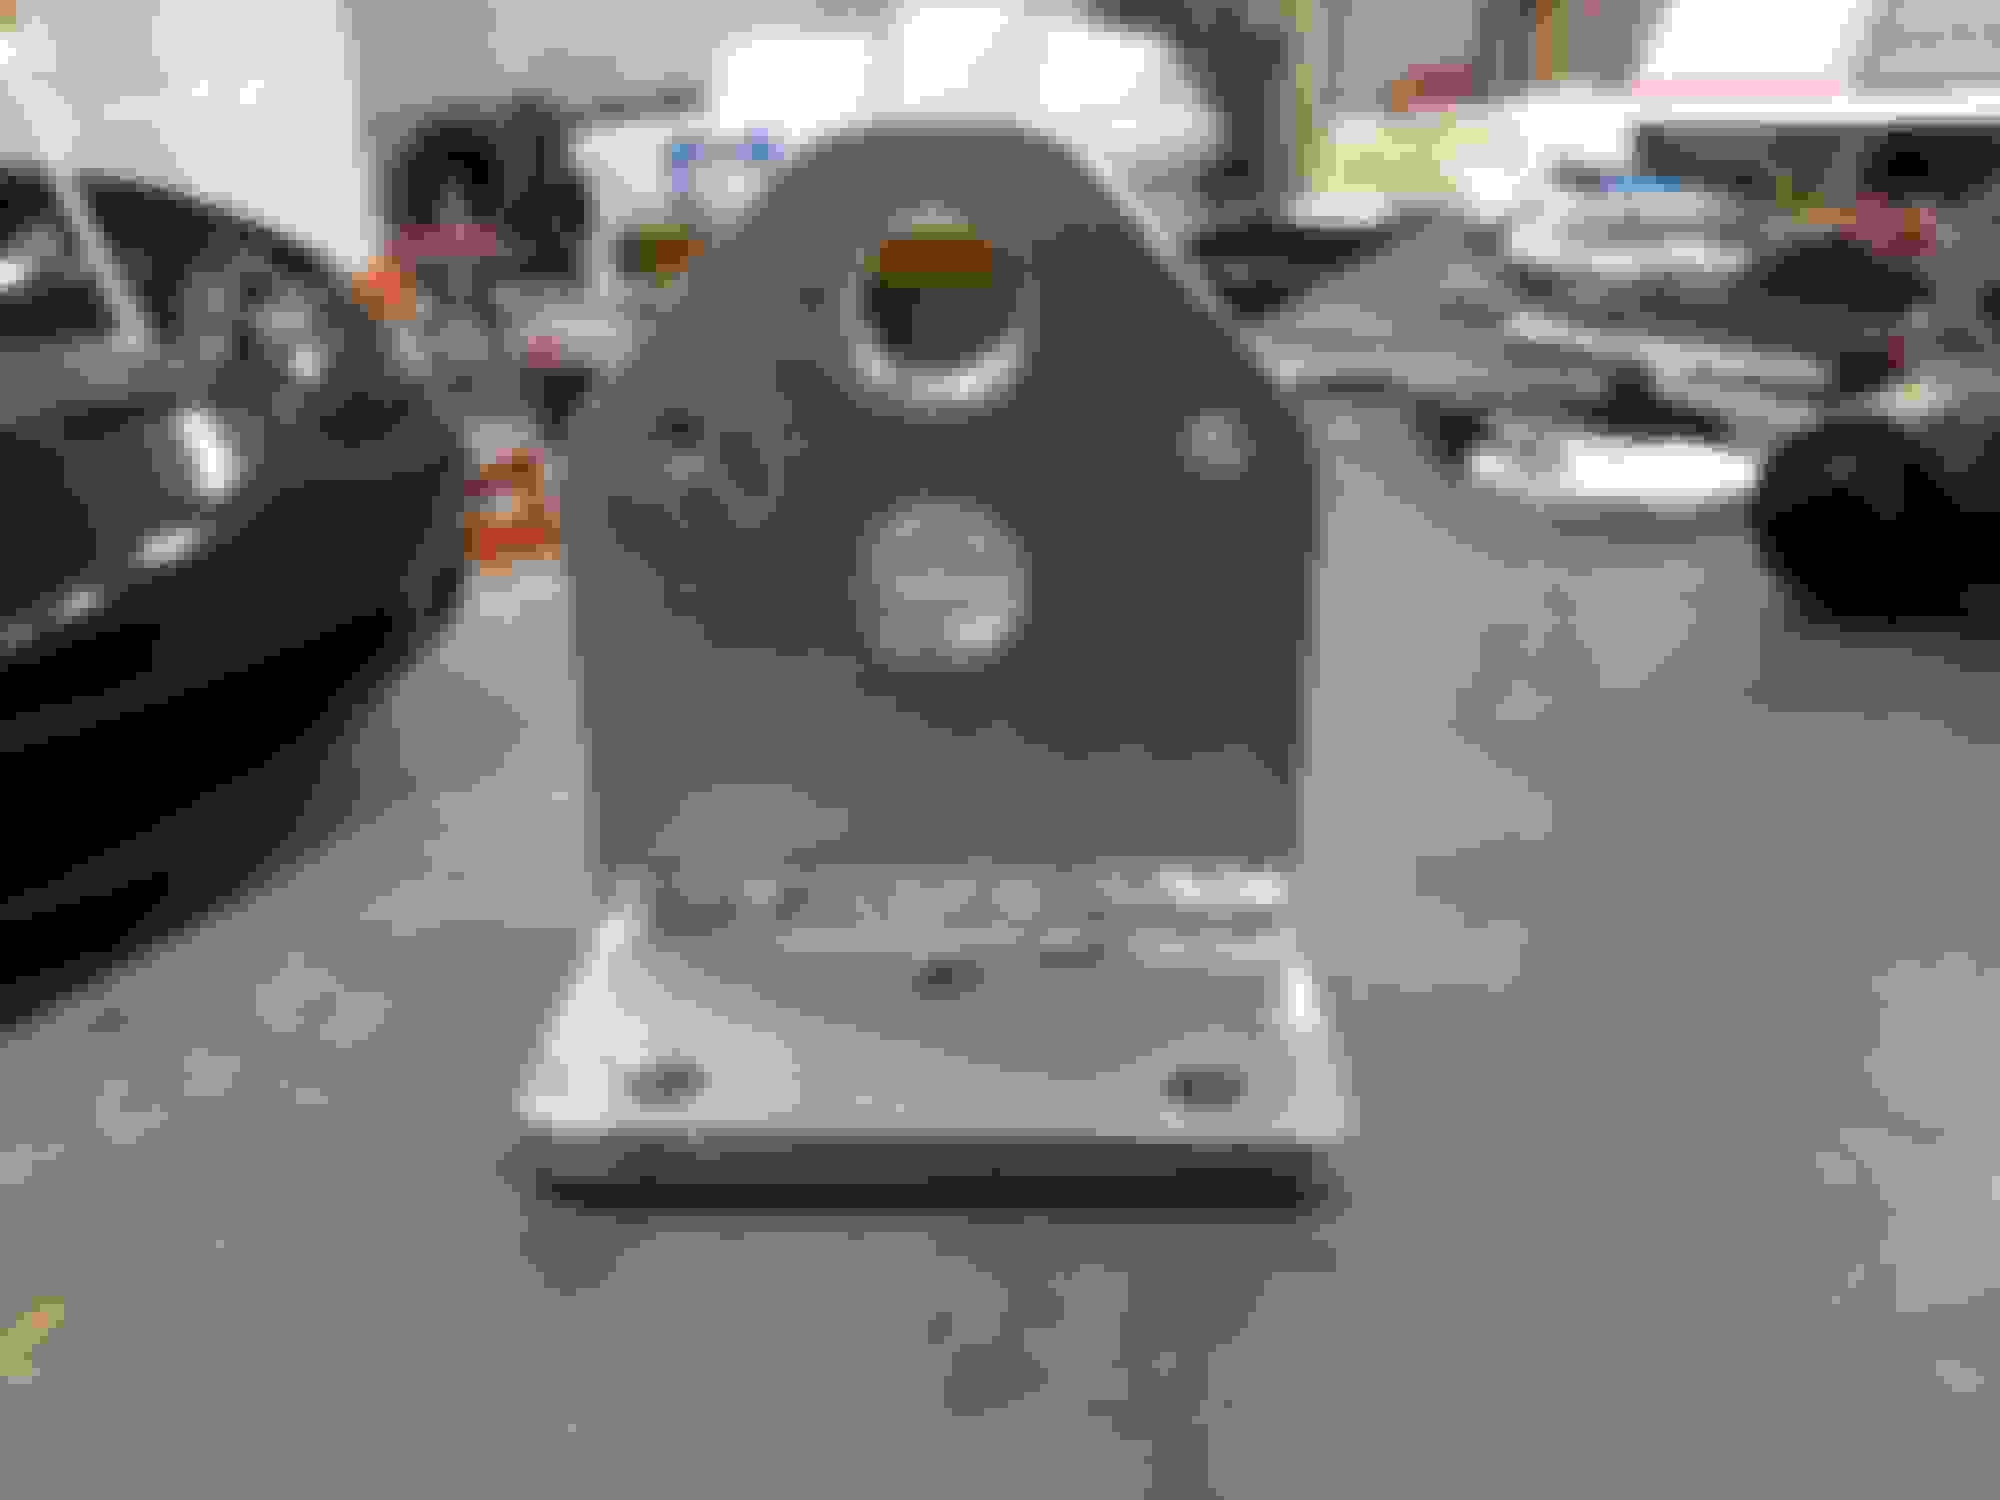
It's all kinds of ugly but this chunk of aluminum allows me to route pre TB air through the IAC valve. I was really close to doing away with the IAC.....because racecar.
Just need to make the side panels and of course weld the whole thing to the flange.
Thanks for the kind words guys, just gotta jump in and start making crap, one day you'll get decent at it.
Originally Posted by Art
I'm in awe of your skills. Seems like a good time to use a Honda TB or something with the screws falling out of the Miata ones but you probably have it figured out.
That's exactly what you're looking at right there, I planned on maintaining the Honda parts from the cracked Honda manifold.
Not a whole lot of progress this weekend, just some templates.
I have a buddy who needed a dummy throttle body for his JR supercharger setup as well as a remote IAC bracket.
After making the remote IAC setup I kinda wish I would have done that for mine just to clean up the TB area and remove the weight from the manifold.
Curious about the front flexing without any sort of bar or brace tying the front rails together, how many miles/hours do you have on it and have you checked to see if you're getting any stress cracks where the rad bolts on? Especially if you're tracking it
Curious about the front flexing without any sort of bar or brace tying the front rails together, how many miles/hours do you have on it and have you checked to see if you're getting any stress cracks where the rad bolts on? Especially if you're tracking it
I've taken a glance at the mounts a few times and all is well. I'm up to 2k miles on this setup and 10hrs of track time along with a few auto x events.
I'll stick by my initial assertion that the metal I cut out is not structural, it was very thin and could easily be twisted and even folded in half by hand. It was litterally a mount for the 5 MPH bumper and nothing more. If you were worried about the frame rails moving you would need to triangulate them back to the shock towers and then to the firewall, connecting them latteraly wouldn't do much.
Answered my own question that I sent you in a PM. new manifold it is!
Your welds have improved quite a bit since the original HONDA adaptation and repair weld, I would bet that if you ground out the welds on the Honda manifold that you could probably get it to stick now. If you want some tips and would like to chat about it send me an email or a message through my facebook page. Basically it looks like you need to grind back the weld site and then weld it hotter. Its a real balance with aluminum to get it right, especially so with dirty castings.
With dirty castings I usually go over the weldment with no filler and just heat it up nice and hot with the tig "cleaning" turned up. pulls the crud out of the casting and then you can hit it with a burr or a flap disc. preference being a burr because flap discs and sandpaper push crud back into the pours of the casting.
OH - also bold the flange down to a spare head or onto a thick piece of scrap metal (but you have to know its perfectly flat. I run a piece of scrap through the mill first but not everyone can do that). the flange will warp all to heck when you weld it. not as bad as stainless or mild steel, but still enough that it wont be flat. When you bolt it down your probably cracking it :P
Thanks for the tips, I think I'm done messing around with cast aluminum for now. A sheet metal intake had been on my bucket list for a while now.
I'm well aware of the warping issues and will surface the flange once all the welding is done. I had to do this on the cast manifold and well. My methods of surfacing flanges on a belt sander are..... Well archaic, but it works. A mill is in my future.
Little progress yesterday, hope to be driving it this weekend.
The runners in the heads are running downhill at approximately 20 deg angle. I slash cut the runners to match that angle but the 1/2" flange (thanks Shlammed!) Has the ports cut strait so I back welded the joint to give me some meat to port out for a smooth transition.
Talk about a strait shot....
Cool shot looking into the TB flange
I finally welded the plenum to the runners.
With any luck I'll get the intercooler piping modified tomorrow and time on it this week. It'll be interesting to see how much this intake changes the tune.
This looks great.
I'm working on on of these myself. Do you know what your runner length will be to the top of the valve and what your plenum volume will be?
The trumpets are 4.5" plus .5" flange, I've seen 3.8" thrown around for head runner length so I'm just short of 9". This is gawd awful short, puts the 3rd order resonance right at redline and 2nd order out of reach. Ideally something in the 11 to 12"range would be better but at this point I just want it to flow well and not crack. I can make up for any HP lost due to the non ideal runner length with more boost.
Edit: To add that the plenum ended up ~4.7L so around 2.6 times the size of the motor.
All buttoned up and test drive done...... Can't say it drives all that different which I guess is a good thing. Boost PID needs tuned though, it's definitely spooling a bit quicker but my tune is a mess from working around boost leaks on the old manifold so who knows. Just hope it holds together.
 07-15-2017, 09:03 PM


 0
0