DIY Downpipe to tailpipe *56k Warning*
 05-07-2009, 01:39 AM
#41
Cpt. Slow

iTrader: (25)
Join Date: Oct 2005
Location: Oregon City, OR
Posts: 14,203
Total Cats: 1,138
description 1, followed by the pic:
[IMG]http://farm4.static.flickr.com/3218/3024489131_f599a55a07.jpg?v=0[/IMG
description 2, followed by the pic:
[IMG]http://farm4.static.flickr.com/3218/3024489131_f599a55a07.jpg?v=0[/IMG
...and so on and so on. You can weld like that, but you can't figure this stuff out? I took the last ] out on each of those so you can see the format without that actual pictures. Are you seriously having issues with this? You must be posting pictures strangely.
[IMG]http://farm4.static.flickr.com/3218/3024489131_f599a55a07.jpg?v=0[/IMG
description 2, followed by the pic:
[IMG]http://farm4.static.flickr.com/3218/3024489131_f599a55a07.jpg?v=0[/IMG
...and so on and so on. You can weld like that, but you can't figure this stuff out? I took the last ] out on each of those so you can see the format without that actual pictures. Are you seriously having issues with this? You must be posting pictures strangely.

Reply
 0
0

0
 05-07-2009, 09:36 AM
#44

description 1, followed by the pic:
[IMG]http://farm4.static.flickr.com/3218/3024489131_f599a55a07.jpg?v=0[/IMG
description 2, followed by the pic:
[IMG]http://farm4.static.flickr.com/3218/3024489131_f599a55a07.jpg?v=0[/IMG
...and so on and so on. You can weld like that, but you can't figure this stuff out? I took the last ] out on each of those so you can see the format without that actual pictures. Are you seriously having issues with this? You must be posting pictures strangely.
[IMG]http://farm4.static.flickr.com/3218/3024489131_f599a55a07.jpg?v=0[/IMG
description 2, followed by the pic:
[IMG]http://farm4.static.flickr.com/3218/3024489131_f599a55a07.jpg?v=0[/IMG
...and so on and so on. You can weld like that, but you can't figure this stuff out? I took the last ] out on each of those so you can see the format without that actual pictures. Are you seriously having issues with this? You must be posting pictures strangely.
The problem is that he's uploading the pics as attachments, not hosting them from somewhere else. Which I wish he was so they weren't so dang big. Even on my 22" monitor they're huge. So I don't think he can put notes between each pic.
sbkcocker499, if you host your pics from somewhere else the forum would automatically resize them to fit the screen and then IF we needed to see the pic any bigger we could just click on it.

__________________
Best Car Insurance | Auto Protection Today | FREE Trade-In Quote

Reply
0
0
 05-10-2009, 05:57 PM
#47
Elite Member
Thread Starter
iTrader: (7)

Join Date: Jan 2007
Location: Renton Washington
Posts: 1,731
Total Cats: 4
As per all of your requests i got a Photobucket account and uploaded the photos there.
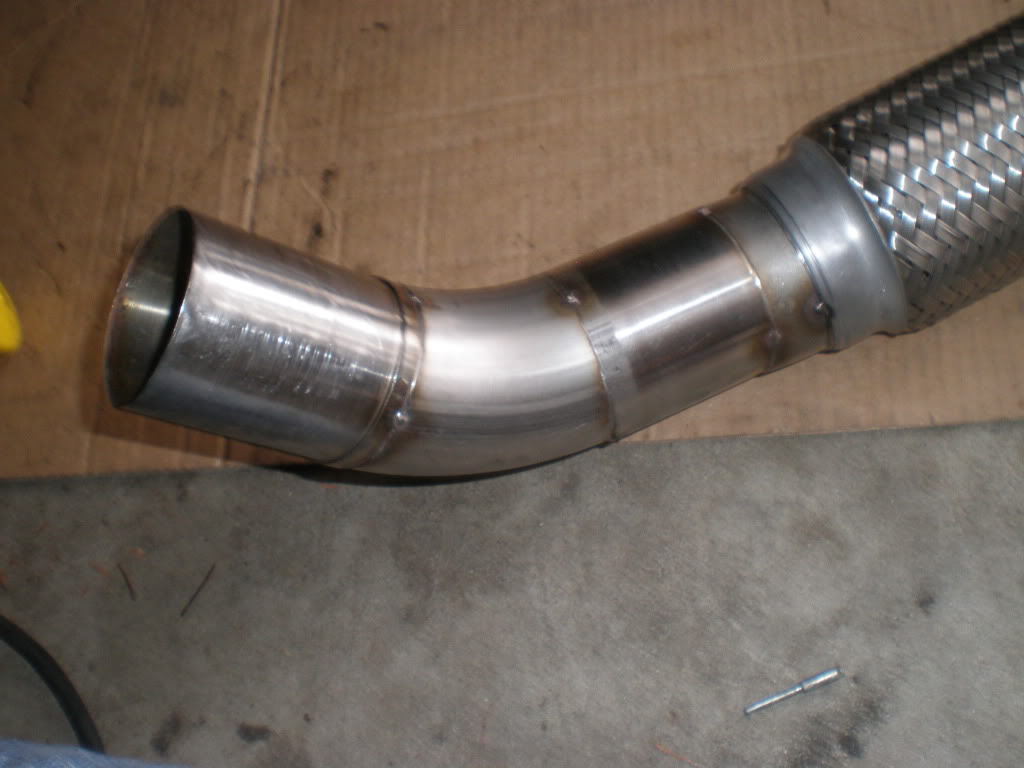
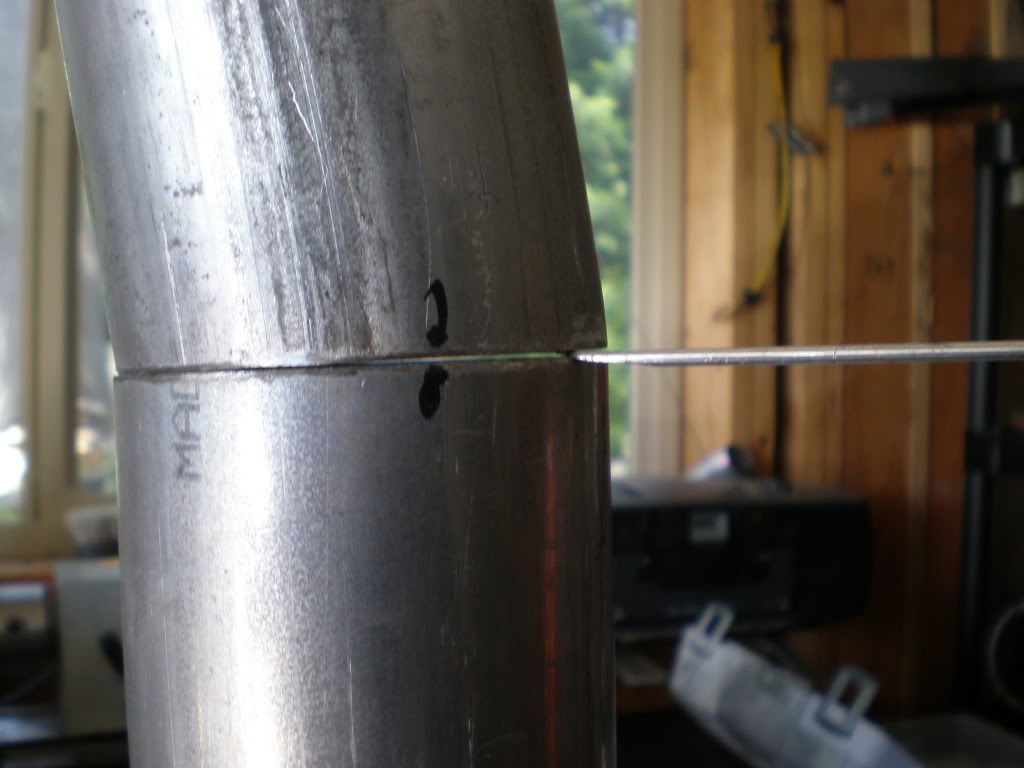
Fixed the upper section from before now its a snug fit.

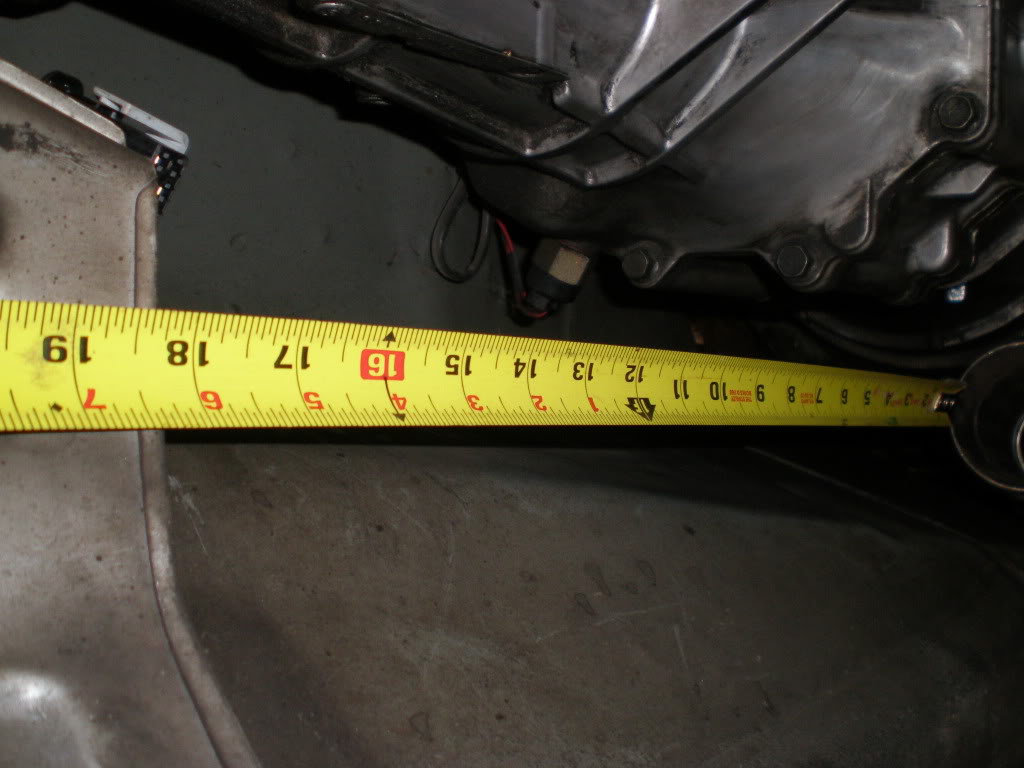
Measuring length i need to cut my 3"
Got it tacked on
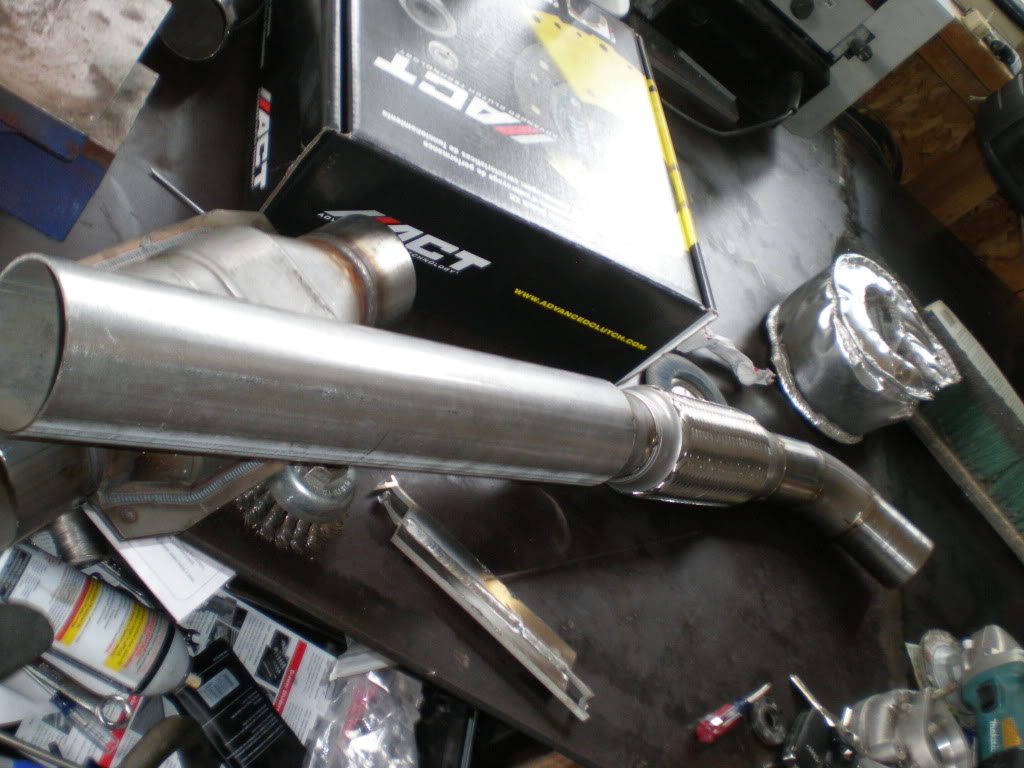
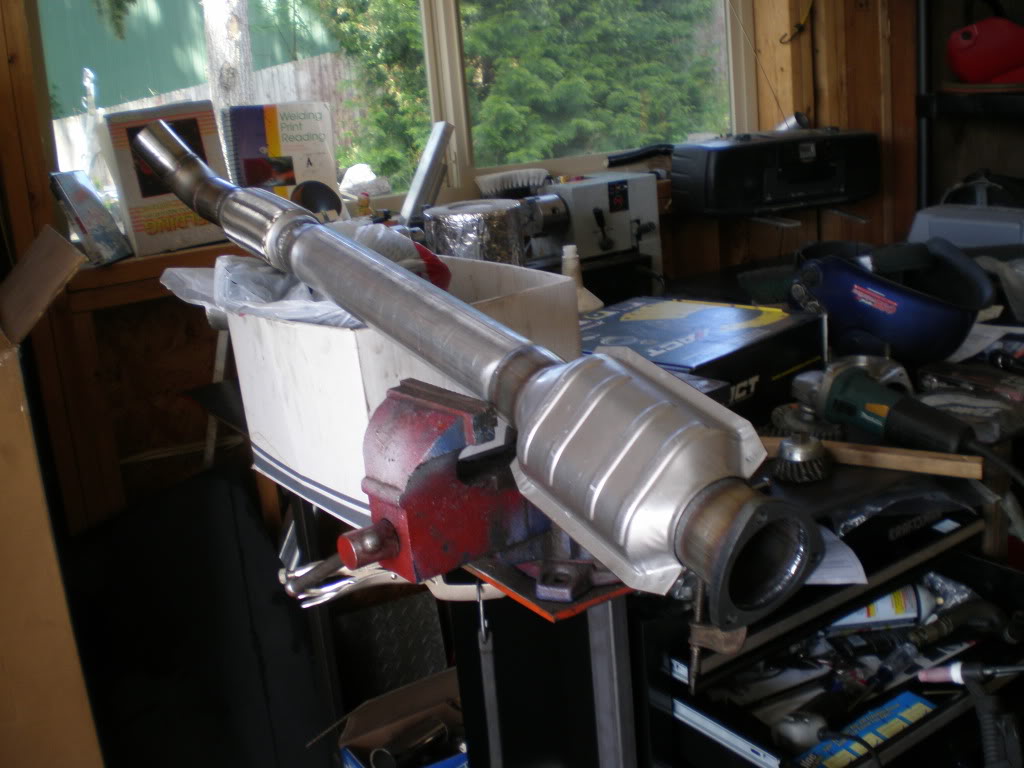
Got the cat on
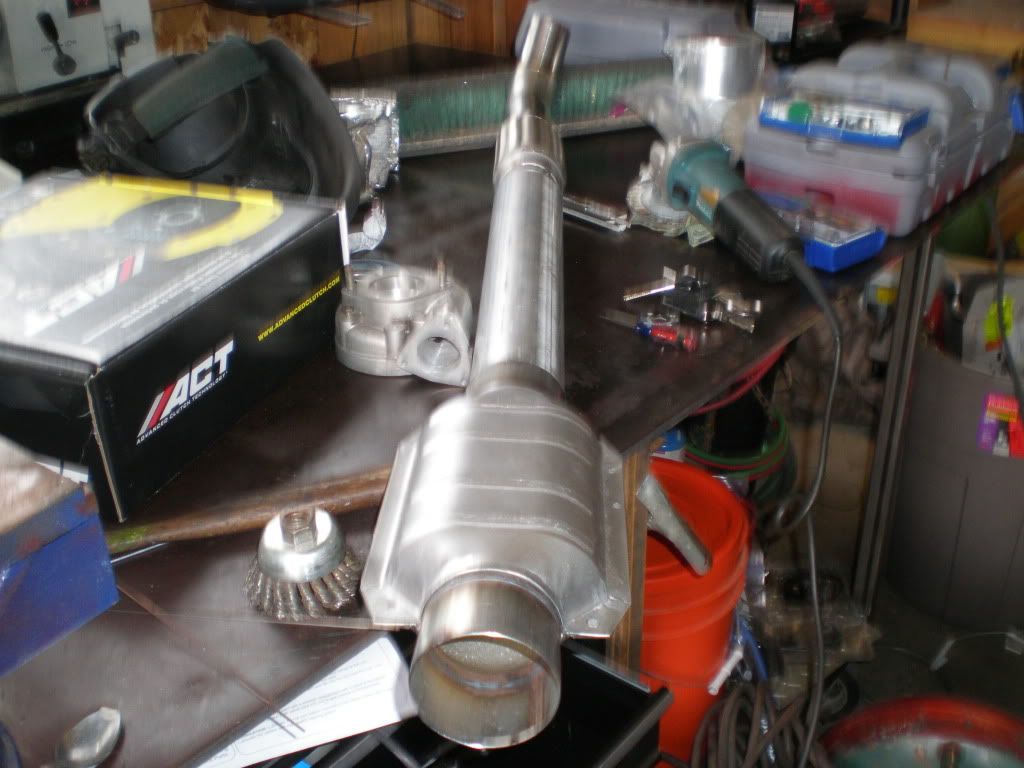
Got the cat tacked on a little crooked but it will do. Its only a cat!
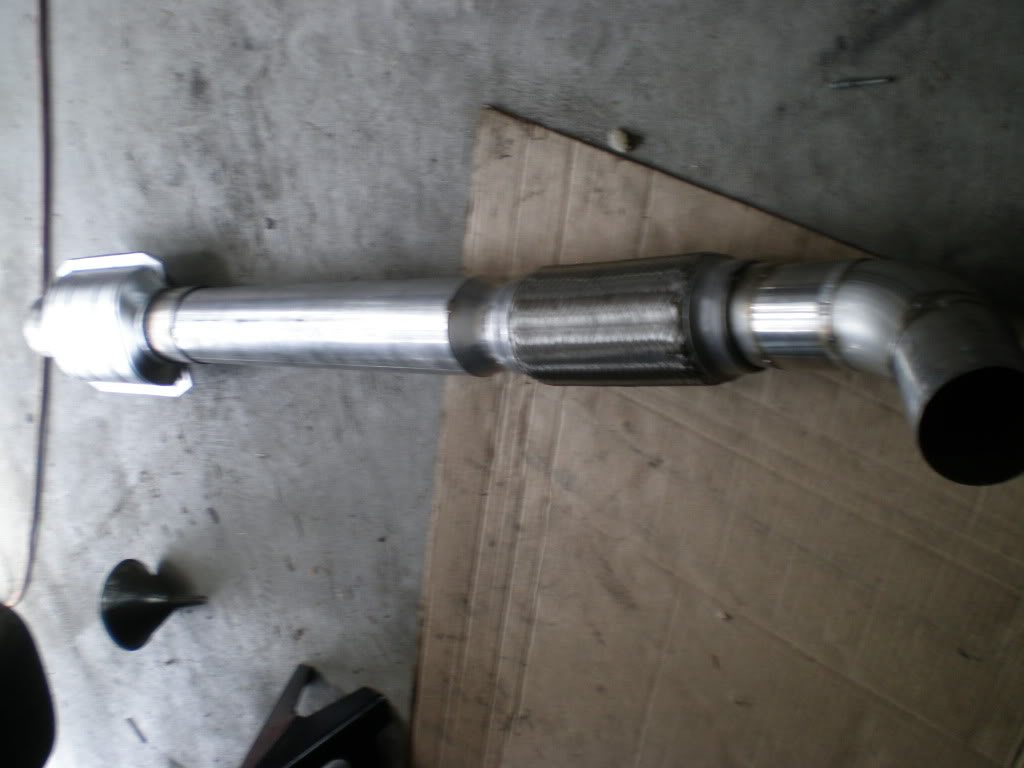
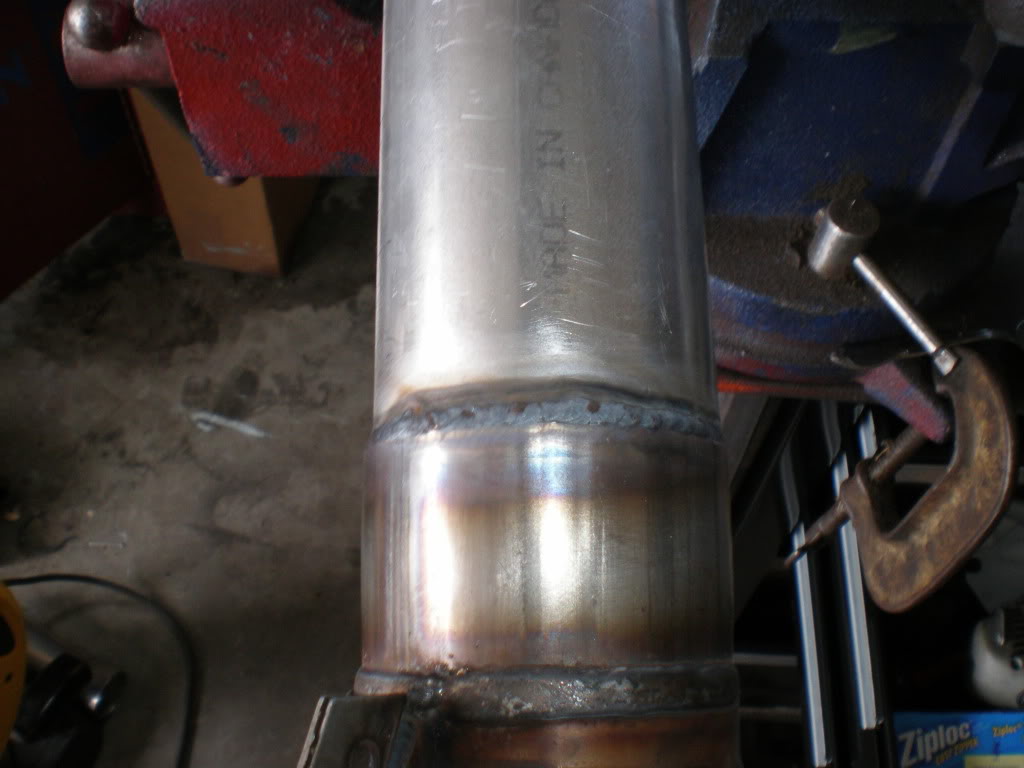
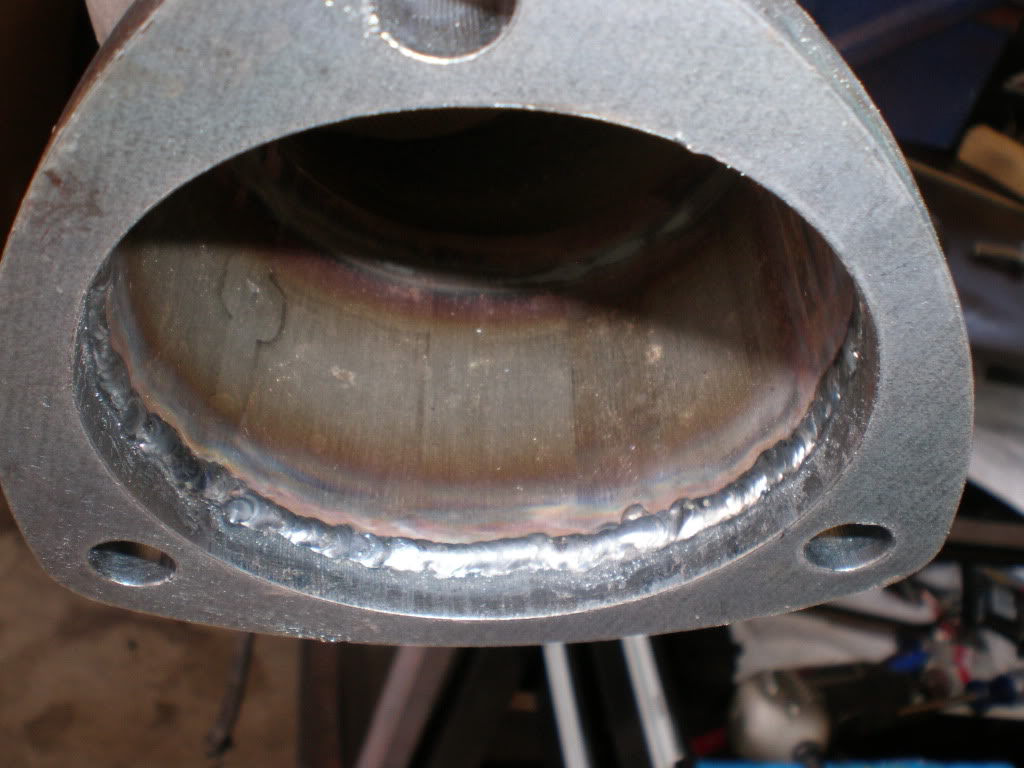
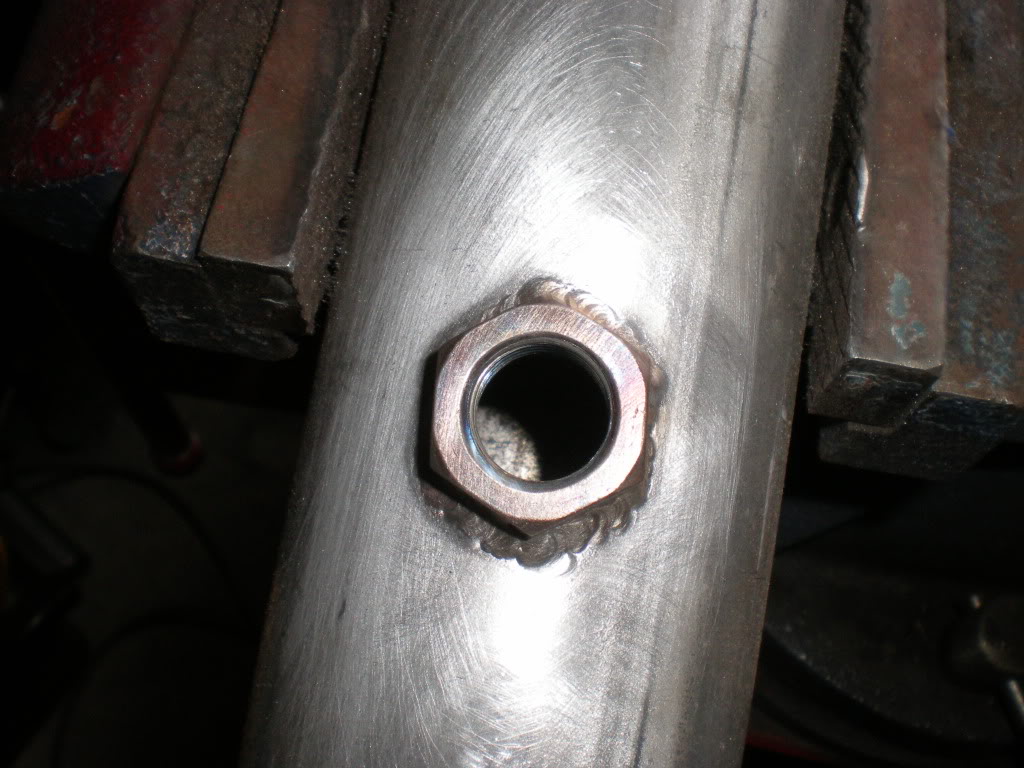
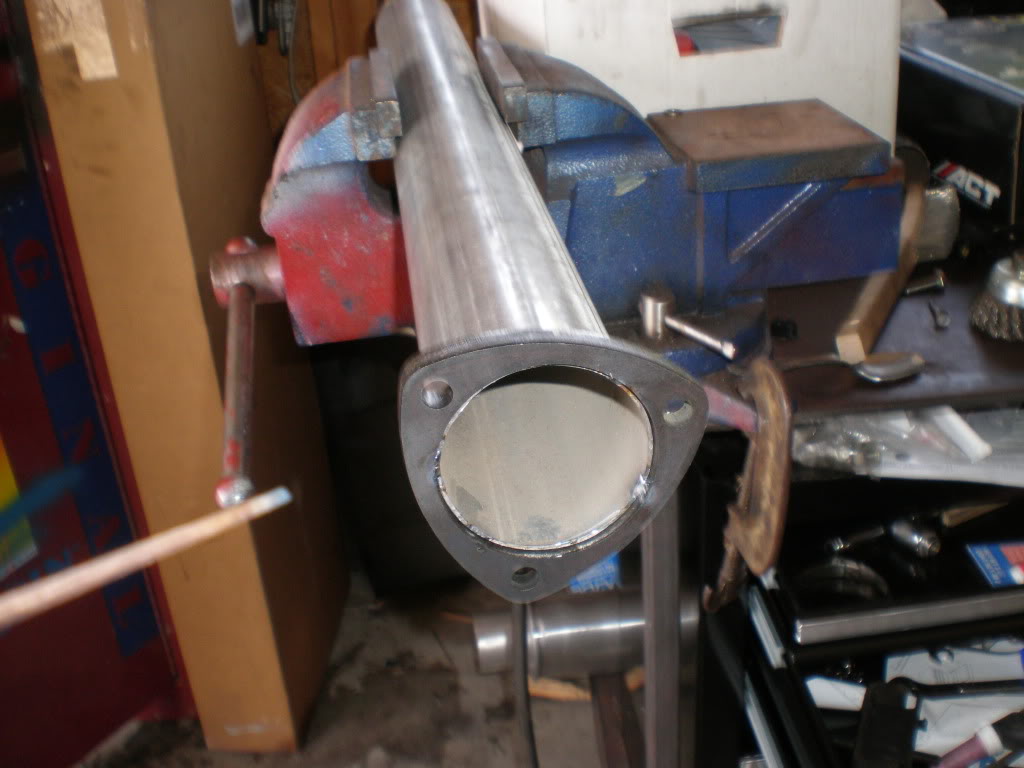
Close up of the connection from the downpipe
After i get this all welded up then i dont have to wait anymore. Since the aluminized pipe doesn't need a backing gas i can just weld and roll.
Fixed the upper section from before now its a snug fit.
Measuring length i need to cut my 3"
Got it tacked on
Got the cat on
Got the cat tacked on a little crooked but it will do. Its only a cat!
Close up of the connection from the downpipe
After i get this all welded up then i dont have to wait anymore. Since the aluminized pipe doesn't need a backing gas i can just weld and roll.
Reply
0
0
05-10-2009, 11:43 PM
#48
Cpt. Slow
iTrader: (25)
Join Date: Oct 2005
Location: Oregon City, OR
Posts: 14,203
Total Cats: 1,138
Sweet. Both on the exhaust bit and the photobucket account bit. Now I don't have to click on your thread and go browse somewhere else for 5 minutes while the photos load. Stupid DSL.
Reply
0
0
05-12-2009, 10:01 PM
#49
Elite Member
Thread Starter
iTrader: (7)
Join Date: Jan 2007
Location: Renton Washington
Posts: 1,731
Total Cats: 4
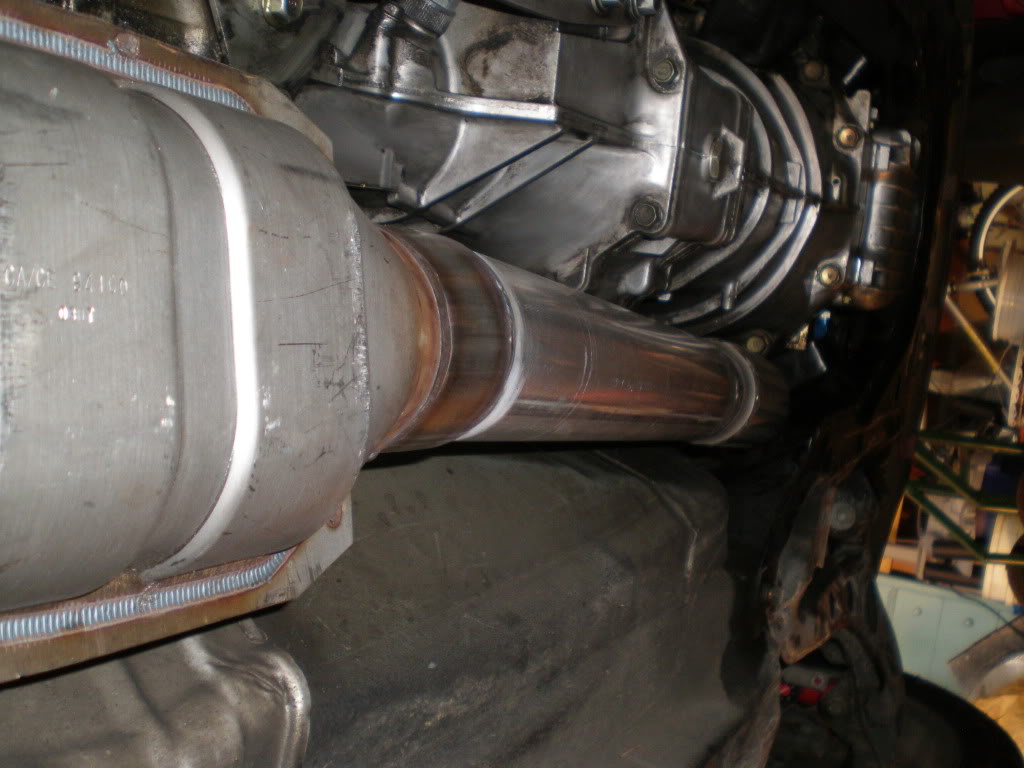
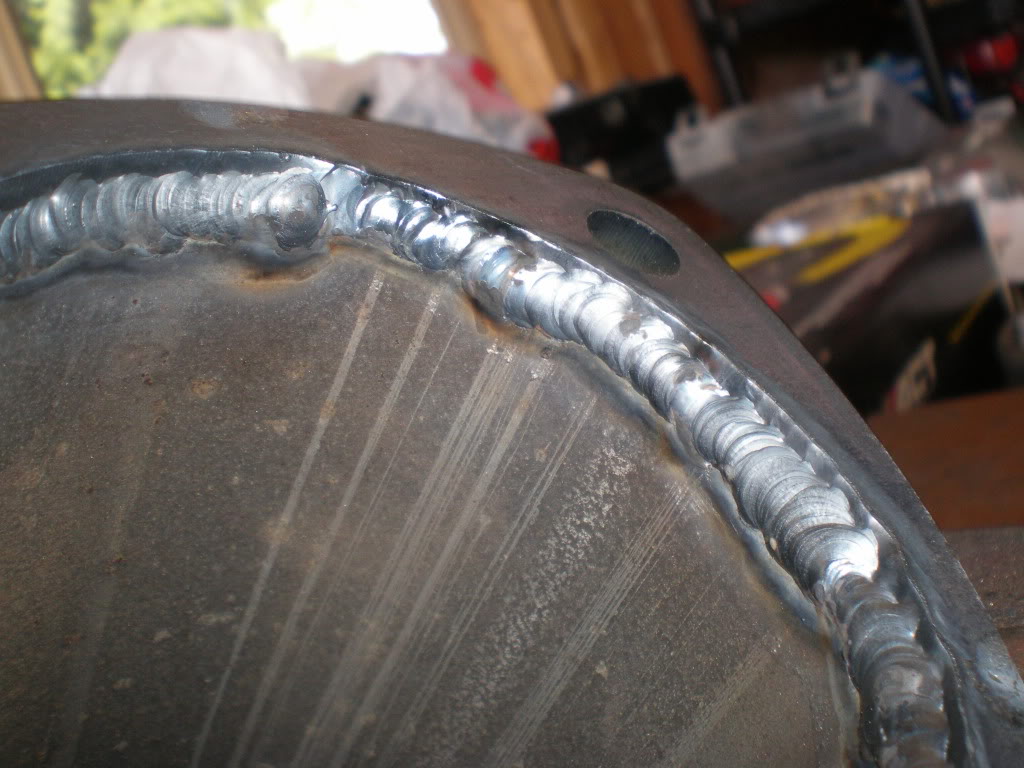
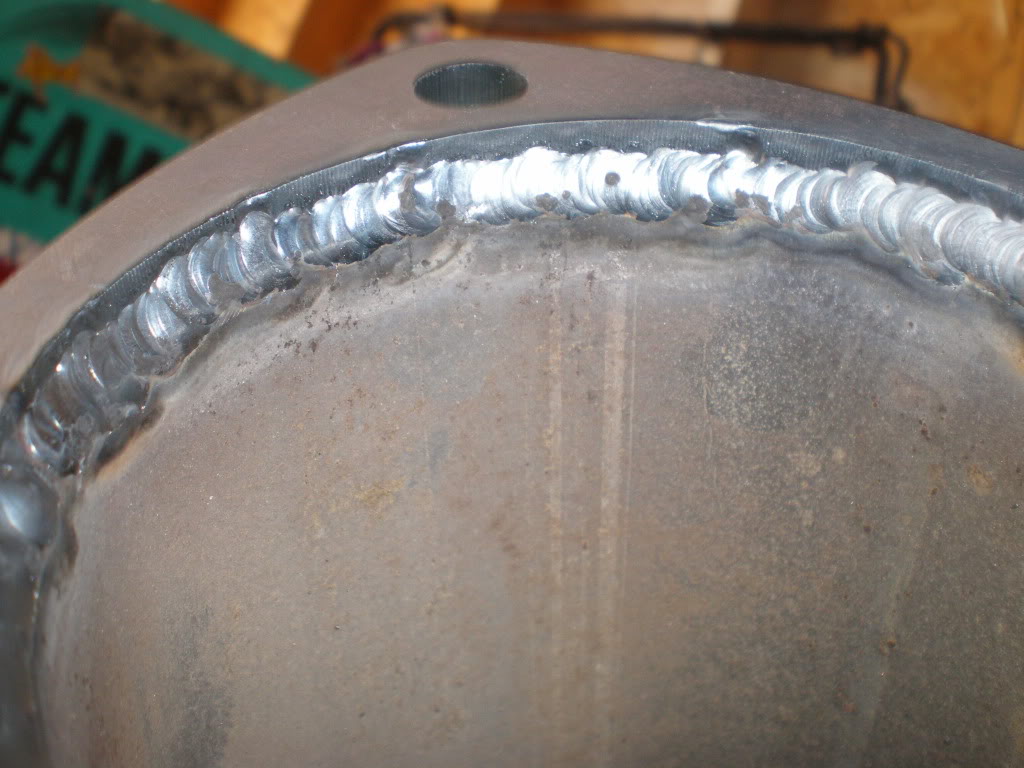
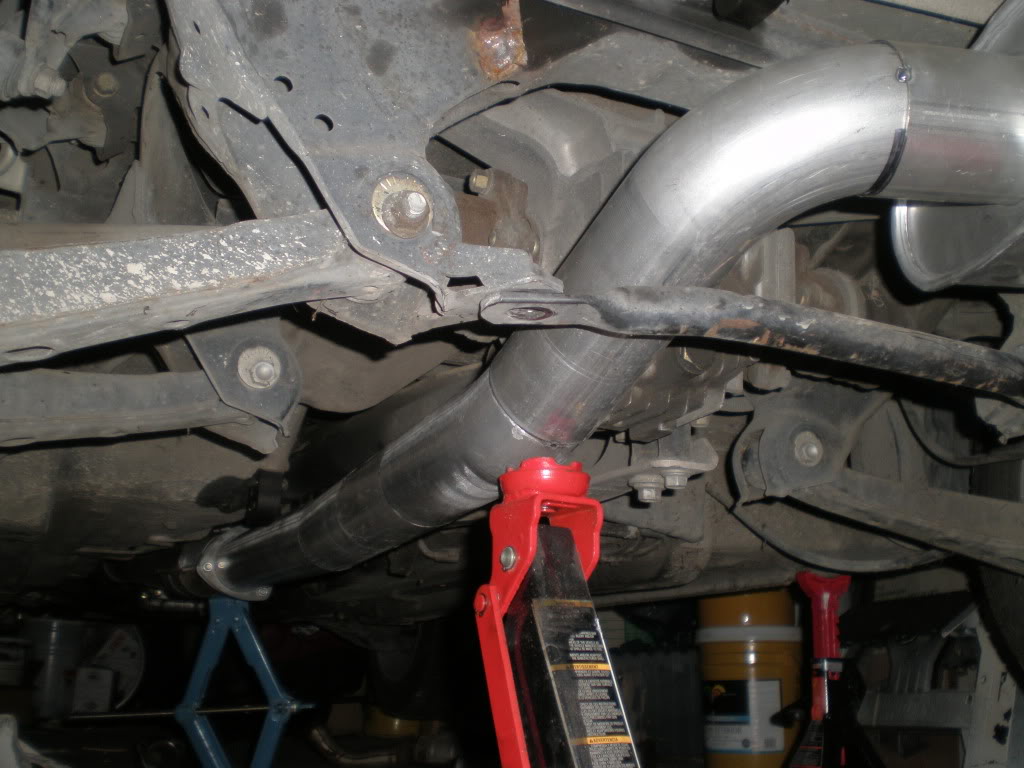
So i got the second part done the midpipe with the cat. All welded up.
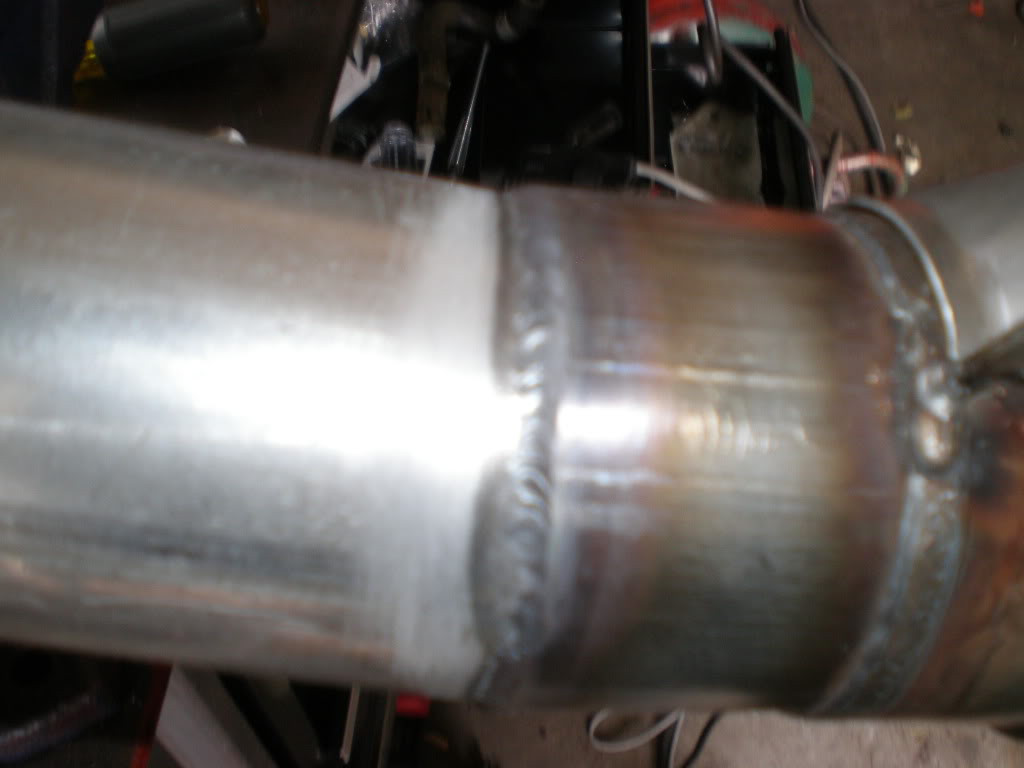
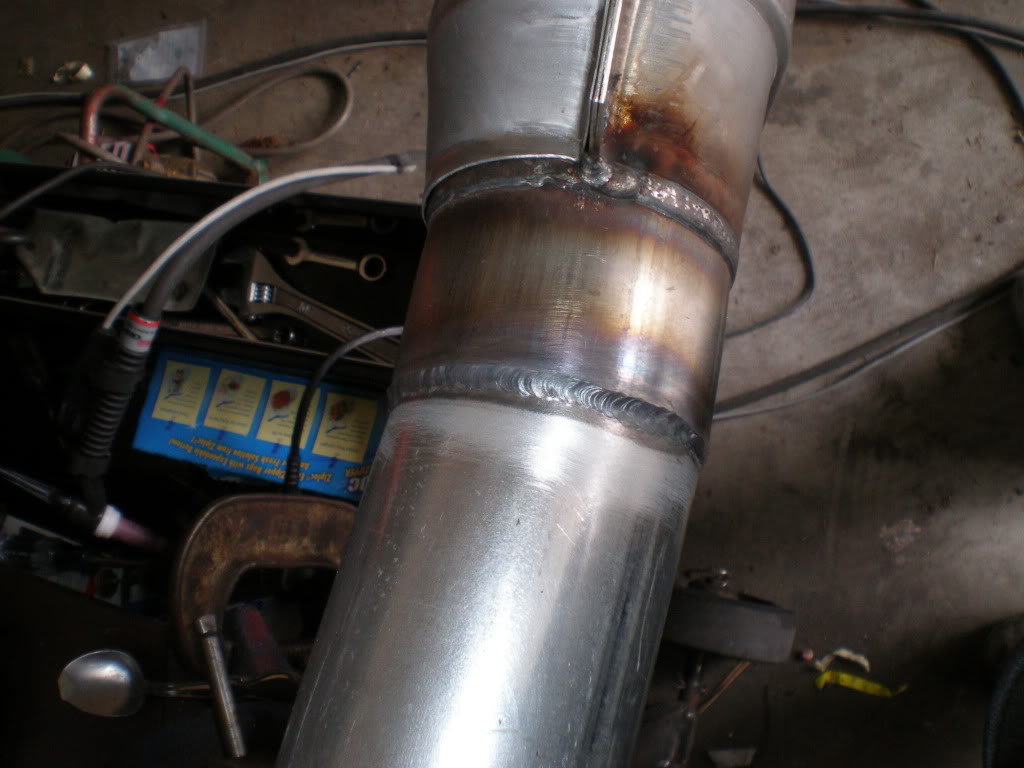
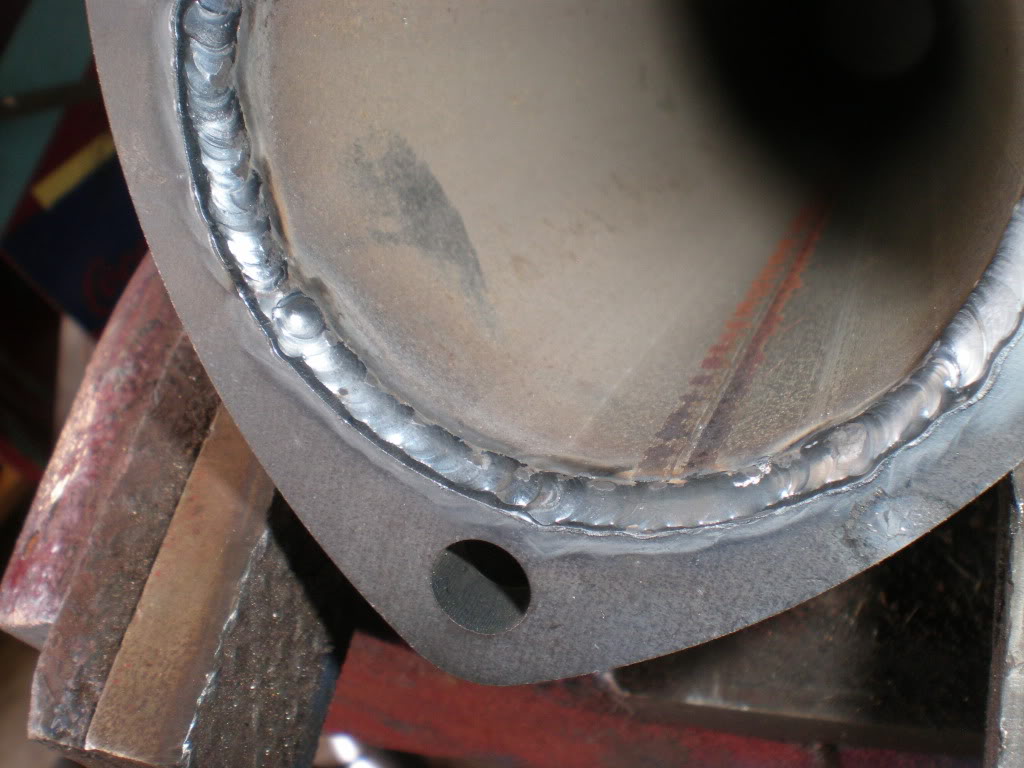
Weld at the Cat
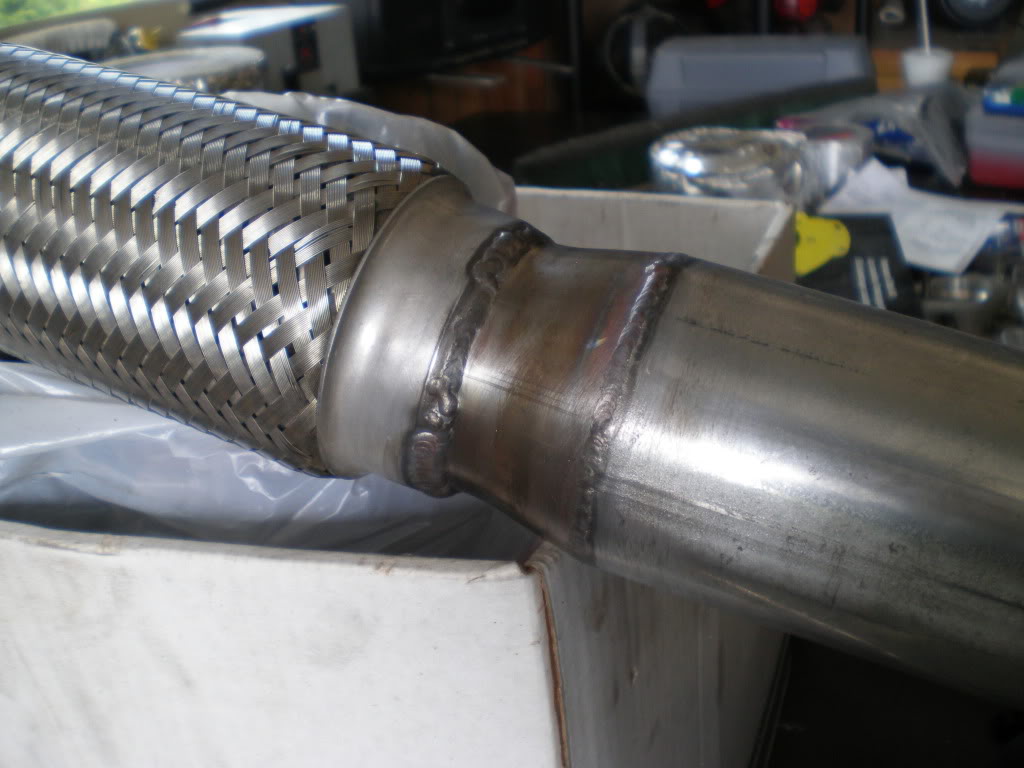
Weld at the Flex Pipe
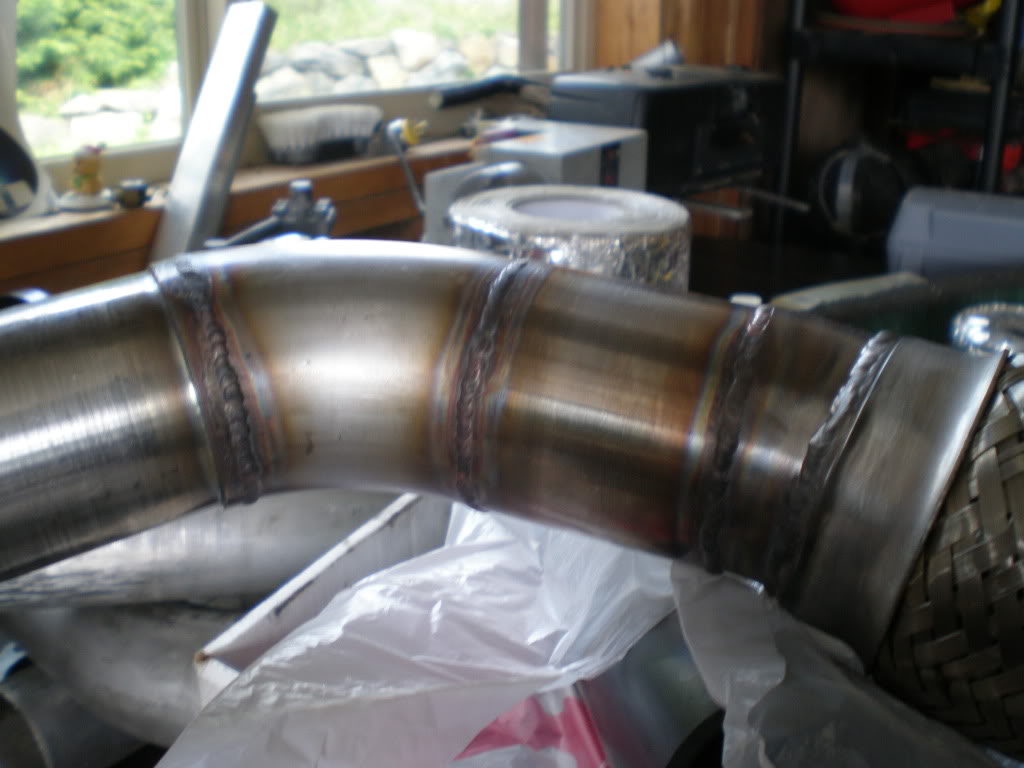
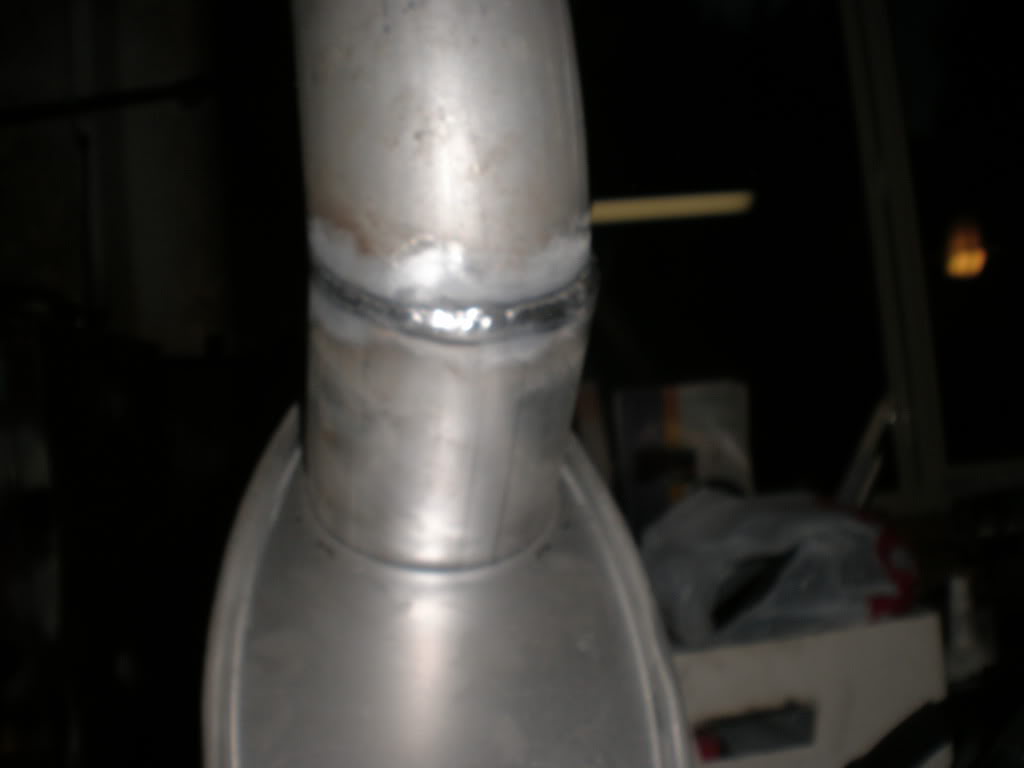
Weld at the upper section where it connects to the downpipe
Another view at the cat
One more
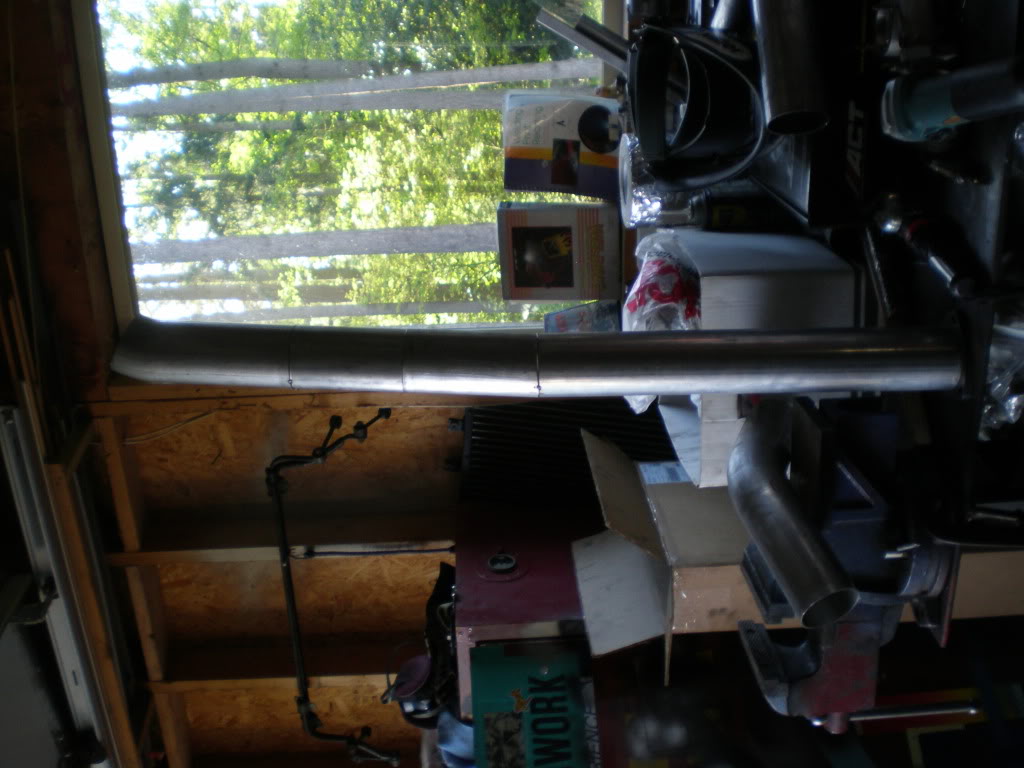
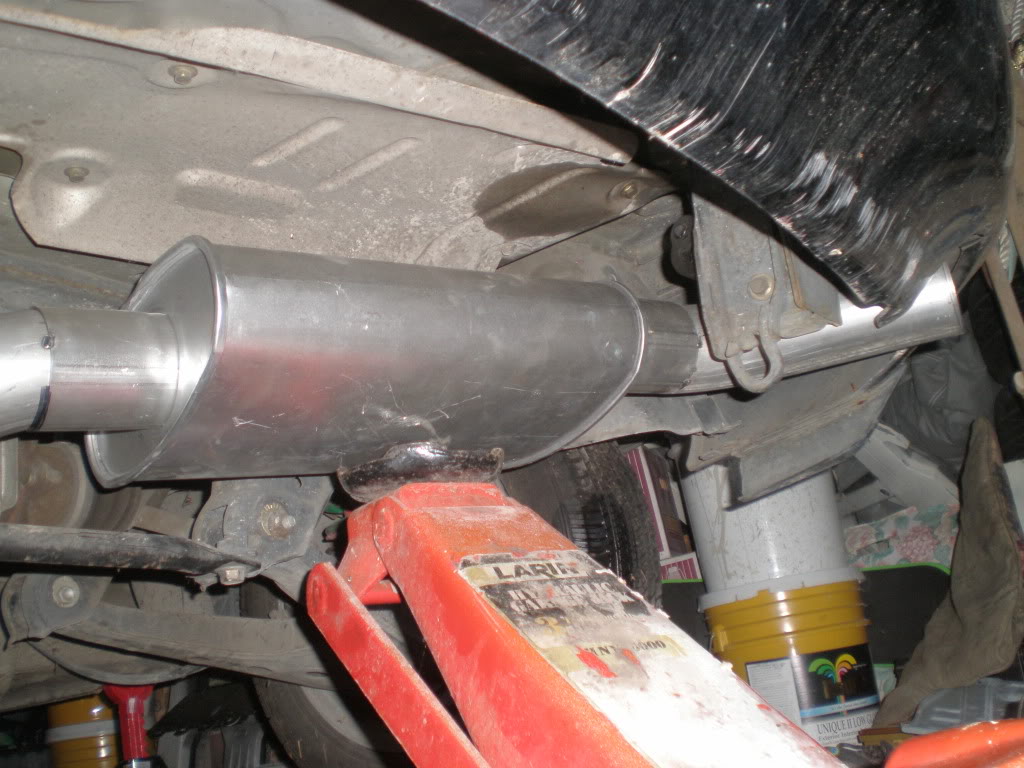
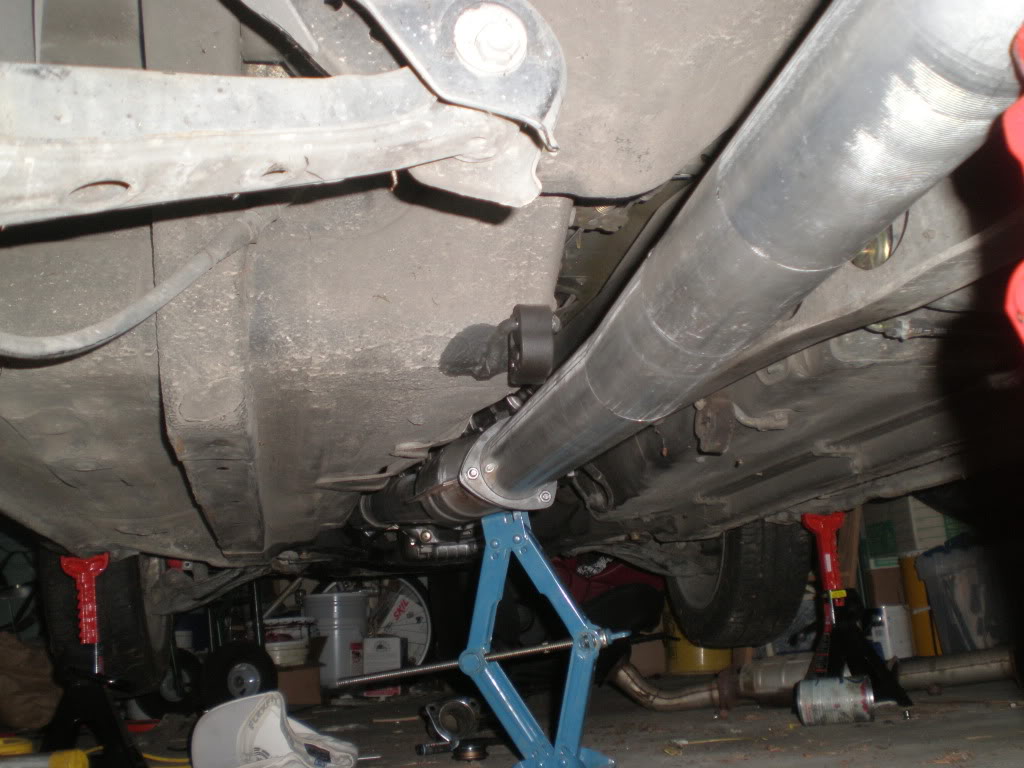
How it looks in the car
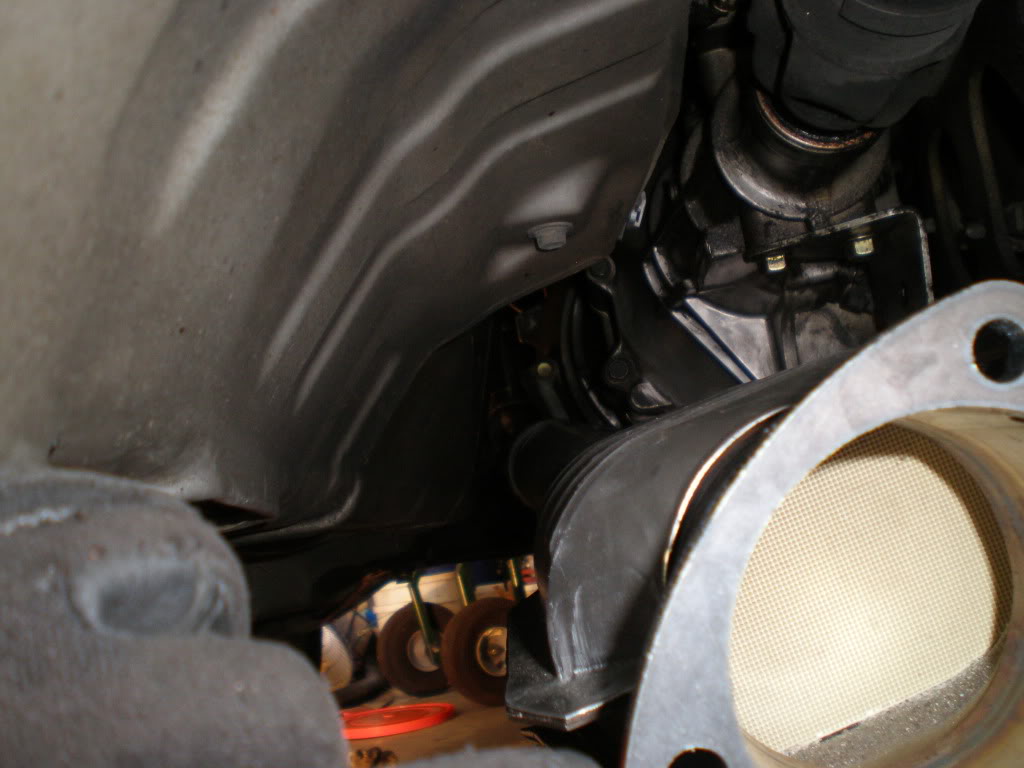
Another view under the car
weld at the flange
Welding with my trusty table vise
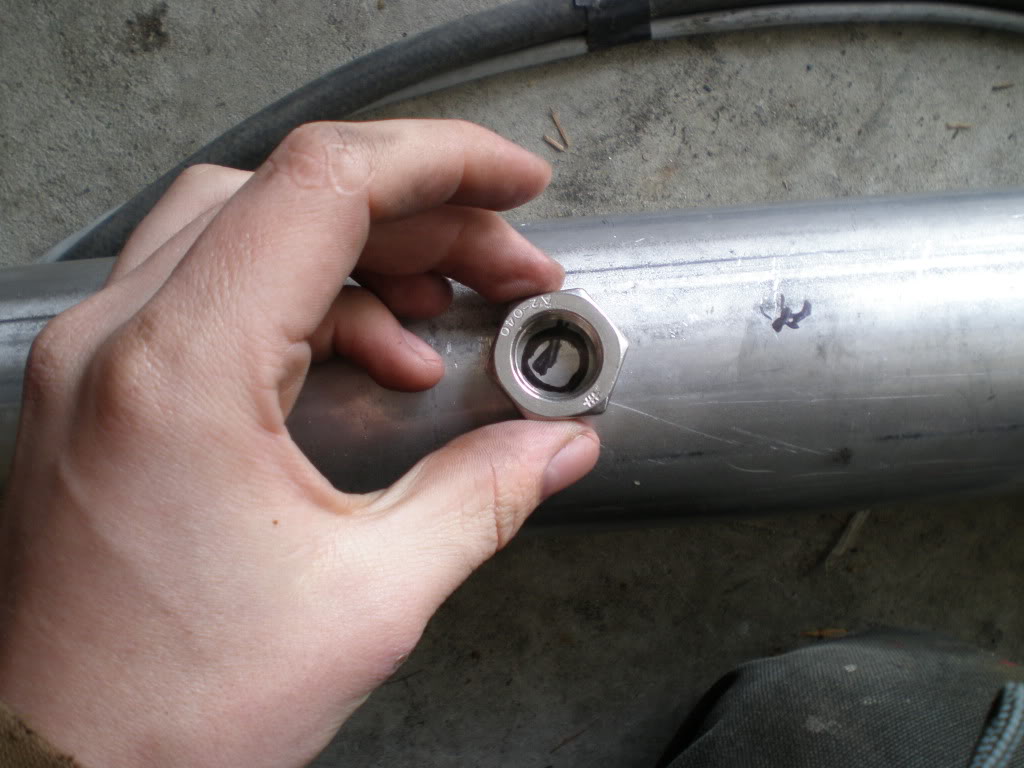
Marking out a space for the wideband
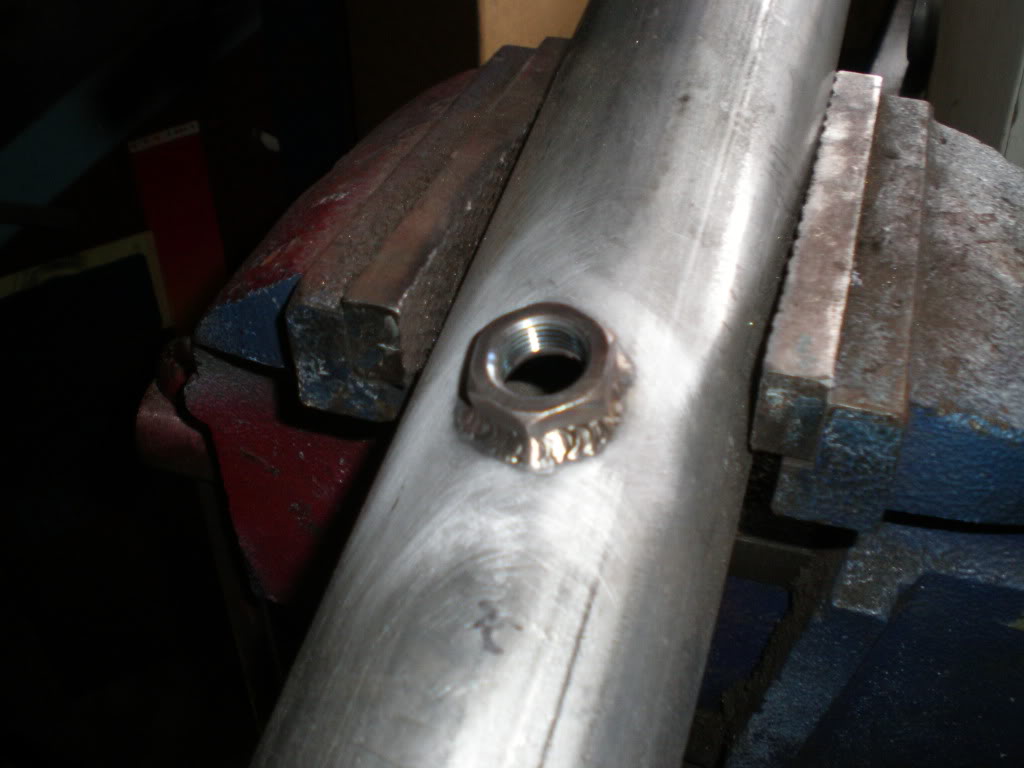
Welded in
Another view
All in all it was a good work time off. Just need one more section and then ill be done with it. I also got the round stock for the hangers. Should be done by this weekend
Weld at the Cat
Weld at the Flex Pipe
Weld at the upper section where it connects to the downpipe
Another view at the cat
One more
How it looks in the car
Another view under the car
weld at the flange
Welding with my trusty table vise
Marking out a space for the wideband
Welded in
Another view
All in all it was a good work time off. Just need one more section and then ill be done with it. I also got the round stock for the hangers. Should be done by this weekend
Reply
0
0


 05-13-2009, 10:56 PM
#56
Elite Member
Thread Starter
iTrader: (7)
Join Date: Jan 2007
Location: Renton Washington
Posts: 1,731
Total Cats: 4
Got a shitload of homework and my brother ( lives in japan ) made me look at a 93 Rx7 an hour away. He wants 4500 for it, it runs but it doesnt stay running for long
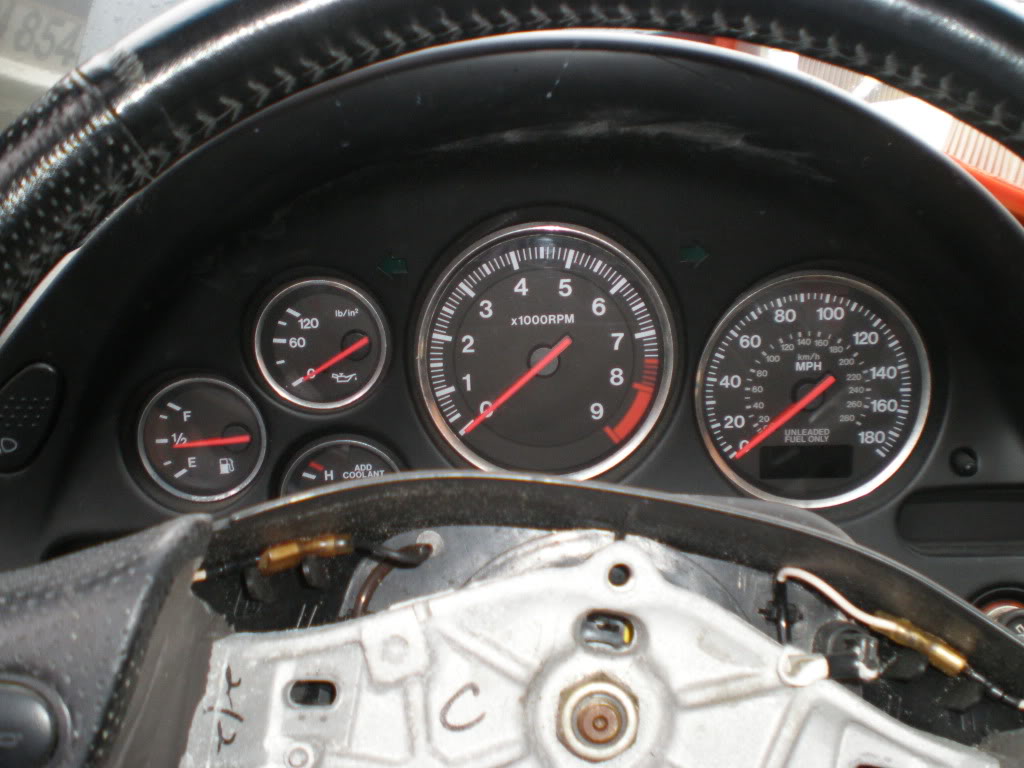
I love these gauges
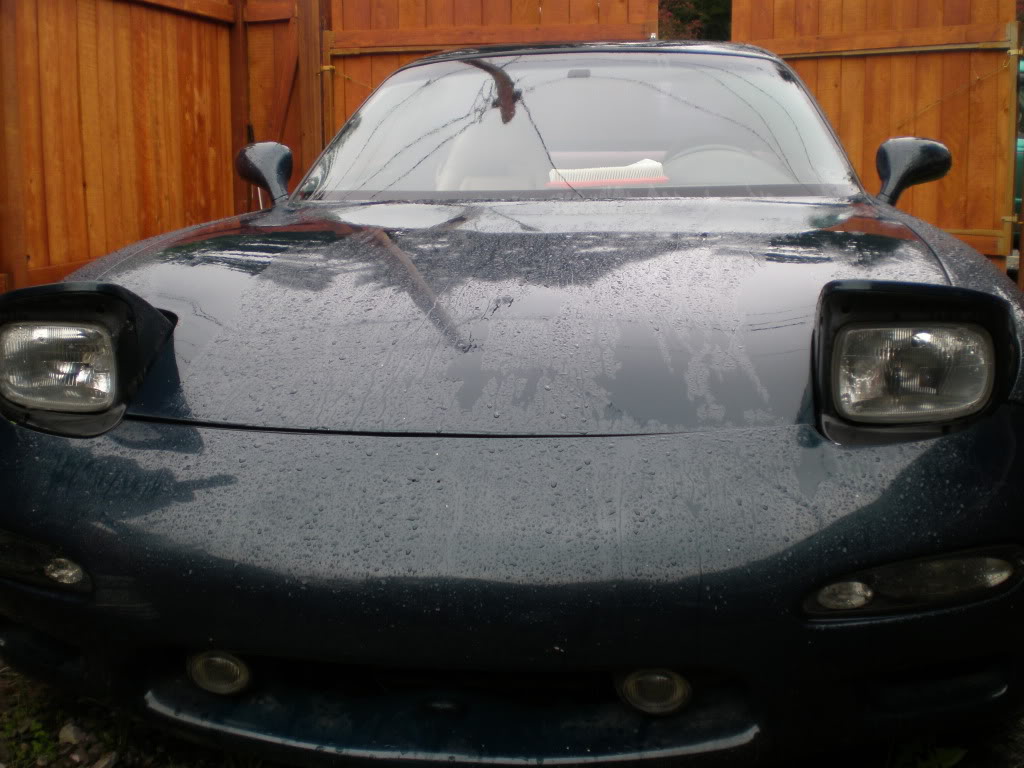
front view
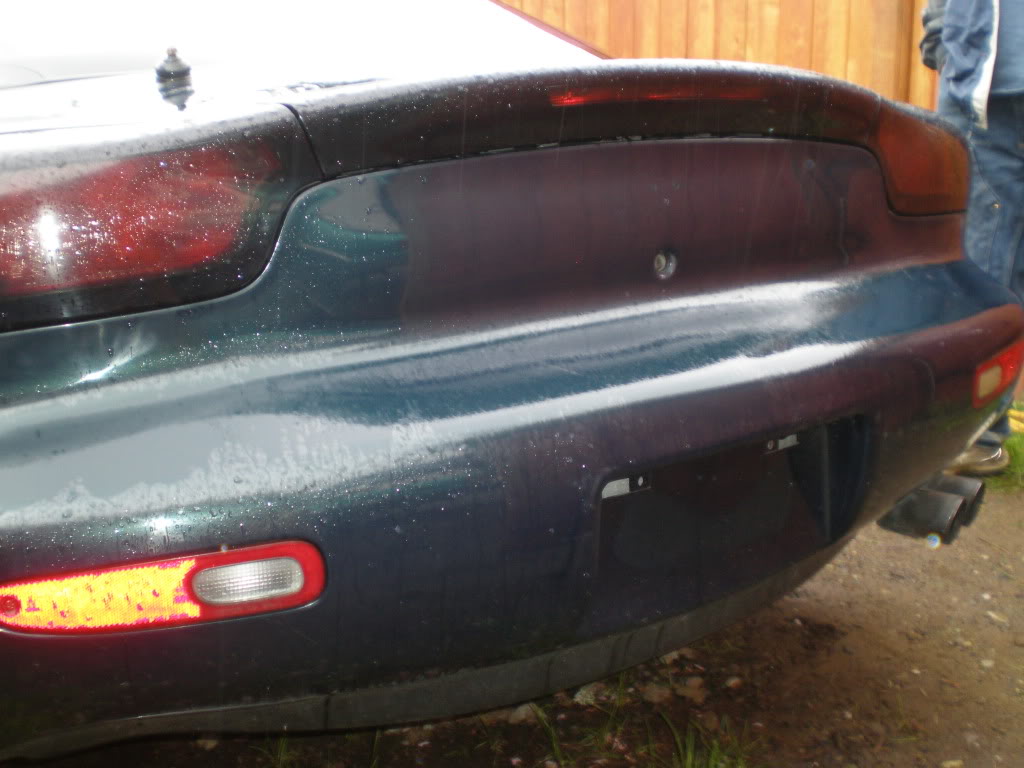
rear view
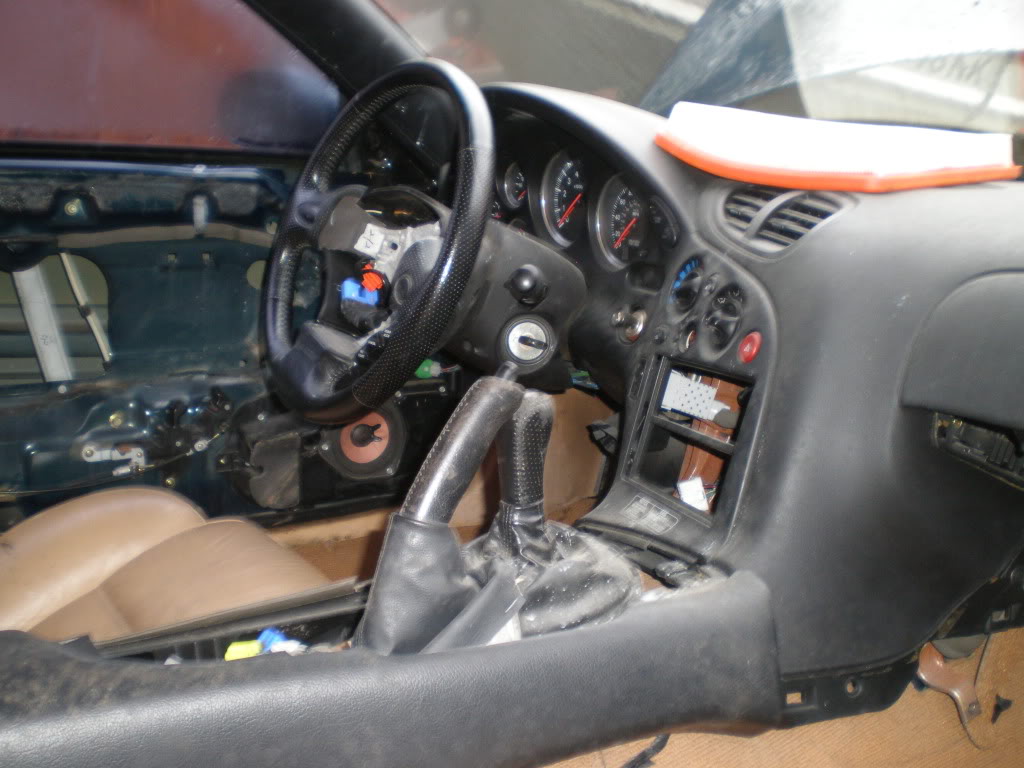
Interior needs work lol!
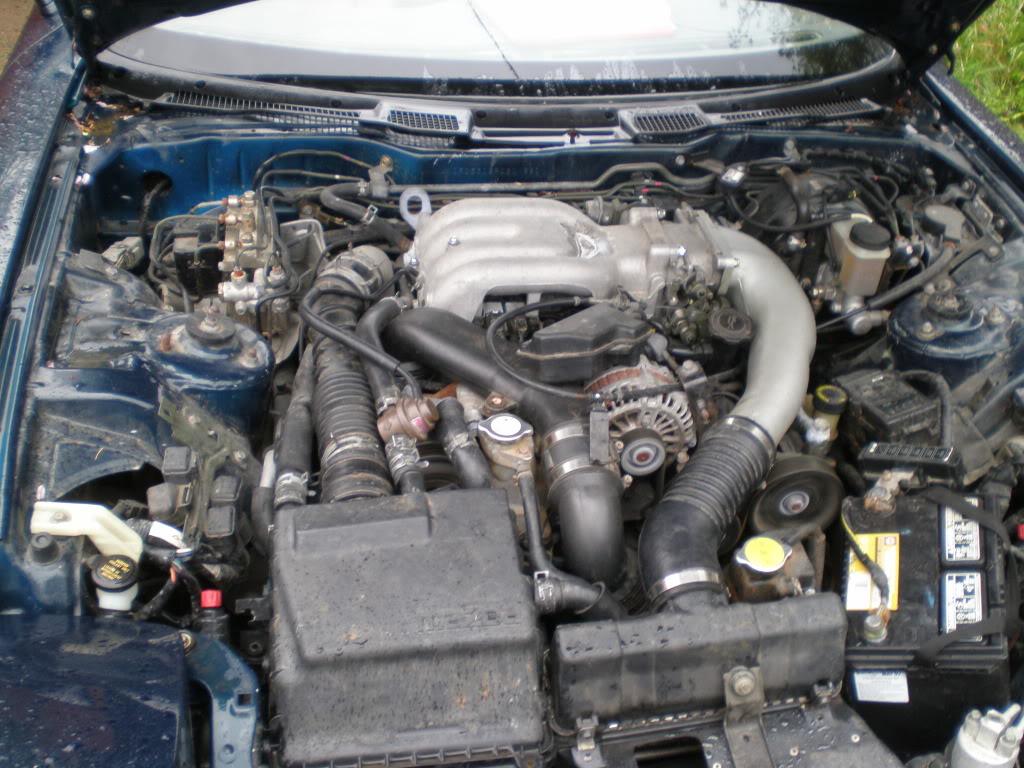
Engine shot
Heres the video i took of it trying to run

I love these gauges
front view
rear view
Interior needs work lol!
Engine shot
Heres the video i took of it trying to run
Reply
0
0
05-18-2009, 12:43 AM
#57
Elite Member
Thread Starter
iTrader: (7)
Join Date: Jan 2007
Location: Renton Washington
Posts: 1,731
Total Cats: 4
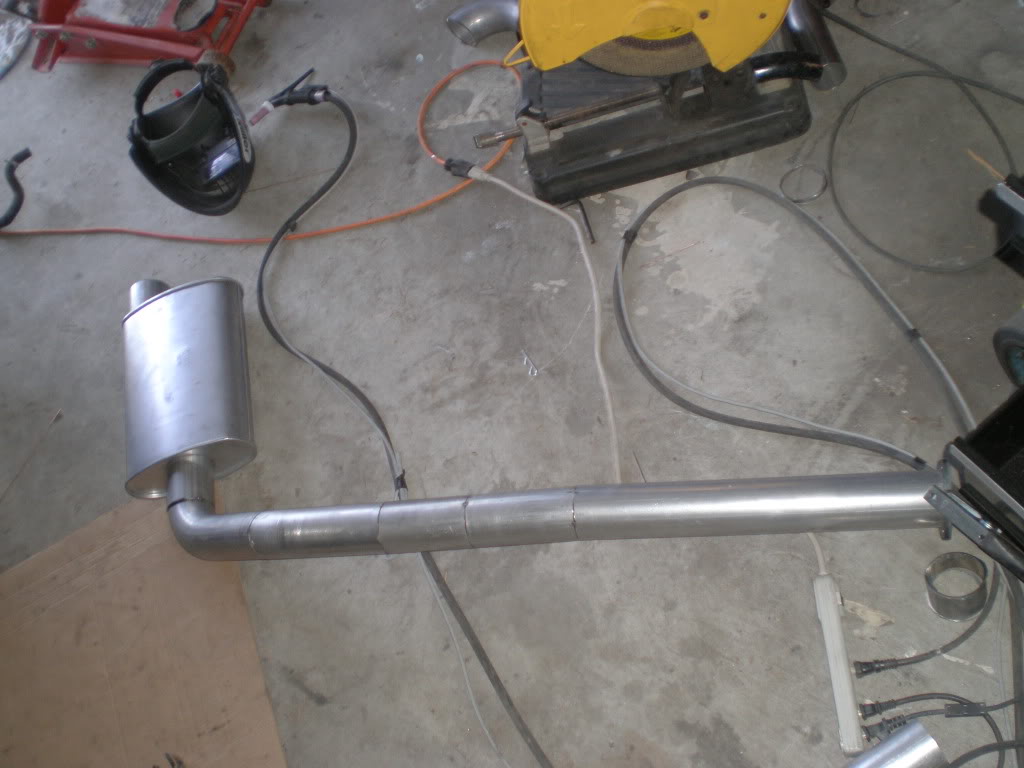
Plumbing is done!!! finished up 15 minuets ago. Made myself a PB & J while my photos uploaded.
Gettin the flange tacked on
Weld of the flange
another pic
another
Set my root opening for 1/32
2 pieces tacked on
3rd piece tacked on and marked

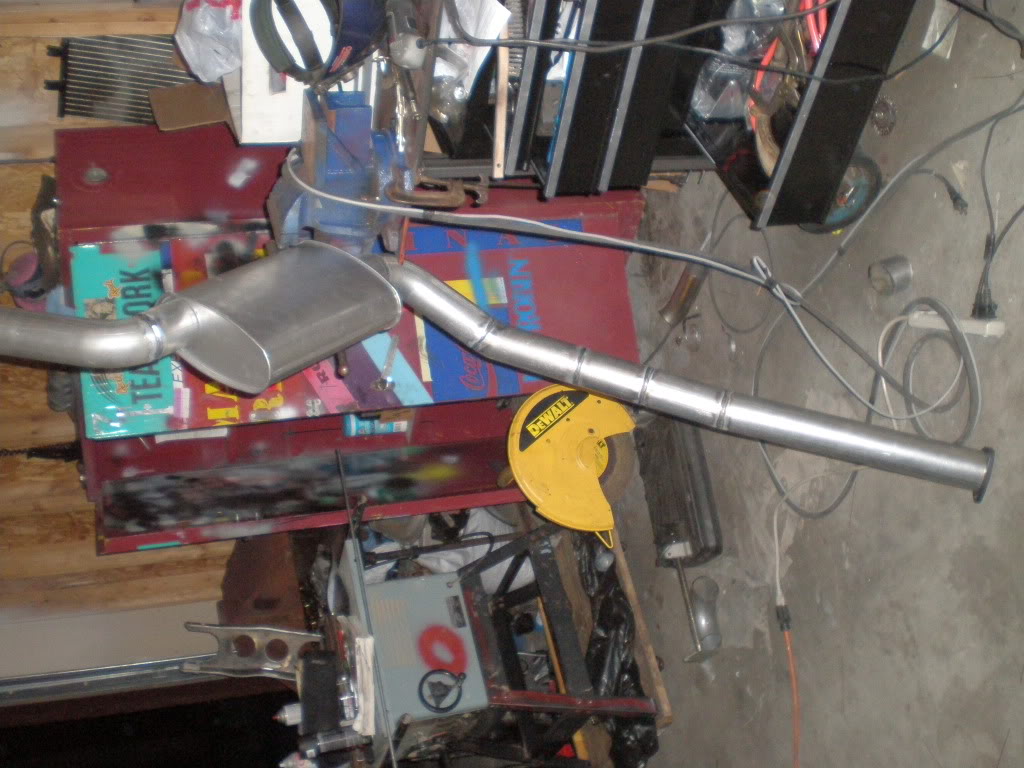
muff
Another view of the muff
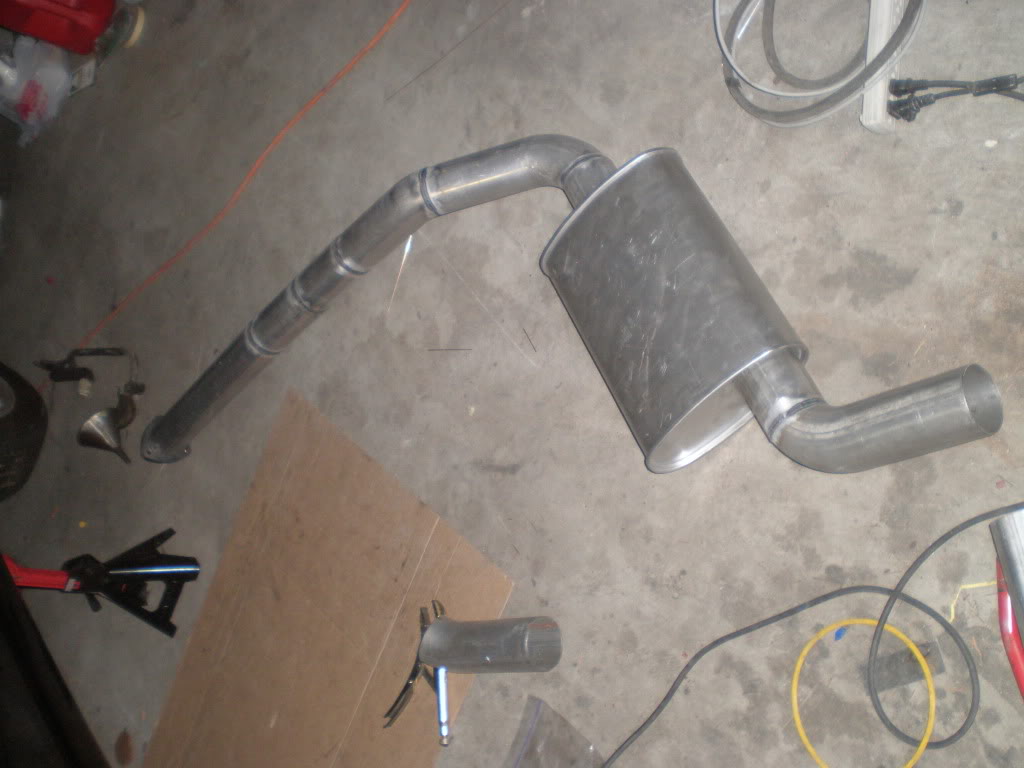
All of it tacked togethor WOOT finally
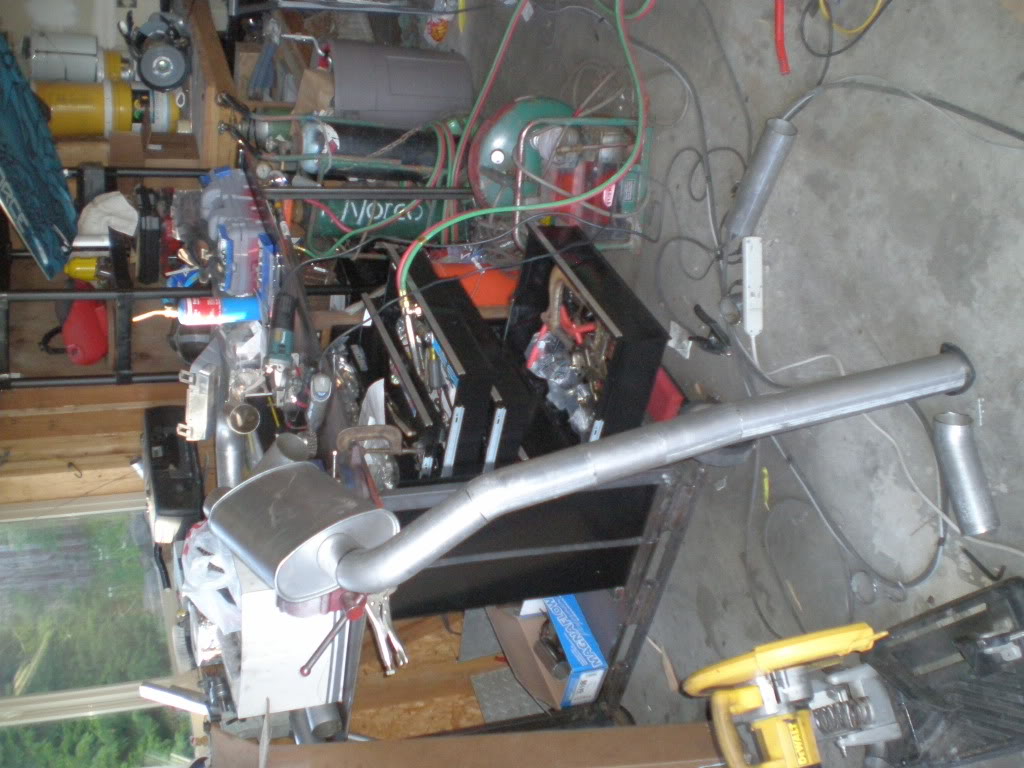
Under the rear
another rear shot
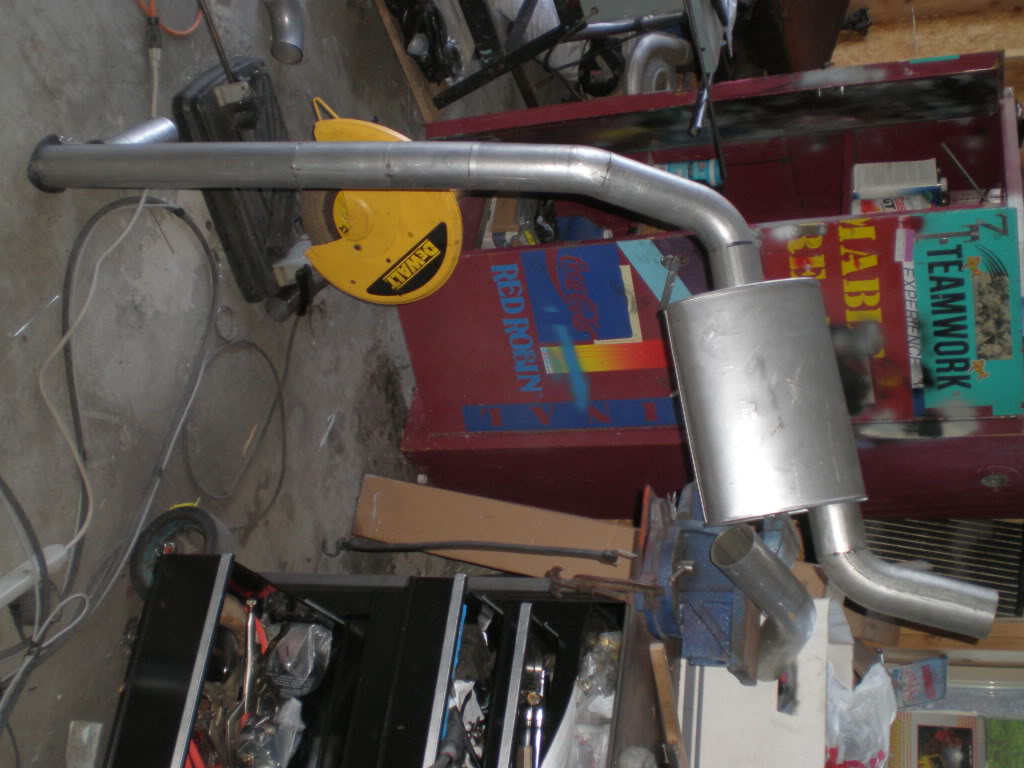
Heading up to the front
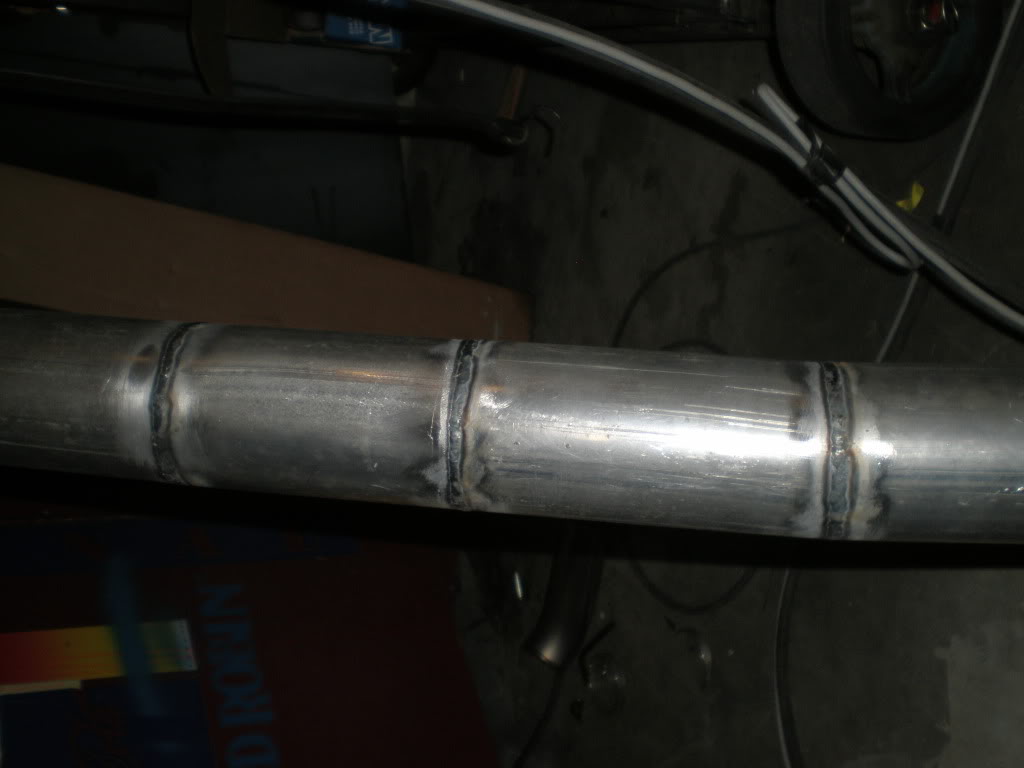
All welded up
Welds
Muff welds
some more welds

Thar she is
All thats left is getting the hangers made and then she is ready to rock!
Gettin the flange tacked on
Weld of the flange
another pic
another
Set my root opening for 1/32
2 pieces tacked on
3rd piece tacked on and marked
muff
Another view of the muff
All of it tacked togethor WOOT finally
Under the rear
another rear shot
Heading up to the front
All welded up
Welds
Muff welds
some more welds
Thar she is
All thats left is getting the hangers made and then she is ready to rock!
Reply
0
0


