When you click on links to various merchants on this site and make a purchase, this can result in this site earning a commission. Affiliate programs and affiliations include, but are not limited to, the eBay Partner Network.
Got a box in the mail just before heading to the the east coast for a week for work.
Status so far:
1990 trashed donor car $500
2015 LFX (Stock internals)
E39 ECU (HPTuners)
Originally built the car for ripping through the canyons of Colorado and it was a blast. Relocated to TX where the straights are LONG and every other car is a vette so now it is time to add some boost.
The LFX is great down low and a brilliantly balanced match for the miata chassis. I have driven several v8 miatas before and I would do the LFX over a v8 every time. My only complaint is that the LFX slacks off a bit on the top end which left me wanting the top end to be just as much fun as pulling out of a turn. Enter the need for boost...
First step was to get it dialed in on e85 which was pretty straightforward. Since the LFX is a relatively high compression motor, in stock trim, I wanted to get the e85 going so that knock retard was not my limiting factor once I introduced boost. Plenty of threads on how to do that out there but if you need a part number just PM me.
I really wanted to go SC but there is just no freakin room up there unless I pull a Passey and tube frame everything in front of the towers. I'd be willing to bet he goes that way on HyperMiata at some point so I will let him tread those waters far better than I ever could. I decided on the Comp Turbo Oil-less CT3693S-6265 with a .96 A/R. I researched this a TON which normally means I researched it SOOO much that I probably screwed up in my selection....always seem to happen that way, but such is life. Hopefully this combo will not be too restrictive on the bottom and come on at full boost around 4k. I didn't want to mess with oil lines and such so I figured I would give the oil-less a go. Rumor seems to indicate that the older oil-less units were not all that reliable but the 3.0s have been pretty solid and even among those really beating on them. Only time will tell the tale...
More to come and I know how much you all fiend for pics so more of those to come as well once I get back home and get the project rolling.
Oh yea... Also moving to 245/40 r15s and adding a CCP Fab fastback because I enjoy embarrassing corvettes and confusing people. ;-)
It does when someone runs the wrong turbo or bad management like bandaids.
Glad you said that sixshooter. I'm not much on documenting my projects because there are many folks that are much smarter than I am out there that are better suited to be followed, but I think this will be a possible desire from people that do the LFX swap. The bottom end is just sooooo damn good it leaves you wanting more of the same up top.
My goal is to find a turbo that spools later and gives me the best of both worlds. Who knows if I will achieve that goal but I plan to share what I learn along the way.
I should also add that this is the first time I have ever taken a NA motor to FI so this build will probably get sideways LONG before the car does under boost.
Like ... patching a bad Begi ecu reflash with a aem piggyback on my MSM
+
expecting it to make lots of power and having oem drivability
yea
I'm guilty of that loll boii I was delusional
--------
Btw OP I subbed to your build , it's not a setup I'm looking forward to do , but I like looking at this kinds of build
Funny how crazy has a way of getting attention.... LOL. I'm not much for attention so I doubt I will do my level of crazy here any justice.
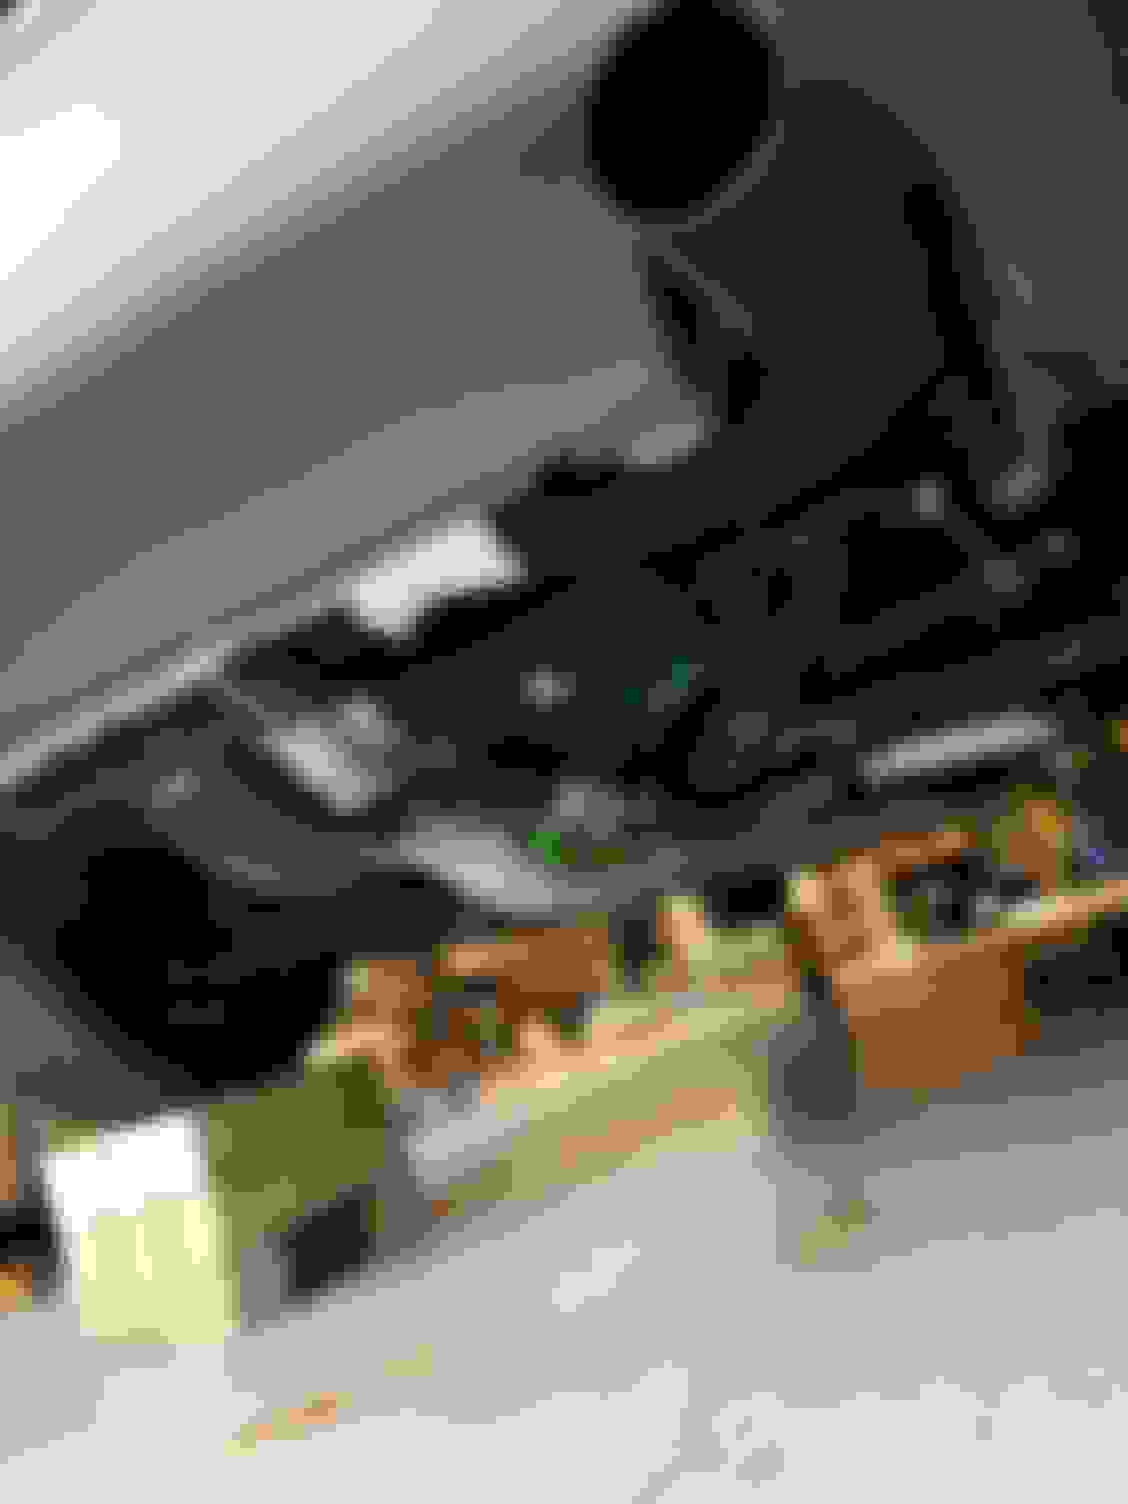
I got the fastback in over the weekend so I am currently trying to get it ready for paint. As you can see from the mess I have going on...most all of the turbo parts are in so I will get started very soon.
As far as the fastback goes, Paul at CCP Fab obviously does great work. I know the look is not for everyone, but if you like it you can not go wrong with CCPs craftsmanship. Looks like it will just require a bit of tweaking in the trunk lip, and a bit of sanding to even out the gap lines to make it a perfect fit.
If anyone is interested in some detail on fitting the fastback, let me know and I will do a bit more documentation on it than I had planned to do.
First test drive around the block taking it VERY easy since there is much tuning to be done still. I can already tell though that street tuning is NOT going to be an option!
More to come for sure.... I just wanted to let the cat out of the bag that it is done and it is a remote mount so folks can start getting their hate comments prepared. LOL I had to get pretty creative on this phase but I just barely got into the boost and I can already tell it was worth it! Need to rent some dyno time but I have a competition this weekend so it may not be until next weekend before I can really see what we are looking at.
I have it on wastegate pressure alone for now (7psi spring) and the first log log shows it was already at 3psi @ 2997 and rising. I will for sure need to push that out with the boost controller to reach my original goal but I am learning as I go. The good part is that my AFRs were looking pretty good already with my SWAG values. I am thinking that I may run out of fuel but I already have a plan if that proves to be true.
The overkill supercharger setup that is good for about 450whp only needs an upgraded fuel pump and one stage colder plugs. Injectors are good to go since they are already set up for the higher flow rate of E85. If you go to a DW300 series pump that should be fine unless you are chasing crazy power numbers.
The overkill supercharger setup that is good for about 450whp only needs an upgraded fuel pump and one stage colder plugs. Injectors are good to go since they are already set up for the higher flow rate of E85. If you go to a DW300 series pump that should be fine unless you are chasing crazy power numbers.
I am currently running the DW 255 fuel pump so I will see how far it takes me. For now I am thinking I will end up close to 500 wheel. Depending on how this does at the track once I get it dialed in I may build another motor with LF4 internals and really see what I can break.
For the IC I used this one. I probably could have gone a bit bigger but so far my IATs have been WAY cooler than they ever were NA with my filter under the hood. The best thing I ever did for the LFX prior to this upgrade was to relocate the filter in front of the radiator.
I'll put some documentation together with photos this weekend to give you all a better idea of what was done so far. I have a TON to learn on how to safely tune a FI car so the progress from here may be a little slow.... I love the research and R&D as much as I love the going fast part so I'm not going to rush it.
Last thing to do is add a muffler and tailpipe and man does this thing need a muffler!!! Only problem is I have no room to wind it to the factory tailpipe cutout so I'm thinking about putting it out behind the rear tire. The empty cutout is going to drive me crazy though if I do that so I need to think about it a bit more...
Huge props for going into uncharted territory with this, I've only seen shop installed turbo LFX setups. How much $$$ do you think you have into the turbo kit?
I hate you btw... you are gonna end up making me do this on my car.
What 245's do you plan on getting? I ended up going to RC1's but haven't had a chance to test them yet.
OK....
Finally getting a chance to document a bit of the build phase. I only plan to stick to the hi-lights on the fab work because the goal of this thread was to really focus on the performance of the LFX and to see if I could achieve my original goal of improving the top end of the LFX.
I will walk my way though the fab process from the exhaust to the intake and please let me know if any of you would like any additional details, photos or part numbers.....
I used 2.25" tubing from the downpipes to a merge to a single 3" tube with a v band just after the diff. I put a single flex joint from Treadstone on one of the 2.25 lines to allow the exhaust to settle without making the v bands leak. I am just going to state once for the record that I really hate v bands...
I used this v band to T4 flange to mate the exhaust to the turbo.
I ended up going with the Comp Turbo Oil-less CT3693S-6265 with a .96 A/R. Not sure if the oil-less was the way to go but it made the install pretty "easy" since I didn't need to mess with oil lines, scavenger pump, etc...etc.. This turbo does require water lines though to prolong the life of the unicorn grease they use in the turbo. I just simply tied into my heater core lines and ran a supply and return line to the turbo. Couple of -10 fitting and I was done with the turbo and hot-side of things. I also used this wastegate.
I used 2.5" alu tubing and various silicone bends to make the run back to the front of the car.
I could not find a path I was happy with inside the frame rails so I decided to run the pipe on the outside of the frame rails on the passenger side. I was not excited about having soft alu hanging down below the frame rails so I decided to make that section out of 2.5" oval stainless tubing like this. They only sell it in 18" lengths so I just bought 3 and welded them together. Welded on a few mounting brackets and mounted it to the car.
I was originally thinking the route through the front suspension was going to be a pain but it turned out to be a piece of cake.
Ended up using this inter cooler. I could have fit a larger unit but my intake temps have been amazing so far so I see no need to take up the room and add the weight at this point.
There is just barely enough room to route the line back up to the intake and I decided to put the BOV in that section. I am not happy with some of the clearances in that section of the tubing but I will work on those as time permits. For now everything is in a location that should not cause any issues.
Made a little panel to cover up the hole and keep air moving where it should.
I laid under the car for a long time and though long and hard about the tailpipe situation. After several pie cuts and what felt like miles of TIG beads I was able to get the tailpipe out the original spot in the bumper!
I decided to control the wastegate with the Innovate SCG-1. The install of the gauge, solenoid and MAP sensor were all straight forward but happy to answer any questions if you would like to know more. MAP was mounted under the dash and solenoid was mounted in the trunk. Also added a few check valves to the catch can setup to keep from pressurizing the crankcase and hopefully provide it with plenty of vacuum in and out of boost.
I built a little cap and section of tubing to pressure test the entire charge side. I hit it with 25psi, more that I will ever throw at it, and found one leaking coupler and a pin hole leak in the oval tubing. Welded up the hole and tightened the clamp and buttoned it all back up.
The initial startup was pretty nerve racking for me. This is my first time to turbo a car and I am still learning how to tune. I have come a long way but tuning the LFX is a nightmare! It didn't want to idle at all but after tweaking the VVE tables a bit I was able to get it to idle pretty well in open loop mode.
Did a few laps around the block and stayed CLEAR of any boost to get some low end data from the mass airflow sensor to get started tuning the closed loop side of things. I got it pretty well dialed in and then added a fair amount of fuel across the board to keep it safe for adding a bit of boost. Pulled into the garage and put her up in the air to double check everything.
I disable the boost controller to keep it on wastegate spring pressure alone and made a short run in 4th gear allowing the car to just get into boost slowly. AFRs looked good but I was seeing a bit of knock retard in a few spots. I dialed the timing back a few degrees in a few spots and repeated the process a few more times until I was not seeing and KR spikes in the logs.
After feeling like I had things relatively safe to do a full boost test I scooted around the corner to my favorite long straight(ish) stretch of road. Reset my logs and checked everything one more time and set the SCG-1 to record peak boost....
I gently got the car up to 4th gear and took a quick glance over to make sure I was recording and rolled into the throttle...... HOOOOOO LEEEEEE ****!!!
I backed out of the throttle at 6,400 RPM just to give my brain a chance to catch up. Looked down and it showed 5.1 psi of boost was achieved before redline. I pulled over to have a look at the logs just to make sure my AFRs were not going lean anywhere and we didn't have any detonation being detected. All looked good. I made another run and let it hit redline this time. Same 5.1 so it looks like the WG is able to maintain steady boost.
I turned the SCG-1 controller back on and started to set up the desired duty cycle and safety values to prevent lean conditions and over boost. Made a few more passes and stopped at 6psi for now.
I can say..without a doubt... that I have already achieved my goal. The car pulls just as hard as it did before on the bottom end and gets downright scary on the top end!
After several hard runs back to back I headed home to closely look at the logs and get the car back up in the air again to verify nothing was rubbing or coming loose.
Logs show the Intake temps are only 3-5 deg over outside temp and the AFRs stay at a solid and safe .83 lambda in PE mode.
Next steps are to get some dyno time to see what we have done overall power wise but I will be surprised if it is not doing 450ish at the wheels with a very safe 6psi. If I stopped right now I would be happy but we ALL know I won't be doing any such thing. ;-)
More to come once I finally get her to the track in the coming weeks.....
oh yea... of course I have a small leak in a v band I need to resolve. Did I mention I hate v bands?


 5
5


 boii I was delusional