
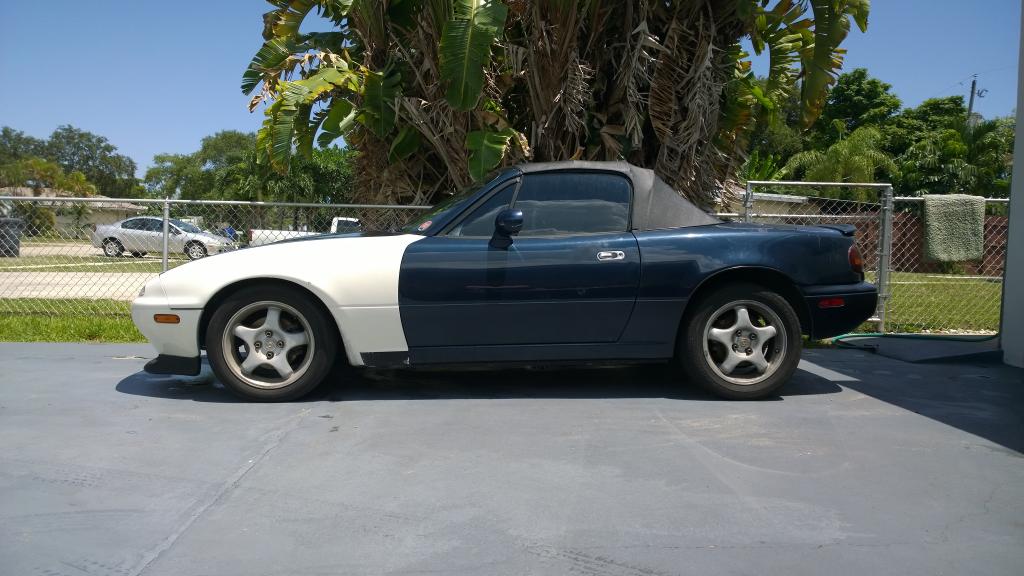
In-Too-Depp Turbo Build


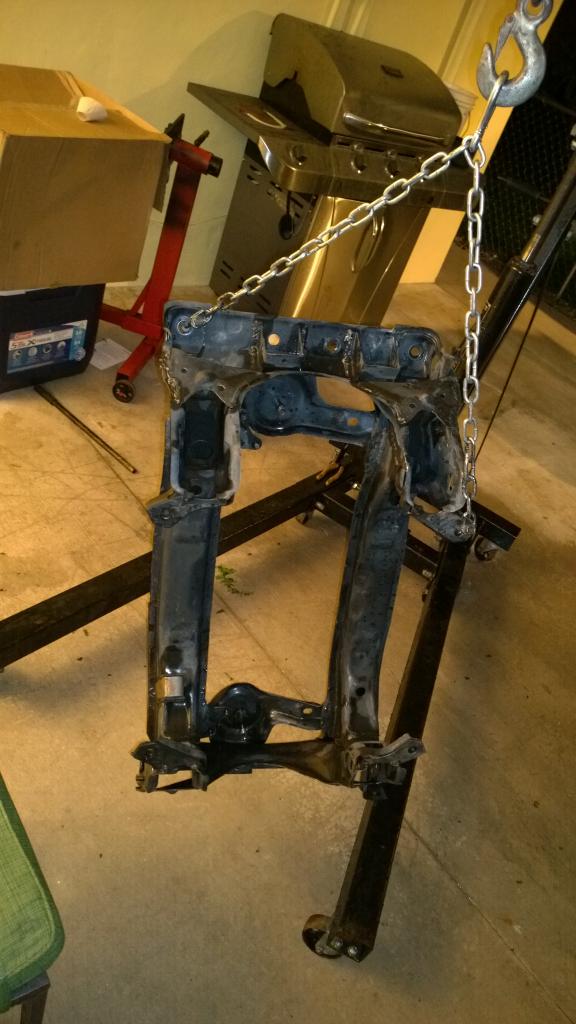
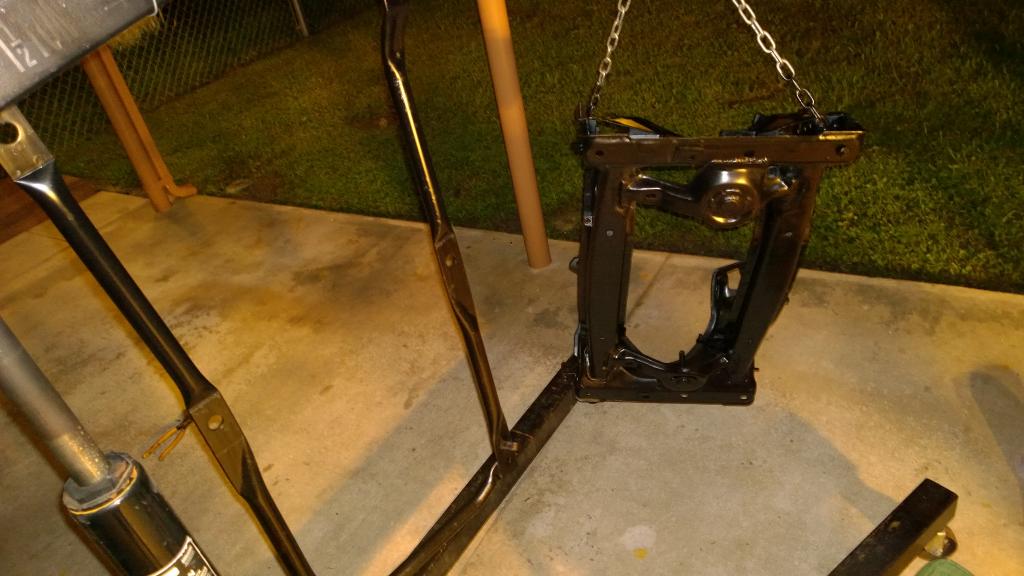
preparing to disassemble rear subframe
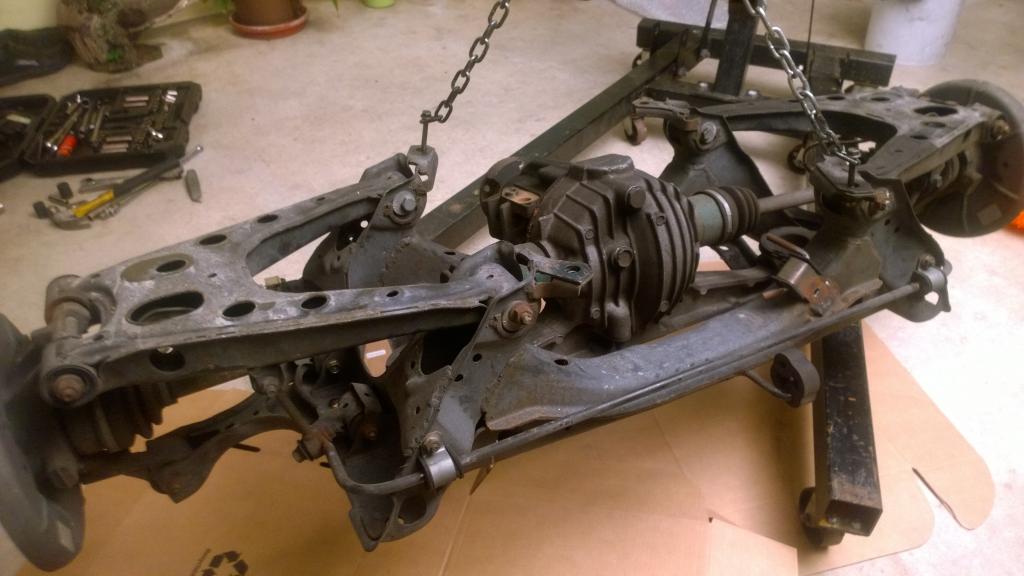
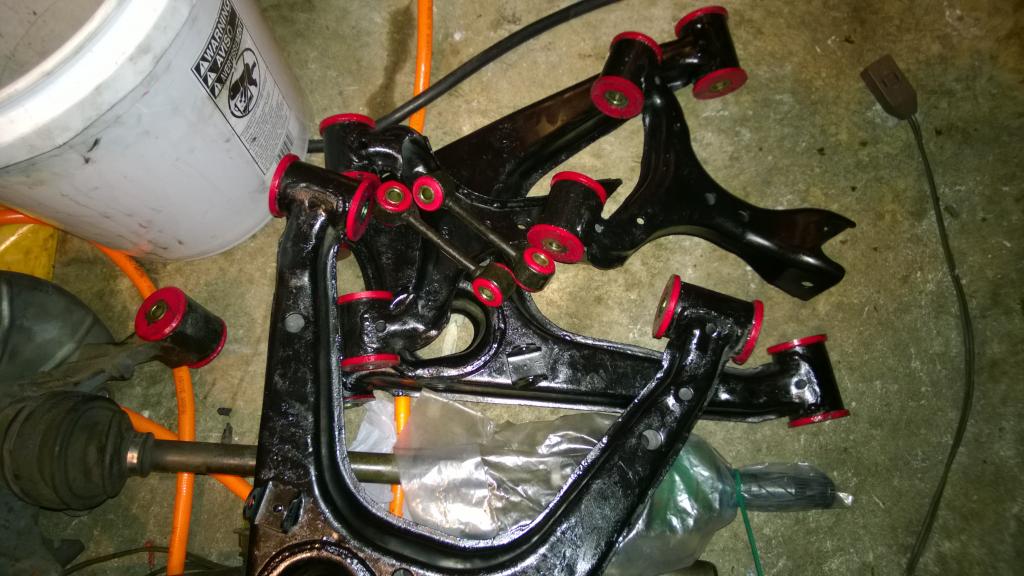
arms off
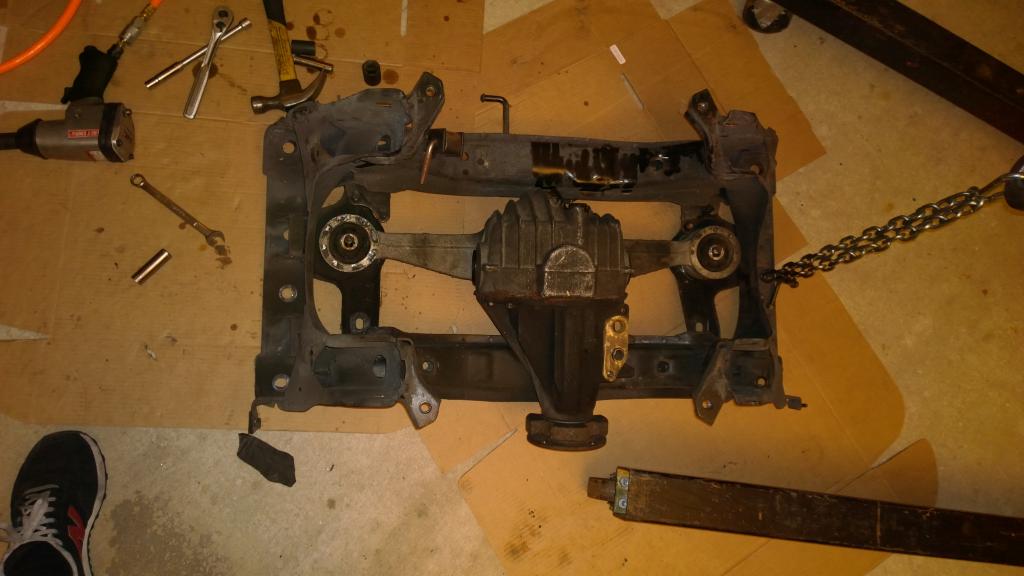
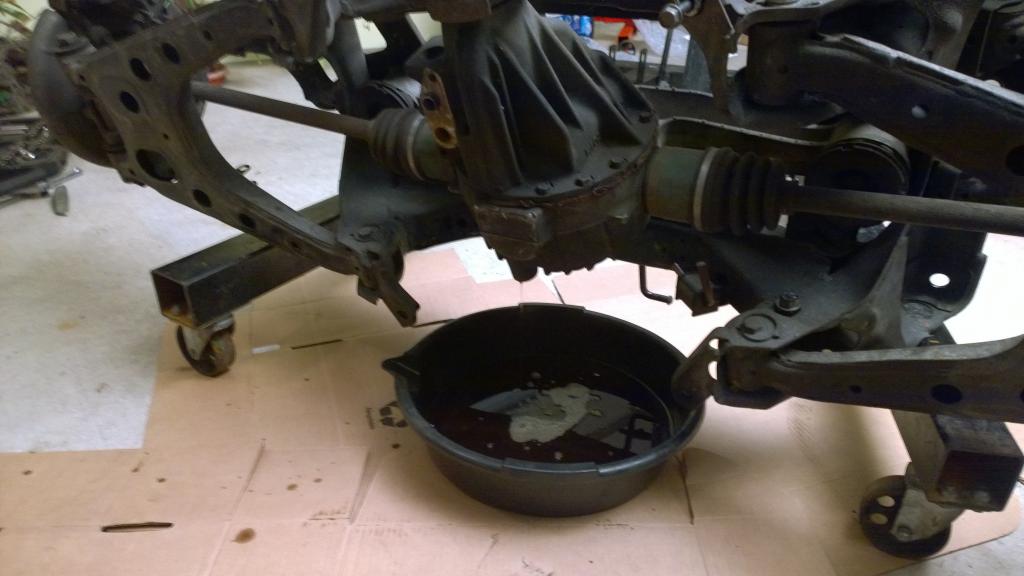
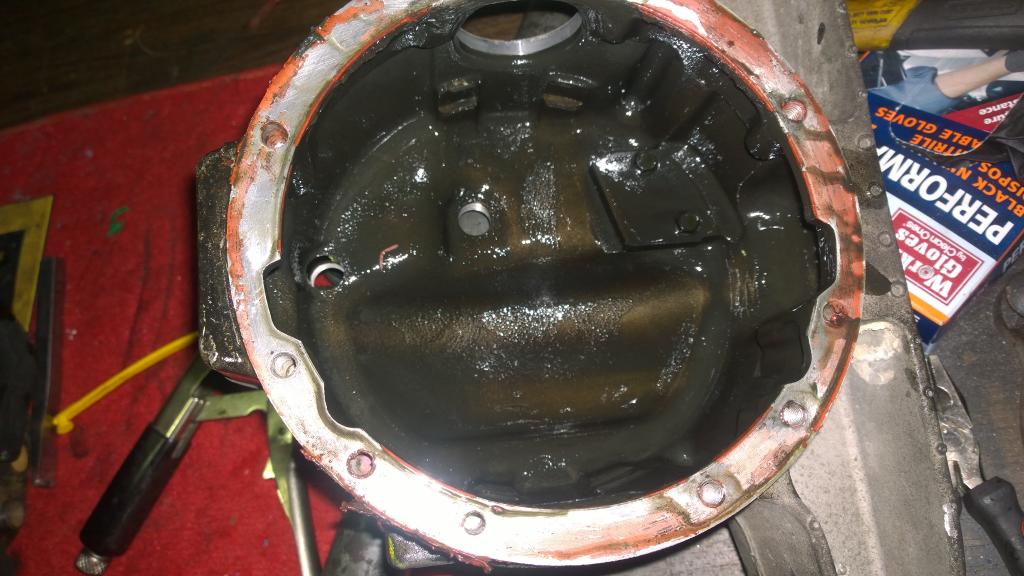
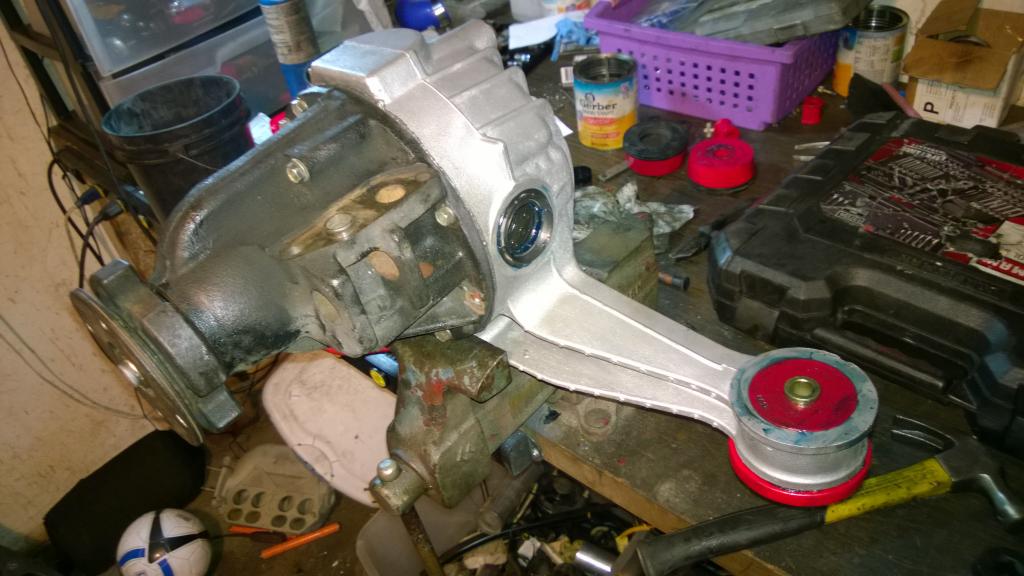
diff disassemble
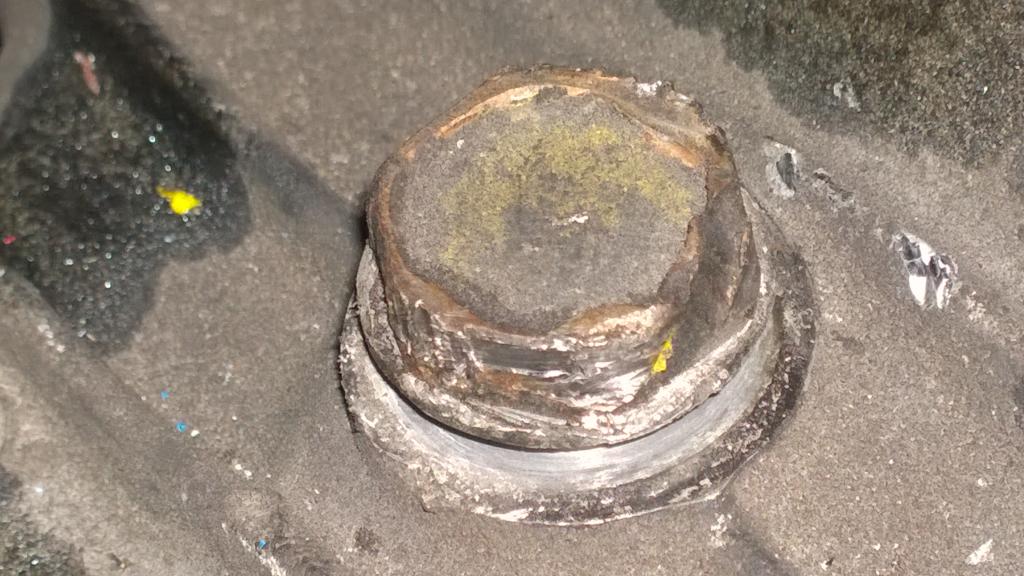
fucke dup bolt :/
eeeww
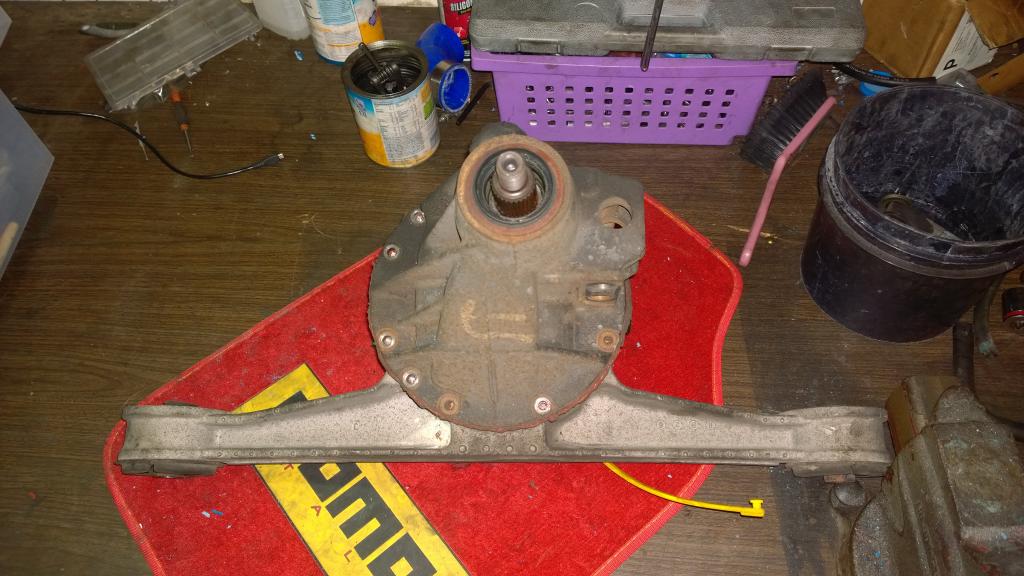
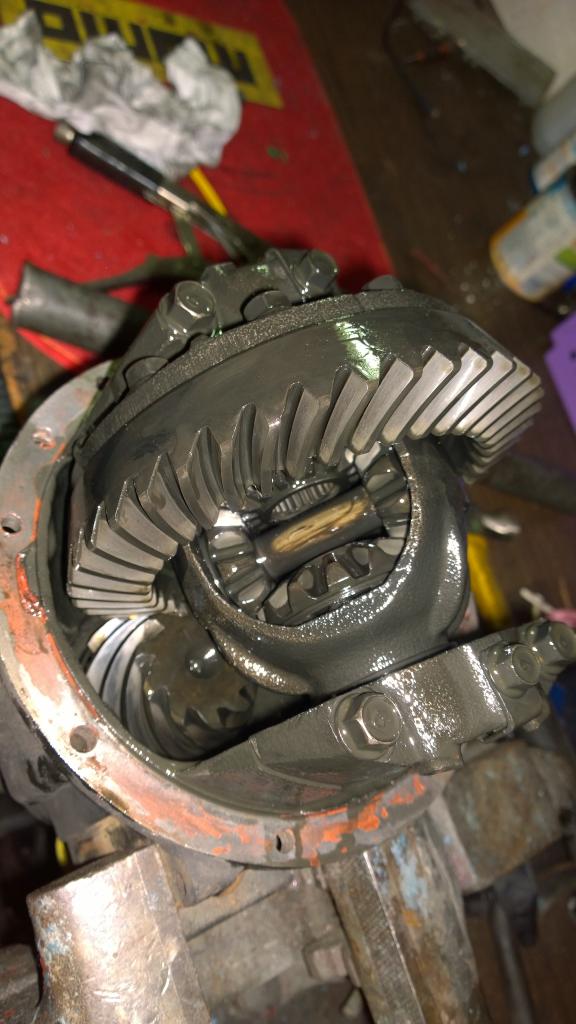
open diff for the L...oh well..it'll be upgraded eventually.
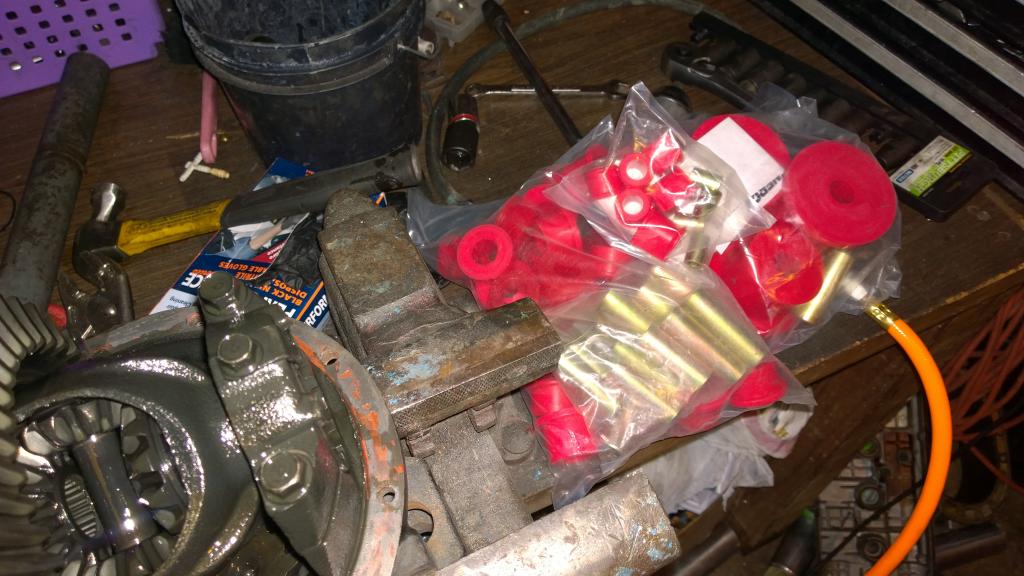
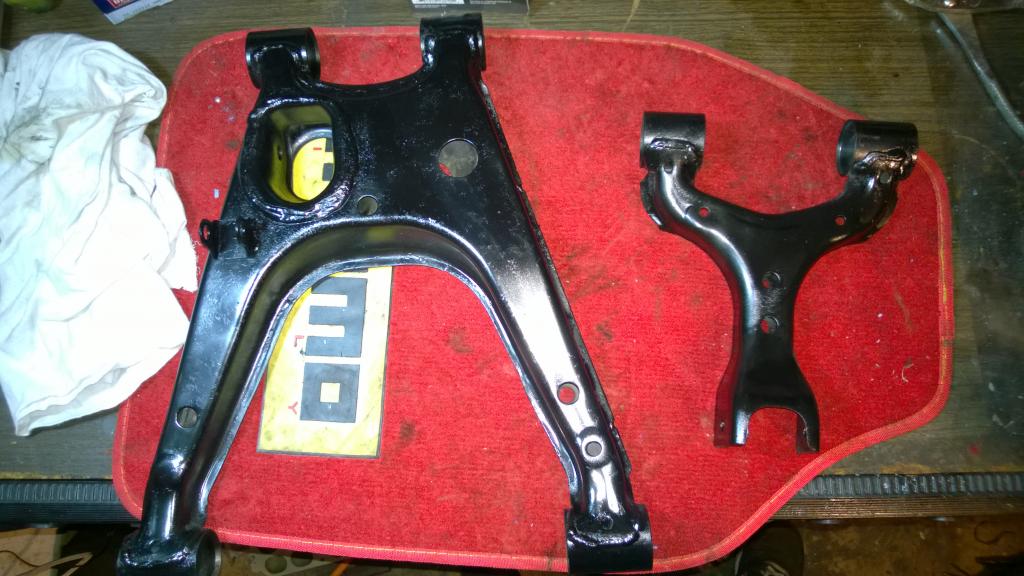
energy suspension bushings to be installed after paint
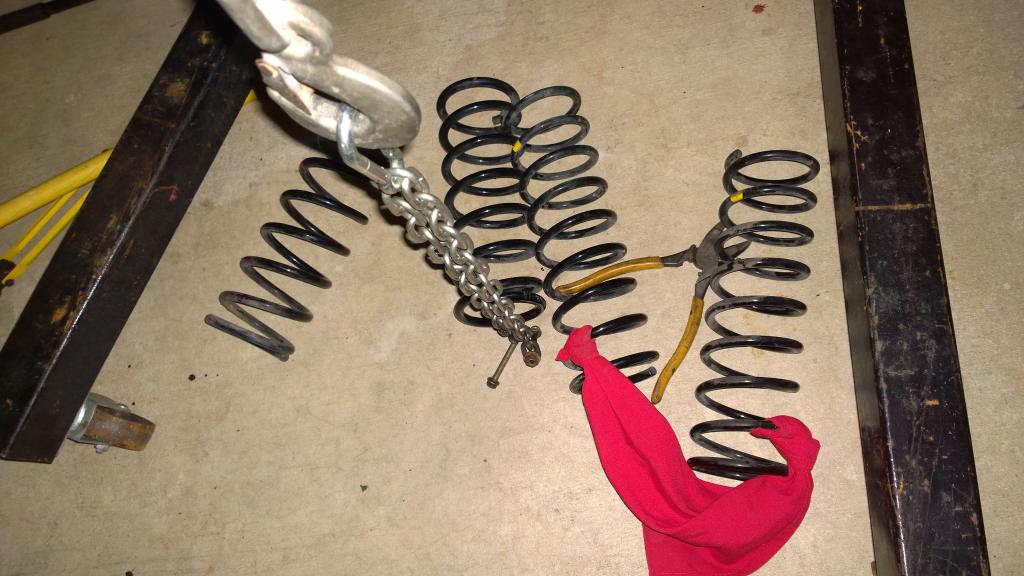
stock springs for miata, opted to install these instead of the fail ebay sleeves
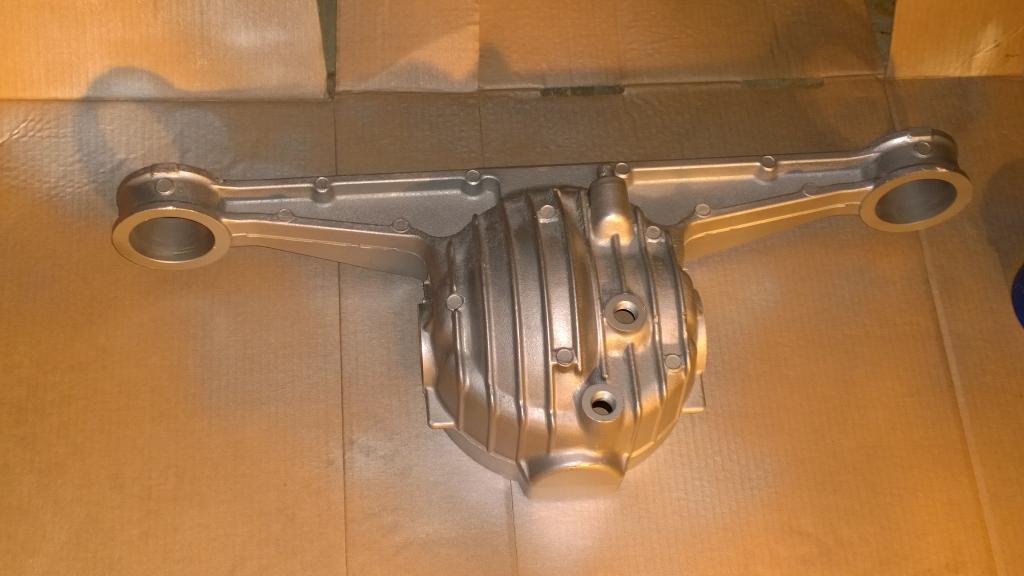
after washing, ready for paint

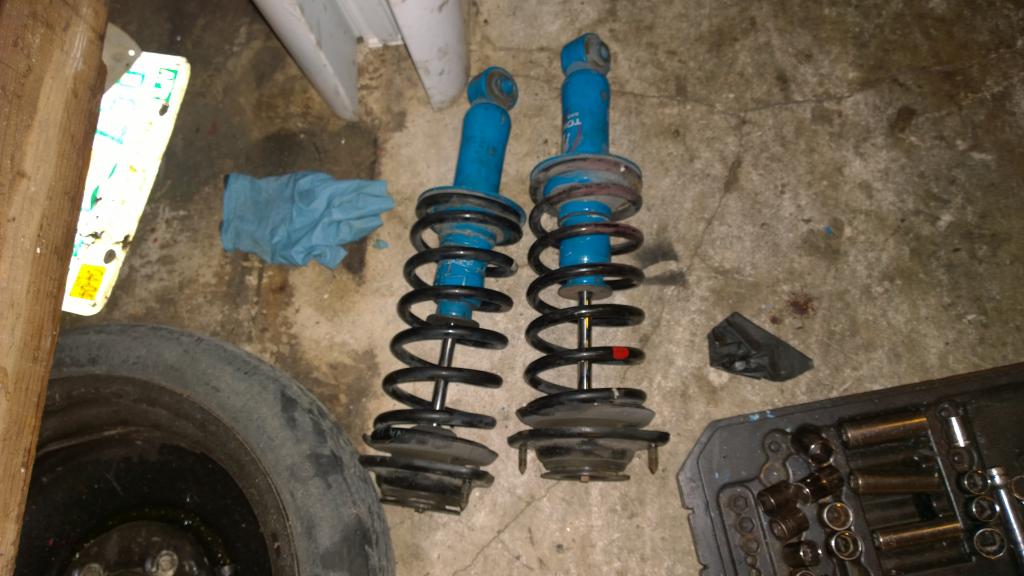
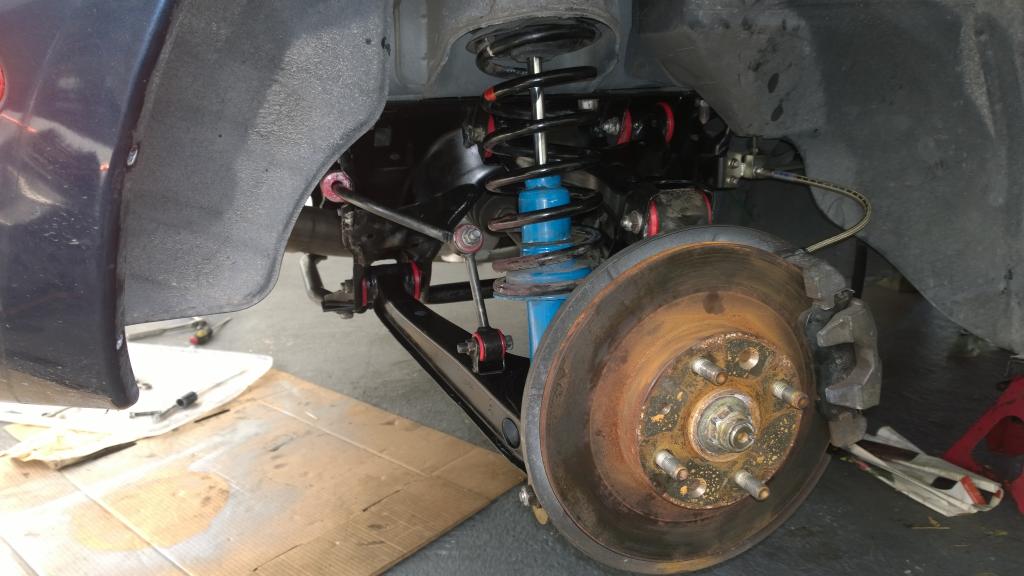
rear struts done with NA springs
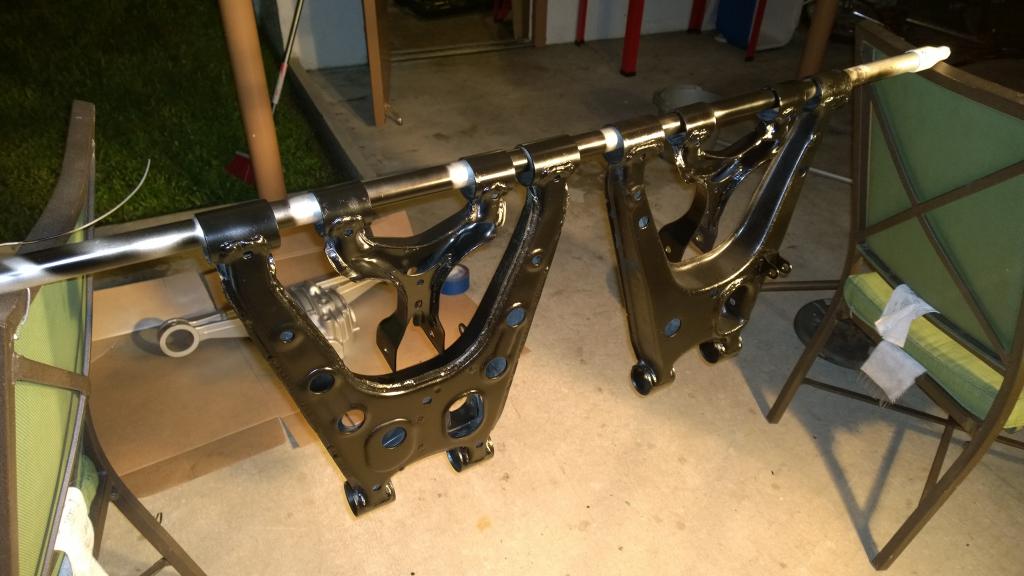


arms off

diff disassemble

fucke dup bolt :/

eeeww

open diff for the L...oh well..it'll be upgraded eventually.

energy suspension bushings to be installed after paint

stock springs for miata, opted to install these instead of the fail ebay sleeves

after washing, ready for paint


rear struts done with NA springs


Reply
 0
0

0
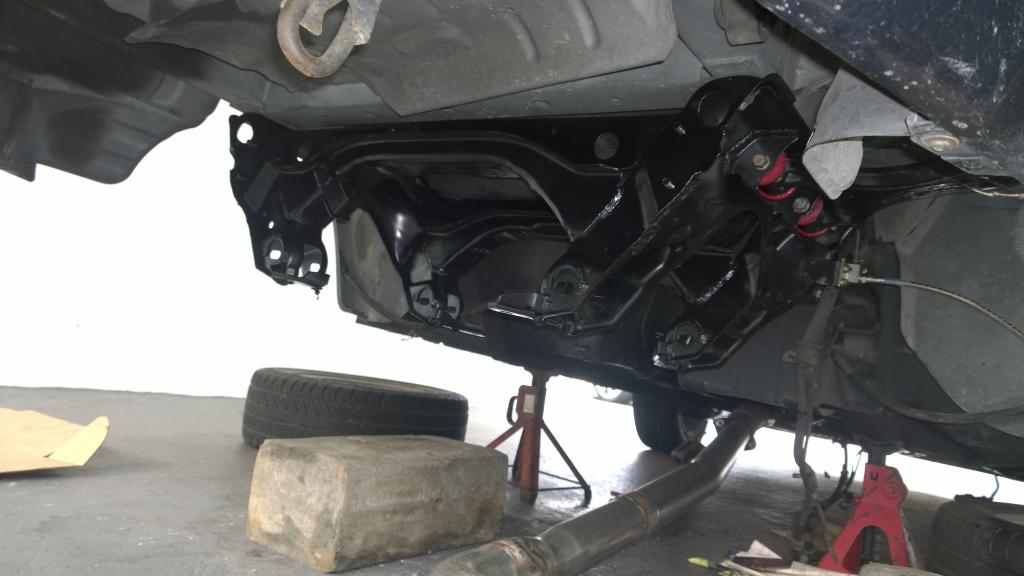
started work on the rear subframe
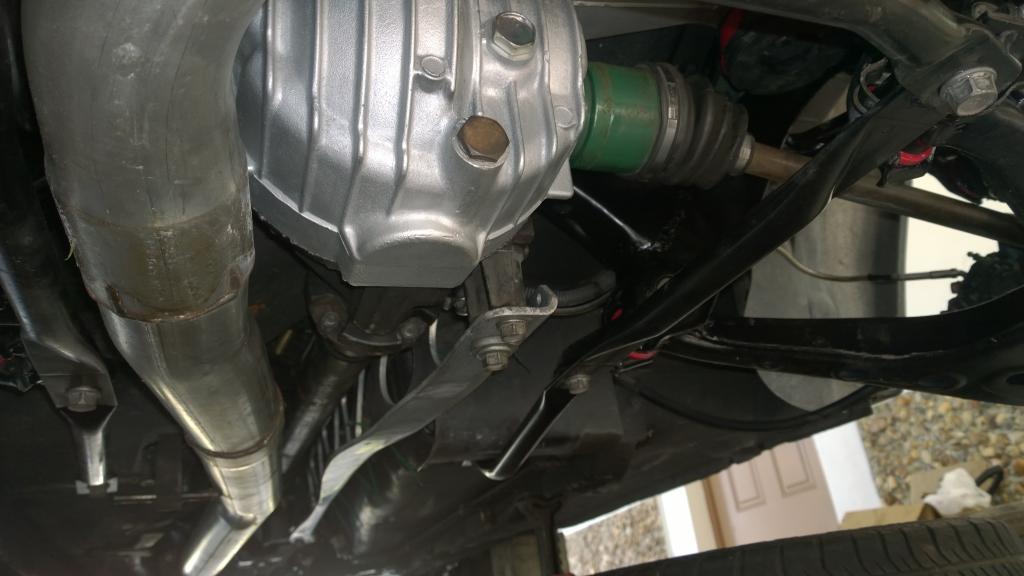
assembled the diff
removing the old bushings was a lot harded than putting in the new ones
all bushings all done
next, subframe in the car
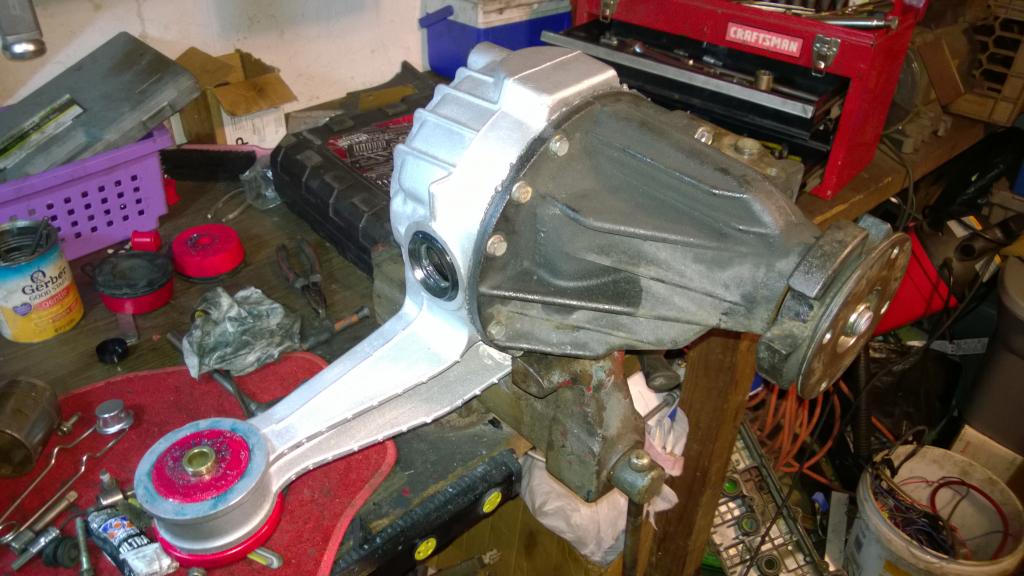
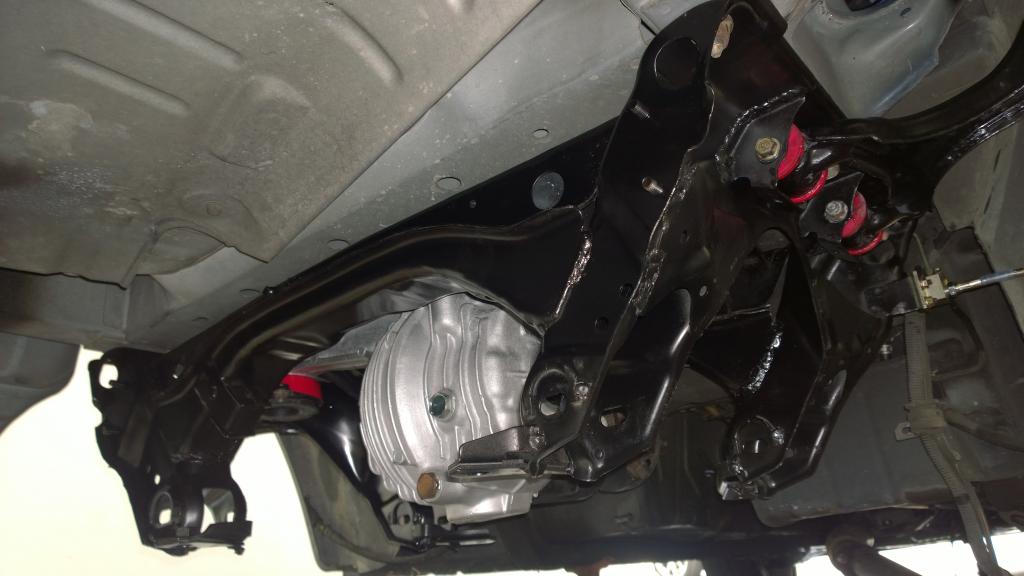
i decided to install this by pieces. i installed the RUCA to the subframe becaus ei figured it would be easier than doing it with it on the car, then it didn't add that much weight anyways. i did this all by myself, so making it light for me to be able to lift it was a must
i then installed the diff, again..this thing weight about 50 lbs or so...
fully assembled

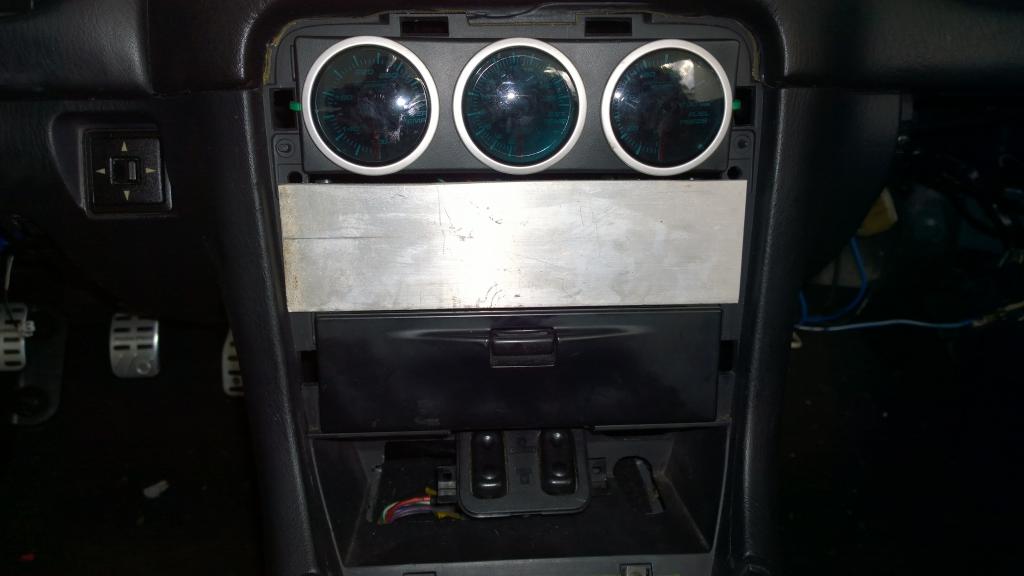
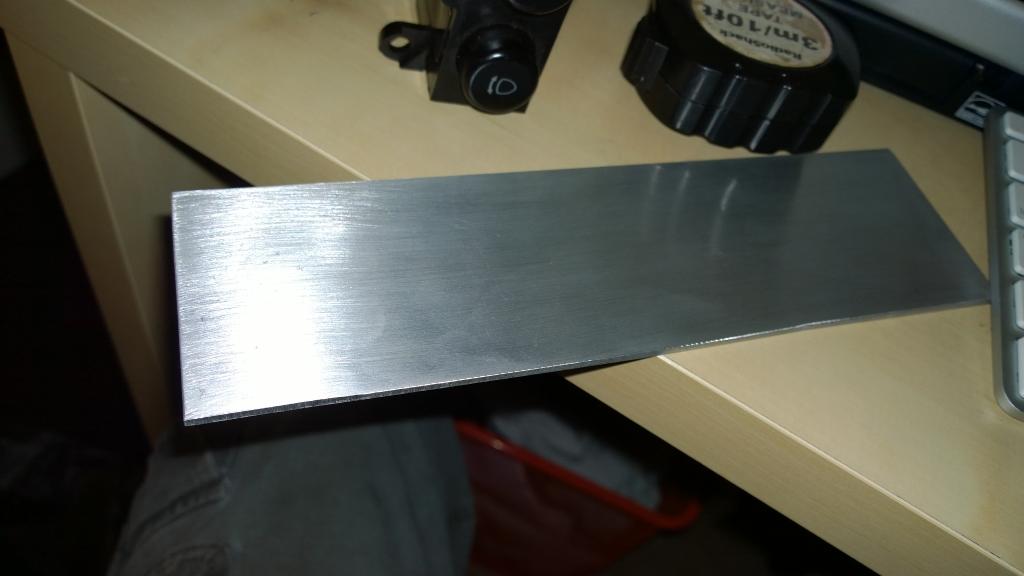
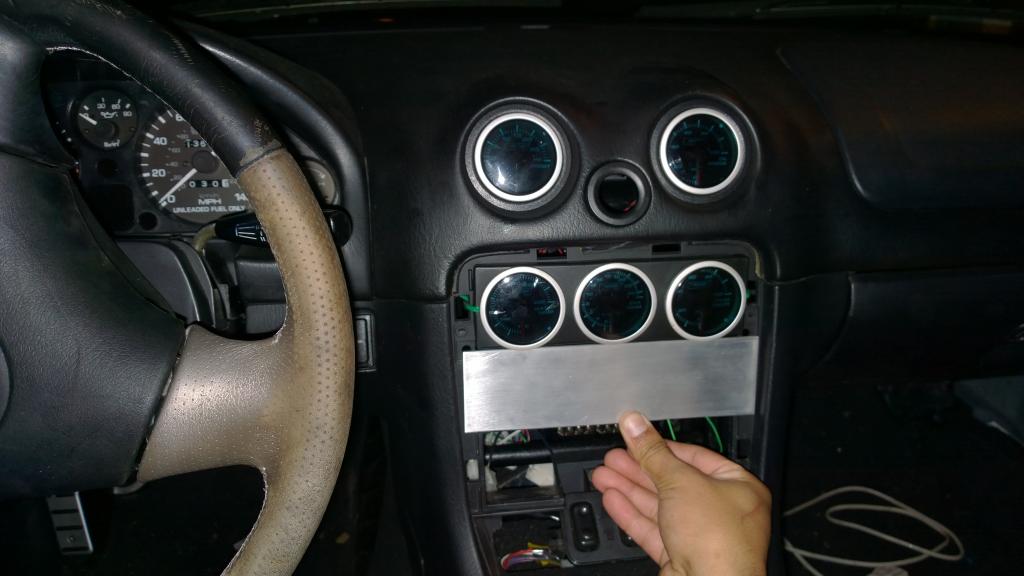
installed protege steering wheel, i still need to restore it but it'll work for now

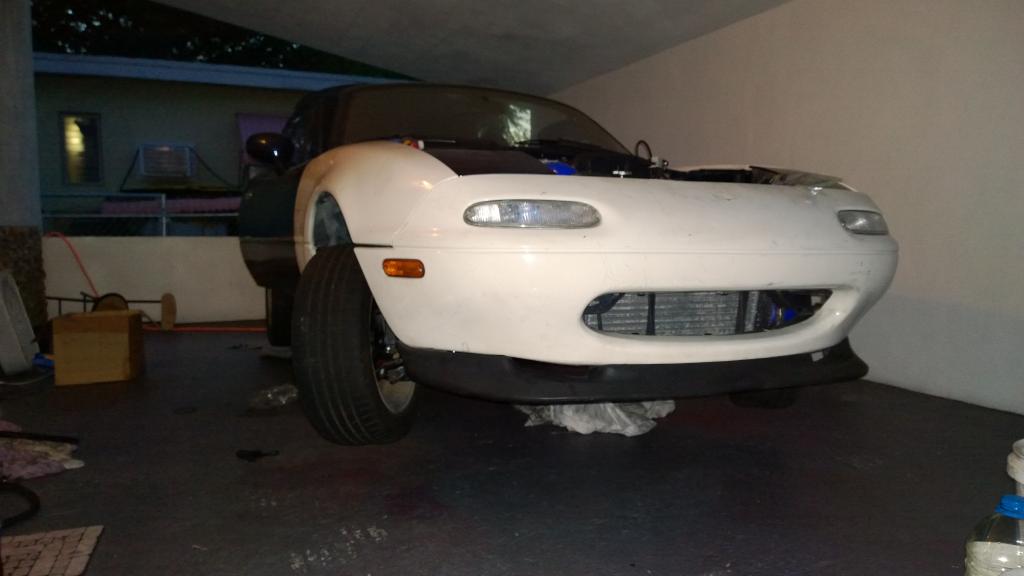
car sits higher in the rear because well.. i failed.
when assembling the struts, i installed the rear springs in the front and vice versa...******* fail i know but i rusehd it...i'll have to deal with that later...at least before the alignment.

assembled the diff


removing the old bushings was a lot harded than putting in the new ones
all bushings all done

next, subframe in the car
i decided to install this by pieces. i installed the RUCA to the subframe becaus ei figured it would be easier than doing it with it on the car, then it didn't add that much weight anyways. i did this all by myself, so making it light for me to be able to lift it was a must

i then installed the diff, again..this thing weight about 50 lbs or so...

fully assembled


installed protege steering wheel, i still need to restore it but it'll work for now


car sits higher in the rear because well.. i failed.
when assembling the struts, i installed the rear springs in the front and vice versa...******* fail i know but i rusehd it...i'll have to deal with that later...at least before the alignment.
Reply
1
1
some mor eupdates
had a nasty lifter clank sound ..it sounded like freaking rod knock...but it wasnt
this made me go back and remove all lifters and really give them a clean
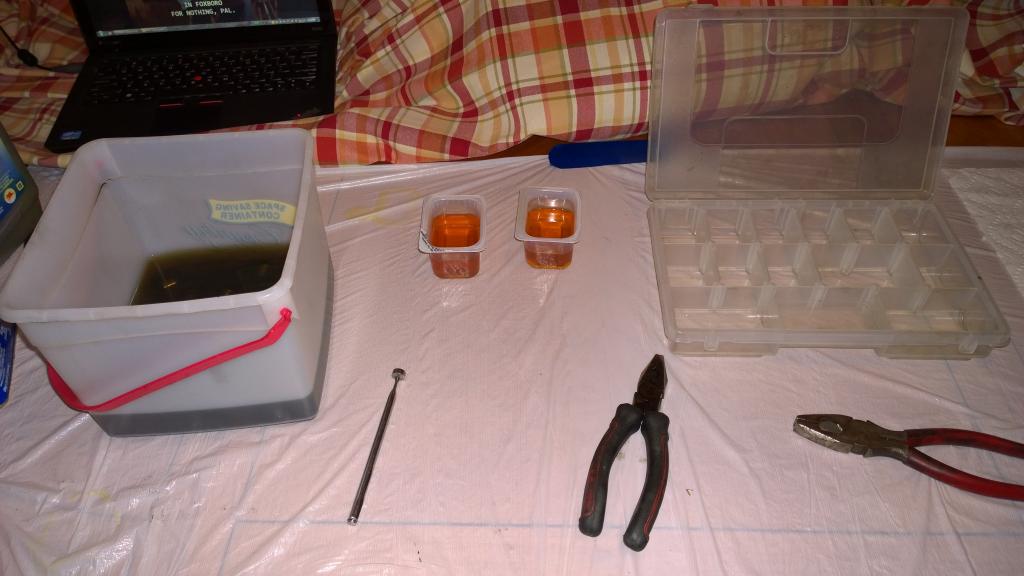
setting up my workbench for lifter cleaning
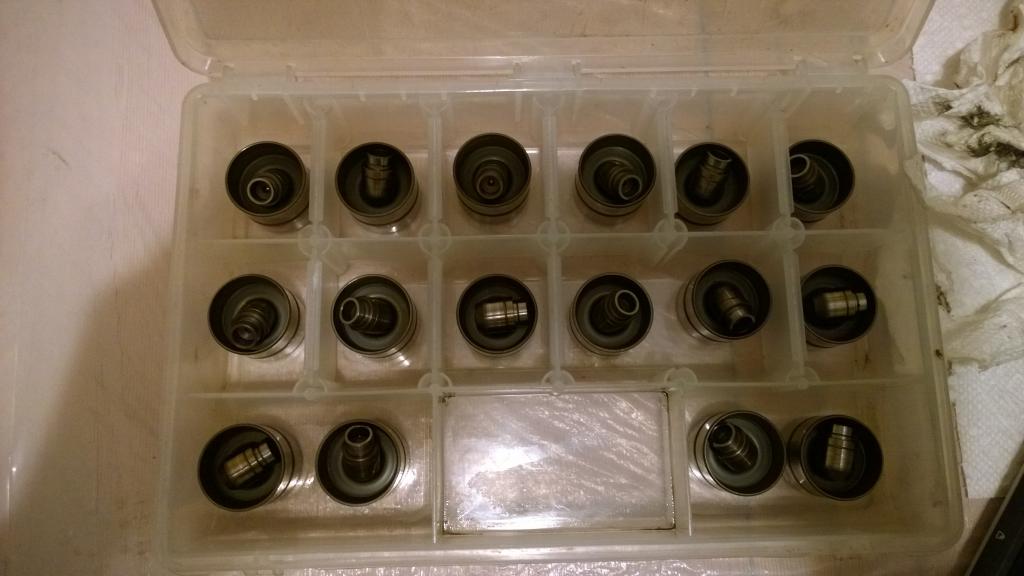
all lifters cleaned
then oiled them and replaced them
engine started right up, with slight noise. then it got betetr to the point you cna't hear any lifter noise whatsoever
first crank
30 minute and drive around the block
that was exciting!
first oil change (after 50 minutes of running time..) just to get ne woil.
used rotella T for break in.
trying to get some ideas for intake positioning..but may end up doing filter on turbo
first drive to put gas. fille dup the tank on 40$ for the first time sinc ei've owned it 1 1/2 years.
19 whooping milesx on the break in

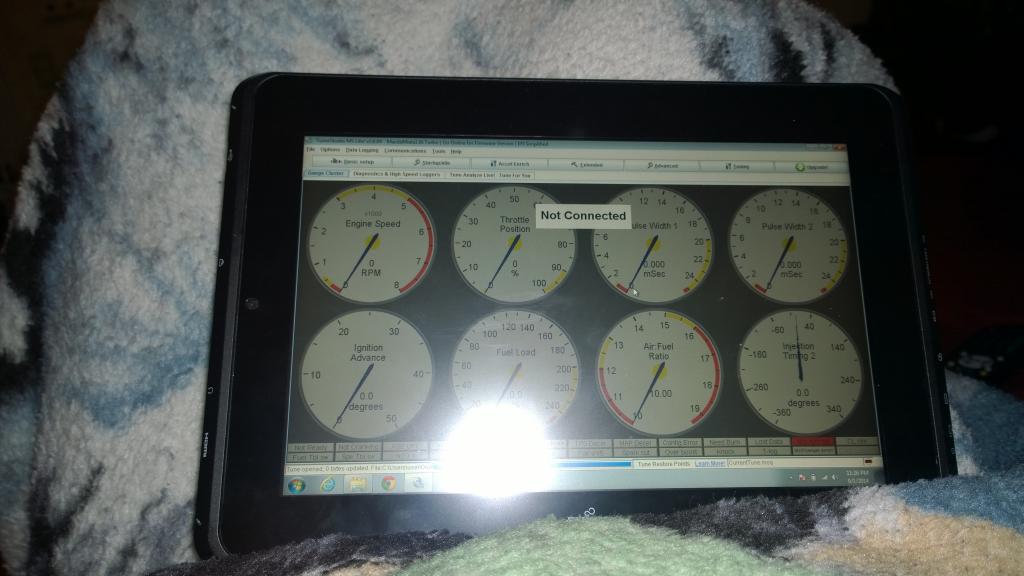
my datalogging tablet
had a nasty lifter clank sound ..it sounded like freaking rod knock...but it wasnt
this made me go back and remove all lifters and really give them a clean
setting up my workbench for lifter cleaning

all lifters cleaned

then oiled them and replaced them
engine started right up, with slight noise. then it got betetr to the point you cna't hear any lifter noise whatsoever
first crank
30 minute and drive around the block
that was exciting!
first oil change (after 50 minutes of running time..) just to get ne woil.
used rotella T for break in.

trying to get some ideas for intake positioning..but may end up doing filter on turbo


first drive to put gas. fille dup the tank on 40$ for the first time sinc ei've owned it 1 1/2 years.

19 whooping milesx on the break in

my datalogging tablet

Reply
0
0
Reply
0
0
some updates
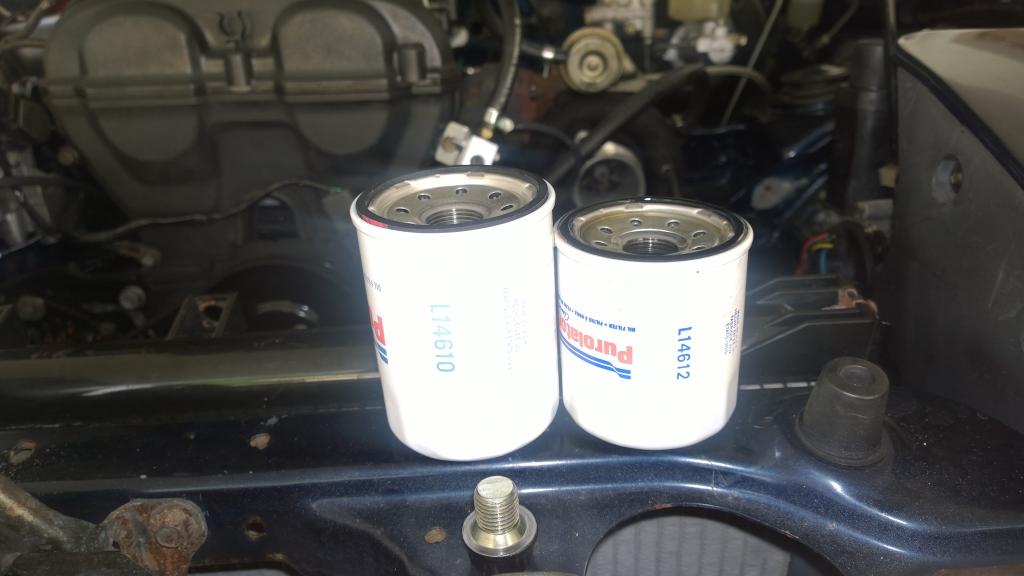
finally settled on an intake filter
got an idea to route the oil lines
started to work on my switch board. i will have a push start..basically, doing away with a key..key will only open the door.
this is what i am looking into doing.
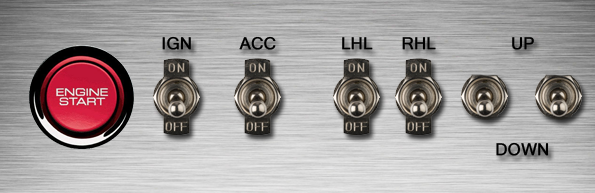
it will probably be done without the letters, or if i ever get a laser engraving thing...
dunno yet...
finally settled on an intake filter

got an idea to route the oil lines


started to work on my switch board. i will have a push start..basically, doing away with a key..key will only open the door.


this is what i am looking into doing.

it will probably be done without the letters, or if i ever get a laser engraving thing...
dunno yet...
Reply
0
0

Very nice build! GAUGES!!!
Question about your oil filter. I see possibly the larger one was used... Would you happen to know the filter sizing or K&N oil filter part number for a slightly larger filter?
Question about your oil filter. I see possibly the larger one was used... Would you happen to know the filter sizing or K&N oil filter part number for a slightly larger filter?
Reply
0
0
don't want to be a douche, but it took me 10 seconds to find it on google :P
Cross Reference for K&N Filter Part Number HP-1010
do a search within that page for L141610 and you'll see the cross reference to HP-1010
Cross Reference for K&N Filter Part Number HP-1010
do a search within that page for L141610 and you'll see the cross reference to HP-1010
Reply
0
0

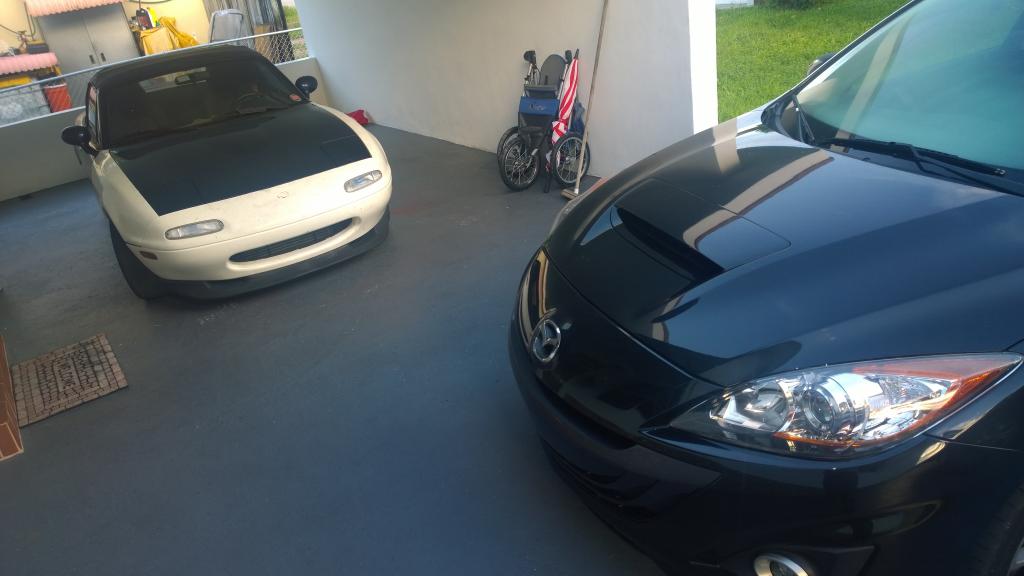
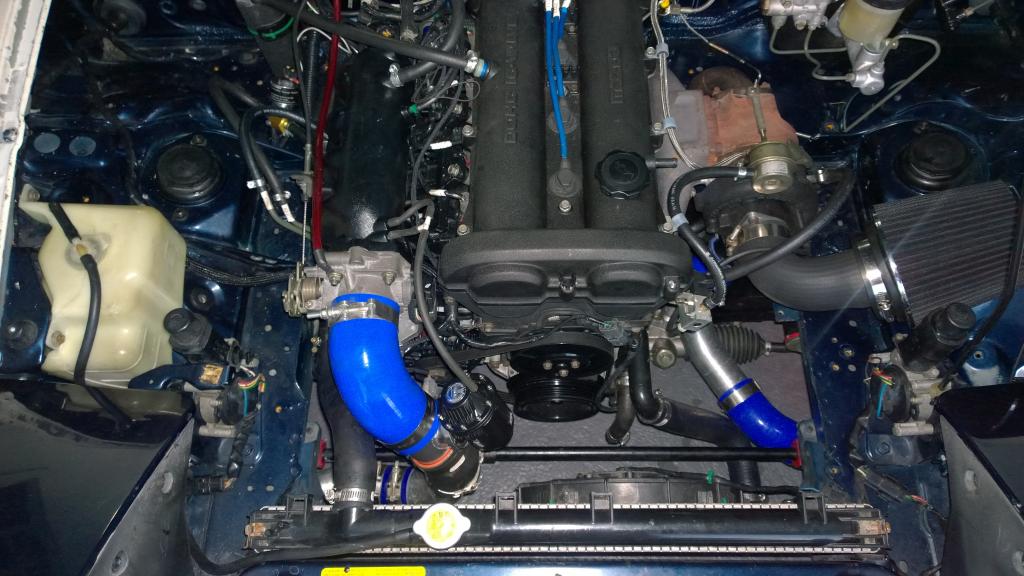
it is getting harder and harder to chose which one to drive....but A/C beats Horsepower and RWD
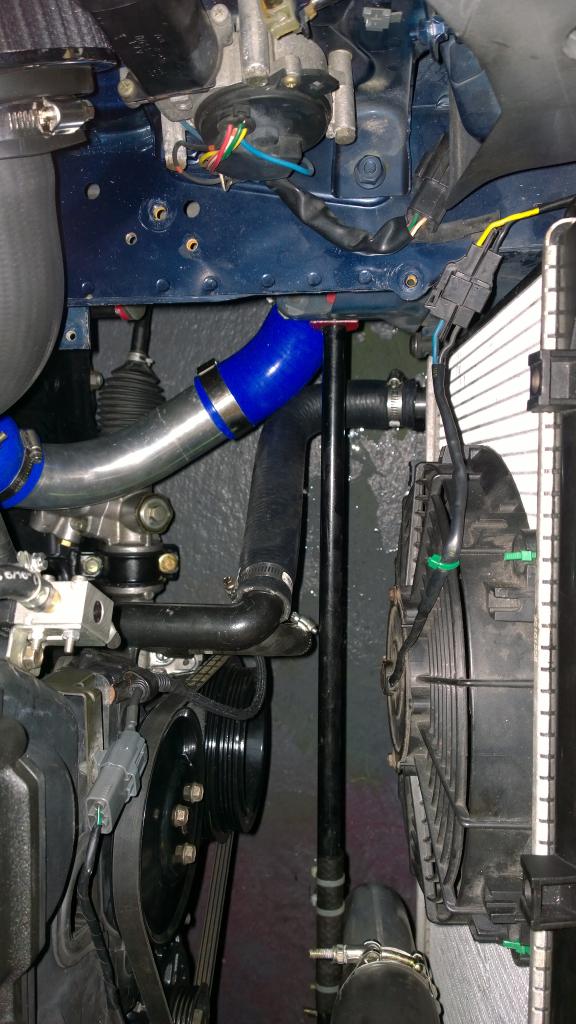
replacing lower Radiator hose with flipped inlet pipe and also HomeDepotRacing hard coolant pipe AKA sink pipe


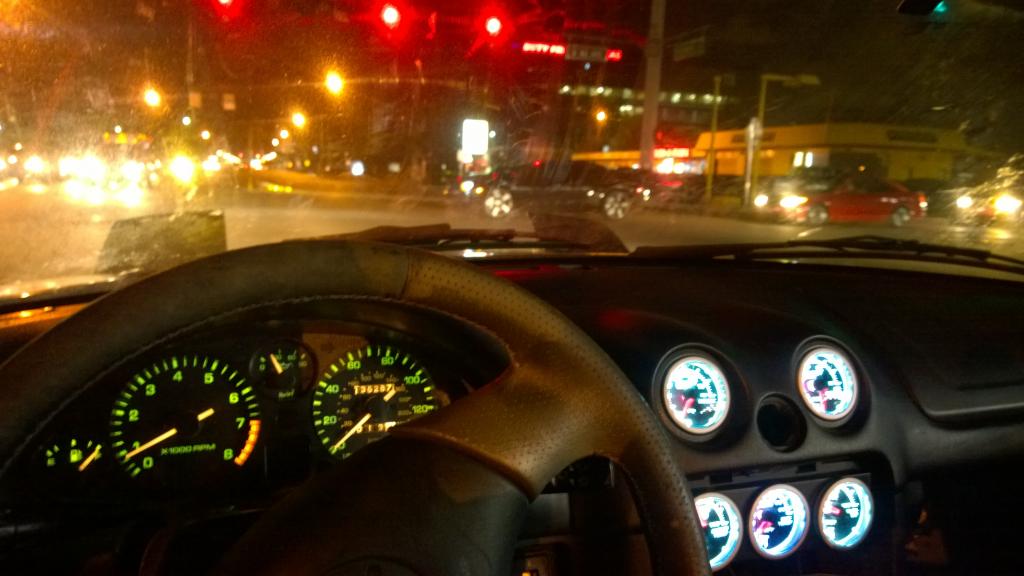
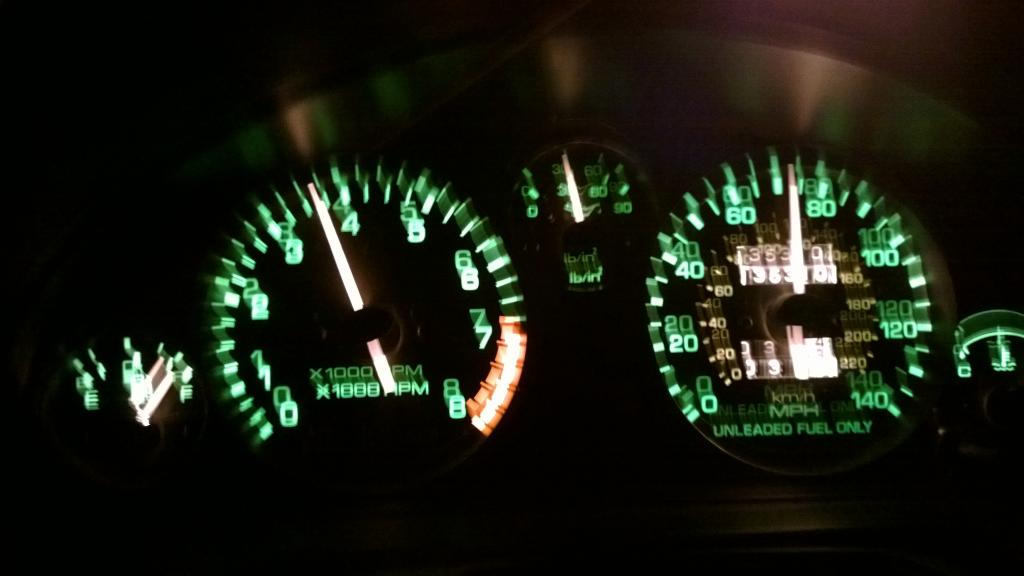
proof it drives...
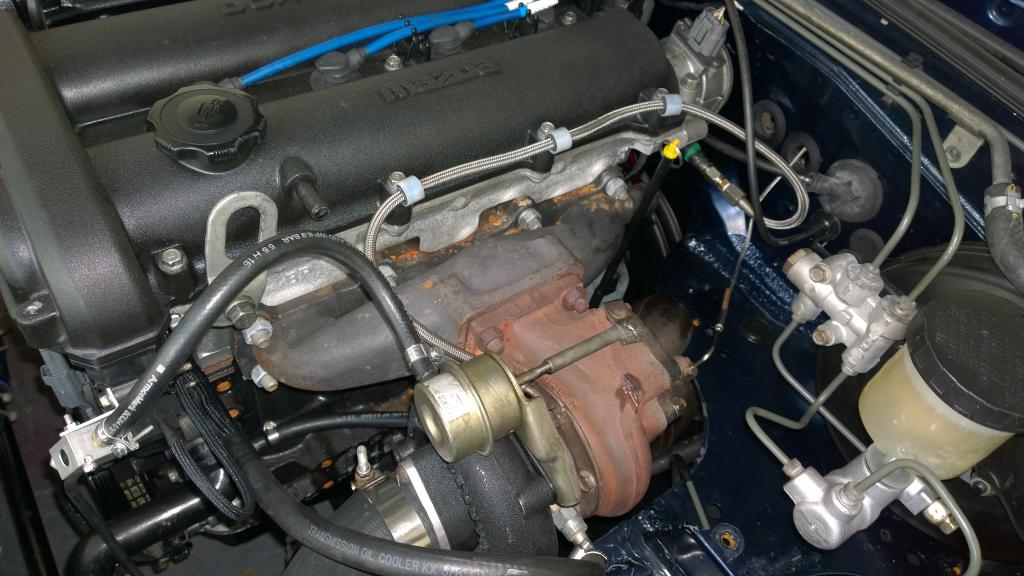
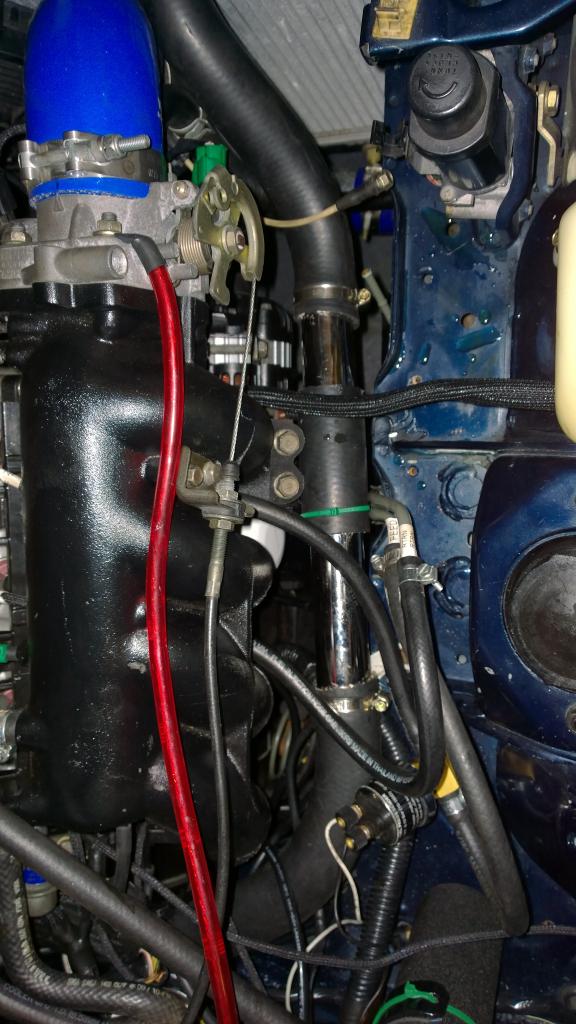
replacing broken oil feed line...someone mentioned it here...1$ to whoever points him out!
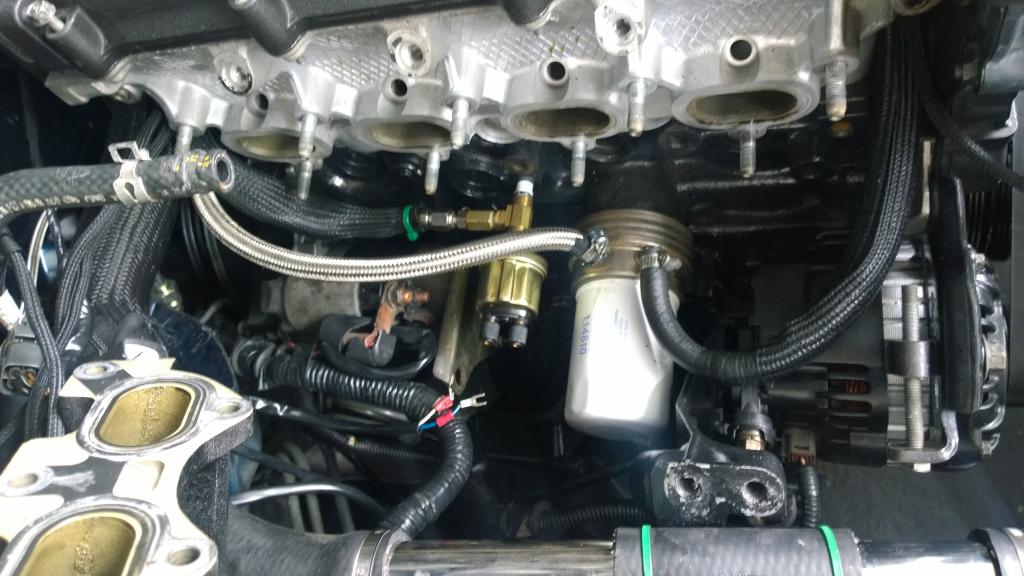
he has bad mojo!
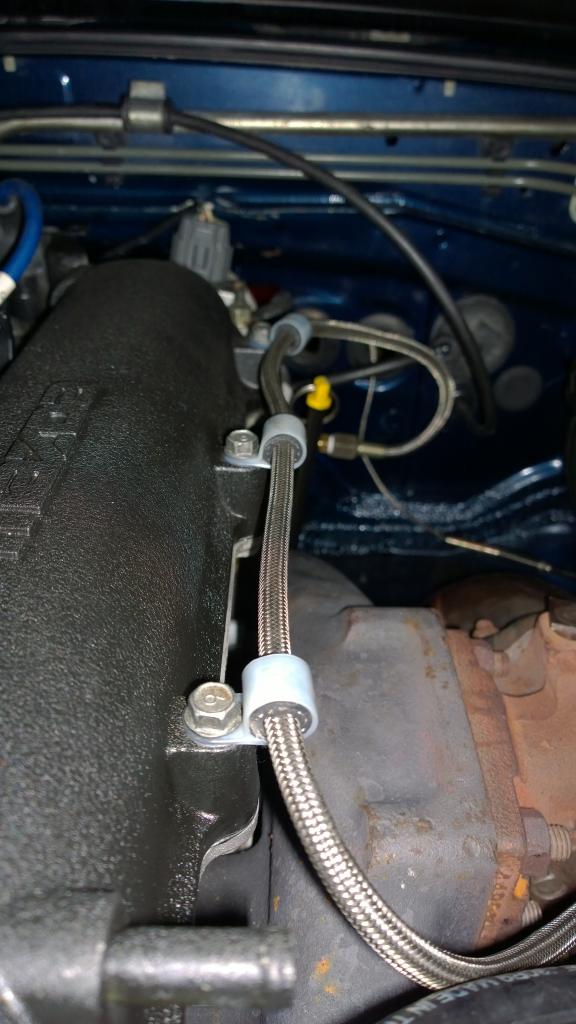
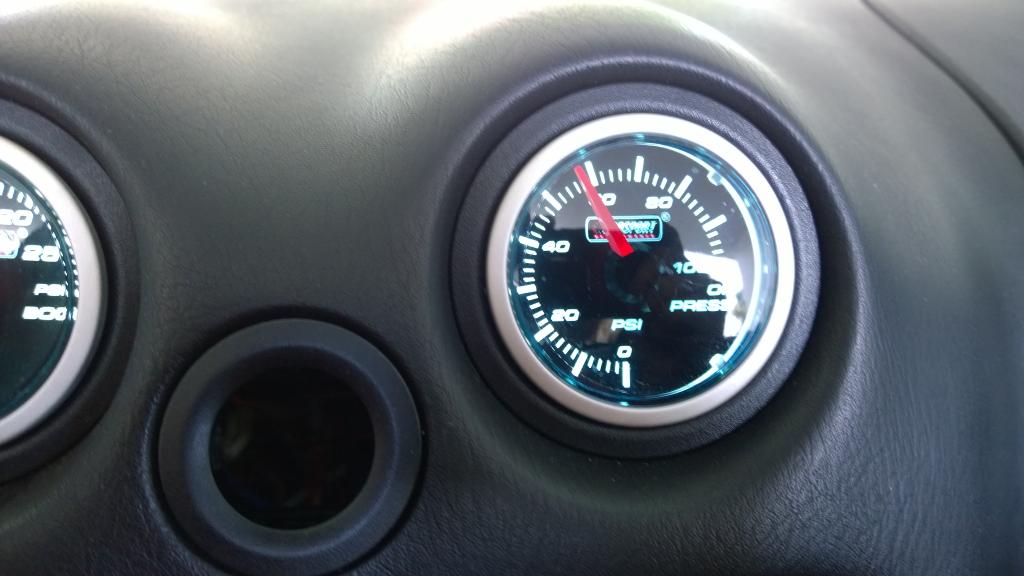
nice pressure at start up from cold

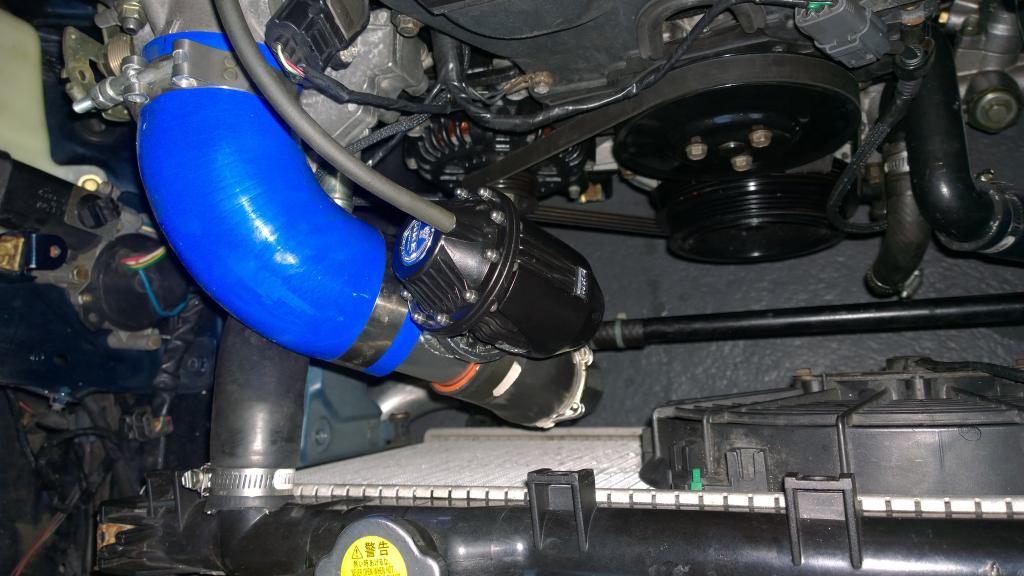
SSQV installed..no picture..vac line relocated to back of manifold and not the nipple next to the TB
i believe this is a fake...it flutters a lot
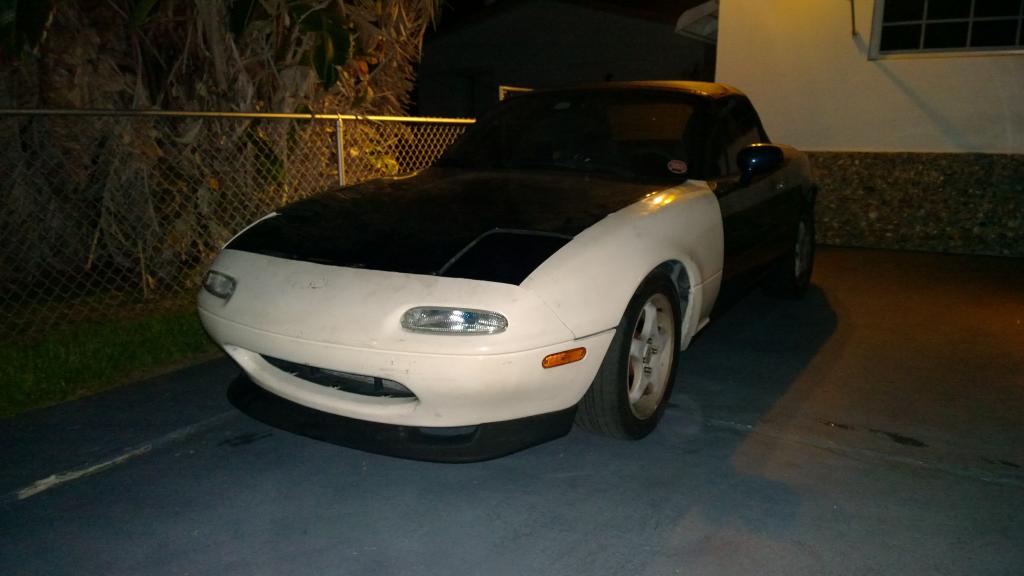
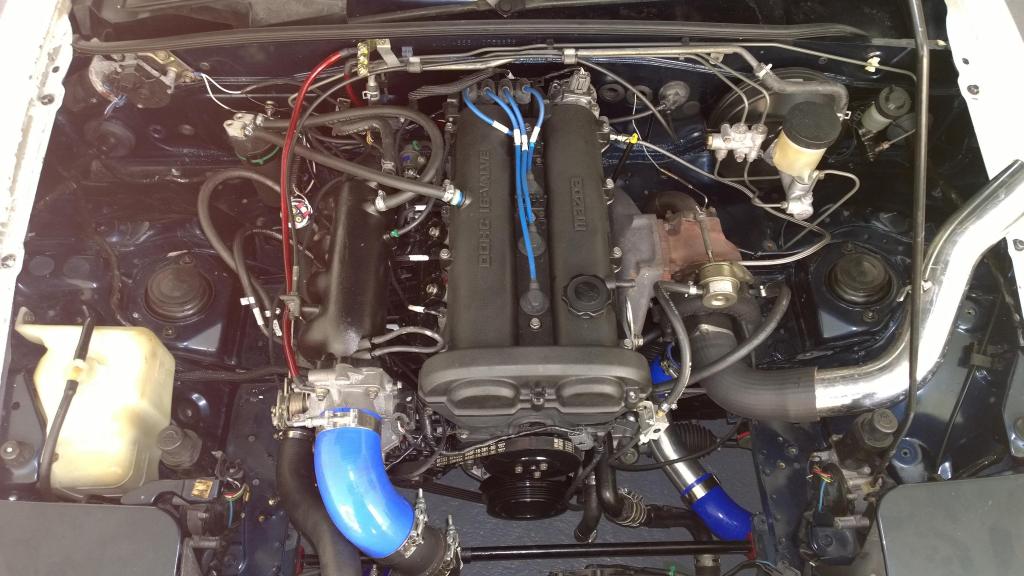
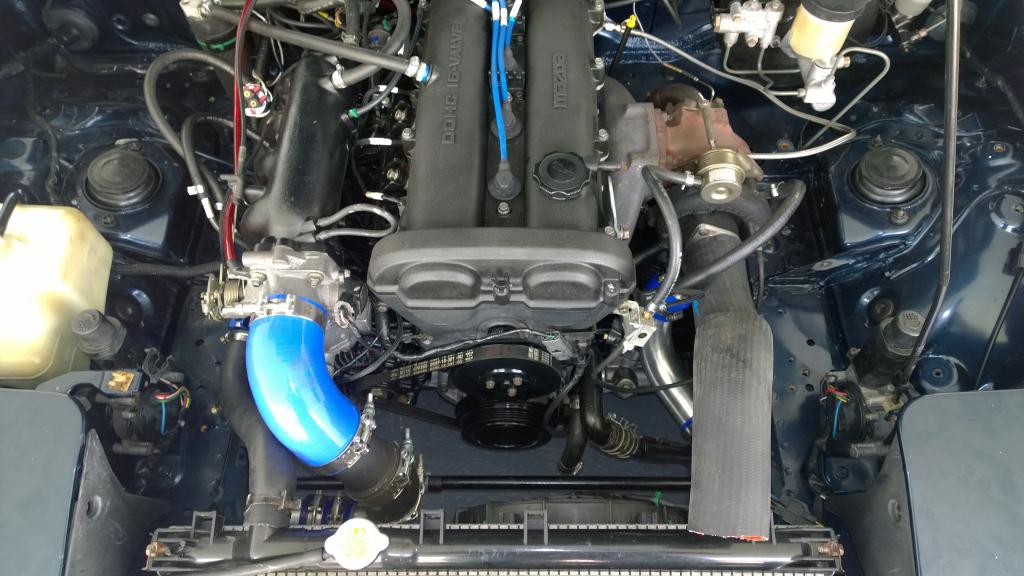
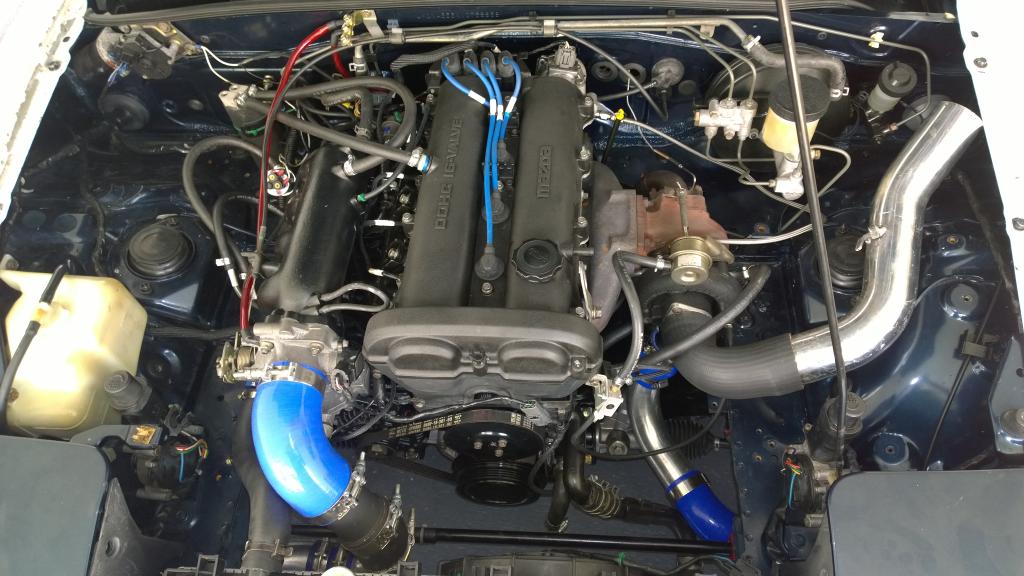
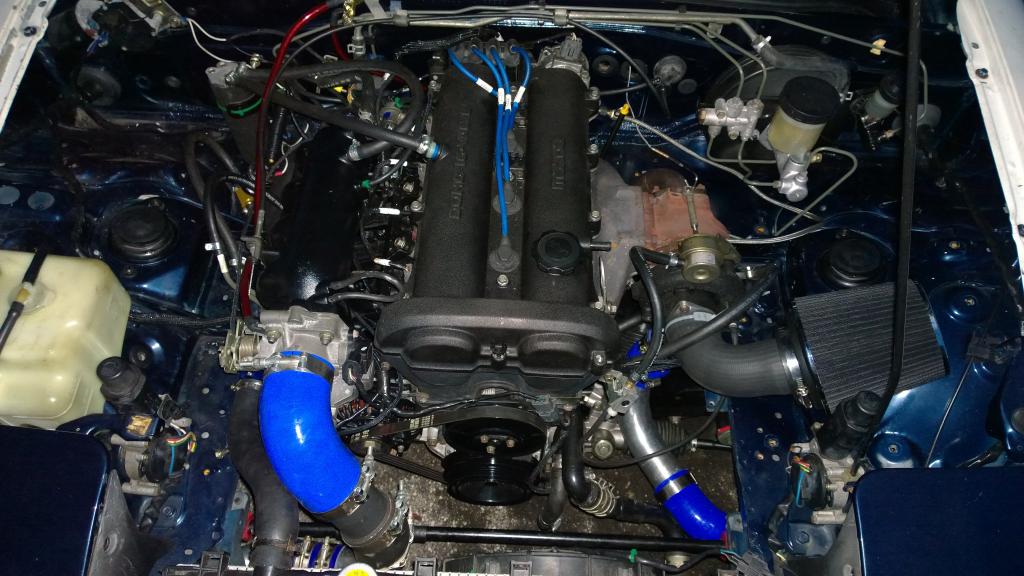
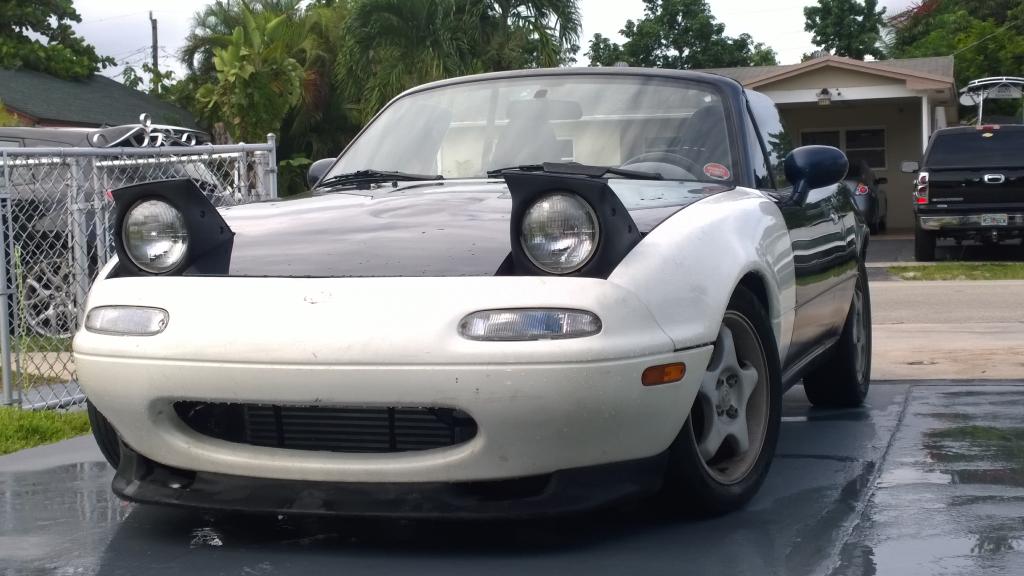
as she stands today


replacing lower Radiator hose with flipped inlet pipe and also HomeDepotRacing hard coolant pipe AKA sink pipe


proof it drives...

replacing broken oil feed line...someone mentioned it here...1$ to whoever points him out!

he has bad mojo!
nice pressure at start up from cold

SSQV installed..no picture..vac line relocated to back of manifold and not the nipple next to the TB


i believe this is a fake...it flutters a lot
as she stands today

Reply
0
0
it is getting harder and harder to chose which one to drive....but A/C beats Horsepower and RWD

replacing lower Radiator hose with flipped inlet pipe and also HomeDepotRacing hard coolant pipe AKA sink pipe
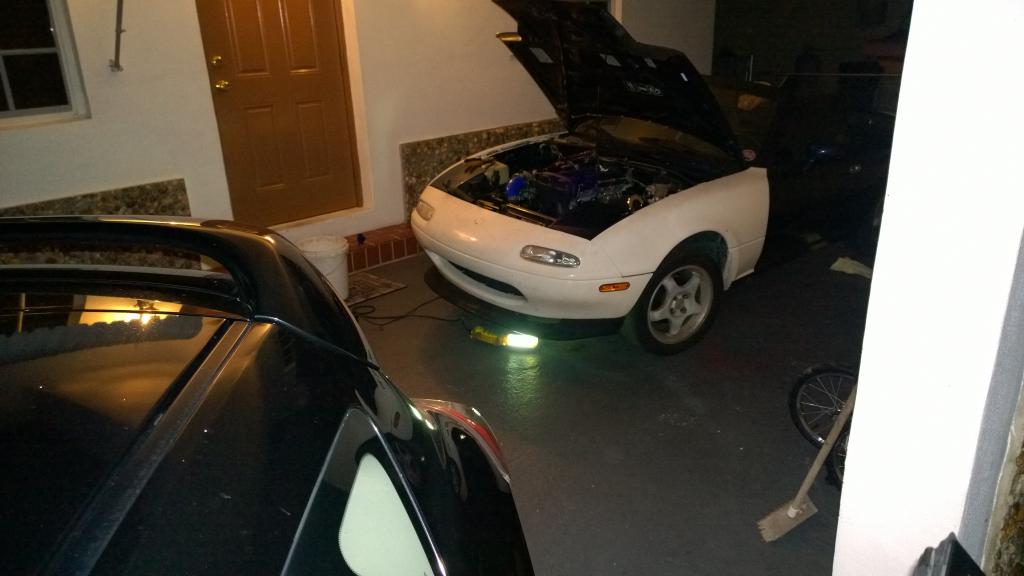

proof it drives...

replacing broken oil feed line...someone mentioned it here...1$ to whoever points him out!

he has bad mojo!
nice pressure at start up from cold
SSQV installed..no picture..vac line relocated to back of manifold and not the nipple next to the TB


i believe this is a fake...it flutters a lot
as she stands today
replacing lower Radiator hose with flipped inlet pipe and also HomeDepotRacing hard coolant pipe AKA sink pipe
proof it drives...
replacing broken oil feed line...someone mentioned it here...1$ to whoever points him out!
he has bad mojo!
nice pressure at start up from cold
SSQV installed..no picture..vac line relocated to back of manifold and not the nipple next to the TB
i believe this is a fake...it flutters a lot
as she stands today
Reply
0
0


