
my tube front drifter


Thread Starter
Senior Member
iTrader: (1)
Joined: Mar 2008
Posts: 1,146
Total Cats: 56
From: Cromwell CT
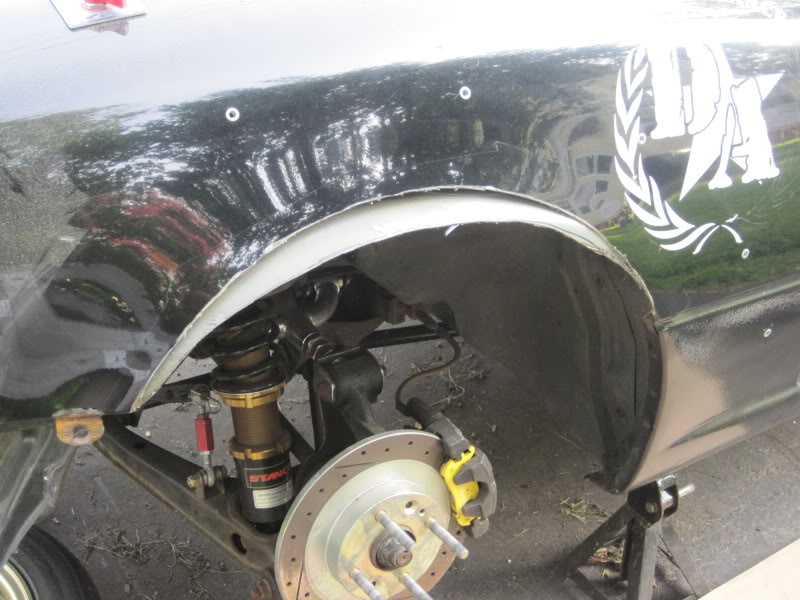
ok so i have discovered a few things in the part couple days
1. cutting quarter panels is a really involved project
2. i suck at welding
3. but i did learn the ins and outs of the welder
so here is a little step by step of what i did. please dont make fun of my welds. they may be ugly but they have penetration and they work. i spend 2 days over the weekend figuring out why i couldnt get a nice weld, turns out i had the gas regulator turned down way to much, and welding outside the wind was blowing away my shielding gas. so once i got the gas right i made nice welds. then i had trouble trying to weld such thin sheet metal, i woulda been better off with a 115v welder. reallt i shoulda been tig'ed. but anyways a big thanks to underated from roadsterdrift.com for letting me barrow his fender roller.
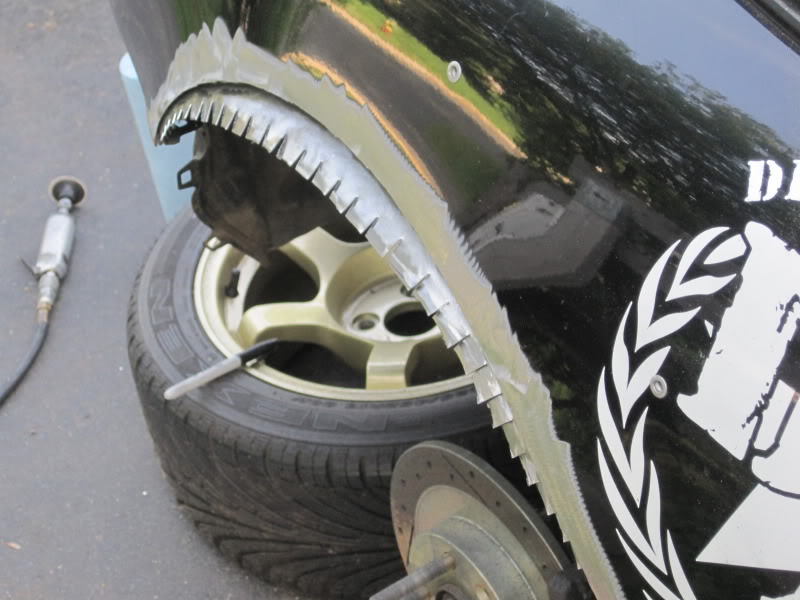
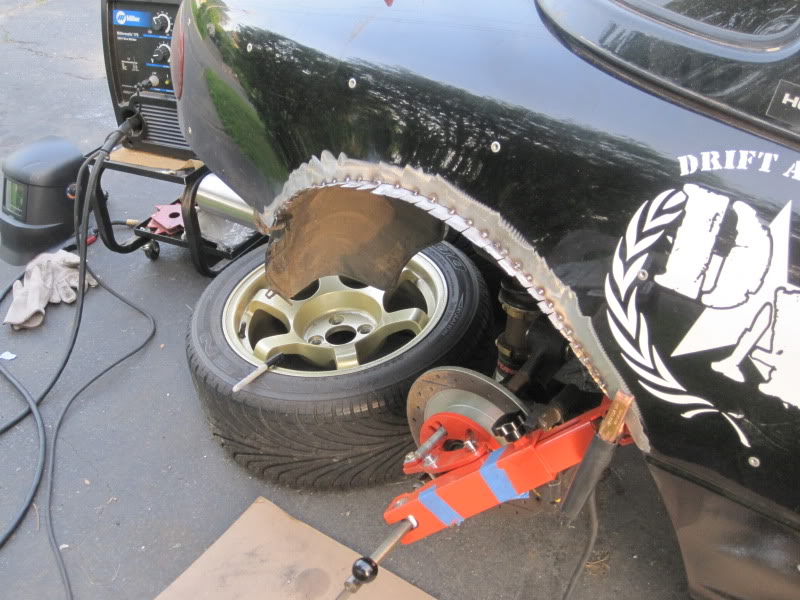
ok that was all the 2nd side, my cutting and welding was so much better on this side once i knew what i was doing
here is a pic of the crap 1st side
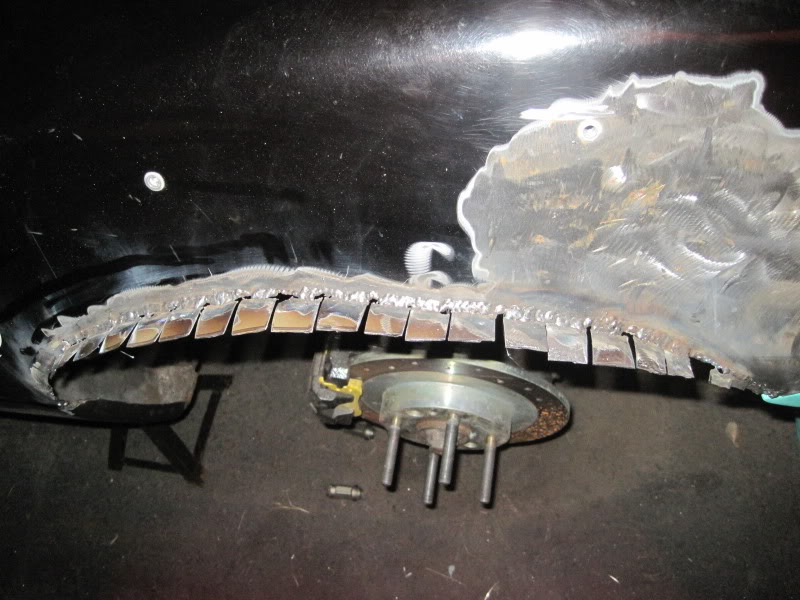
my friend who is a welder came over and saved my *** on that side. it was totaly fucked before. i ordered some 3M scotch weld metal epoxy, it will be in tomm. so im gonna epoxy over the seams to seal everything and help bond the panels on top of the weld. i have a little rust on the rocker panel to fix and then i can paint up the bare metal and move on to the front body work
and here is the other project i have been doing on my lunch breaks at work
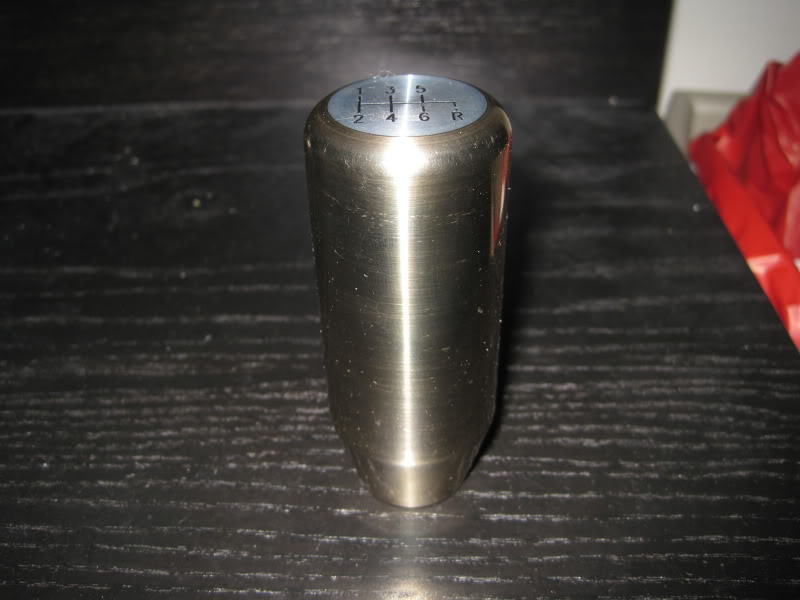
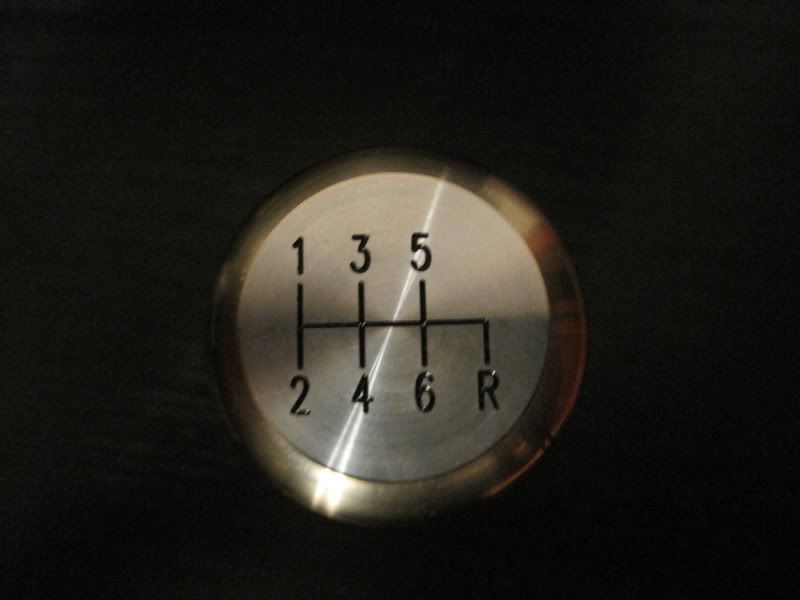
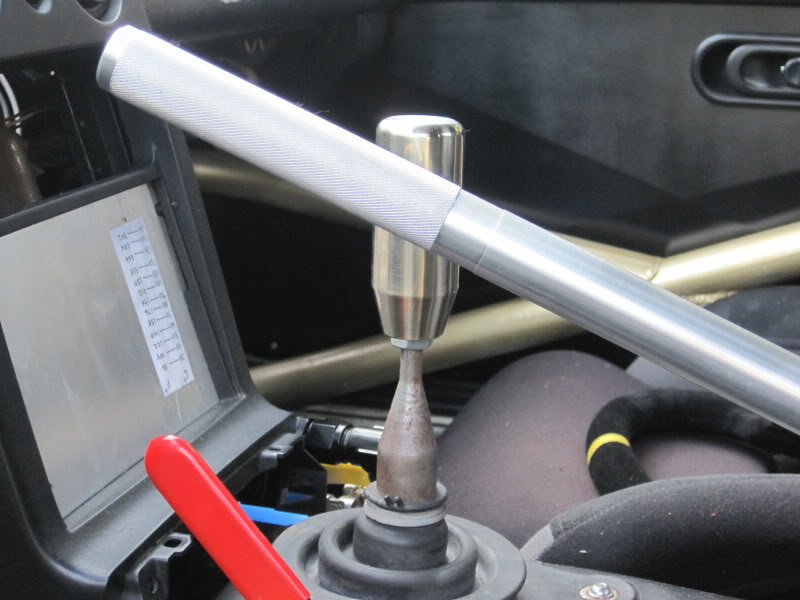
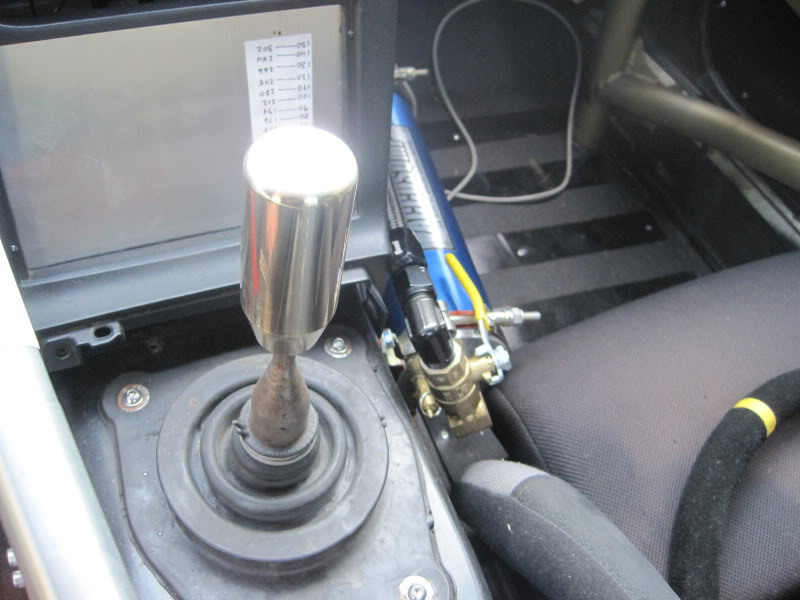
made from nickle aluminum bronze alloy. its very hard stuff and very heavy. if anyone has ever felt the weight of a skunk2 shift ****. this is similar weight. one of my co workers made the number plate that is pressed in. he cnc engraved it on a prototrak and then i had it soda blasted and i painted the numbers and once the paint dried i pressed it in and polished it up
1. cutting quarter panels is a really involved project
2. i suck at welding
3. but i did learn the ins and outs of the welder
so here is a little step by step of what i did. please dont make fun of my welds. they may be ugly but they have penetration and they work. i spend 2 days over the weekend figuring out why i couldnt get a nice weld, turns out i had the gas regulator turned down way to much, and welding outside the wind was blowing away my shielding gas. so once i got the gas right i made nice welds. then i had trouble trying to weld such thin sheet metal, i woulda been better off with a 115v welder. reallt i shoulda been tig'ed. but anyways a big thanks to underated from roadsterdrift.com for letting me barrow his fender roller.
ok that was all the 2nd side, my cutting and welding was so much better on this side once i knew what i was doing
here is a pic of the crap 1st side
my friend who is a welder came over and saved my *** on that side. it was totaly fucked before. i ordered some 3M scotch weld metal epoxy, it will be in tomm. so im gonna epoxy over the seams to seal everything and help bond the panels on top of the weld. i have a little rust on the rocker panel to fix and then i can paint up the bare metal and move on to the front body work
and here is the other project i have been doing on my lunch breaks at work
made from nickle aluminum bronze alloy. its very hard stuff and very heavy. if anyone has ever felt the weight of a skunk2 shift ****. this is similar weight. one of my co workers made the number plate that is pressed in. he cnc engraved it on a prototrak and then i had it soda blasted and i painted the numbers and once the paint dried i pressed it in and polished it up
Reply
 0
0

0


Thread Starter
Senior Member
iTrader: (1)
Joined: Mar 2008
Posts: 1,146
Total Cats: 56
From: Cromwell CT
its so awsome to not live in a thick residential neighborhood now. i have some nice back roads to rip up and down. i had a half a tank of race gas when i moved in, now im down to nothing. i also love the fact that i can start the car when ever and then just shut the door when im done. i dont have to let it cool down and cover it up. i got my garage cleaned up the other weekend. gotta build my workbench and start thinking about getting some good power out there. 100amp sub panel and some nice lighting. already has epoxy floors :-)
Reply
0
0
Thread Starter
Senior Member
iTrader: (1)
Joined: Mar 2008
Posts: 1,146
Total Cats: 56
From: Cromwell CT
some pics as of late
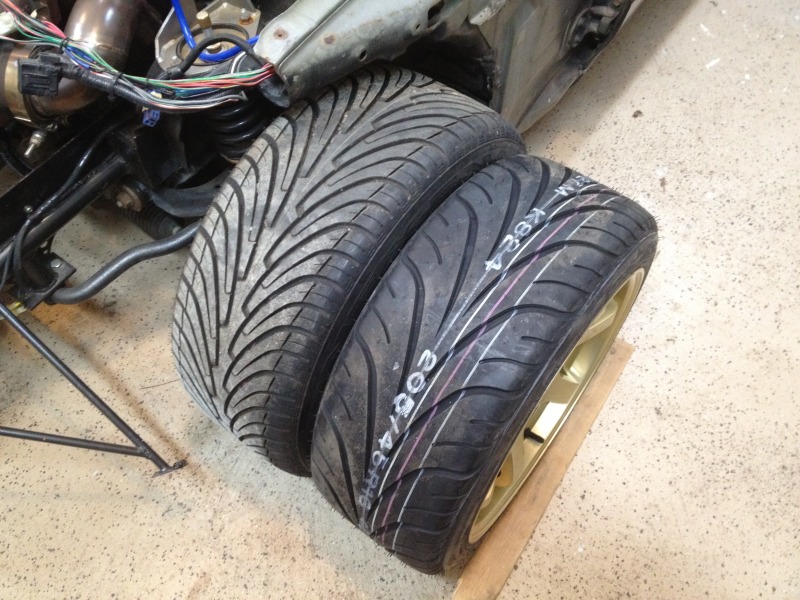
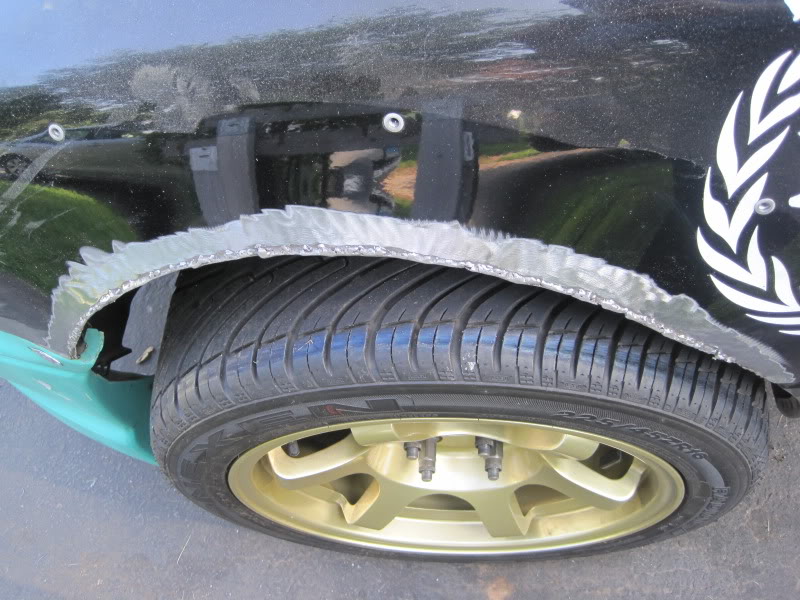
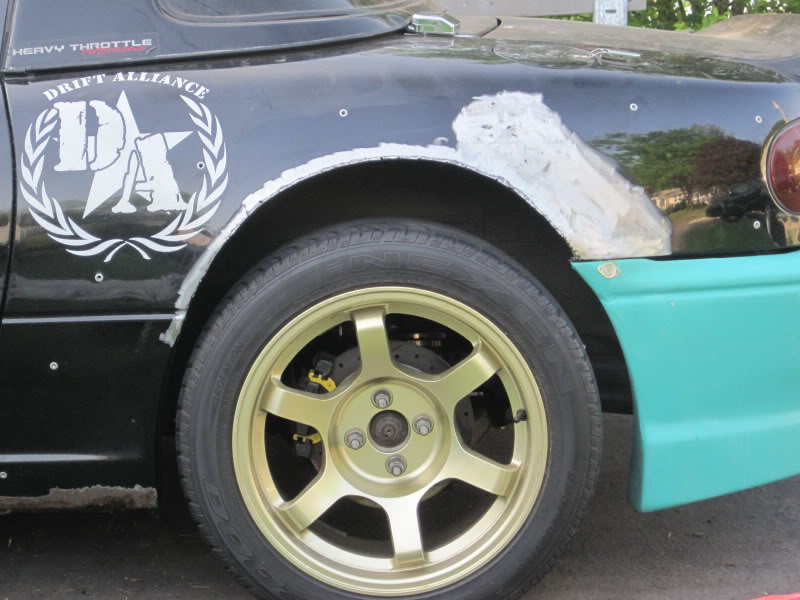
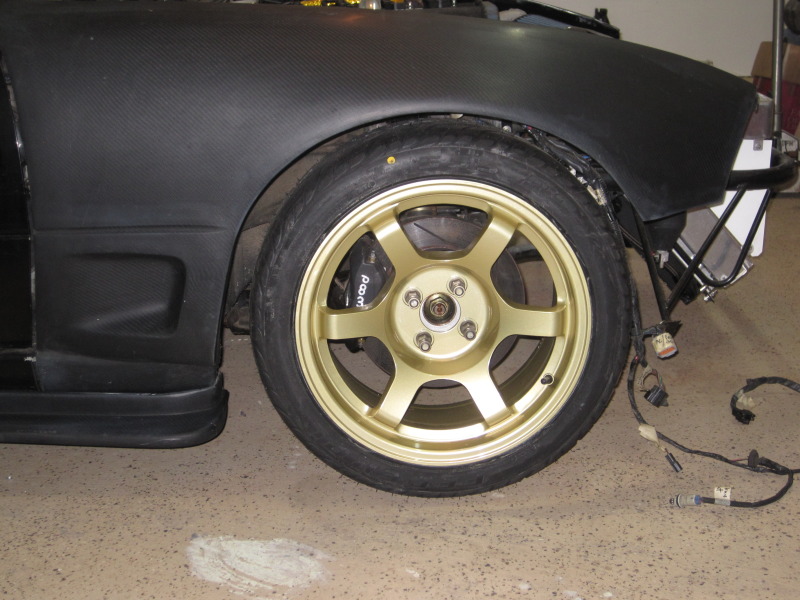
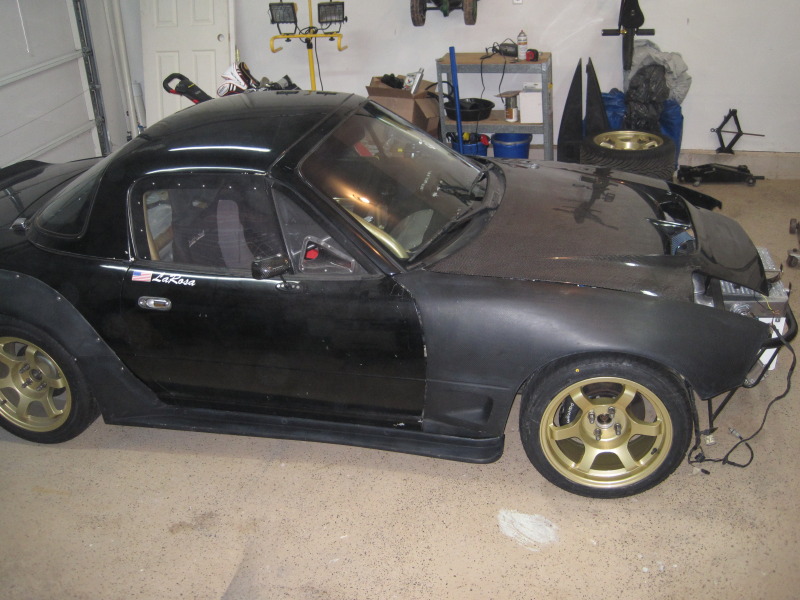
new 205/45/16 next to old 225/45/16, i really like the look of the federals, the sidewall is sweet

painted the welded fender seams on both sides, fixed the rust on the rocker and painted that
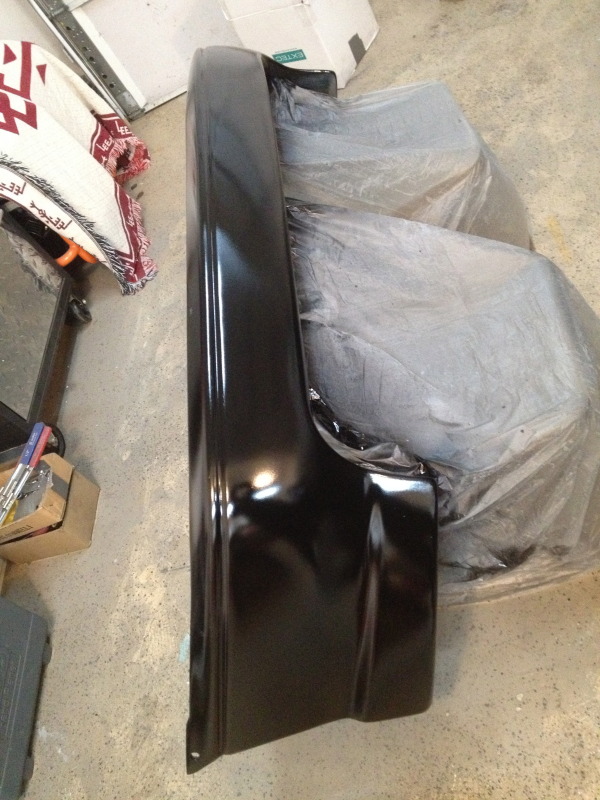
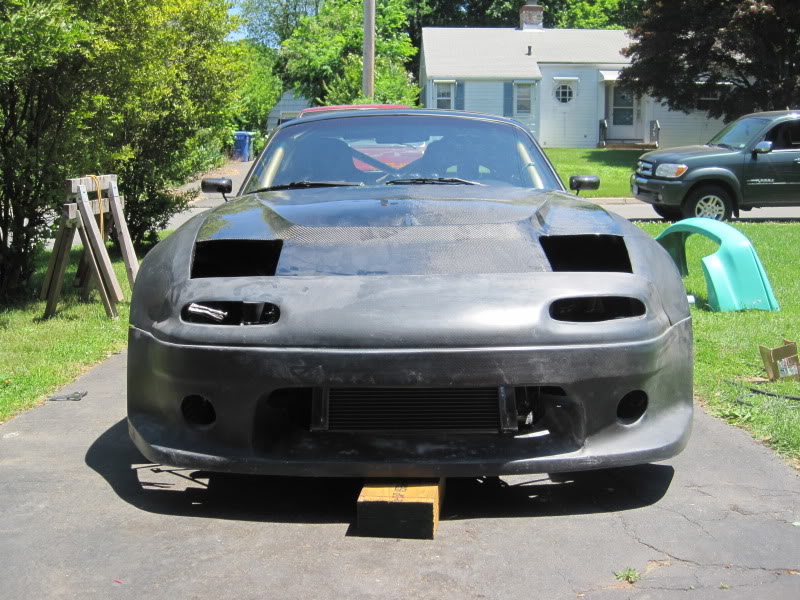
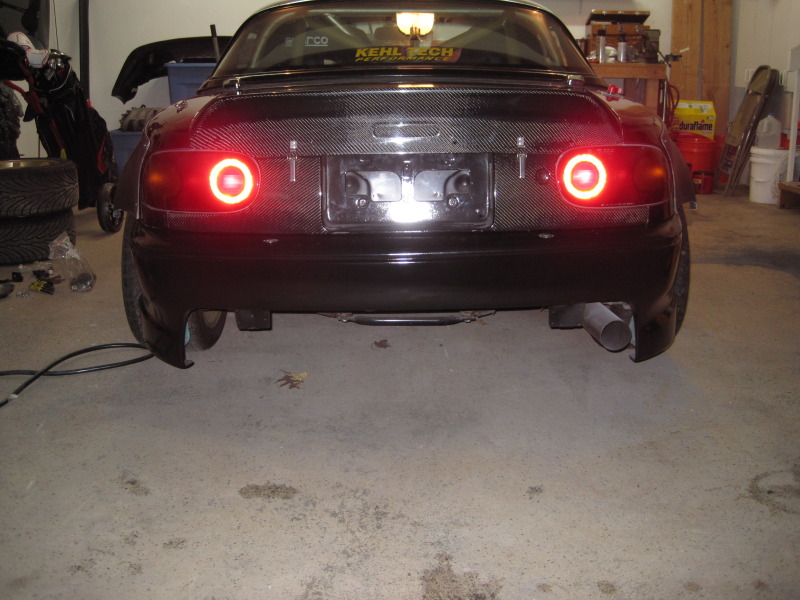
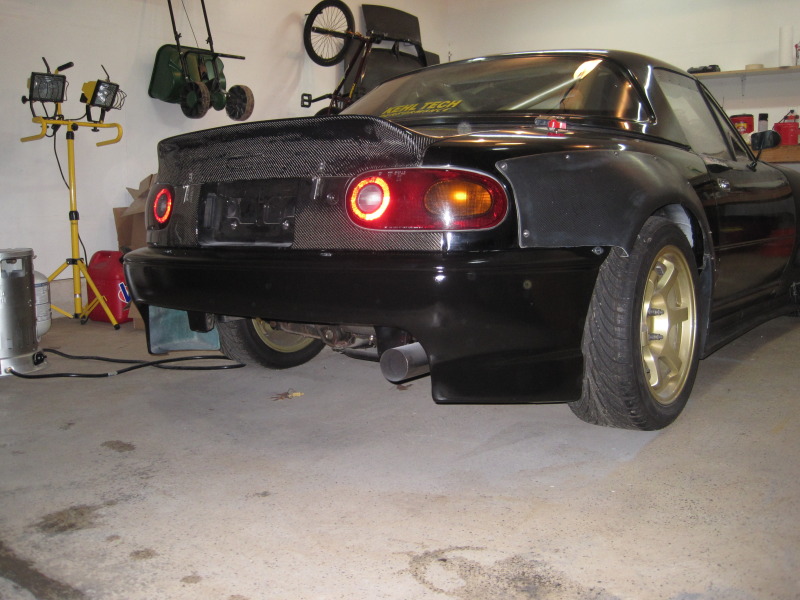
painted the rear bumper, crappy rustoleum job. i dont care, its paint and it looks better than green, im so disgusted with this chassis that i just want it to be together so i can hammer the ---- out of it
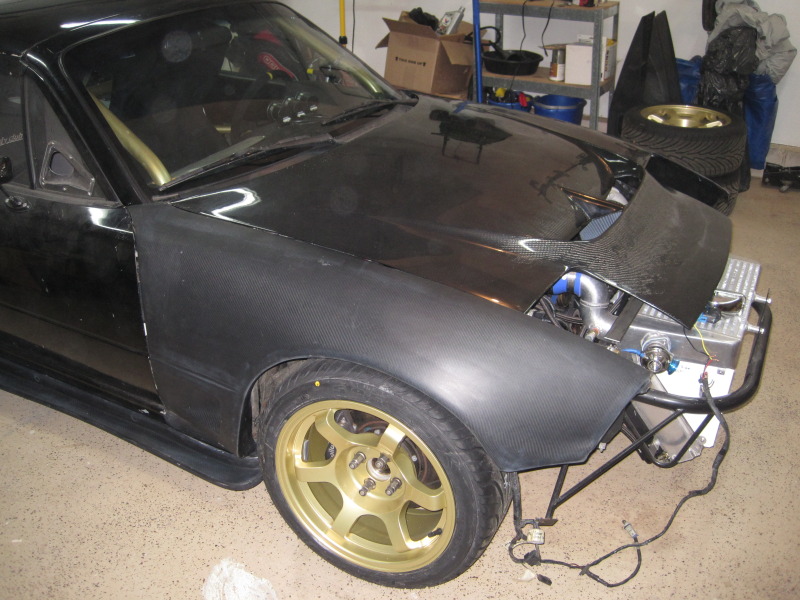
got the rear bumper and rear flares mounted for good, the fenders are mounted but need to be adjusted for the hood when i go to mount it, and the skirts need some more grinding to fit right
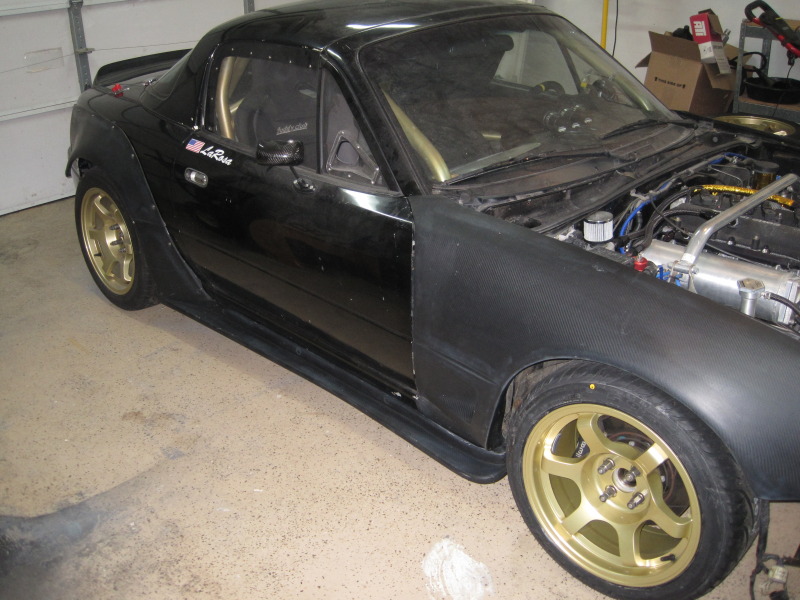
new fronts on, i need to lower the car some more
new 205/45/16 next to old 225/45/16, i really like the look of the federals, the sidewall is sweet
painted the welded fender seams on both sides, fixed the rust on the rocker and painted that
painted the rear bumper, crappy rustoleum job. i dont care, its paint and it looks better than green, im so disgusted with this chassis that i just want it to be together so i can hammer the ---- out of it
got the rear bumper and rear flares mounted for good, the fenders are mounted but need to be adjusted for the hood when i go to mount it, and the skirts need some more grinding to fit right
new fronts on, i need to lower the car some more
Reply
0
0
Thread Starter
Senior Member
iTrader: (1)
Joined: Mar 2008
Posts: 1,146
Total Cats: 56
From: Cromwell CT
That was the original plan, but we'll see. I'm gonna be buying another car, probably a NB so idk how much more effort I'm gonna put into this thing once I get the body done and aligned and registered
Reply
0
0
I thought this thing was done for, good to see your still forging ahead on it.
What wheels are you planning on running when all is said and done? Those wheels look like too much with the stock body but are getting swallowed up by the ak widebody imo. Needs more 15 x 10!
What wheels are you planning on running when all is said and done? Those wheels look like too much with the stock body but are getting swallowed up by the ak widebody imo. Needs more 15 x 10!
Reply
0
0
Thread Starter
Senior Member
iTrader: (1)
Joined: Mar 2008
Posts: 1,146
Total Cats: 56
From: Cromwell CT
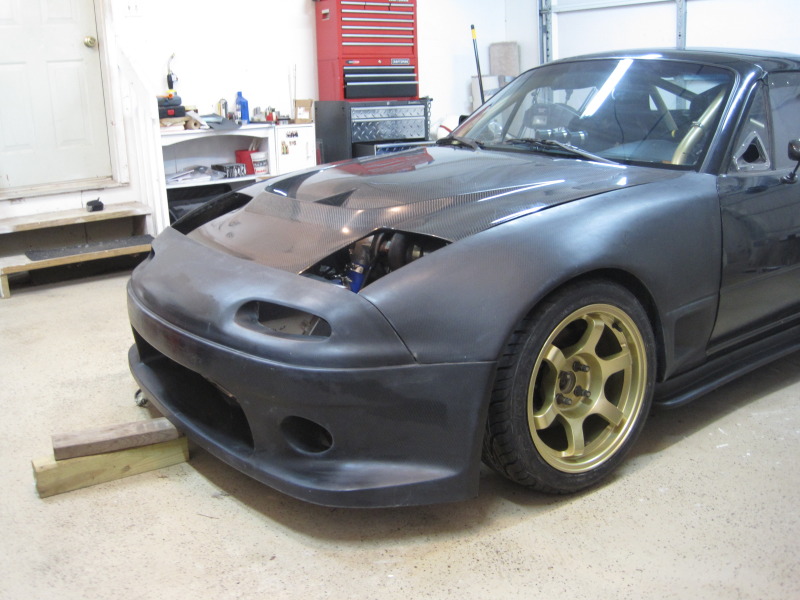
started on the bumper this morning, got a game plan for mounting it,
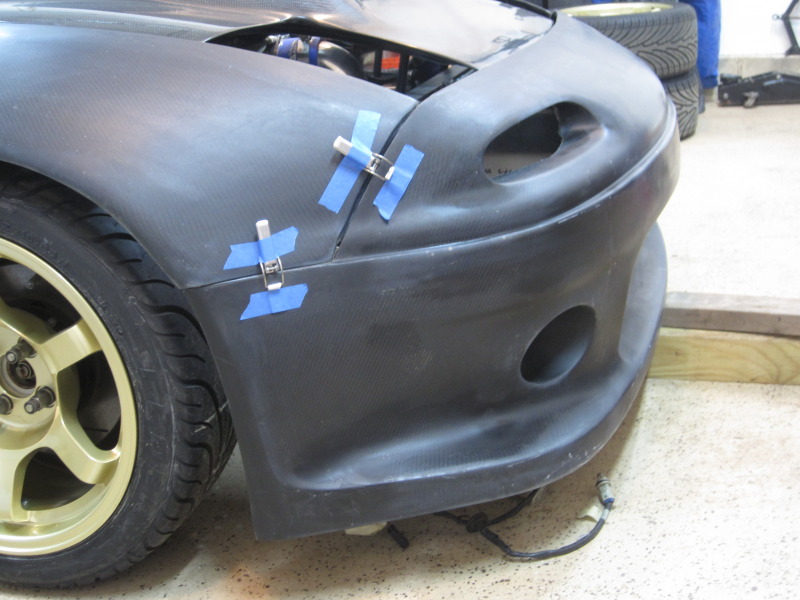
im gonna use two dzus toggle latches in each upper corner, then in the lower corner i will have a dzus 1/4 turn (like how my old bumper was mounted)
i will have two more 1/4 turns in the center/front on the bumper coming off the front of the hoop
im gonna use two dzus toggle latches in each upper corner, then in the lower corner i will have a dzus 1/4 turn (like how my old bumper was mounted)
i will have two more 1/4 turns in the center/front on the bumper coming off the front of the hoop
Reply
0
0


