When you click on links to various merchants on this site and make a purchase, this can result in this site earning a commission. Affiliate programs and affiliations include, but are not limited to, the eBay Partner Network.
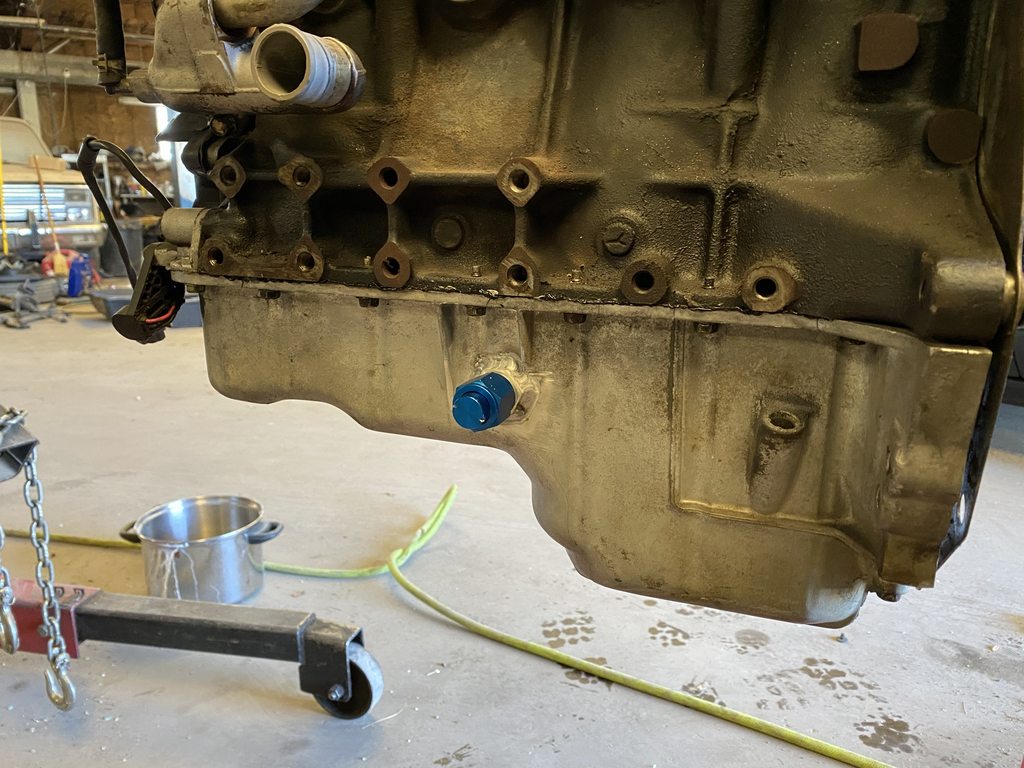
Yep that is the way to do it. What I generally recommend though is welding in a bung on the pan, then screwing in a fitting. This way if those threads ever get messed up you can swap fitting easier.
I hadn't thought of that and that makes a lot of sense.
i put on 2 coats of VHT primer and 2 coats of VHT paint after welding was complete. Paint matching wasn’t important to me since it can’t be seen after assembly is complete. I used a ceramic coated Maxgms Alpha manifold that puts both the turbo and EWG flanges in the middle and between cylinders 2 and 3. There’s obviously more room for your DP if you are using a manifold with flange(s) that offset and are between 1 & 2.
i put on 2 coats of VHT primer and 2 coats of VHT paint after welding was complete. Paint matching wasn�t important to me since it can�t be seen after assembly is complete. I used a ceramic coated Maxgms Alpha manifold that puts both the turbo and EWG flanges in the middle and between cylinders 2 and 3. There�s obviously more room for your DP if you are using a manifold with flange(s) that offset and are between 1 & 2.
Yeah that is definitely something I should go ahead and do. I'm planning on going with an MKTurbo kit which I believe will clear without trimming, but the extra clearance will never be a bad thing.
Heat wrap that front left brake line all the way down, around and under while you have easy access - that is a freakin’ hot area. 1/2” works but 5/8” would have been easier to slide it around all the bends. Moving/replacing the proportioning valve really opens up the DP slot and gets it away from the heat. I also slid my EBC in/under the brake master cavity (also wrapped). This is how we sit right now but still don’t like the proximity of the heater snake elbow to the DP.
Had to route the heater return hose along the firewall, over the brake booster and wrapped down under the CHRA with a 10 AN welded bung on the WP inlet gooseneck. With 4 EGT probes on the manifold and the screamer/EWG pipe, there wasn’t any more room to do the OEM route. Next version will take that heater return hose all the way around and through the CAI, over the A/C compressor and 180 it into the gooseneck WP inlet to avoid the CHRA entirely. The route I have now would be perfect for a water cooled turbo but our Gen2 Precision just didn’t need it.
Yeah that is definitely something I should go ahead and do. I'm planning on going with an MKTurbo kit which I believe will clear without trimming, but the extra clearance will never be a bad thing.
I have started to recommend that people bend down that back shelf just a little bit with a big hammer. While I try to build downpipes to clear there, every car is a little differnt so some extra clearance space only makes things easier.
I have started to recommend that people bend down that back shelf just a little bit with a big hammer. While I try to build downpipes to clear there, every car is a little differnt so some extra clearance space only makes things easier.
My thoughts exactly, I don�t ever recall being like �**** I wish I had less clearance for this exhaust�, lol.
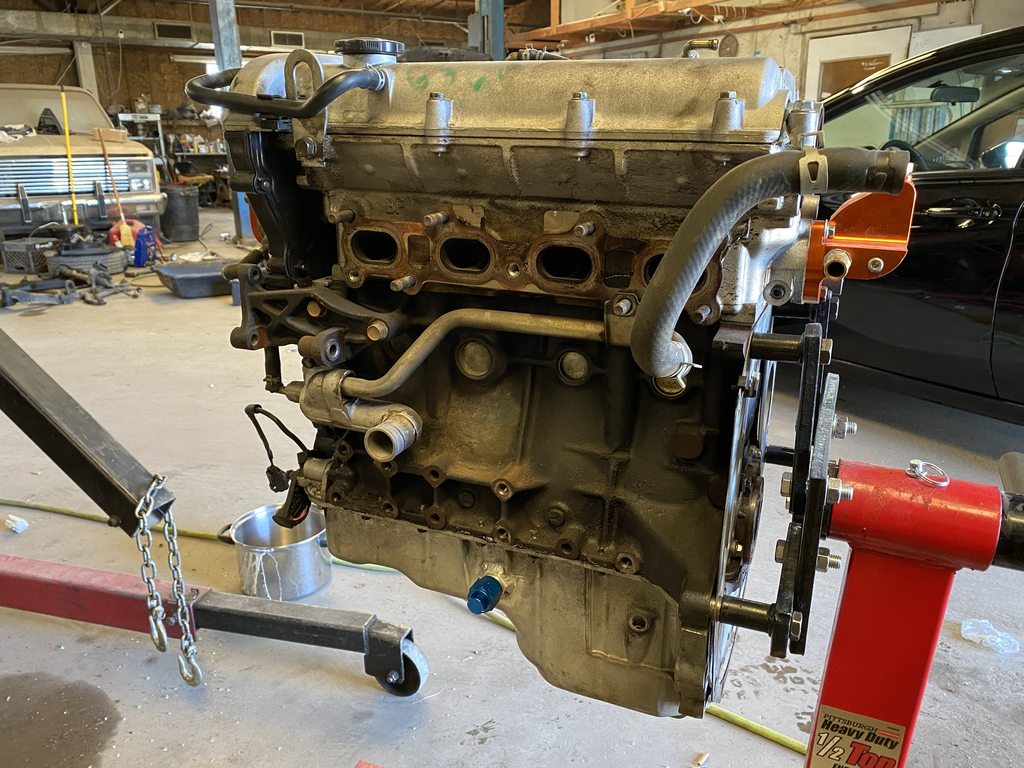
Motor is in, it cranks but won't run but that's par for the course, just go recheck all your **** etc. I was checking the crank sensor though and noticed this:
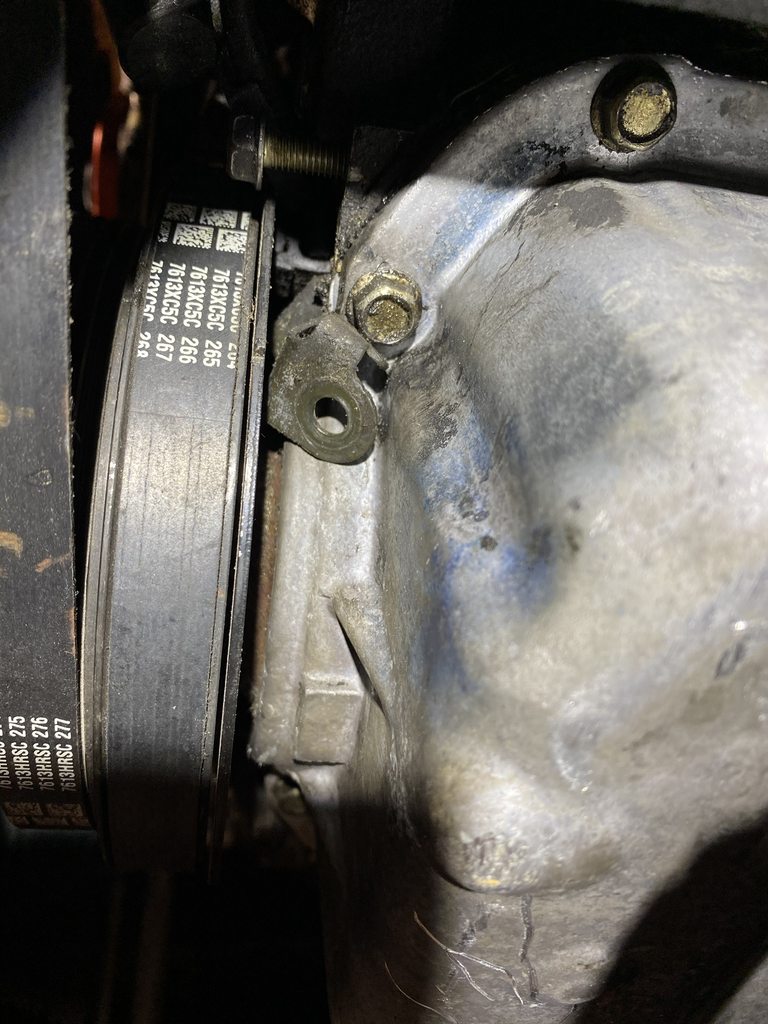
Looks like a bracket or ground or some ****, anyone know what the hell it is and how I managed to do that? I'm gonna take the pulleys off and I'm sure it will be obvious, but I wanted to give you guys a chance to laugh at my misfortune.
I'm posting from under the car. I removed the crank sensor when I saw it to get to it. it's the bracket that holds the crank sensor wiring, luckily the car DIDN'T crank so it didn't have time to mess up the pulley or the wiring harness, just pried it out of the way and put it back where it goes a little bit up the timing cover.
Starting fluid made it fire up, but it won't run on it's own. Grounded the FP pin in the diagnostic connector and it still won't run. Tach isn't moving when I try to crank it either. Time to go google every thing.
I'm still on the stock ECU. I do have a scan tool though. No codes other than EGR, which is to be expected since I deleted the EGR. Shows fuel pump relay on and injector pulsewidth is non-zero when I start cranking it. It was very low on fuel so I put a few gallons in just to rule out the easy ****. By all measures it thinks it's working correctly, except for not running. I'm kinda concern I screwed up the crank sensor when I took it off to fix the bracket and wiring. I might go double check it, but it's not throwing a crank sensor code and I lined it up with the little nipple on the crank pulley and set the air gap.
Okay, I'm no longer posting from under the car so I can type more clearly.
Fuel Injector relay is good, tried a known good one. The giant green EGI relay SEEMS to be good, it's clicking when the key is turned on. I only have a couple of NA's here and this is a 99 though, so they don't have the same big green relay for me to swap with a known good one. The engine will turn over, but not run. The only code in it currently is a pile of EGR codes. The tach is not registering engine speed when I'm cranking it. All of this points me to crank sensor, but the only thing throwing me off is the fact that it seems to have spark. I'll pull a couple of plugs out to double verify, but when we hit it with some starting fluid while cranking, it ran for a second. That seems to indicate spark plugs firing to me. Catching up on a few other things then I'll go back out there and tinker some more and verify the fuel pump is coming on (or not coming on) and verify whether or not the spark plugs are firing.
Definitely have spark, definitely do not have fuel pump. Going to check for power at the pump then back from there. I keep updating this thread so no one wastes any of their life typing a reply to something I've already checked.


 0
0