
I've acquired a new toy. :D


I use Unigraphics at work. If I wouldn't get fired immediately, I'd show you gays some pictures of the gigantic printers we use for making but... er... orthopedic implant prototypes.
Reply
 0
0

0


Thread Starter
Senior Member
Joined: Mar 2011
Posts: 697
Total Cats: 27
From: South Chicago
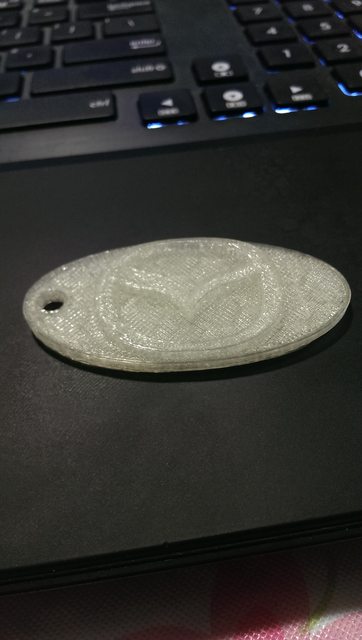
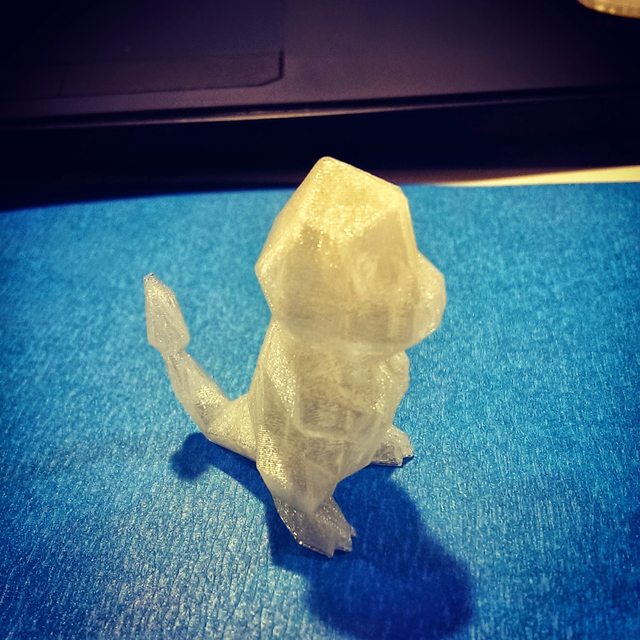
So I've been toying around and printing random things I find on ThingVerse.com.

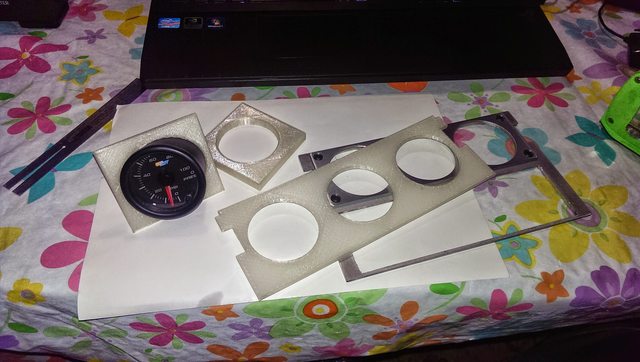
Then I decided I want to try designing something on my own. So Made a simple square that has a 52.5mm hole making it the perfect size for a gauge.
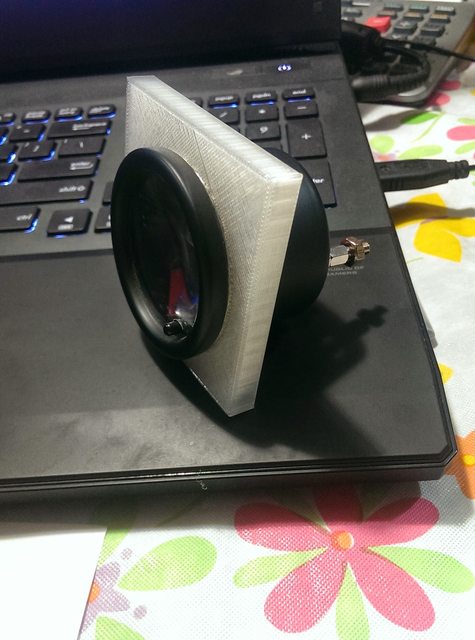
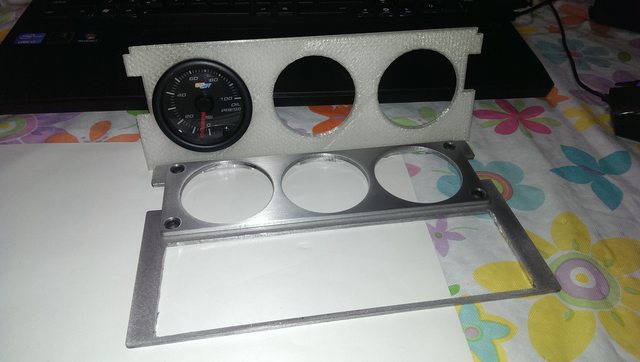
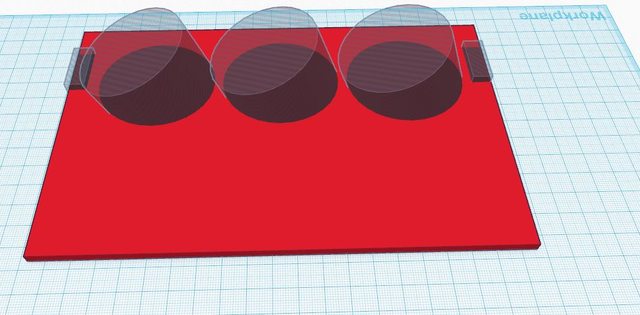
Then I thought I'd take a crack at making a entire center console piece. Mostly going off the design of this !nJoy gauge plate I purchased a long time ago. Except I angled the gauge holes 10 degrees toward the driver.
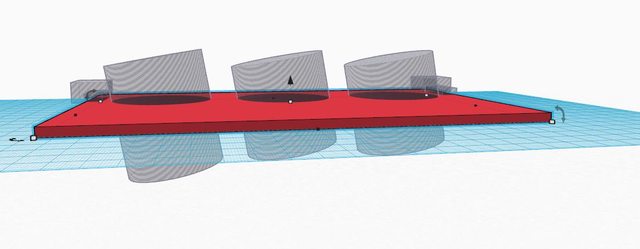
I discovered that a 10 degree angle was not going to be enough to make much of a difference in how the gauge seats inside the bezel. So i figured I'd try something more like a 30 degree angle.
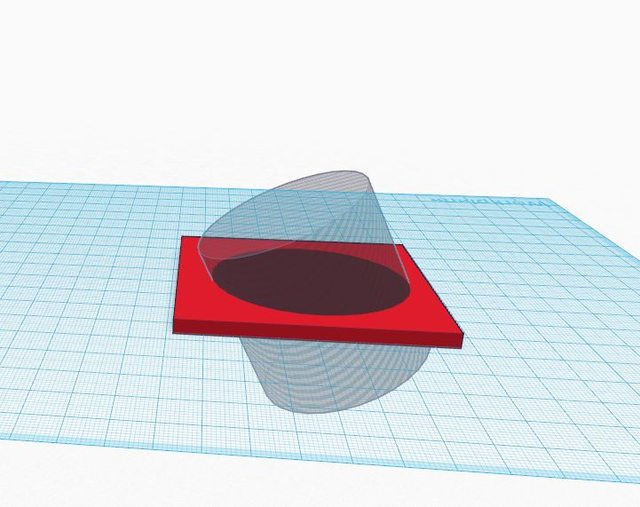
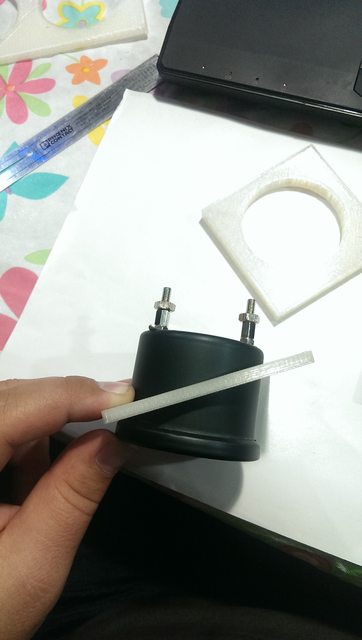
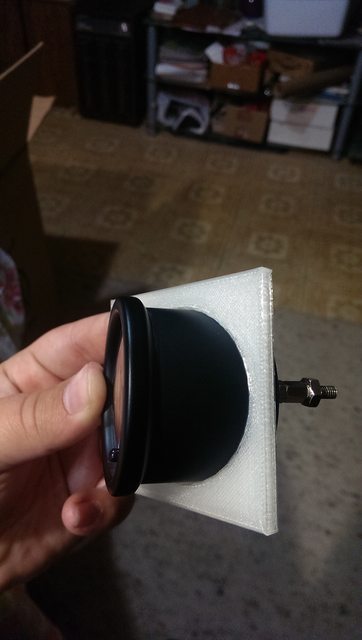
This angle should actually work. But now I need to figure out how to create a sort of rounded bezel for the opposite side of the gauge hole so it sits flush.
I've been learning as I go. Not to bad I think for only really getting into this for 3 days now. I've been trying out a few different cad software and learning the differences. Some are super simple, some are super in-depth, so it's going to be a while till I get a hold on really designing something intricate.
Kudos to Makerbot for their awesome product and software. I really haven't ran into any issues setting the machine up and starting printing. There's been some trial and error figuring out proper print settings and sometimes my prints aren't sticking to the build plate which can wreak havoc as the print head tries to still keep printing. But generally, this thing is pretty ******* awesome. Printing is really the easiest part, it's the designing etc that's getting to be a little overwhelming.
I'm going to work on the design of my center console piece a little more and try a few more prints and hopefully iron out some of the roughness in the design. Once I get something that's workable I'll post up the download for my design for anyone else to try if they want.
Then I decided I want to try designing something on my own. So Made a simple square that has a 52.5mm hole making it the perfect size for a gauge.
Then I thought I'd take a crack at making a entire center console piece. Mostly going off the design of this !nJoy gauge plate I purchased a long time ago. Except I angled the gauge holes 10 degrees toward the driver.
I discovered that a 10 degree angle was not going to be enough to make much of a difference in how the gauge seats inside the bezel. So i figured I'd try something more like a 30 degree angle.
This angle should actually work. But now I need to figure out how to create a sort of rounded bezel for the opposite side of the gauge hole so it sits flush.
I've been learning as I go. Not to bad I think for only really getting into this for 3 days now. I've been trying out a few different cad software and learning the differences. Some are super simple, some are super in-depth, so it's going to be a while till I get a hold on really designing something intricate.
Kudos to Makerbot for their awesome product and software. I really haven't ran into any issues setting the machine up and starting printing. There's been some trial and error figuring out proper print settings and sometimes my prints aren't sticking to the build plate which can wreak havoc as the print head tries to still keep printing. But generally, this thing is pretty ******* awesome. Printing is really the easiest part, it's the designing etc that's getting to be a little overwhelming.
I'm going to work on the design of my center console piece a little more and try a few more prints and hopefully iron out some of the roughness in the design. Once I get something that's workable I'll post up the download for my design for anyone else to try if they want.
Reply
0
0

That makes me want one so badly. I have the 3D knowledge to create the parts, I just need to have the hardware to print. Any thoughts on how hard it will be to clean up and get a presentable finish from the parts you make? Just some sanding or will body filler be required?
Reply
0
0

Very cool.
I wonder if you could have a sleeve extend off of that plate so the gauge bezel was flush with it.
Kinda hard to describe. I almost want to boot up sketchup and try to make it.
Id really like to even just have soemthing that could CNC cut flat stuff. Like a CNC router or laser cutter. Just being able to cut stuff out of plastic and aluminum sheets would be so awesome.
Reply
0
0
Thread Starter
Senior Member
Joined: Mar 2011
Posts: 697
Total Cats: 27
From: South Chicago
That makes me want one so badly. I have the 3D knowledge to create the parts, I just need to have the hardware to print. Any thoughts on how hard it will be to clean up and get a presentable finish from the parts you make? Just some sanding or will body filler be required?
If any of you guys wanna take a stab at making something go ahead and just send me the .stl file and I'll load it into makerware and see if it will print. Just keep in mind that complex objects or a lot of surface space takes a long time to print so for trial and error type pieces leave out useless material till we have a finalized design. Also keep in mind size, prints can only be about 11"x6"x6".
Reply
0
0

Here is money making idea for you - print a squaretop manifold! I've been seriously considering buying a 3D printer for past couple of weeks. There are just so many things I want to prototype!
Reply
0
0
I might take you up on that... I will have to give some thought to what needs the process the worst. I tend to think in terms of the tools I have on hand so I haven't thought in terms of "what could I 3D print" just yet. Maybe I can come up with something useful for all the miata owners out there.
Reply
0
0
Thread Starter
Senior Member
Joined: Mar 2011
Posts: 697
Total Cats: 27
From: South Chicago
I might take you up on that... I will have to give some thought to what needs the process the worst. I tend to think in terms of the tools I have on hand so I haven't thought in terms of "what could I 3D print" just yet. Maybe I can come up with something useful for all the miata owners out there.
Reply
0
0


Joined: Sep 2005
Posts: 34,402
Total Cats: 7,523
From: Chicago. (The less-murder part.)
That said, the guy who doesn't know much at all about this sort of filament-based printer asks the following: putting aside dimensional concerns (that's what epoxy is for), are there any materials which can be squirted out of these devices that would genuinely be suitable for creating something like an intake manifold, which is subjected to high temperatures and great physical stress?
Reply
0
0
Reply
0
0
Possibly Objet High Temperature Material? Here's a link to physical specs: edit*Herp-a, derp-a derp-a OOOOOOOOOH - Cheezburger
Not sure if 167-176 degrees is a high enough HDT (heat distortion temperature) for an intake.
Not sure if 167-176 degrees is a high enough HDT (heat distortion temperature) for an intake.
Last edited by Monk; May 22, 2014 at 11:21 AM.
Reply
0
0
Reply
0
0
Joined: Sep 2005
Posts: 34,402
Total Cats: 7,523
From: Chicago. (The less-murder part.)
(Assuming that you're not running an FTP or HTTP server on your desktop.)
I did some Googling, and apparently the heat deflection temperature (the point at which a polymer begins to deform) is only 80�C for Objet High Temperature Material, so that's not good for under-hood parts. And I can't find any meaningful (to me) data which compares it to something like ABS or GRP in terms of strength. Intake manifolds take a lot of abuse and are expected not to break in half. The consequences of that happening on a speed-density engine could be catastrophic.
Reply
0
0
Thread Starter
Senior Member
Joined: Mar 2011
Posts: 697
Total Cats: 27
From: South Chicago
Besides what doppel said, ABS can withstand higher temps than PLA . I don't have an exact number but they said PLA will warp if say you made a coffee mug and filled it with coffee.
PLA prints at 230*C I haven't quite figured out ABS yet.
https://www.whiteclouds.com/abs-or-pla-when-use-what
PLA prints at 230*C I haven't quite figured out ABS yet.
https://www.whiteclouds.com/abs-or-pla-when-use-what
Reply
0
0
Oops, sorry about that. Try this one. Materials are at the top of the page. If you scroll down a bit, you can download a spec sheet that lists everything side by side.
http://www.javelin-tech.com/3d-print.../rigid-opaque/
http://www.javelin-tech.com/3d-print.../rigid-opaque/
Reply
0
0
Joined: Sep 2005
Posts: 34,402
Total Cats: 7,523
From: Chicago. (The less-murder part.)
Oops, sorry about that. Try this one. Materials are at the top of the page. If you scroll down a bit, you can download a spec sheet that lists everything side by side.
http://www.javelin-tech.com/3d-print.../rigid-opaque/
http://www.javelin-tech.com/3d-print.../rigid-opaque/
Doing some light googling, it seems that thematerial which OEMs are using for their intake manifolds is a material made by DuPont called "Nylon 66," which has a melting point of 260�C (500�F) and is typically reinforced with 10-20% chopped glass fiber.
https://home.comcast.net/~roadska/nylon66.pdf
So, nothing that would ever be suitable for a 3d printer, given current-gen technology.
Someone here needs to build an aluminum foundry.
Last edited by Joe Perez; May 22, 2014 at 12:26 PM.
Reply
0
0


