
A beginners DIY journey to ITB/Turbo


Thread Starter
Junior Member
Joined: Dec 2014
Posts: 46
Total Cats: 13
I don't feel heckled. For the most part the info and threads I've crossed through on this forum has been very helpful.
Stubborn in the other hand, I am.

Reply
 0
0

0


Joined: Sep 2010
Posts: 8,152
Total Cats: 1,092
From: Lake Forest, CA
Impressive fab work. Sweet manifold. Kitties awarded.
Reply
0
0
Thread Starter
Junior Member
Joined: Dec 2014
Posts: 46
Total Cats: 13
Thanks!
Still have a long way to go. I need to make a bunch of stuff for temperature control. Previous owners left no under tray or even fender liners it. The issue is easily seen at highway speeds. It runs warmer at 80mph (yay Montana highways!) than it does sitting and idling non stop. A front splitter and boxing off the rad/intercooler should help immensely.
Still have a long way to go. I need to make a bunch of stuff for temperature control. Previous owners left no under tray or even fender liners it. The issue is easily seen at highway speeds. It runs warmer at 80mph (yay Montana highways!) than it does sitting and idling non stop. A front splitter and boxing off the rad/intercooler should help immensely.
Reply
0
0
Joined: Sep 2010
Posts: 8,152
Total Cats: 1,092
From: Lake Forest, CA
indeed, get proper ducting in there and you should be good to go.
Reply
0
0

Thread Starter
Junior Member
Joined: Dec 2014
Posts: 46
Total Cats: 13
This is how I see it. IAT temps will be negligible between the end tank and 1' of charge piping. The boost source for the IWG is already right there next to the IAT sensor. I suppose my logic for putting it there was so that the IWG was seeing actual pressure at the TB rather than at the compressor outlet. I also put the IAT sensor in that location because its sorta where it ended up. When it was equipped with ITB's I extended the harness to sit right above the passenger strut tower. So it kinda just worked out that way.
Reply
0
0

Joined: Apr 2014
Posts: 18,643
Total Cats: 1,870
From: Beaverton, USA
Because the IAT sensor will heat soak in the engine bay and make for false temp readings.
Cant tell if your boost source is post throttle body, but that is a bad place for it to be. Part throttle will cause overspinning the turbo. And with no BOV even more turbo go boom.
Cant tell if your boost source is post throttle body, but that is a bad place for it to be. Part throttle will cause overspinning the turbo. And with no BOV even more turbo go boom.
Reply
0
0
Thread Starter
Junior Member
Joined: Dec 2014
Posts: 46
Total Cats: 13
Because the IAT sensor will heat soak in the engine bay and make for false temp readings.
Cant tell if your boost source is post throttle body, but that is a bad place for it to be. Part throttle will cause overspinning the turbo. And with no BOV even more turbo go boom.
Cant tell if your boost source is post throttle body, but that is a bad place for it to be. Part throttle will cause overspinning the turbo. And with no BOV even more turbo go boom.
I'm not doubting that I have nothing to lose by moving the sensor. But this is no hot weather application. Up here in the mountains it doesn't get real warm. The folks down south may have different experiences...
That being said, I believe that in my application it is in a perfectly fine and easily accessible location. If something changes or it becomes inefficient, Ill change the design.
Boost source for the IWG is pre throttle body. Literally right next to the IAT sensor.
Reply
0
0
Joined: Apr 2014
Posts: 18,643
Total Cats: 1,870
From: Beaverton, USA
Boost source is fine then.
It actually is worse in cold weather. The engine bay heatsoaks and it can cause issues. You don't have to listen to any of it, but this is all from a lot of peoples experience. I think I even took a video recently of heating up the outside of the sensor and seeing my AIT go up and the Megasquirt added fuel even though my actual intake air temp was cooler. Car went rich and started stumbling. Video is somewhere around.
It actually is worse in cold weather. The engine bay heatsoaks and it can cause issues. You don't have to listen to any of it, but this is all from a lot of peoples experience. I think I even took a video recently of heating up the outside of the sensor and seeing my AIT go up and the Megasquirt added fuel even though my actual intake air temp was cooler. Car went rich and started stumbling. Video is somewhere around.
Reply
0
0
Thread Starter
Junior Member
Joined: Dec 2014
Posts: 46
Total Cats: 13
Boost source is fine then.
It actually is worse in cold weather. The engine bay heatsoaks and it can cause issues. You don't have to listen to any of it, but this is all from a lot of peoples experience. I think I even took a video recently of heating up the outside of the sensor and seeing my AIT go up and the Megasquirt added fuel even though my actual intake air temp was cooler. Car went rich and started stumbling. Video is somewhere around.
It actually is worse in cold weather. The engine bay heatsoaks and it can cause issues. You don't have to listen to any of it, but this is all from a lot of peoples experience. I think I even took a video recently of heating up the outside of the sensor and seeing my AIT go up and the Megasquirt added fuel even though my actual intake air temp was cooler. Car went rich and started stumbling. Video is somewhere around.
If you are seeing higher IAT temps shouldn't the ecu be pulling fuel and be experiencing a lean condition? Warm air is less dense, requires less fuel sorta thing. I know under boost more fuel can be used to cool the engine, but I'm assuming you did this test at idle.
Reply
0
0
Thread Starter
Junior Member
Joined: Dec 2014
Posts: 46
Total Cats: 13
Anyway, this past weekend I built a splitter, which had me removing everything in the way of the intercooler. So while I was in there I pulled the intercooler and moved the iat sensor to the end tank. So far I haven't done any logs in the new position. But I can only assume what soak there was should now be gone.
I also picked up an EBC that I'll hopefully sick in sooner or later.
Reply
1
1

Just seeing this thread now, looks great. Lots of DIY still which is awesome. How much solder/electronics experience did you have going into the Megasquirt build? Did you use a particular build guide?
Reply
0
0

Thread Starter
Junior Member
Joined: Dec 2014
Posts: 46
Total Cats: 13
Go to radio shack. Buy one of their smaller DIY Arduino kits ($20) and a cheap low amp soldering iron. And just follow the directions and see if you can set it up. If you can follow the directions and make it work, you've probably got what it takes. I literally chipped my first ecu and built my MS using a $15 pen style 20 watt radio shack soldering iron and some solder braid I got at a pawn shop.
Link to the Arduino kit.
https://www.radioshack.com/products/...ant=7188616645
Here are just a few of the links I used. Some stuff is outdated.
https://www.diyautotune.com/support/...n/diypnp-v1-5/
https://www.miataturbo.net/useful-sa...asquirt-13676/
Engine Management Megasquirt DIYPNP "How-To" - Step-By-Step Instructions - Miata Forumz - Mazda Miata Chat Forums
Basically everything you need you can find. Some of it takes some searching, but trust me the info is all out there to be had. The trick is using the right search words. Which you will figure out as you go.
Start with the diyautotune link. From there that first link can be broken down into almost all of what you will need. My issue was that I learn things differently probably than most. It can sometimes be difficult for me to conceptualize certain things. Which is why I was constantly looking for other writeups that explain the same thing, but in a way I understood. I would say I have an undiagnosed learning disability. But don't tell anyone...
You just have to believe that you can do it. But if your only reason for doing the DIY is because its cheaper I think you're gonna have some difficulties. I went the DIY route (with the ecu and everything else) to prove to myself and the nay sayers that I could do anything I set my mind to. I still cant pick up chicks though...
I believe every forum has something to offer though. Even though some of those forums are only good for a laugh... But where would I be without DSO.
Also, I made a splitter.


Reply
0
0


Thread Starter
Junior Member
Joined: Dec 2014
Posts: 46
Total Cats: 13
+
His channel is where I learned 90% of what I know.
I usually wear something with long sleeves. But yes, I should get a jacket.
His channel is where I learned 90% of what I know.
I usually wear something with long sleeves. But yes, I should get a jacket.
Reply
0
0
Thread Starter
Junior Member
Joined: Dec 2014
Posts: 46
Total Cats: 13
So, for the first time ever racing with my local autox I finally won a pint glass. I was racing in XP, which the car is way underclassed for. But with the gutted interior and everything else I kinda get stuck in the catch all class. Not a big deal, and it will never be competitive. But my whole deal with the Miata is just to challenge myself on a mechanical level and have fun all the while. I would say I succeeded that goal and then some. And there is still a ton of stuff left that I want to mess with.
But anyway, heres the pint glass for taking first in Prepared today(this is the first time Ive ever received any sort of "trophy" in autox).

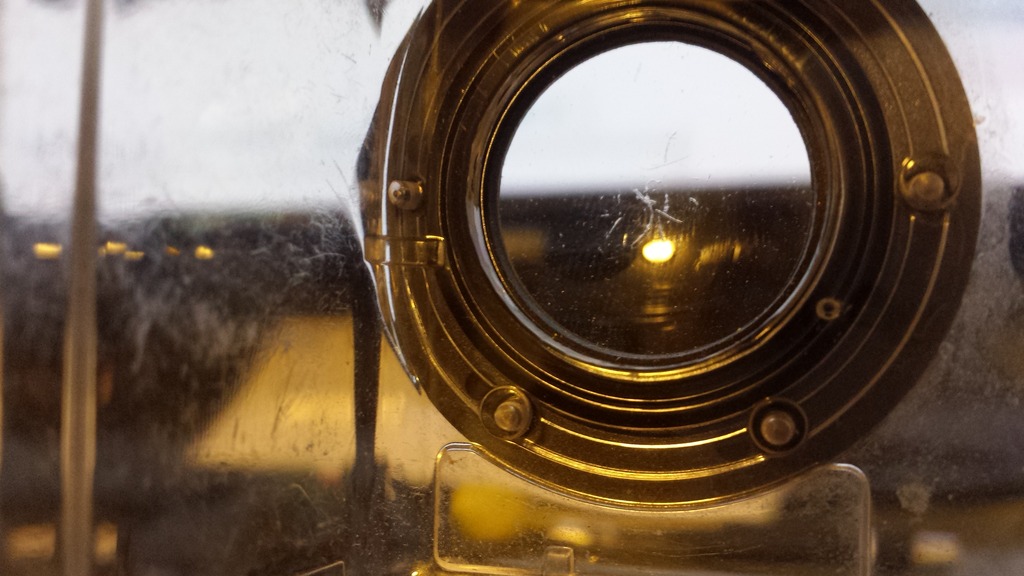
Said scratched GoPro lens.
And a lap from today. This wasn't one of my faster laps, seems I failed to record any of the decent laps. And don't mind the hood prop banging around in the trunk. It appears as though I accidentally left it in there after lunch.
YouTube Video:
But anyway, heres the pint glass for taking first in Prepared today(this is the first time Ive ever received any sort of "trophy" in autox).

Said scratched GoPro lens.

And a lap from today. This wasn't one of my faster laps, seems I failed to record any of the decent laps. And don't mind the hood prop banging around in the trunk. It appears as though I accidentally left it in there after lunch.
YouTube Video:
Reply
0
0
Thread Starter
Junior Member
Joined: Dec 2014
Posts: 46
Total Cats: 13
Oh how our plans change...
First, its notable to mention that the thread title should no longer include "ITB". I sold my setup to someone else.
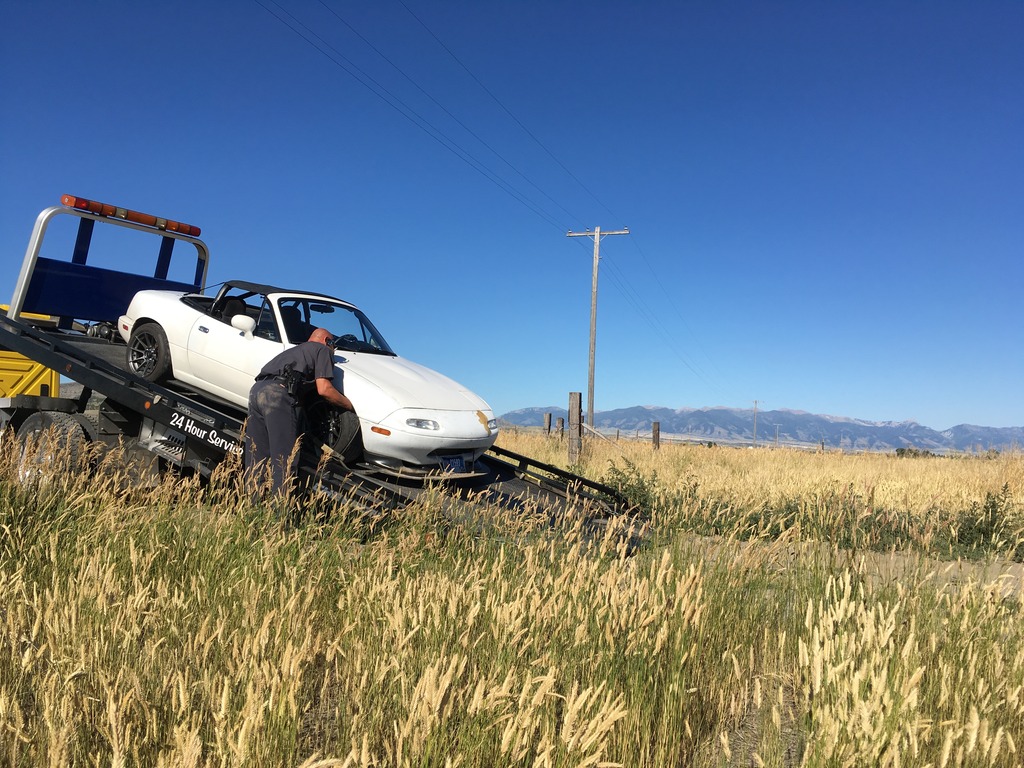
What happened was I experienced some detonation and cracked the top of a piston off. Long story short, I decided to rebuild it using an eBay rebuild kit with the intentions of saving up to go V8. Well again, plans change. I experienced some more detonation causing the same outcome. I tried listing a few things for sale. Like a full LSD swap, trans, motor for rebuild, for sale. Had no real interest in the matter. So I let the car sit for about 6 months.
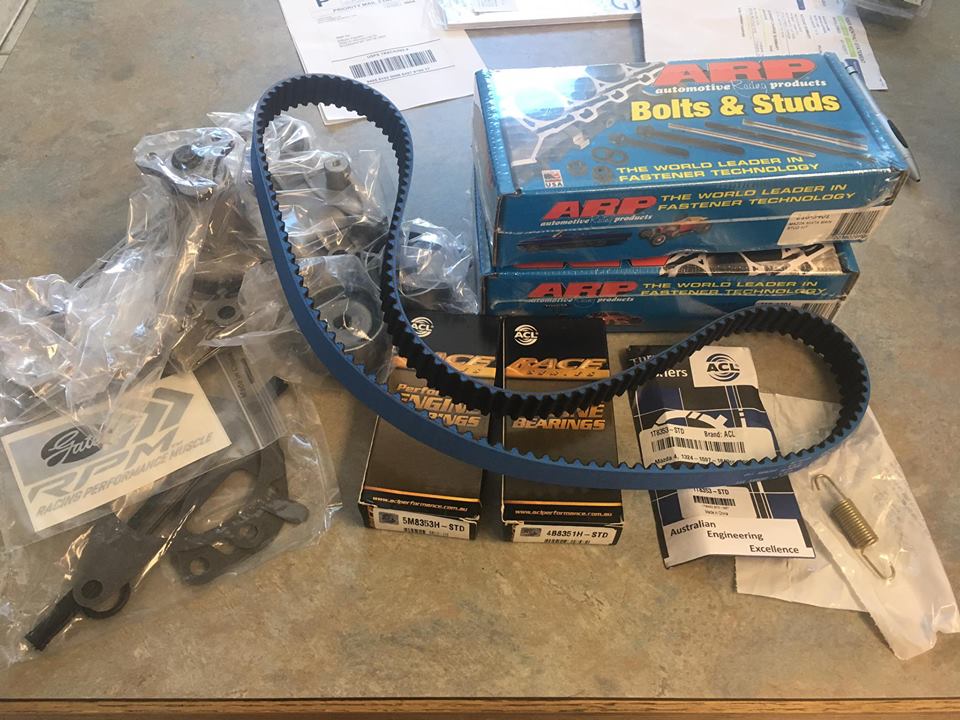
Now, Ive started amassing parts to build my 1.8. I have...
Supertech 83.5 8.6:1 pistons, Wiseco XX rings, except through some ordering mistakes I was freely upgraded to 8.5:1 Wiseco's
ACL Race main/rod bearings
ARP main/head studs
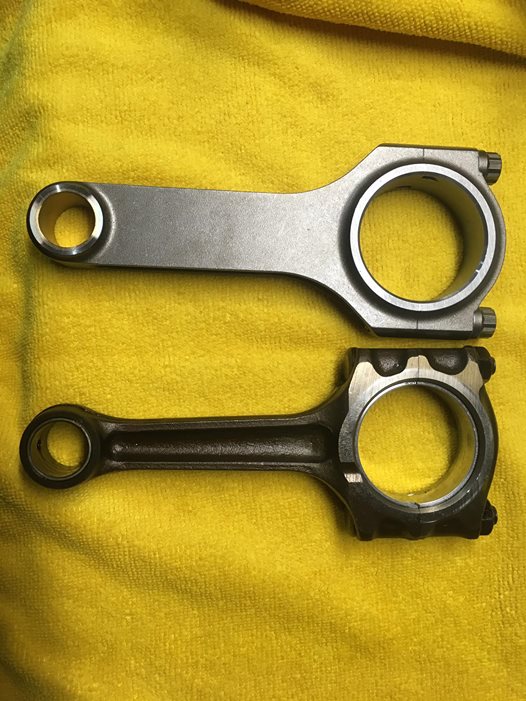
eBay H-beam rods w/ 3/8 ARP2000 bolts
Gates water pump/ racing timing belt kit
BE oil pump gears
Balanced internals/rotating assy
balanced fly/clutch assy
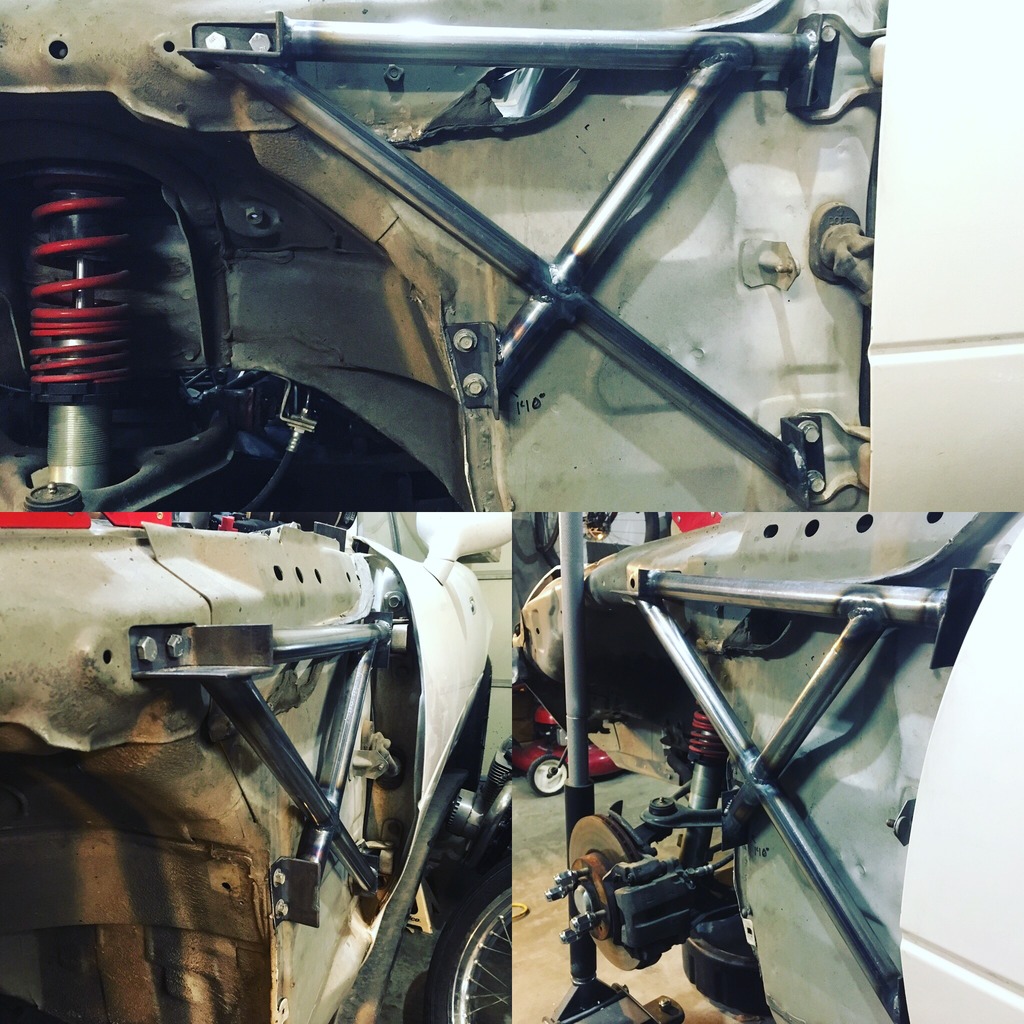
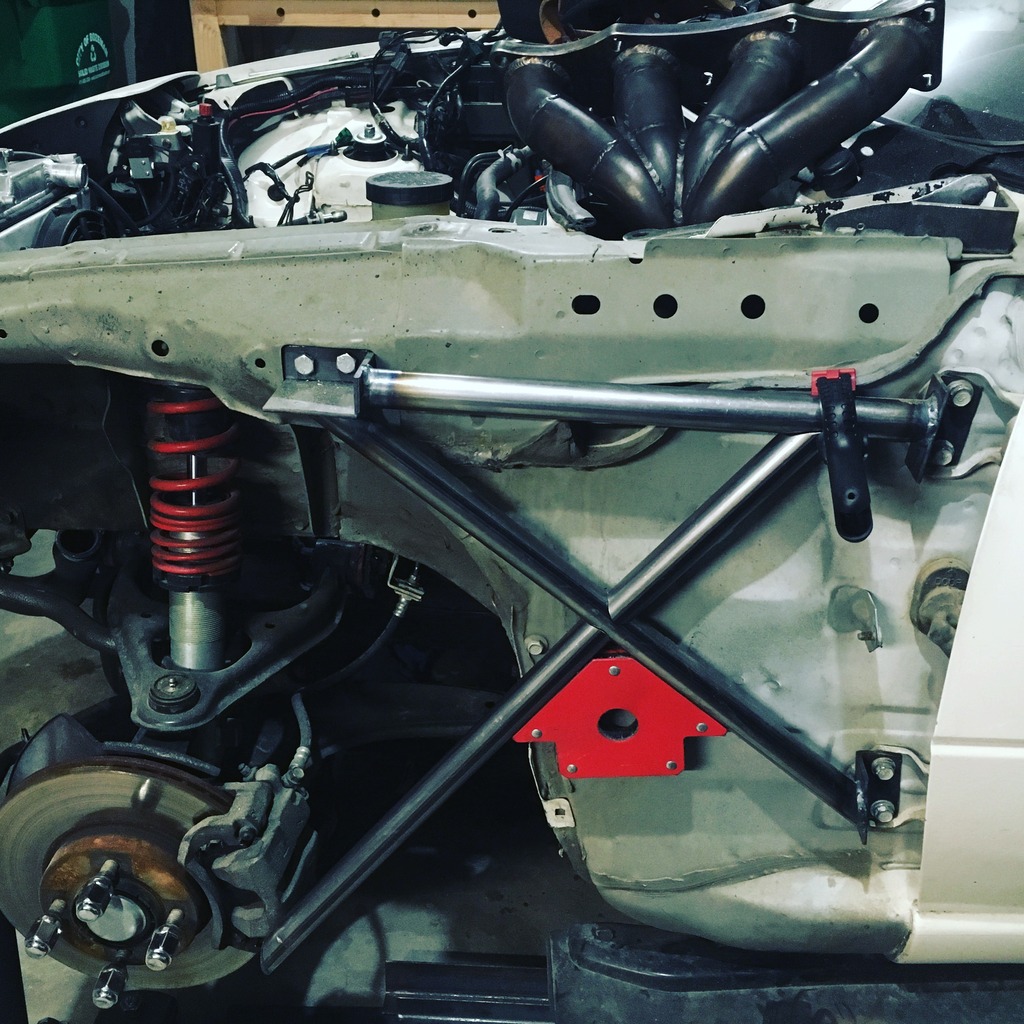
Ive also got a trade in the works for a BP4W head. All I have to do is finish a couple extra sets of these fender braces Ive been making for my car. The trade kinda fell in my lap after posting a pic on a Facebook page. I cant afford to build the head this year, yet... so the plan is to run it but build it next winter.
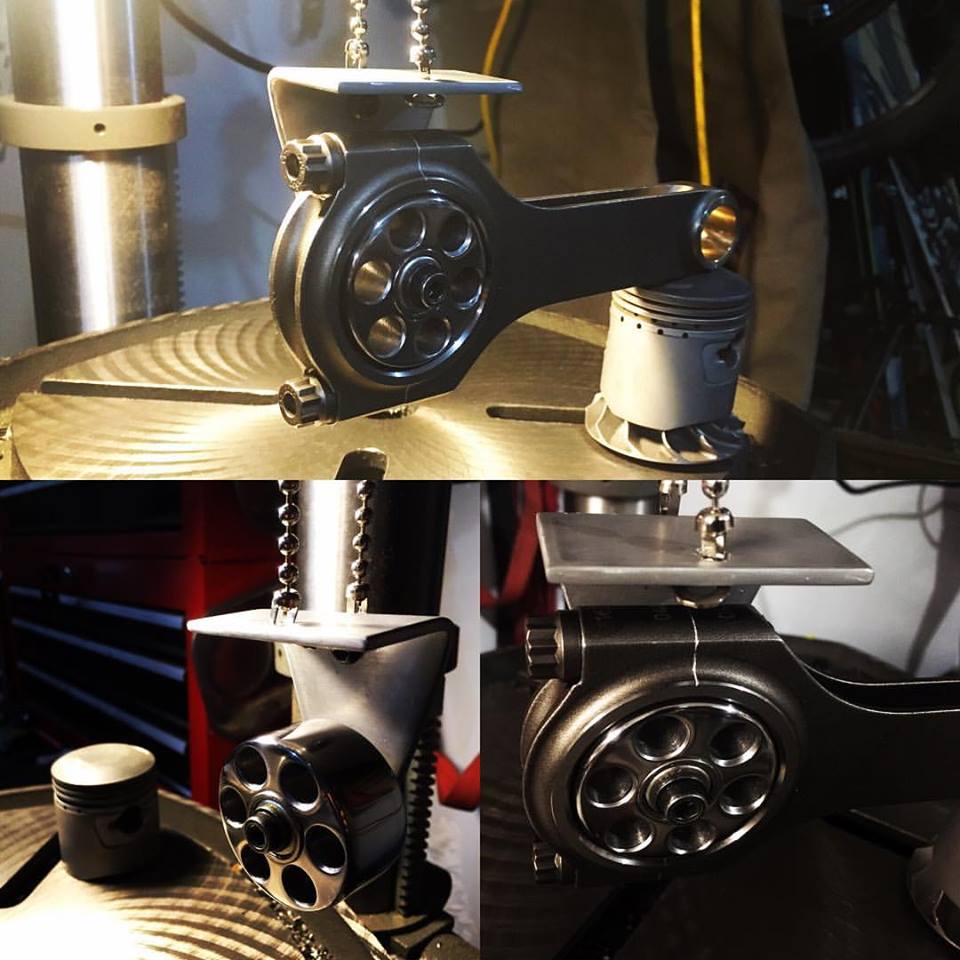
Beings Im a diy type Im building my own rod balancing jig. So I will balance the piston/rod assy and weight match the bearings/rings. But Ill have my machinist do the crank/fly/clutch. Ill check the rods/pistons on his equipment to be sure its all good though.
Been working my *** off doing OT to support this winters build. Det monitoring will be a huge priority this go round... but Ill still tune it myself. Ill just have a lot more to lose this time, which is incentive to spend more time tuning it. Ive already got an electronic style det can setup built and plan to buy a knocklite style setup as well.
Here are some pictures for your viewing pleasure...
First, its notable to mention that the thread title should no longer include "ITB". I sold my setup to someone else.
What happened was I experienced some detonation and cracked the top of a piston off. Long story short, I decided to rebuild it using an eBay rebuild kit with the intentions of saving up to go V8. Well again, plans change. I experienced some more detonation causing the same outcome. I tried listing a few things for sale. Like a full LSD swap, trans, motor for rebuild, for sale. Had no real interest in the matter. So I let the car sit for about 6 months.
Now, Ive started amassing parts to build my 1.8. I have...
Supertech 83.5 8.6:1 pistons, Wiseco XX rings, except through some ordering mistakes I was freely upgraded to 8.5:1 Wiseco's
ACL Race main/rod bearings
ARP main/head studs
eBay H-beam rods w/ 3/8 ARP2000 bolts
Gates water pump/ racing timing belt kit
BE oil pump gears
Balanced internals/rotating assy
balanced fly/clutch assy
Ive also got a trade in the works for a BP4W head. All I have to do is finish a couple extra sets of these fender braces Ive been making for my car. The trade kinda fell in my lap after posting a pic on a Facebook page. I cant afford to build the head this year, yet... so the plan is to run it but build it next winter.
Beings Im a diy type Im building my own rod balancing jig. So I will balance the piston/rod assy and weight match the bearings/rings. But Ill have my machinist do the crank/fly/clutch. Ill check the rods/pistons on his equipment to be sure its all good though.
Been working my *** off doing OT to support this winters build. Det monitoring will be a huge priority this go round... but Ill still tune it myself. Ill just have a lot more to lose this time, which is incentive to spend more time tuning it. Ive already got an electronic style det can setup built and plan to buy a knocklite style setup as well.
Here are some pictures for your viewing pleasure...


Reply
0
0


