When you click on links to various merchants on this site and make a purchase, this can result in this site earning a commission. Affiliate programs and affiliations include, but are not limited to, the eBay Partner Network.
What a prophecy, unless something dramatic changes. I'm flying out in a few weeks to Kentucky to bring home an '06 Miata GT. I/H/E + tune, Big front Eibach, and DA MCS coilovers.
The NC is a great chassis and will really liven up given a few basic modifications.
I've grown to love it and do not want to even bother with my NA now.
The NC is a great chassis and will really liven up given a few basic modifications.
I've grown to love it and do not want to even bother with my NA now.
I had one as a DD years ago, but it stayed stock except for an OFT tune. I still had the NA track car at the time, so there was no point in putting money into the NC.
The NC has always treated me well in terms of reliability and I wish to keep it that way.
I am a firm believer in preventative maintenance and like to double, if not triple check over the car. I have neglected to fix minor leaks on the car for the past few months and wanted to replace various gaskets. It would also be an opportune time to make sure all of the fittings were tight, and check the torque on suspension components.
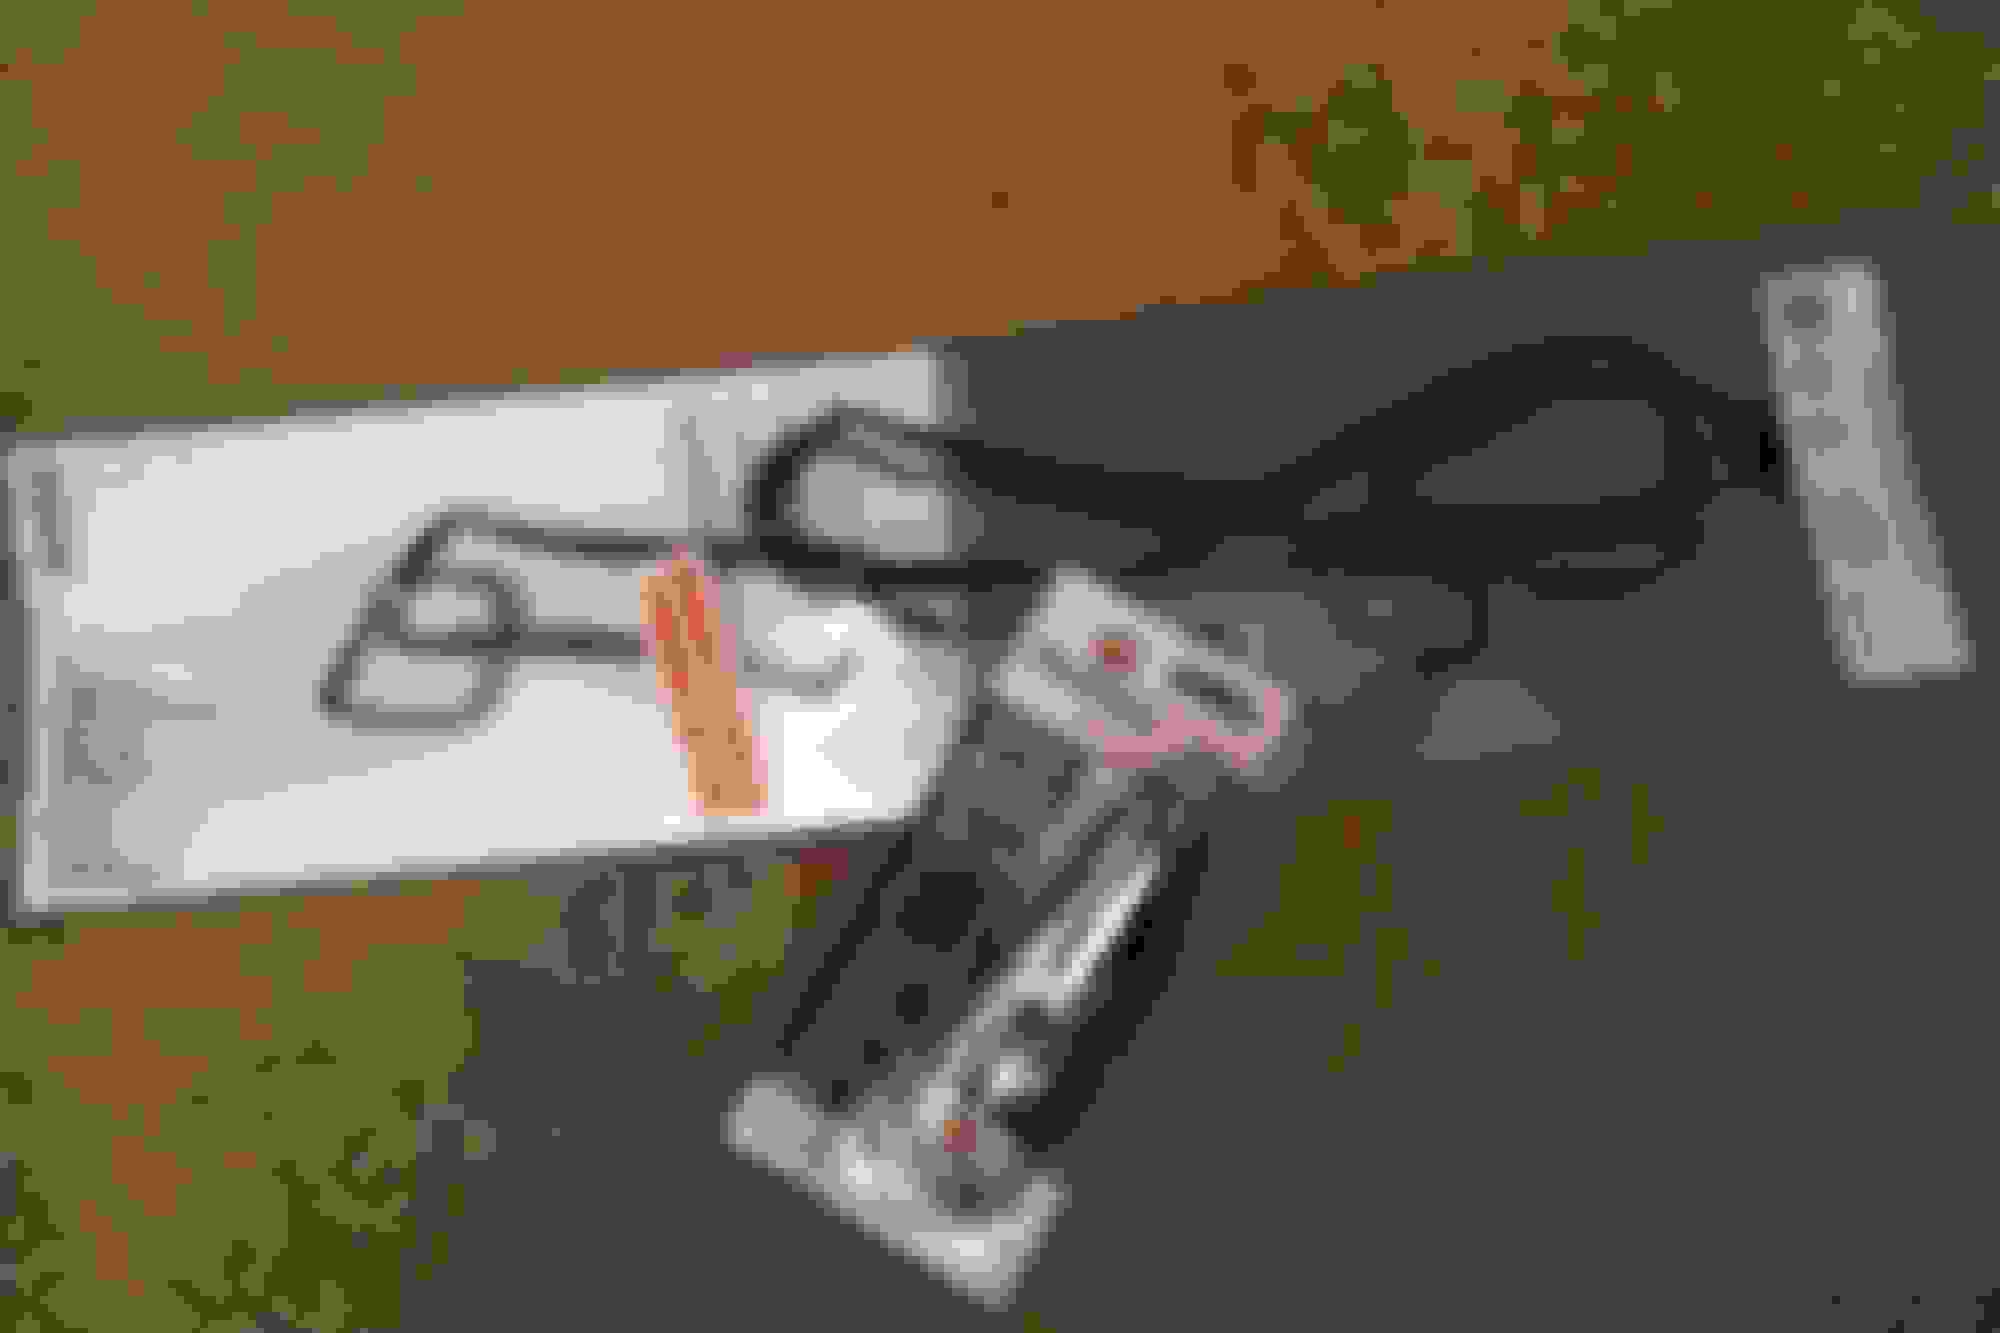
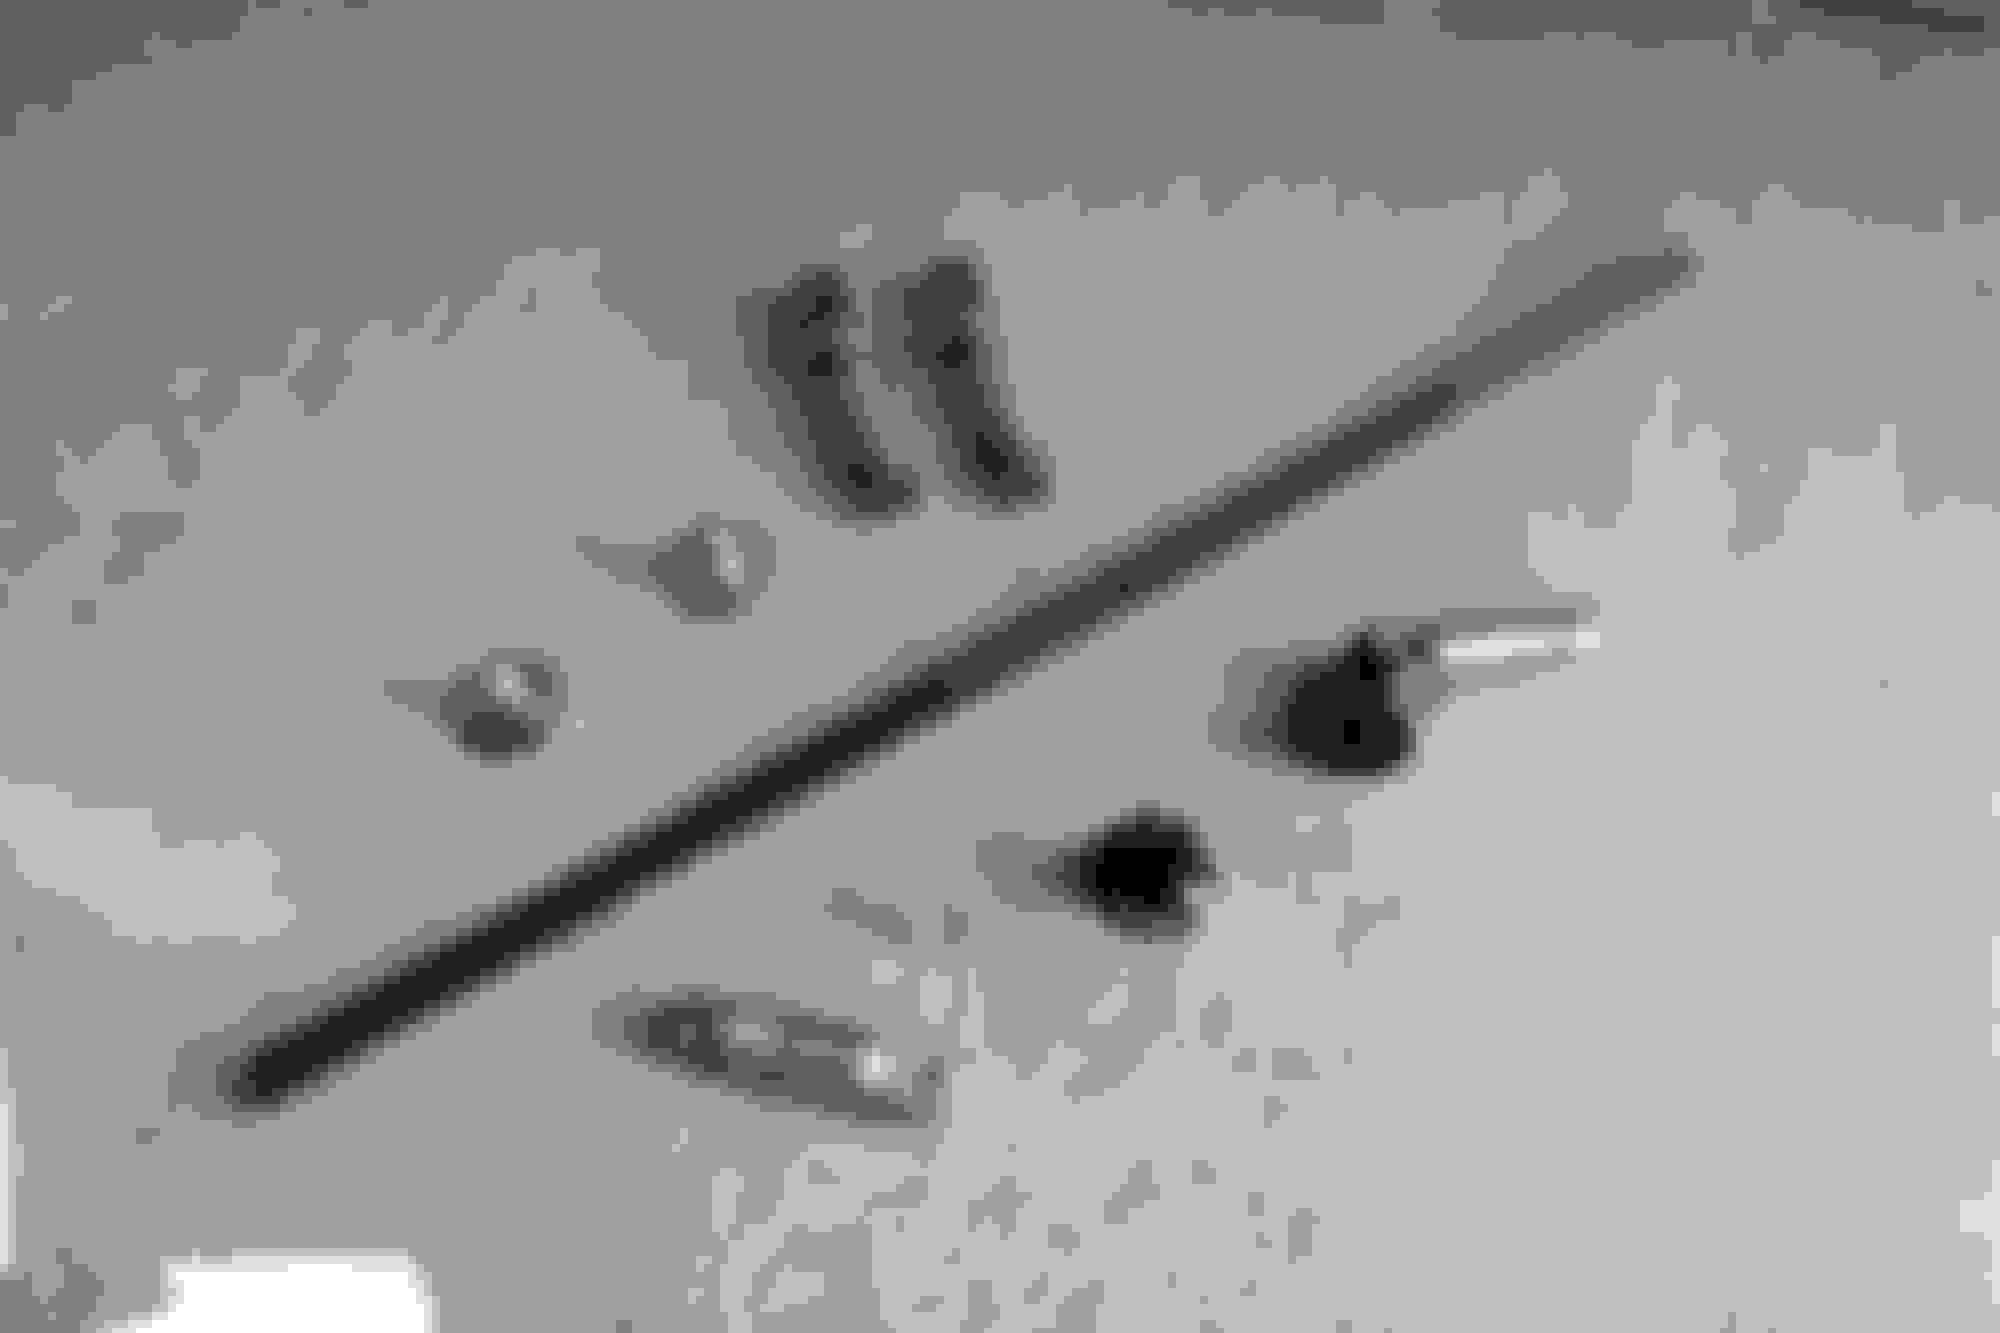
I noticed that the valve cover was old and very brittle most noticeably on the exhaust side due to the heat radiating off of the exposed header. I ordered a new valve cover gasket and VCT seal for the valve cover.
Valve Cover: MAHLE VS50417
VCT gasket: MAHLE B32649
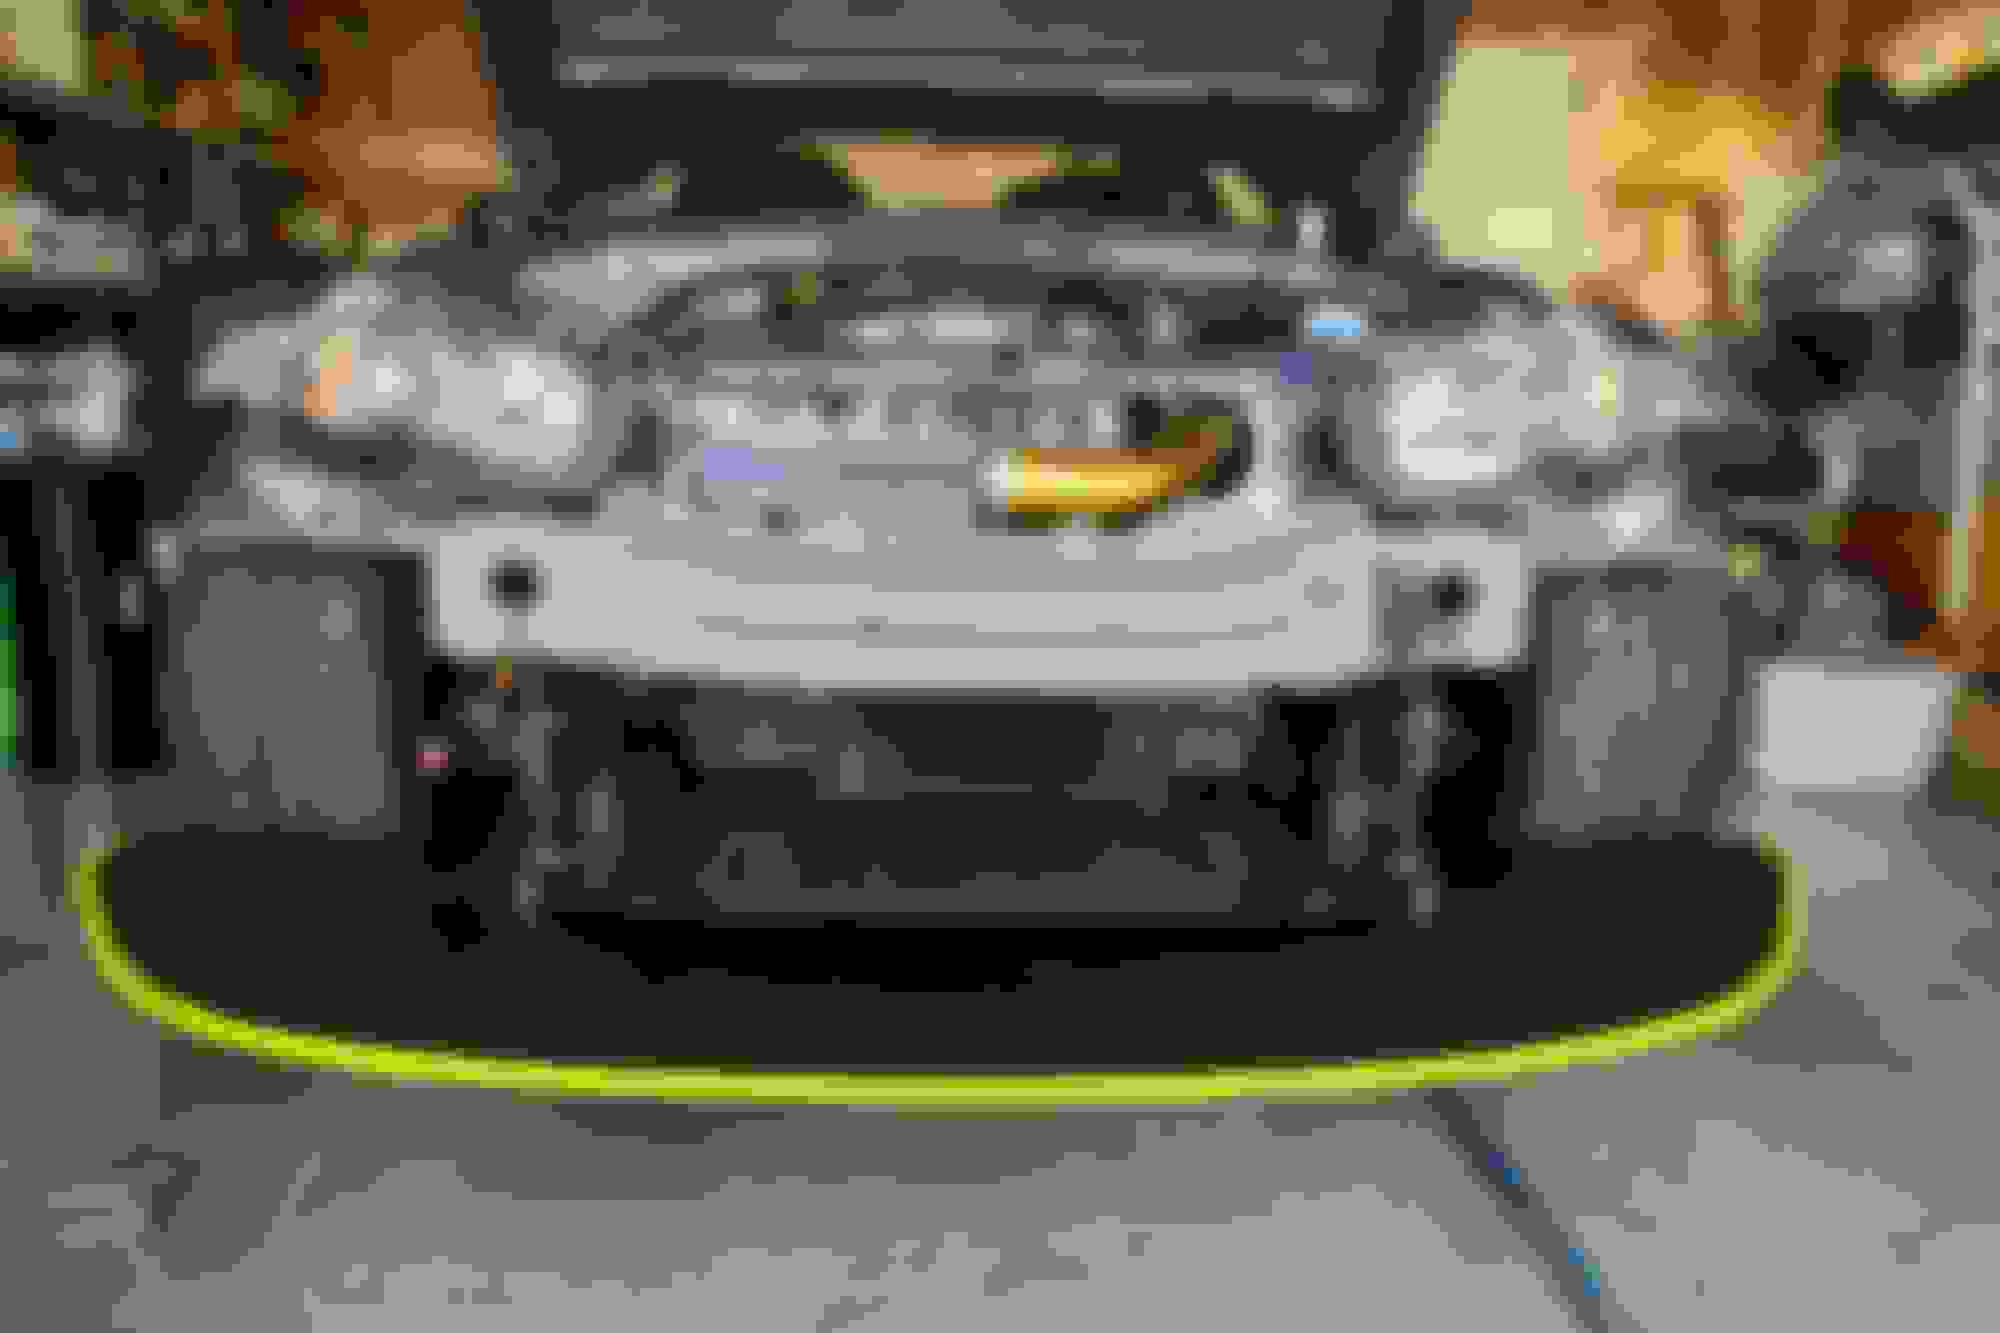
The engine quite far back in the chassis and is nestled and tucked underneath the firewall on the NC. Luckily the center most section is removable allowing for much easier access. After removing the two wiper blades, upper cowl, and strut tower braces I was then able to remove the center section.
Center section removed.
The valve cover is plastic, and I gave it a thorough cleaning and degreasing before installing the new gasket. The valve cover gasket set included four pieces, one larger piece that spanned the entire perimeter, and three smaller pieces that partitioned each coil. Each piece was molded so there was no confusion as which gasket went where. The VCT solenoid was easily replaced with mild force required to pop it in and out of it respected place on the top of the cover.
Upon installation, two small dabs of sealant are required properly seal the valve cover. The two small dabs are placed between where the head meets the timing cover in order to achieve a good seal.
After resealing the cover and waiting it to dry I tackled the shifter boots. Transmission fluid would splash up out of the shifter turret and into the cabin leaving, as well as heat from the transmission. With the car already being minimalist in terms of comfort, I thought this would be a simple fix that would help just a little bit. I ordered a new large 6 speed shifter boot from IL Motorsport and it bolted straight in.
The kit also came with a small cover that went underneath the larger boot to further seal the interior of the car.
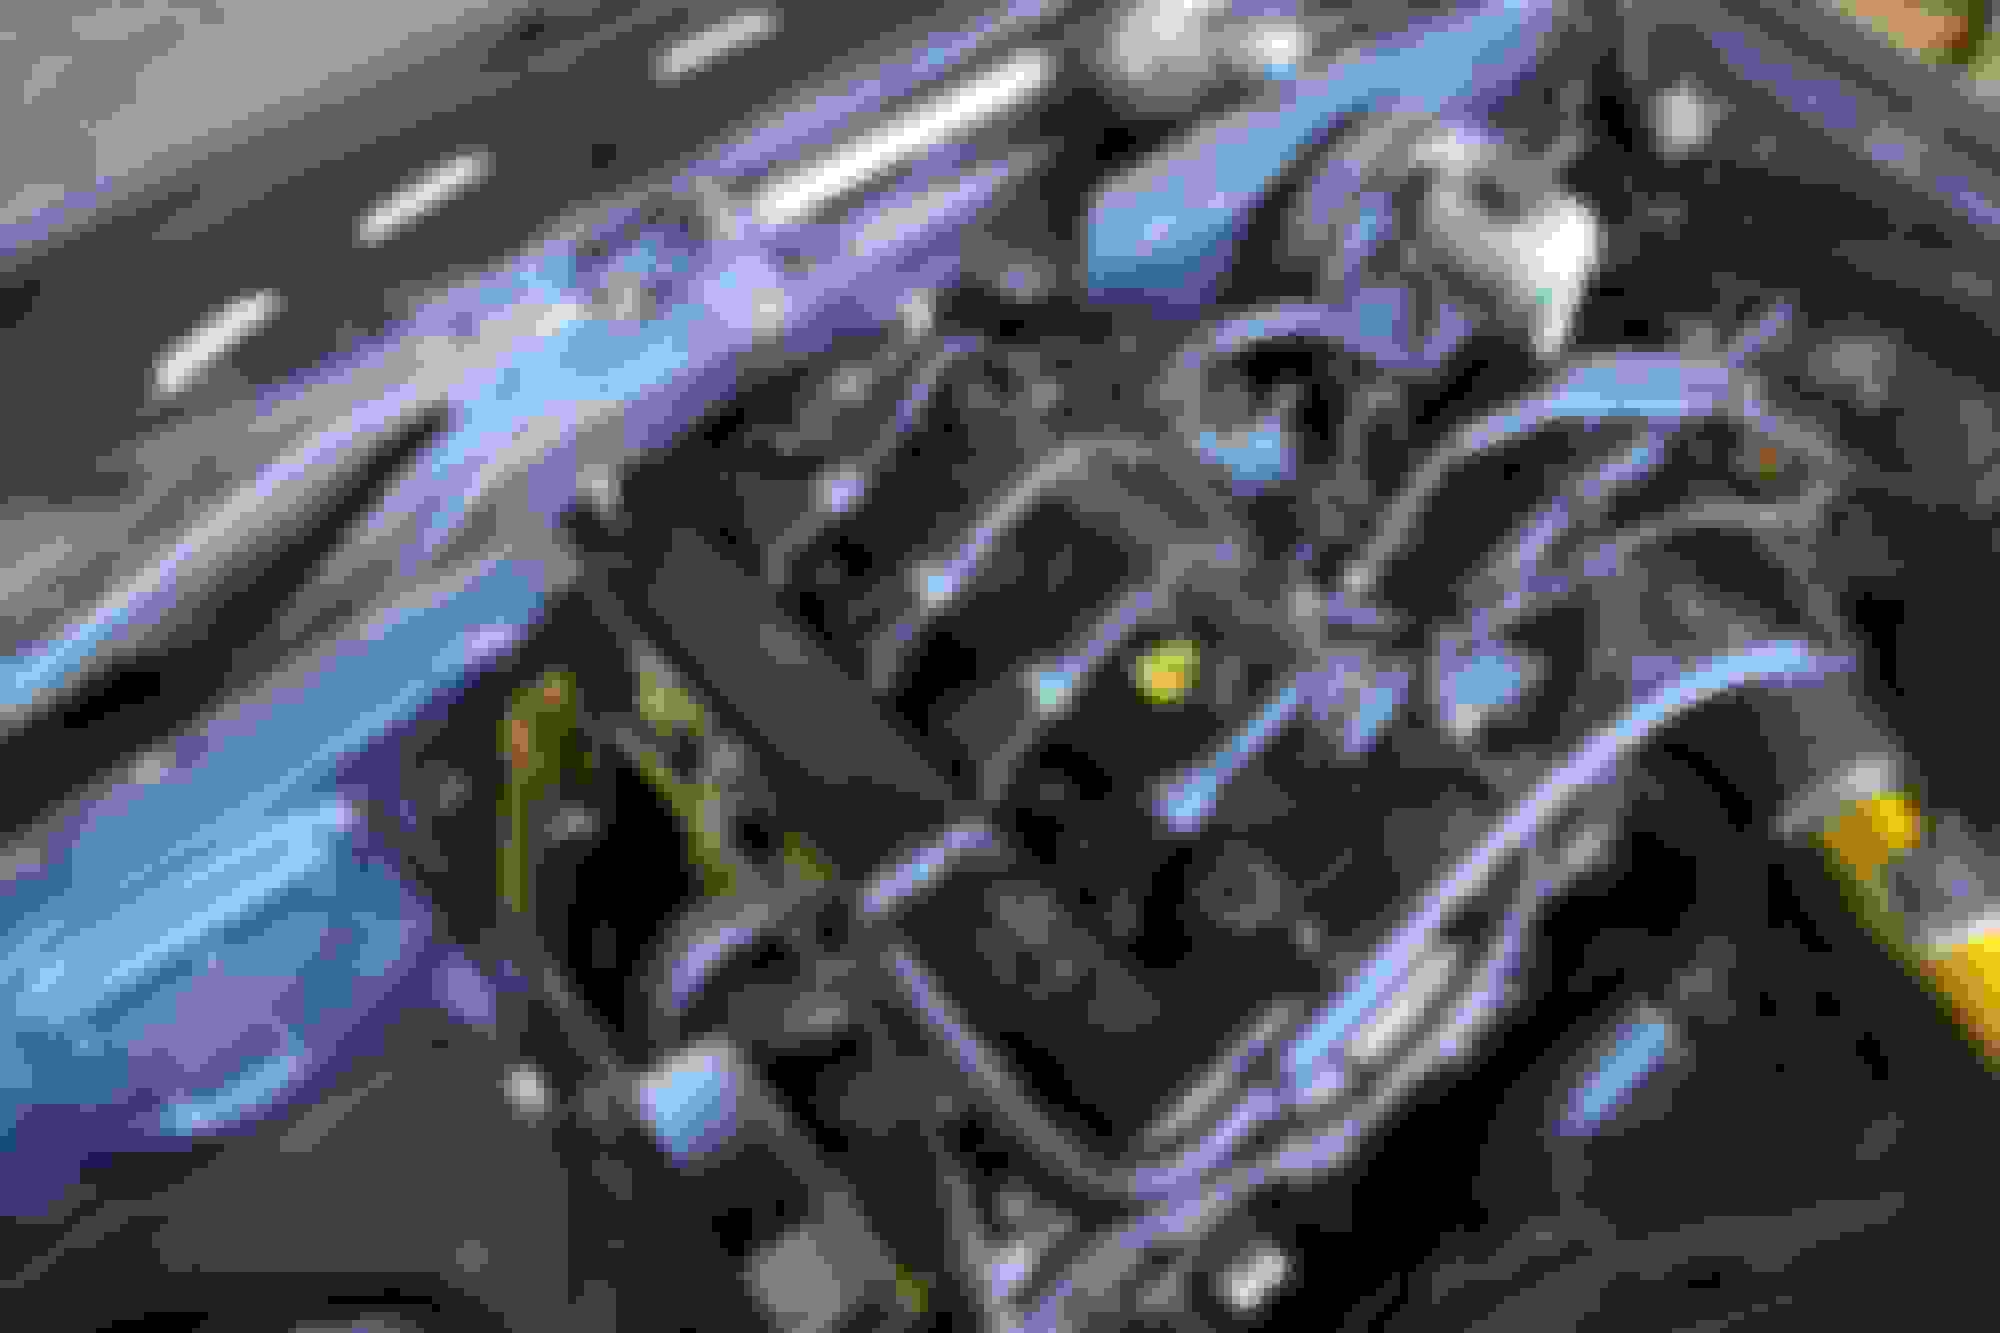
Last but not least I wanted to check the torque of all the suspension bolts and if there were any leaks coming from the oil cooler that I had installed a few months ago.
My motto is I would rather be safe than sorry.
The front bumper came off, and everything looked fantastic. There was not a leak in sight from any of the AN fittings, and the sheathing and routing of my oil lines, protected the nylon lines from any rubbing or damage.
Further Inspection.
Check and check.
Everything looked great and promptly put everything back together.
The car is ready for the next round of track abuse.
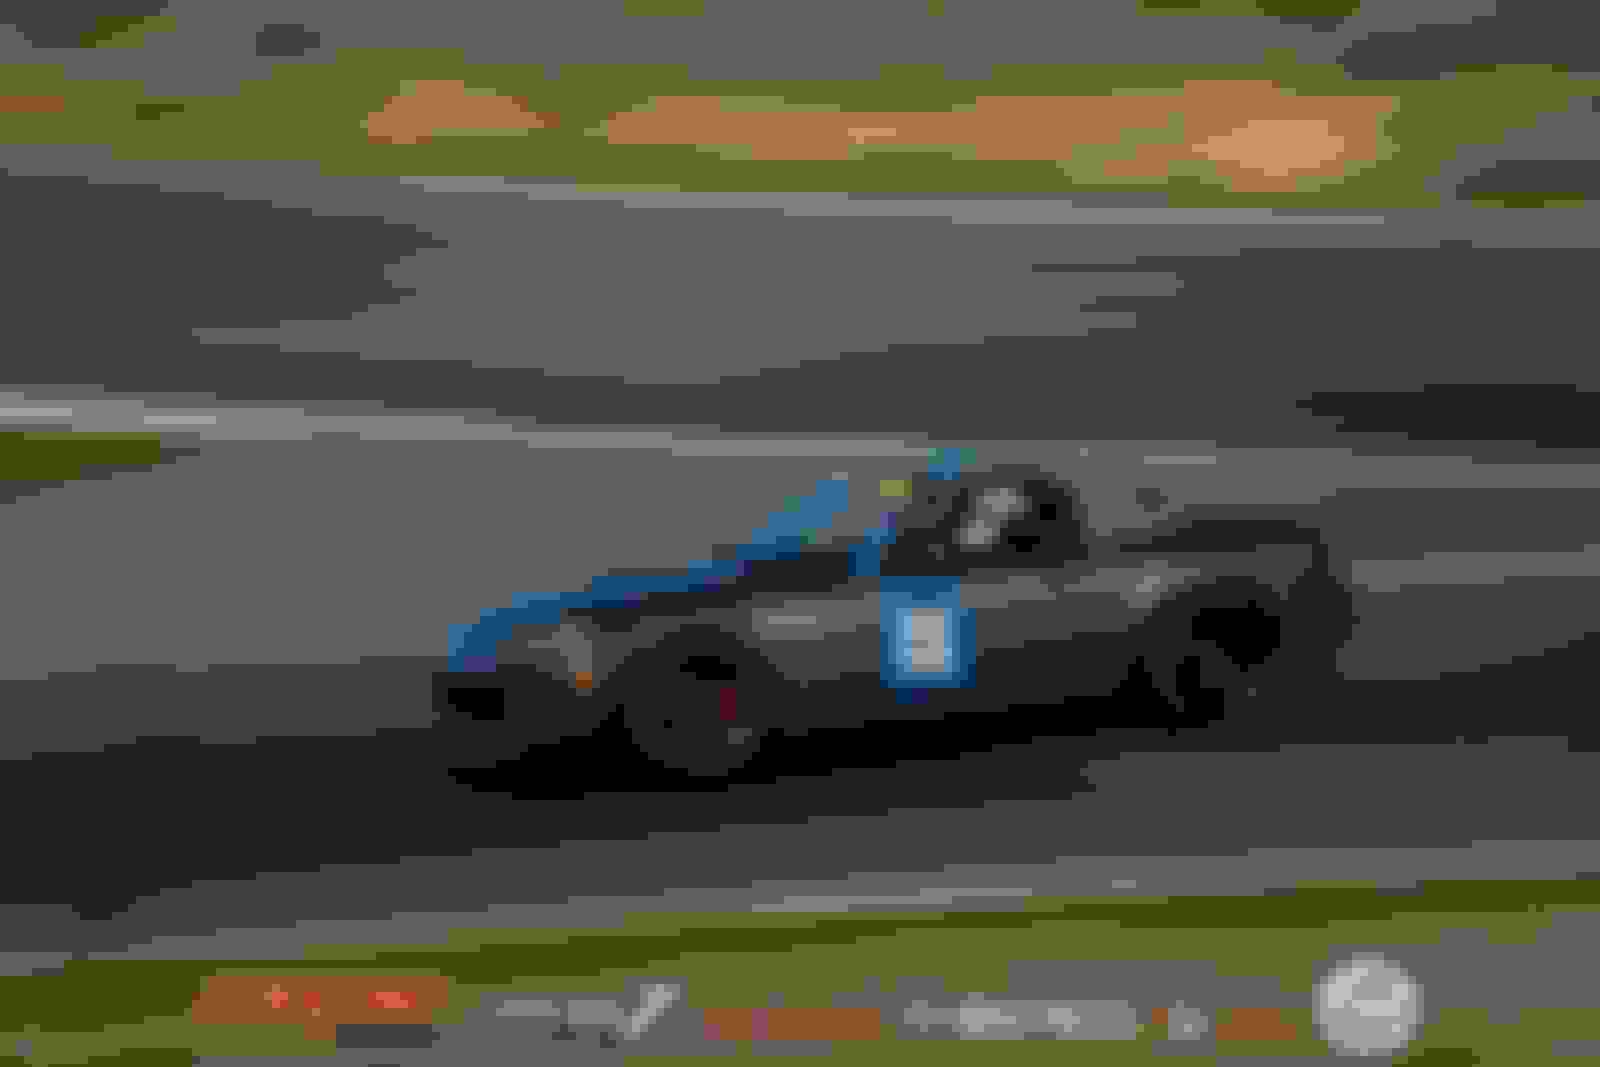
It is hard to believe that I have only driven Thunderhill twice, despite the fact that it is only about a three hours drive. Saturday's configuration was Thunderhill East with cyclone. I had originally planned to just drive Saturday and drive back on Sunday but plans changed over the course of the weekend.
Driving towards the main gates.
The drivers meeting went quickly, grabbed myself a provided Costco muffin, and proceeded to inspect my car before the start of the first session.
The first session, I was getting up to speed, not having much experience with the track and configuration. This was the first time driving cyclone, the only other time I had driven Thunderhill East was with NASA and they typically use the bypass configuration.
I registered for the intermediate group once again and there was more than enough space on track and everyone on track was very respectful. All of the other drivers exhibited predictability a rarity, not usually found in other intermediate groups.
Parked in the paddock.
My subsequent sessions became increasingly faster, as I grew more and more comfortable with the track.
Cyclone, I still found to be tricky, and tried to refine my braking points before the blind hill, and the off camber track that fell away immediately after cresting over the top.
I experimented with carrying as much speed as I dare through Turn 1, different lines in Turn 2 and as exploring the extent of the track limits at Turn 8.
Coming down the hill after cyclone.
Within my group I quickly discovered a few cars that were similar in pace to my NC. Along with modified BRZs, and BMWs, there was a one ND2 in particular that I had a great battle with. After the session, I stopped by his pit area and we had a great time recalling the previous session.
It was a great day.
Turn 8.
I could not ask for more perfect weather.
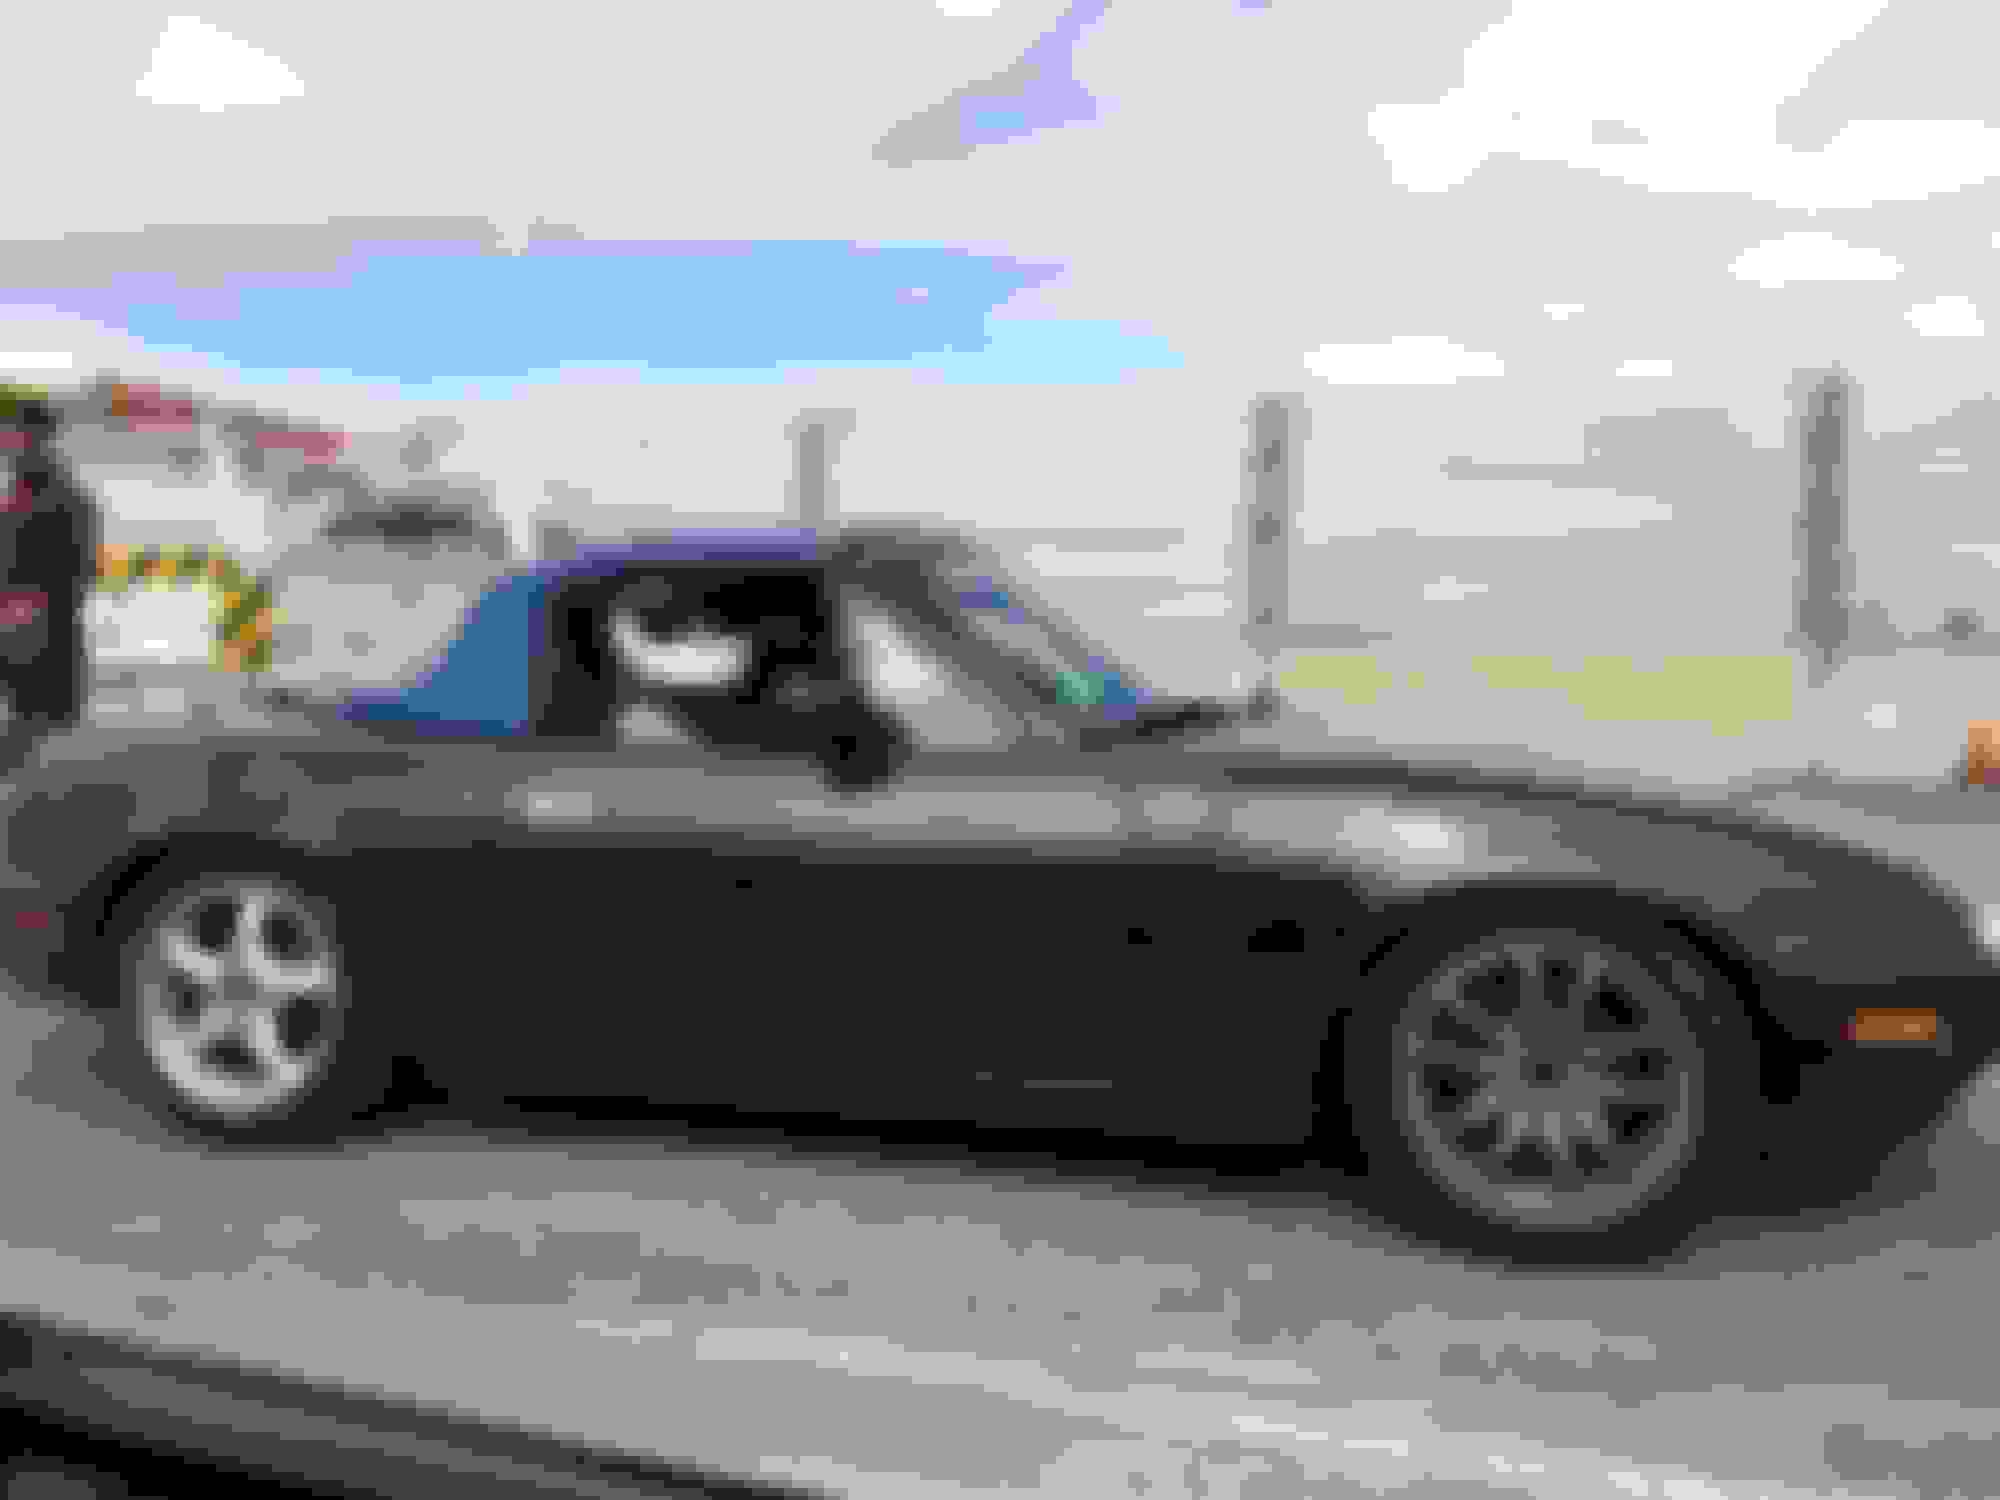
The car held up great, all of the gaskets I had replaced earlier had all but eliminated the leaks.
Trumbling though the paddock.
On my list for the future, is a Aim Solo or similar, something I would be able to monitor lap times and gather data. Most events I usually rent a transponder from the organizers, but I believe having a lap timer in car, especially with predictive capabilities, will greatly improve my driving and enjoyment. It will allow me to see the immediate results of my experimentation, and to further improve, and refine my techniques, as a driver.\
I am currently debating an Aim Solo 2 or going with a fully digital dash such as AEM's CD5.
Bonus:
On Sunday a few of my friends were signed up for the drift portion of the SpeedSF event. They were taking their track miatas to the skidpad to further improve their car control. I stuck around Sunday for ride alongs, and a great deal of fun.
Rachel drifting with an open differential AND making it work.
These miatas were definitely not the answer.
Bryan getting a ride along in an ill-prepped track miata, but having a blast.
While we were definitely the odd group out, among the well sorted sea of 350Zs and 240s, everyone was all smiles, and we received many thumbs up throughout the day. Being in the passenger seat, I could feel that the car was extremely sensitive to steering inputs and would snap a moments notice.
Everyone kept their miatas in one piece with only a slight bit less clutch material when compared to the start of the day.
I am glad I stayed the second day and soon packed up and decided to call it a weekend.
I have always wanted to experiment with adding aero to one of my cars. Yet, I have been hesitant to add accouterments until my driving has progressed to not pick up any bad habits. With an excess of time being stuck at home the past few weeks, I finally decided it was time to explore, and build rudimentary aero for the car.
First up was the front splitter.
A few of my friends recommend I look into RaceBred Components front splitter kit. While I liked the quick release mounts, I was not set on using the front splitter blade they had on offer. I was not sure if it would fit my needs or if it would fit with the lip currently on the car. I placed an order for only their quick release bracket and a few short days later it arrived on my doorstep.
The bracket and hardware were excellent quality and I found the overall design to be well engineered. The pull pin allows the bracket to be removed from the car in seconds and because of the slot in where the two pieces mount it in theory should prevent catastrophic damage to the frame should I have an off. The upper and center mount are both steel and the lower mount that attaches to the splitter is aluminum, all powder coated in a gunmetal or black textured finish.
Racebred Components quick release.
The mount attaches to the car in between the bumper support and the frame. The two holes in the frame behind the bumper support have a captured nut that is needed to be drilled out. Using a step bit I could enlarge the hole, to allow the welded bolt/tab to drop through the frame.
Remains of the captured nut.
Mounted.
Up next was the splitter blade. Not wanting to dabble in the world of composites, and their exorbitant prices, I went with my next best option. I decided to keep it simple stupid, and made a trip to my local Home Depot for a 4'x8' 1/2'' Birch. My friend let me borrow his truck to get it home, (Thanks Chris), and soon I was woodworking. I bolted the sheet to the mount, and began tracing 5'' outline from the front of the bumper.
Cutting.
After the splitter was cut painted the wood with a few coats of black spray paint. I then coated the top, and bottom of the splitter in sparurethane to resist oils and fluids from being absorbed by the wood.
For a little added flair, I masked and painted the leading edge florescent yellow.
After bolting the splitter to the car gave it the old standing test. I was not pleased with the amount of flex present in the blade with just the two mounting locations. Another issue I wanted to address was the exposed area of front face of the tire.
Wanting to seal the radiator as best I could, I wanted to keep as much as the front air guide as I could. I chopped the two wings from the side of the OEM plastic guide and it barely fit between the two mounts. I am planning to revisit ducting in the future to completely seal the face of the radiator and oil cooler.
Wanting to kill two birds with one stone I bolted aluminum angle to the blade for added longitudinal rigidity and to act as a support for my front wheel spats. Following examples, I knew it was best practice to not have anything attached to the splitter, and by using the angled aluminum towards the outer edges of the blade it would allow me to cup the tire spats, without mounting it to the splitter itself.
For the tire spats I used leftover polycarbonate scraps I had from my rear window and spray painted in black. The polycarbonated was easy enough to match the shape of the wheel arch yet rigid enough to maintain its shape.
Tire spats.
Aluminum stiffening.
I may want to add a few splitter support rods to extend through the front of the bumper mouth to provide a bit more support.
Only testing will tell.
Closeup of the tire spat and how the aluminum angle holds it in place.
Most of the exposed frontal area of the tire covered.
I am quite pleased with the front aero on the car. I have not yet tested the it on track due to the shelter in place orders.
I will be working on the rear aero in the following weeks to balance the front aero and I cannot wait to test it on track.
Last edited by Bryan Z.; Apr 27, 2020 at 05:44 PM.
After mounting the splitter, I found the leading edge did not have enough support. While it did pass the standing test, there was more deflection than I was comfortable with. I scoured Amazon and Ebay for turnbuckles but was not happy with any of the available options. I then remembered watching a video showcasing Professional Awesome's new splitter support rods.
The supports are made from fiber reinforced rod that feature a locking collet system that allows the end user to determine length. They have a clevis pins on either end of the collets, along with a quick release clip that will allow the splitter to detach quickly without the need for extra tools.
The beauty about the fiber reinforced rods is that they are extremely rigid in tension, but exhibit some flex. In theory it will allow some give should I attack a curb with a little too much enthusiasm or when I have a lapse of thought when entering a gas station entrance on the way to the track.
Professional Awesome Splitter 18'' kit.
Luckily for me, Professional Awesome provides a step by step guide and assembly took only a few minutes. I did not have a crow's foot wrench to torque the collet system but found that a 11mm flare wrench that I used for brake hard lines sufficed.
I then cut off another piece of the front crash support to mount the two receivers trying to mount them as close to vertical as possible.
Sparks ensued.
As a result the deflection is all but non existent. I can now jump up and down on the splitter without fear. I like a bone head, I overestimated how much clearance I needed to clear the opening in the bumper when drilling the two holes in the splitter blade.
No matter, two more holes later along with a little wood paste, everything was good as new.
Finally onto the rear aero.
Disclaimer, this will not be the final iteration.
Now, I typically do not like posting in progress updates but I fear that this project is still far from complete.
Initially, I planned to use the APR GT 250 from my NA and adapt it to fit the NC. The chord length was perfect, but the distance between the mounts proved to be an issue. Although far from ideal, I used four aluminum spacers to adapt the wing to the NC.
I drilled into the chassis underneath the trunk lid and mounted uprights to to 1/4'' angle steel.
Throughout the entire process I was not entirely committed to this being the final mounting solution. Mounting inside of the trunk, will require modifying the trunk lid and more than likely result in requiring pins to mount the trunk lid. I have purchased a set of Aerocatches just in case.
I still drive to and from events, so trunk space is of utmost importance to me. Another downside is the chassis material underneath the trunk is not the most rigid and when mounted the wing exhibits flex.
Quick photo shoot.
It looks mega.
In the meantime, I am currently engineering a chassis mount option to hopefully retain full trunk functionality, and added supports for much needed rigidity.
I am experimenting, with a few different CAD programs and in the process, learning a ton.
In the end, this project is exactly that, a project.
If I can pick up a few new skills along the way, it is a mission accomplished in my book.


 0
0