
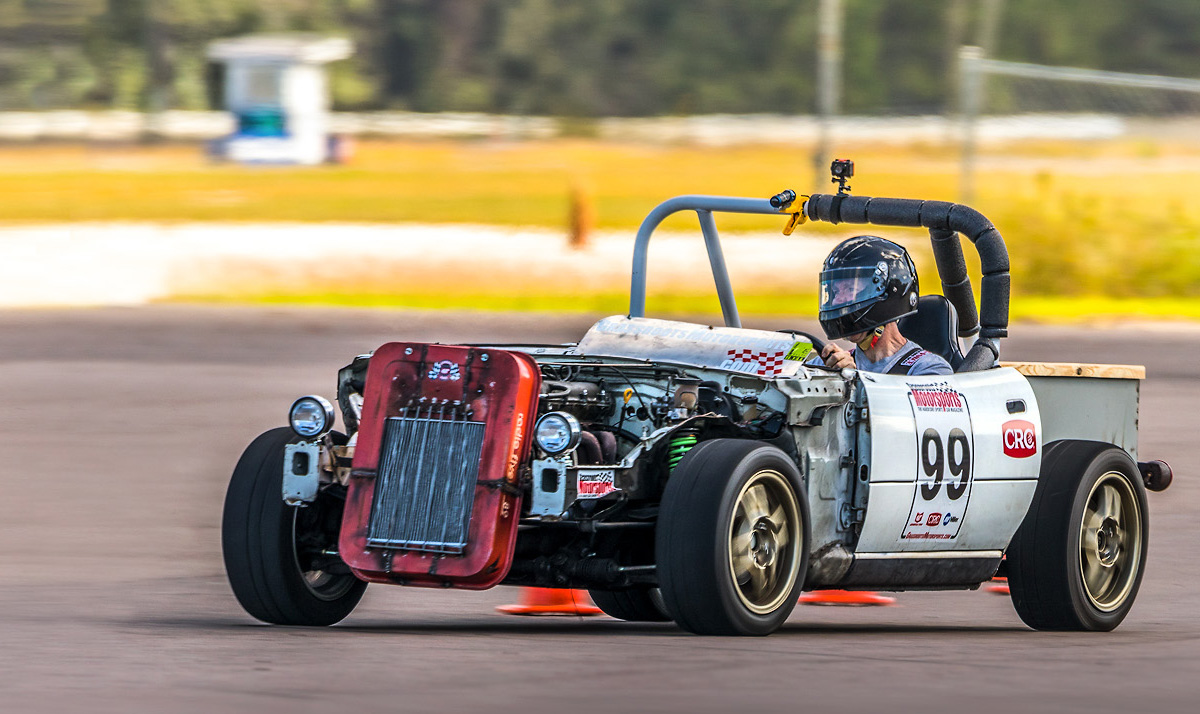
90 FE-dohc (FE3) Turbo

Thread Starter
Elite Member
iTrader: (5)
Joined: Jan 2005
Posts: 7,486
Total Cats: 372
From: Atlanta
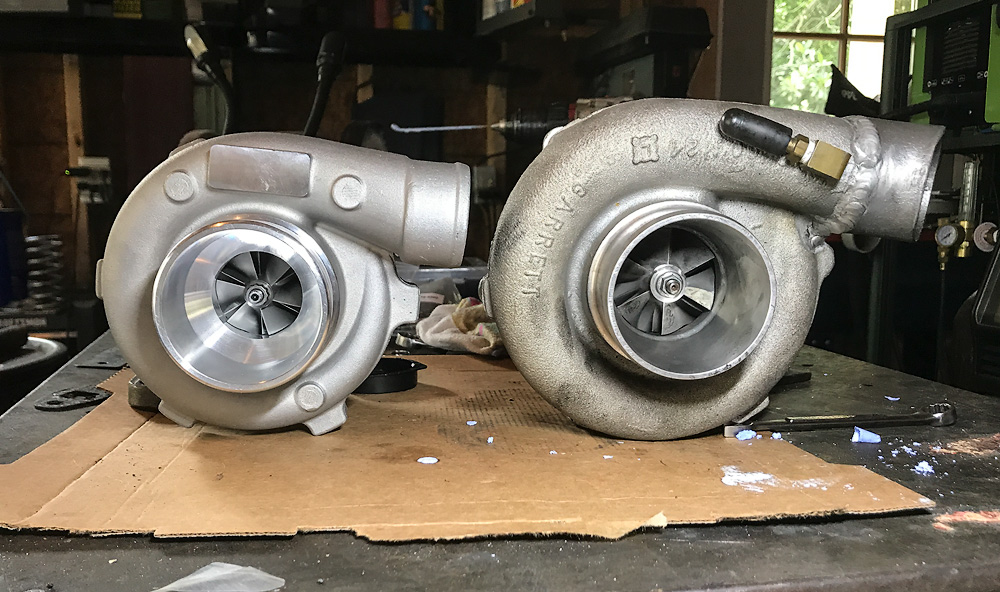
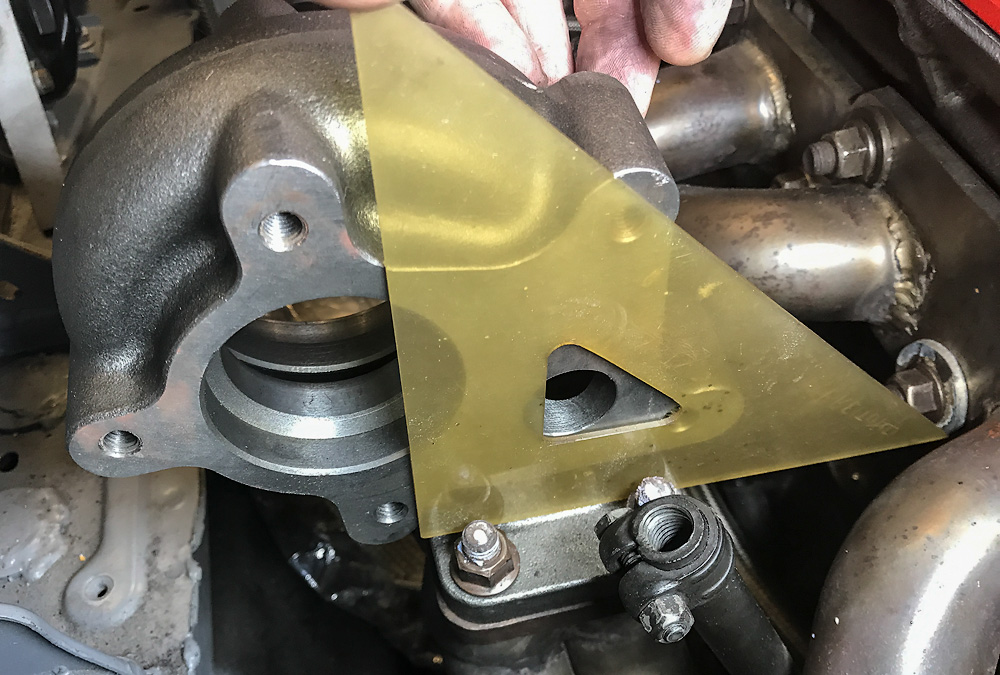
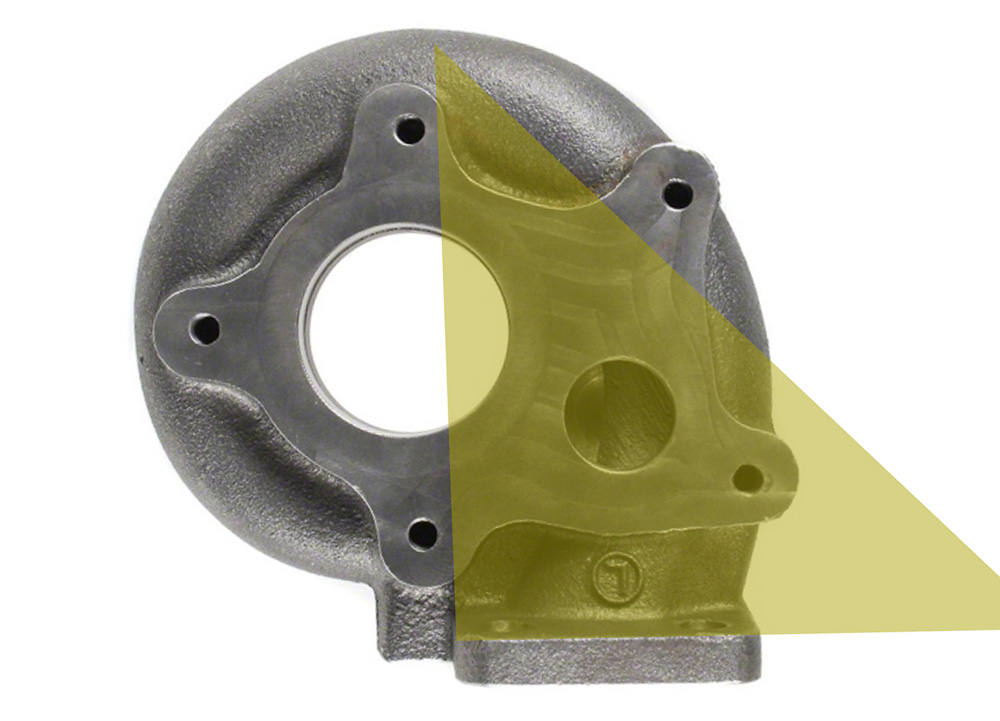
More surprises and now better educated on T3 turbine housings. The 63AR eBay ching-chong has a different turbine outlet-to-manifold flange relationship than Garrett and the 48AR eBay housing. This became obvious when I mounted the eBay T3 on my manifold with the v-band adapter in place and found my downpipe wouldn't line up. 
Proof is in the pictures:
------------------------
eBay 48AR turbine housing
------------------------
eBay 63AR turbine housing

------------------------
My eBay/china 63AR turbine housing

------------------------
Genuine Garrett 63AR turbine housing
Proof is in the pictures:
------------------------
eBay 48AR turbine housing
------------------------
eBay 63AR turbine housing
------------------------
My eBay/china 63AR turbine housing
------------------------
Genuine Garrett 63AR turbine housing
Last edited by m2cupcar; Jun 30, 2017 at 08:14 AM.
Reply
 0
0

0
Thread Starter
Elite Member
iTrader: (5)
Joined: Jan 2005
Posts: 7,486
Total Cats: 372
From: Atlanta
It's in and I've driven it a couple of short trips. I screwed with motor mounts (among other things) and made them worse, so I'm fixing that now. Old turbo had wg signal at IC pipe just before TB, new is sourced at compressor to bottom EWG port. EWG base pressure is 140kpa. The real difference will be from that point to 200+kpa after I get the EBC hooked up- then the turbo will get into its comfort zone. 
###kpa - - old - - new
110kpa - - 2700 - - 2420
127kpa - - 3700 - - 3260
140kpa - - 4100 - - 3680
Fixing the motor mounts is a pain because there's very little space with the larger motor and having shoved it rearward compared to the prior installation. Even after modifying the mount plate on the pax side, I still cannot remove/install without removing the starter. It sits directly between the butt end of the starter and the oil sandwich plate- nearly zero tolerance left/right to roll it out of the subframe. I did manage to get the driver side out without removing/hanging the AC compressor and turbo oil drain tube- though not sure if I can get it back in that way. Still need to modifying it. Here's the exact combination needed to remove the starter with minimal pain and frustration:
Reply
0
0

Junior Member
Joined: Mar 2009
Posts: 84
Total Cats: 23
From: Wisconsin
heh, Good thing you got a 20v impact there. The loss of torque through that extension stack must be significant.
side note: The FE3 looks awesome. I love the retro styled VC. Kinda like when B6 guys cut their covers to expose the cam gears. Or the rare Capri valve cover swap.
side note: The FE3 looks awesome. I love the retro styled VC. Kinda like when B6 guys cut their covers to expose the cam gears. Or the rare Capri valve cover swap.
Reply
0
0
Thread Starter
Elite Member
iTrader: (5)
Joined: Jan 2005
Posts: 7,486
Total Cats: 372
From: Atlanta
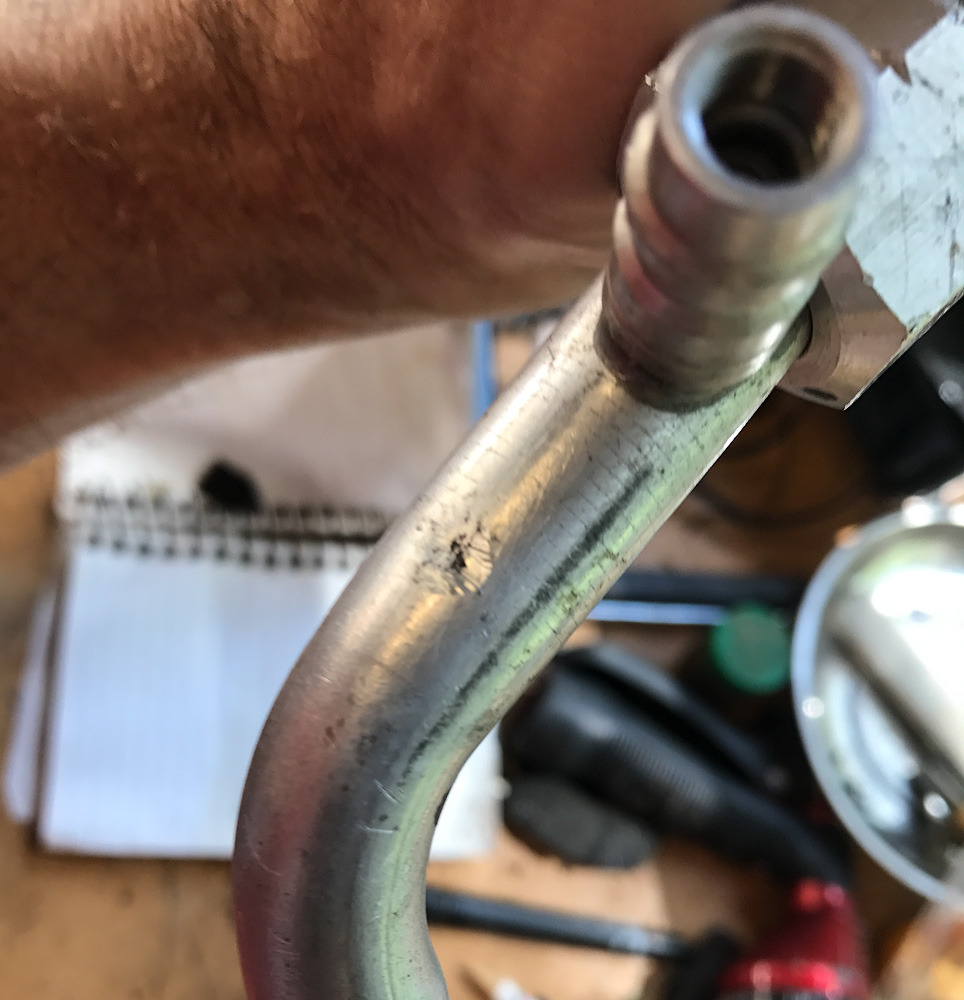
Dealing with AC BS. Found a hole in my high side line to the condenser just after the high pressure switch. Had two spares so swapped one in- which happened to have a refrigerant port up near the fire wall vs. down by the high pressure switch- easier access for me. Got it installed, pulled vacuum and fail. Pressurized the system with air and listened. Found a hole in my high side line up near the firewall!  This line was from an r134 car because I thought I'd use the charge port on it, but it turned out to interfere with my intake manifold. Had I used the R12 line that was in the car I'd likely have AC now. Unless of course there was another hole somewhere.
This line was from an r134 car because I thought I'd use the charge port on it, but it turned out to interfere with my intake manifold. Had I used the R12 line that was in the car I'd likely have AC now. Unless of course there was another hole somewhere.
Reply
0
0
Thread Starter
Elite Member
iTrader: (5)
Joined: Jan 2005
Posts: 7,486
Total Cats: 372
From: Atlanta
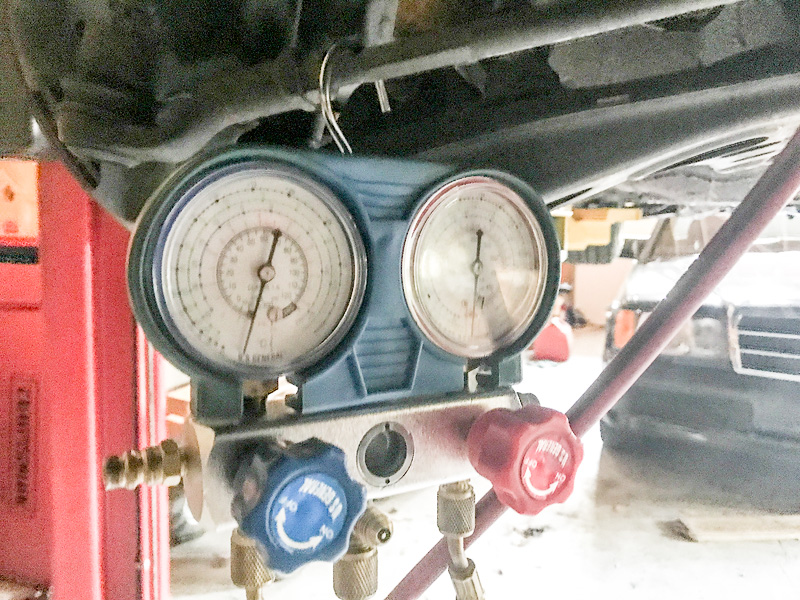
That hole was pretty well contaminated as the braze would hold everywhere except where the hole was. And that was after thorough prep. I ended up cutting out that section and brazing in new piece- not ideal but in the interest of getting it back together this weekend. Pulled a quick vacuum to 30 in hg and it was up to 15 in five hours. So I'll go through the system and tighten all fittings, pull vacuum again and see if that fixes it. If not- I can charge the system at this point with some dye and find the leak with a UV light.

Reply
0
0
Thread Starter
Elite Member
iTrader: (5)
Joined: Jan 2005
Posts: 7,486
Total Cats: 372
From: Atlanta
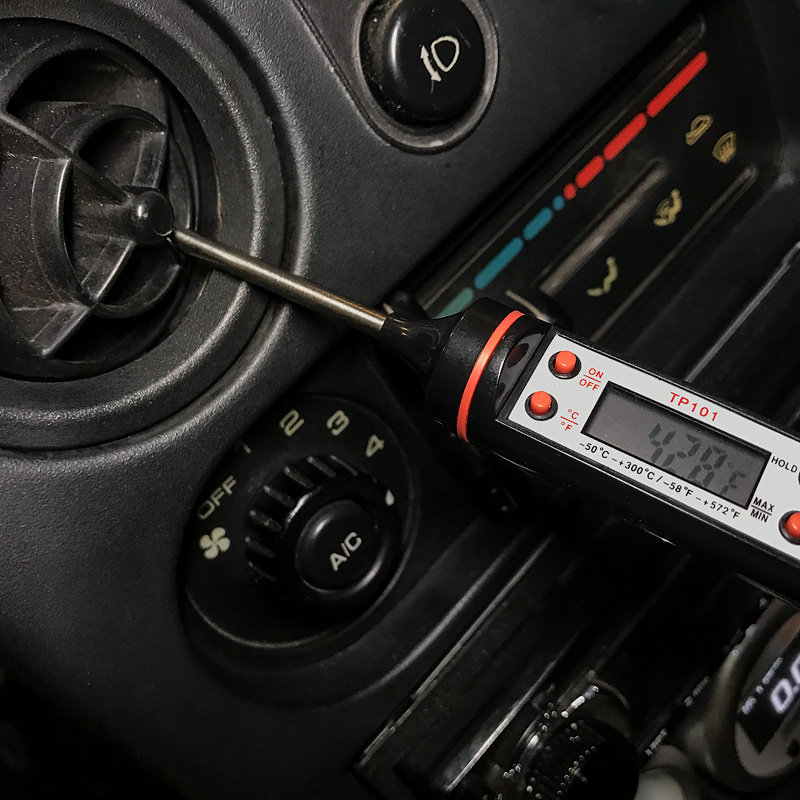
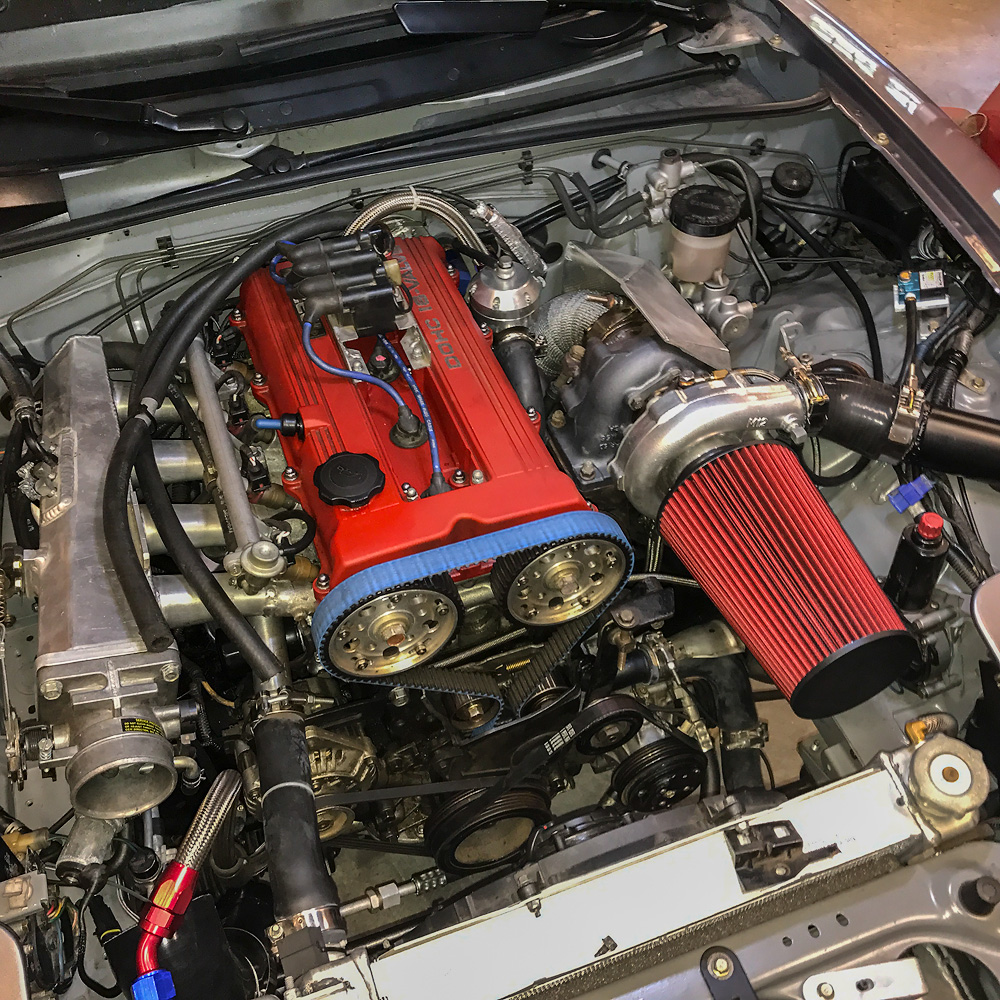
Got the low pressure evap/compressor hard line installed, pulled quick vacuum, but it started losing vacuum (about an inch per hour). Checked tightness on all the connections, then charged with some refrigerant that had dye. Started the car to check the AC system functioned as I hoped. Started to cool so I added more refrigerant until I got a good temp. Located the leak at the brazed joint by the bend. I'll be buying a "new" line to replace my hackyhack braze jobber and move on since I know I have a cooling system now. Also got a new air filter, the biggest I could fit. Now I just need to build a cold air box.
Reply
0
0


Thread Starter
Elite Member
iTrader: (5)
Joined: Jan 2005
Posts: 7,486
Total Cats: 372
From: Atlanta
Just wrapped a 900 mile round trip to central FL and back.
Wonderful things:
1) working AC
2) 3.63 r/p that gives me 3500rpm at 80mph (and so on)
3) fixed exhaust without rubbing/rattles.
4) boost in 5th for passing all things
Things to fix:
1) BOV tension is too tight
2) injector dead time is wrong
3) cam cover gasket leaks everywhere because ancient
4) Front spoiler - victim of launched road debris
Reply
0
0
Thread Starter
Elite Member
iTrader: (5)
Joined: Jan 2005
Posts: 7,486
Total Cats: 372
From: Atlanta
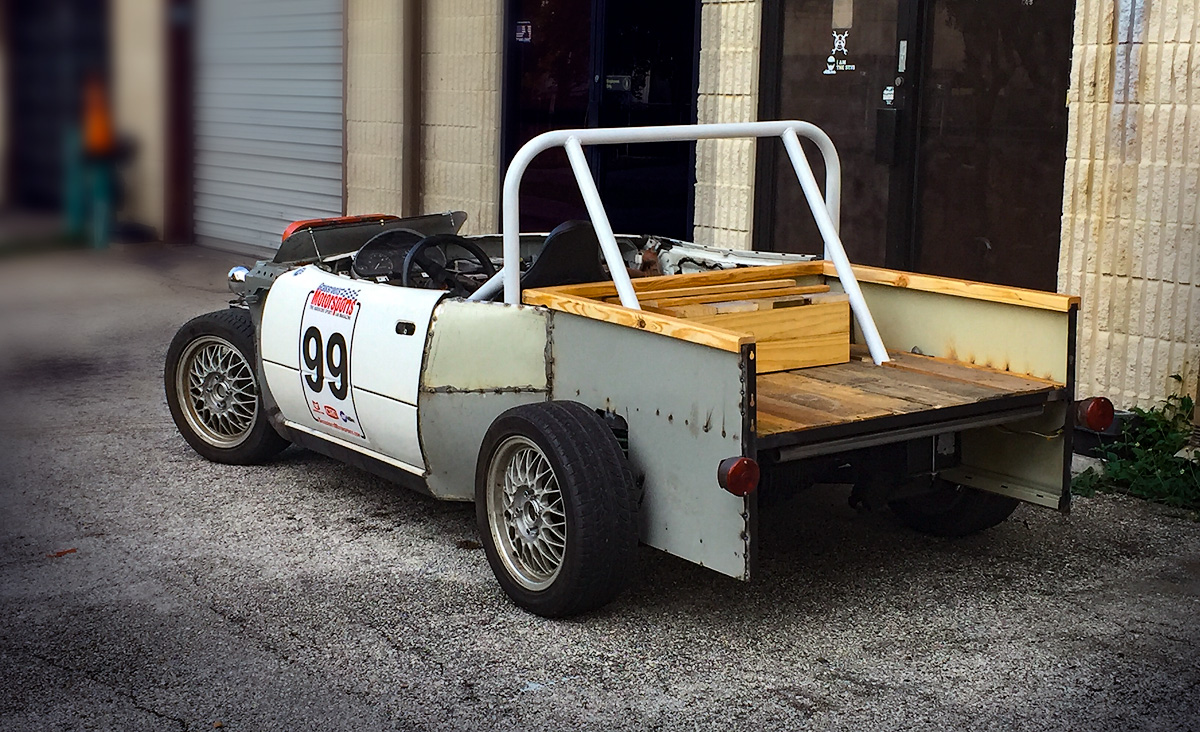
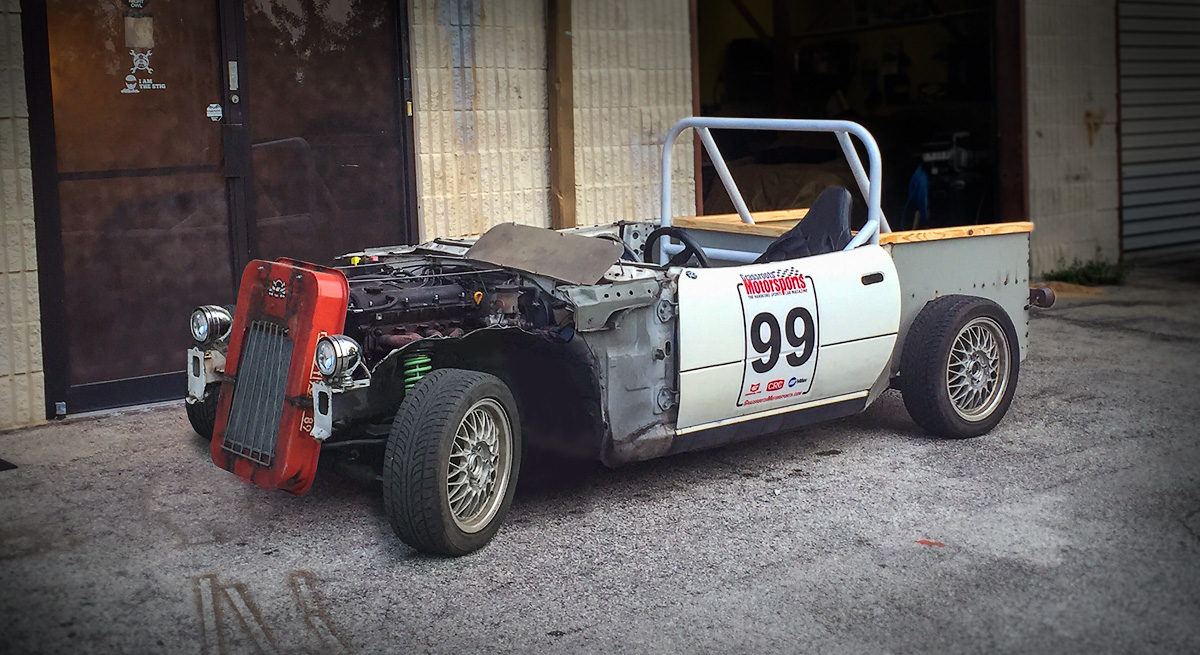
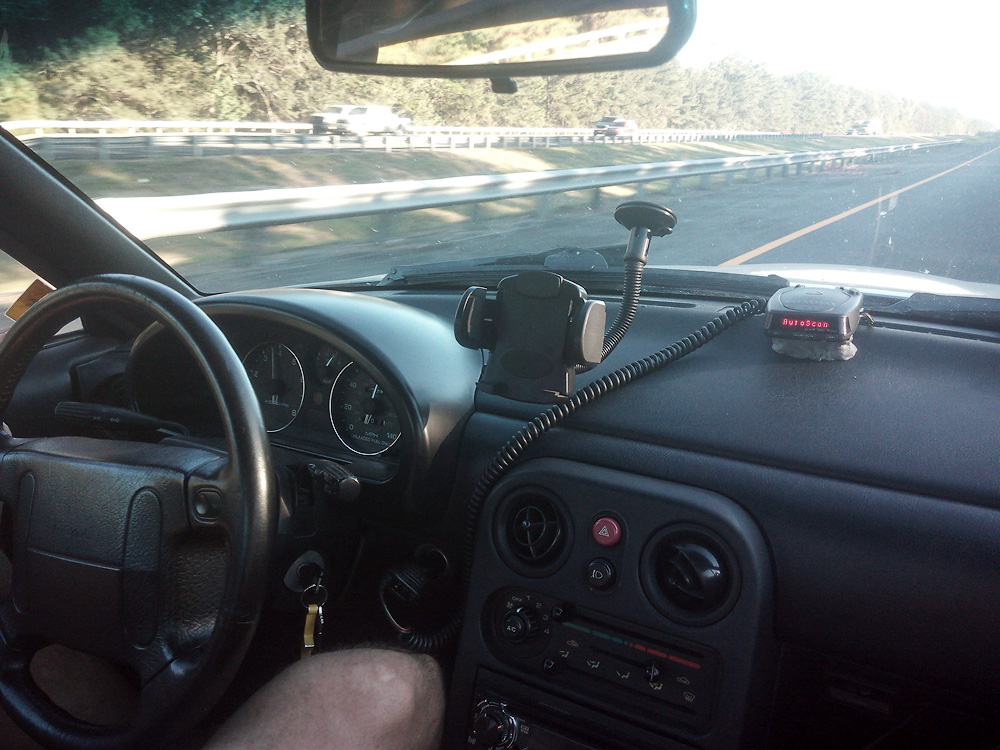
GRM Challenge was a great event. We were in 7th after the autocross and a miserable quarter mile run. Our discount drag slicks were too tall for our weak sauce NA power and we only managed a 14.99 - compared to last year's 14.77 on NT01s. We have cheap turbo parts on the shelf - which seems like a far more logical solution vs. shorter drag slicks. 
Reply
1
1

Thread Starter
Elite Member
iTrader: (5)
Joined: Jan 2005
Posts: 7,486
Total Cats: 372
From: Atlanta
Got a new cam cover gasket in. Tightening down the cam cover made it quite obvious the old one was shot- there was no compression on it when tightening. Also got a massive exhaust leak fixed on the middle v-band in my downpipe. This was the first v-band I welded. I warning to others- you can see what happens if you fly through the weld non-stop with a MIG and get it too hot. Massive warpage. Did the new one with eight separate welds in opposing pairs with a cool down in between, checking the surface on an virgin v-band flange between steps. Now I can get back to tuning with some accurate O2 readings.

Reply
0
0


