
93' Miata stolen and flipped build thread


Elite Member
Joined: Oct 2013
Posts: 2,764
Total Cats: 951
From: Cedar City, UT
Gave me a good idea of what I can delete and not delete.
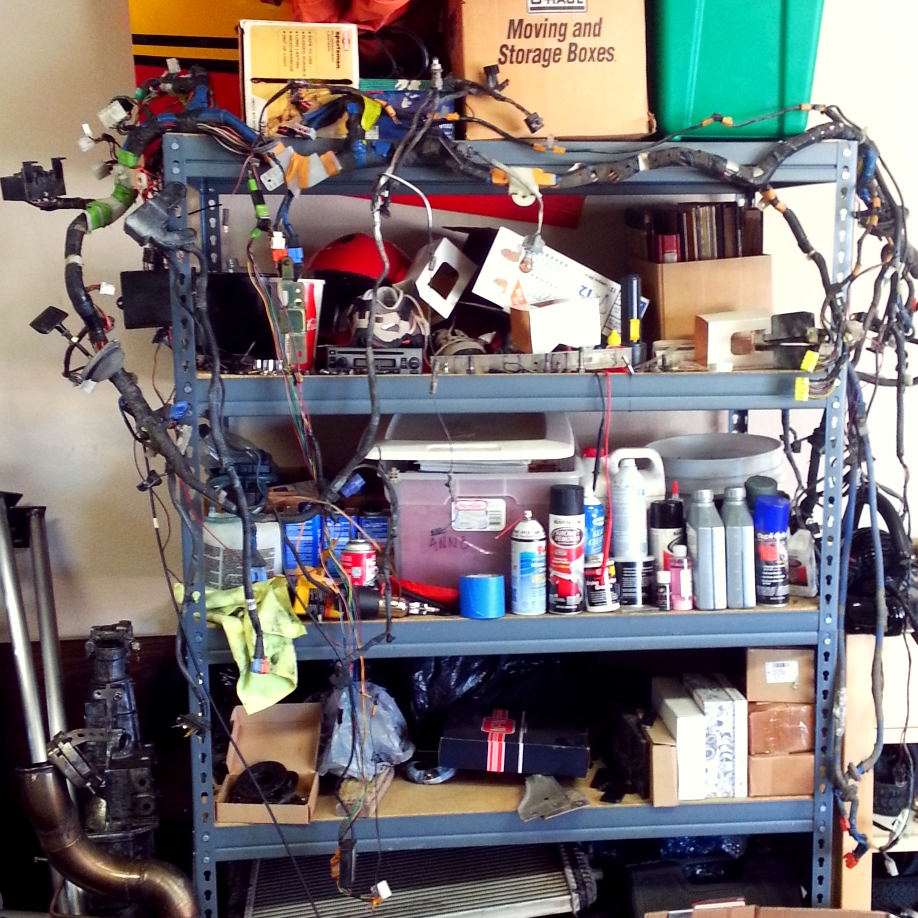
When deleting cables, can you just snip the ends or is it wiser to trace it back to the source? I just don't want to unravel the entire harness for power steering/AC/Radio.
Also is there an easier way to remove the plastic clips from the body? Maybe my needle nose pliers aren't skinny enough but I broke almost half of them.
Any good alternate tie down solutions? I'm honestly thinking of just using electrical tap and a little shoe goo(flexible rubber glue).
Reply
 0
0

0
Elite Member
Joined: Oct 2013
Posts: 2,764
Total Cats: 951
From: Cedar City, UT

Sadly yes. Should have know better than to date an actress, always gone. We are allowed to have GF's, even better when said GF doesn't laugh at your car choices(Jetta and Miata) I should be a hairdresser or a valley girl by those two car standards.
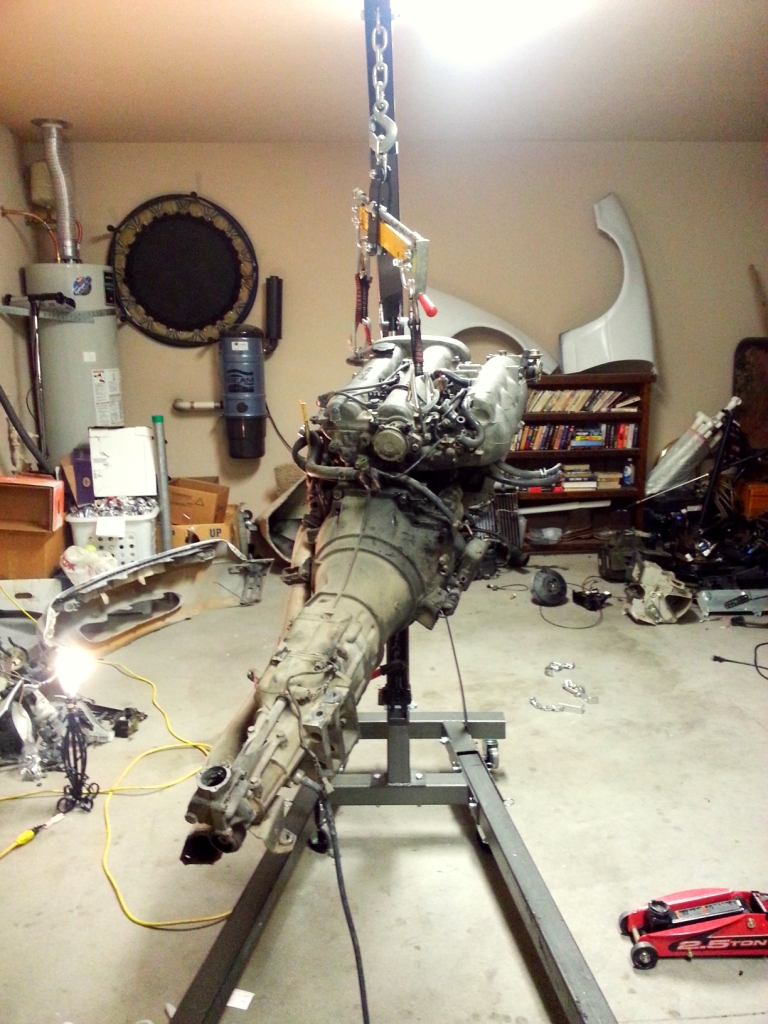
I saw the brake fluid and laughed as well. Oil filter was barely tight at all. Got out my filter wrench and went hulk mode to get it off and almost broke my hand since it spun freely.
The 5 speeds oil drain bolt is stripped all to hell, that'll be a fun mess to clean up when I pull the engine...

Reply
1
1
Elite Member
Joined: Oct 2013
Posts: 2,764
Total Cats: 951
From: Cedar City, UT
Ok no more updates on the actual shell for the next couple days. Need to catch up on some work.
Strangely almost all my orders are arriving tomorrow so I should have some shiny bits to show off. The machine shop also called and said the parts were done. Said the surfaces were really bad. Very warped and took a lot of work to get flush.
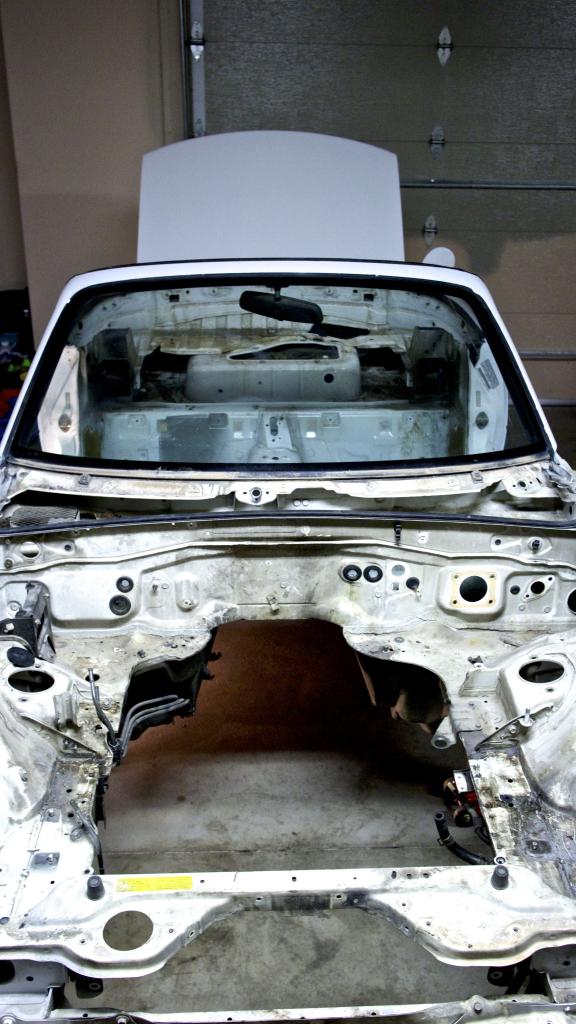
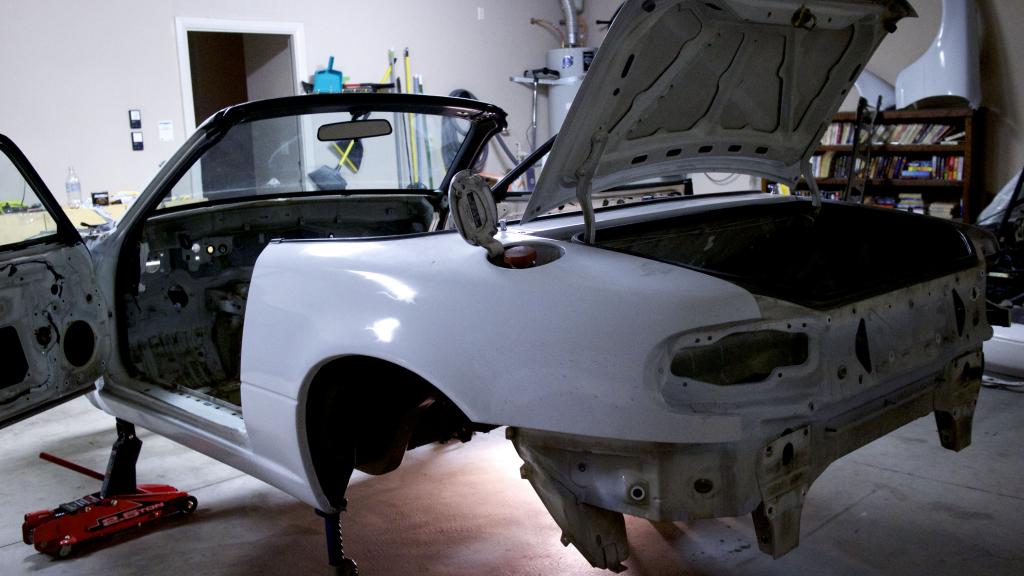
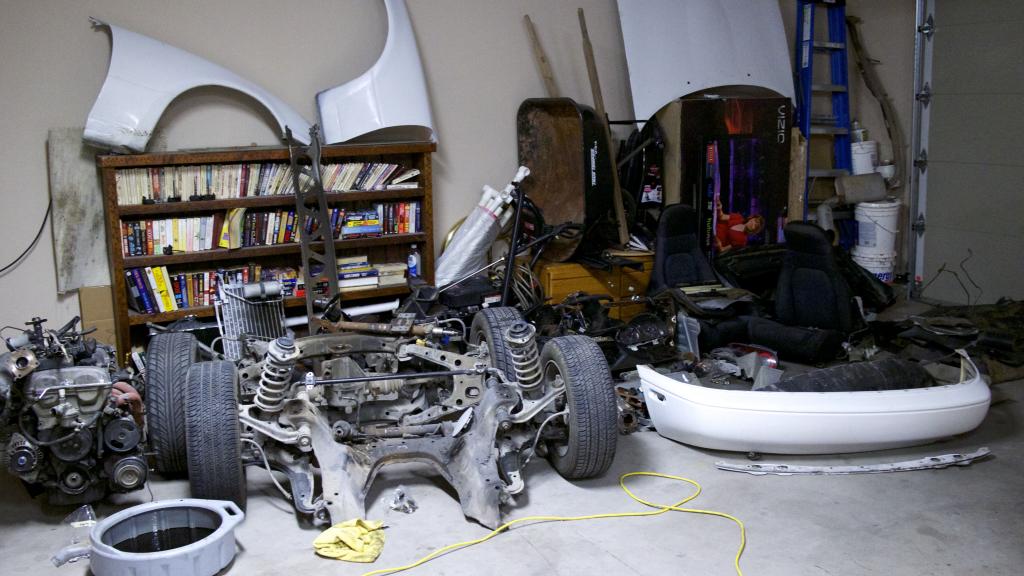
Shell is done except for weatherstripping and the gas tank, which I'm not sure if I will pull or not. The one from my old car is much newer, so to avoid issues like rust or some bad juju I may just pull it and replace.
I'm conflicted with the paint though. The more parts I took off the worse it seemed to get. Very Very bad overspray. Since the shell is almost completely stripped I've considered getting a vinyl wrap or just repainting it. We'll see what the budget allows.

Strangely almost all my orders are arriving tomorrow so I should have some shiny bits to show off. The machine shop also called and said the parts were done. Said the surfaces were really bad. Very warped and took a lot of work to get flush.
Shell is done except for weatherstripping and the gas tank, which I'm not sure if I will pull or not. The one from my old car is much newer, so to avoid issues like rust or some bad juju I may just pull it and replace.
I'm conflicted with the paint though. The more parts I took off the worse it seemed to get. Very Very bad overspray. Since the shell is almost completely stripped I've considered getting a vinyl wrap or just repainting it. We'll see what the budget allows.


Reply
1
1

If you've stripped this far, it would be a shame not to respray. At the rate you work, I would expect you to have completed the prep and respray by 4PM today. After that, I'm going to bring you some of my projects to work on. You need to speed it up bro.
Reply
0
0
Elite Member
Joined: Oct 2013
Posts: 2,764
Total Cats: 951
From: Cedar City, UT
Isn't most of the cost of painting the prep work I.E doing what I just did?
Move to Southern Utah and I'll give you all the help you need. I'm strangely enjoying this.
Reply
1
1
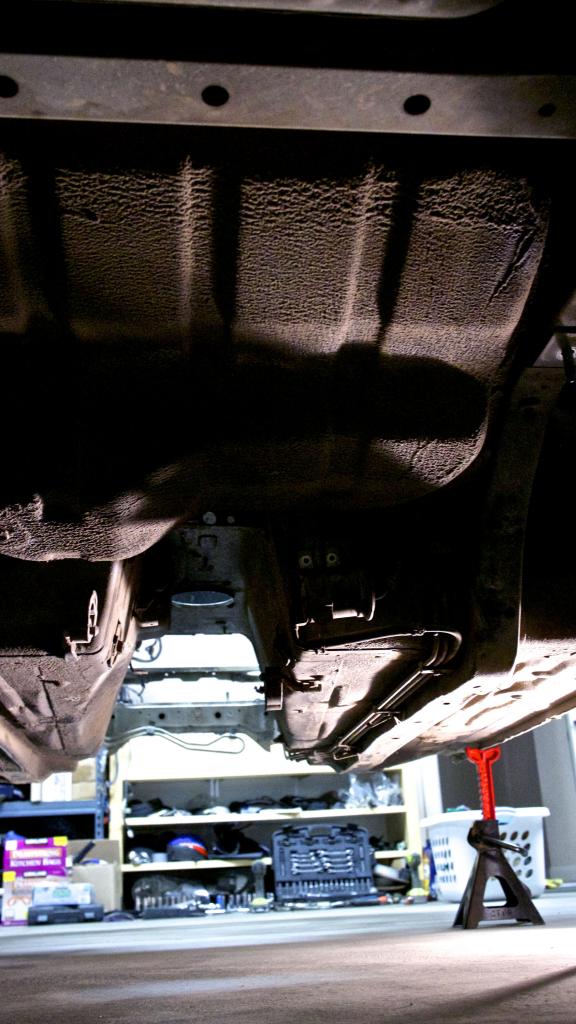
You're almost stripped down to the point of being able to do an OEM paint job. All you need to do is sand the car down and fix any little dings you find. From the shot in the engine compartment and under the car, looks super-solid. Your frame rails look great.
Your car's going to be awesome.
Reply
0
0
Elite Member
Joined: Oct 2013
Posts: 2,764
Total Cats: 951
From: Cedar City, UT
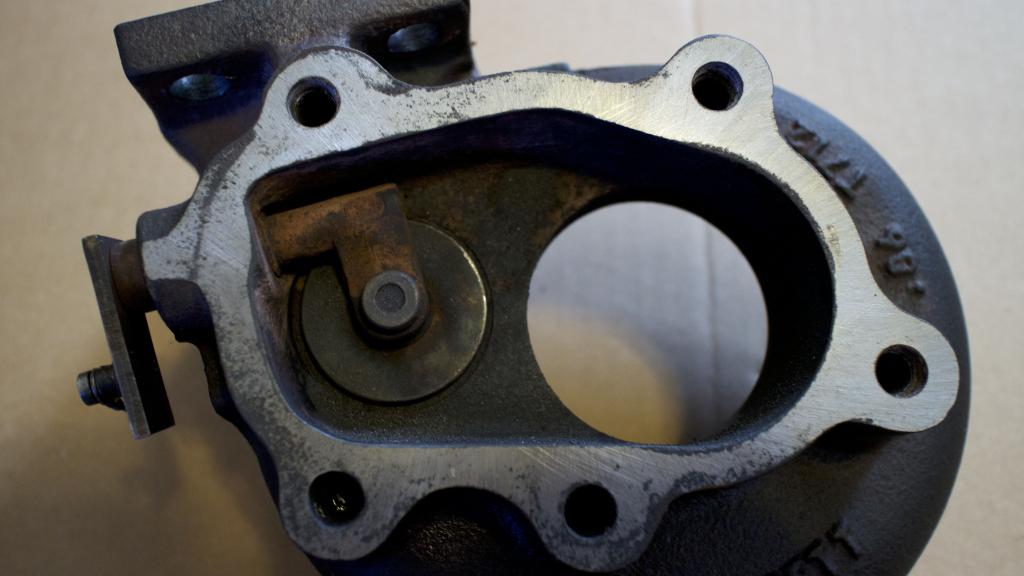
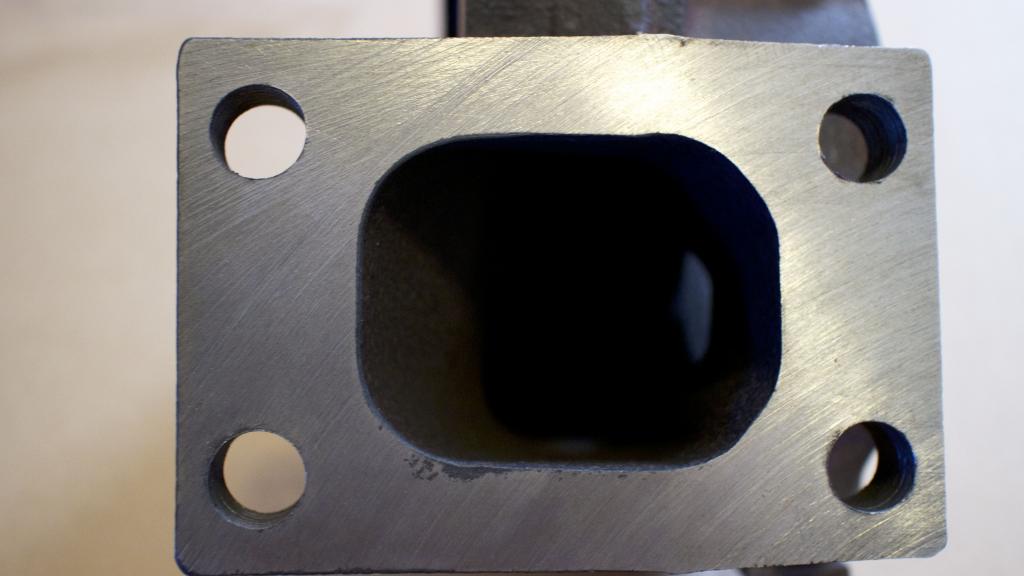
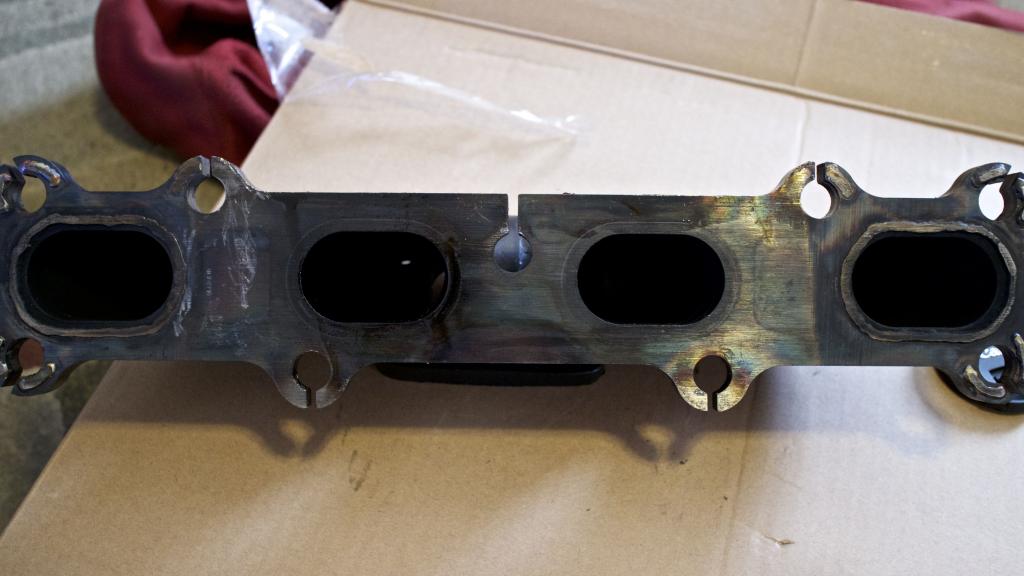
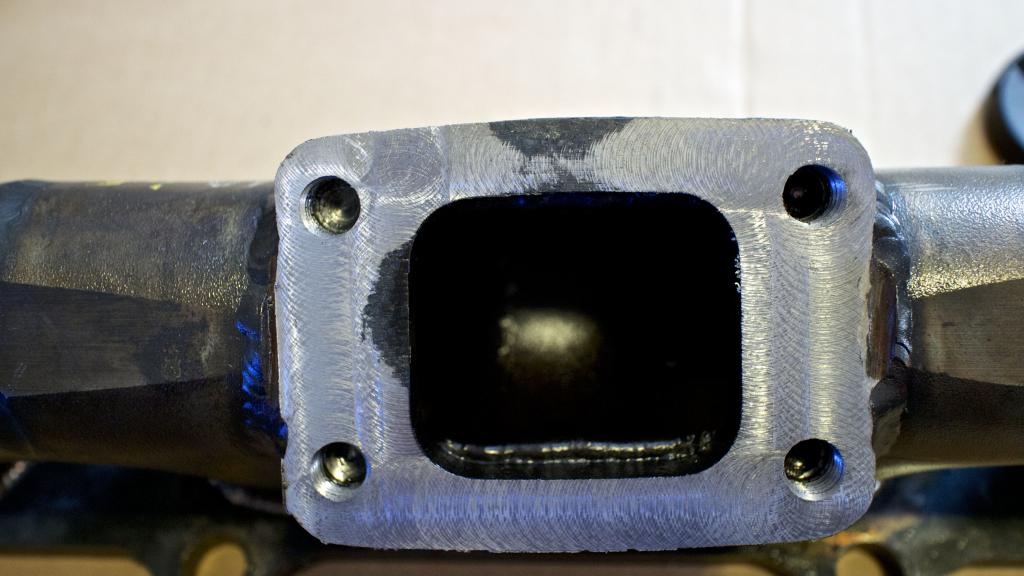
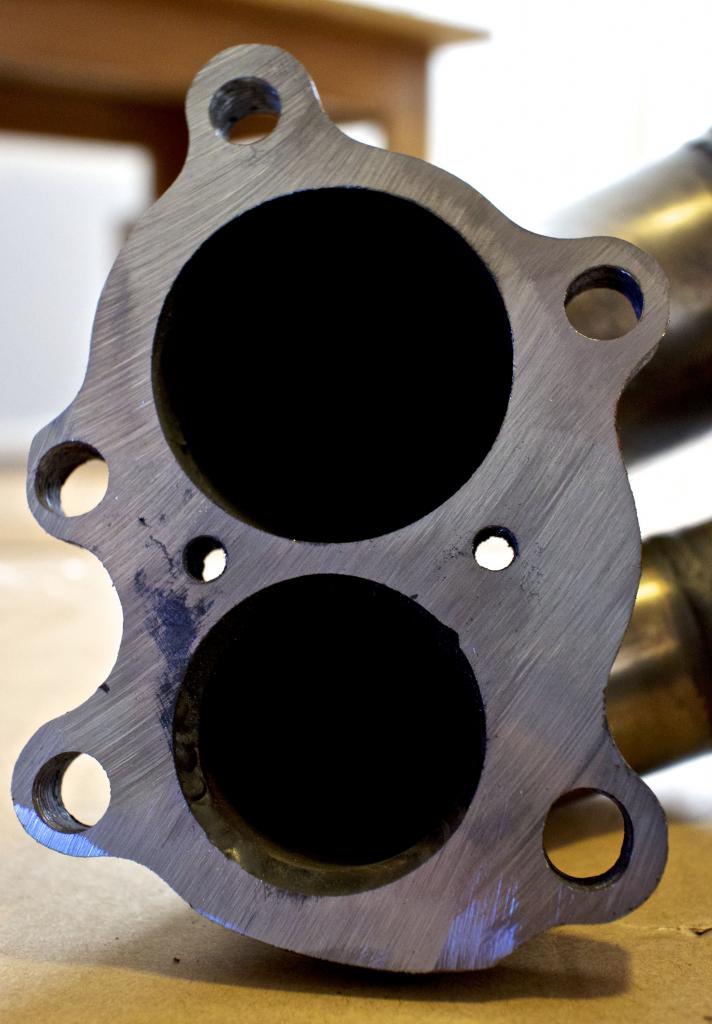
Turbo parts are back from the machine shop. He said the burn in was pretty bad on a couple of them so he could only do so much without removing too much material.
The cross hatching is overly emphasized by my camera's macro mode.
New lube, never fun to go in dry.
New maintenance parts for the transmission.
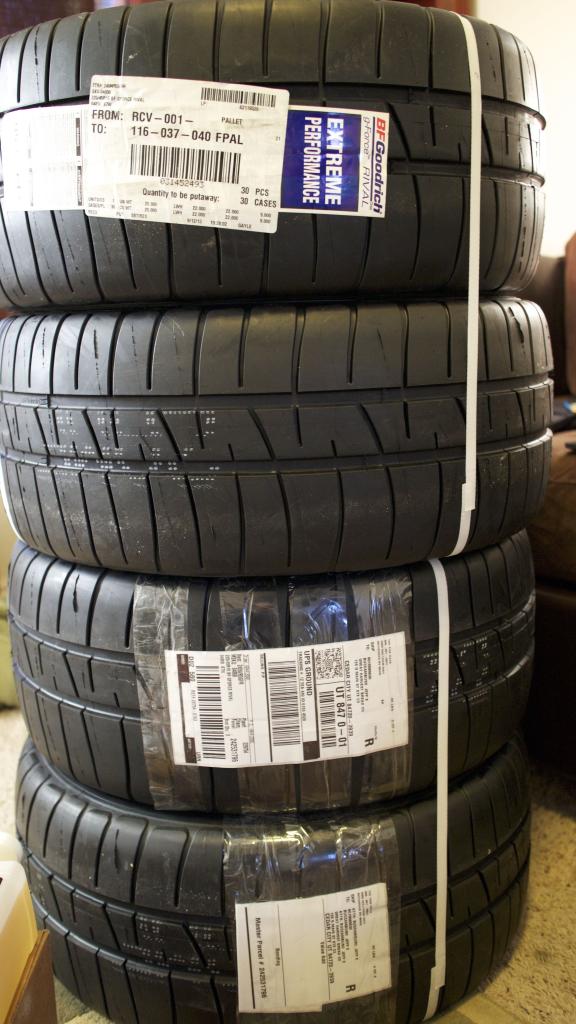
949 Racing lugnuts/valve stems. Emilio's products are impressive, I'm almost scared to apply torque to them in fear of scratching them up.
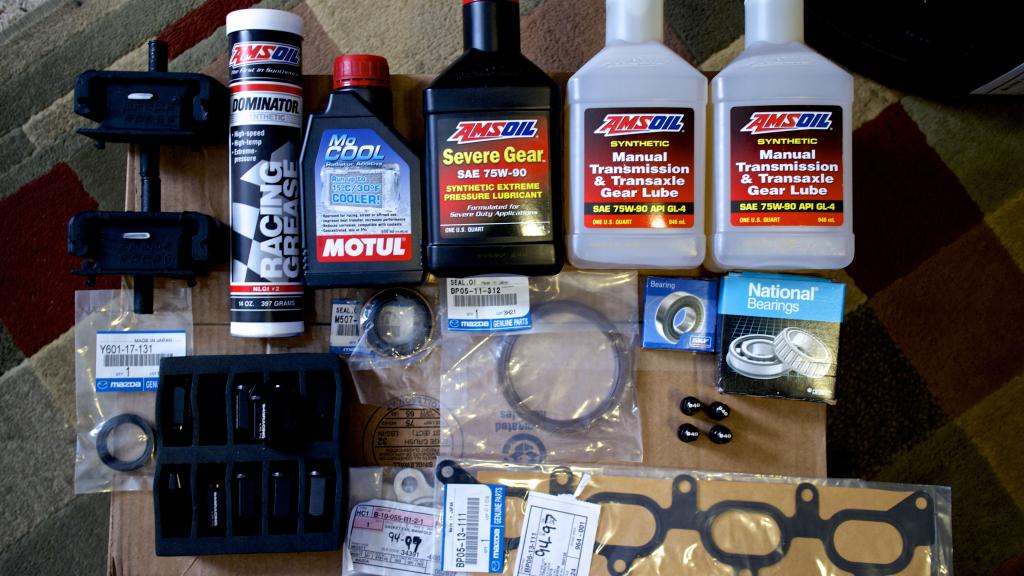
Hot damn these tires are solid. Rivals sidewalls are stiff as ****!
The cross hatching is overly emphasized by my camera's macro mode.


New lube, never fun to go in dry.
New maintenance parts for the transmission.
949 Racing lugnuts/valve stems. Emilio's products are impressive, I'm almost scared to apply torque to them in fear of scratching them up.

Hot damn these tires are solid. Rivals sidewalls are stiff as ****!

Reply
0
0

I'm really not liking that machine work. Those flanges look mediocre at best and look like they were belt sanded and not machined. the manifold to head flange is the one that looks the worst and would kinda alarm me. at least based from those pictures.
maybe its just the pictures. I dunno
maybe its just the pictures. I dunno
Reply
0
0
Elite Member
Joined: Oct 2013
Posts: 2,764
Total Cats: 951
From: Cedar City, UT
I'm really not liking that machine work. Those flanges look mediocre at best and look like they were belt sanded and not machined. the manifold to head flange is the one that looks the worst and would kinda alarm me. at least based from those pictures.
maybe its just the pictures. I dunno
maybe its just the pictures. I dunno
Question on the final "sanding" then. should it be mirror smooth or a little rough to the touch?
I think the macro settings and the little bit of photoshop tweaking makes it look worse than it really is...I hope.
I can't find my spark plug gap feelers otherwise I'd test it, but after I bolted it together to test it looks like all the surfaces mate up very flush, at least they weren't rocking back and forth and there was no noticeable gap anywhere.
Reply
0
0


I amazed at how fast this has happened.
Just remember that the ms3 is using some of the stock wiring harness. There is an excel file on the disk that lists what was connected where on the stock harness. One thing I would change. The iar sensor is connected via the old fm method at the mat sensor wiring. If you get a mat sensoe connector you could make a harness, or just clip the connector and write directly using the mat sensor wire. to iat
Just remember that the ms3 is using some of the stock wiring harness. There is an excel file on the disk that lists what was connected where on the stock harness. One thing I would change. The iar sensor is connected via the old fm method at the mat sensor wiring. If you get a mat sensoe connector you could make a harness, or just clip the connector and write directly using the mat sensor wire. to iat
Reply
0
0
Elite Member
Joined: Oct 2013
Posts: 2,764
Total Cats: 951
From: Cedar City, UT
I want it running by the end of the month, so I'm hoping this hurried pace will help pad that goal a little bit. Plus I hate seeing your old car in bad shape.
I am going to have to research that a little Dave, wiring is my weak spot unfortunately.
I am going to have to research that a little Dave, wiring is my weak spot unfortunately.
Reply
0
0
In u tah it might be worth it if three car is going to be outside or be driven a lot in the rain. It probably is overkill, but with the car torn down like this already id spray it something. I was thinkingspreading the under carriage . If already the inside with some kinda rhino liner.
Reply
0
0
I think it's going way overboard. Keep it light and simple. If you were going to delete the carpet "because racecar," then some rhino liner on wear spots would make sense.
Ever been to Utah Dave? Believer or not, even less rust/corrosion than Alabama.
Ever been to Utah Dave? Believer or not, even less rust/corrosion than Alabama.
Reply
0
0
Joined: Sep 2012
Posts: 4,560
Total Cats: 1,143
From: your mom's house phoenix, AZ
Having done 2 full frame off restos with por15, I would advise against it. It's a fantastic product that turns out great, but requires an insane amount of proper pep work to do it right. it's expensive compared to other products, but you get what you pay for.
Reply
0
0

By the time he asks a question on here the work is already done.

Reply
0
0
Elite Member
Joined: Oct 2013
Posts: 2,764
Total Cats: 951
From: Cedar City, UT
I'm getting a streak of laziness and am considering vinyl wrapping it from a detailer I've done a lot of work with in the past.
Thing is. I hate painting...always have! Always very messy and time consuming and usually doesn't turn out perfect(at least for me). And prep a **** load of time even with a random orbital polisher.
Thing is. I hate painting...always have! Always very messy and time consuming and usually doesn't turn out perfect(at least for me). And prep a **** load of time even with a random orbital polisher.
Last edited by Jeffbucc; Nov 7, 2013 at 07:26 PM.
Reply
0
0


