
f20c engine conversion


Getting the fuel system running was straight forward, there are those that think this is a hard process but it really is not. So how do you mate Miata to Honda? Easy!! As discussed in a previous post I used the Honda ECM to run everything engine related, this includes the fuel pump and fuel level sending unit. To do this I located the fuel pump and sending unit wires in the Honda harness then I took the pins out of the Honda connector. I pinned out the Miata connector and took the pins out of it as well. Then I installed the Honda pins in the proper location in the Mazda connector, plugged it back into the stock location and there you go fuel pump and sending unit work just like stock!!! Here are a couple pictures of the process.
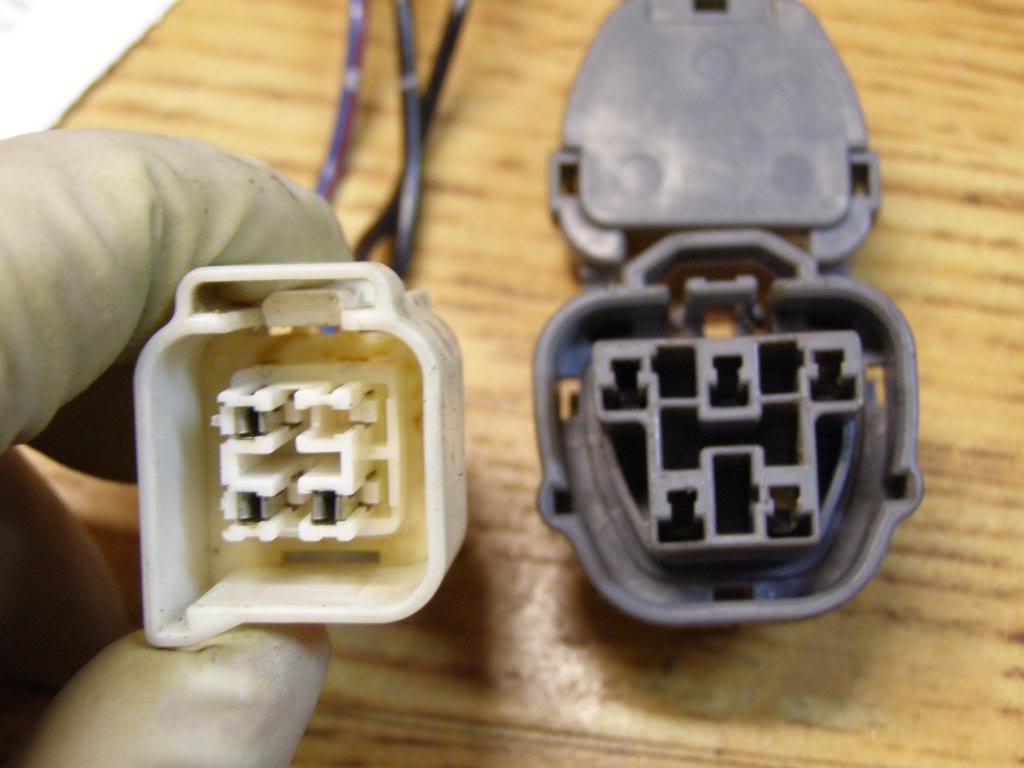
In this picture you can see 3 of the pins still in place on the miata connector on the left, the Honda connector on the right has had the pins removed. After the pins were removed rom the miata connector I simply installed the Honda pins into the Miata connector
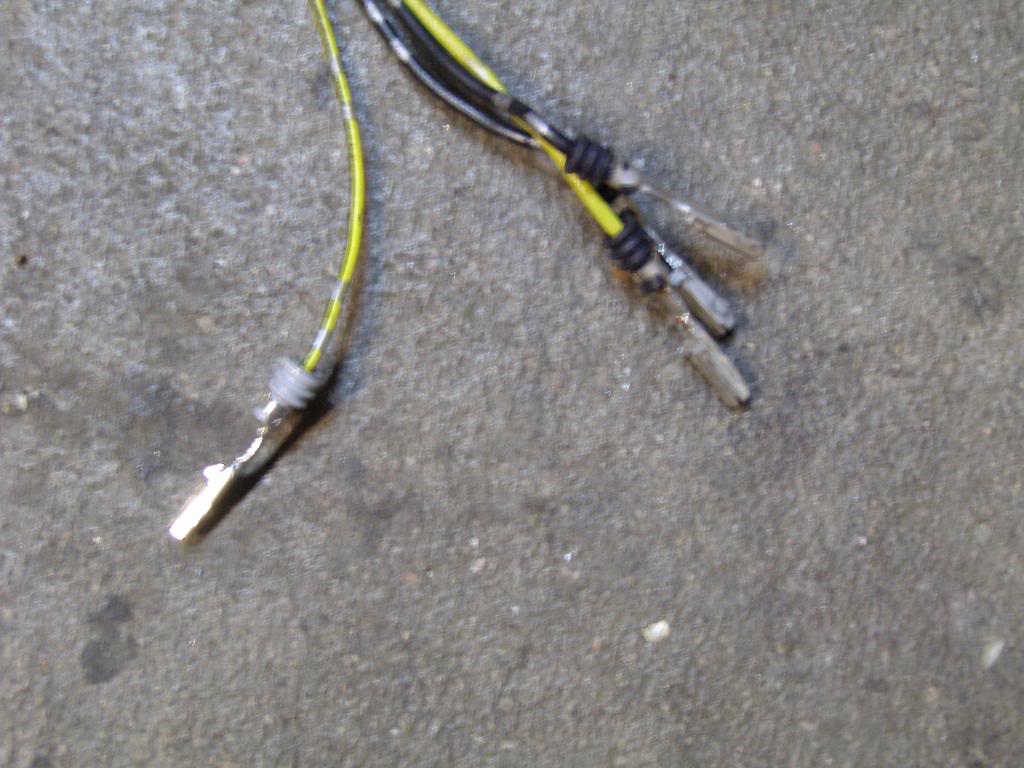
These are the Honda fuel pump and sending unit wires and pins before they were installed into the Miata connector.
In this picture you can see 3 of the pins still in place on the miata connector on the left, the Honda connector on the right has had the pins removed. After the pins were removed rom the miata connector I simply installed the Honda pins into the Miata connector
These are the Honda fuel pump and sending unit wires and pins before they were installed into the Miata connector.
Reply
 0
0

0
Here is a short video from my phone. Sorry the quality is not so great. Had the car out today to get it registered and couldn't resist one little blast through the gears.

Reply
0
0


Reply
0
0
Having to hold my phone definitely made the blast up through the gears a little interesting. It threw my timing off just a bit, I short shifted 1st to 2nd by 500 revs then just tickled the rev limiter 2nd to 3rd.
The car is a blast to drive as is, I hope I am not making a mistake by going to boost. I just got word from Pang at Pfabrications, it looks like we may be test fitting my manifold and turbo this weekend!! The turbo is a GT3582R with vband turbine housing and exhaust outlet. I am looking forward to the mock-up!!
The car is a blast to drive as is, I hope I am not making a mistake by going to boost. I just got word from Pang at Pfabrications, it looks like we may be test fitting my manifold and turbo this weekend!! The turbo is a GT3582R with vband turbine housing and exhaust outlet. I am looking forward to the mock-up!!
Last edited by hingstonwm; Apr 15, 2010 at 04:36 AM.
Reply
0
0
Having to hold my phone definitely made the blast up through the gears a little interesting. It threw my timing of just a bit, I short shifted 1st to 2nd by 500 revs then just tickled the rev limiter 2nd to 3rd.
The car is a blast to drive as is, I hope I am not making a mistake by going to boost. I just got word from Pang at Pfabrications, it looks like we may be test fitting my manifold and turbo this weekend!! The turbo is a GT3582R with vband turbine housing and exhaust outlet. I am looking forward to the mock-up!!
The car is a blast to drive as is, I hope I am not making a mistake by going to boost. I just got word from Pang at Pfabrications, it looks like we may be test fitting my manifold and turbo this weekend!! The turbo is a GT3582R with vband turbine housing and exhaust outlet. I am looking forward to the mock-up!!
Last edited by 18psi; Mar 26, 2018 at 12:33 PM.
Reply
0
0

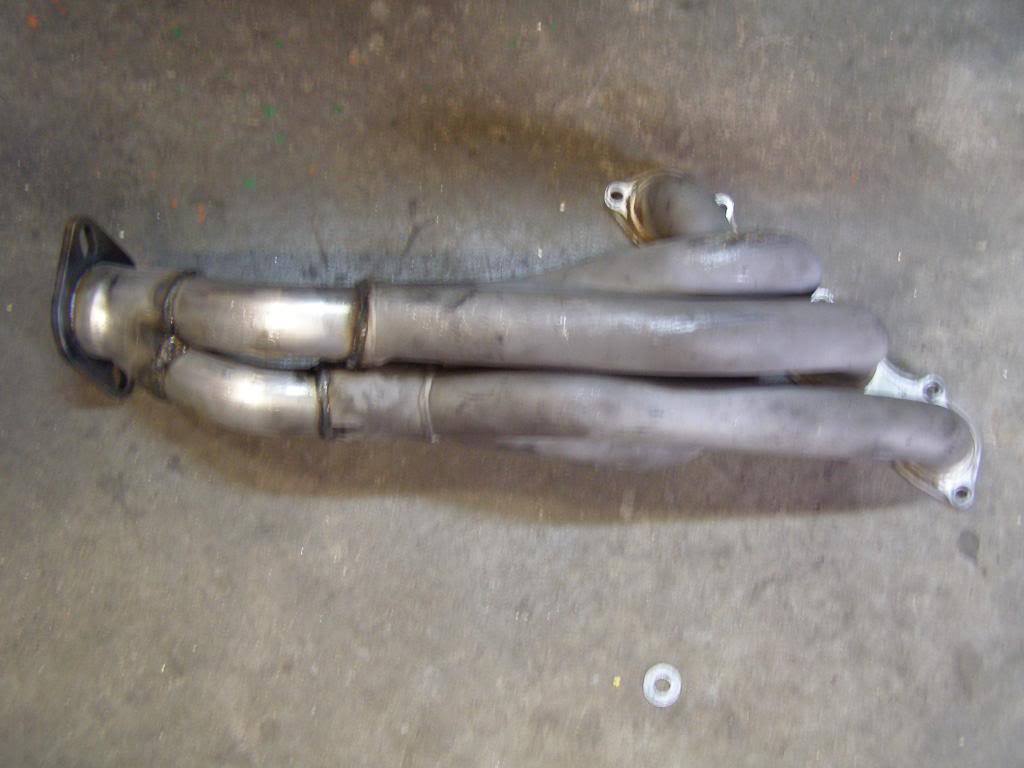
Here are some pics of my header. Not wanting to deal with the fab work involved to make the header fit I took the car to a custom exhaust shop and explained what I wanted. Well, somehow there was a miss communication and they slip fit the pipes from the collector instead of butting them. This resulted in a reduction in runner size...not what I was after. So once I got home, I took their work apart and fabricated it up my self with left over tubing. I think this is a case of pictures speaking a thousand words so here are some pics of theirs and mine
The first 3 pics are their idea of what I was after. The last 3 pics are the header as it sits on the car now with my modifications. The change in the header made a significant difference in the way the car pulled up top.
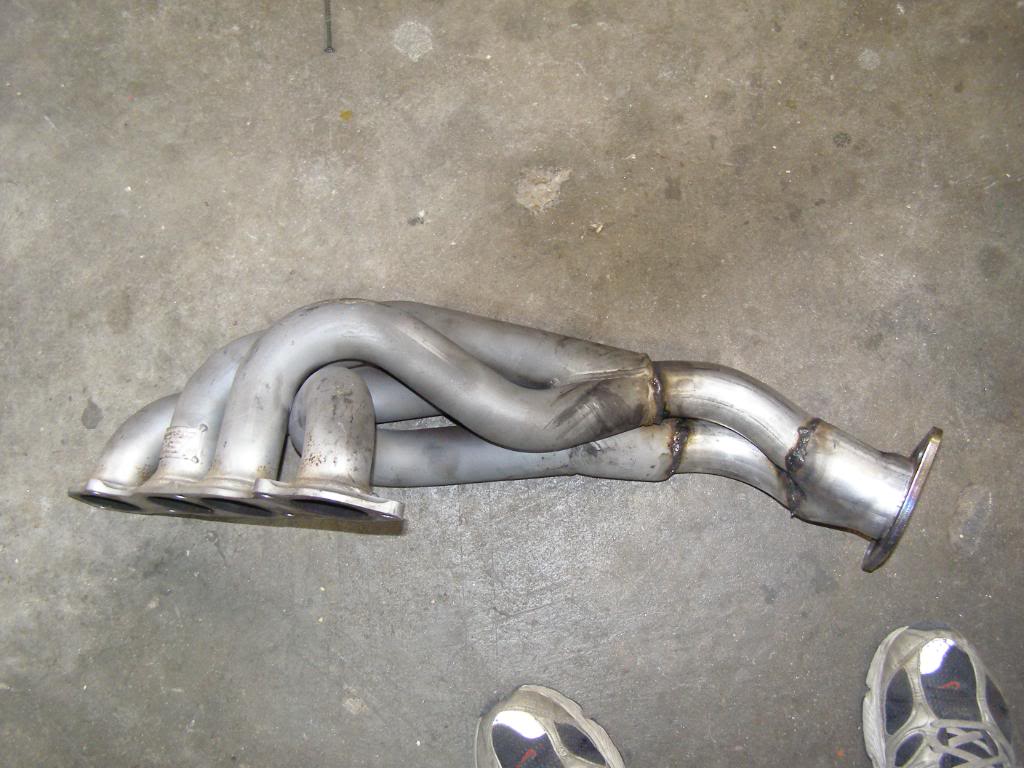
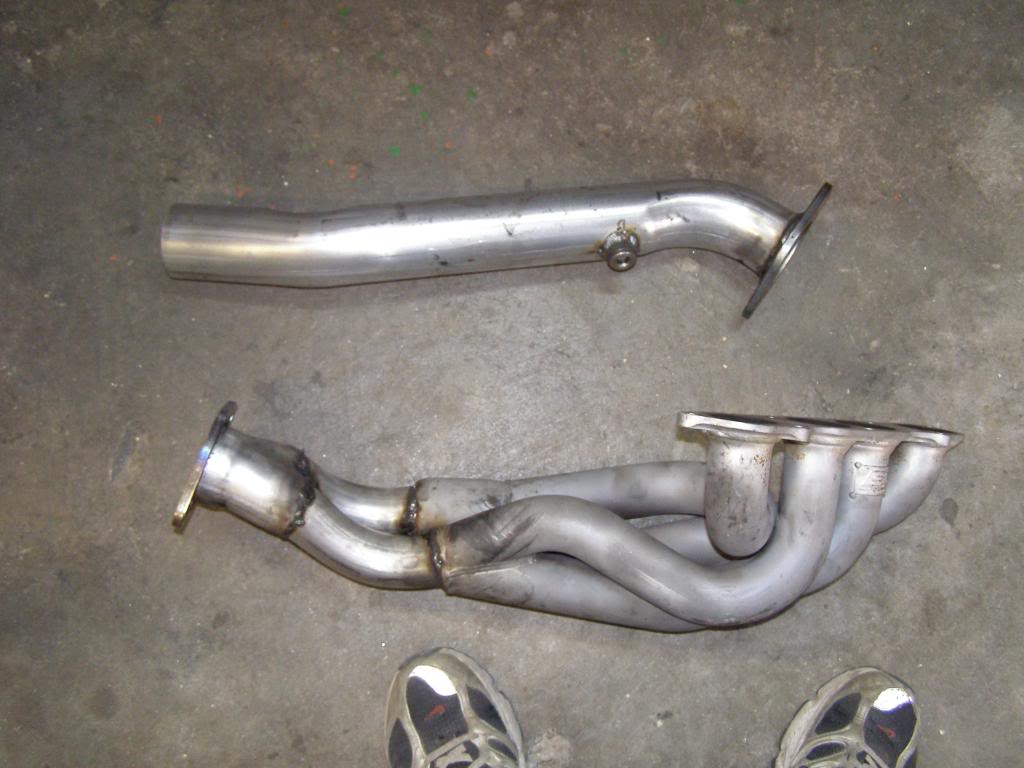
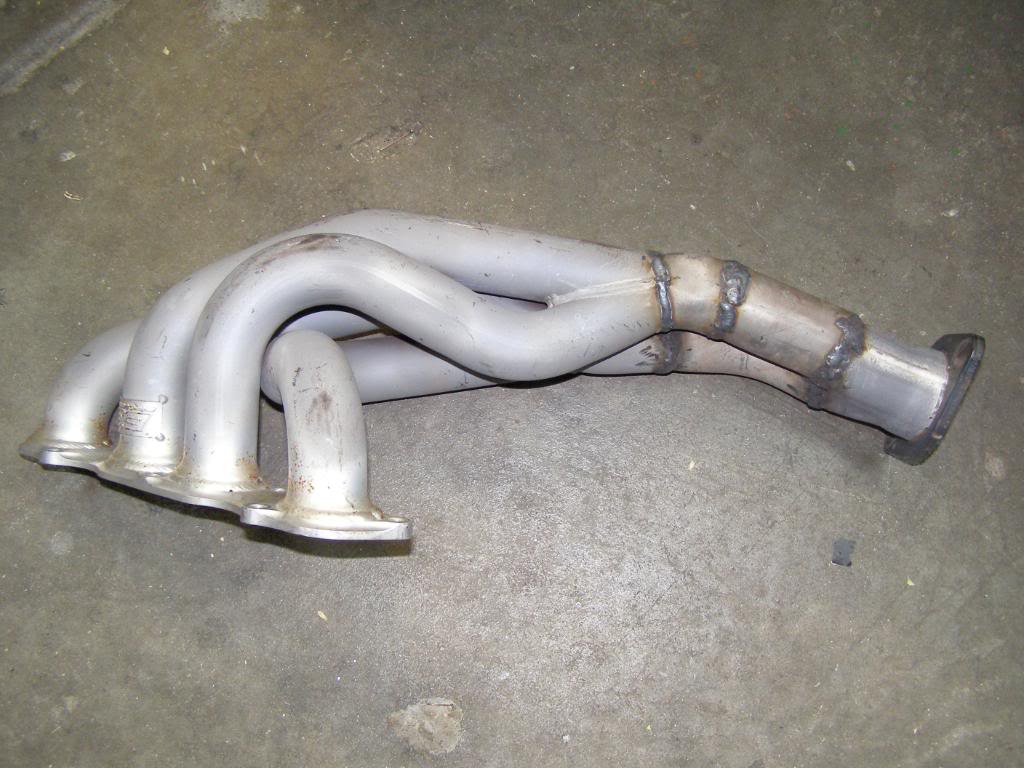
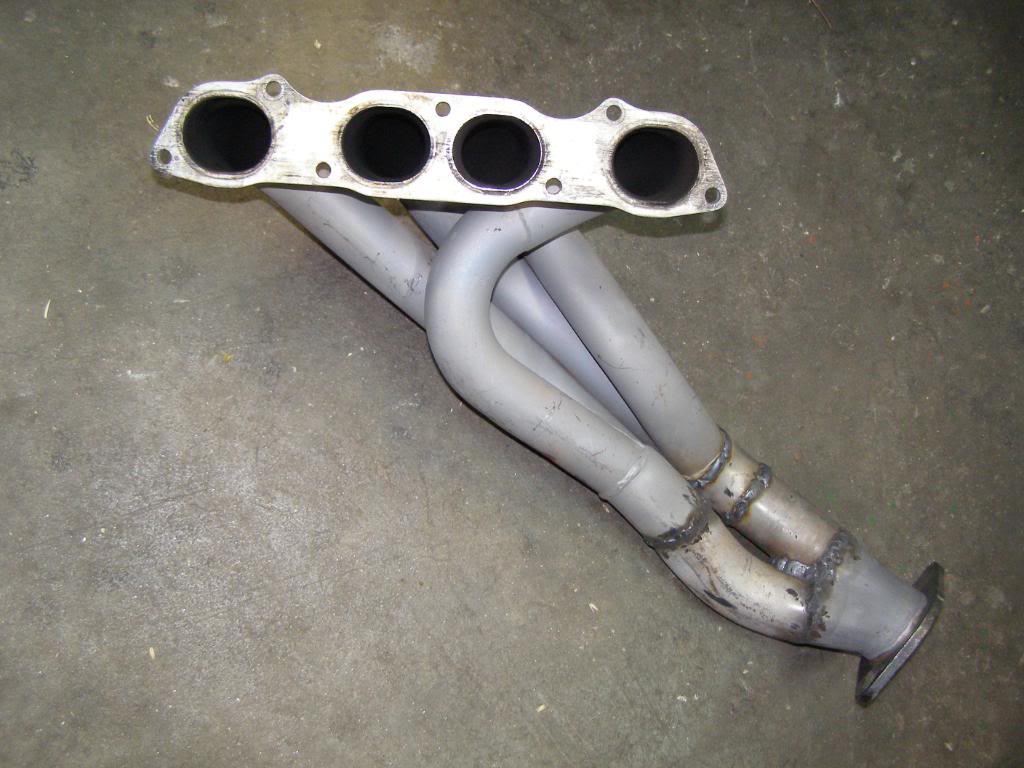
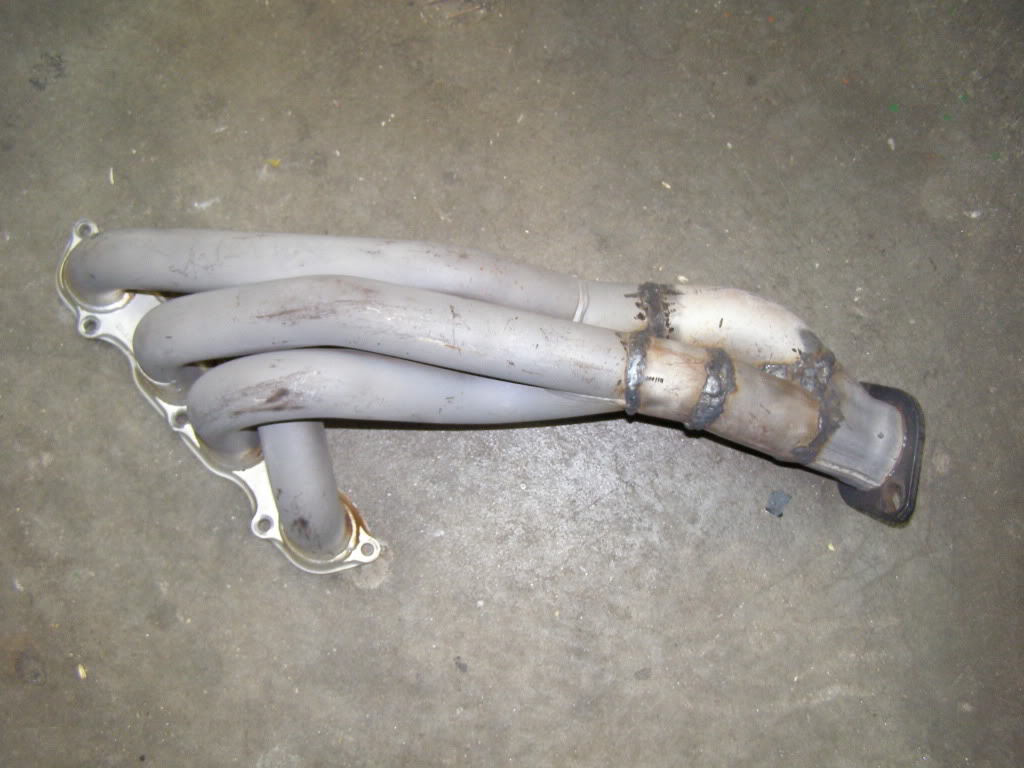
The first 3 pics are their idea of what I was after. The last 3 pics are the header as it sits on the car now with my modifications. The change in the header made a significant difference in the way the car pulled up top.
Reply
0
0

Junior Member
Joined: Dec 2009
Posts: 332
Total Cats: 1
From: Shelbina, MO (North East)
I've seen that before....... I'm not sure if the exhaust guys think we are stupid, it just doesn't make any difference, or they just don't know any better.
+1 on doing it yourself.
+1 on doing it yourself.
Reply
0
0

I left their work in place long enough to get the car running. The first thing on my punch list after the car was 100% complete was to fix the header.
I really didn't want to do the work as my welding skills are decent, but not great. But I think it turned out okay. The car has about 6k on the odometer since I put it on the road a little over a year ago, and the header is showing no issues with cracks or heat stress at my welds.
I took it off yesterday in preparation for test fit of my turbo and manifold....the new project begins!
Reply
0
0
I left their work in place long enough to get the car running. The first thing on my punch list after the car was 100% complete was to fix the header.
I really didn't want to do the work as my welding skills are decent, but not great. But I think it turned out okay. The car has about 6k on the odometer since I put it on the road a little over a year ago, and the header is showing no issues with cracks or heat stress at my welds.
I took it off yesterday in preparation for test fit of my turbo and manifold....the new project begins!
I really didn't want to do the work as my welding skills are decent, but not great. But I think it turned out okay. The car has about 6k on the odometer since I put it on the road a little over a year ago, and the header is showing no issues with cracks or heat stress at my welds.
I took it off yesterday in preparation for test fit of my turbo and manifold....the new project begins!
Would like pics of the manifold please!
Reply
0
0

Reply
0
0


