When you click on links to various merchants on this site and make a purchase, this can result in this site earning a commission. Affiliate programs and affiliations include, but are not limited to, the eBay Partner Network.
So truthfully, I burnt out on working on the car this summer. I spent so much time building little stuff and trying my best to avoid spending money, I just needed a break. My work provided something for me to put my mind into something that wasn't my car but was still building. We just finished one of our rushes and although apparently, it wasn't as bad as last year it was still a lot of hours. A couple months back it started out about 60 hour weeks which while not horrible cut a lot of free time, especially when you add on the commute that only gets worse every day as people continue to flood Seattle. Then it moved up to 70 hours a week a couple weeks later, then 80, by the end I was doing 90 a week. So I got some good overtime pay lol, my paychecks were pretty satisfying. I've been working on saving money cause one day I'd like to buy a house, and they certainly aren't getting any cheaper.
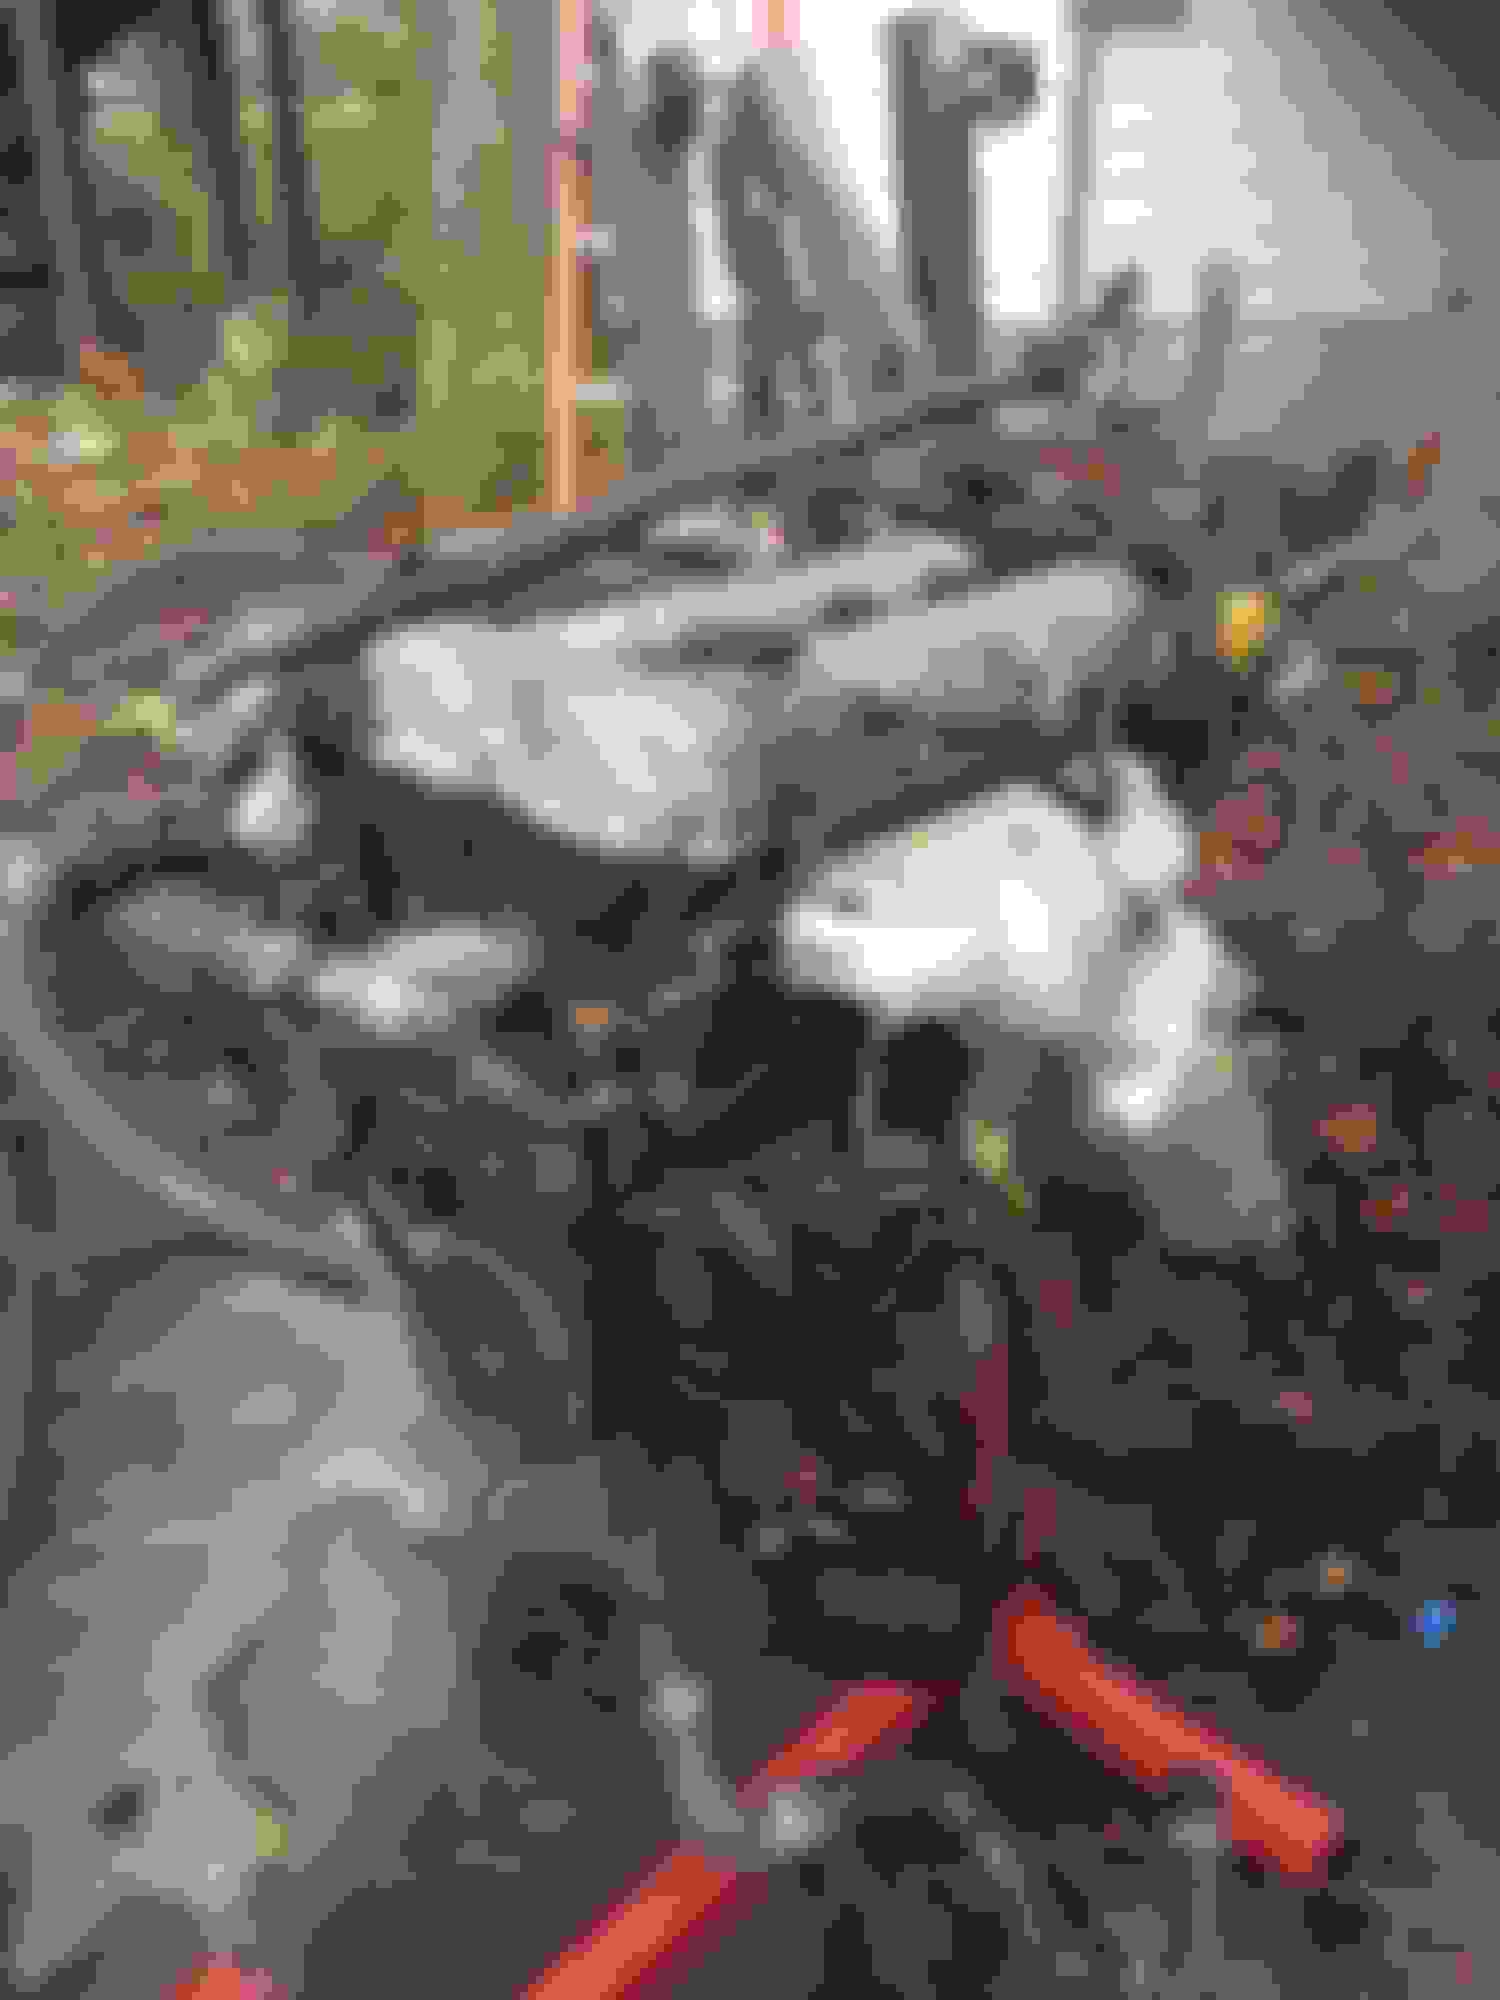
Brad's engine has started eating a bit of oil, and I've noticed the oil pressure just isn't as high as it used to be so I was kinda on the lookout for a 1.8. A 2000 1.8 with 97k miles popped up on cl so I jumped on it, also came with a spare wiring harness so that's cool. I'll probably swap that in sometime this summer. Then I bought the rest of the components for my budget billies, went with 450/300 rates cause I'll still be dd the car. Since I had a bit of time on a recent business trip I decided to buy a ms3x to put together so I got that, it's mostly done, just a couple more small things to do. And last I got a good deal on a square top from the UK, which the shipping company seemed to lose. Still figuring that one out lol, seems to be in limbo between the international shipper and USPS so hopefully it gets worked out. I bought it purely because it was a good deal but it'll probably go on the engine.
This week I got back from Denver and finally had free time again so I started moving stuff away from the car and clearing the interior of the car out. Like I said I got a little burnt out so I hadn't moved anything since california. Been starting to plan how I'm building the cage and I bought 4 sticks of sketchy 20 back in November. Also bought a 3'x4' sheet of .125 so I should have plenty for the boxes and plates lol. I started by taking out all the seat mounts out, the seats will be mounted to the cage. The next step is to get the roll bar out and then it's time to start taking measurements and finding angles. Also bought a tubing notcher yesterday which will make things a lot easier and it'll make my life easier in the future doing chassis work for other people. Also buying some dimple dies soon now for gussets, cause who doesn't love dimple dies? That's pretty much it for updates on both cars. Need to have Audrey done by April, my buddy wants me to come out to Racewars this year which is on the 31st of March. I was gonna try to make it out last year but I never got around to it.
Update part 2: skip if you don't give a **** about seeing non car stuff.
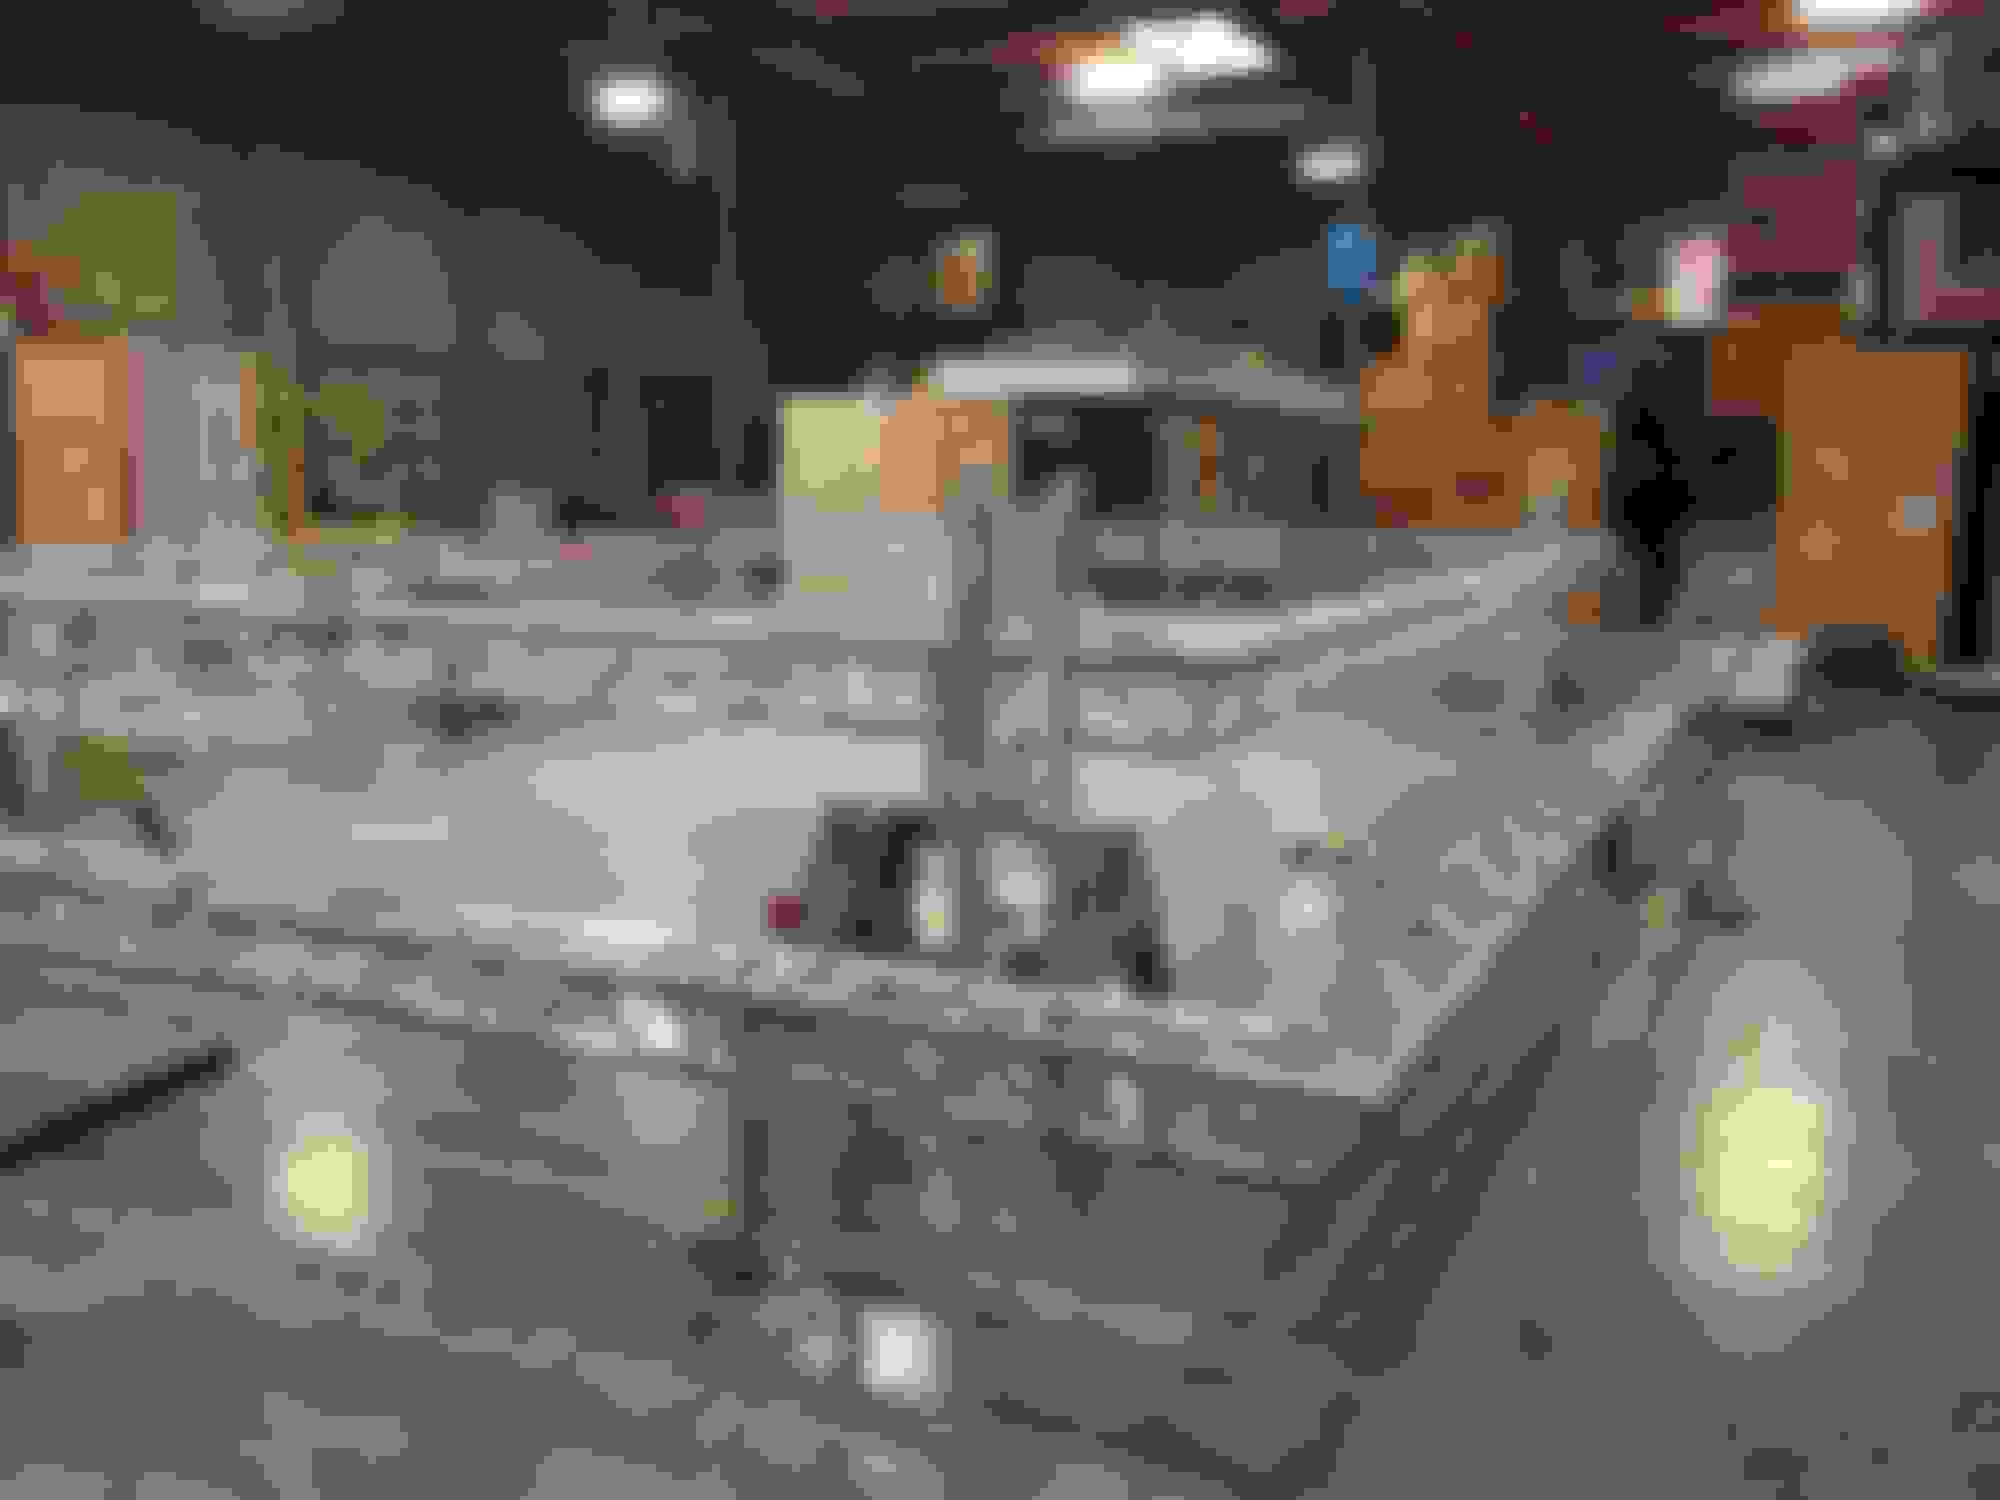
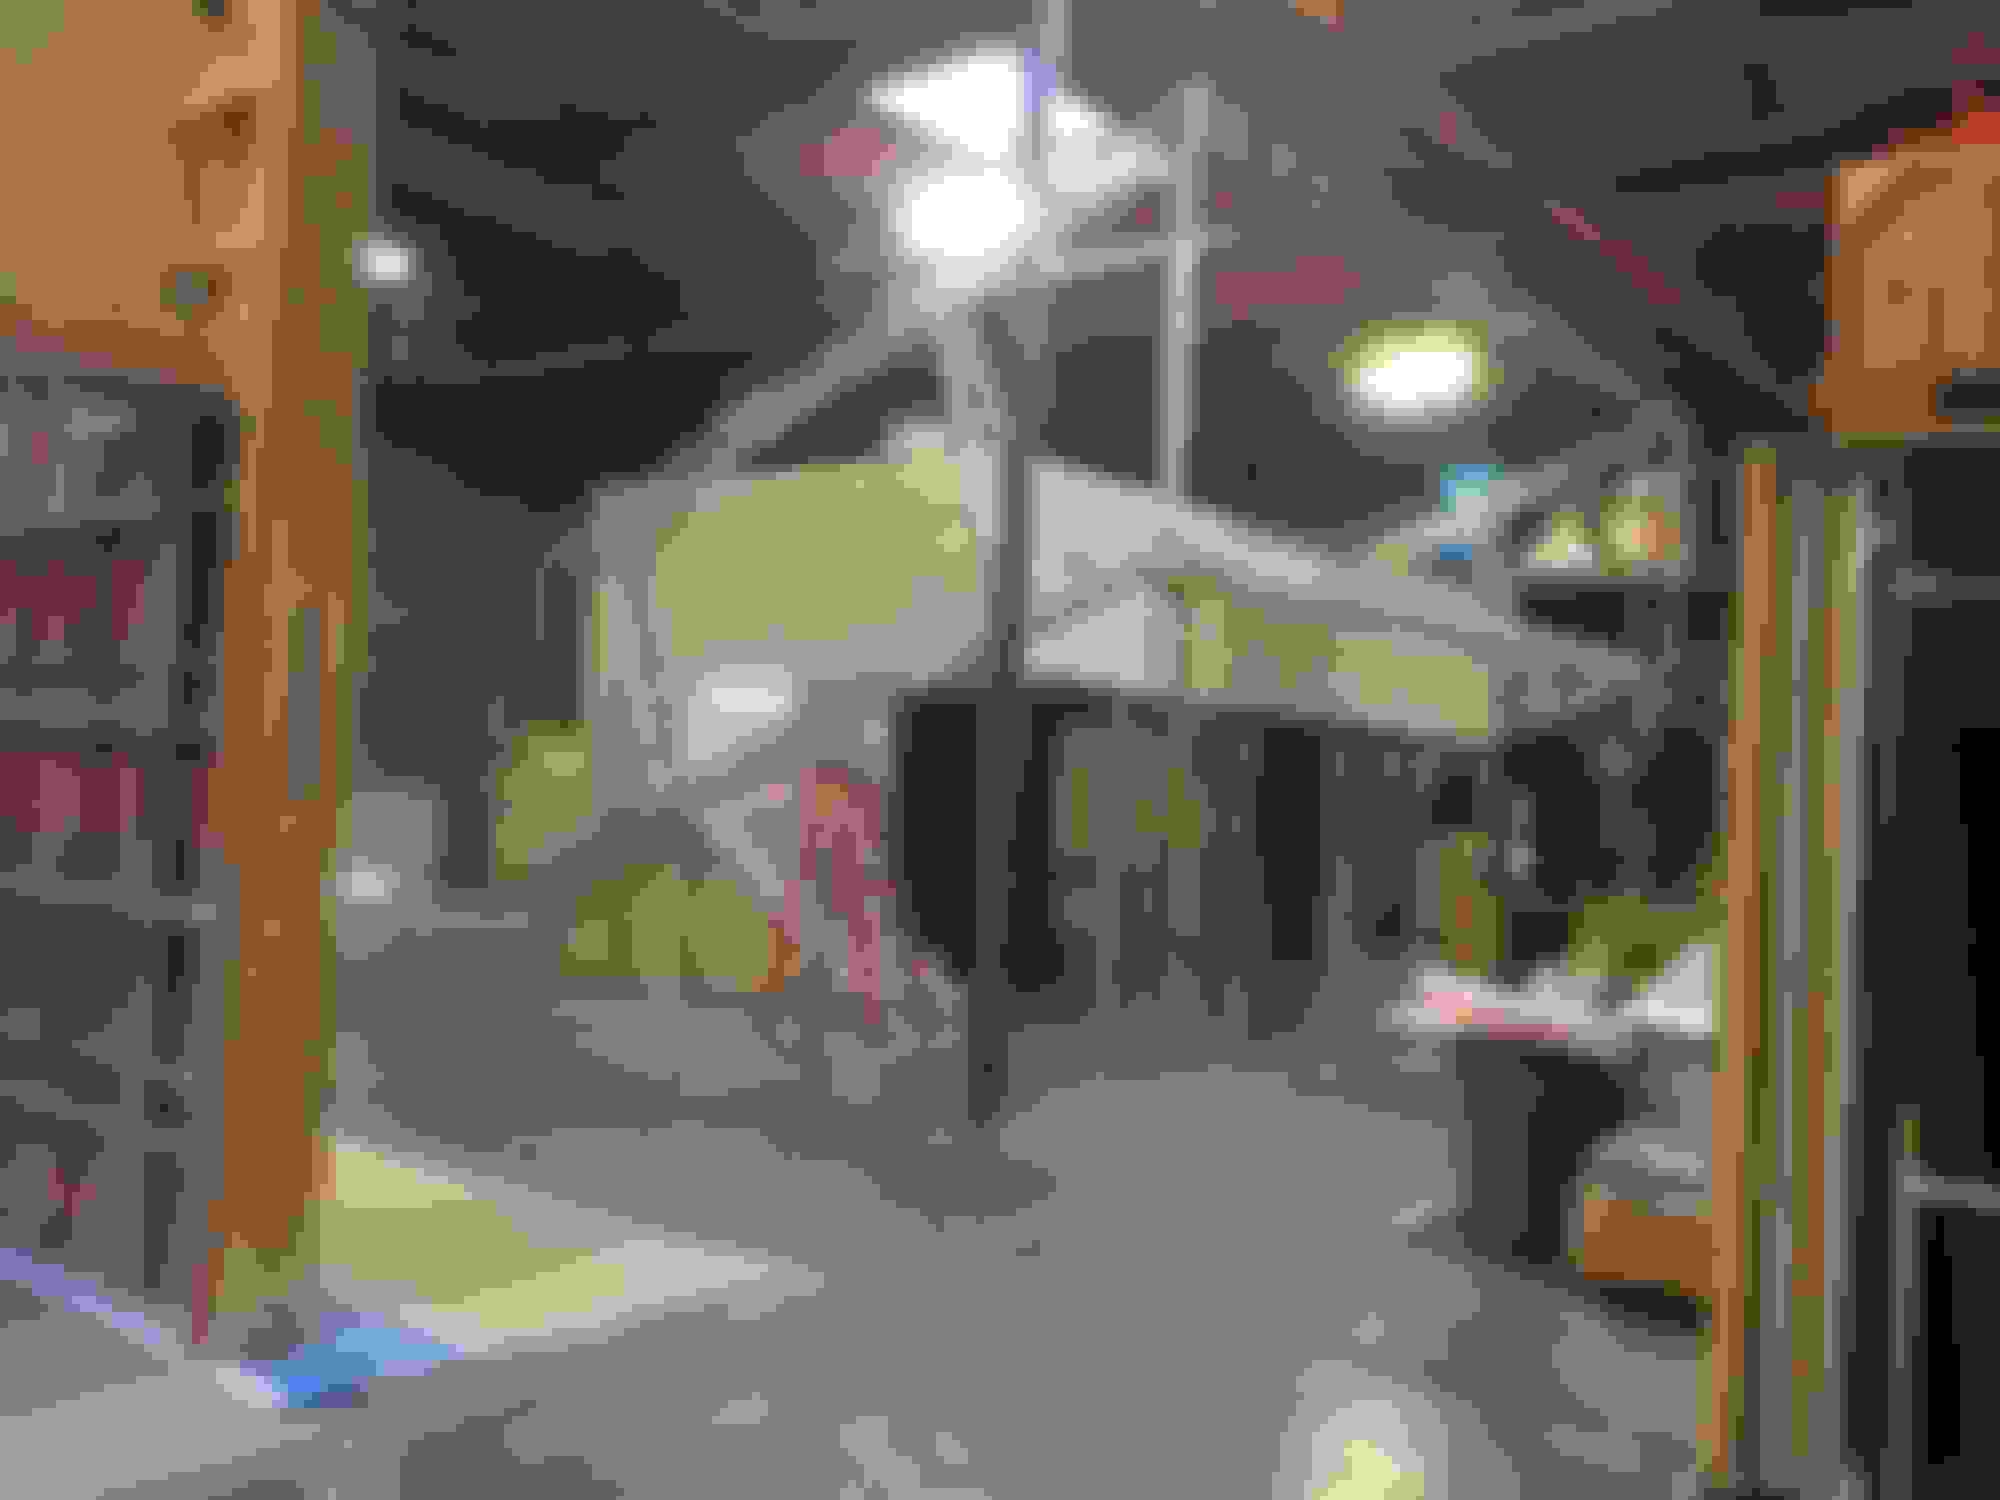
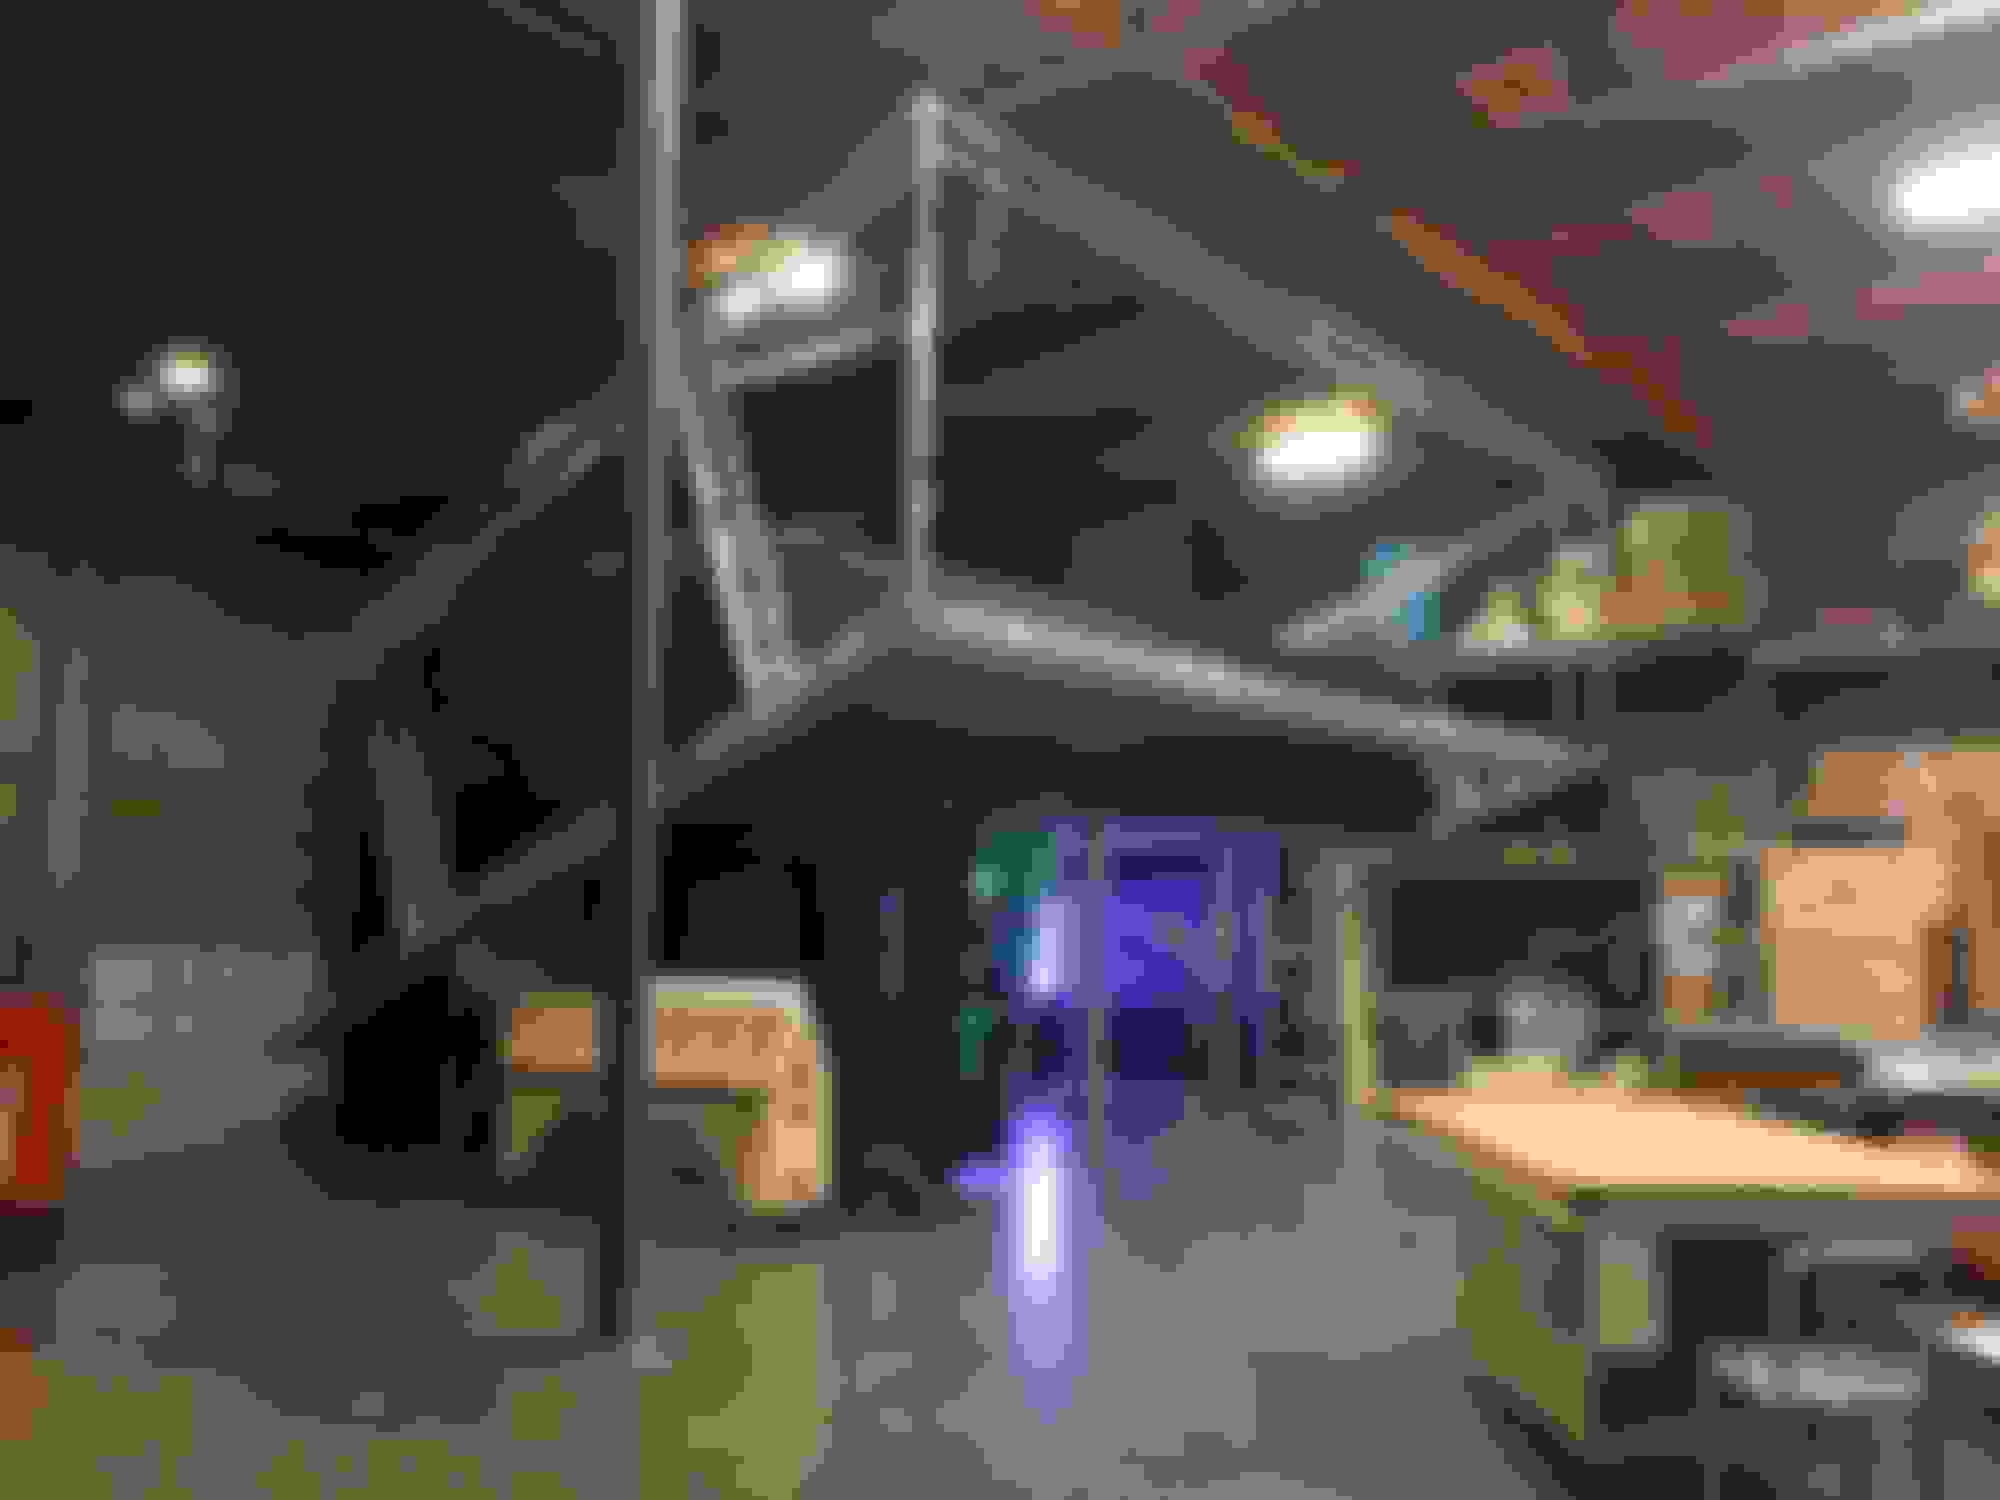
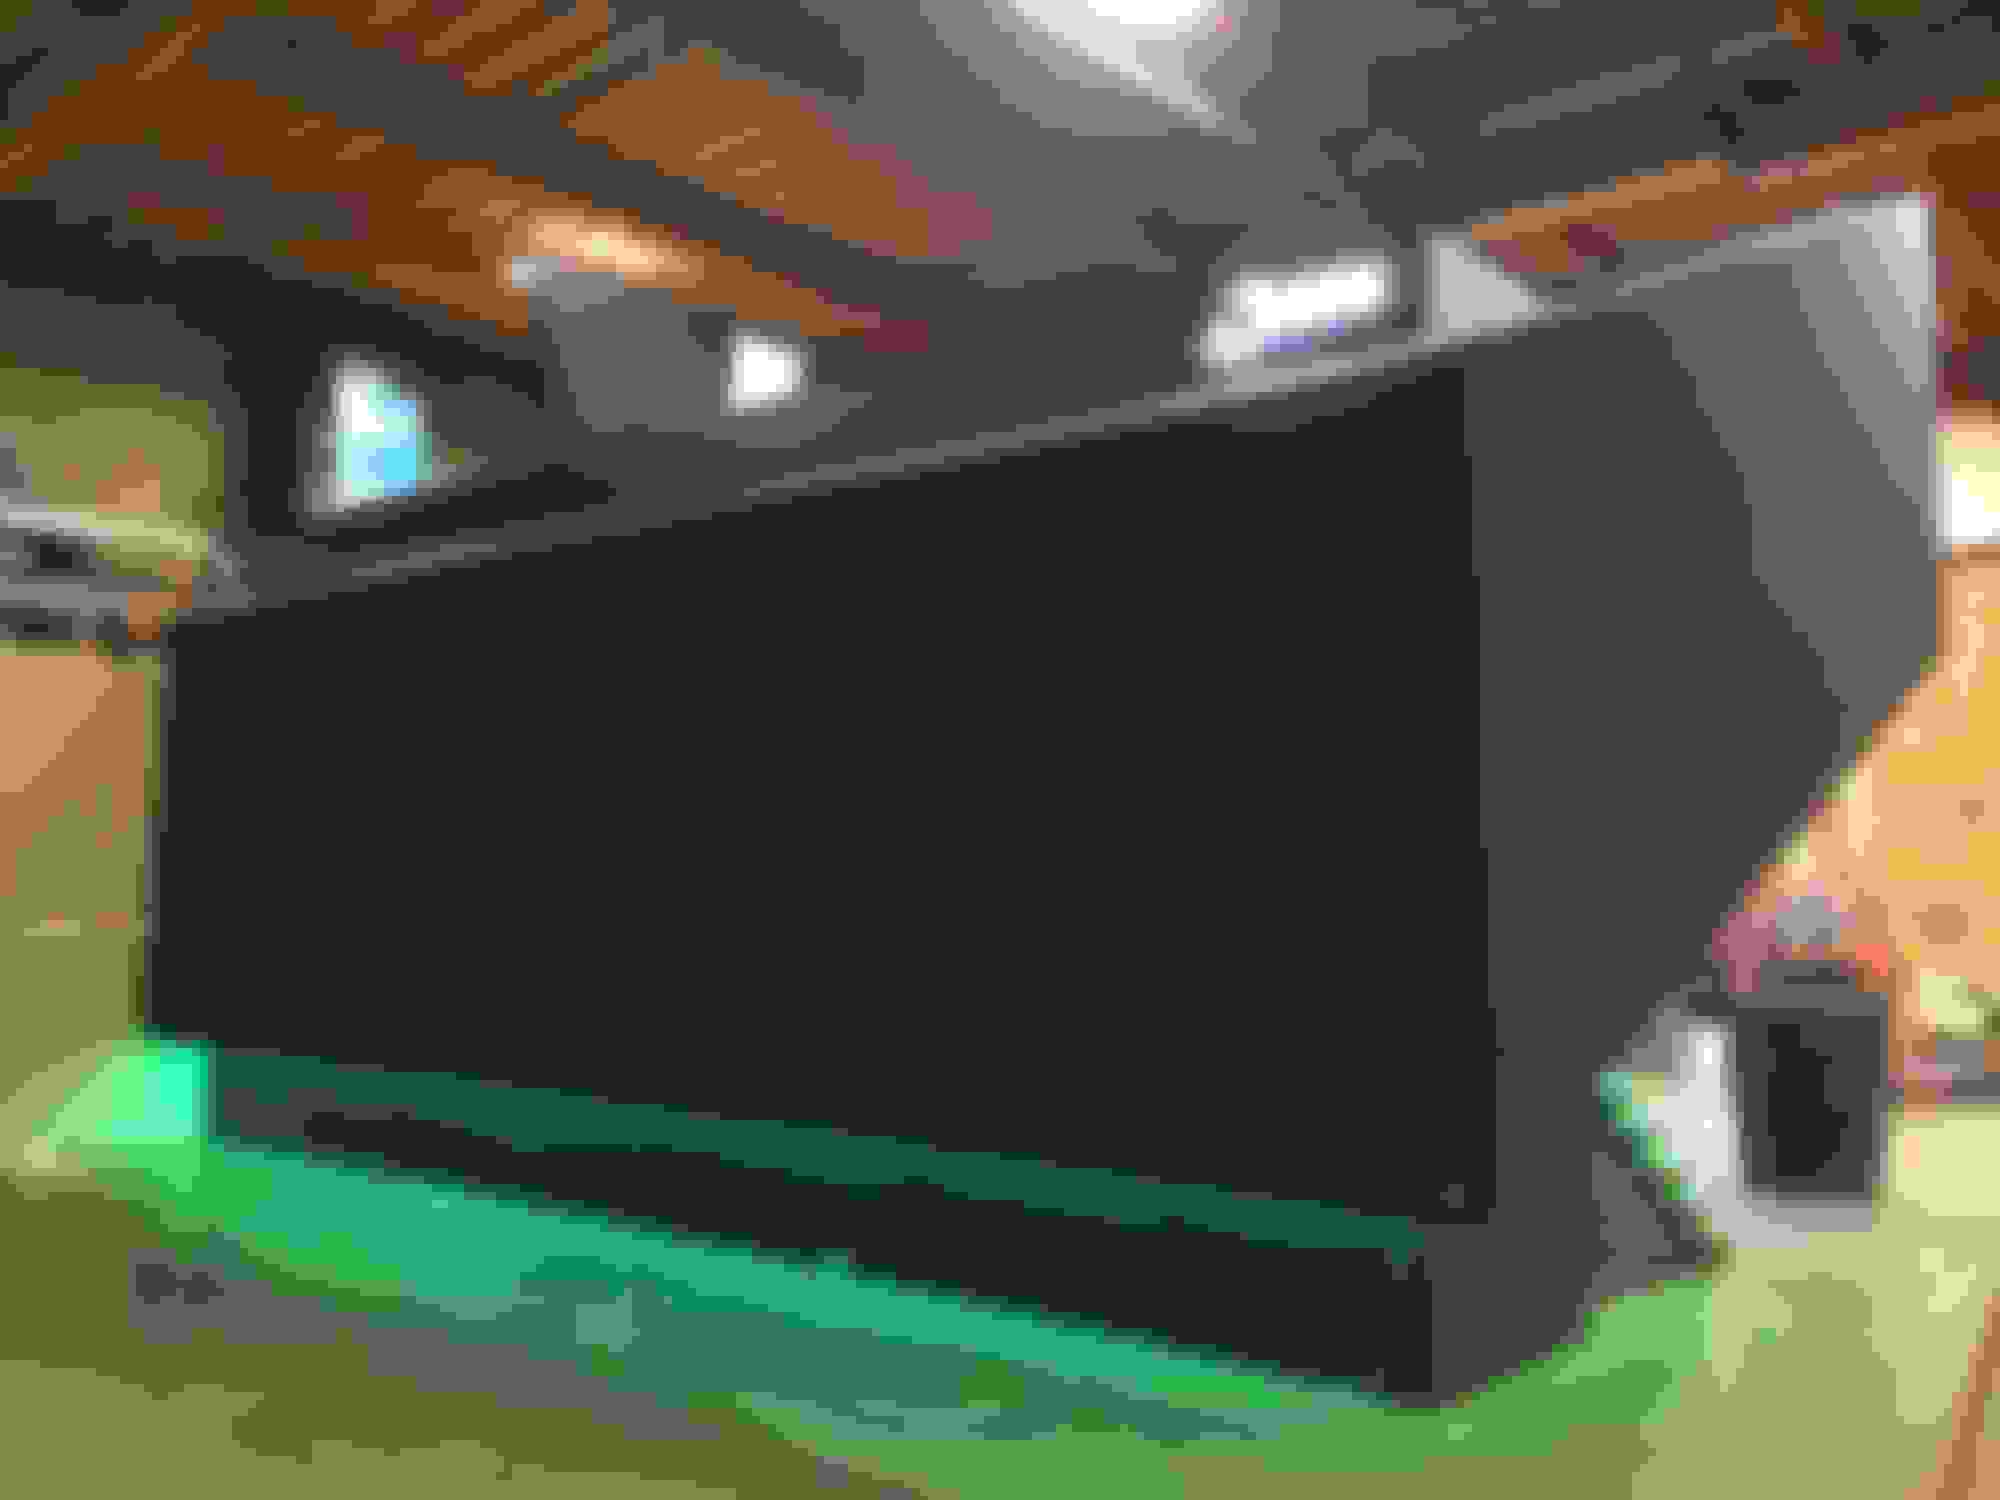
This was one of my main projects at work, 100's of hours went into all the fabrication and modifying of this booth. We bought the original truss from another company but I told my boss next time I'm designing and fabricating the truss from scratch. We ended up spending so much time modifying it for our purposes, I could have easily designed and fabricated a better one. Also did a lot of wiring for all the Leds in the booth as well as all the other electronics. Basically anything metal in this structure came through me, like I said, a lot of hours went into this. Went off to shot show in Vegas for Sierra bulletsmiths. None of these pictures are of it actually done, I left 2 days before it shipped out and there were still some unfinished things on it when I left. A lot of stuff still needed to go to powdercoat like the railing and all the supports. Also that's a 98" 4k touchscreen tv, $$$$ lol.
The light bleeding through the corner is because we hadn't put the light block in yet, like I said, I left before it was fully finished
Today my squaretop decided to randomly appear on the porch. So that was good. Unfortunately, the throttle body looks to have gotten damaged in transit but it's not a super big deal since I have another one. Also spent a better part of the day drilling and grinding the spot welds on all the seat mounts. Car now has no seat mounts, tomorrow I'll get rid of the seat belt towers as I attempt to shave more weight.
Where was I? Right, not working on the car. Garage has been cold and I've been more tired than usual. But those are just excuses, I'm being a bitch and not working on the car. I did buy some seats. Katy and I went to the local race shop and picked out a couple containment seats, we both ended up going with the momo daytona. To anyone thinking of ordering a seat off the internet without actually testing it, don't. I almost did and when I tested the seat that I was gonna buy I had about a 1/2 of slop on either side of my hips, it didn't fit me at all. A couple of the sparco's had pressure points but the Momo fits like it was made for me. Looks like my seating position is gonna require some bashing or cutting of the trans tunnel, if only I was taller I think I might have gotten away with less smashing. I'm only 5'6" so I end up sitting pretty close.
Also cleaned up my flattop at work. Looks much shinier in pics than it actually is. Wasn't trying to polish it, only clean it up so I'm pretty happy with it.
I also got a roguefab tubing notcher for when I actually work on the car, gonna make notching tubes so much easier.
I did do some work on the car. I need to actually drill the spot welds on the rear shelf (I cut it just for ease of working) but I think I'm gonna cut out more of the tower area. I cut just the seat belt tower out but I may cut it the rest of the way to the seam.
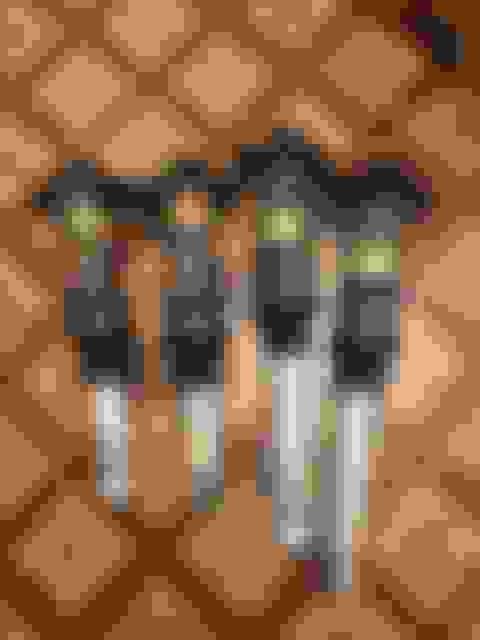
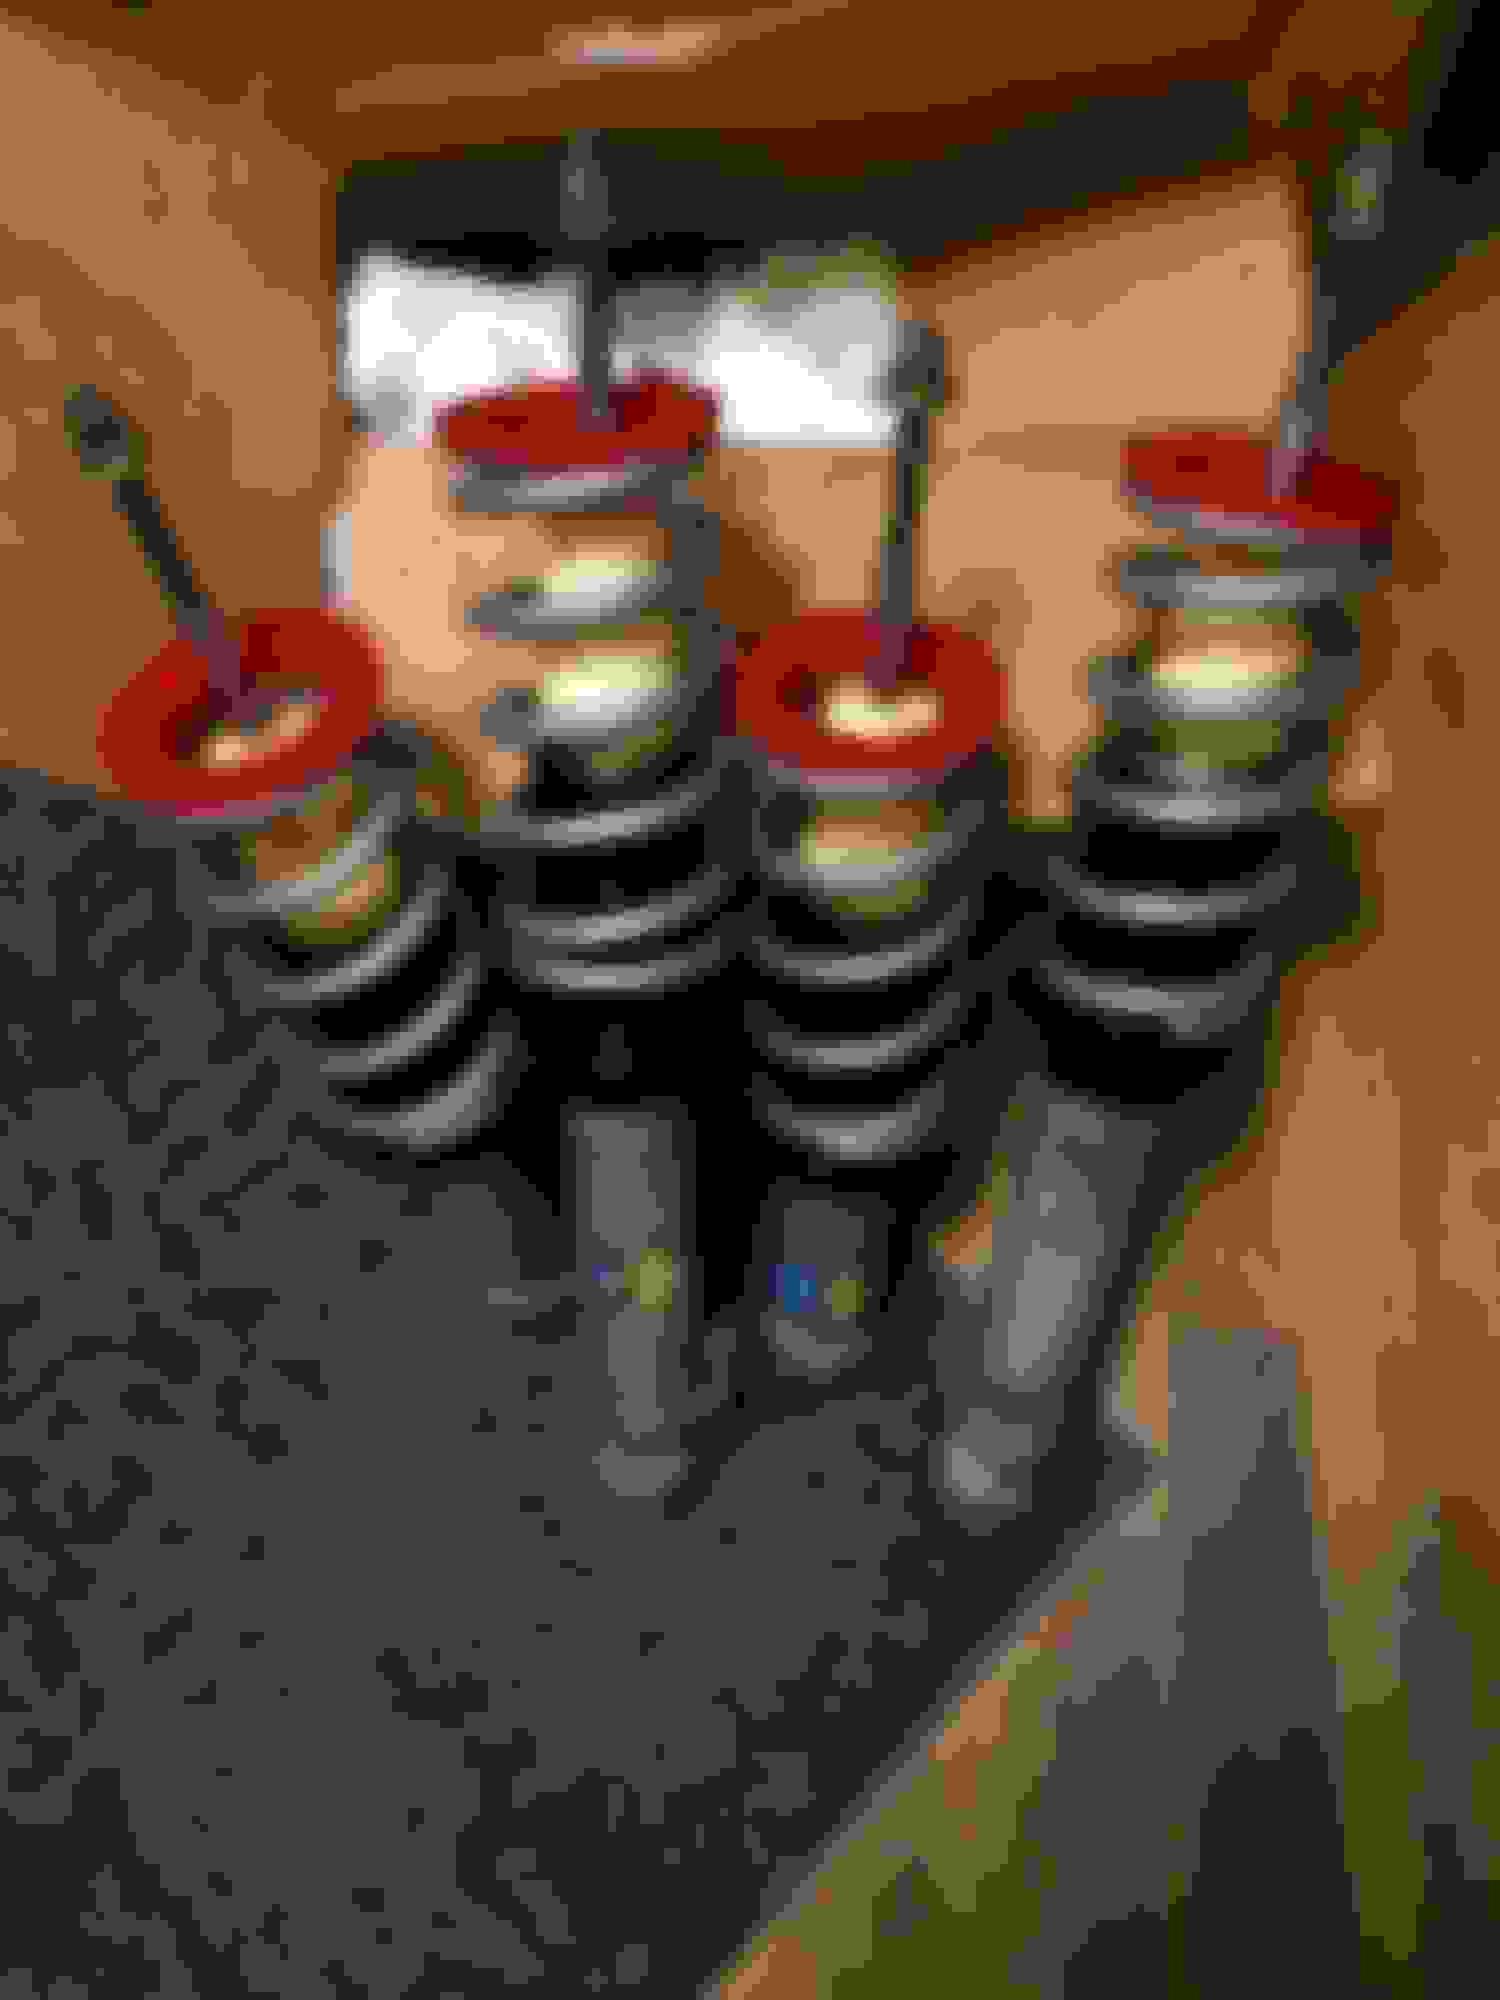
Last up, I put the bilsteins on! Oh my god, so much better.But as soon as I took the lift kit/snow tires off it started snowing off and on all week. Of course it would. Oh and my vlsd finally died so now I'm doing one wheel peels with all seasons...woooooo. Cats were interested in the suspension. New black cat is Albert, Crooks is my old 18 year old kitty, the black and white one.
Lowered the car down to about 5 threads showing, haven't actually measured the pinch weld height yet, but it's not crazy low. I think it could possibly go a touch lower but for my dd it's pretty nice. Ride quality is much improved from with the lift kit on, which brings up another point. The lift kit pulls on the bushings so much that it actually destroyed one of the bushings enough that I can see the knuckle move. So that's one of the small maintenance projects I need to do. I'll probably just use a spare knuckle I have kicking around. Oh, I also bought an nb to part out, drift bro found out the hard that lightpoles aren't super forgiving.
Got new spot weld bits and a Steck seam buster. Drilling spot welds has never been easier. Combined with a little cutting fluid, it goes waaaay faster. Anyway, started on the main hoop. Bent it up and while it came out perfectly to the dimensions I wanted (yay for being able to do math correctly) I hadn't realized how much the fast back comes in at the top and there was interference. Currently, the design I'm running with is two 86* degree bends on the side and an 8* bend in the middle. That way I can bring the main hoop higher and run tighter clearance to the roofline. The drawback to this is that the main hoop is about 1.5" narrower on each side than I could potentially run. That would look something like a 30* bend and then a few inches later a 60* bend and then straight across. What I don't like about this design is that while it has tighter clearances to the side of the car, the actual height of the hoop will be lower.
I cut and rewelded the hoop so that it was at the right width so I could confirm that the other dimensions were correct. I may add a degree or two to the middle bend but other than that it's right where I want it. Opinions on the situation from the peanut gallery? Here are some pictures of how it would sit it currently sits. Oh, and some cats.
Current gap between side as it sits now.
Gap between fastback and hoop
Gap between top, If I don't run the three bend design then that gap will be larger.
Rules. What are rules. This is V8 miata land, my friend, there are no rules except awesome. And that if awesome is not met, scorn shall be mercilessly rained down upon the perpetrator like .... like .... like something seriously badass !
Yeah, unfortunately, the car just doesn't land competitively in the rules of many series, it's usually an unlimited type class (XP, TTU...etc). I was mainly going by Redline/Global time attack rule books because I could run it in different time attack series but even then, none of them are in the NW. I could run lucky dog I believe, but I don't think I'd wanna run this car in it. If I was going to run in lucky dog (well technically I was supposed to this year with an e46 and my old lemons team, but I guess we're not racing this year), I would build a car specifically for it. So did I just build a really expensive HPDE car, it kinda seems like that lol.
As for 3 been main hoop legality, I've never actually seen (or not that I remember) a rulebook specifying anything besides under four bends for the main hoop. I actually kinda stole the idea from TC design. I've seen them do it in a few of their cages (Vegas included), and I like the idea of bringing it a touch higher.
But I'll do some more digging in a couple of the rule books tomorrow, see if I can't find something about odd number of bends or something.
The rulebooks for cage requirements for Time Attack and NASA are pretty much identical. SCCA is right there as well. Building a cage that is just barely illegal because of some small oversight by not reading the rules, is usually the same amount of effort as building one that is legal, and won't bite you in the *** in the future.
The key wording for the amount and type of bends is right here from the NASA CCR's:
The main hoop must consist of not more than four (4) bends maximum, totaling one hundred eighty (180) degrees +/- ten (10) degrees.
Completely agree about building one that's barely legal vs legal, but it's not a matter of me not reading the rules, I've read them a lot over the years and I reference them pretty often. I know that exact line but I generally try not to speak with certainty unless I'm referencing the material as I speak. That's where my hesitation comes from. As I said, I've never seen anything referenced other than under four bends, but I also didn't have all the rule books open on my computer at the time so I wasn't going to speak with certainty. As for nasa I believe global follows it closely and scca, redline follows it closely, the main difference being at what weight you can go to what tubing size for cages. This one difference specifically was a pita because one changes to heavier tubing (redline) at 2200 while the other changes at 2500. Pretty sure the car is gonna come in just over 2200 so I had to go with the heavier tube.
why don't you just make the bends on the sides wider and add material to the bottom legs to compensate for height loss? If you cant, "unbend" it, just use a new tube?
I would change the bend radius but it has to stay the same since it's based on a die in the tubing bender and the bottom of the legs can't be any longer since their height is limited by the sides of the roof. The roof has about a 8-9* slope in it so at the sides it's quite a bit shorter than in the middle, therefore the three bend main hoop instead of the standard straight across one. Not sure if that makes sense or not, it's kinda hard to explain without showing it.
Either way I have to bend a new length of tube, I just like to minimize bending a bunch of main hoops cause it's about $40 a mistake lol. Just don't wanna bend a third.
So I did a bit of thinking over the weekend as well as some extra testing with the seat actually in the car and how I would be sitting. Looks like less trans tunnel bashing than I originally thought to get it centered but I do need a bit of recline to still be able to reach the pedals and be at a comfortable arm position (drawbacks of being short). I also realized, while the base of the main hoop would be able to move over 1.5" on each side, I could really only do 3/4 because the lower part of the fastback would interfere. That kinda finalized my decision to use the original design. I think it's more important to get it higher above my head than add an extra 1.5" in width altogether. This may seem like I'm overthinking stuff, and that's entirely possible, but I also want to get this perfect. Cages aren't something you want to rush or **** up, I also want the fitment on this cage to be as perfect as I can get it.
Below you can see the space between the lower part of the fastback and the hoop that I was referencing, it's about 3/4 of an inch and would be the limiting factor on the width with the other design. Second picture shows the distance between the top of the seat and the top of the car, my head sticks about 1/4" above the seat without my helmet one. I think I have 3ish inches with my motorcycle helmet on which is a bit taller than my normal helmet. Benefits of being short lol. Also you can see where I cut and tacked it back together, I'm not going to put a cut tube in for my main hoop, it's for testing only
Been lacking on the updates, sorry. This one is gonna be a little picture heavy. Had a lot going on in life since my last post, and I was really struggling with motivation this year. To start off I started interviewing with ARB USA back in March and after a month of interviewing and a test I got the job as their product development engineer. Came with a decent sized bump in pay and I'm actually doing what I've wanted to now. Seems like a really awesome company and there is lots to learn since I don't know all that much about offroading. Also looking to buy a house in the near future, they're sending me to Australia for a few weeks towards the end of May and once I get back I've be in the market a little bit more. The plan is to find something with a couple extra rooms and rent them out to bring the mortgage cost down so that I can still play with cars.
So onto the car. Most of the cage is done, still wrapping up a few pieces and I need to do a bit of welding but the main hard parts are done. I also picked up a torsen for my daily since I don't really feel like testing the 1.6 diff against the new engine (not that it's going to be super powerful or anything). Also my cv joint is fucked up on the passenger side so it gives me an excuse to just pull the entire rear end out and replace with the nb rear end from the car I parted out.
Here we go!
To start off, I finished cutting ****. I dropped another 19lb of sheet metal. Woo! Weight loss!
Then I made these. They were purely for testing seat height, no these aren't going to be going on the car. Just wanted to get a feel for recline position and that stuff. Used some scrap channel material from work. Also, word to the wise, seat mounting points aren't symmetrical side to side.
Then I tried to make the seat fit nice and centered. And it didn't. So I hit it. And hit it some more. And then broke it. And then fixed it.
Cage details time! This is where the downbar comes down. (took me four tries to get the downbar how I wanted it, many words were used to describe my emotions during that time)
Tig welds make me happy. This one was a little lacking on consistency but I guess I was happy with it at the time since I took a picture of it.
Random progress picture
Rear x brace in place.
First part of the door bar in.
This rear part was really hard as far as notching went. I brought all four tubes into one point. I originally was going to notch the main hoop brace the amount that this picture shows since it would be notched around the rear x. But then I decided to cut the tack on the rear x and notch the main hoop brace less since it's the more structural item. I was very happy with this corner.
The roguefab notcher does a great job on the notches. Seriously. I've used other notchers and the vibrate a **** ton and walk more because of it. The roguefab one is awesome. Most of the tubes actually kinda click together on the cage which was really cool. Katy described it as a lego feeling. That came at the cost of every item getting done at least once. My throw away pile on this cage is larger than I'd like but I was also holding a lot tighter tolerances than needed.
Start of the underside of the door bar.
As I said, tolerances are tight, only a couple mm to spare. Okay, truth be told, I just got a little lucky on this one. But I was planning on cutting it anyway so not really a big deal.
Trick for building things: When notching put a clamp block on it and zero out your angle finder. That way you can know exactly what angle you're notching it at and make sure you're not accidentally clocking the tubing. More accuracy is more better.
Downbar graveyard:
Torsen! Yay!
Third day in ARB gave me this sweet diesel Colorado to take home and try out the suspension before we put some of our Old Man Emu on.
Just to clarify, you're building from scratch, not modifying a kit, right?
I'm getting close to starting on mine, and I've been debating whether to buy a kit and modify a few bits, or just to build from scratch. I have all the tools, it's just a LOT of work. And that 'graveyard' represents $$$ with the cost of DOM tubing these days...
Thanks guys! Yeah building from scratch, and yeah, that graveyard was like $100 in scrap. Luckily towards the end of cage builds you can usually salvage a bit of the tubing in the small pieces. But still, that one hurt. To be fair, both the second and third iteration could have been used but I wanted tolerances a little closer.
Originally Posted by MiataMan00
How did you land a job at ARB? did you contact them? I just dont see how that would have happened?

 02-03-2018, 01:06 PM


 0
0