When you click on links to various merchants on this site and make a purchase, this can result in this site earning a commission. Affiliate programs and affiliations include, but are not limited to, the eBay Partner Network.
Ok so at this point, 90% of the perform-24-years-of-maintenance-in-a-month-work is complete. It passed safety/emissions testing and is now registered for the road!
I did a DIY alignment yesterday as the previous one was not done right. It drives a ton better now so that's nice. It didn't have enough caster before so the wheel wouldn't' center on its own! That was annoying.
Previous ToDo list: clean carpets replace steering wheel repair LCD in gauge cluster and replace green covers on lamps for backlight fix ac. It actually has freon, so probably electrical problem, not sure. Alignment. IT has a **** alignment, really darty and makes the wheel bearings howl. That has gotta get fixed asap. fix hinge on 99 center console add new fuel and chevron techron cleaner restore headlights (got a kit) Clean and reinstall seats. something with stereo, it has bose but i haven't figured out how to make any sound come out of it yet. I assume it sucks though. wash car, claybar, try to improve paint finish, ceramic coat. clean wheels. Get new tires for stock wheels, clean stock wheels. Decide if I'm going to keep the 15x9 6ULs. They do look nice, so maybe I will but they need new tires that dont' rub and are new. install all the plastic and carpet pieces that go with the soft top area. Front right caliper is dragging slightly. Gotta rebuild or replace that. May just do all the calipers, dunno yet.
I also noticed it has a humming sound that sounds like a bad wheel bearing. But I haven't been able to tell where it's coming from yet.
And yesterday I checked the front left caliper was dragging. I took it apart, cleaned up a bit of rust, and reassembled and that seemed to fix it. For now.
Ordered new wheel bearings, brake rotors, pads, and caliper rebuild kits for all 4 wheels. Plan is to do all of that just to make those problem go away.
I think the 10AE has stiffer springs/shocks than my silver car as it rides a lot firmer than I thought it would.
The A/C took me 8 hours to diagnose.... It ended up being a broken wire in the harness that Mazda's troubleshooting guide doesn't tell you to check. After failing to diagnose the issue twice, I pulled the wiring diagrams and compared them to Mazda's troubleshooting guide and found there was a single wire they don't have you continuity test. I checked, and sure enough, it had a break. Frustrating, but easy to fix once I knew what it was.
I probably did 100 different things to this car that I haven't mentioned. Just generally cleaning it and getting it in good shape. For example, I took the trunk apart, gaskets, tail lights, carpets, etc. And pressure washed, soap/water cleaned/scrubbed, dried, and reassembled. It looks good both visually, and if you were to take it apart.
Feels like a low budget mini restoration on the quick.
Anyways, for now I drive it!
EDIT: Also, the fog lights don't work. I tried to remove the bulb, and the entire back of the light just broke off in my hand... A bit of googling shows these things suck. Anyone know of a good writeup/recommendation on how to retrofit some non-sucky fog lights? I saw someone recommend some from TRS but they didn't say which ones specifically they bought, but otherwise it looked like a good option.
They're Morimoto XB Type S LED fogs, and I used them for my NB2 bumper conversion on my '99. IIRC they'll also work for an NB1 bumper but you probably want to double check the mounting. You'll need to make some modifications to the mounting, but it's not that difficult. I can't say these are the best performing fog lights I've ever owned, but they aren't super expensive, and they fit.
All the picture links appear to be broken in the original thread, but here's a few of my setup:
Regarding the torsional stiffness up front, you can fab a brace to tie the frame rails together just in front of the engine.
This was our solution. We later cut the rad support out.
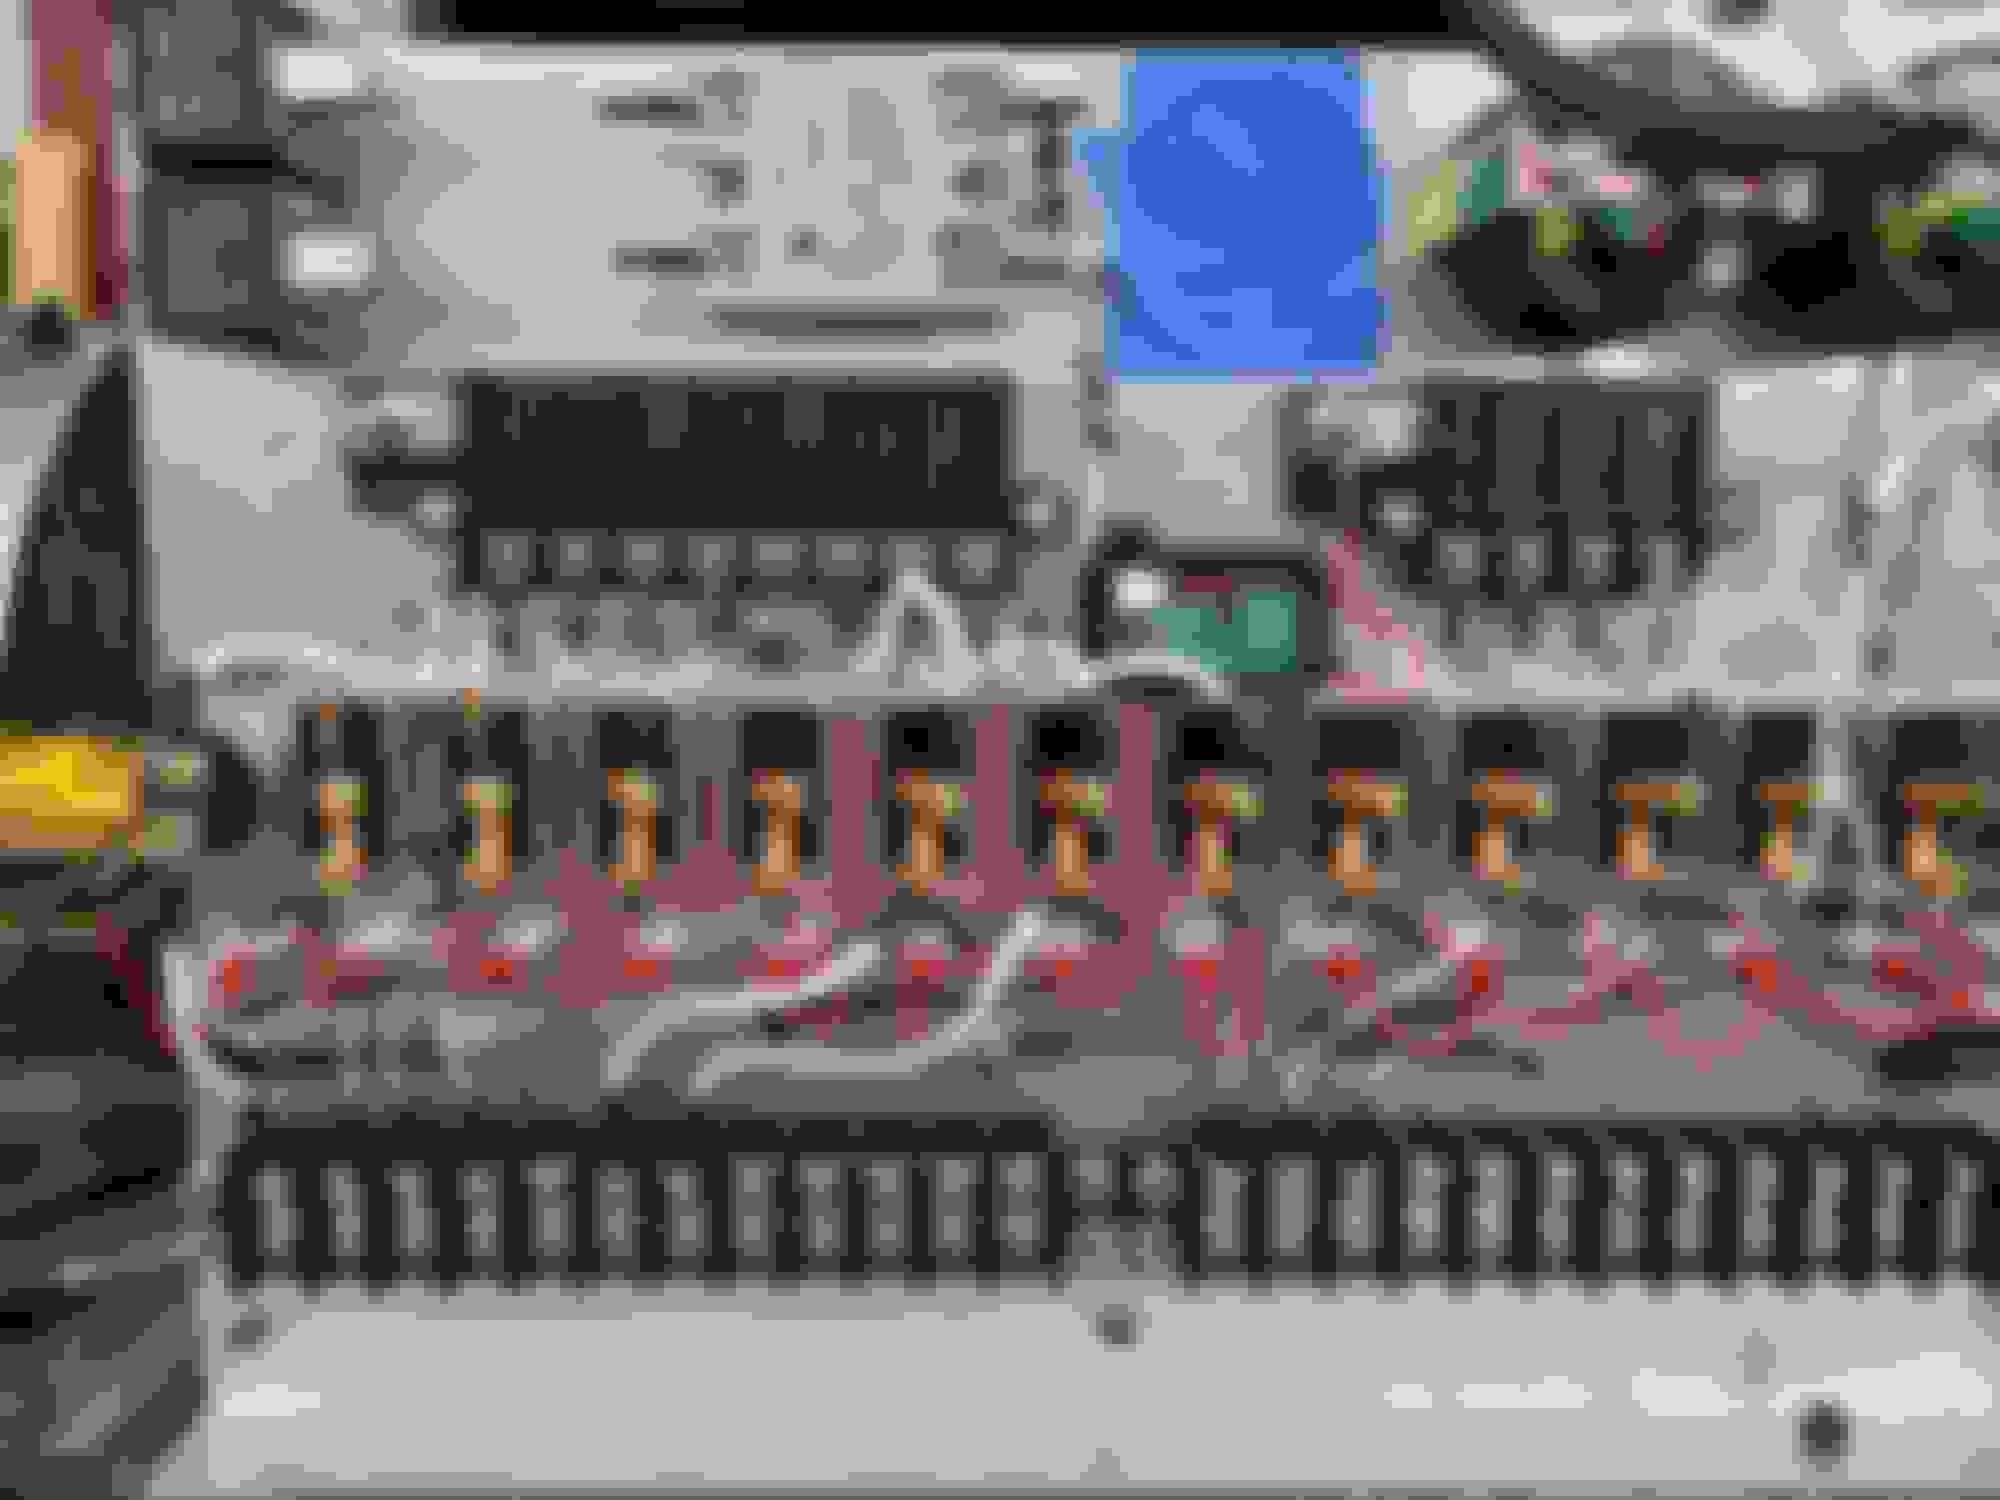
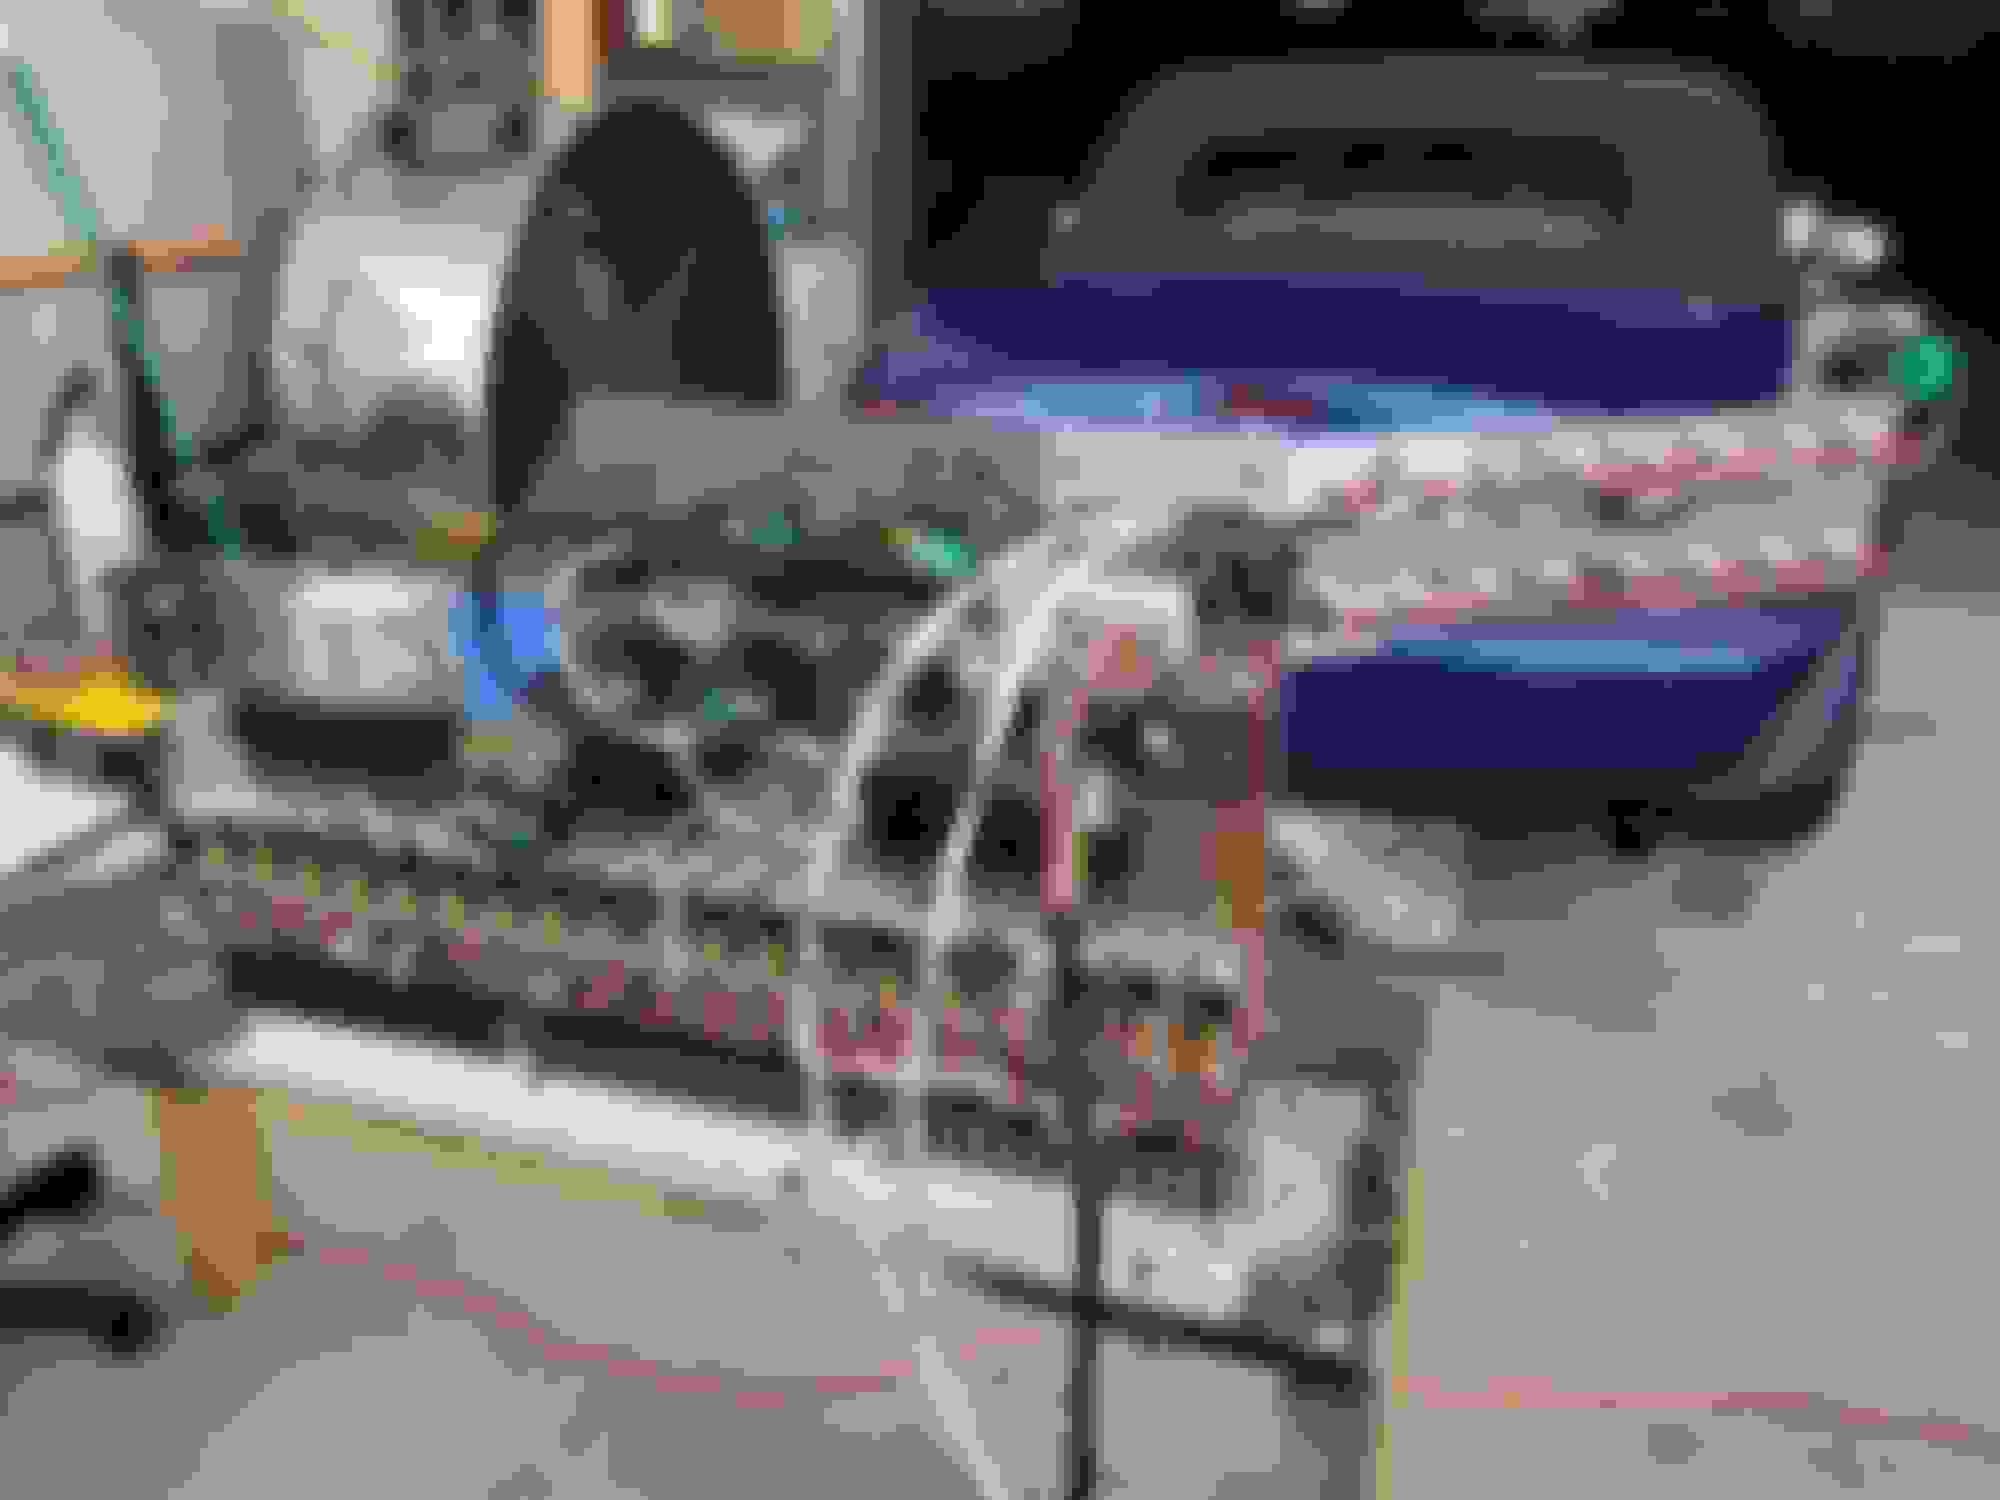
Panel is Done! This was a lot of work. Between design, layout, modeling, installing components, wire/crimps/heatshrink/support. Uh, this is probably 100 hours of work which is insane. But this is definitely the highest quality wiring I've ever done on my car.
Regarding the torsional stiffness up front, you can fab a brace to tie the frame rails together just in front of the engine.
This was our solution. We later cut the rad support out.
Thanks for the info and pic. I like the idea and that implementation does have some advantages. For one, If I ever do an engine plate to support the front of the motor, implementation similar to that could make that part dual purpose which I like. I've never seen anyone do a brace like that on a miata.
Originally Posted by der_vierte
This is the kind of work, I have a lot of respect for. Amazing!
Can't wait to see this thing run and rip down the strip
Thanks! Me too. I wanted to get it to the track this year, but that possibility is getting narrow. Still, I think I may can get it running at least and I still haven't given up on racing it this year if I can get it done.
Damn at that point why not just buy a PDM? The cost of all those switches (and I hope self re-stting fuses) and crimps probably would have paid for one. Its impressive though.
Damn at that point why not just buy a PDM? The cost of all those switches (and I hope self re-stting fuses) and crimps probably would have paid for one. Its impressive though.
Always wanted to wire a car like this. So I did. I like how simple troubleshooting and repairing things are when done this way. Also, I think this was cheaper than a PDM system with 20 channels when I initially looked, PDM's are stupid expensive and some are bulky/heavy.
Got the high power wiring done today. All the 2 gauge Pos/Neg wires, 8 gauge grounds, and 8 gauge wires that feed the panel. And the battery is now built which is nice.
The battery was actually a good amount of the work, as it needs to be safe, reliable, etc. I feel good about it now that it will be safe and work well. Lots of redundancy in insulation and support to make sure nothing can ever short out.
Next is to get all the connectors ready and then start running the power wires to all the various things on the panel. I'm saving the engine wiring for last since that's most important for reliability, I want to get the rest done first to get that experience and refine my methods.
Given it will have 2 gauge wires and a 16V lithium battery, I bet this thing is gonna spin over quick!
Your vids and build are great! I am very interested in the reliability of the Cllena converter. Some of the Amazon reviews are iffy. Please update on how it works for you. I remember the Jacobs Electronics voltage booster from the old days.
Really enjoying your videos. I'm currently watching "Finishing a big car project" which is great and coming at a good time for me... You mentioned your work and your engineering background a few times. I'm curious, what do you do?
 11-07-2023, 01:25 PM


 2
2