When you click on links to various merchants on this site and make a purchase, this can result in this site earning a commission. Affiliate programs and affiliations include, but are not limited to, the eBay Partner Network.
I've lost two engines to no coolant (at least not enough coolant), which might have been saved (along with much cost and inconvenience) by that low water pressure sensor.
Do you reckon that pressure sender would fit the NPT port on a Supermiata t'stat housing, or is the body of the sender too big to clear the heater hose/firewall?
Related note: We like to add coolant pressure sensors to all our track cars. Responds quicker than coolant temp. Best if you can set thresholds for a warning light.
When set right, you'll often get a low pressure warning on cooldown lap on track and before it comes up to temp on out lap.
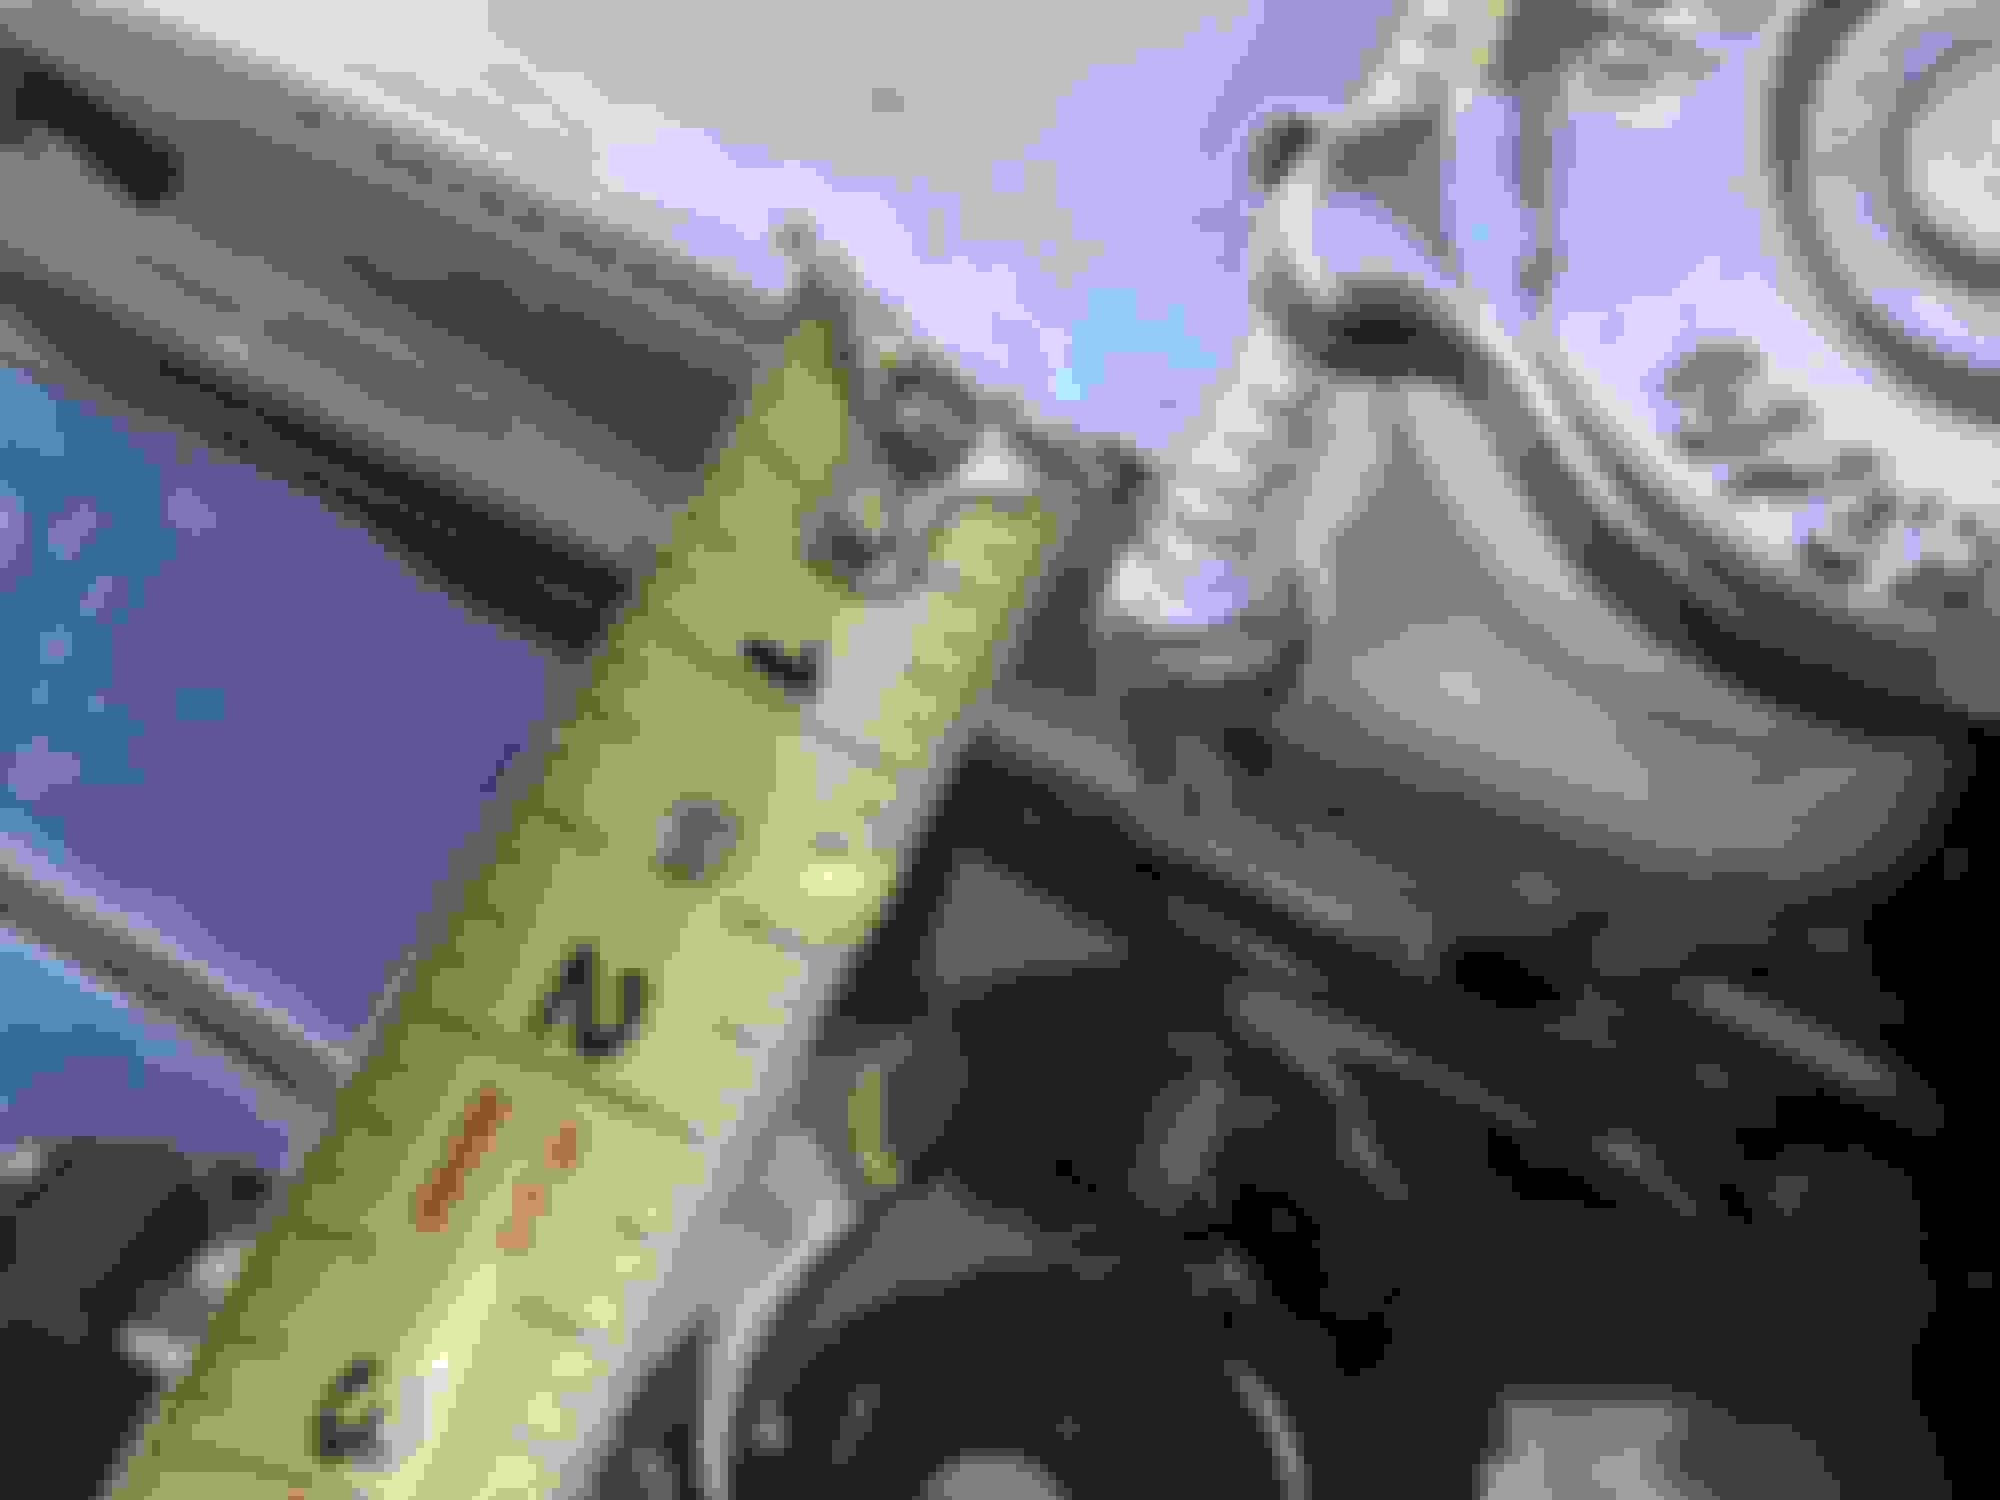
I always liked the look of an NA with the radiator ducting block-off panel thing, so I decided to order one. R Theory Motorsports Rad Support Panel was my go-to in this case.
With my goofy redneck circle track radiator I knew fitment was going to be an issue with an "off the shelf" unit, so I dropped them an email and asked if they would be willing to do a slightly modified one for me. They were more than happy to tweak the design slightly (for a minor up-charge, as one would expect) and got it sent out post haste.
This ended up being almost 1" longer than their standard unit, and it looks like my measurements were almost spot on. I measured to the face of the radiator and knew I'd need to modify the plate for the tanks.
A quick measurement and some markup
I do not excel at layout so the little square is super handy.
Get drunk and then drill some holes in the corners with a dull drill bit
And, TAA-DAA! I'll fill in the excessive gap around the tank with some bulb seal and we'll be good to go.
All in all I'd highly recommend the folks at @r_theory as they were very good about returning my emails, pricing for a custom tweak was more than reasonable, shipped fast and sent me stickers. Kudos to those guys, check them out if you have a need. I'm sure they'll regret having their name associated with my crapbox but hey, they sent me the stickers
The sharp eyed amongst you may notice that this radiator duct cooling panel does not have a provision for a hood latch. That was the other part of my custom request. Why, you might ask? Well...
AeroCatch Xtreme motherfakers!
I have brain damage for cool stuff, and I've had a semi for these for years. These are AeroCatch PN 120-4100 Above Panel Xtreme Locking I've always wanted to install a set on something but the NB is too "nice" and I don't have any other projects that would warrant it, and this seemed like a good place to try them out. I'm not brave enough for the "below the panel" version and I bought the locking version because I plan on actually parking the car in public at some point and I don't need crackheads thinking they can steal my battery.
The main difference between the regular and XXXTREME versions of the AeroCatch are the steel vs aluminum pins. I'm not worried about weight and steel tends to be a bit more robust, so I went with the beefier ones.
Lol. That consistent finish tho.
I started by mounting the pins in the holes previously occupied by the OE rubber hood stops, smearing some silver anti-seize on the ends, then dropping the hood down to make contact. The silver smudge was perfect for center punch, then I drilled a small hole through the hood to make sure I had the location correct. It looked good so I drilled out to I think 1/2", something like that. Big enough that the pin could come all the way up through the top skin.
Luck was with me thus far as it lined up perfectly on both sides! No going back now!
I used the "nut plate" on the body of the latch as a transfer by taping it to the hood. From here I was able to use a sharpie to locate the hole I'd need to cut.
My #teamred drill and hole saw set came in handy, as did the Hazard Fart layout calipers. I found the hole saws that most closely matched the radiuses of the hole I'd need for the AeroCatch and the located the center point with the calipers. All you have to do is set the caliper to one half the dia, place one jaw on the outline, then scribe an arc in the paint. Do this in a couple of places and the center point of the hole magically appears. Hit it with a center punch to locate, then drill an undersized pilot hole. From there, its holesaw time.
Pretty solid effort if I do say so myself. Nice clean radii are always a joy.
Blue painters tape to connect the outside edges and away we go with the jigsaw. LIKE BUTTER.
Very, very noisy and terrible butter but the cut was made and the latches dropped right in. GLORIOUS. I was so exited I forgot to take a picture.
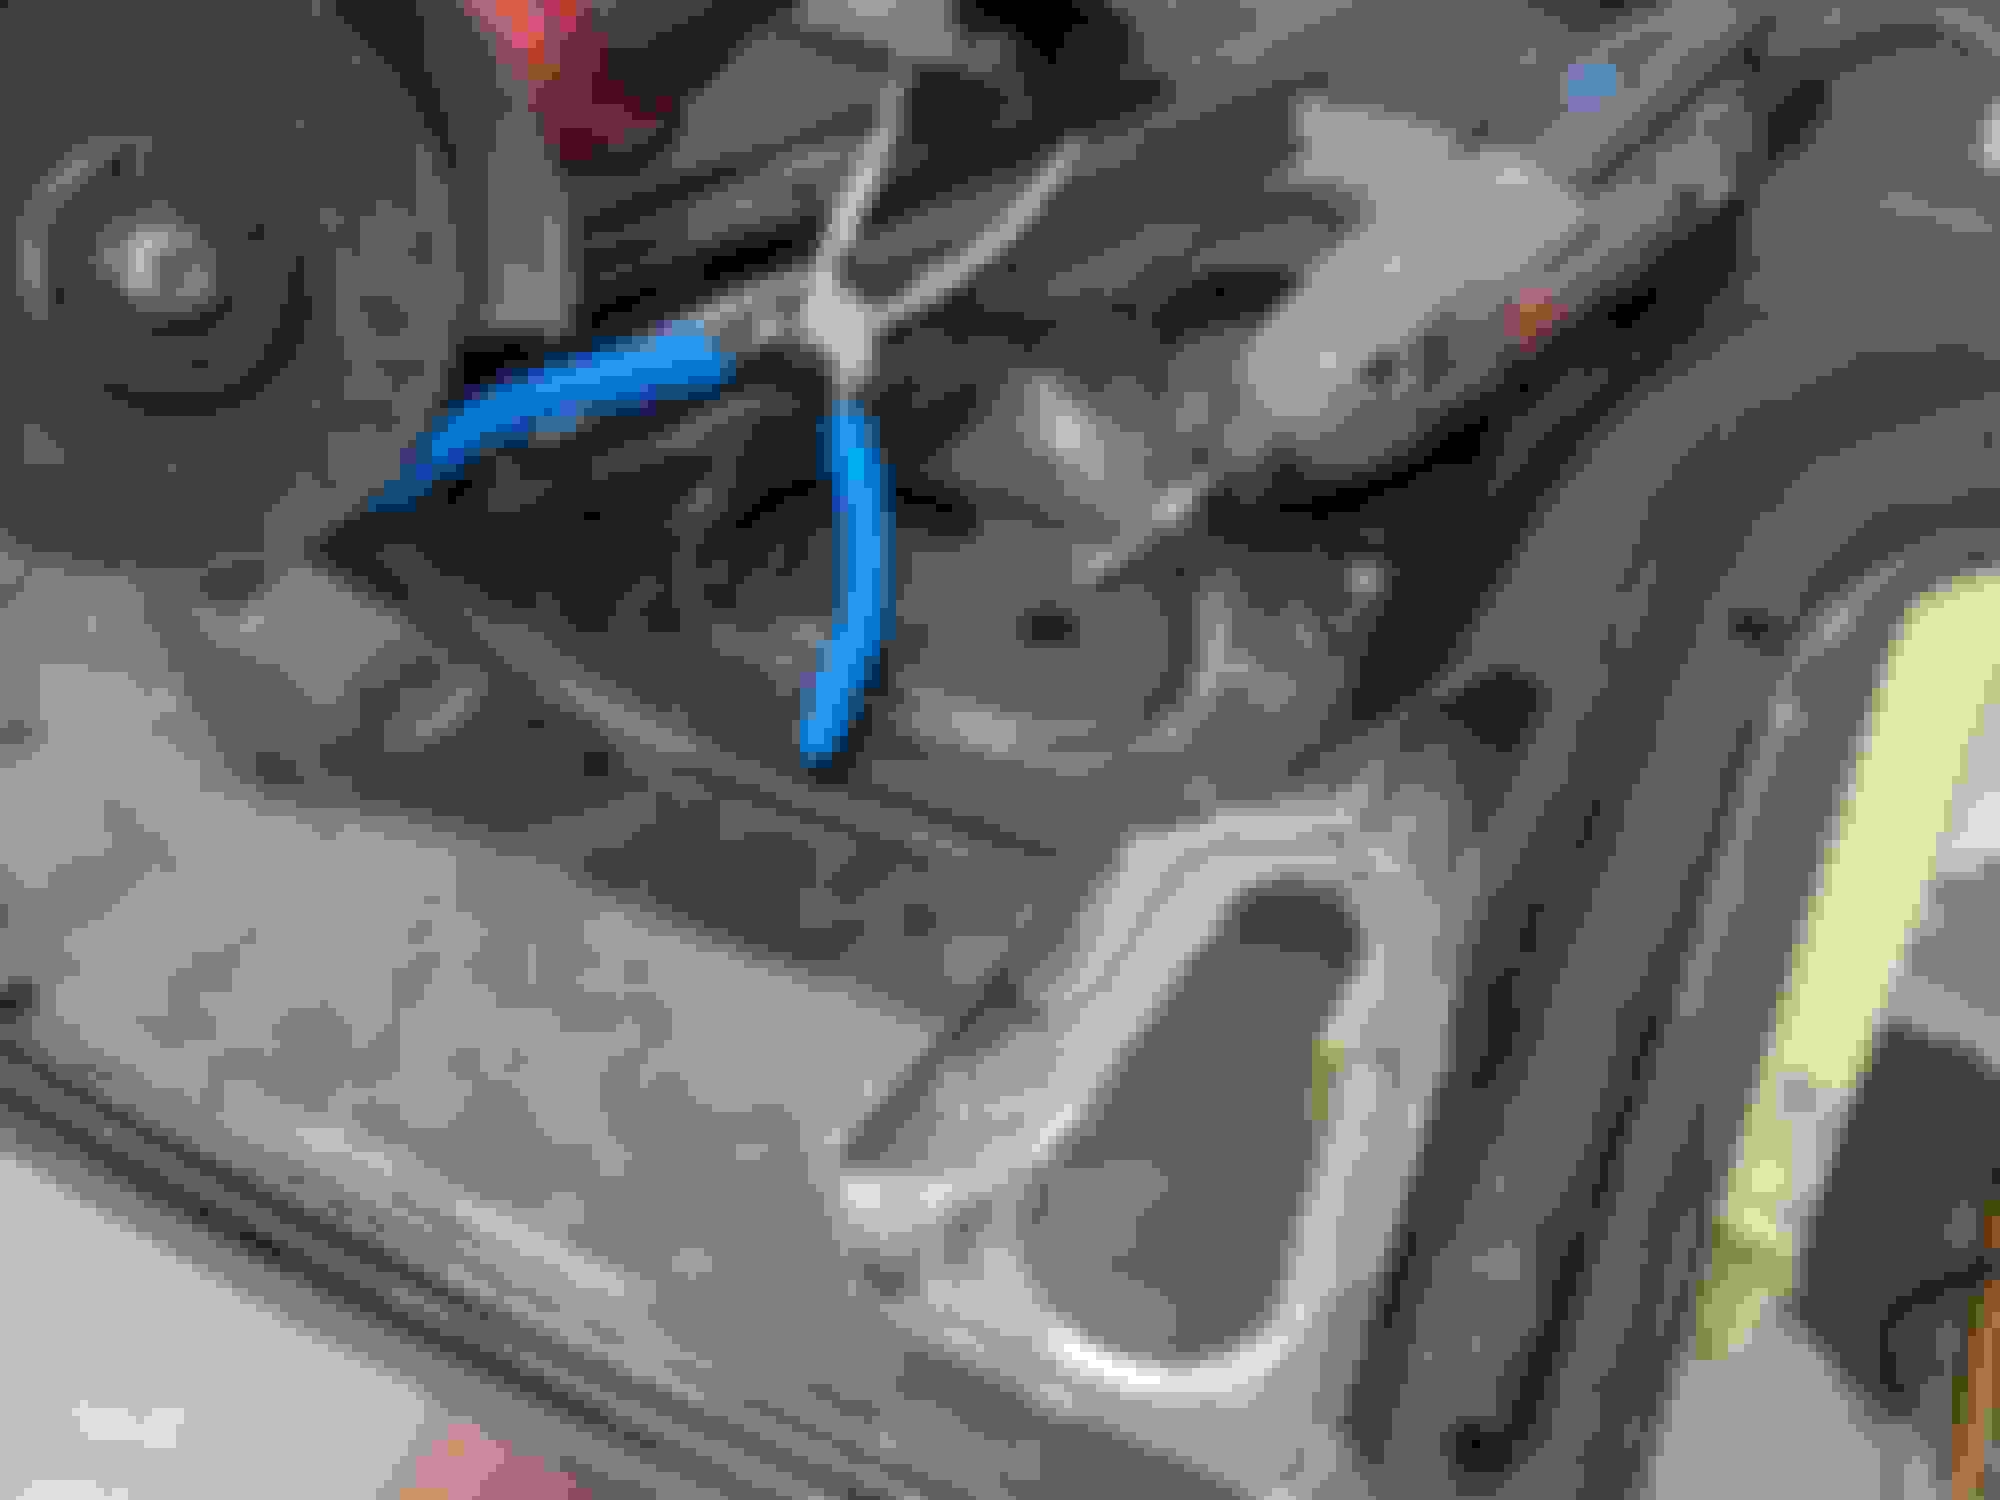
Unfortunately I then had to clearance all the support structure under the hood so I could get the nut plate backer installed. This turned out to be the WORST part of the process.
I needed to oversize the already drilled holes but I can't freehand a hole saw while completely unsupported, so I used this old trick to use the previous hole saw as a guide for the hold I'm trying to make bigger. There's just enough thread to get the inner saw onto the stub.
In the end I succumbed to the "never the right tool for the job" Dremel and whittled it all out by hand.
After all that, the fasteners went in perfectly and the alignment was SPOT ON. I didn't even have to cut the tubular rubber bumper spacers that go around the pin (although I may do so in the future to help line up the leading edge of the hood.) I'm very pleased with how these came out.
I will say, the supplied hardware isn't fantastic... the tiny through-the-hood screws are black oxide coated steel so they WILL rust, and the pins are secured with a pair of nuts, one on each side of the panel through which you mount the pin, they didn't even supply enough hardware to double nut the things. The supplied nuts are also the thin "jamb nut" style that I don't completely trust, even with blue locktite, so they will be replaced with stainless washers and nylocks sooner rather than later.
All in all I had fun. More updates in a minute when I find some more pics
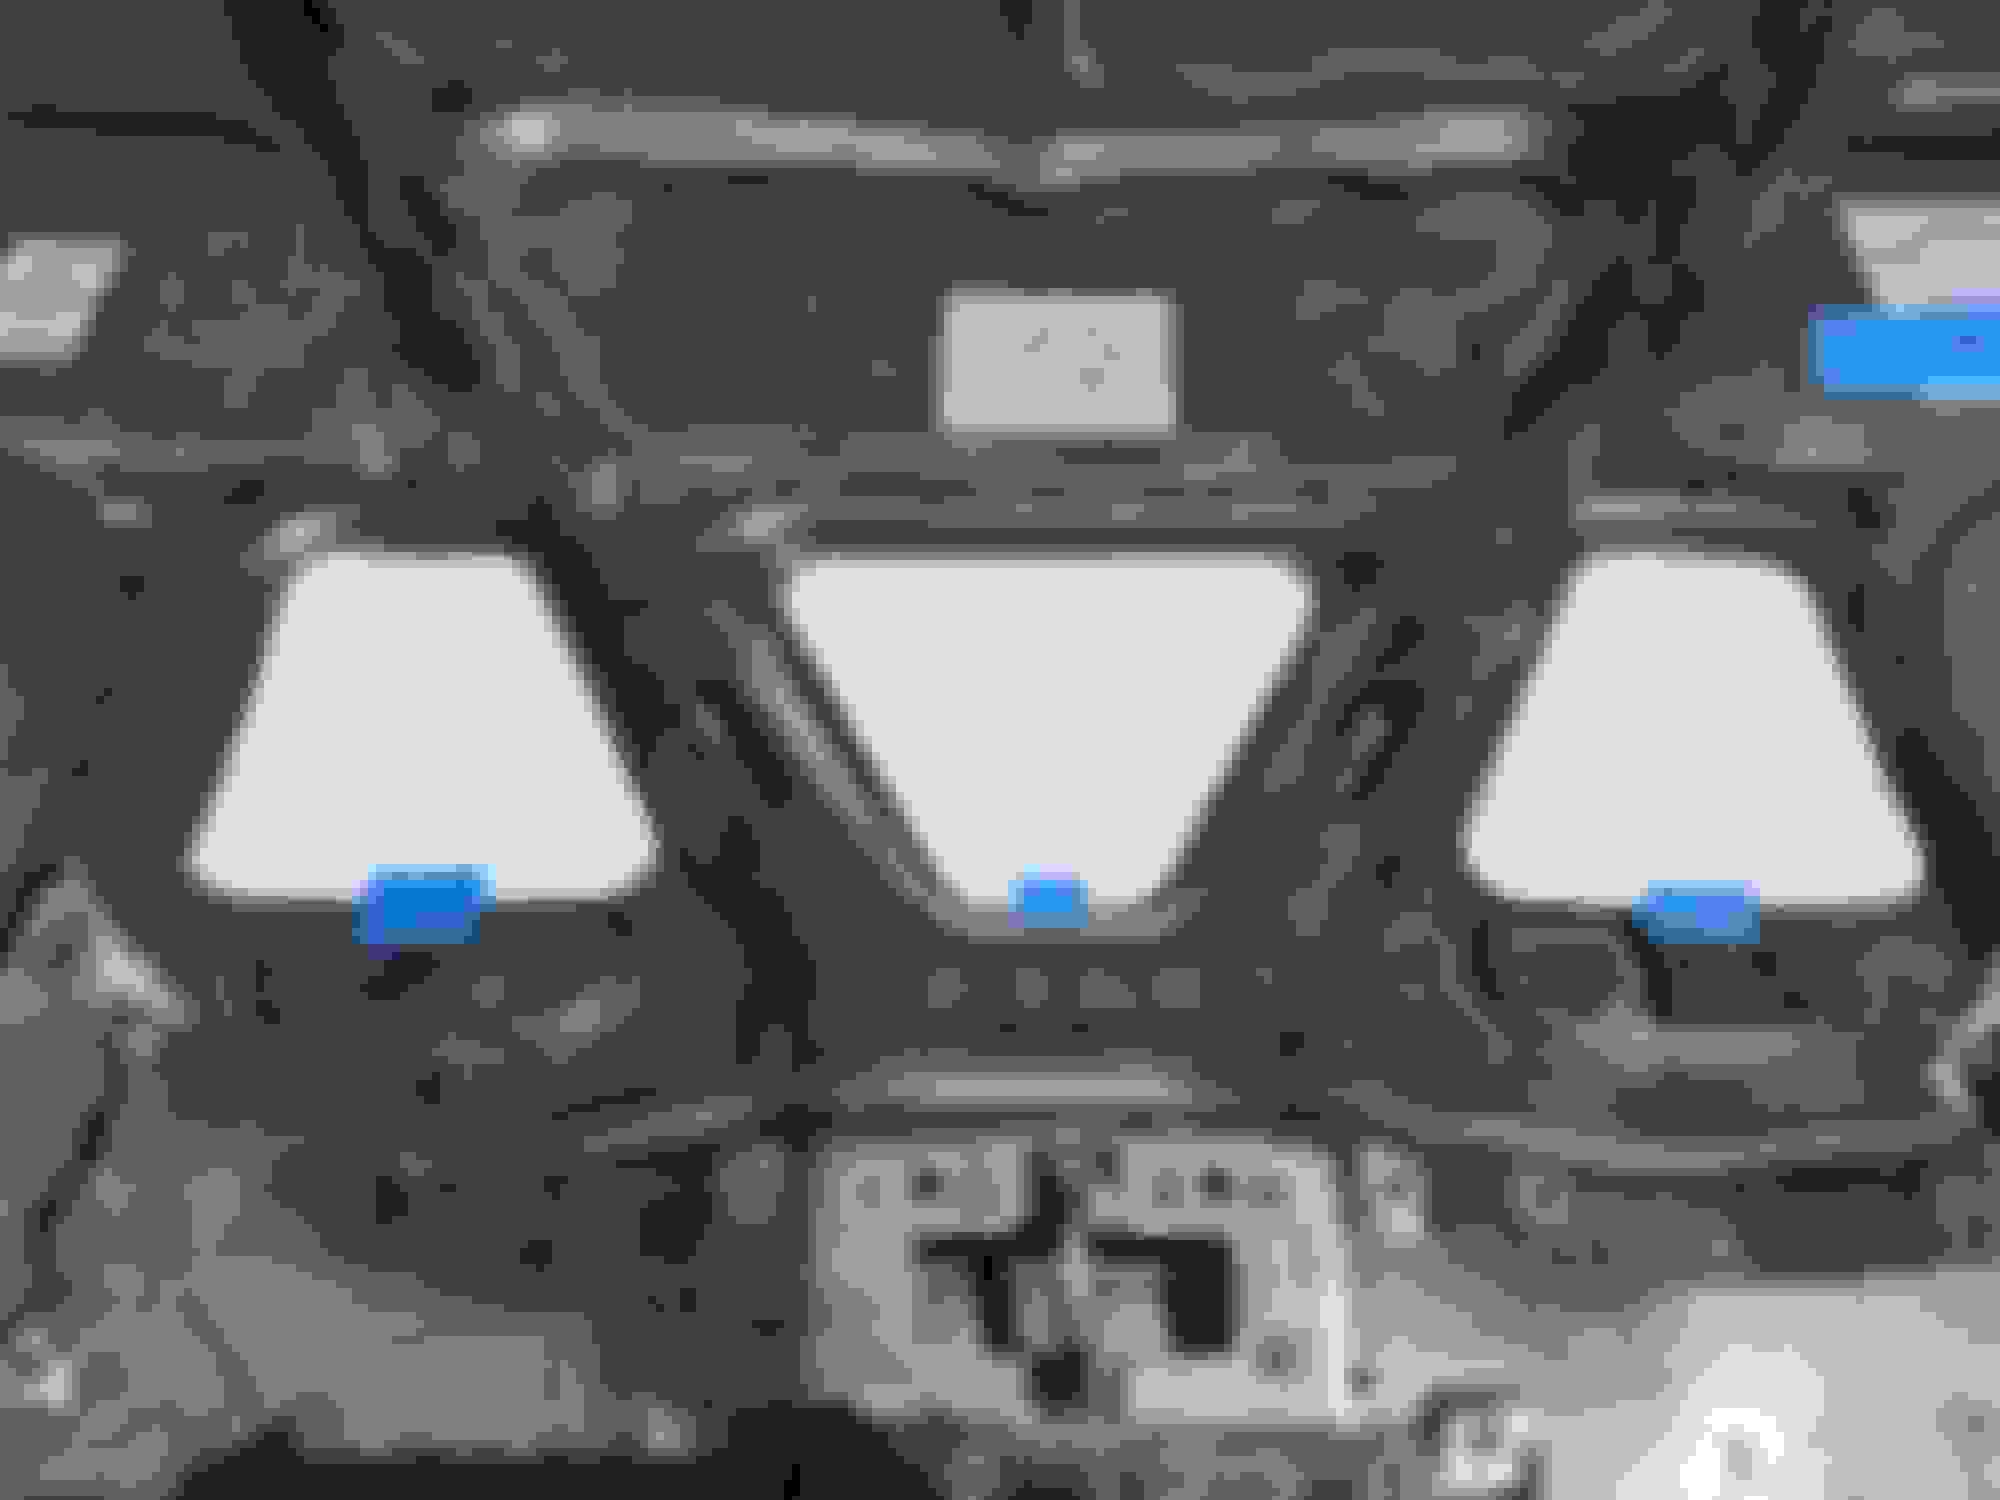
So once you make one cut in the hood... might as well install some vents!
These are R Theory Motorsports NA Miata Aluminum Hood Vents which I ordered along with the rad support cooling panel. If I had been paying attention I would have ordered both parts with black powder coat, but alcohol tends to destroy your judgement. I actually bought the 5 piece vent set but then realized I'd end up obliterating the emissions routing diagram, so opted not to install the rearmost 2 vents. Sad times.
Unlike the AeroCatches, the R Theory vents came with actual instructions, though I did deviate slightly from them. I started by cutting the templates and lining them up on the underside of the hood, as instructed.
The green line in the above image is actually the trailing edge of the radiator. My enormous Mullet Racing Radiator sits quite a bit further back than the stock or even drop-in options for the Miata, so fully 1/3 of the vent ends up above the radiator, rather than behind it. As @afm pointed out, these were most likely designed for ease of install rather than maximum efficiency, and I tend to agree. If I was looking for ultimate efficiency from this mod, the The Left Lane Designs or Singular vents would probably "optimal." Unfortunately the Singular requires removal of the emissions sticker, and the Left Lane ones are exclusive to FM. Both of these are automatic disqualifications as far as I'm concerned.
The point here is to drop pressure under the hood, and the R Theory vents WILL do that, so they are getting installed.
I briefly considered installing the Ford GT-500 vent that's been kicking around in my garage for literally years now, but it sits a bit too close to the headlight "notches" on the NA hood for my taste and requires you to remove an enormous amount of structure from the underside of the hood. I think I'll stick with the R Theory ones for now.
I positioned the templates as best I could and then taped them down to keep them from shifting, then traced them onto the underside of the hood. Similar to how I did the layout for the AeroCatch mounting holes, I located the centers of the radii in each of the corners of the vent holes, marked the underside of the hood, center punched and drilled.
Again, out came the hole saw in a diameter that matched the radius and it was time to drill, baby drill! None of this needs to be absolutely perfect because I'll be installing "over the top" with the vents. Its less work and requires less cutting of the hood structure. Plus it looks a little more becauseracecar, and who doesn't like that?
Blue painters tape becomes the layout lines and out comes the cutoff wheel!
Oh man, what a mess.
I tried to make these cuts with my jigsaw but it ended up being a huge bastard, so This The Wheel was definitely the way to go.
I think I actually did a pretty fair job
They even came out pretty damn straight! A little cleanup with a file and we are ready for rivets.
A squirt of primer and paint followed by some rivets and now we're vented. Sweet.
The black rivets that R Theory supplied were VERY nice, but the stems were juuuuust slightly too small to work with my jank *** rivet gun. I ended up switching back to regular bare aluminum ones that I knew worked.
If I were to do this again, I'd FIRST install the rivets in the middle of the left and right sides of the vents, the "vertical" parts, if you will, AND THEN do the tops and corners. The way I installed them it took a little bit of the curve of the hood out from where the vents are installed and flattened the radius a bit. This pulled up the leading edge of the hood ever so slightly. Its nothing I can't adjust out, just something I learned while doing the work.
All in all I like them and they were a pretty easy install, all things considered. If I were to do it again I'd put some sunscreen on the back of my neck because holy ****, even my big floppy dork hat was not enough to save me.
And this is why we do not park outside overnight in Oakland.
No self respecting oaktown car thief would steal the head before having a chance to take the whole car to do smokey sideshow burnouts across all lanes on 580.
Drive it like it's hot. Drive it drive it like it's hot.
As if you outta towners know about the OAK. That **** sounds more like Richmond to us locals. It was spinning across the 580, that is how it was found after.
So as I alluded to previously (or at least I think I did) I've been having one hell of a time getting this thing to purge air from the cooling system. I've got the reroute and the fancy radiator so I'm a bit beyond the common design stuff, so I've tried to be patient with the cooling system bleeding. I'm not actively driving the car and mostly just messing with it on weekends, but it sure seems like its had an awful lot of air in the system.
Every time I'd idle it up to temperature it would do something like this:
I thought at first I had a leak in my overflow hose and it would push air out, only to draw it right back in when it cooled so I swapped out for some fuel injection hose I had lying around. I also found that this radiator uses the same cap as the TSE radiator in my NB, so I swapped that as well, just to see if it made a difference. No matter what I did, it always seemed to have more air to purge.
And then I had that sudden sinking feeling. You know the one.
So, I figured whats the point of having the **** and ***** of a bull moose if you never get them out to use them every once in a while? Time for some advanced troubleshooting!
Step 1 is to pull out the spark plugs, which means Step 0 is to blow out the spark plug wells with compressed air. When was the last time you actually did that? lol
The plugs themselves look like they are burning great and the color is super consistent. NGK BKR5E-11 plugs, for reference. These are of course the OE plugs that Mazda provides if you buy them from the dealer, or pay them to replace them.
The brownish rust coloration around the insulator may be arc flashover due to corrosion, so I'll probably replace these guys. I've got some Denso "Platinum TT" PK20TT (4504) plugs somewhere in the garage. The 20 is the equivalent of one step colder, I believe, and its what I bought to go with the stupidcharger. Denso 20 = NGK 6, Denso 16 = NGK 5. You know what? Fuckit, here's a chart I yoinked off the interwebs:
I hate it when manufacturers do this. URGH. I think I've got Denso IK16s in the NB? I'd have to check. Regardless, I've got plugs waiting in the wings.
Compression process is fairly simple. Remove the plugs from all cylinders, unplug the coil packs and the CAS to make sure there is neither spark nor injection, then had the wife mash the throttle and crank the engine. I had her keep cranking until the reading peaked, usually about 4-6 rotations (I honestly didn't pay attention) and take my measurement there.
Compression numbers were surprisingly ok!
210
205
185
200
The test was repeated 4x and the numbers were consistent. This was all performed about 20~30 min after being shut down from operating temp. I'm no scientician or nothing but I think that's 13% between high and low? Its not great, but it'll do.
Next comes leak down. This requires a compressor capable of 100+psi and the ability to get EACH CYLINDER to the top of its COMPRESSION stroke with a 21mm ratchet on the crank. Remember to remove the damn wrench from the crank bolt before sending it with the air pressure because if you get it over-center, it WILL whip around on you. The Mitutoyo dial indicator and Noga arm mag base is not required, but it makes life easier and lets me flex on you hoes.
Socket extension isn't the best tool for the job here, but the measurements are relative and IDGAF.
Once its at TDC for that cylinder, you hook up the air and read the gauges. You removed the ratchet from the crank bolt, correct? For this model you set the left hand gauge to either 75, 90 or 100 PSI, then read the number off the right hand gauge and compare it to the little chart in the box. You need to be able to supply at least 10psi more than whatever pressure you will be working at. My compressor goes to 150 PSI so it didn't really matter. Once you have it pressurized and write down the numbers, you can listen to various parts of the motor and figure out where its leaking. If you can hear air hissing inside the oil cap, its rings. If its hissing down the exhaust pipe, its a bad exhaust valve. Same with the intake. In really bad head gasket situations you can also see bubbles start to come up in the radiator.
If you get your timing wrong and you try measuring on the exhaust stroke, it comes out something like this:
Which is a little gut wrenching if you aren't prepared for it.
Leak down numbers and source look thusly:
4% - oil cap
10% - oil cap
30% - oil cap
7% - exhaust
Yeah.... that 30% on #3 is NOT a typo. I tested that bastard like 6 times.
So clearly, we have issues. Well, we all have issues, but this motor has some very particular issues. Please note that the #3 came out the oil cap and NOT through the radiator, which is what I would have expected. While testing #3 I was able to block off the PCV and replace the oil cap, and using my finger over the drivers side crank case vent in the valve cover I was able to change the readings on the gauge
So we know we've got something going on with #3 and its not great. This motor has had a pretty hard life, its seen a lot of RPM from playing autox and Trackday Hero for years, and some not insignificant boost in its past. It's "only" 177k on the clock but they were pretty hard miles, so this isn't too shocking. I was sharing this information with the 3 previous POs of the vehicle and trying to figure out what to do for next steps, and the immediate previous PO informed me that he had a catastrophic loss of coolant incident driving home from a friends house. He made it about a mile before he realized the temp gauge was fully pegged, so he pulled over at a gas station only to find that it had blown off a coolant hose. More gifts from the shop that half-assed the coolant hose install.
So... she's been hot. REAL hot. But my testing was unable to definitively verify a head gasket issue. So what do? Well, more testing obviously.
I started by using my MityVac and the DIY fluid extractor/drug paraphernalia device I built to suck gear oil out of the turret in the 5 speed, and pulled about 2" of coolant out of the radiator.
You fill the NOT A ***** PUMP with purpl drank to the line, then stick it in the opening of the radiator and pump the bulb while the engine is running. Do not suck up coolant. Its critical that you get a good seal around the radiator fill neck so that you aren't pulling in outside air. The drank is actually a reagent that reacts to combustion gasses (carbon monoxide IIRC but don't quote me on that) so if there is any CO in your radiator, it turns a sickly yellow/green and you got a bad head gasket.
Unfortunately the neck on the radiator was the perfect size to make it impossible to seal, so I had to get a little creative and plumbed it in to the overflow tank. If your tank, hoses and caps are good, you shouldn't get any outside air into the system if its plumbed up like I've done.
Without even pumping the bulb the color change was immediate.
So that to me counts are pretty ******* definitive confirmation of a bad head gasket. Sonnavadiddly!
There are only 2 ways (that I'm aware of) that get combustion gasses into the cooling system: bad head gasket or hole/crack in the head, which takes us back to the headless BP05 pic from this morning.
I spent a couple hours pulling the head off the block after work yesterday, stripped it on the bench and got it to the machine shop this morning. They are going to clean it, pressure test it, check for cracks, check for flatness, and get back to me with options. I left the valves in it so they could test the sealing but at this point I'm not super inclined to give this thing a valve job (or valve guide job) regardless of if it needs it or not. Unless of course its really bad. I'm hoping I can get away with just the barest whiff of a skim cut to make the surface square and pretty again, then we slap her all back together. I should hear back about condition tomorrow or Friday, and if its just a light skim to bring it back into fighting trim, I'll have the had back mid next week. To this end I've ordered all the gaskets to R&R a head, plus all the parts needed to do a timing belt and water pump service. RockAuto should have everything to me mid next week, which is perfect.
My plan was to drag the car up to Oregon next month to do hoodrat **** with my redneck friends, so the race to completion is definitely on. I was going build some additional skid plates and an exhaust, but all non head related parts ordering until I get this sorted out. Wish me luck!
There are only 2 ways (that I'm aware of) that get combustion gasses into the cooling system: bad head gasket or hole/crack in the head, which takes us back to the headless BP05 pic from this morning.
Well, there's also "leak in your EGR cooler", but since you haven't done a Duramax swap on the Miata yet that's probably unlikely.
I use a fyrite combustion gas kit to calibrate the CO2 sensors in the incubators at my wife's lab, but that is a reddish liquid. It definitely measures CO2 tho.
I use a fyrite combustion gas kit to calibrate the CO2 sensors in the incubators at my wife's lab, but that is a reddish liquid. It definitely measures CO2 tho.
Can you use on widebands? 😁
The block tester is a really, really cool tool. The compression and leak down tester I've had for a while but the block tester is new. It's something I'll probably bring along the next time I go to test drive my next janky project/victim. I don't know what the shelf-life is on the purply-blue Kool-aid stuff but it seems to be readily available from many different sources. I think it said 1 year from opening? Regardless, its definitely a nice tool to have in the arsenal.
Apparently you can, as my wife enlightened me. I think the main difference is your kit measures presence of combustion gasses. Mine measures concentration as a percentage. You are welcome to come conceive a way to calibrate our widebands one day. https://www.mybacharach.com/product/...-gas-analyzer/


 05-07-2021, 07:04 PM


 1
1