When you click on links to various merchants on this site and make a purchase, this can result in this site earning a commission. Affiliate programs and affiliations include, but are not limited to, the eBay Partner Network.
Oh boy, the last couple days have been a wild ride.
I didn't document everything excessively because I was more interested in getting the job done, but I did get some highlights.
With the head back in my possession I spend Friday night reassembling it, and Saturday I got an early start ripping the water pump and harmonic balancer off so I could do the crank seal and timing set.
First interesting discovery after the damper was off, the crank key was installed backwards. Nice. Good thing there was no damage.
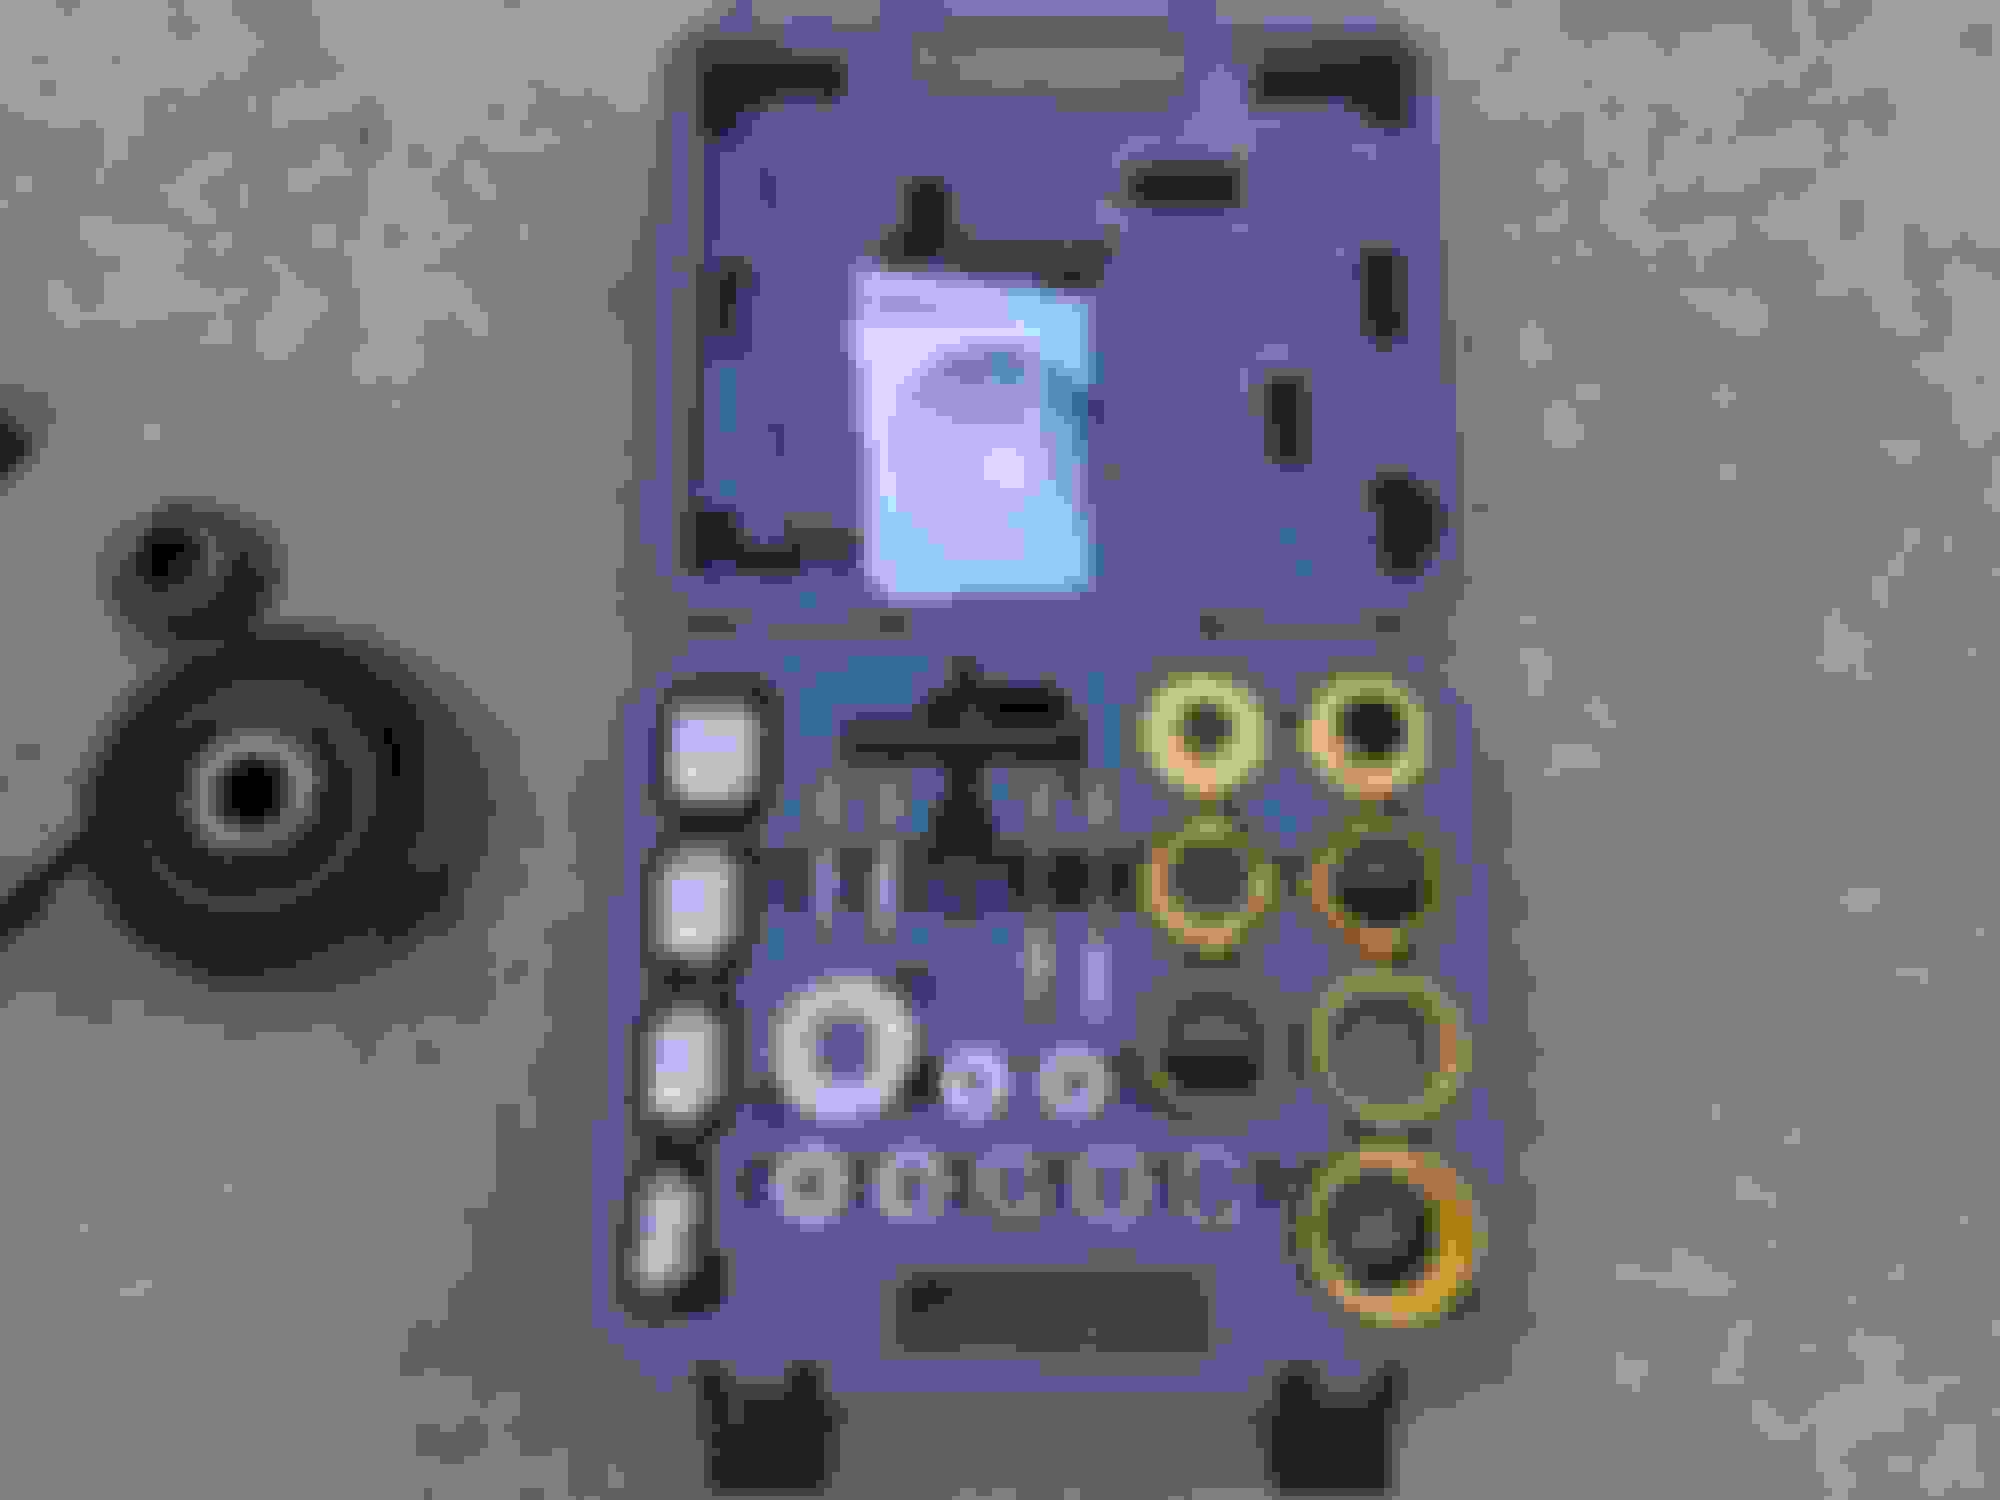
I borrowed this absolutely amazing tool set from @afm Its simply the best tool set I've ever used for seals.
So many little pieces!
These little hooky guys get hooked into the face of the seal, past the lip. You kinda just roll them in. They are rounded and highly polished so no worries about scratching the sealing surface.
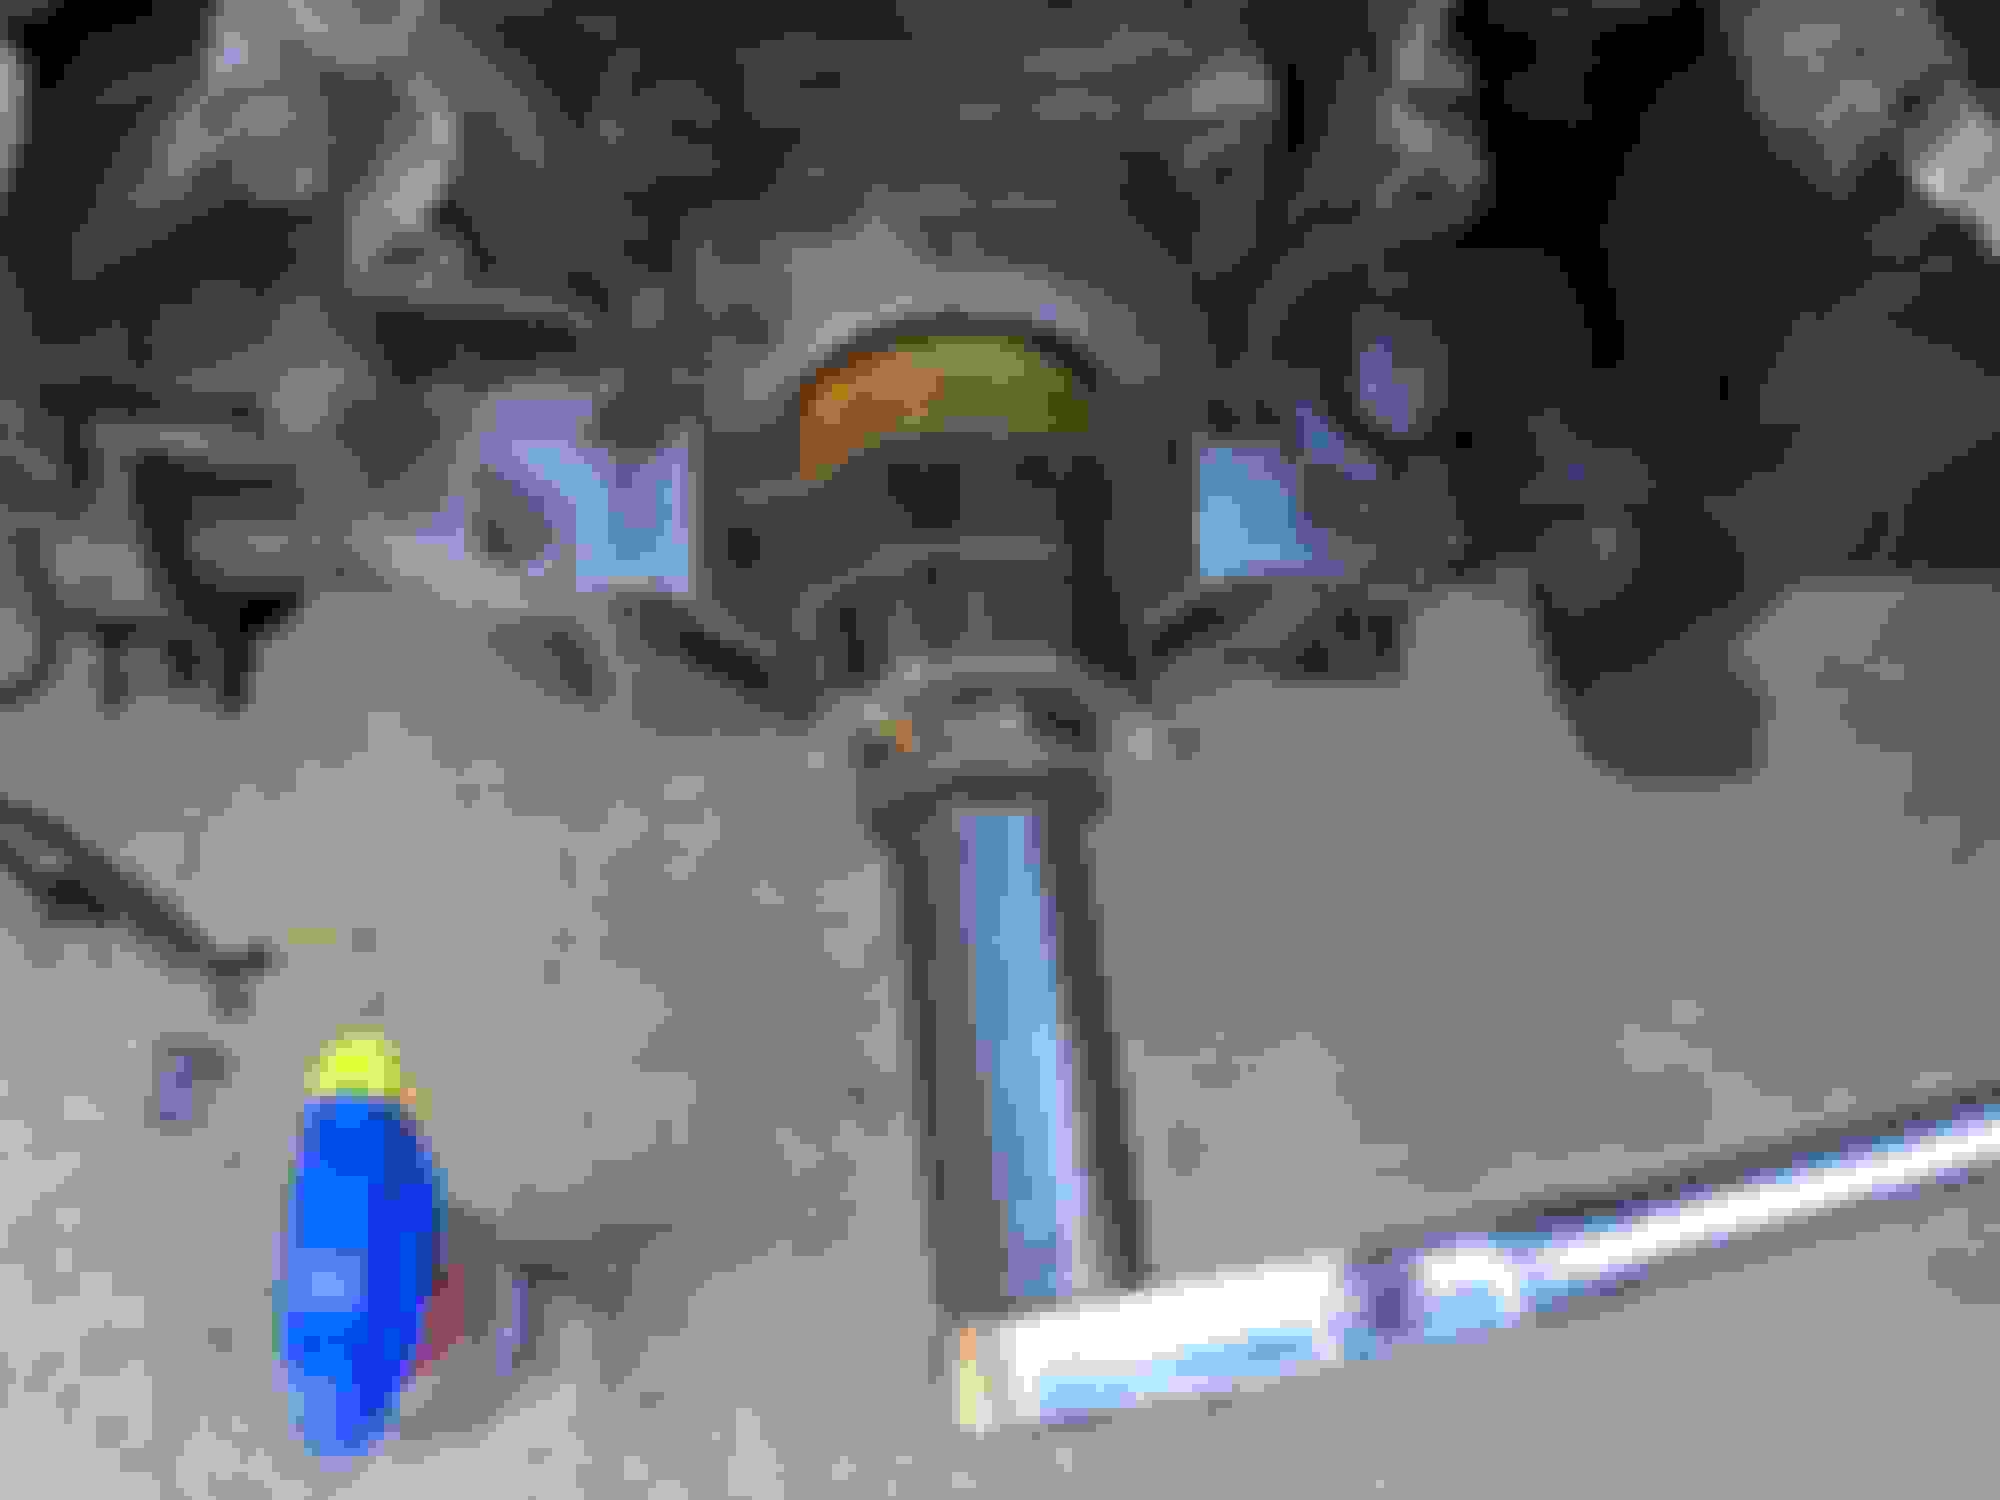
Put it through the crossbar, put the little screw guy in, give it some turns with the ratchet...
And the old seal pops right out! Those Aussies are pretty friggin' smart!
Crank nose was cleaned with steel wool to take off the rust, then thoroughly flushed with brake cleaner. No point in screwing up our new seal. speaking of seals...
Here's the new seal that came in that Fel-Pro kit. It's not made in Japan, its made in Mexico. It's a National 710355. Oh well, I'm sure it'll seal up better than the floppy, hardened OE one with 177k miles on it.
Next job is to reinstall the new seal.
Cleaned up the end of the crank and lubed it up with some of the assembly lube I'd been using for the top end assembly. We definitely don't want the seal riding dry.
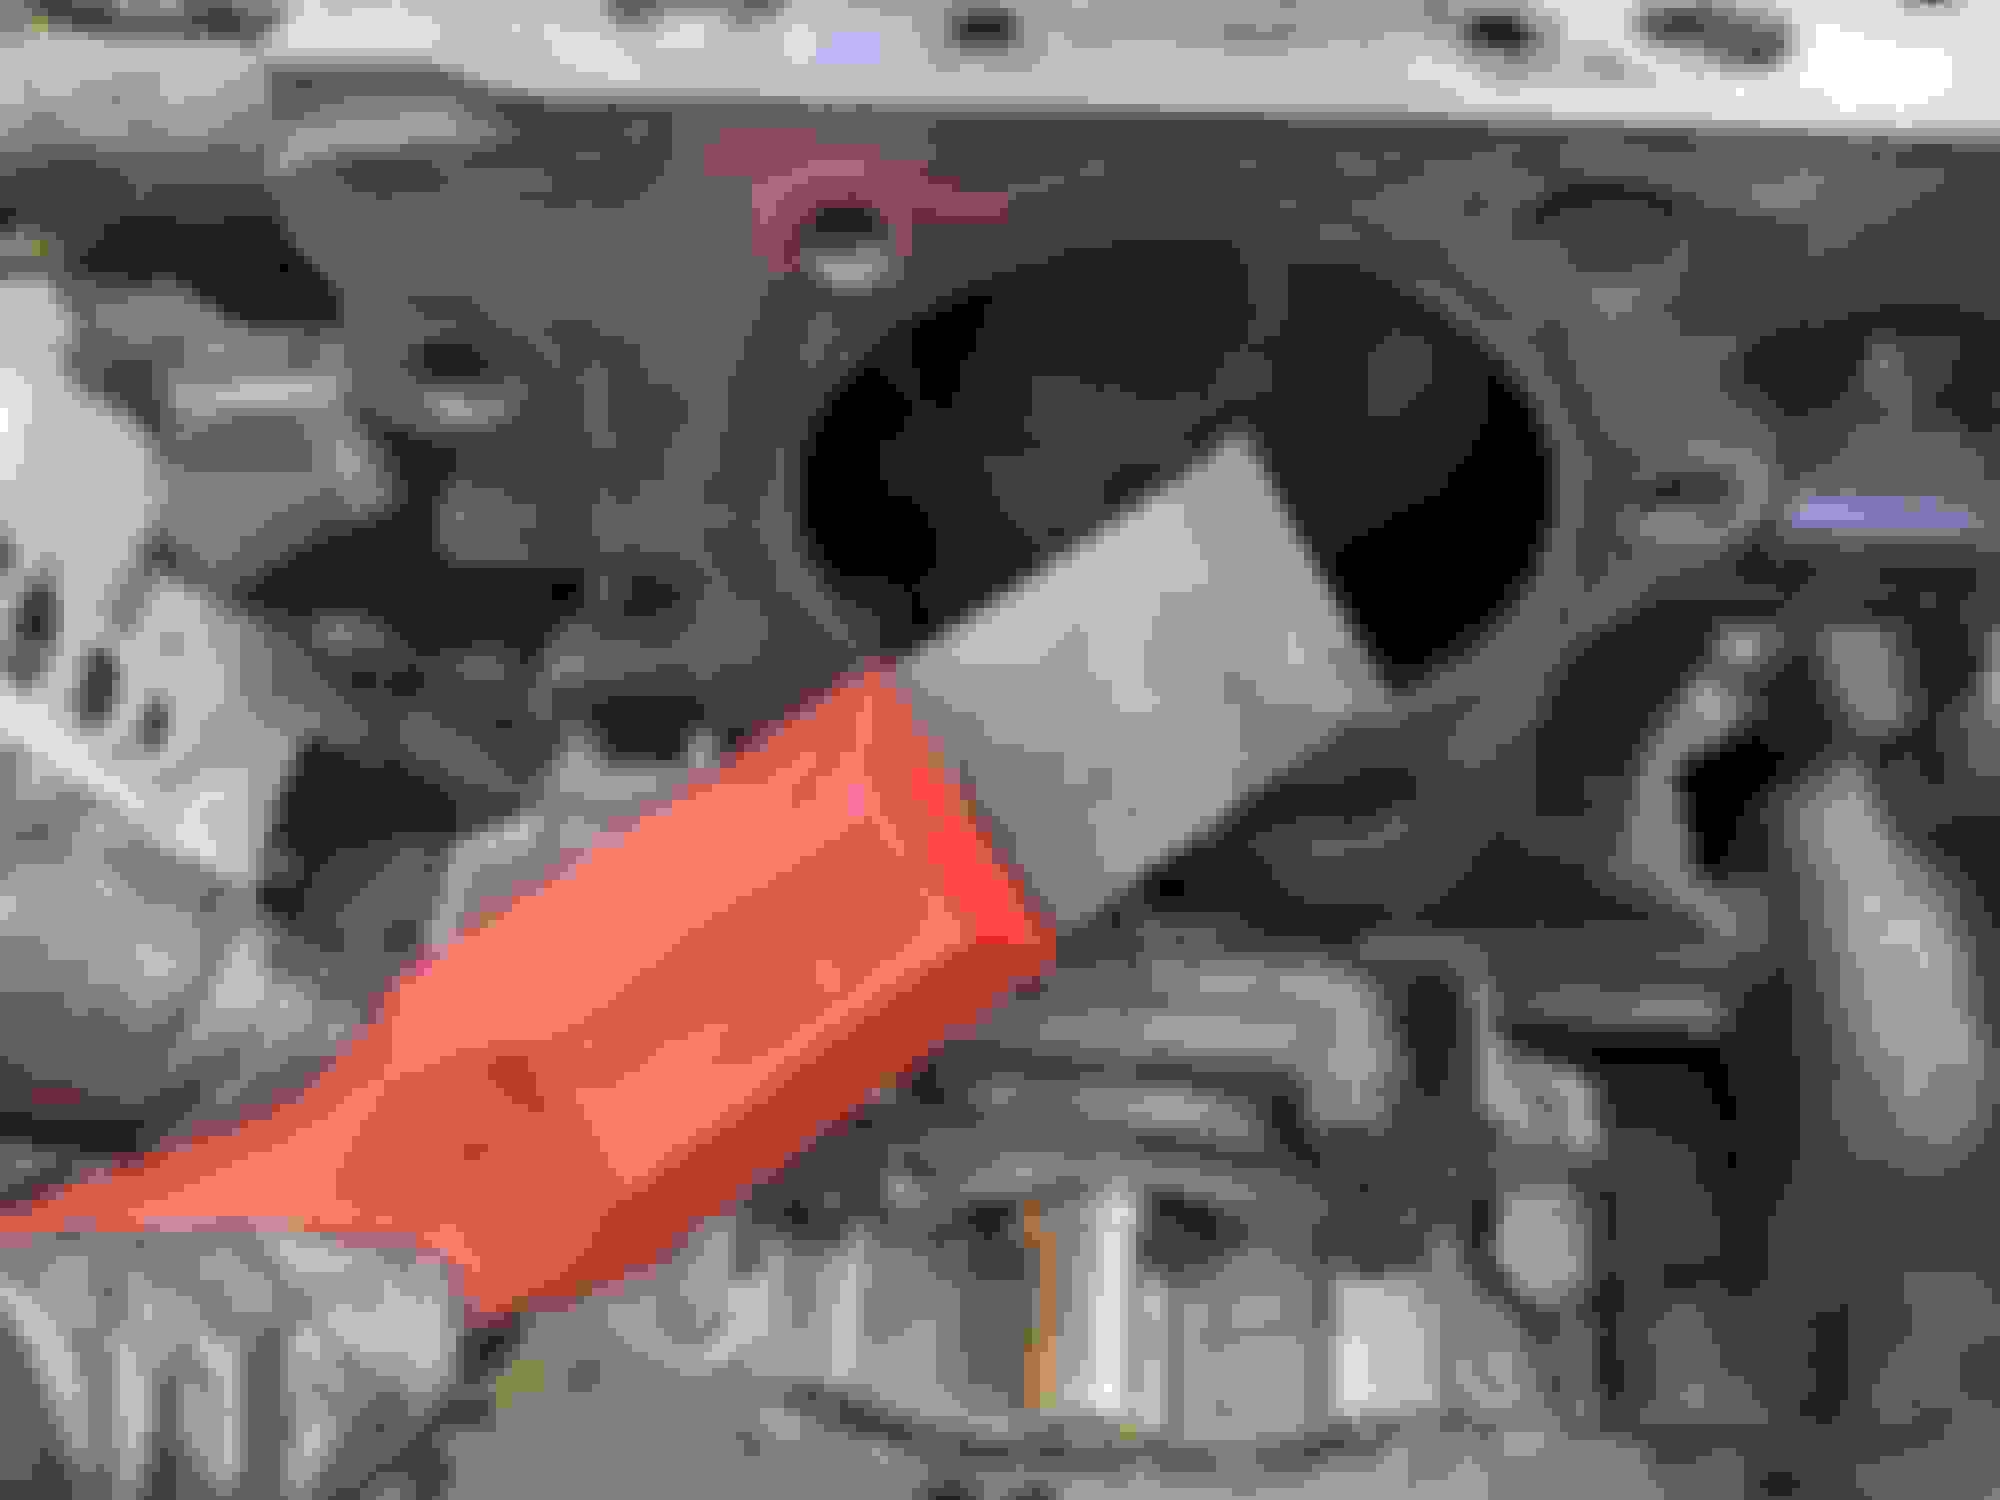
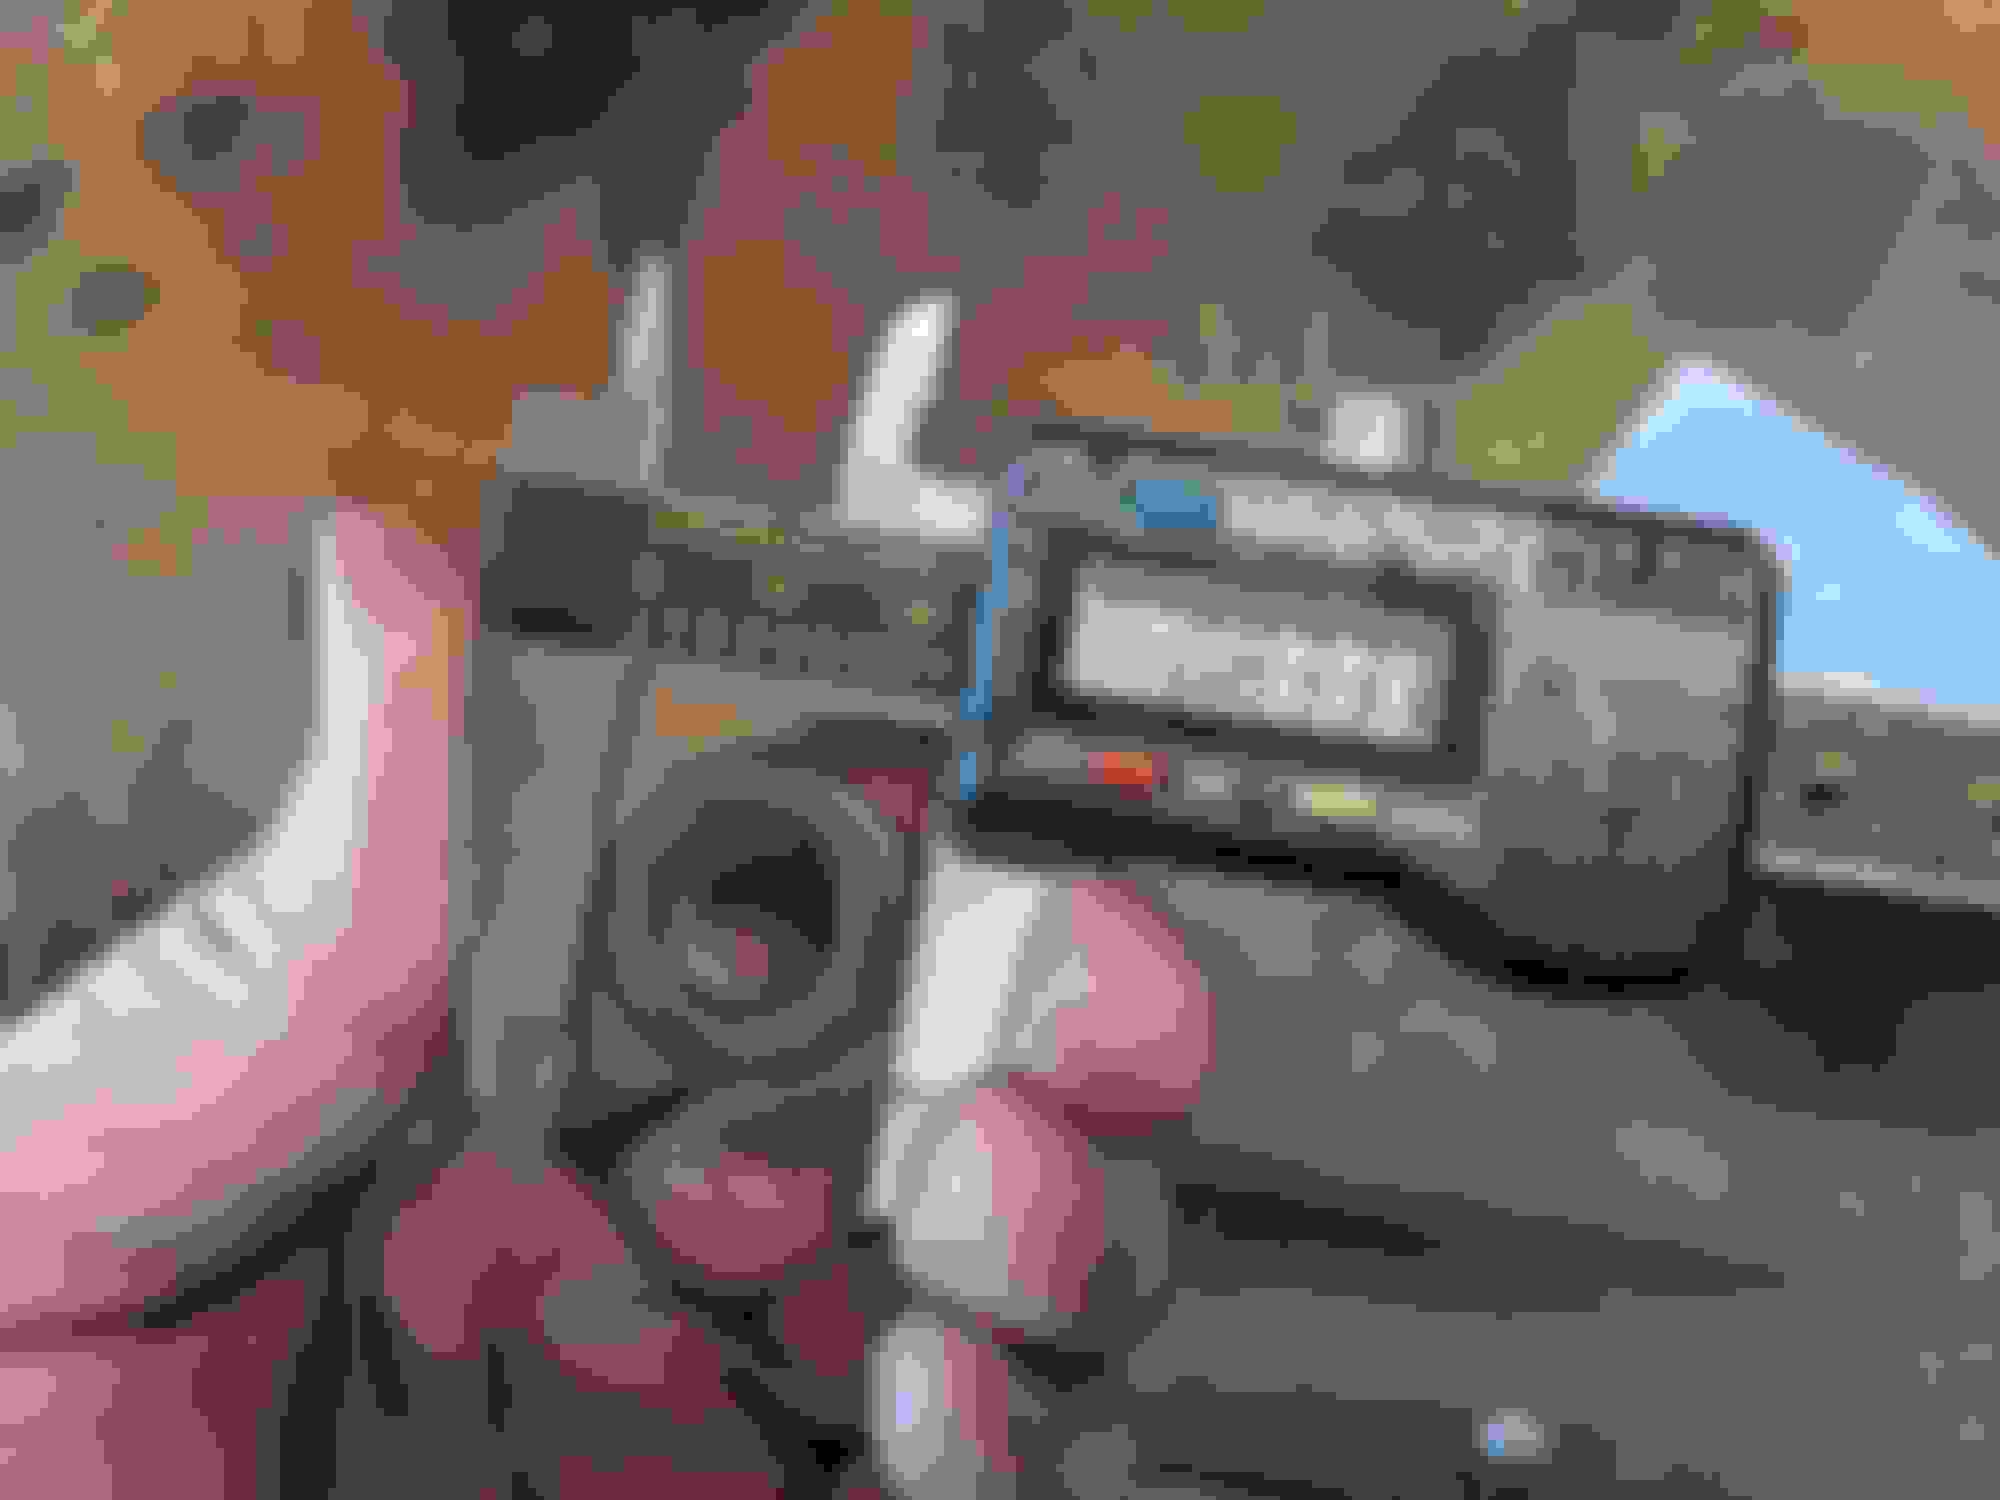
You go through the kit and find the gold driver mandrel that matches the diameter of your seal, and stack up the silver spacers with the crank bolt to build an installer. I've got it a little catawampus here due to trying to take a picture, you'll obviously want to make sure its square with the face of the bore so you don't bugger the OD of the seal.
Crank her down and in she goes!
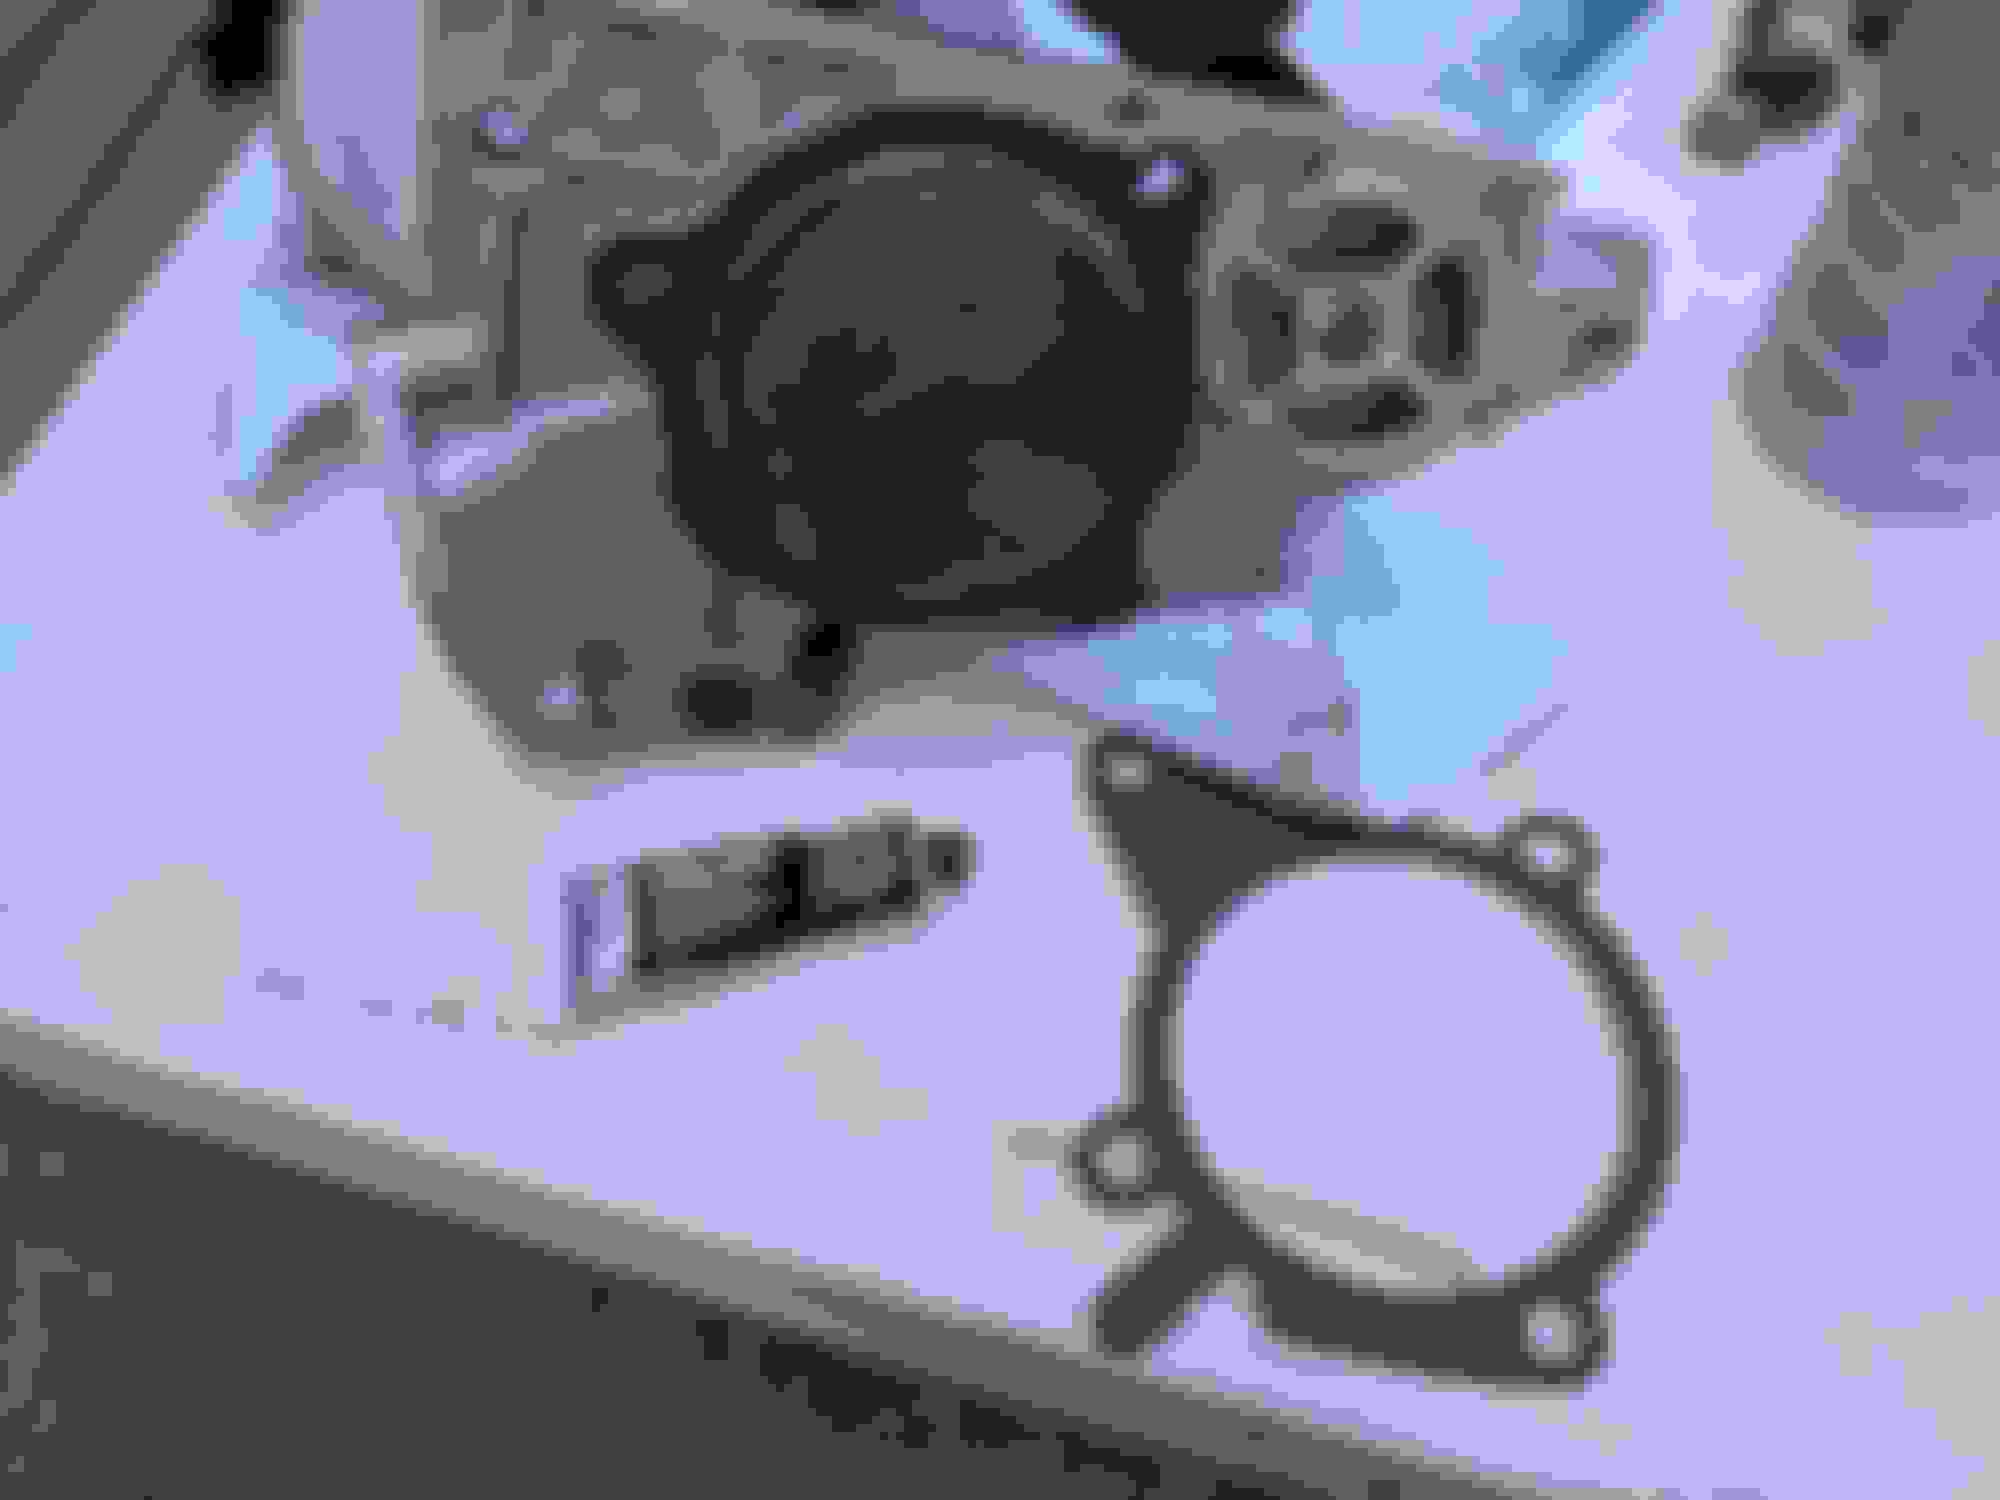
Next highlight is the water pump. More orange RTV and a really crunchy cheap gasket on a GMB pump. SOMEONE replaced this at some point but went SUPER HAM with the RTV. It looks like its been leaking to boot. Good thing I'm replacing it.
Surface prep is key so out comes the scraper.
This is a 1-1/4" Lisle carbide scraper, part of the Lisle 81780 Carbide Scraper Set5/8" & 1-1/4". These things are friggin' great for getting gasket surfaces ultra clean. If you get aggressive with it you can take down high spots in aluminum and iron surfaces so you have to be careful with them. The only way I've ever hurt one of these things was to drop it on the concrete which chipped the carbide. I like the wider one because the larger surface area helps keep it square to the surface. Highly recommended tool.
I chose to use the Gates gaskets that came with the water pump, and I prepped everything by scraping, wiping down with brake cleaner, then adding a whiff of Permatex Ultra Black.
I put it on both sides of the gasket. It doesn't take much to get the job done. Water pump installed, bolts torqued to spec.
Next comes the timing belt!
It comes served up in its fancy meat tray. I yoinked the idlers and got them installed, along with the tension spring. Before I can finish that job I need cam pulleys, which means I need a head...
ARP head studs cleaned and installed HANDTIGHT along with both of the alignment dowel pins, new Fel-Pro PermaTorque MLS gasket in-situ.
Head almost clean and ready to install. Shiny! Great surface finish here.
Interesting item of note, ARP provided washer on the left, OE Mazda washer on the right. When I built the motor for the NB the ARP provided washers were much smaller than the OE washers, so common wisdom at the time was to use the OE one and toss the ARPs.
ARP:
Stock Mazda:
I chose to use the ARP washers and follow the ARP recommended torque specs this time around. Once the head hit the deck I made sure it was mated with the alignment dowel pins and DID NOT MOVE IT after touchdown.
Stud threads were greased with the provided ARP Ultra-Torque Lube, washers and nuts cleaned with brake cleaner, greased with more Ultra-Torque, and installed to spec. Bloody ARPs are 13mm 12 point, my one set of metric 12 points was almost not deep enough to get the job done. Stock bolt heads are 12mm 12 point.
Note on the larger diameter washers... they can be REALLY tough to get past the lifter bosses in the head. Mazda machined the clearances for the smaller washers so getting the larger ARPs in there can be a bit of a challenge.
NICE. Time for cam gears & belt.
I knew exactly where TDC was, because I'm not a ****, and did the belt as appropriate. Went old school with the 2 crescent wrenches and vice grip as my FM cam gear tool has disappeared from the material plane.
After that, more Lucas Engine Assembly Lube applied to the cam lobes until they were positively swimming in the stuff, removed the wrenches, spun the engine by ratchet as part of the prescribed process to set belt tension and then locked her down.
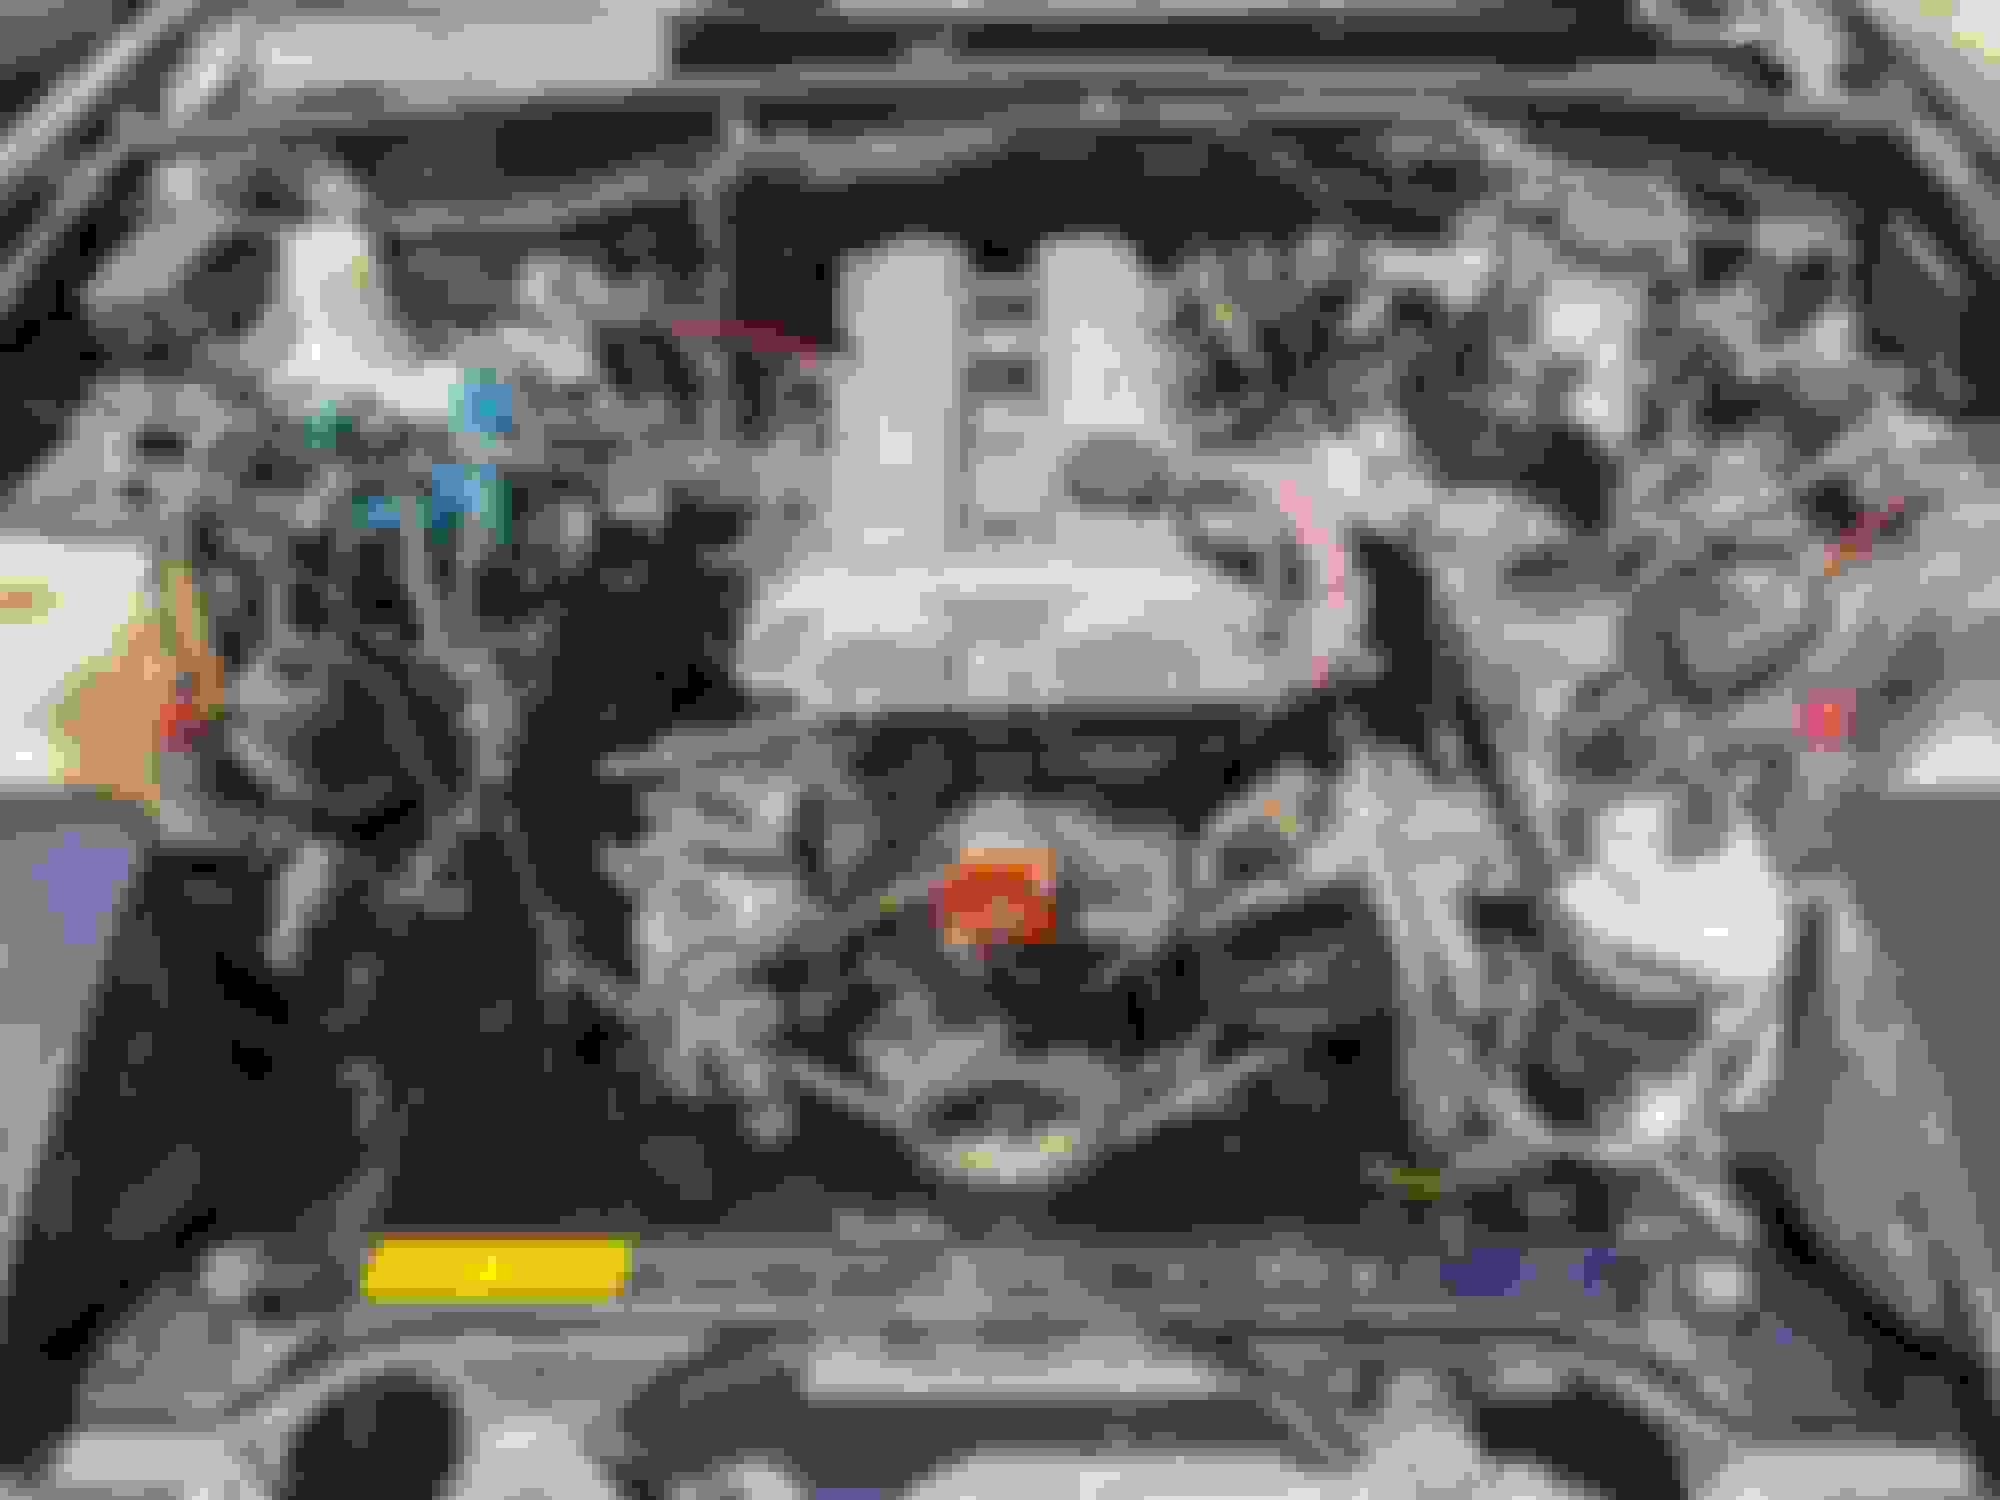
Such assembly, much buttoning up. Wow.
Reinstalling the intake manifold was a bitch of a bastard and a half, as usual, along with sorting out the ignition, emissions bits, fuel system, etc, etc, etc, ad infinitum.
I reused the crank bolt, because lol, but in order to get it to proper torque I opted to use the "rope trick" as I've always done in the past. Unfortunately the nice, cotton rope I usually use for this task has vanished, so it became the "bungee cord trick." As expected it worked great. Crank bolt and the bolt hole were cleaned, bolt reinstalled with Loctite blue.
And after all that, only 2 leftover bolts! YUSSS.
Loaded up with distilled water, burped with the Magic Funnel� and away we go! Last bolt check then I ran it up the big hill in 104� heat and it never skipped a beat. So far, so good! Just a couple small things to button up and I can go back to doing other dumb stuff.
Base timing is still set to 6� BTDC so its a bit doggy. I plan to run that up to run that up to 12�-14� or whatever I can get away with on CA91 and the new bump in compression. The machine shop indicated that they took 0.006" or 0.008" (couldn't remember) off the deck to get it flat again so while that isn't an enormous bump, it is A bump. I need to keep this in mind when I start screwing around with the JRSC again.
I'll give it 50 miles and then change the oil, which is disappointing because I just changed it but I don't want to risk having any garbage from the machine shop or the block deck cleaning process spending too much time floating through the oil
So, reinstalling head with the ARP studs - did you mount the qmacks to the head then slip on the studs, or head on studs first, then install the reroute housing in situ?
Installed with the head in situ, its the first thing I did after torqueing down the nuts on the studs. With nothing else on the back of the head its dramatically easier.
FWIW I really like those Fel-Pro thermostat housing gaskets as they have a silicone ring bonded to one of the sealing faces. I stuck the gasket to the reroute hosing with the Ultra Black with the silicone ring side out towards the head. When bolted up, no sealant is required on the head side and in my experience, they come off super clean. No more struggling with cleaning the head against the firewall if the reroute housing ever has to come off
Gimme a break, that's not even 40 in real money! Tell me when it starts with a 5 ....
I've worked outside in 122�F/50�C before, some years ago. That's gonna be a big no from me dawg. About halfway through the second day I ended up calling my boss and telling him I'd be back around 10pm, when it dropped to a more civilized 90�F. Did the rest of that trip with a headlamp
As you've probably already guessed, I threw the car on a trailer and dragged it up to Oregon last weekend for a dirty great time. We ripped around Mt. Washington & Hoodoo on a bunch of fire/logging roads, and also headed out to the Cline Butte OHV area and a bunch of other ridiculousness in-between. I think this is the 4th time I've done this event but the first time I've had "my own" car (I went halfsies on a $500 Craigslist 240 Wagon a few years back but that doesn't really count [RIP Blue Thunder]) so I spent a lot of time driving rather than taking pictures.
Packing a Miata for a camping trip where you are expecting rain, temps in the mid 80s AND spares + tools because you assume you are going to break things is quite the challenge. First night was wet.
Very wet.
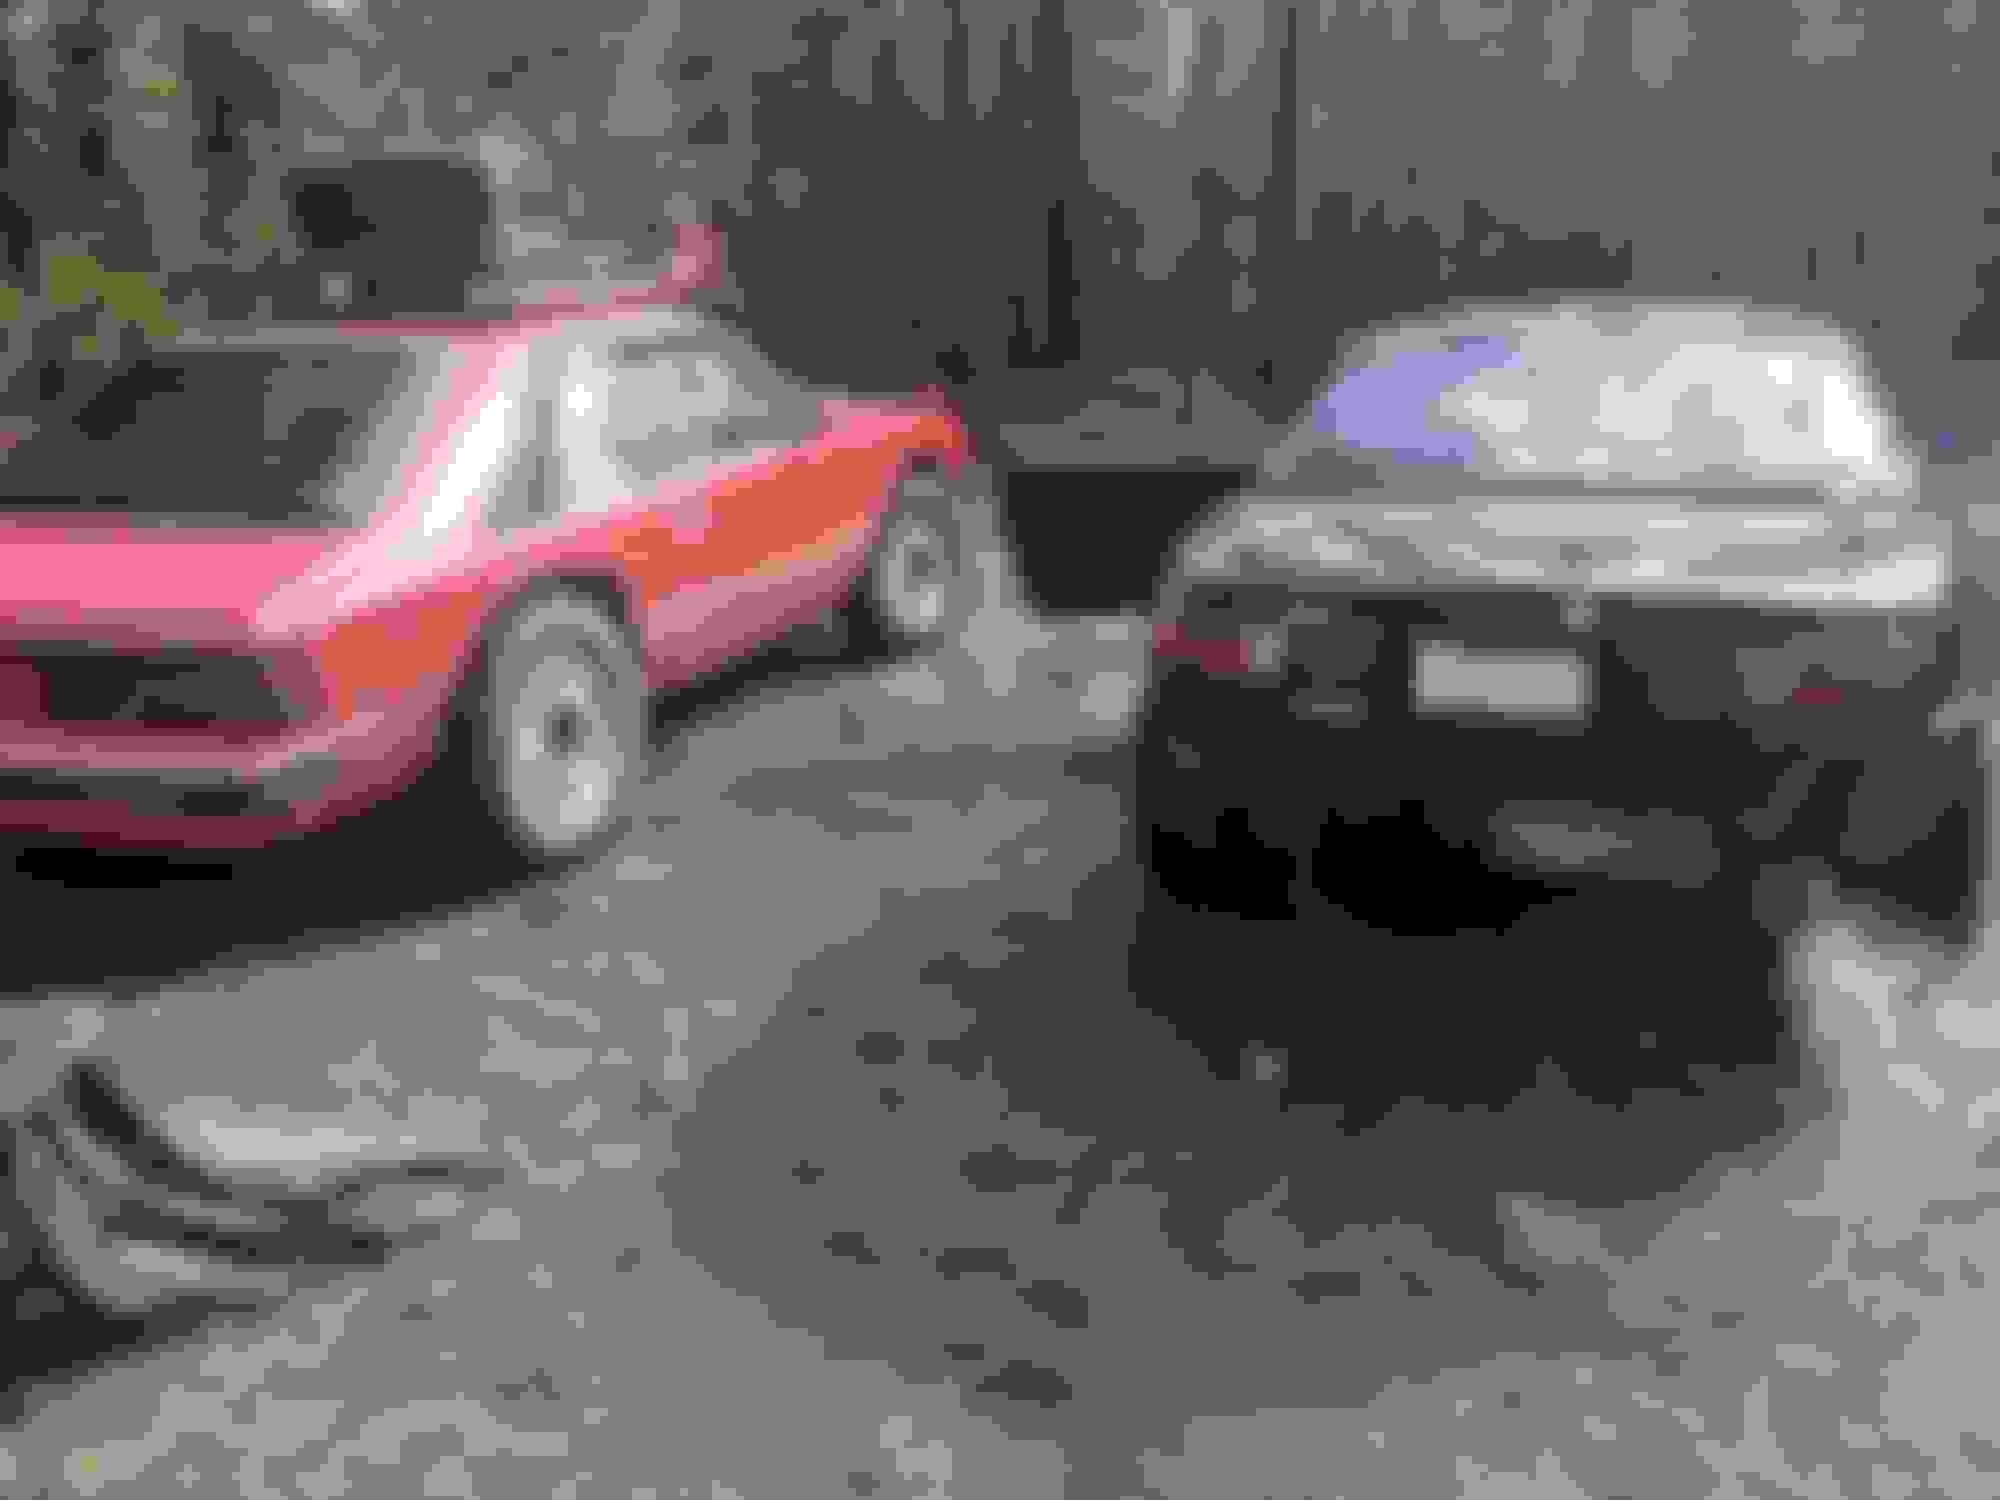
Miata shown next to friend Eric's 1979 Mercury Capri (why yes, it is a foxbody) AKA "The Moosetang" shod in 235/75r15 Pep Boys house brand ATs and 2" (?) of lift. The little 3.3 liter carbureted Ford straight six and auto trans are pretty much at their limits, but the Moostang keeps on truckin'
I believe that's Mt. Washington in the background. The scenery was AMAZING, its one of my favorite parts about this trip.
Also shown here is my halfass, unfinished tube bumper. There will be an extensive post about this in the future.
The crew out at Cline Butte/Barr Road North OHV. Lots of great fun out at this location. The above pic has 9 of the 10 vehicles that participated. Its quite the mob. We tend to attract a lot of attention, lol.
Dust was intense
Gesso got to drive for the Off-Road Drag Race through some heavy woops in the trail. I was laughing too hard to get good video, but @gesso definitely sent it. We were up against The Skunker (80s/90s v6 Tempo/Topaz) is a tough customer, mostly due to the skill of its driver. Or ignorance. hah!
We also did some Time Trials sections and some Jeep trail climbing stuff. I'll see if I can snag videos from some of the other guys and post them here as well.
The car definitely earned those pinstripes.
I'm not going to lie, I love driving this car. Despite the lack of sway bars and massively oversized 215/75R-15 General GrabberAT2s it still feels like a Miata. The car is still relatively quick and nimble while the tires offer a shocking amount of grip both on-road and off-road, which inspires great confidence for doing dumb stuff. I was blasting through full inches of standing water on the highway at 65mph like a native Oregonian with no hydroplaning issues whatsoever thanks to these tires. I like them so much I'll probably consider buying a set for my Tacoma. The Budget Bilsteins with QA 7HT550 front, QA 7TH350 rear combination was great off-road when the car was loaded up, but a bit harsh on the rough stuff for the time trials with the car empty. Of course, we were sending it pretty hard so that might not be a fair comparison. Leaving the bump stops long was a solid decision as they got a hell of a workout. The Energy poly + SadFab bronze retrofits keep things nice and tight, but still compliant enough that it flexes fine in the rocks and dirt. Somehow, and I'm still not sure how, the old *** stock 177k alignment bots managed to hold position. I have a set of the Paco alignment bolt locks that will be going on there eventually, I just haven't got around to it yet. Enormous redneck circle track radiator, reroute and single stock fan worked PERFECTLY, and the new head gasket managed to stay in once piece!
However, there are a few things that need to be addressed. The lack of gauge cluster hood means you are staring though the reflection of the back of the cluster in the windshield 24x7 and it gets really old really quick. I ended up tossing my sunblocking nect tube buff thing over the back of the cluster to cut this down dramatically. The efforts I put into clearance things really paid off in the rear where I had no contact at all, but the front still rubs the fenders during violent suspension compression events. We had to stop and clearance it at one point and there is some additional work to do, but it was only rubbing fenders and not the tub so I call that a victory. The gear ratios are also laughably bad, with the ~28" tall tire and the 4.1 there was a LOT of bogging off the line. The torsen however seemed to work great! I didn't get the 4.78 diff put together in time so that'll definitely need to happen before my next off-road foray. Its still a BP after all and its not exactly a torque monster. I found myself needing more RPM to get power but this gave me too much speed for things I wanted to crawl over so as a result there was a lot of unintentional sending. Also, spinning brodies will be a lot easier with a 4.78. Highway RPM is probably going to be a little rough too Jury is still out as to when I'll get the M45 JRSC back on the car. I also desperately need to build my own spare tire mount, and a fancy tube rear bumper. Friend Eric was kind enough to drag around my spare for me but I need to be more self sufficient in the future.
All in all it was an awesome trip with good friends, I look forward to doing this again in the future.
The gear ratios are also laughably bad, with the ~28" tall tire and the 4.1 there was a LOT of bogging off the line. The torsen however seemed to work great! I didn't get the 4.78 diff put together in time so that'll definitely need to happen before my next off-road foray. Its still a BP after all and its not exactly a torque monster. I found myself needing more RPM to get power but this gave me too much speed for things I wanted to crawl over so as a result there was a lot of unintentional sending. Also, spinning brodies will be a lot easier with a 4.78. Highway RPM is probably going to be a little rough too
Maybe a 6-speed instead of the 4.78? Gives you the same low overall gearing in 1st but doesn't change highway RPMs.
What's the 2021 pricing on a 6 speed? I'm not being an ***, I literally don't know.
I already have the 4.78 gear set, new bearings & seals from Mazdacomp and solid pinion spacer + shim kit from Weir, I just haven't gotten around to having it put together.
FM calculator says 3,069 (nice) @ 65mph in 5th with the 4.78, or 2,727 @ 65mph in 6th with the 4.1. I'm not entirely opposed to a 6 speed in this car nor am I saying its a bad idea but if we're talking highway speed here I'm just not interested in spending ~$1200 to save ~350rpm at highway cruising speed. If I had an extra 6 lying around or if someone gave me one I'd probably try it, but the 6 speed fairy seems to have me on her naughty list atm
It's been a while since I've really followed prices so I'm not sure. car-part.com shows a 6-speed out of an 01 in Palo Alto for $700.
Are you planning on DIYing the gears? I was advised not to, and getting it done at the local shop ("Rear End Specialities") was about $350.
Oh, and another thing... I never actually checked the timing after stuffing the cam angle sensor back into the head. I lined it up with a pair of scribe marks that probably maybe match 6� BTDC base timing I was using with the JRSC and then I just ran it. I filled it with Oregon 92 the whole time we were there, just in case I was wrong. I should probably check it but I bet it would pick up a bit more chooch at 14�~18� rather than 6�
It's been a while since I've really followed prices so I'm not sure. car-part.com shows a 6-speed out of an 01 in Palo Alto for $700.
Are you planning on DIYing the gears? I was advised not to, and getting it done at the local shop ("Rear End Specialities") was about $350.
I have the tools and patience to do it but not the experience so I'm more than happy to pay a professional. Local gear & axle shop up here that was independently recommended by 3 completely separate sources quoted me $200 to do the install, then bumped it to $250 when I told them I had a solid spacer and shims rather than a factory crush sleeve. For that kind of money I'm more than happy to pay someone else to do it.
I'll probably be into this 4.78 torsen diff for close to $600 when all is said and done. It would have been significantly cheaper if I'd managed to get used gears from the junkyard but I don't regret buying NIB ones from Kia, and I made this about as expensive as possible by buying all new bearings and etc directly from Mazda. You can definitely do this on the cheap, I just didn't.


 05-31-2021, 12:33 AM


 3
3


 Jury is still out as to when I'll get the M45 JRSC back on the car. I also desperately need to build my own spare tire mount, and a fancy tube rear bumper. Friend Eric was kind enough to drag around my spare for me but I need to be more self sufficient in the future.


