When you click on links to various merchants on this site and make a purchase, this can result in this site earning a commission. Affiliate programs and affiliations include, but are not limited to, the eBay Partner Network.
I cleaned up the stock injectors and replaced the O-rings and mounting cushion thingers. The old ones were positively fossilized, most were cracked and some were missing.
Just good ol' run of the mill stock Denso #195500-2180 tan top 265cc injectors. They have numbers etched in the bodies with what appears to be electro-pencil so I suspect they've been serviced at some point in their lives.
Then I remembered I have probably 3 sets of NB2 injectors. The narrow body Denso BP6D #195500-4060 "purple" injectors run 265cc at the same 3 bar pressure. The NA8 fuel system runs 3 bar so these can be expected to flow about the same, but the purples will have a better spray pattern due to a decade newer pintle design with a 4 hole diffuser. Better atomization = more power, better mileage and cleaner burn? Maybe I'll chuck them in and see what happens.
Still waiting for the machine shop to call me back. They said "Thursday or Friday" but I was busy and didn't think about it until it was too late. I'll give them a ring Monday and see if they have a diagnosis yet. I'd very much like to get back to work on this project.
This car is looking awesome. Keep up the great work.
Thanks. Its kind of a pile of parts at the moment but I'll take what I can get.
Speaking of what I can get, here's something I couldn't get:
Stock BP head studs are not recommended for reuse, OEM ones are lolwut and the generic $25-30 ones on RockAuto seem just a liiiittle bit sketch. I have experience with the ARPs but unfortunately they are on national back-order. /Sadtrombone
HOWEVER I happened to know someone who had a set sitting around that took pity on me, and now I have a set! Hooray! Having friends with similar Miata brain and hoarding tendencies sometimes pays off! If it turns out the head and block are usable, I'm ready with studs. Fancy *** ARP 218-4701 studs and I'll reuse the OE washers. Like a boss.
And speaking of being ready, RockAuto parts are starting to trickle in. There was no way I was going to get all the OEM gaskets and seals so I went with what I could get. Mostly Fel-Pro and Gates. I'll snap pics of PNs as things come in at if they suck I'll let y'all know
Stock BP head studs are not recommended for reuse
That's the first I've heard of it. I mean, generally ARP head studs are cheap enough that I wouldn't reuse the stock bolts on a performance build unless I had to, but as long as they haven't been damaged it should be fine.
I've used the same ARP studs in two different motors, no leaks. The one time I re-used stock bolts, it leaked. Coincidence maybe, but I sleep better at night without the $100 or so I paid for the studs poking me in the ***.
Originally Posted by codrus
"If something is a reliability problem on the track, just ask Andrew and do what he says".
For those who are unaware, DeatschWerks was (is?) running a promotion for a free shirt, there was a promotion card that came with my DW100 fuel pump. Write a review, post it on social media, fill out the form and provide them a link to the review and eventually you get a t-shirt!
Which, of course means that there is a pretty good chance someone from DW (probably some poor marketing intern) potentially read my pump install/review from some pages back. Hopefully it gave them a good chuckle
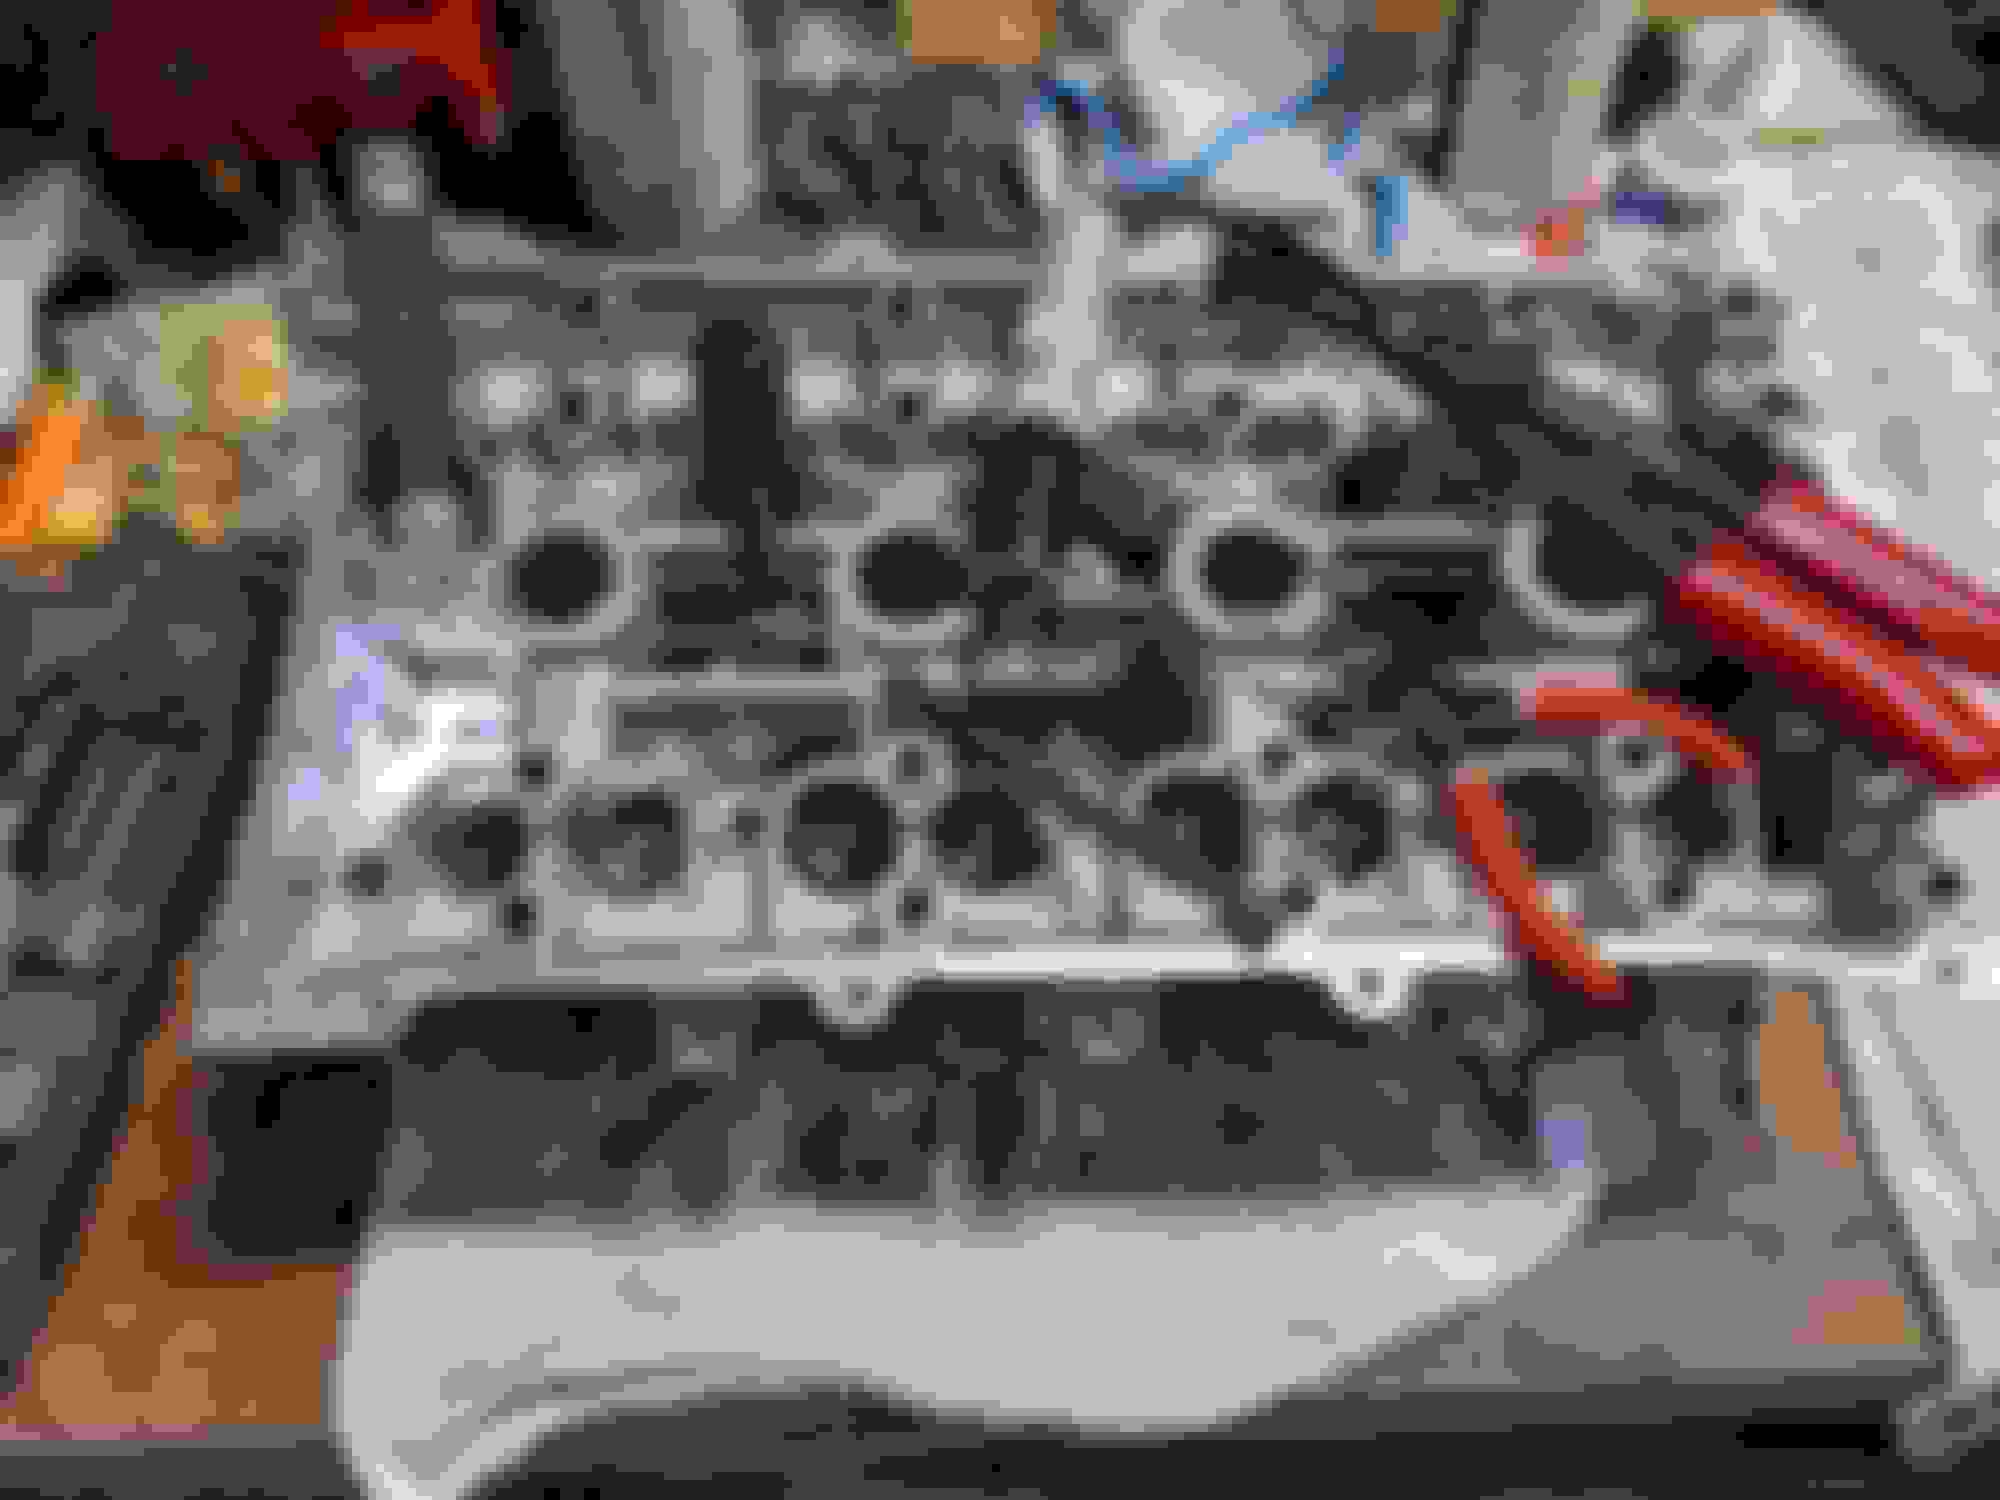
Spent some quality time with the block last night and got it cleaned up.
I'm not going to tell you how I did it because regardless of what I did "you did it wrong."
I pulled out the 18" machinist edge and feelers to do some checking
The thinnest feeler in my set is 0.0015" and I was unable to get it under the straight edge regardless of how it was laid across the head surface. The corner of that gauge is actually crushed down to about 0.0005" in one spot and I could only just barely get that to "bite" in a couple locations.
I'm going to call that good to go, and I pronounce the block ready for a head.
Sprayed it down with WD-40 and stopped ******' with it. I'm hoping to hear back about my head this afternoon and if the shop can meet it's promised deadline, I should have the head back for a long weekend reassembly thrash. Still waiting on the last box from RockAuto with my timing set and then I'll be ready to rock.
It's "G" of course he did it the correct way with paper towels and solvent. No scotch brite, sand paper, or wire brushes. You too can learn to be a real "G"
So apparently I don't have a MazdaComp membership anymore and they weren't impressed with the pics of my car, and trying to piecemeal OE gaskets from the various online vendors turned out to be a nightmare. I just scrolled down the list at RockAuto and bought what I needed. I stuck to Fel-Pro because I've had consistently positive experiences with them in the past. There are definitely some compromises here, for example I'd have preferred to buy a Cometic head gasket but they seem to be on universal backorder in stock bore size. I've added notations where appropriate. Ok, here we go:
FEL-PRO 35522 Thermostat Housing Seal This seals the thermostat neck thing to the head. Mine was present but full of orange RTV. Gross.
FEL-PRO 35251 Water Outlet; Thermostat Housing Gasket. Same gasket is used at the front of the head for the thermostat housing and at the back for the water outlet. Or in my case, thermostat housing block off plate and reroute housing. I ordered 2x of these obvs.
FEL-PRO MS94611 Exhaust Manifold Gasket Keeps the exhaust in the exhaust manifold. Duh.
FEL-PRO 9717PT PermaTorqueMLS Head Gasket
Head bolts not included.; Head bolt replacement recommended Seals the head to the block. The note above is from RockAuto not just something I made up
GATES TCK179 PowerGrip Timing Belt & Component Service Kit This is the standard Gates timing belt kit, it includes the belt, idler, tensioner and spring. It's a one stop deal.
FEL-PRO 60831 Catalytic Converter Gasket I needed a couple of these. For reasons. Same gasket is used on the inlet and outlet of the cat. I ordered 2x
FEL-PRO VS50569R PermaDry Valve Cover Gasket I JUST FREEKING BOUGHT ONE OF THESE! Oh well, I'm replacing it again anyway. SIGH.
FEL-PRO TCS45921 Crankshaft Seal
Must Use with Part Number(s) OS 30633 R This PN is stupid. It includes a whole bunch of stuff that isn't the crank seal, and also a crank seal. This would be the kit you want if you are doing an R&R on an oil pump and water pump, or assembling a short block. For my needs its excessive but it was literally $3.59 so absolutely not worth returning. I'll just have a bunch of spare gaskets. Forever. If you just want the crank seal the box has PN 95101 listed for that seal. Interestingly enough, this and the oil pump inlet tube o-ring are the only parts in the kit where the country of origin is Japan. I'll post a pic of the box below.
FEL-PRO SS72802 Valve Stem Seals, Intake and Exhaust I have DPE with these after my Keegan CNC ported head started puking oil out of the Supertech Valve Stem Seals. Lol. Fel-Pro is more than fine in this application. There are 16 of them in the kit, enough for one head. Interestingly enough, it also includes some tube looking things. I suspect I know what these are but I'll explore them a bit more when the seals go on
FEL-PRO TCS45860 Camshaft Seals There are actually TWO goddamn seals in the box, but idiot me ordered 2x of this PN. This is a mistake. This is the only box I opened and its repacked National Seal PN 223420. With the Fel-Pro PN you get 2x seals in the box for $3.97 with the National PN you get one seal for $4.82. WE'RE SAVING WHOLE DOLLARS HERE MANG!
GATES 42134 Water Pump This is the Gates pump with the 3D cast metal impeller and its the one you want. Avoid the cheap ones with the stamped steel welded impellers, they suckzors. This one comes with all the gaskets you need to install it, including the water pump inlet gasket and a new o-ring for the coolant bypass tube that runs under the exhaust manifold.
FEL-PRO MS946121 Intake Manifold Gasket Its an intake manifold gasket, seals between the manifold and the head
GB REMANUFACTURING 8006 Injector O-Ring Service Kit You saw these previously when I installed them on the injectors. I believe these kits cover both the NA and NB style injectors because they include both styles of injector to head seals, just make sure you replace like with like. You'll need 4x of this PN to service 4 injectors, and you'll only need 3 of the items in each kit.
Money shot:
That's almost exactly $200 before tax and shipping. I didn't strictly need all of this stuff so obviously you could save a few bucks here and there on some individual items.
And here is the list from the PN TCS45921 kit. If I was doing an oil pump, this is the set I'd want for sure.
One of the reasons I bother to post all these PNs and notes about dumb stuff like seals and gaskets is to maybe help the next guy out who is on the googlemachine looking for a solution to a problem. I know when I have a question about something, the first thing I do is start searching PNs. I like to think maybe I'm helping someone else out somewhere.
As for progress, I've made none. I could start installing the timing set, water pump and crank seal but for now, I'm not breaking the seal on any of these other boxes until I get my head back from the machine shop. It's Wednesday which means machine shop dudebro has 2 days before I get super sad. A long, 3 day weekend to thrash out the reassembly would be EXTRA nice but knowing what I know about machine shops I'm not going to hold my breath.
She was a banana so glad I took it in. Dudebro said it took either 0.006" or 0.008" off the deck (he couldn't remember) to make it flat again. That seems like a lot so I asked about line boring in the cams, he said it usually wasn't an issue until you get to 0.010"-0.015" range.
It turns out the valves in #3 were not sealing so he "touched them up" and got that fixed. Which is actually kinda awesome because that's the cylinder where I had much leak-down and the lowest compression. I'm really hoping that resolves both of those issues.
Out comes the Lisle 36050 valve spring removal and installation tool.
Nothing like taking the head you just got back from the machine shop and hitting it with a hammer! Valve stem seals pliers are pretty much not an option for this job.
So many little fiddley bits.
The weird tubes that came with the Fel-Pro valve stem seals were exactly what I thought they would be, little tubes to protect the seals from getting damaged on the potentially sharp valve keeper grooves. Incidentally, that's also what the green Starbucks straw does that's in my spring tool kit.
New seal goes over the top
...and push it home with a socket. This one happens to be a 1/4" drive 3/8" 6 point.
I'm not going to detail the process as we have a whole thread dedicated to it somewhere here on the forum. Search n00b!
SO MUCH EFFORT.
So this was an unexpected find:
Just a hint of surface rust starting on some the springs and spring retainers. I'm guessing the shop ran the head through the parts washer while still assembled. Which is fine, but somewhat annoying. We don't have true hot solvent tanks here in California anymore, most of the engine cleaning stuff is water based so this can lead to a little surface rust. Best to get on it with a light oil with a quickness. The little bit of oxide wiped away and the valve train components were all treated to an aggressive application of assembly lube. For good measure I also pulled out all the valves and checked the stems for moisture as well, then they went back in with some assembly lube as well.
After that was all sorted out I got the lifters, cams and caps back in their homes. Factory torque specs and patterns were respected, and again, everything was liberally lubed up upon assembly. I also cheated and snuck the new valve stem seals in while the cams were out.
Tomorrow, head goes back on block! But not until I get the new water pump, front main seal and timing set installed. Oof!
Last edited by EO2K; 05-29-2021 at 09:58 AM.
Reason: Fixed a number


 05-23-2021, 07:18 PM


 0
0