When you click on links to various merchants on this site and make a purchase, this can result in this site earning a commission. Affiliate programs and affiliations include, but are not limited to, the eBay Partner Network.
It will be a real learning experience with flux core. Probably need shielding gas for that rusty *** thin wall pipe.
Yarp.
Ideally I'd like to have gas. And a TIG welder. And some skill. But you know, one thing at a time.
I'm pretty good at doing small tack welds so of need be, I just just do ~200 or so of those until it's sealed. It won't be pretty but it's not like it's structural.
I've leaned on @gesso for an awful lot of welding things over the years and while I appreciate his nearly infinite amount of patience and tolerance for my shenanigans, I've got a welder and I need start doing some of this **** myself. Ain't gonna learn if I never try!
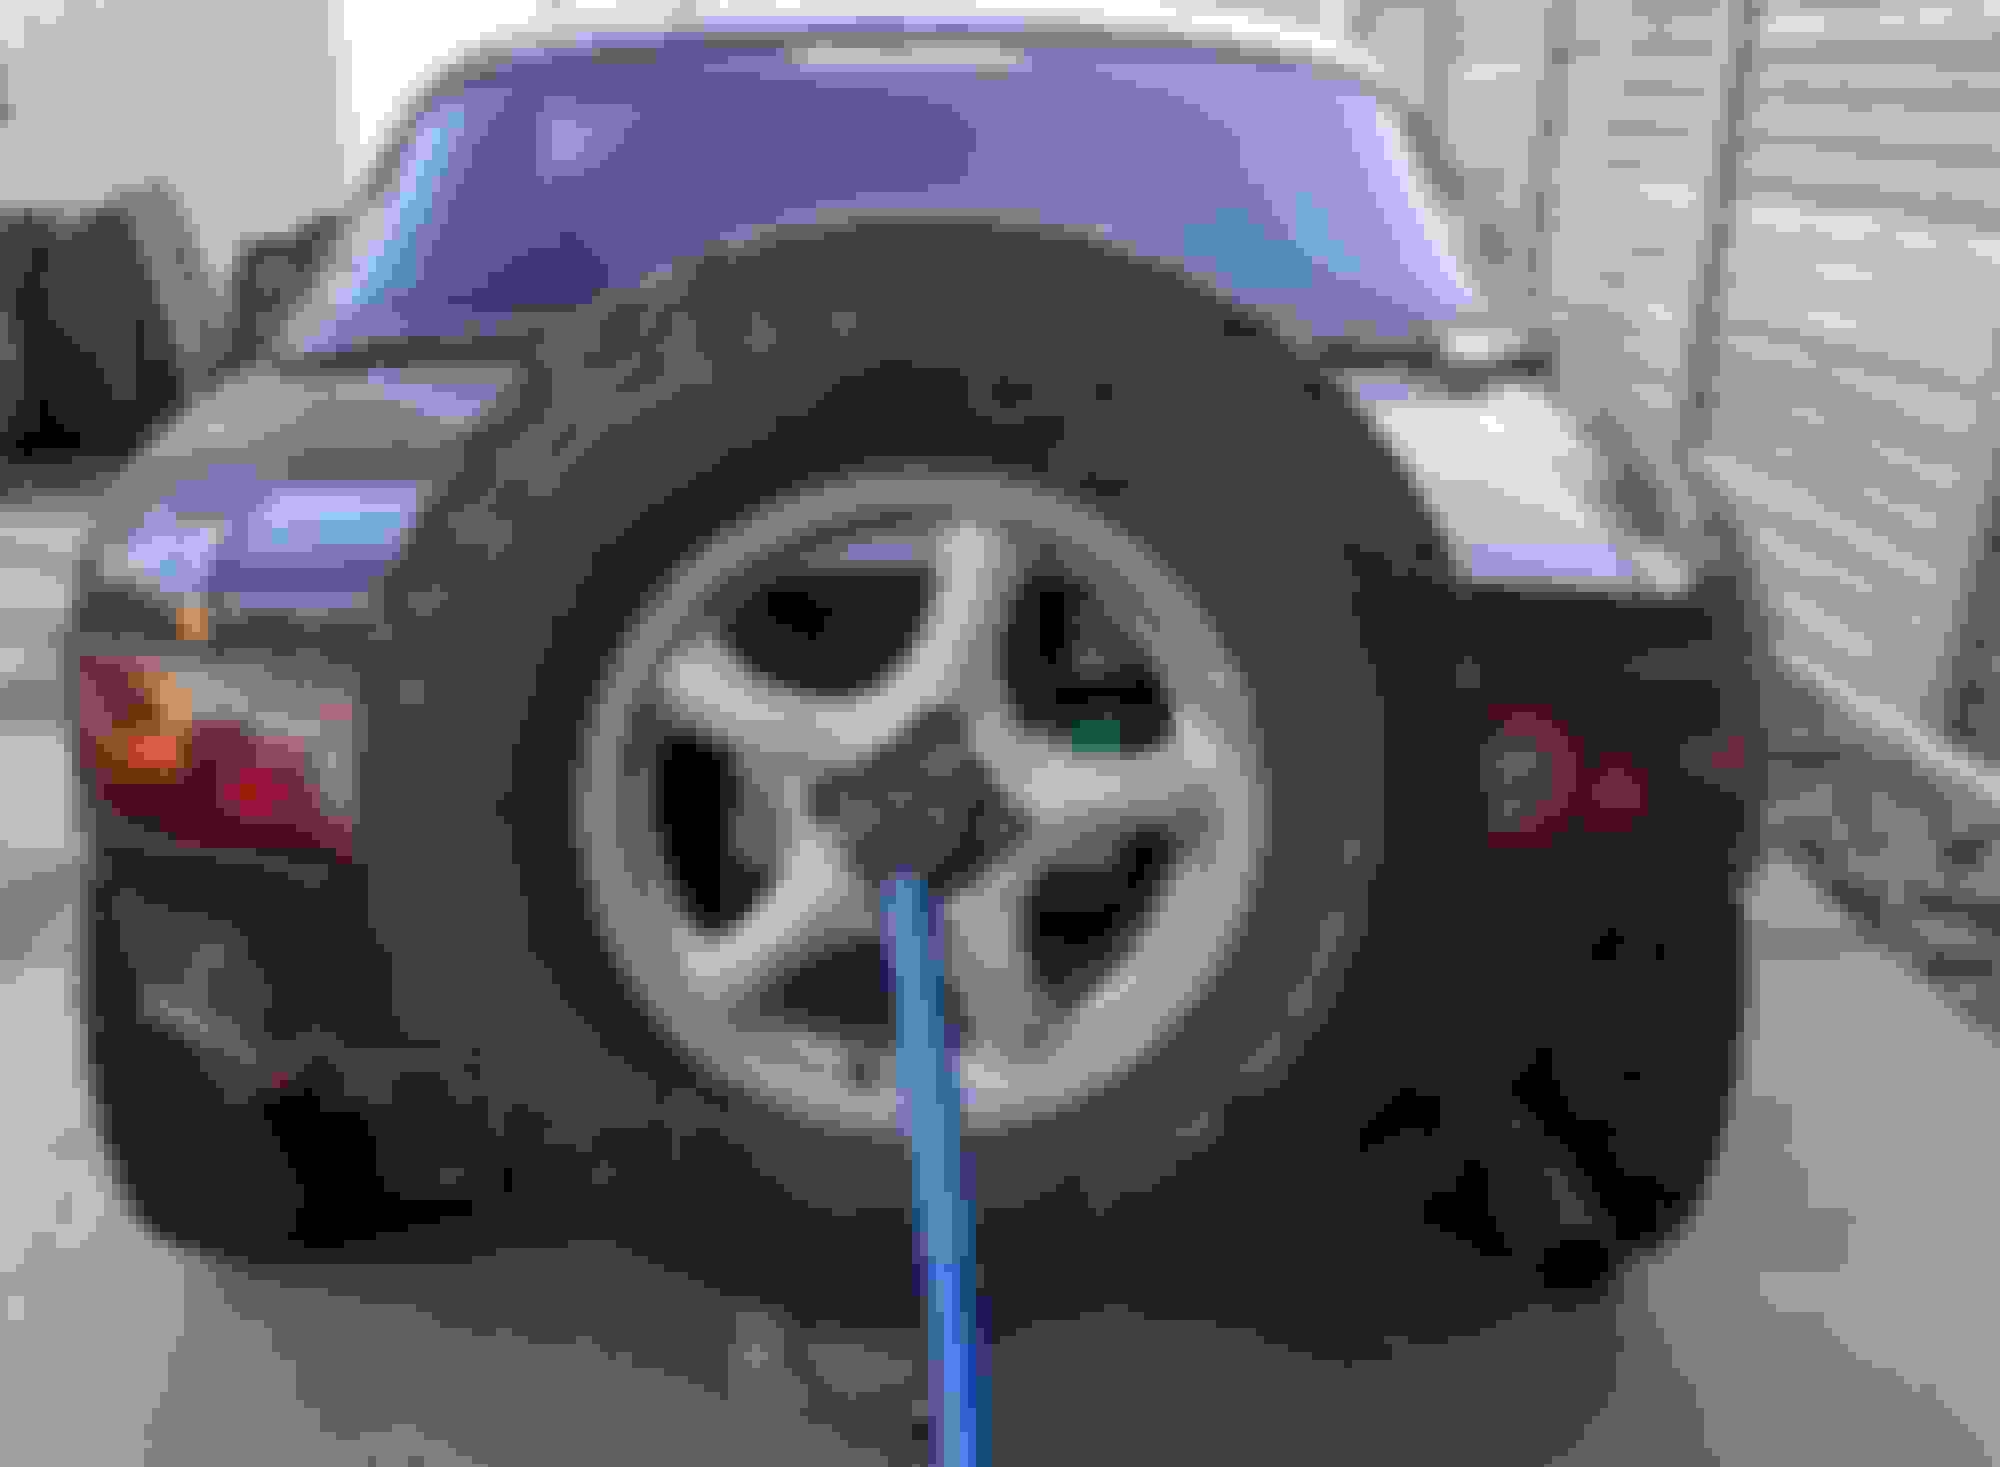
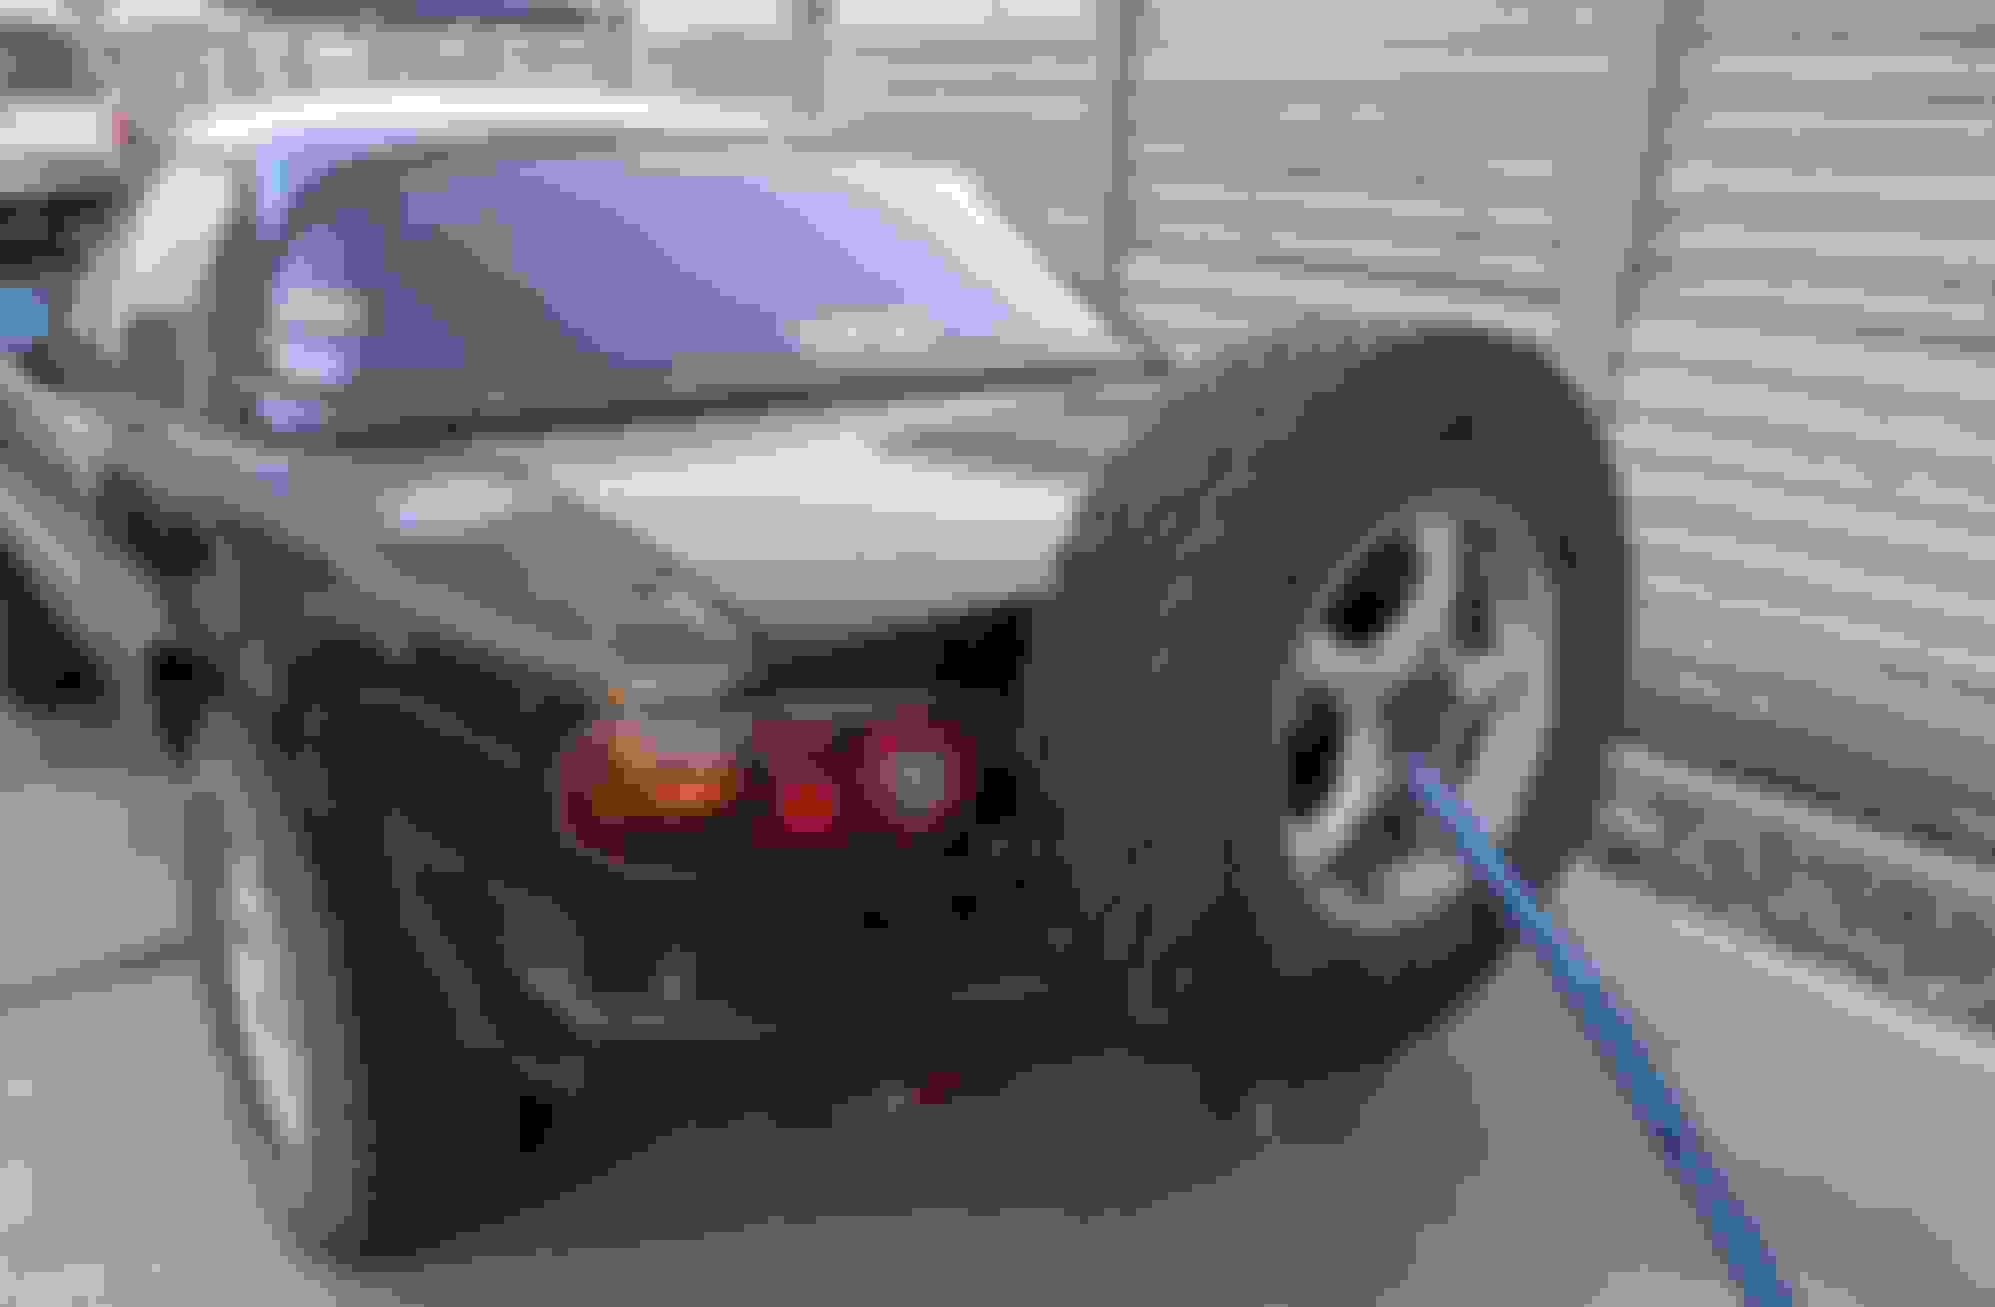
Not sure if I posted this previously but I've been trying to figure out a spare tire mountings solution. The "big" ATs don't even fit in the trunk, and even if I somehow managed to squeeze one in there I'd have no room for gear. I came up with a million different ideas that just got more and more complex, and I even acquired another NA deck lid (classic red, of course) so I could maybe mount the tire on top of the trunk lid, if need be. Rear visibility with the tire on the decklid is basically non-existent, so I need a better way to do this.
The quick and dirty started here:
This is the hitch that used to live on the NB. I think it may have originally been designed for the NA but then we drilled out the mounting holes and made it fit on the NB. Anyway, its on the NA now but the 4x M8 mounting bolts in the wallered out holes leave something to be desired. No matter, this gives me somewhere to start.
I went and picked up some 1.25" x 1.25" 0.120" wall square tube from the local steel supplier. Unfortunately, its a full 20' stick of 1.25" and I have no idea what to do with the overage. Anyway, I sliced off about 12" and stuck it in the receiver tube, then tossed the spare and a lump of 4x4 on top.
The height is juuuuust about perfect, the trunk is still usable, and visibility is not as horribly impacted. I think this might work! Time to get out the metal glue gun!
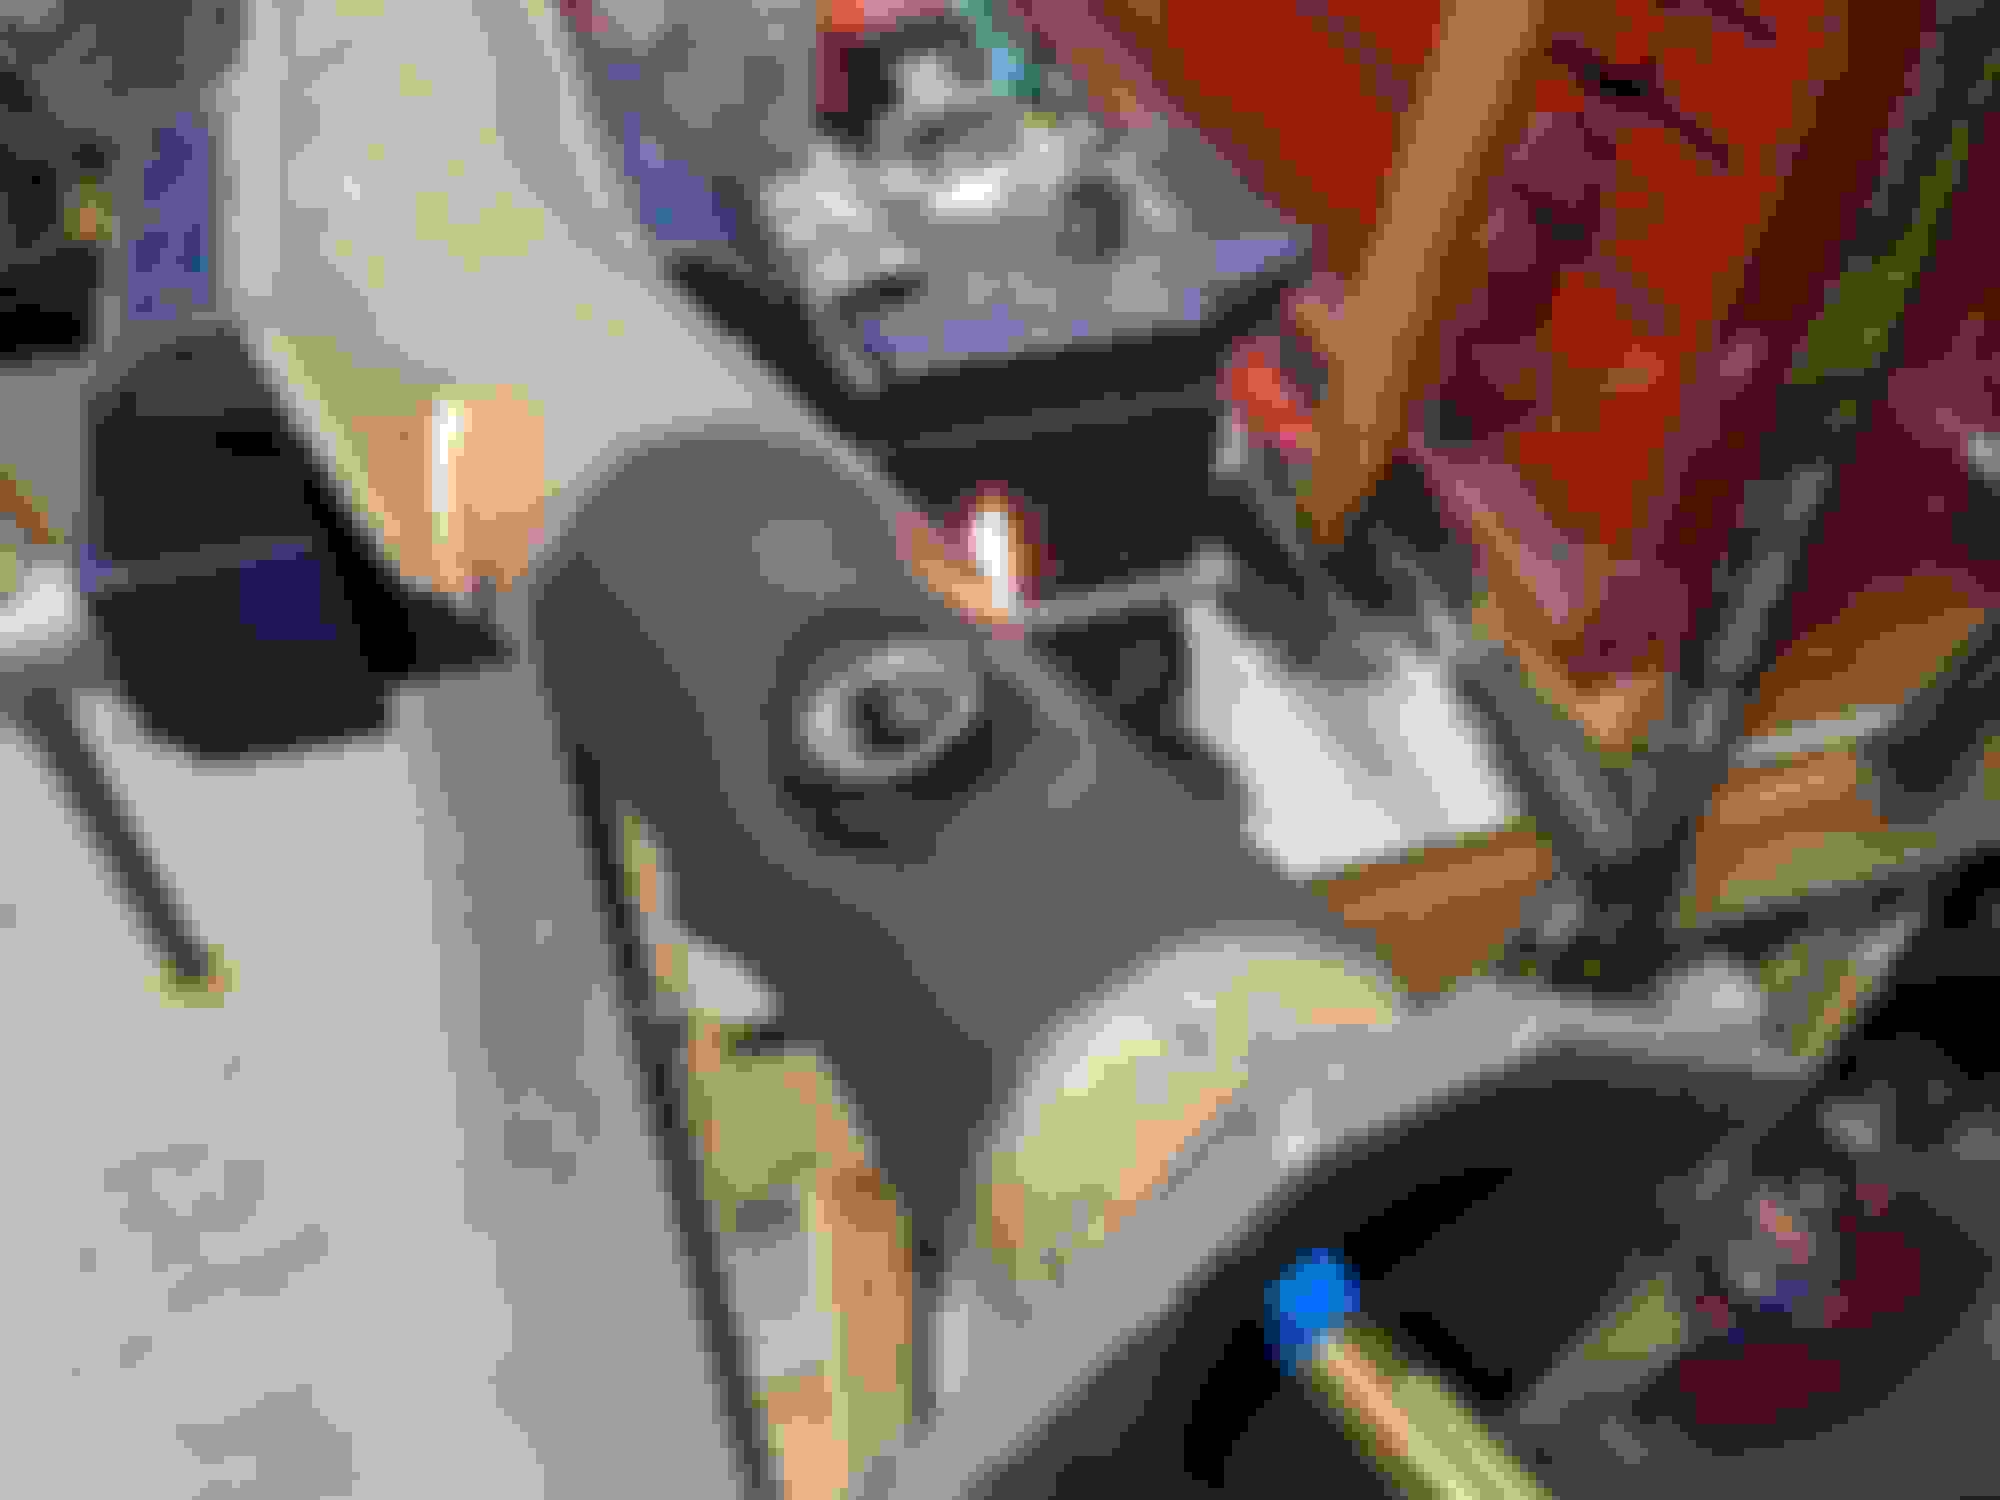
I found some steel leftover from the ridiculously beefy seat mounts that I cut out of the Shitty VW project (RIP) and made some gussets. It's 1/4" steel which is quite frankly more than my welder can comfortably weld, but that hardly stops me from trying.
The bigger the gob, the better the job, amirite? I cranked the voltage up to max and dropped the feed down until I felt comfortable with my chicken **** dispenser. I don't really have a welding "space" so this was all done in my driveway with ambient temps in the high 50� range (that's about 10� for our commonwealth friends) while grossly out of position using material that is too big for the machine. As I got more heat into the steel the welds got better. Kinda.
I'm not super thrilled with all of them, but I figured I'd share the "before" pics, because I'm a firm believer in the "Grinder and paint make the we welder I ain't" school of thought. I welded the insides and outsides of the gussets so there should be enough bite there to keep it together.
And there we go! Upright is complete! I hit it with a big hammer and it didn't break so its probably fine.
The next challenge is to figure out how to mount a tire to the damn thing. I solicited some ideas from friends as to how to do this, and while some of them were truly great, its going to take a lot of effort to fab stuff and make it happen. I actually have a spare spindle and hub that I considered using, but it gets kinda complicated. But it ALSO provides a convenient way of carrying a spare hub AND provides a mounting flange for the tire.
It also adds a bit more weight to the top of something that is already pretty heavy and pendulous so I'm not super thrilled with the idea. I'll probably fab up a simple gusseted stem with a pair of M12x1.5 bolts welded in for the lugs and call it good, then use a safety cable to attach this mess to the car. If something snaps off, I don't want to lose all the pieces into traffic.
I'll need to relocate the license plate, license plate light and possibly the 3rd brake light, but those should be fairly simple tasks if I can somehow manage to not overcomplicate that as well. I'll probably have more updates tonight if I make any additional progress
Looks pretty good, flux core is the only way to go in windy conditions anyway. Don't worry about the extra steel, you will need it for the next thing soon.
By the way, that's how I learned to use my chicken **** dispenser too.
I see you're also bringing along the all-important spare brake duct bracket.
Gotta make sure I don't overheat the ...hub on the ...spare tire carrier? I got nothing.
Originally Posted by turbofan
I love this project.
I'm enjoying it, for the most part
The good news is that the car should be well sorted enough that I don't have a million little things to do before the rally weekend after next, so I'm not stressing toooo badly. Yet.
For instance, I still don't know if the little M45 is still holding oil. Lol. Its not dripping but that has the potential to change dramatically once there is some actual heat in the thing. That might be a real messy last minute discovery
Looks pretty good, flux core is the only way to go in windy conditions anyway. Don't worry about the extra steel, you will need it for the next thing soon.
By the way, that's how I learned to use my chicken **** dispenser too.
As long as you learn from your mistakes then it's not a complete loss!
That's what I keep telling myself anyway. At this rate I'll be an expert in no time!
I bought a Lincoln mig about a year back. Looking at my first welds, they were about as bad as they get (worse that yours), but I have gotten better. Like any other skill, you just gotta dive in. Practice means ugly welds until they suddenly aren't.
Just be glad you aren't trying to learn with an underpowered HF stick welder. Those welds were some frankenstein horrors (but they held up).
I bought a Lincoln mig about a year back. Looking at my first welds, they were about as bad as they get (worse that yours), but I have gotten better. Like any other skill, you just gotta dive in. Practice means ugly welds until they suddenly aren't.
Tru dat. Like so many things in life, practice practice practice! I really didn't have an appreciation for the "feel" that comes with welding until I really started doing it. I don't have the muscle memory built up for it yet so first welds of the session are always bad, and they just get better as I keep going.
Originally Posted by rleete
Just be glad you aren't trying to learn with an underpowered HF stick welder. Those welds were some frankenstein horrors (but they held up).
Hah! No stick for me! Although, I have been looking at the Horrible Fart Vulcan series of small AC TIG welders, I'd very much like to be able to do aluminum some day. Lots of people out there unloading small TIGs from estate sales and such for good deals, but they sell FAST.
Someday! I need a bit more space to really get into TIG though. Someday I need to get this Triumph out of my garage. ...and buy a house
So if you are following along on the Instant Graham you'll have seen the car actually running.
As I previously stated in here it wasn't running because I pulled the exhaust apart. Clearly its back together now as I've done some more welding.
I wanted to add a wideband to the exhaust because the ancient Jackson Racing FPR is only slightly dubious and I'd like to make sure its not running 15:1 or 9:1 AFRs under boost. As I need to maintain 100% emissions compliance that means I need stock exhaust things or an aftermarket header with a CARB EO# tag. I don't have one of those headers (though I know someone who is willing to sell me one, eventually.) I have a test pipe but that's not legal so what's a girl to do?
and they arrived yesterday, so time to get to work. First order of business was to make a hole.
Started with the 1.5" hole saw through the shield to give me just enough room to work. I didn't realize there was some sort of cancer actual insulation under that shield until I got to this point, then I went and retrieved my respirator. Hah.
After using some needle nose to clear out the cancer insulation it was time to make a hole for the bung. CERTIAN PEOPLE keep telling me how awesome step bits are so I bought a set of VERY EXPENSIVE Milwaukee ones from the Homeless Deathspot and gave them a whirl.
PURE, UNADALTERATED GARBAGE!
500 RPM? 1800 RPM? Nah, **** you. Did I not put enough pressure on it? I'm not exactly classified as a superleggera human form, and I put an awful lot of weight behind it and literally all it did was make smoke and turn blue. Step bits are trash, plain and simple. This one went into the garbage can where it belongs, and then promptly melted a hole in the bottom of the can, like the piece of **** it is.
So time for the big guns: CARBIDE!
Klein carbide toothed hole saws leftover from my time pretending to be an elechicken made short ******* work of the pipe. Too bad the piece of garbage step bit wallered out the hole so the guide flopped around a bit and I ended up with a slightly oval hole.
I bought stepped, mild steel bungs specifically on @gesso 's recommendation and they are much easier to work with, but oval hole I think cancelled out the benefits. Le Sigh. At least the bung didn't fall into the pipe.
From there, we move outside for wire wheel and welding.
I'm not going to lie, I was super pumped up to **** this up. I was 100% expecting to blow the **** out of the pipe and create a horrible, horrible mess of holes, melted threads, and general nightmarish destruction. I set the welder for something that "looked right" compared to the settings chart inside the lid and started tacking it up. The tacks weren't "biting" into the material as I'd hoped, so I increased the voltage slightly and dropped the wire feed rate a little bit. Satisfied that the tacks looked better, I started welding.
And let me tell you, this came out SO MUCH NICER thank I could have possibly imagined.
I grabbed a bunch of pics (which are probably out of order) while welding in small sections, cleaning with the brush, repositioning, and welding a bit more.
The gap fill was not obscene so I made sure to go slow, do the little circles, and "drag for slag" as people recommend while using flux core.
Its dirty as **** but I'm absolutely floored as to how well this came out. By rights this should have never come out this well, I'm still shocked that I managed to pull this off.
A little more cleanup and some adjustment to the heatshield to try to keep the cancer insulation in place and we're almost done!
Excessive use of matte black super high temp VHT header paint should at least partially keep the corrosion in check. I made sure to blast a ton of it under the lip of the outer shield.
As a result, it was taking forever to dry so out came the propane torch. Apparently there were still some solvents under that heat shield.
The bung is actually straight up and down with the pipe bolted into the car, the angle here is just due to how I held the camera while taking the picture. After spending so much time looking at NOT stock exhaust things, its amazing how much space a wideband can take up inside a stock exhaust pipe. If I had an M18x1.5 tap I would have probably made my own, much taller shouldered bung on the lathe so that only the tip of the sensor was in the exhaust stream, but this will have to do for now. I also did my best to clean up all the little weld spatter spheres from inside the pipe as I'd prefer those didn't end up in the cat.
SO! It's all back in the car, and it runs! Tonight I'll be wiring up the old Innovate Motorsports MTX-L that I first used in the NB with the EFR, and then also the Shitty VW. This Bosch LSU 4.2 sensor has seen some serious **** but its still kicking, so I'll keep using it. I've got 2x more NIB Bosch sensors if something goes awry with this one, I just need to remember to bring them along.
With the usage that vehicle is put to, and the weight of the wheel+tyre hanging off that frame, there is a massive amount of twisting force going on, especially around the mounting of that structure. You got that covered do you reckon?
With the usage that vehicle is put to, and the weight of the wheel+tyre hanging off that frame, there is a massive amount of twisting force going on, especially around the mounting of that structure. You got that covered do you reckon?
This is more of a "British Gentleman's Rally" but with super janky cars so its all on-road on public streets. Navigators job will be to get us though LA without getting trapped in Compton or Lynwood as opposed to driving off a mountain cliff somewhere
Here is a link to the event: https://24hoursoflemons.com/lemons-r...els-cali-2021/
Very different from the off-road gathering we did earlier this year, so tire carrier should be fine. Again, I plan to cable it to the car anyway just in case. Version 2.0 will be integrated into a tube bumper and much more likely to survive off-road shenanigans. I need to find someone with a tube bender I can borrow for like, a month.
Originally Posted by msmola2002
<gif>
Heh, sorry about that! I wasn't trying to low-key crap on you there
Originally Posted by sonofthehill
Your bung looks very nice
Good job!
Thanks! I'm insufferably proud of it at the moment.
Originally Posted by rleete
We're still talking about cars, right?
A valid question. With this crowd one never knows.
 10-27-2021, 11:42 AM


 3
3