When you click on links to various merchants on this site and make a purchase, this can result in this site earning a commission. Affiliate programs and affiliations include, but are not limited to, the eBay Partner Network.
Thanks G/Andrew, I do suppose an update is in order.
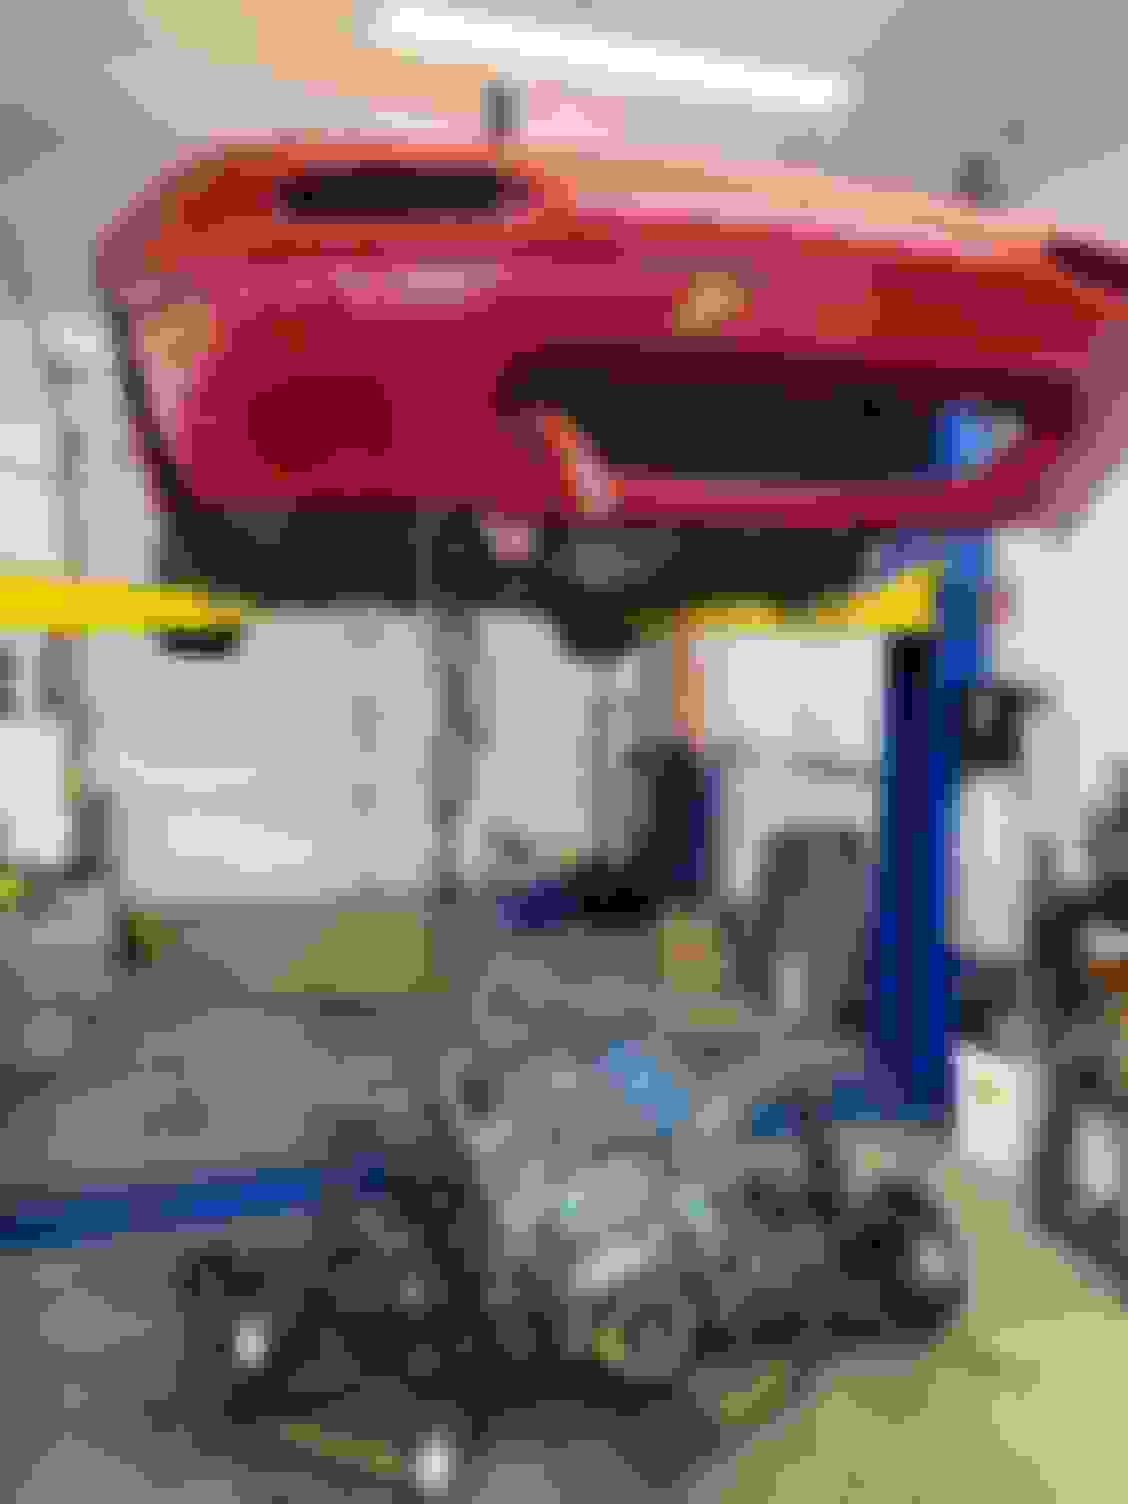
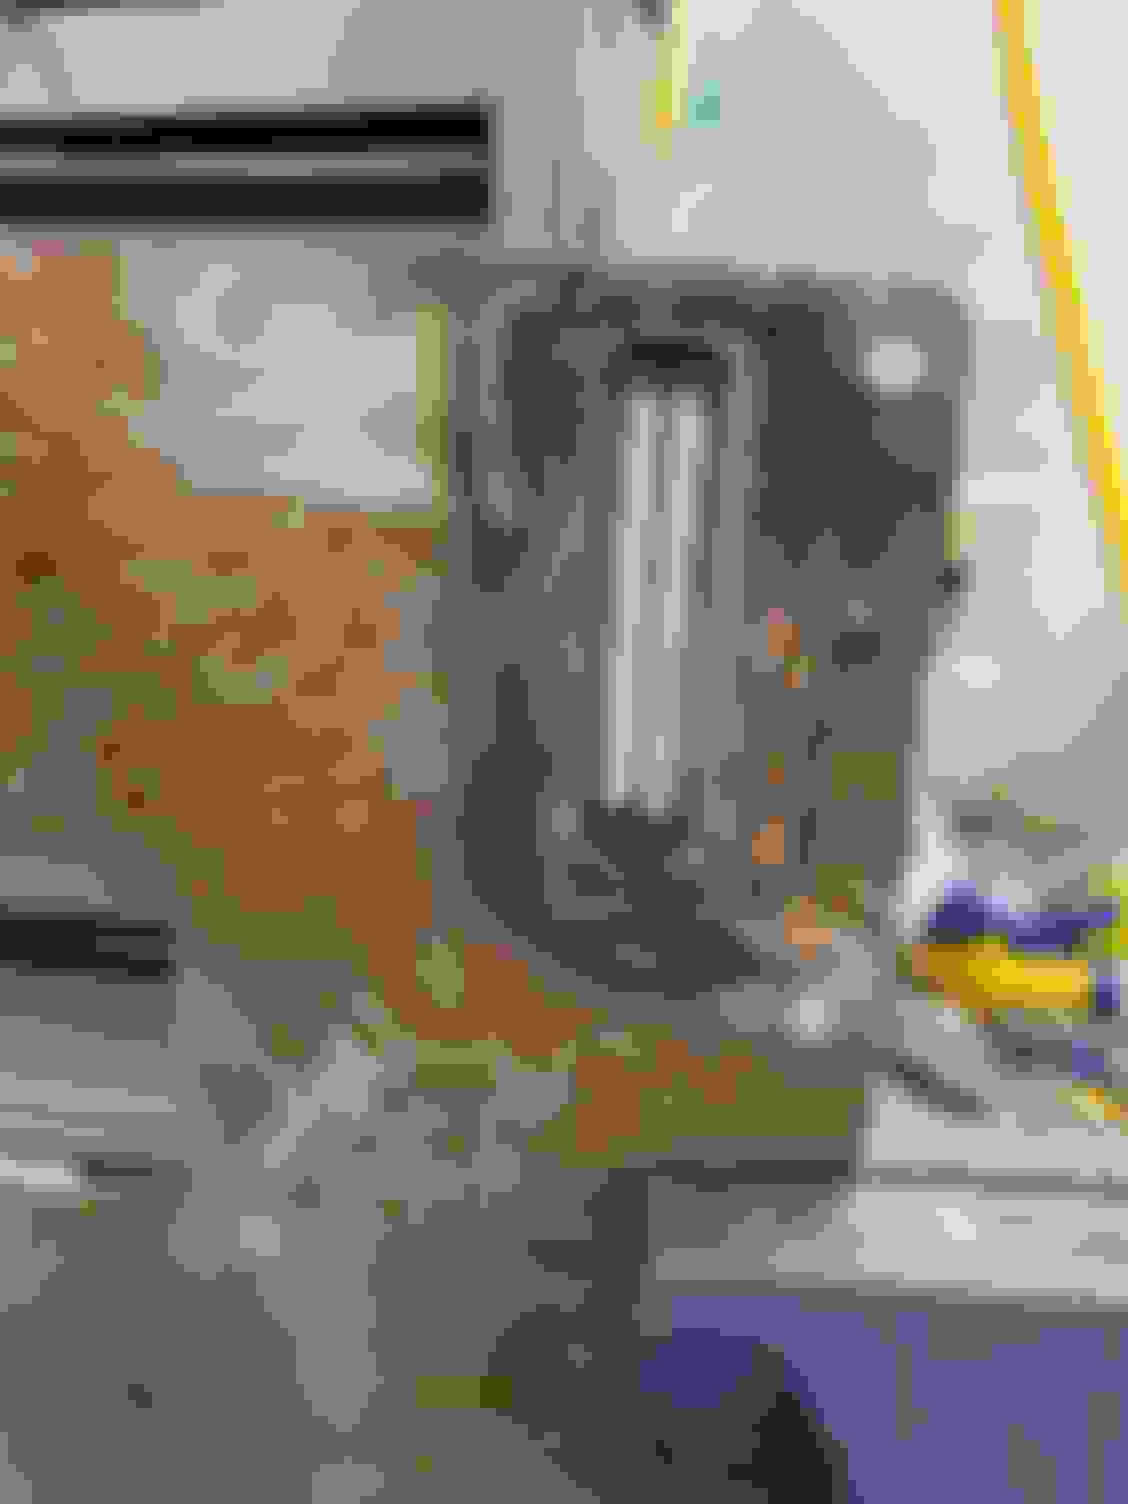
A little while back, I got tired of tripping over the diff in the shop, so I decided to mount it. Used some OTS bushings for the rear and some standard bushings for an 8.8 in the front. Overall it went well and it�s nice to have the rear end back together for the most part. It also meant that I could drop the car down from the lift, which came in handy this week when I needed to do a surprise clutch job on the daily because the PO apparently mangled the pilot bearing with a socket on install. Yay.
With the diff in position, I was able to get a measurement for the driveshaft which is a biggish ticket item left. Between the wedding and honeymoon this year (I'll do a different post for that), I�m trying to catch up a bit though, so not buying that yet.
(Yeah, I know, the shop is a ******* disaster)
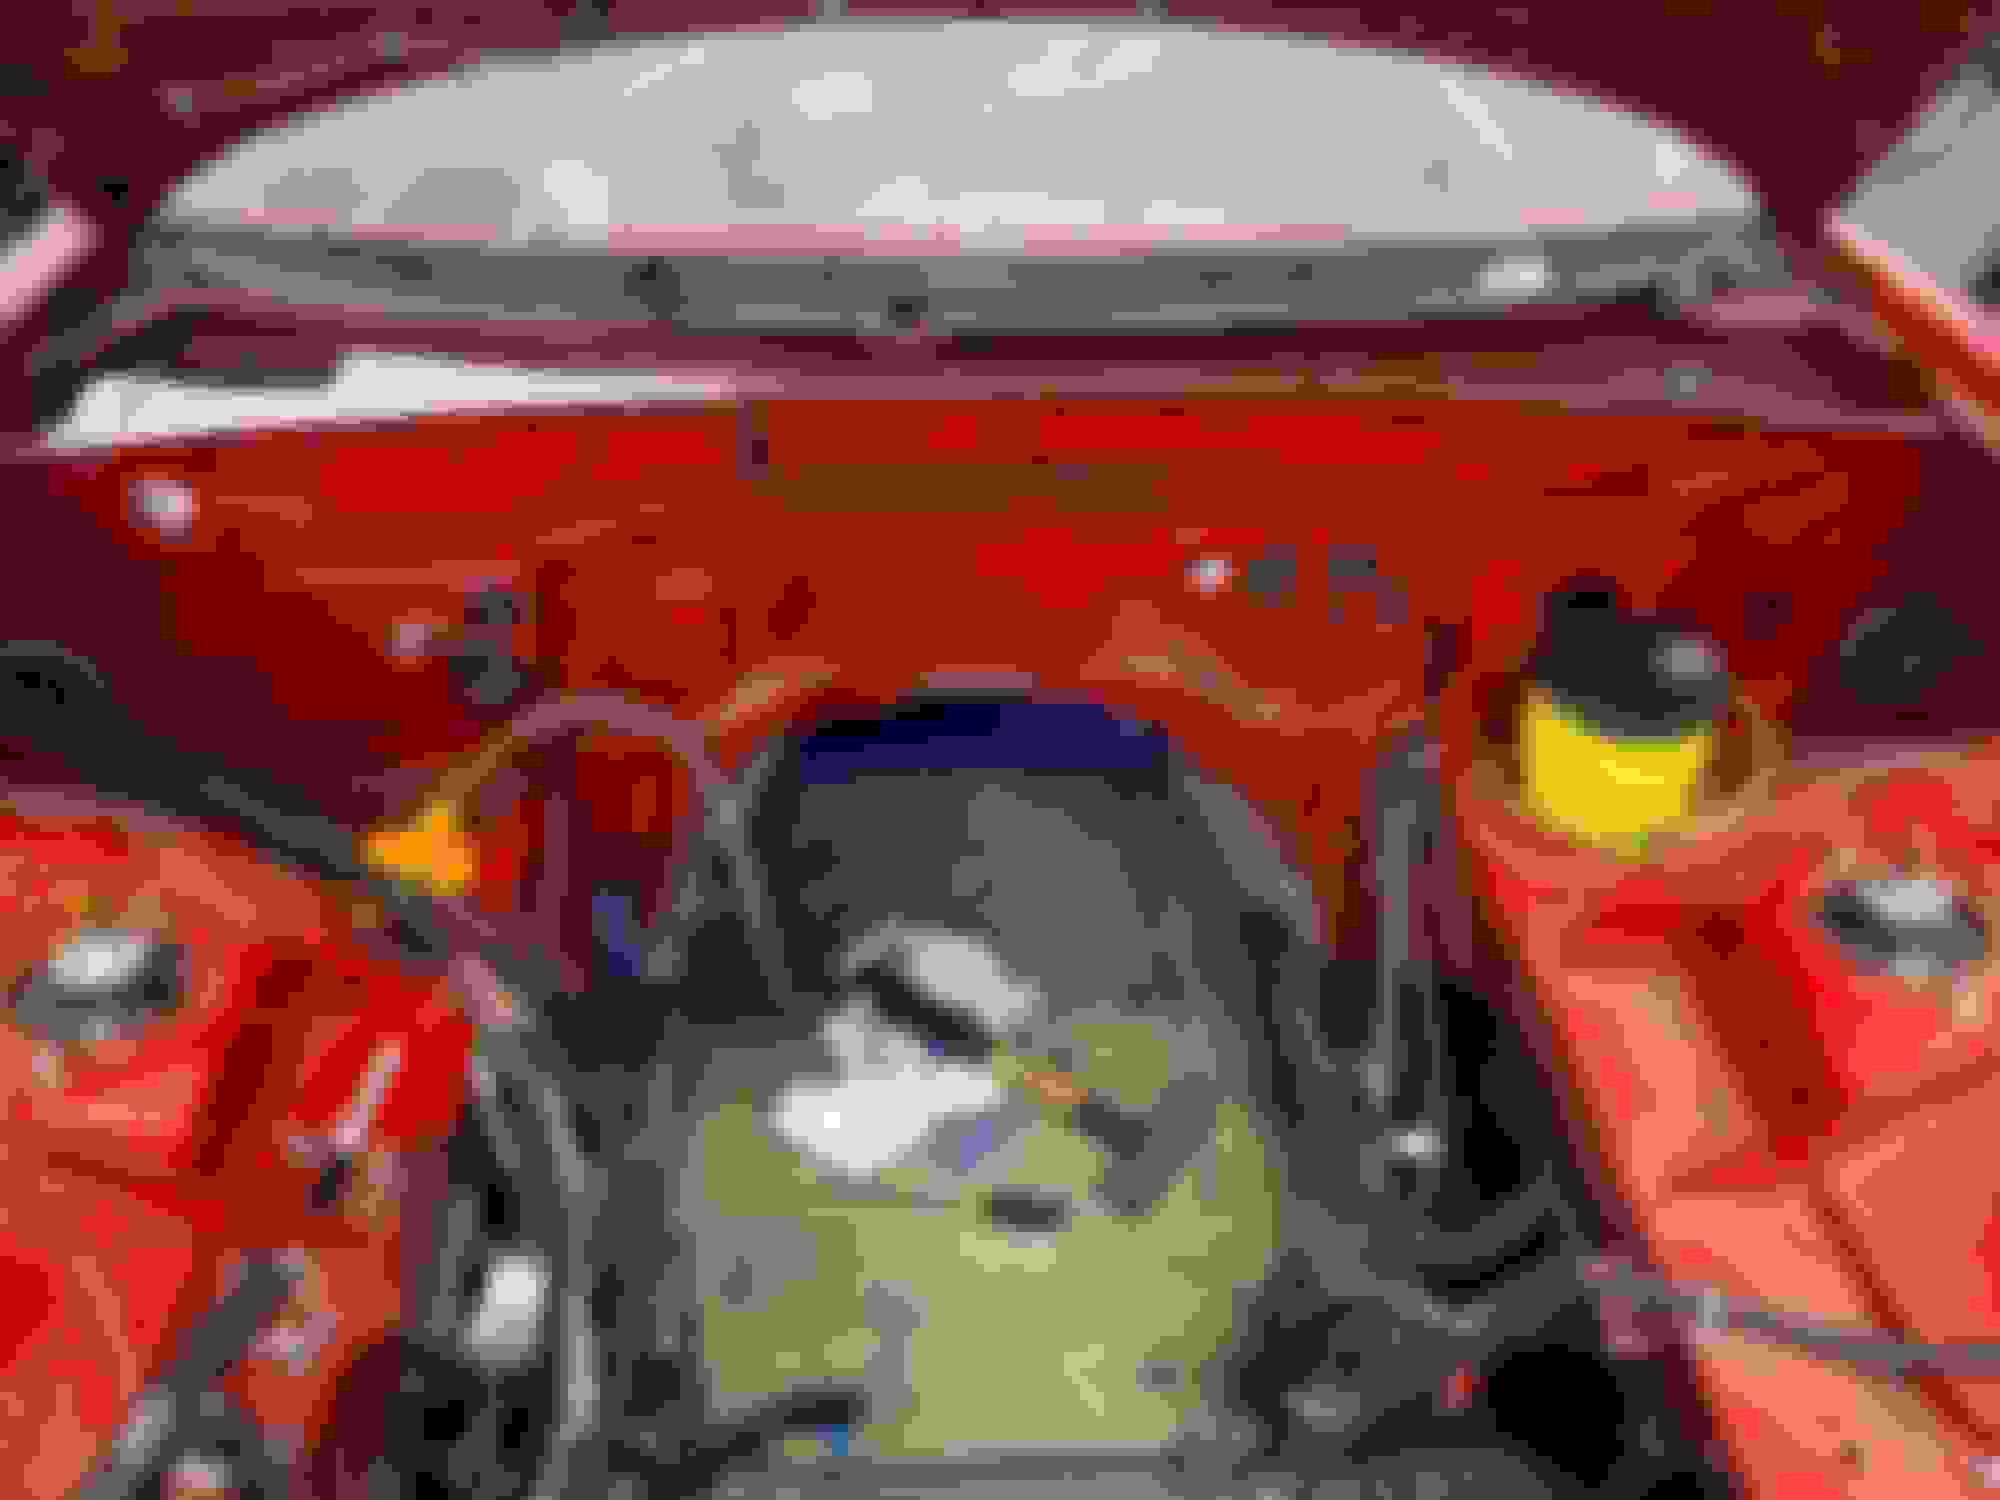
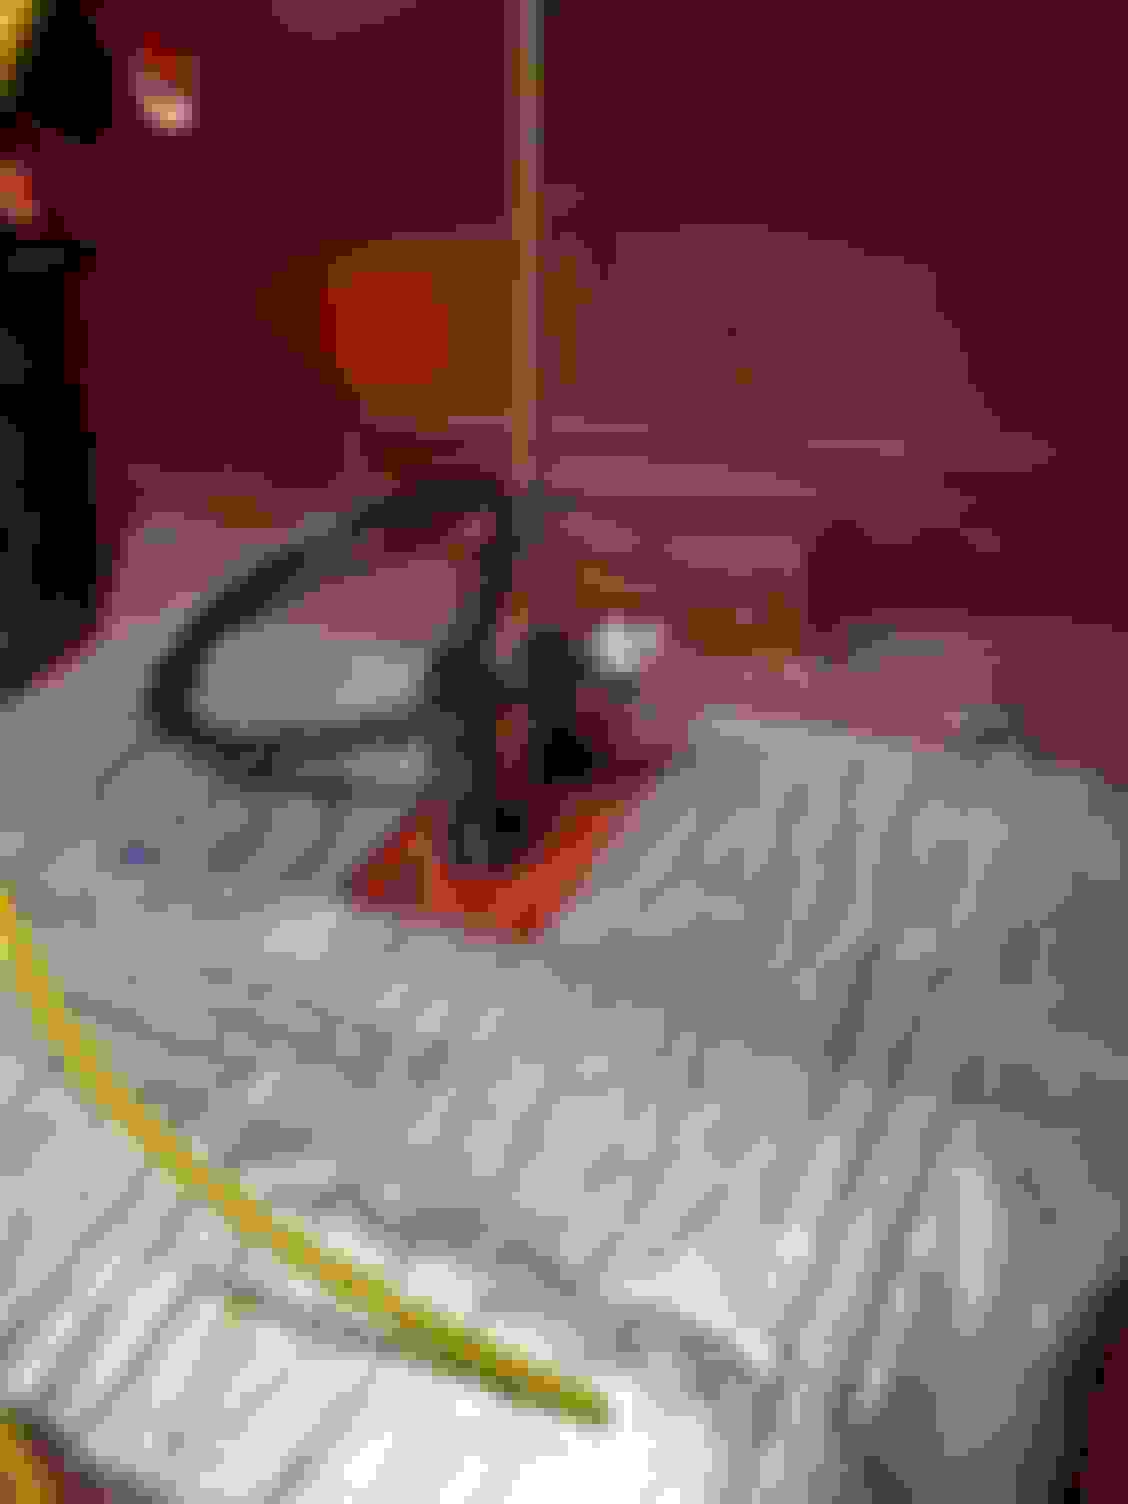
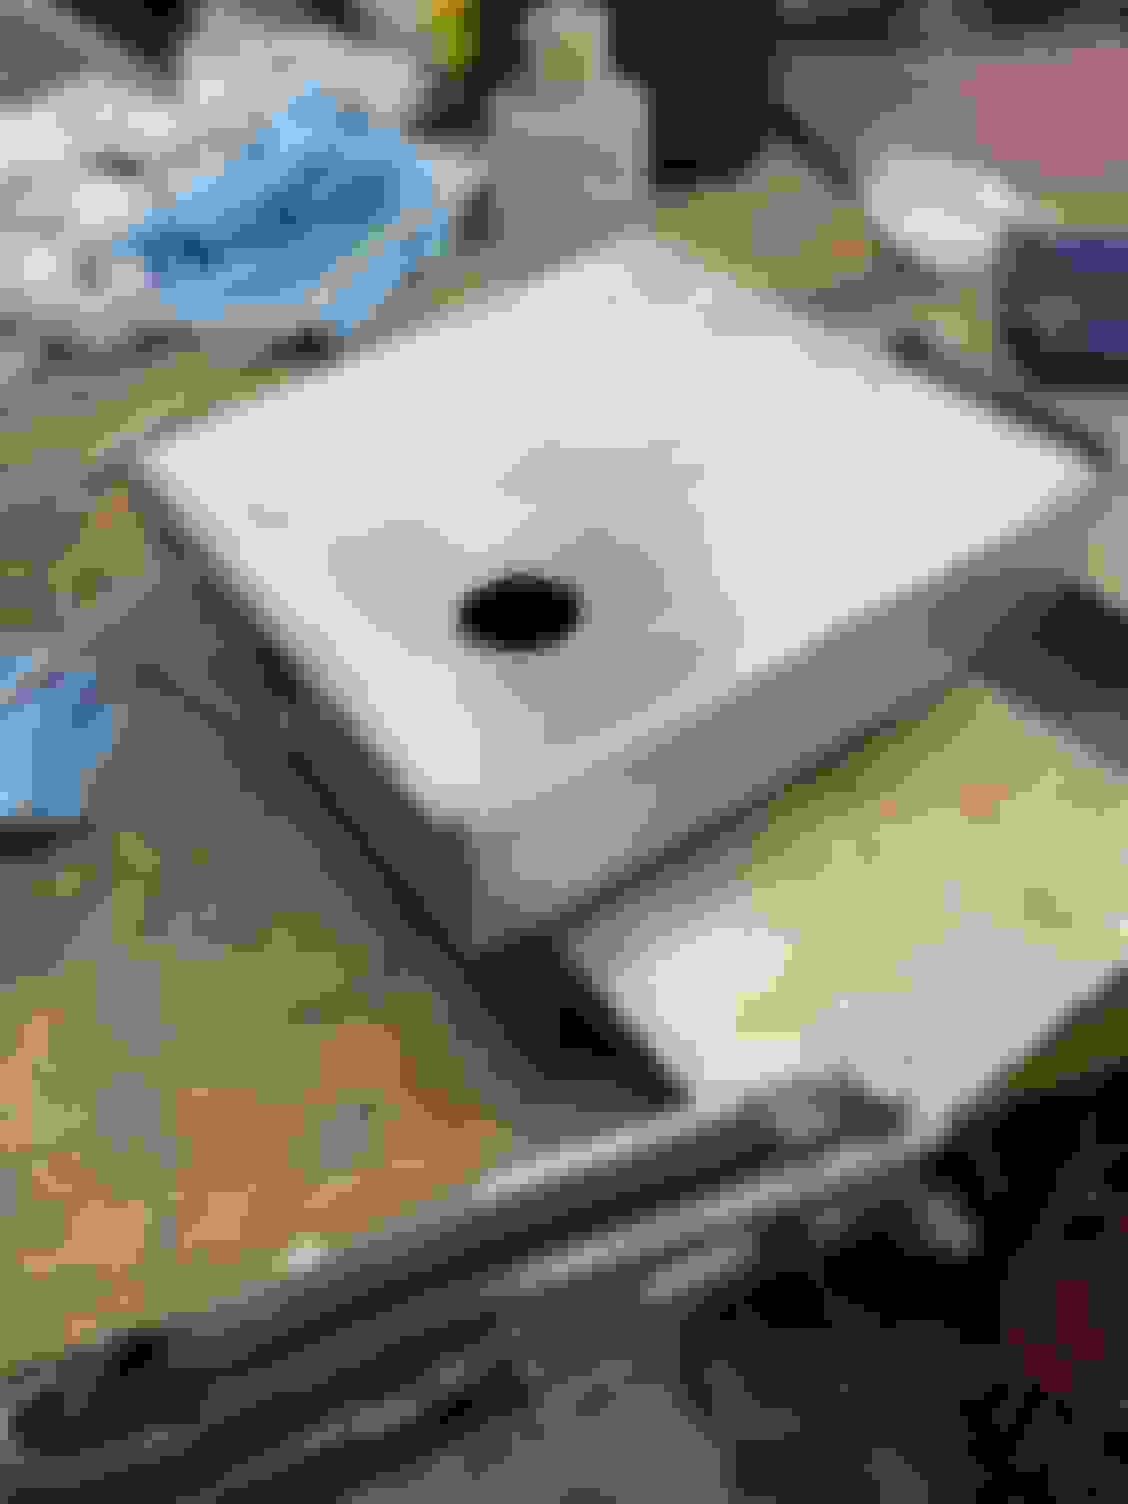
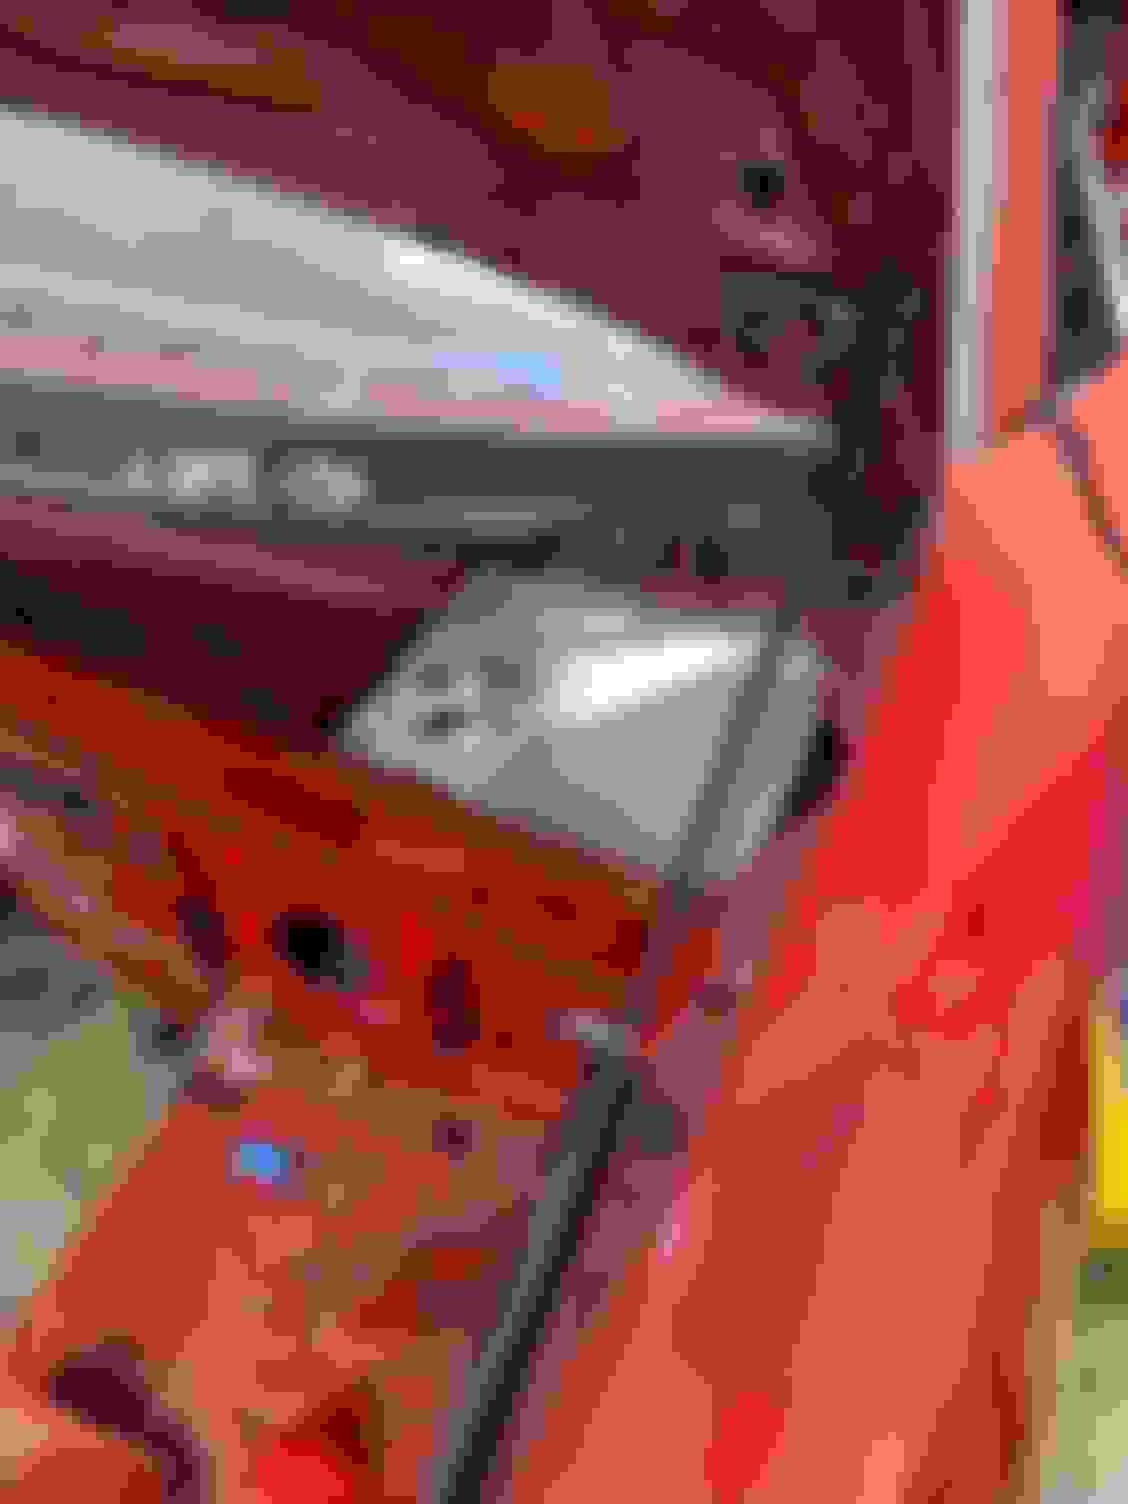
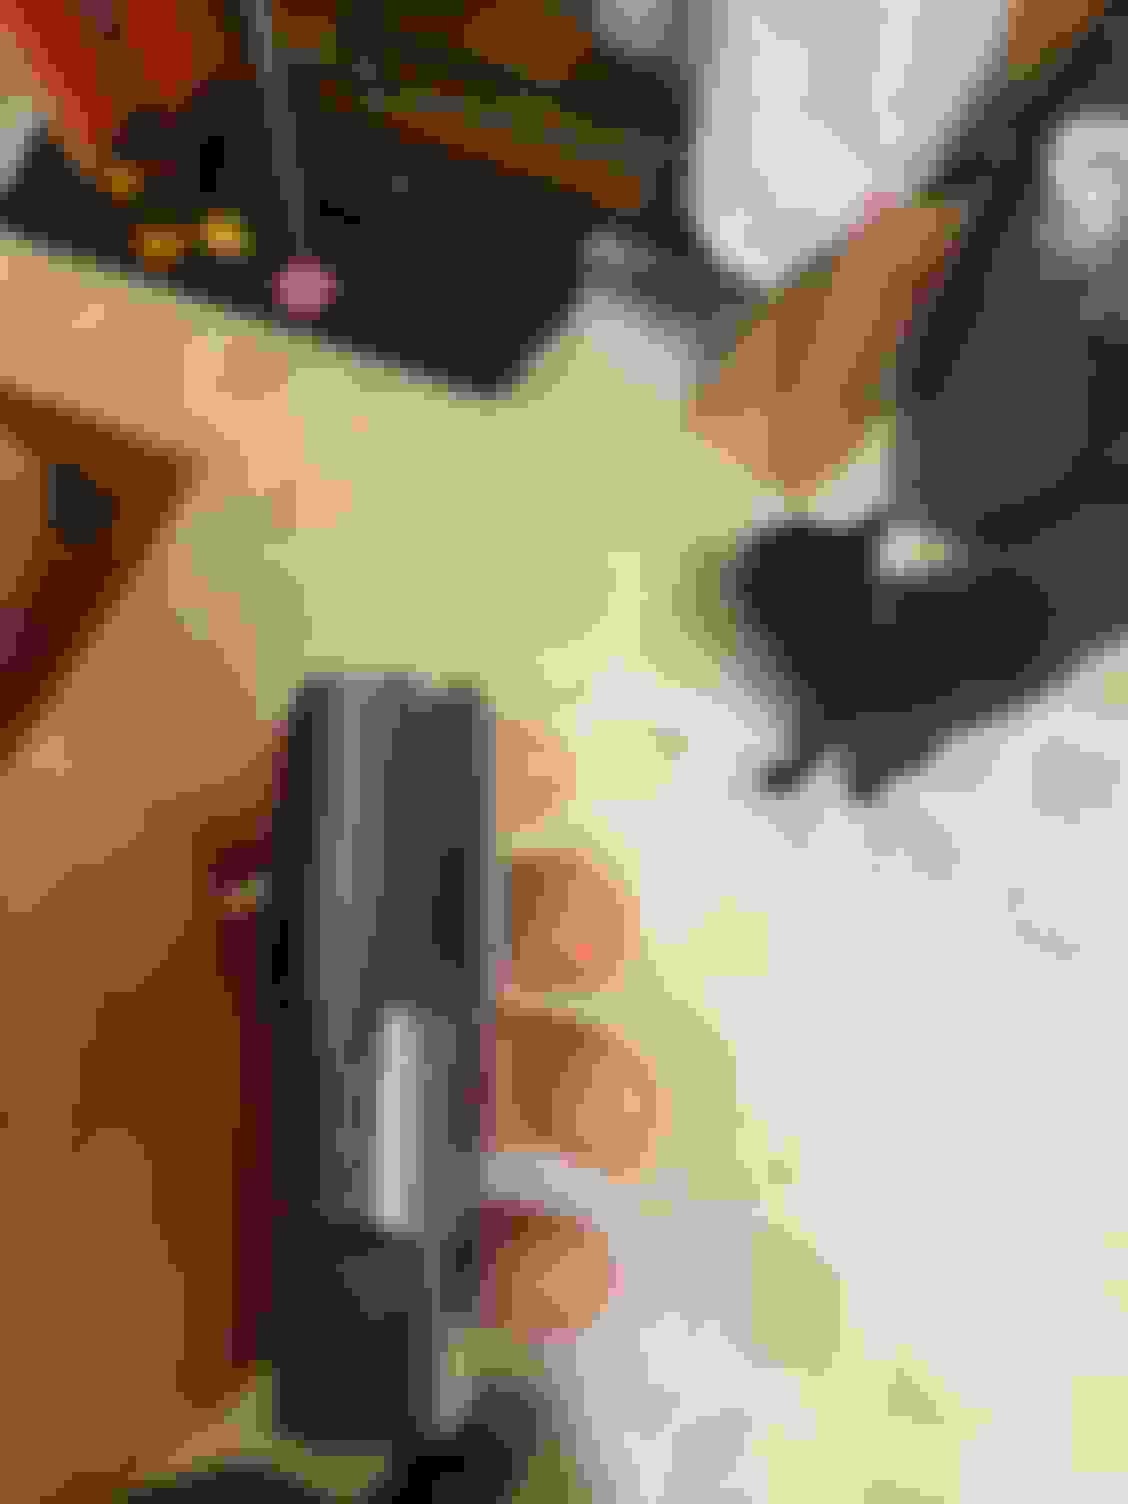
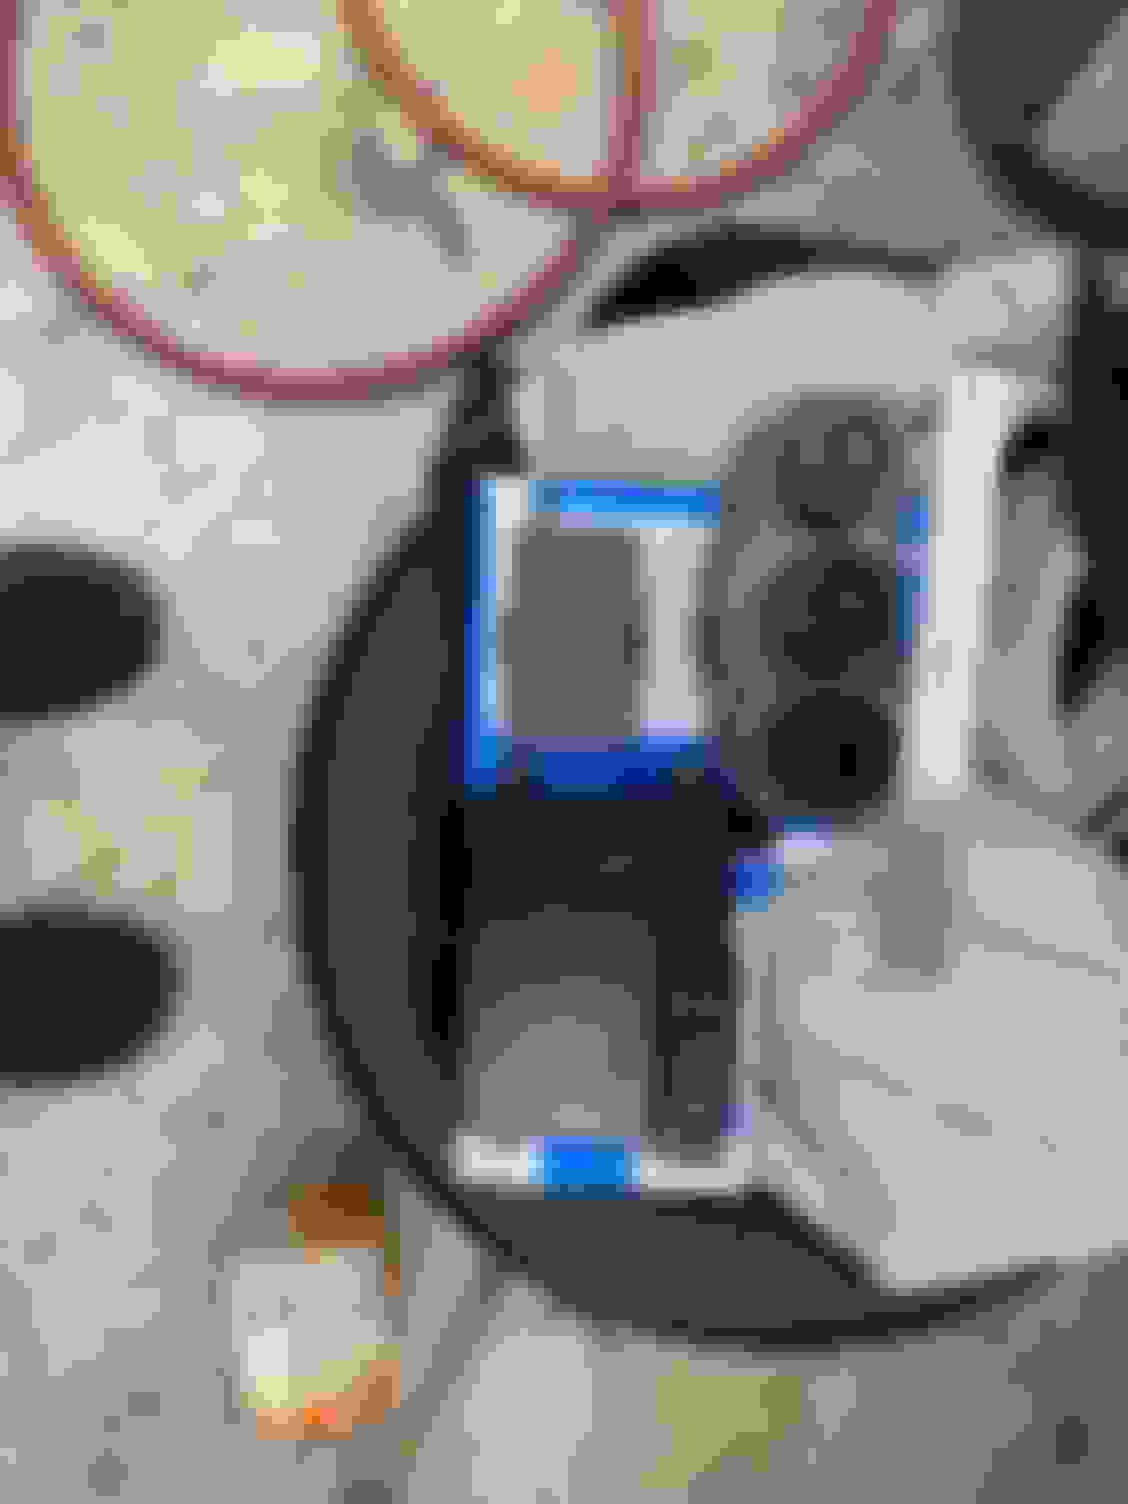
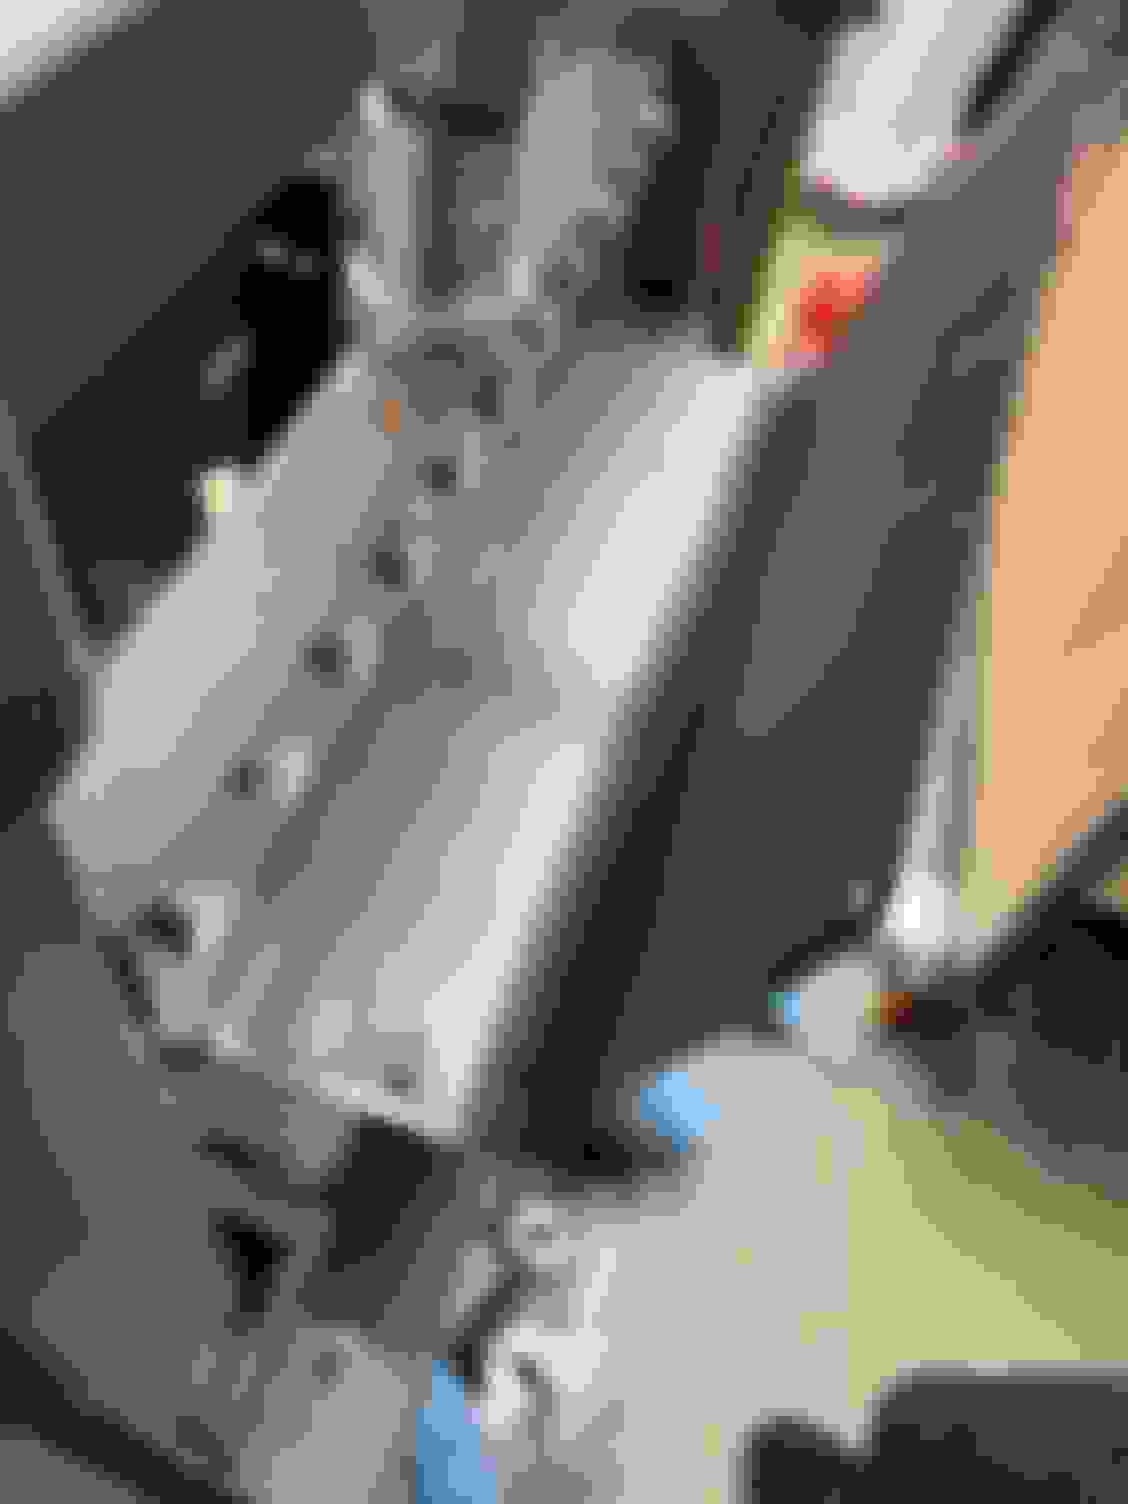
I still needed to mount the resi for the clutch/brakes, but I also wanted to re-do the mounting for the fusebox and ecu because I wasn�t super happy with them and serviceability. I also needed to delete a bit of the wiring since the racepak is a bit less, so I just depinned the fusebox. I then came up with a plate to mount all of them under the dash between the dashbar and firewall. Main thing I was looking for here was to keep the resis out of my view while driving. In order to do that, I dropped the seat back in and realized I must have not had the seat and transmission in at the same time since I got the trans lol. A bolt on the shifter and the edge of the seat occupy the same space. So unfortunately it looks like I�m gonna have to move the seat moved off center 10-12mm or so. Not the end of the world, but another thing to do.
Plasma table really is cheating.
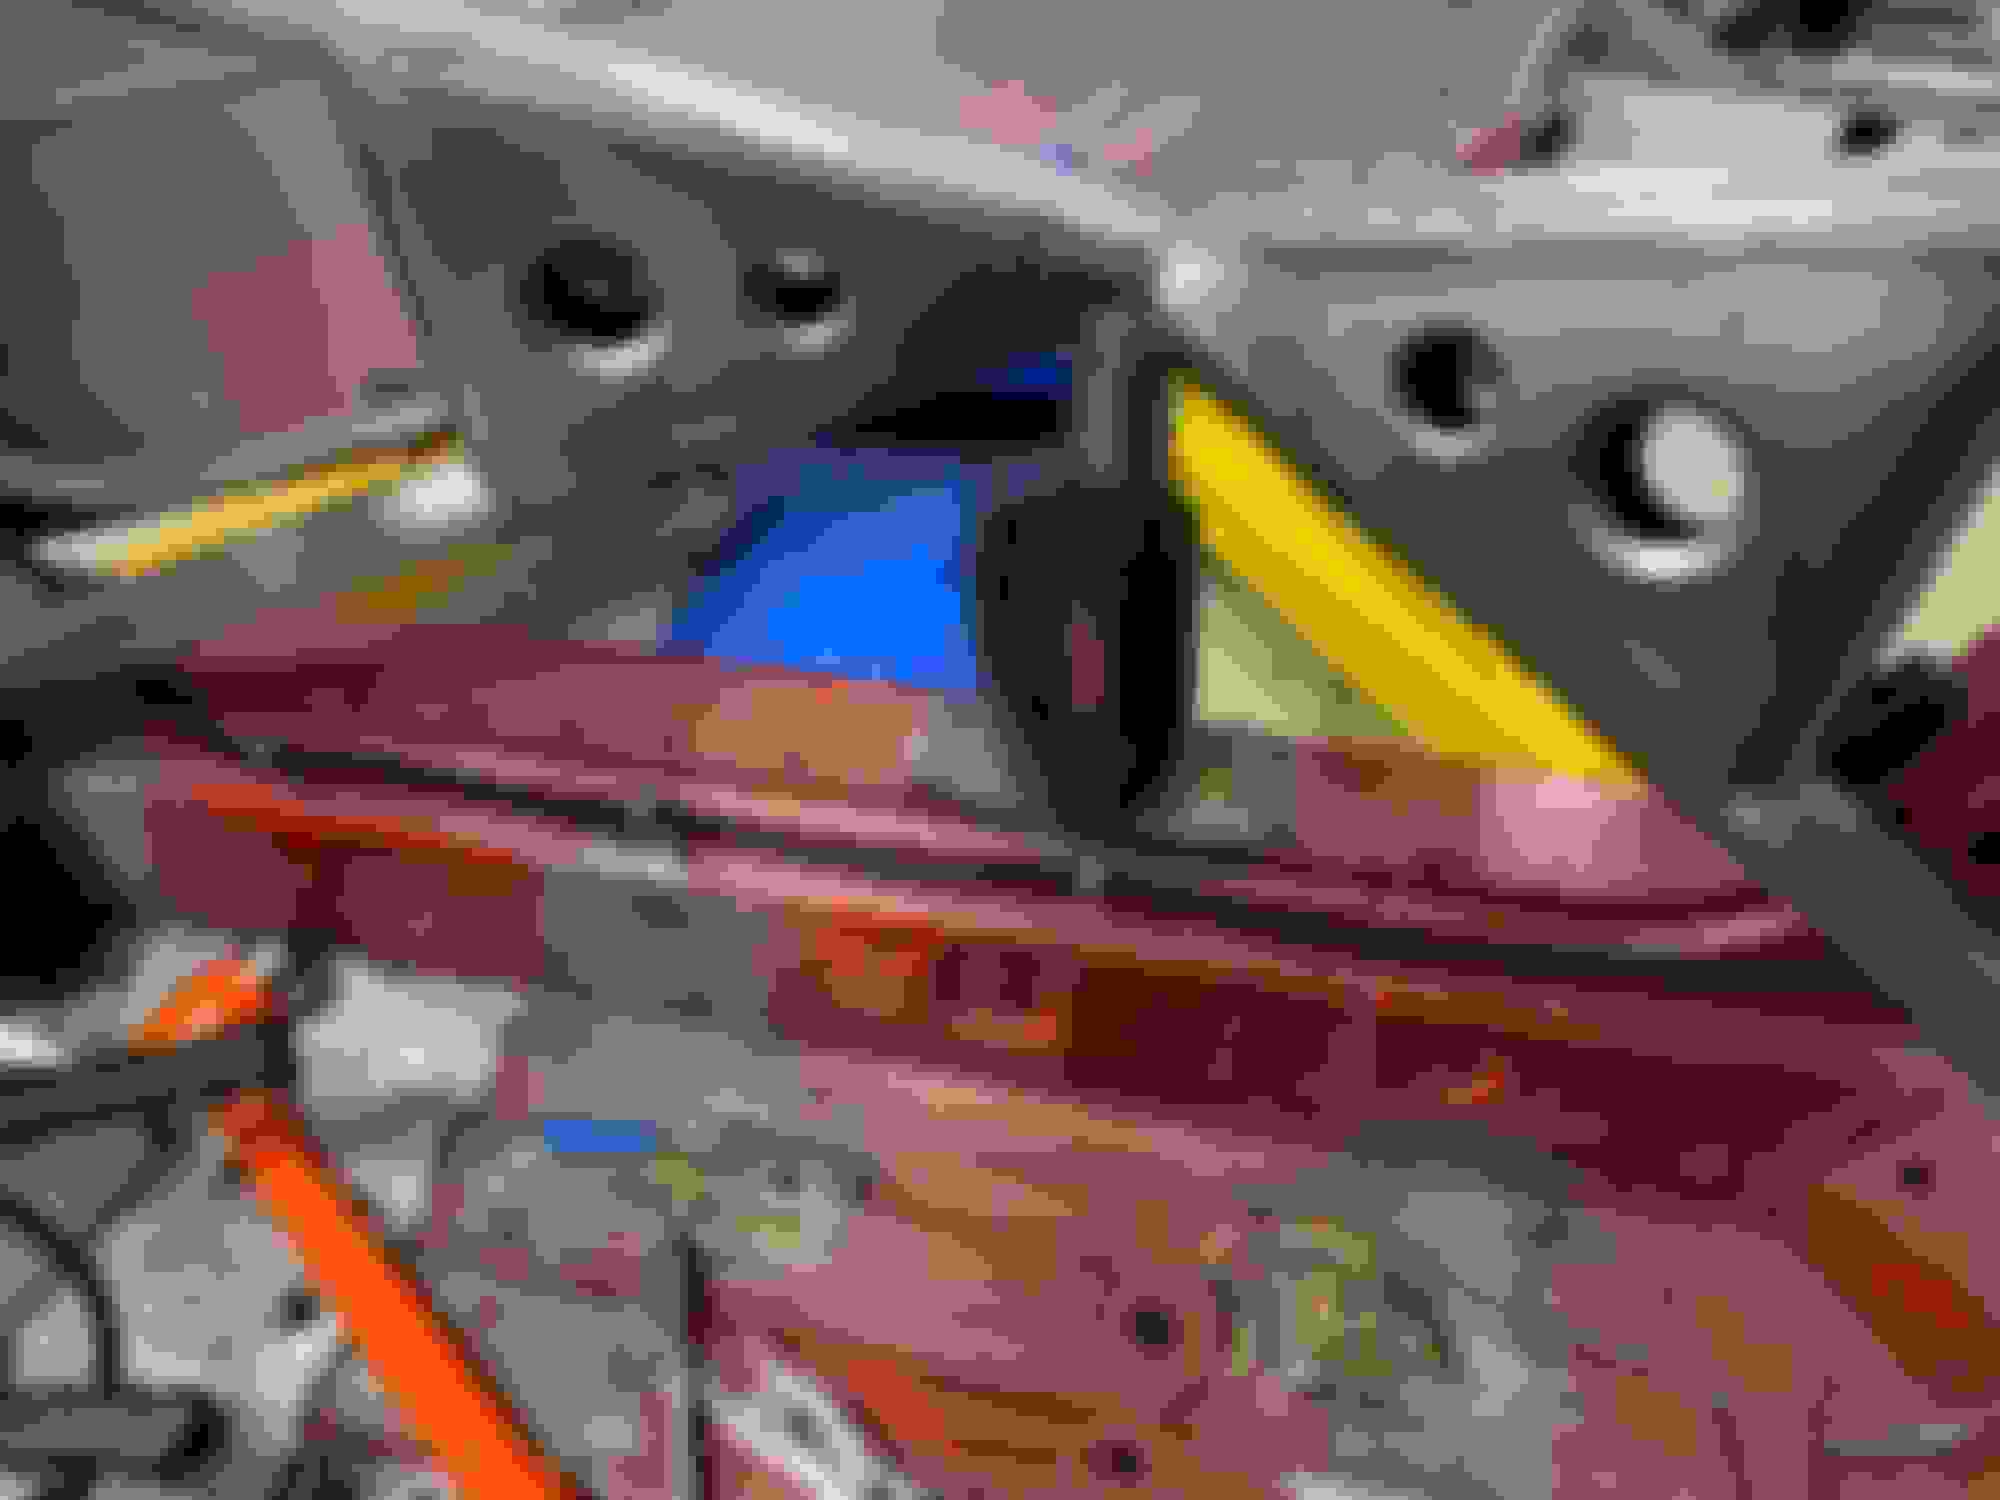
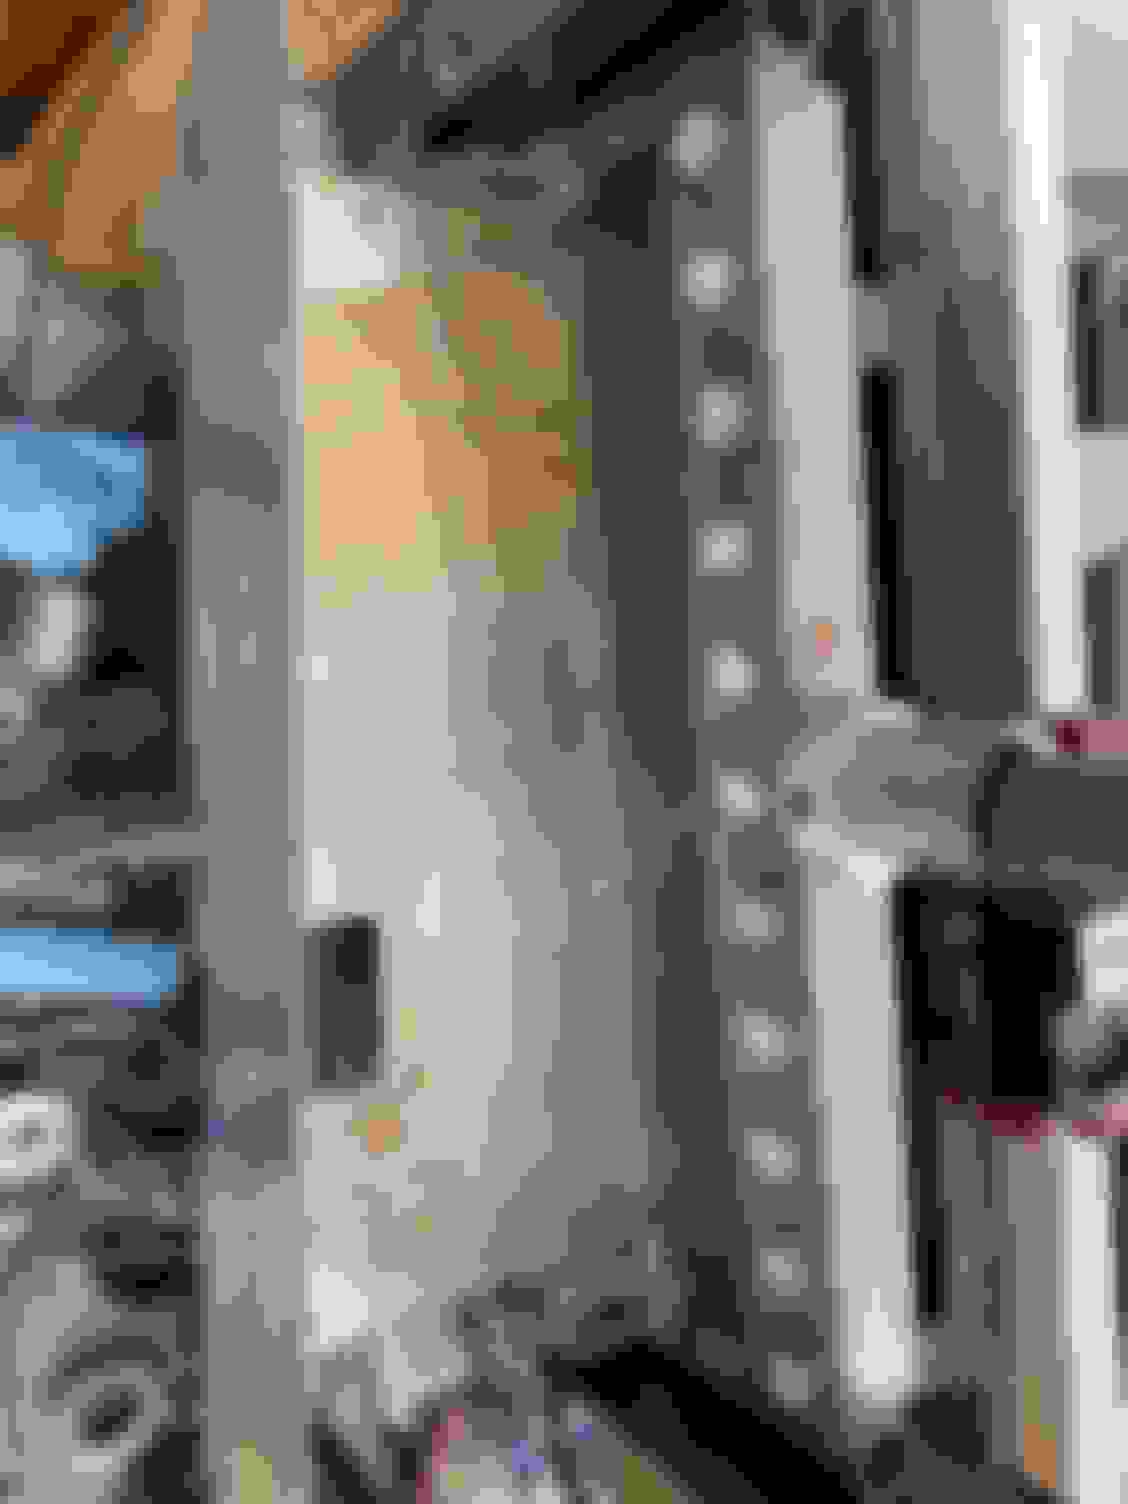
Over the last year or so, I�ve come to the conclusion that I want to have the engine checked back over before I run it again. So I�ve been trying to complete things that require the engine being in so I can go drop it off. Transmission tunnel patch was at the top of that list. So I got to work on that the other weekend. Went well overall, except for the first time I bent the panel, I bent it backwards. I was able to flatten it back out and re-bend it without too much trouble or warping, but if you look closely at one edge, you can see a slight ripple at the edge of the bend. All in all though, I was pretty pleased with how it came out. And because I used weldnuts, it can be unbolted for working on things which is nice.
Notice how the bend in the first picture and the second picture is opposite? Weeeee, go me.
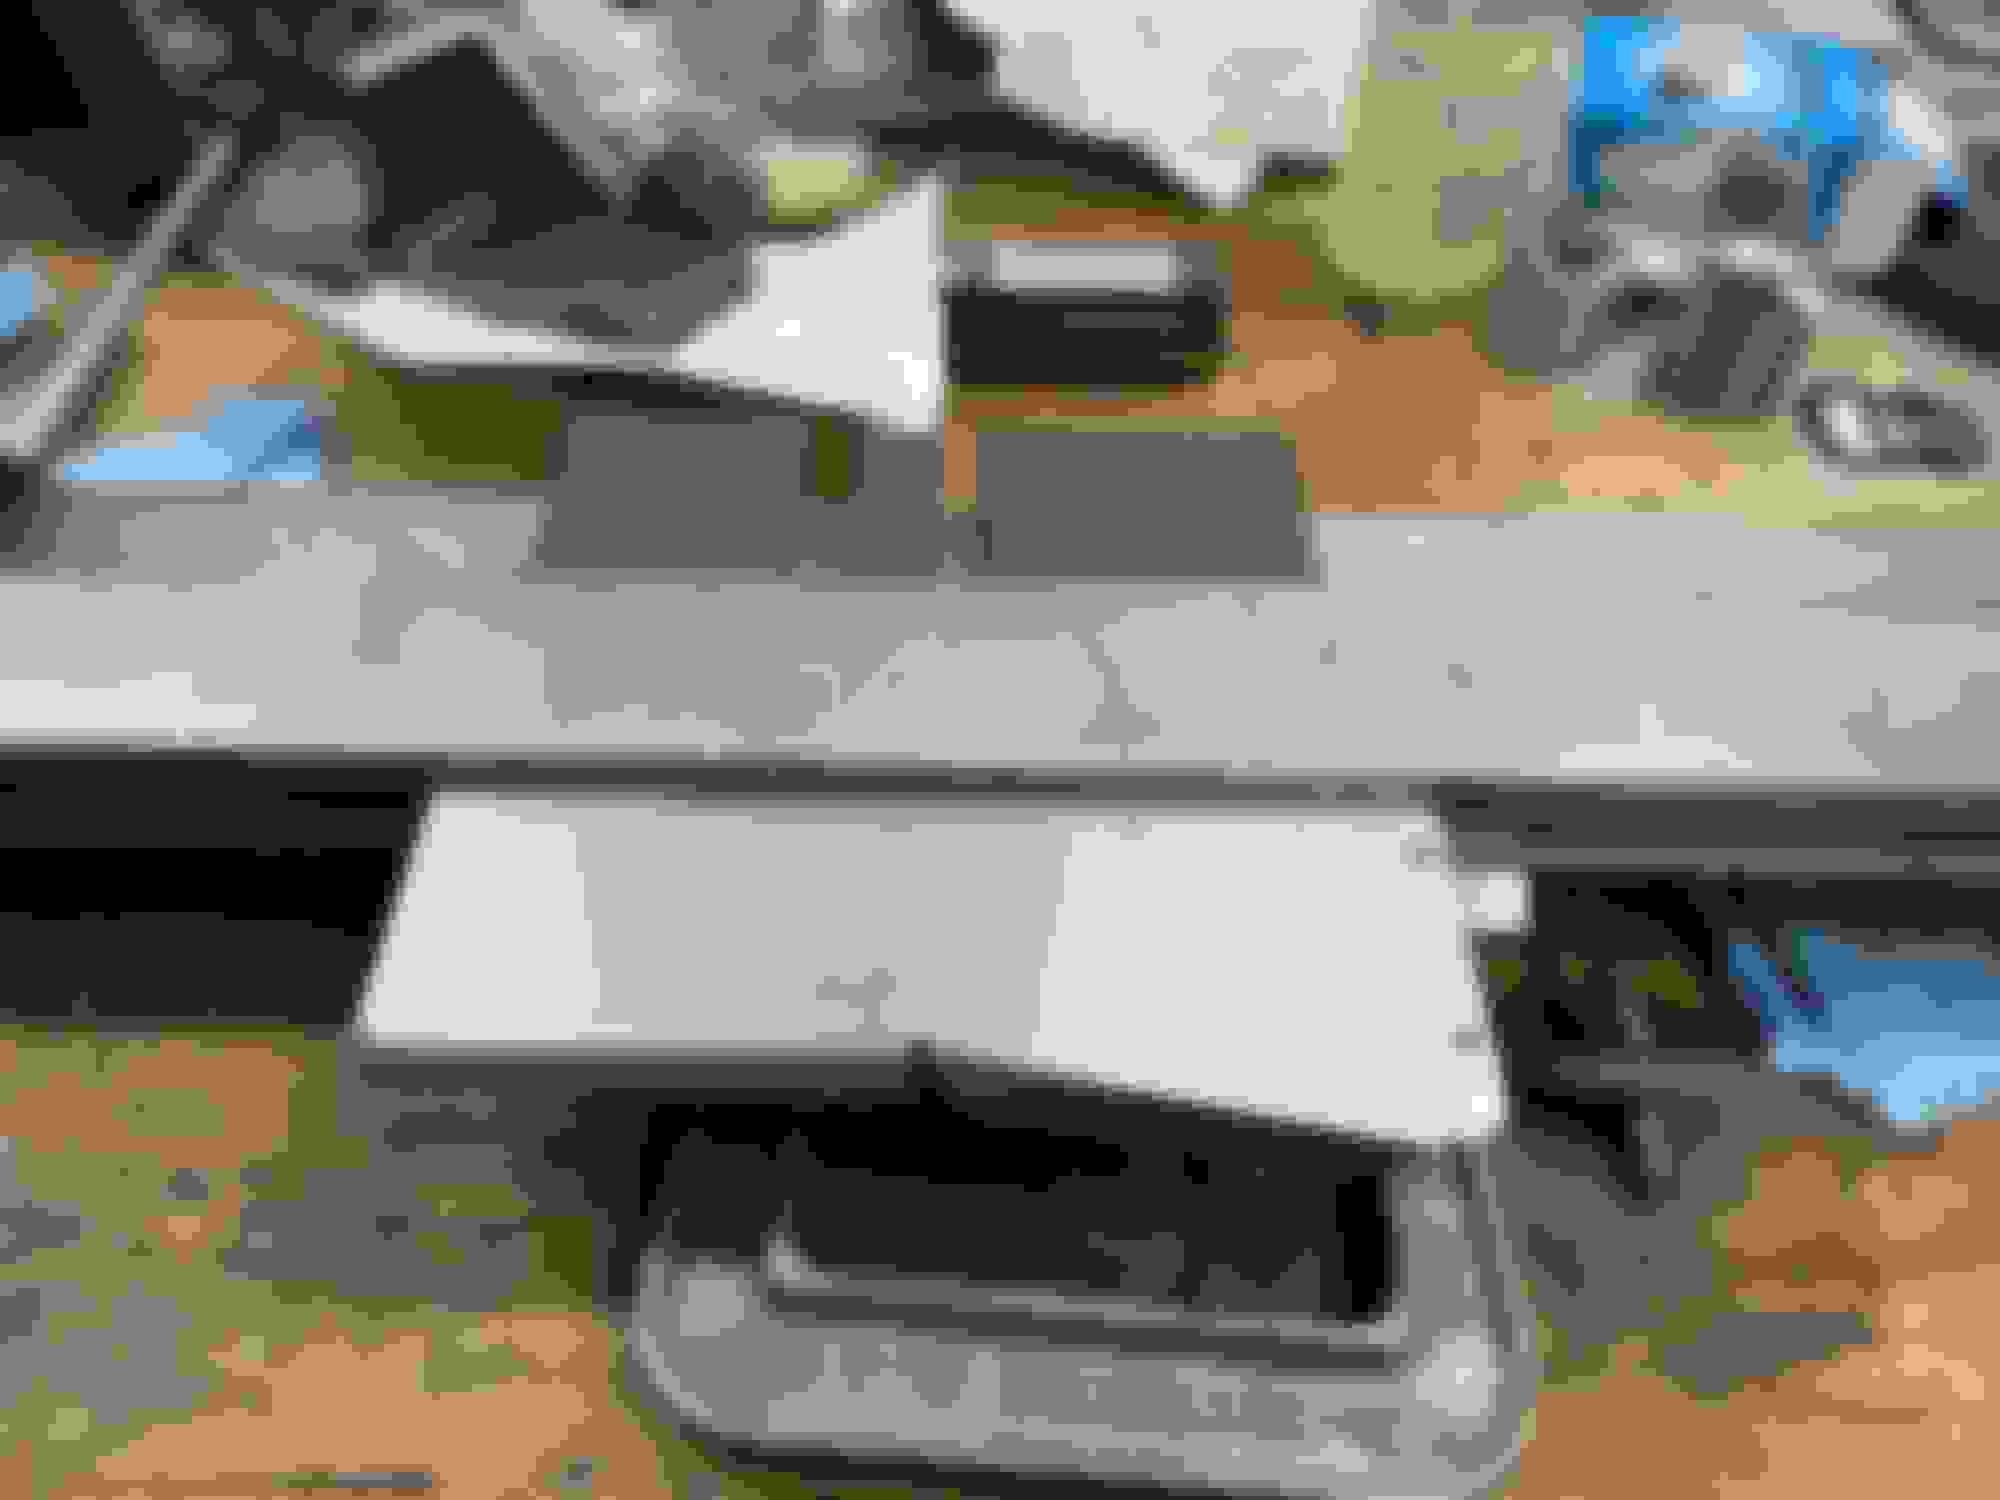
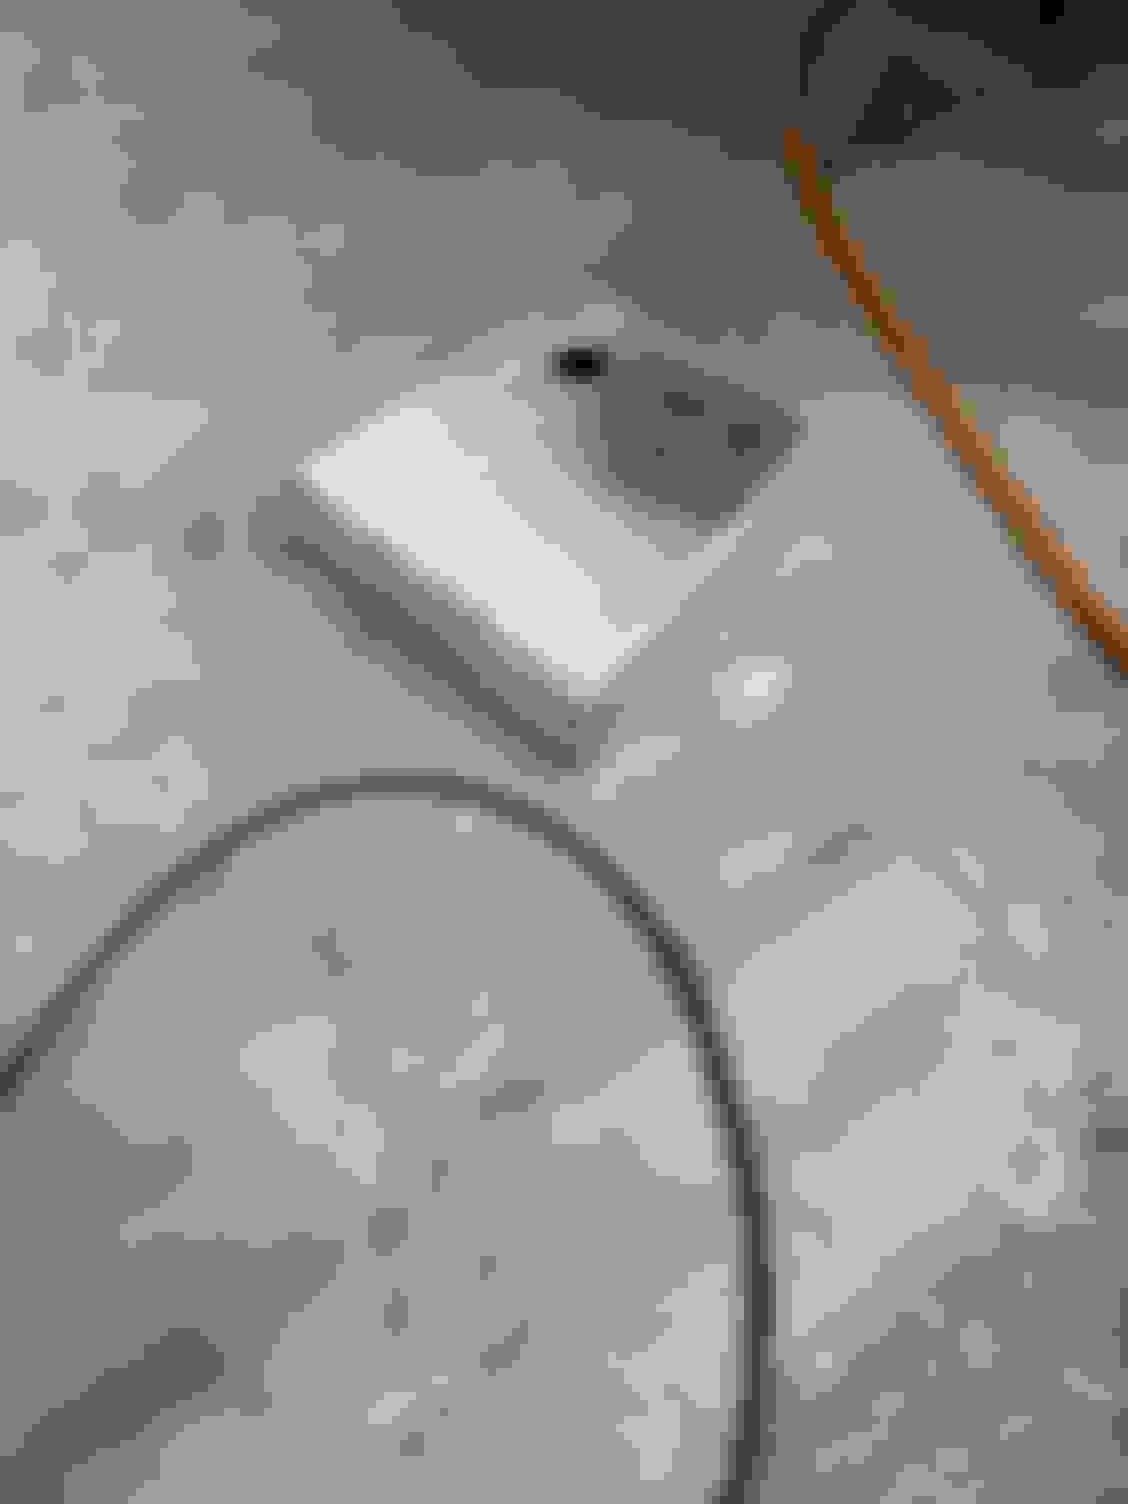
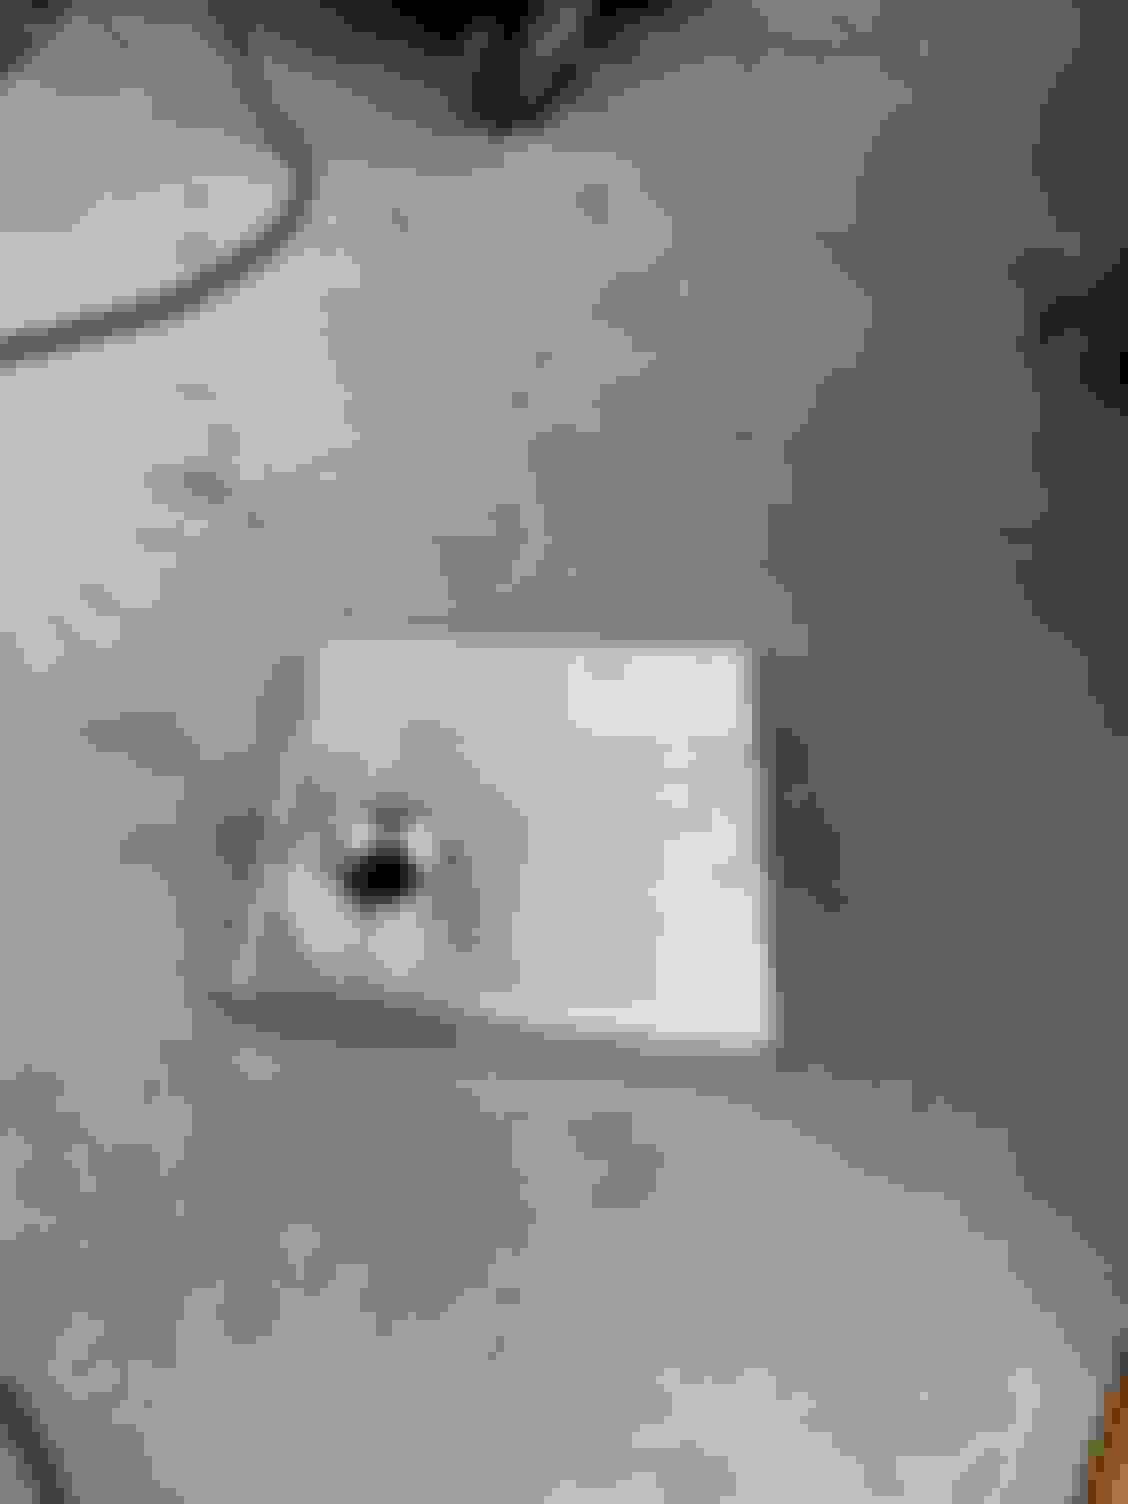
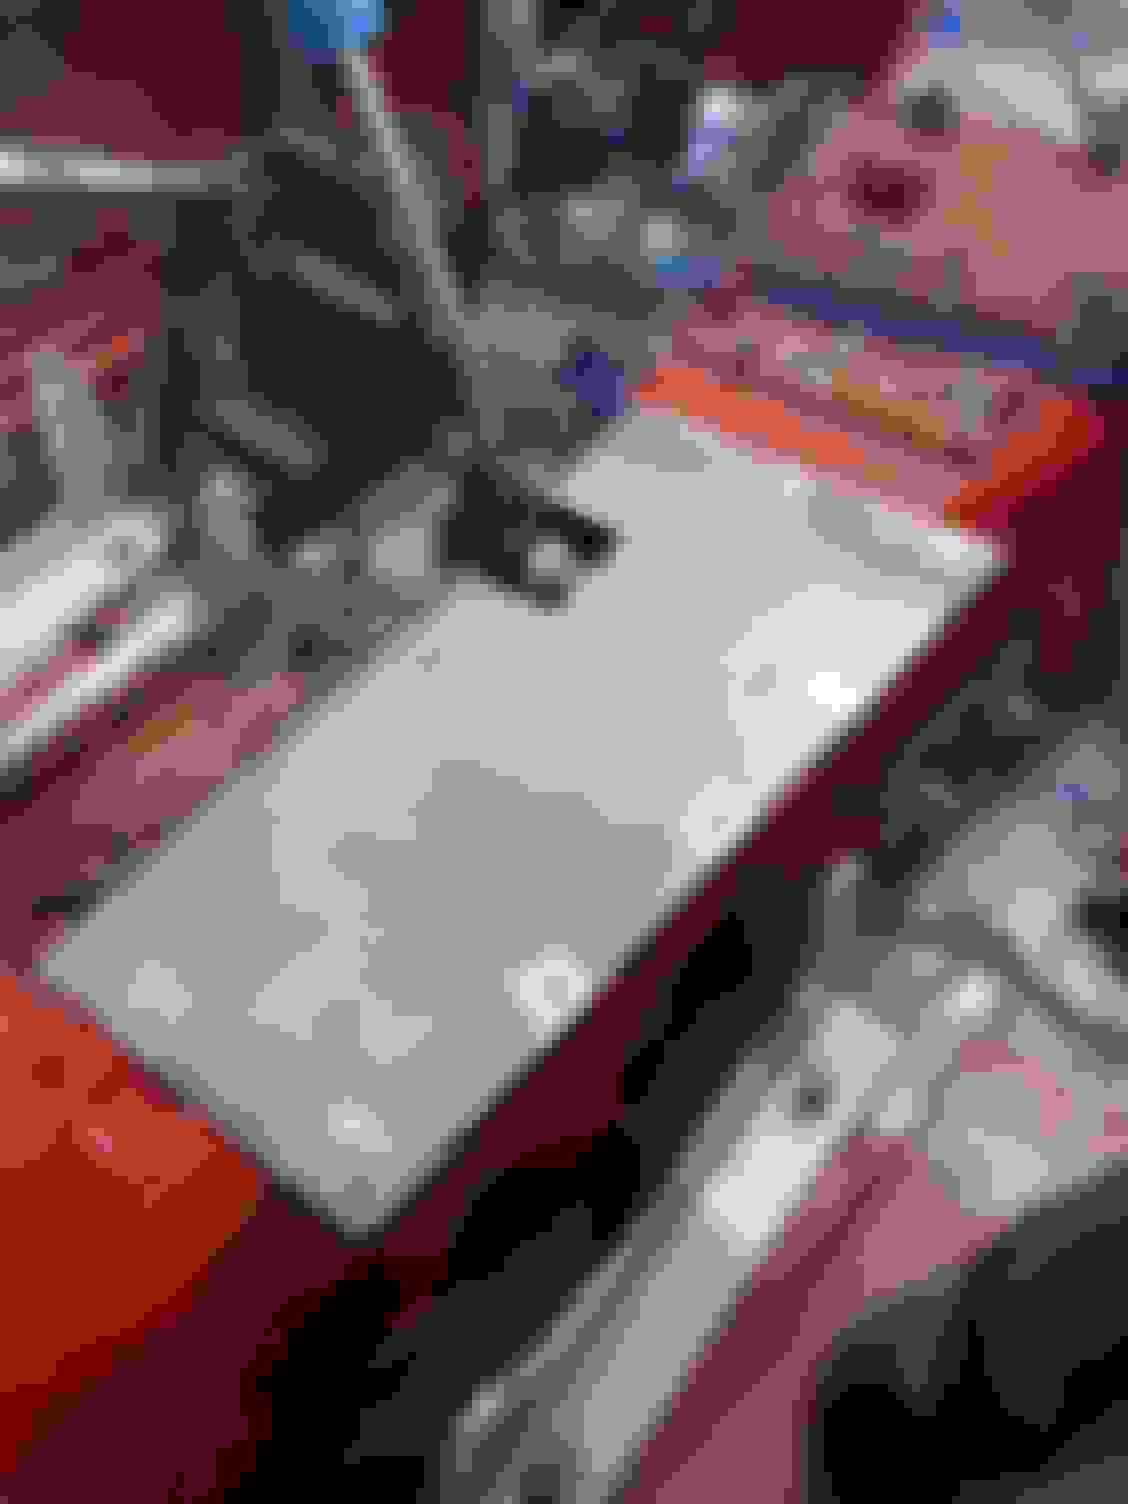
Clearance area for the bolt on the shifter
I�ve started on a starter panel patch, but I haven�t finished it yet and the contours kinda suck. I also can do that one with the engine out, so it�s not an emergency.
I�m trying to get the damn engine pulled, but other **** keeps getting in the way. The purple car needing the pilot bearing done ******* sucks and is a real annoyance. I also have an inspection for the Caterham on the 7th and a few items I need to get done before that happens, which puts the engine pulling further out. I may just take a day off work after the Caterham and blast it out.
Anyway, I�ve made some progress and my main goal is to have all the �small� items done by the time the engine is done (expecting >= 6 mo). Just need to hold myself to not taking on any new projects over the winter
In my last week at ARB and a bit bored, so might as well update my thread.
I got the engine pulled, but still on the machine shop waitlist lol.
I�ve been poking at the car a bit this winter, although it has slowed down a bit in the past couple of months because I�ve honestly run out of things to do that don�t cost money. First up on the list was getting the resis, fusebox, and ecu mounted in the car. The mounts are rather simple and just attach the plate between the firewall and the dash bar. With that in place I was able to start doing some of the wiring and cut the dash.
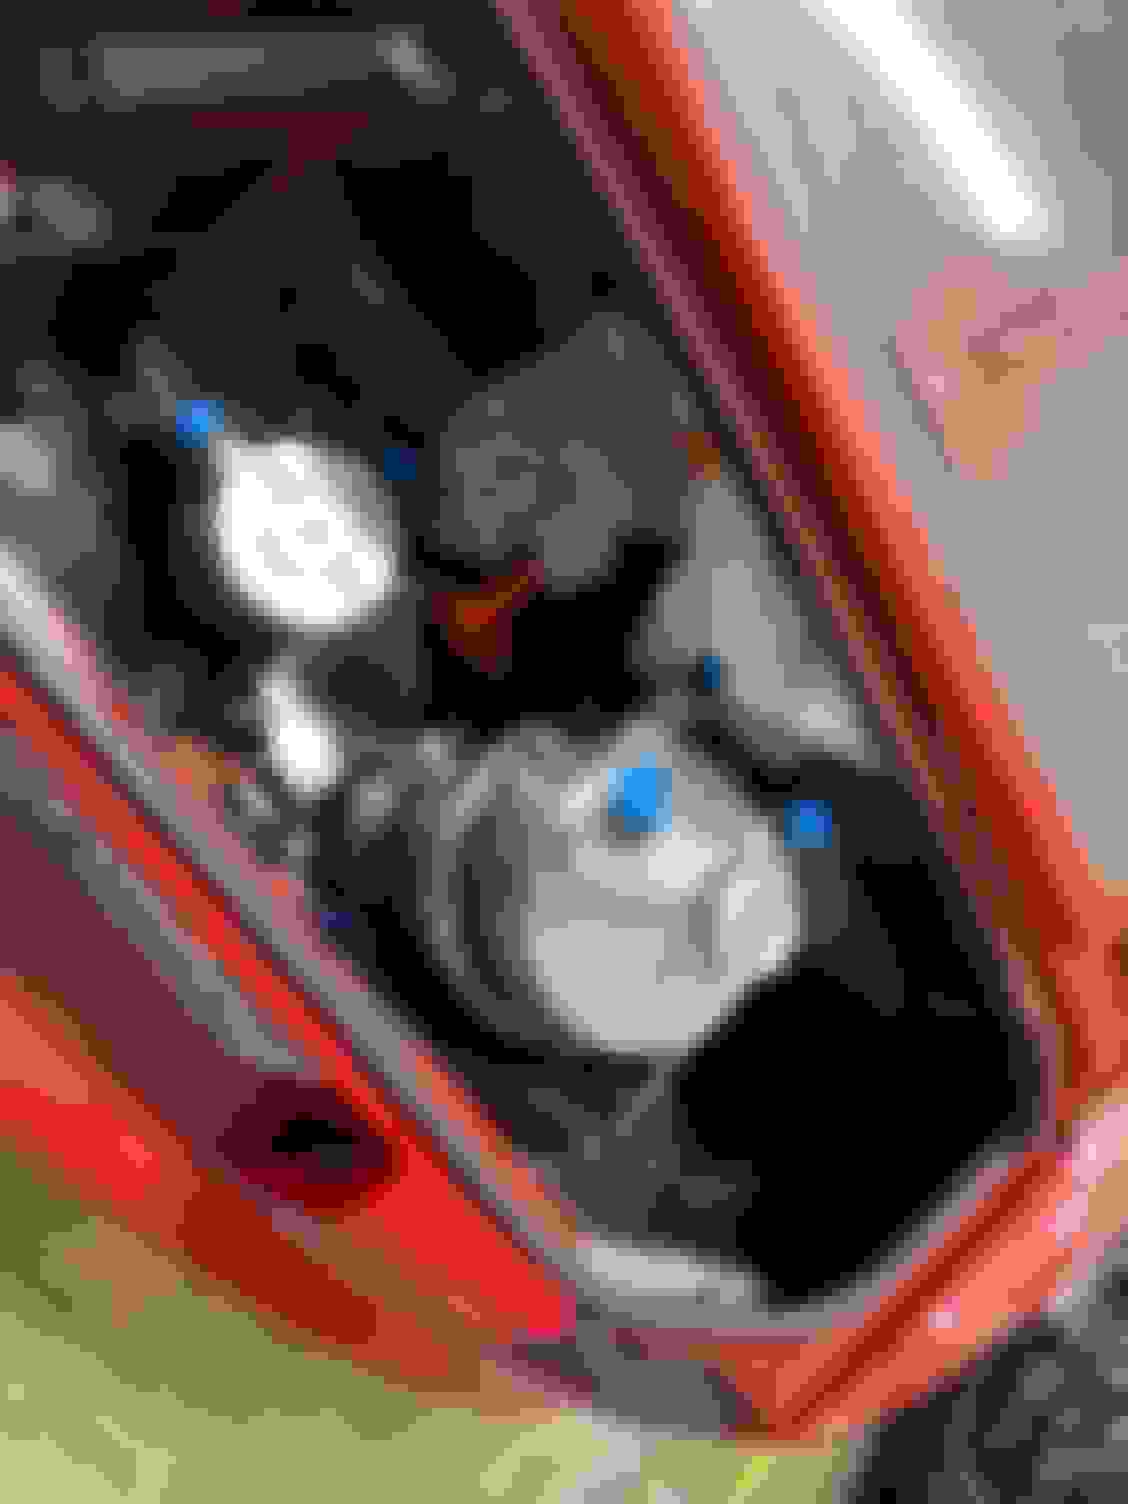
I also worked on getting the rest of the brake lines built. I got stuck on the last one running from the prop valve to the bulkhead running to the rear because I came up 200mm short on brake line which was a bit of a bummer, but I finished that off later in the month when I got some more. Ideally, I won�t be using the prop valve at all and will only be adjusting the balance bar on pedals, but I added the prop valve for �bulk change� ability, especially since I don�t know how I�ll like the new set up out of the gate. Maybe a bit redundant, but it gives me some flexibility. It�s right in reach on left of the driver which is pretty convenient as well.
The soft lines going to the resi were easy enough and I also added a second bulkhead for bleeding the clutch in the car. Two soft lines are running to the transmission, one for feed, and one for bleeding. This way I can at least bleed the clutch from the driver�s seat. Again, a little overkill, but nice for maintenance.
Another item on the list was patching the starter hole. This one was a bit trickier in profile than the other one because it was a bit less rectangular. I initially tried to match the profile of the tunnel in cad so I could cut the top part on the plasma table, but ended up settling on doing it the old fashioned way with a contour gauge and a flap disk. I did design the aluminum cover in cad as I wanted to ensure that there were no �sharp� edges facing where the passenger�s leg might go. Overall, happy with how it came out. I�ll be swapping all the bolts on the trans tunnel to button heads for a bit lower profile and less things to catch on.
I had done some basic mounting of the tank in the rear, but I wasn�t super happy with how much it was cantilevered on the mount, especially knowing it was going to have a few gallons of oil in there. So I came up with a mount that added support to the main tank and also mounts the breather. It�s all very solidly mounted now and I feel a bit more comfortable with it. I do need to add a bit of a filler panel around the bottom of the tank as I cut it a little on the big side.
Two things that have been on my list are making a new coolant reservoir and figuring out where the battery will go. The previous coolant reservoir I had made worked, but it was mounted to the engine and I wasn�t totally happy with the construction of it. Plus being on the engine is an additional recipe for fatigue. My main goal with designing a new one was to keep a similar capacity, move it more central in the chassis, and change to a pressurized tank with a fill cap on it. Reason for the last note is that it makes for bleeding easier as well as future proofing if I do something dumb with the radiator. I decided on moving it to the cowl since I no longer have windshield wipers and it puts it higher than the engine. I had to do a tiny bit of trimming to get it to slide in, but nothing too aggressive. I still need to add the sight glass on the side as well as weld on the bung I made for it. 1� NPT tap is chonky. 1� drill bit is also chonky.
Moving to the battery, I went with a similar placement but on the other side. I�ve subscribed more to the �keep the battery as close to the starter as possible� train of thought in past years instead of having batteries at back of the car. Although, it works best with small batteries. Anyway, inside the cowl is as far back/close to the starter as I can get it while still keeping it out of the passenger compartment. It also keeps it in a relatively cool place. I printed out a block that was the dimensions of the battery and then tried fitting it. Unfortunately it was a touch too tall, so I cut some sheet metal and made an aluminum tray that it can sit in. I still need to add points to tie it down, but that won�t take long.
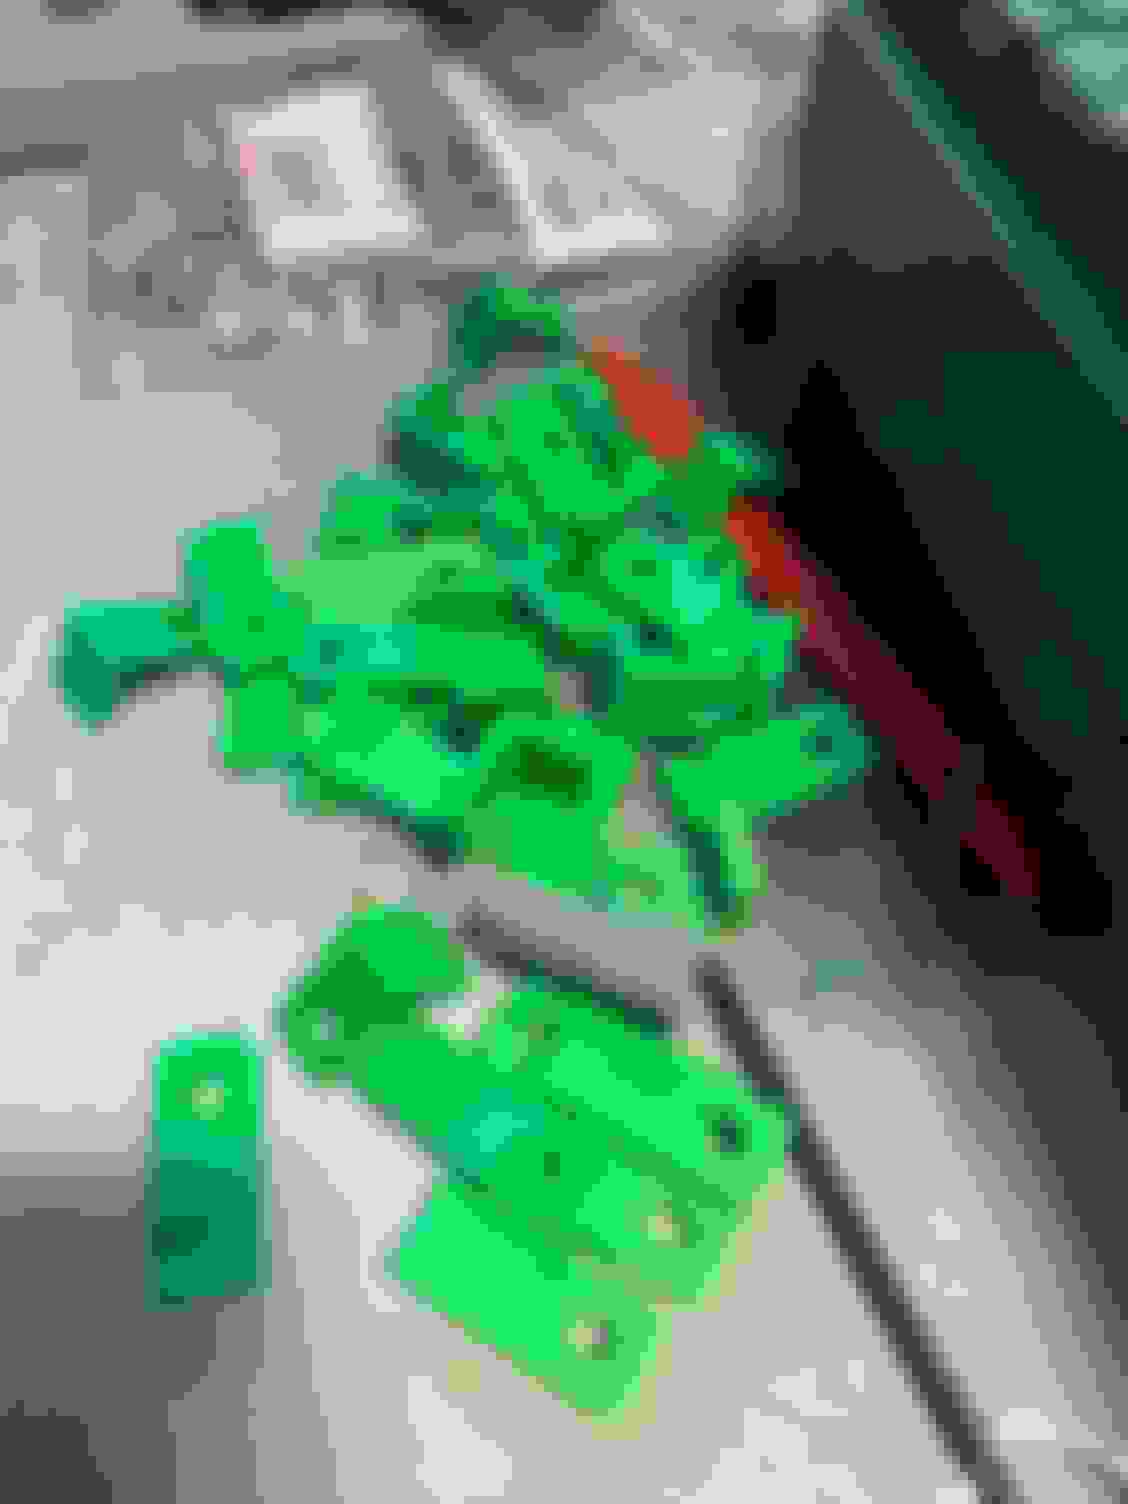
Over this weekend, I did some of the extremely boring work of attaching the wiring and brake lines with Adel clamps. Super tedious work and frankly very boring, but it�s one of those things that doesn�t get done properly if you don�t finish it before the car is close to being ready. Not that zipties are bad, but I just wanted to do something I was more happy with. For attaching parts to the cage, I made these little brackets that I can print easily and space whatever is being attached to the tube just a little bit off of it. I made them in a sizes ranging from 3/16� for brake line to 1� for some of the main harness in the BMW.
I also made these little brackets for attached DTs to things at work. Mainly because I�ve transferred all my projects already, so I�m bored and designing things for myself lol. I made them in basically every variation of attachment ways, although only in straight and 90. But doing other things such as tubing clamps or different angles would be easy enough at this point since I have the main profile designed. The only problem is I might have to modify the design for my printer at home since the one I got at work holds a bit better tolerances. The green filament drives me ******* nuts, but I had 3kg of it that came with the printer, so **** it I guess.
Last but not least, I got all the fittings/hose (shout out to Ryan R for ordering them through their speed shop for me) to go from the firewall bulkheads to the trunk and tank-breather coming. I�ve got a couple of weeks between jobs, so I�m planning on spending some time with my dad on the Caterham and getting that all plumbed. Other than the fact that I feel the end is actually in sight, Ryan is also coming up to run at The Ridge this summer, so ideally I�ll have my car done by then so that I can get **** on at my home track lol.


 2
2