Yellowihss's well rounded turbo build. (lots of pics)


Thread Starter

Joined: Dec 2008
Posts: 736
Total Cats: 8
From: Austin, TX
So a couple weeks ago I made my introduction thread, so now it’s time for my build thread.
Its not anything special, but I figured as much as I like reading other build threads
regardless of what was done, I decided to do my own.
So to recap my introduction,
Bought first Miata with forged motor, and a bunch of BNIB parts,
Built Miata,
Friend wrecked Miata,
Bought 2nd Miata,
Striped and sold first Miata,
Stripped 2nd Miata.
And this is where the build starts. It won’t happen overnight as I’m getting married in February,
but I will be working on it and making it my own as quick as I can. Some might not like my paint
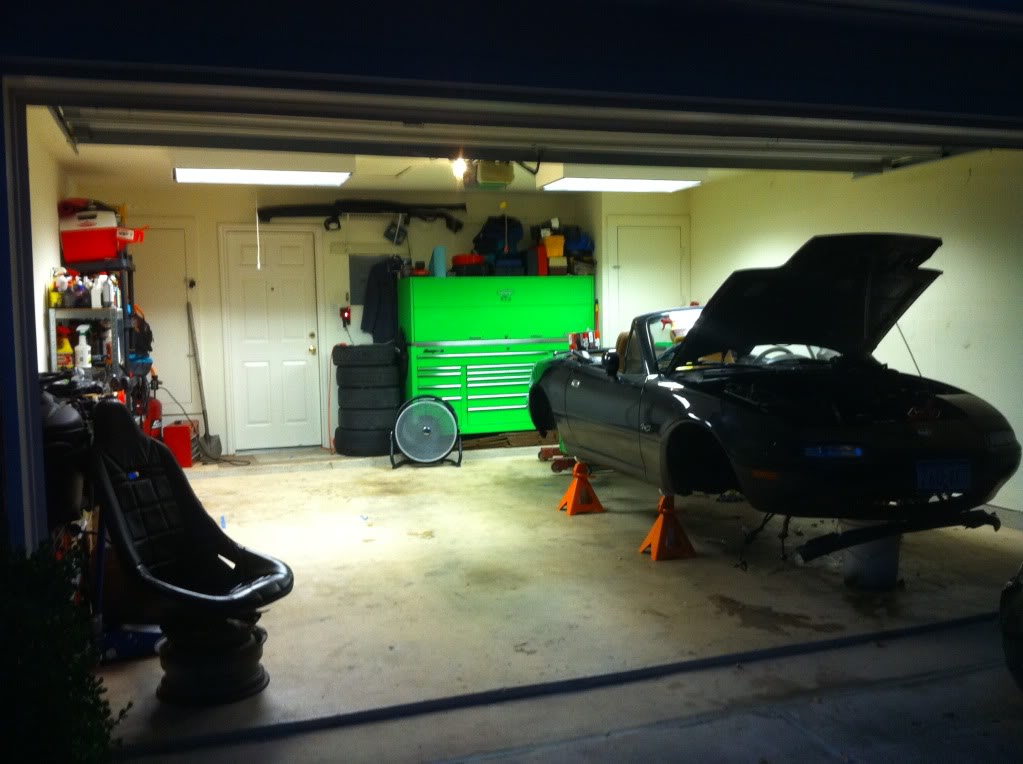
scheme, but I couldn’t give a s#!t. I like Green (as you can see through my toolbox) so I am
going to incorporate it throughout and I have seen yall’s option on the color.
Miata starts as a ’96 M Edition.
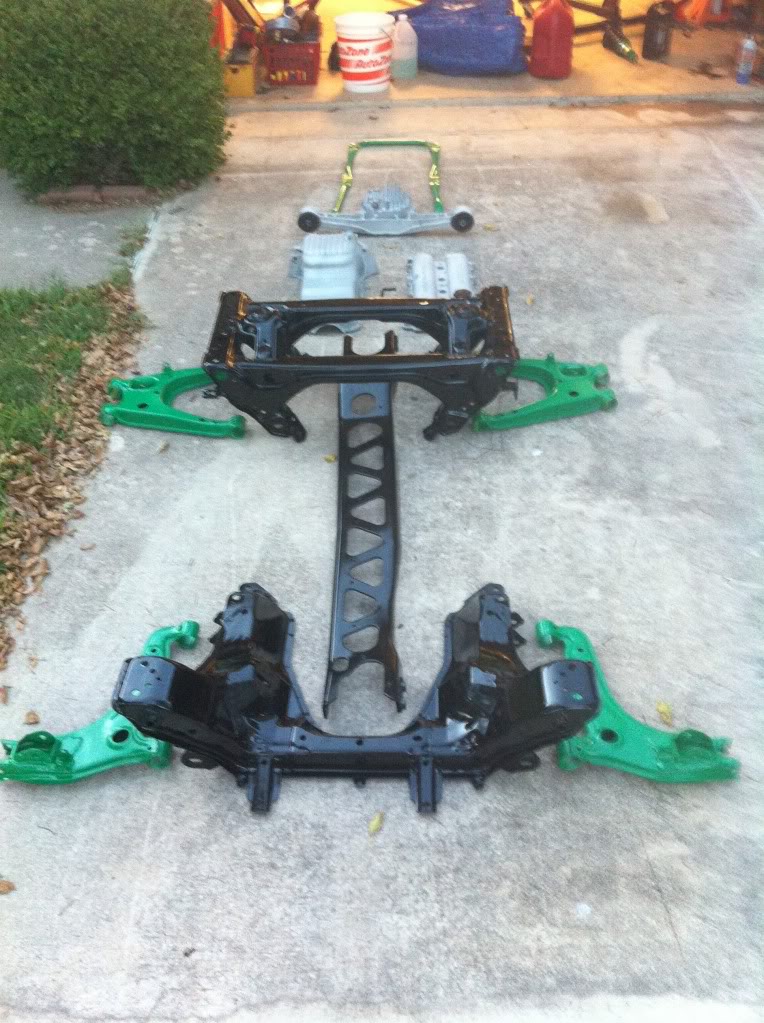
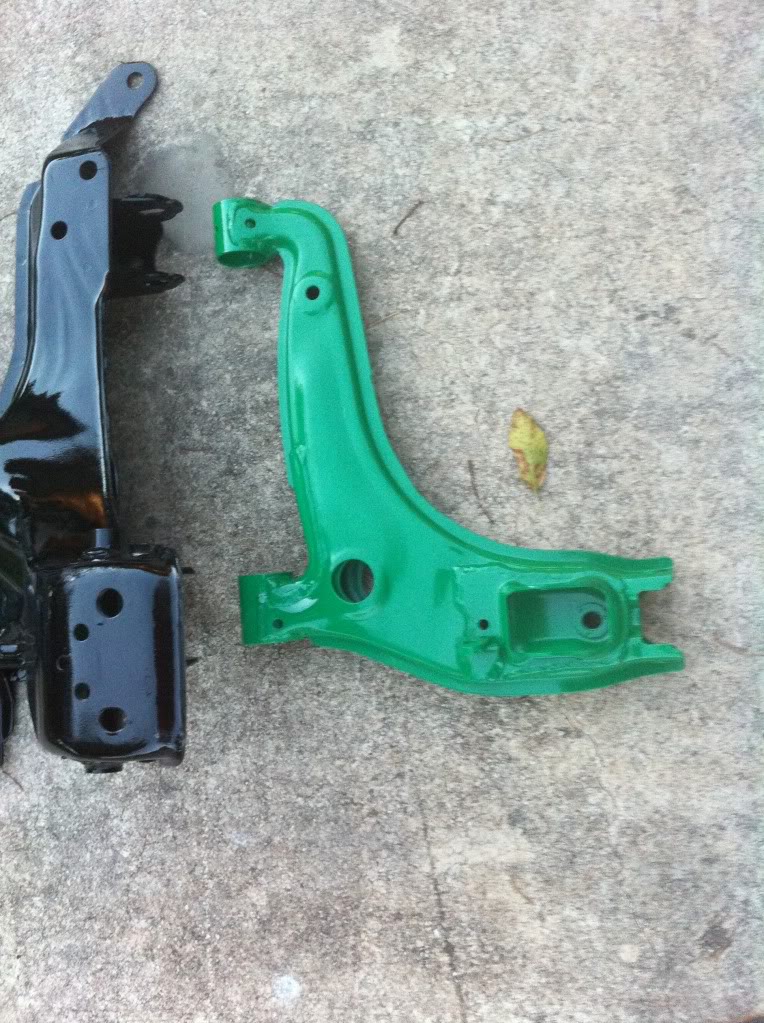
The lower control arms are getting blasted and powder coated Tein green to match the coilovers.
The car will be painted either Audi Dolphin grey, or Nissan Storm grey. The wheels will be black
15x9 6UL’s wrapped in 225’s. The goal is 300-350 whp all around street, track car with little strip time.
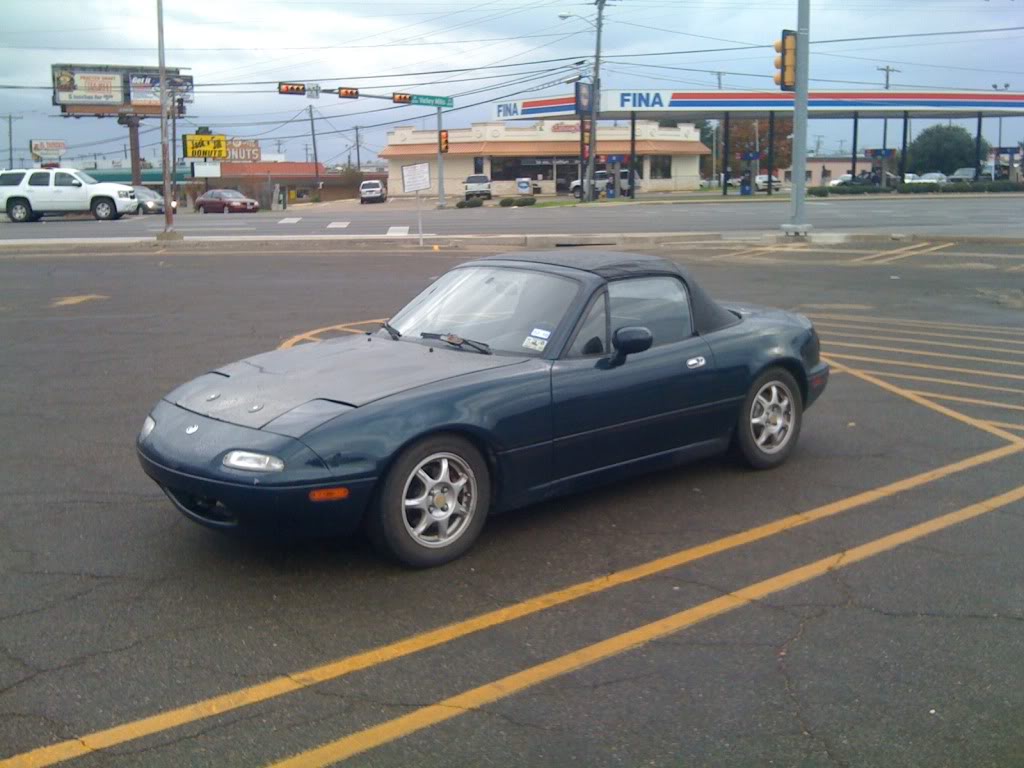
First Miata before crash.
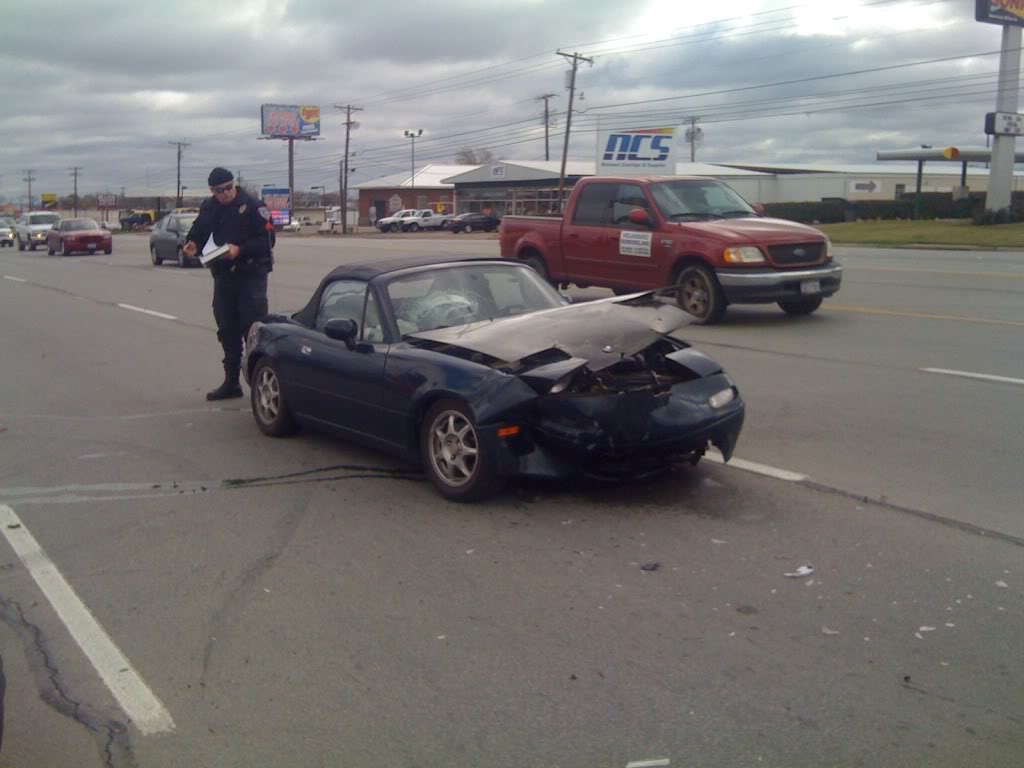
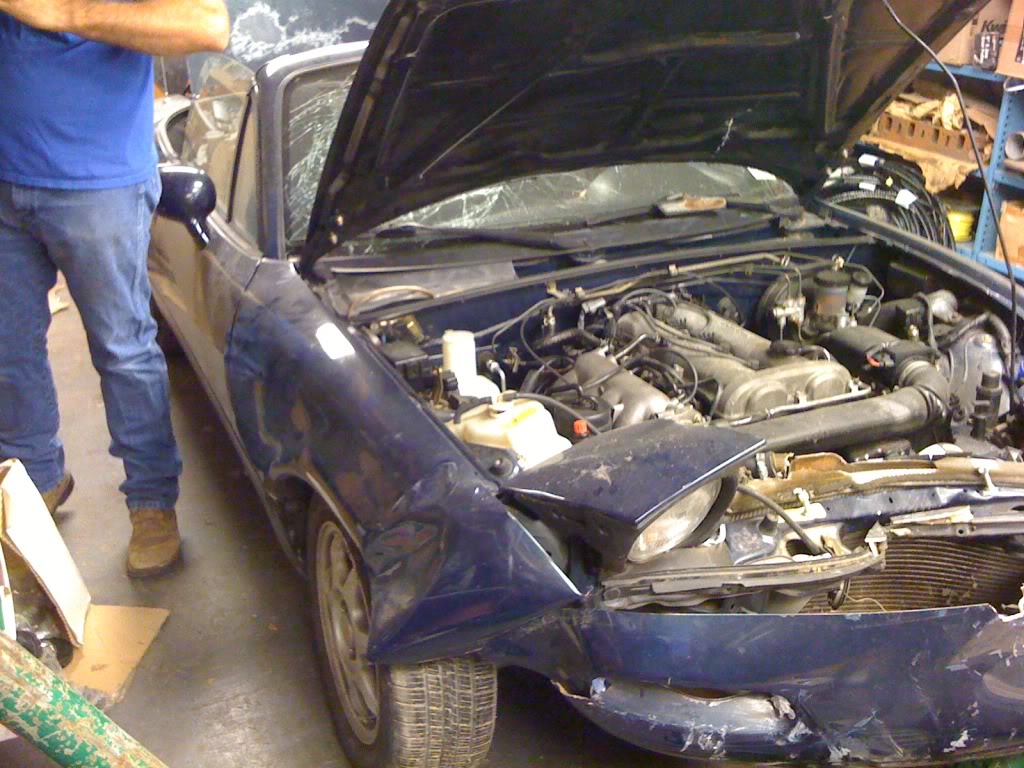
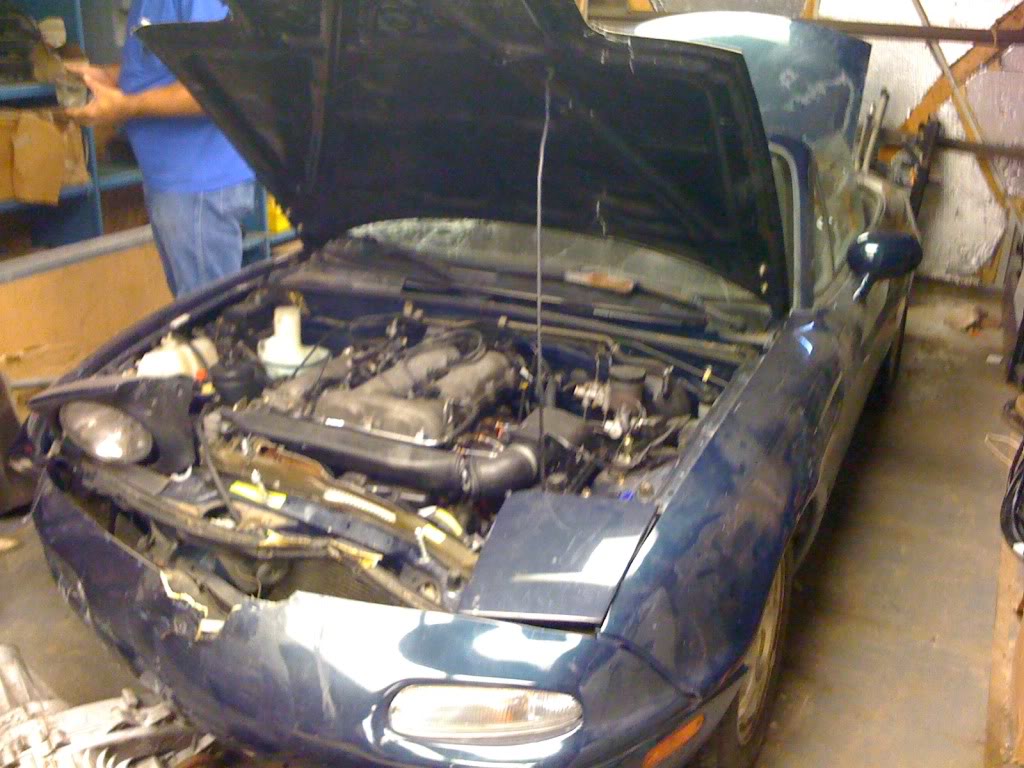
After Crash.
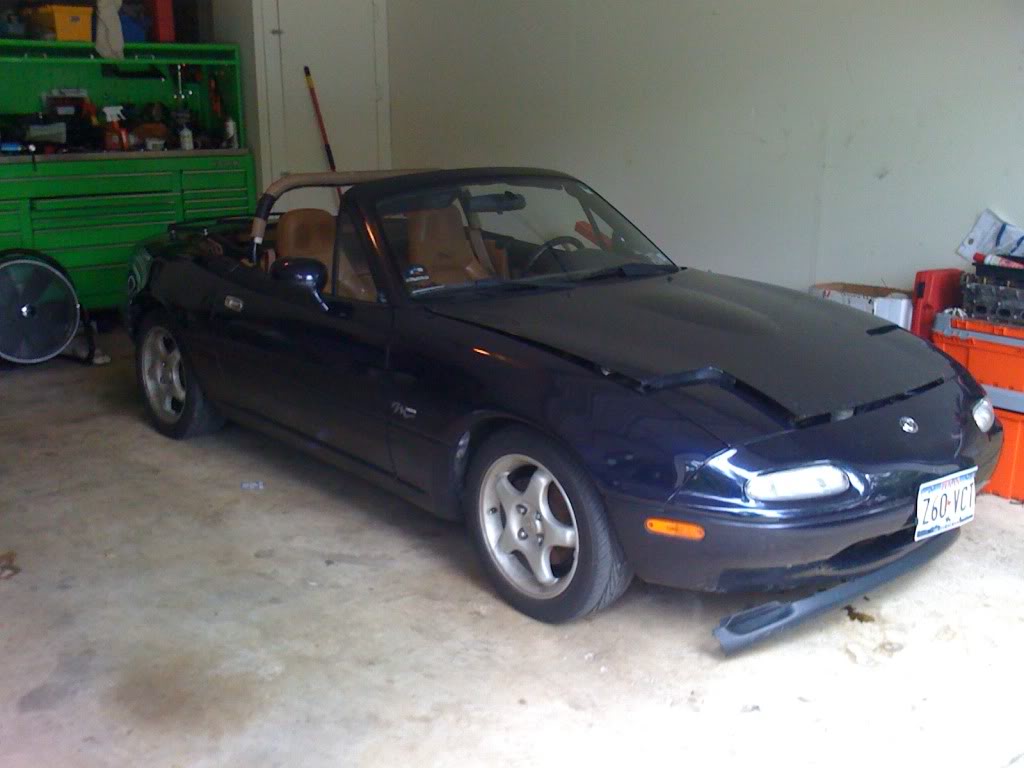
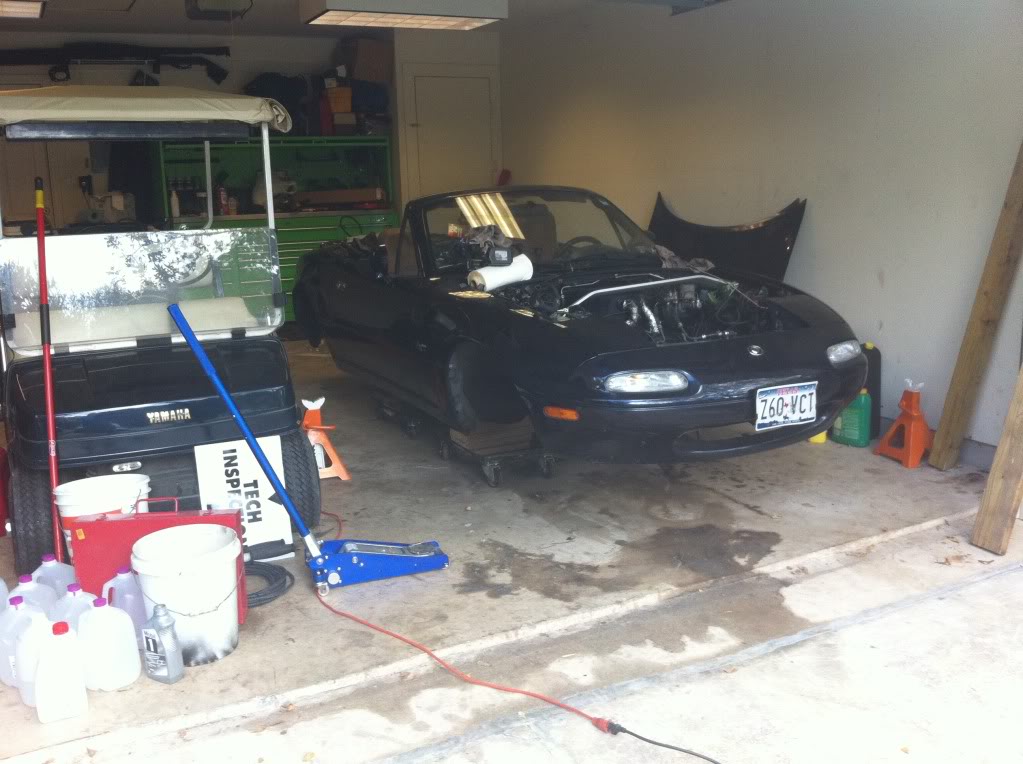
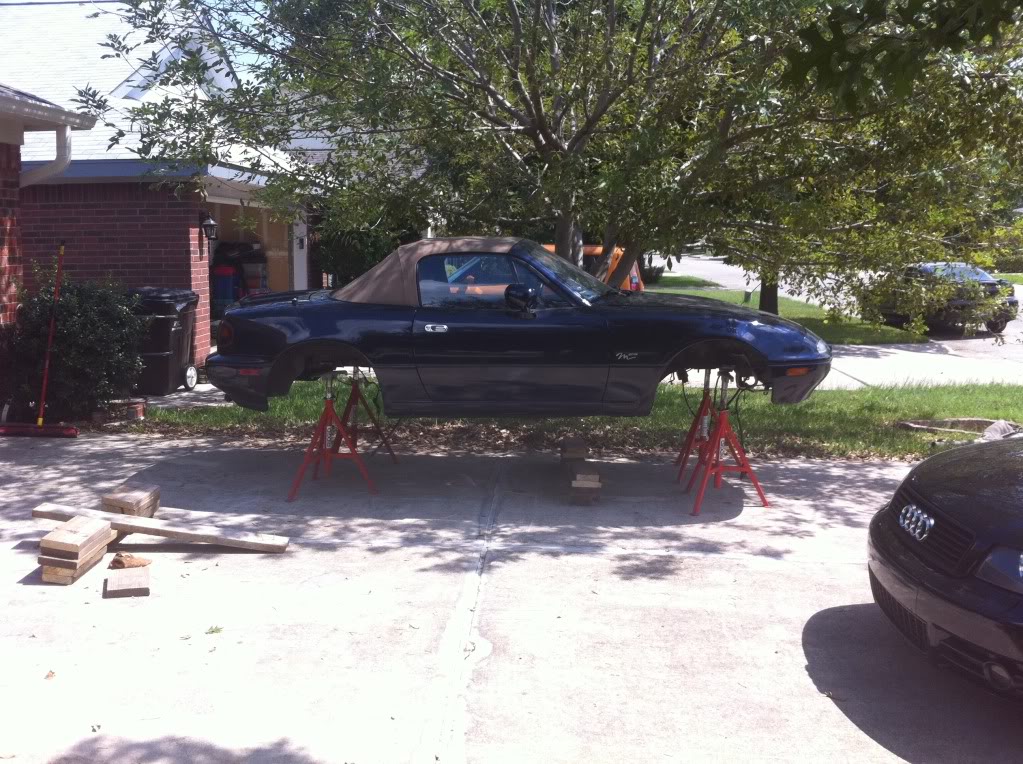
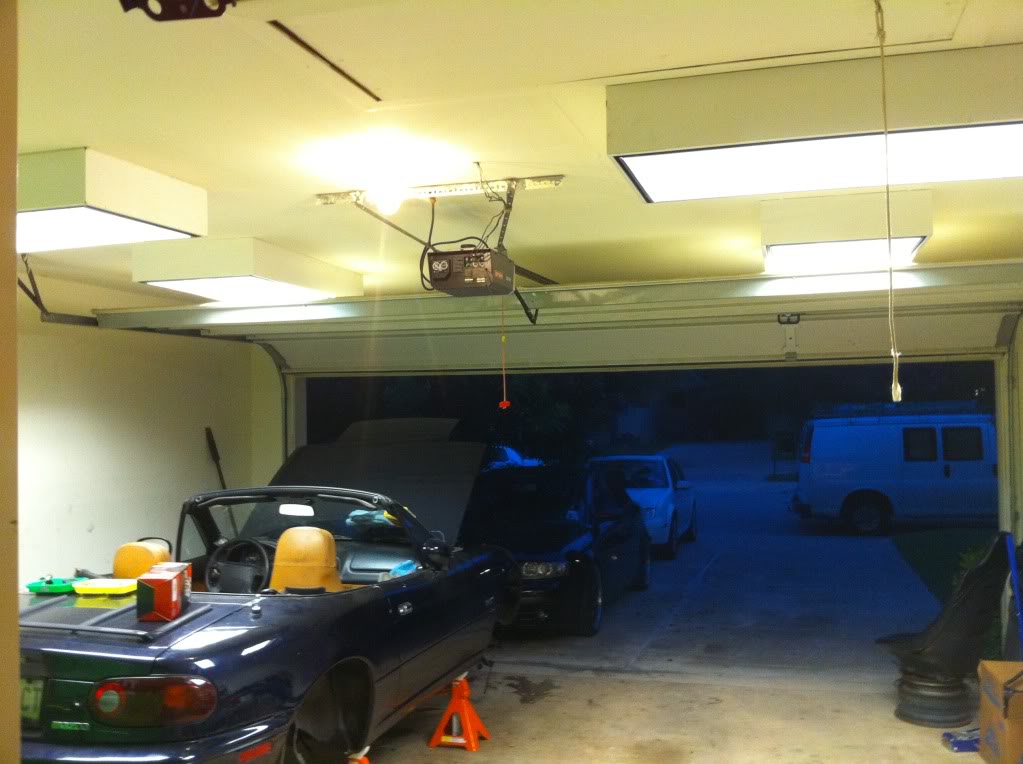
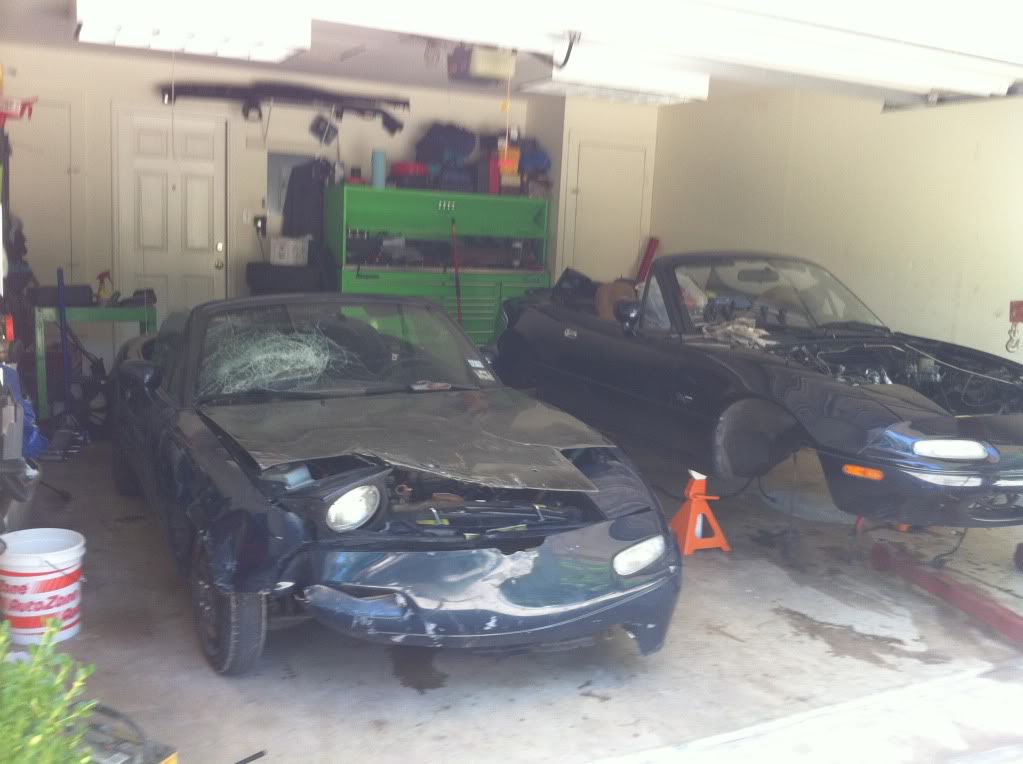
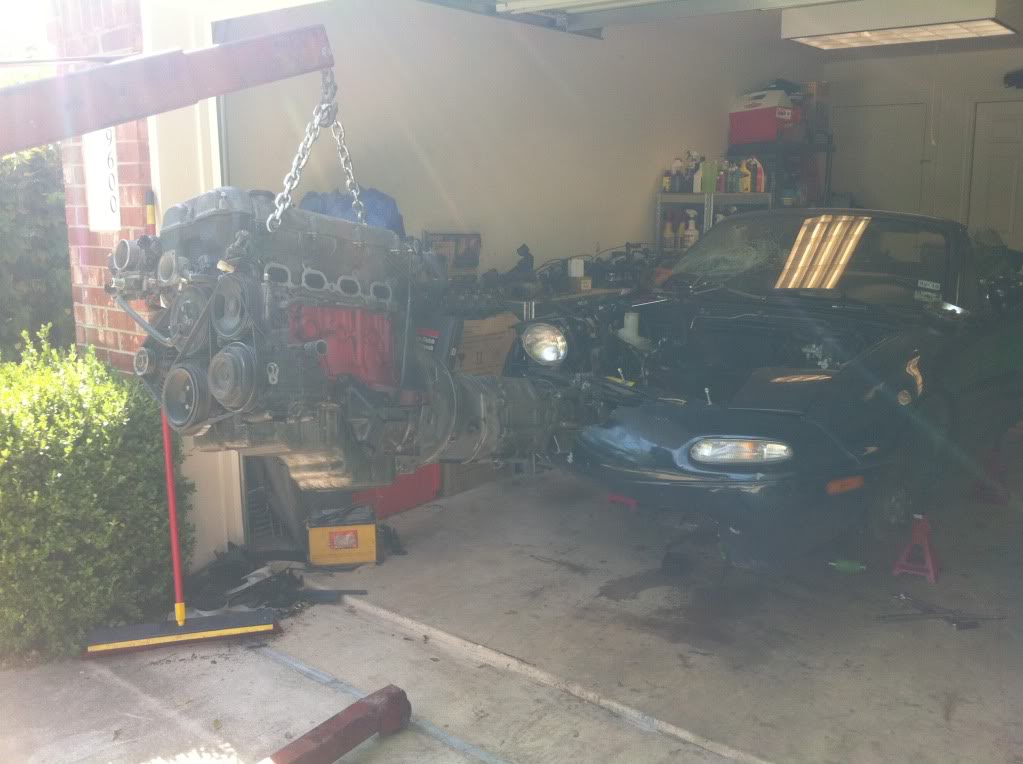
New Miata finally in my garage.
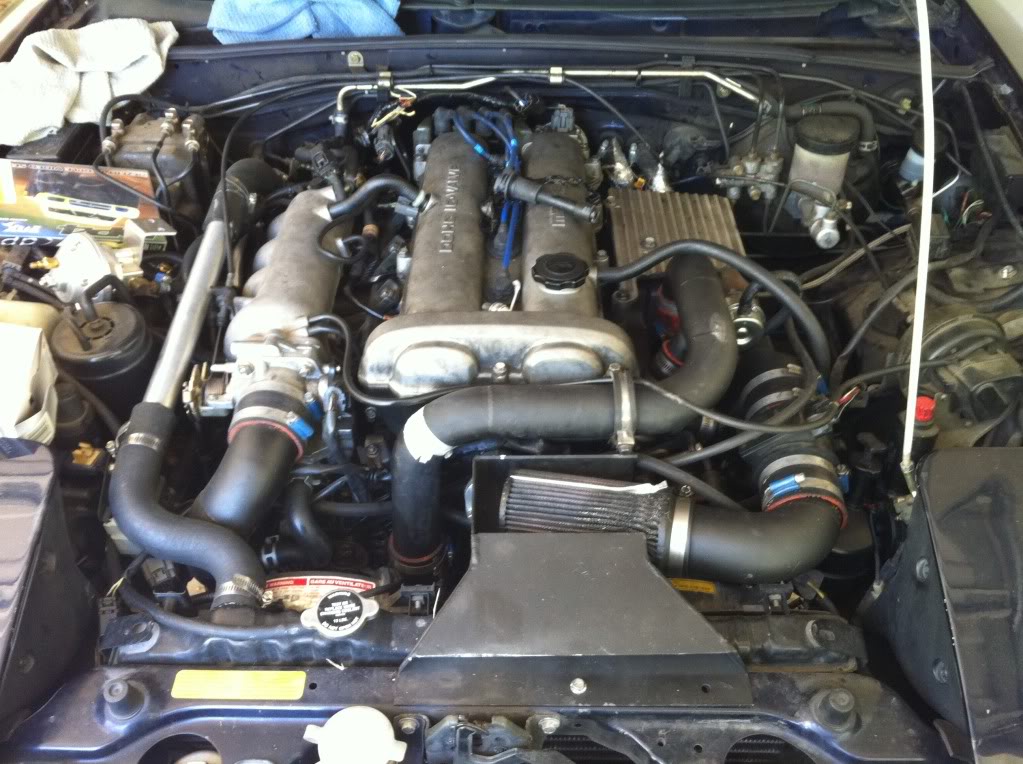
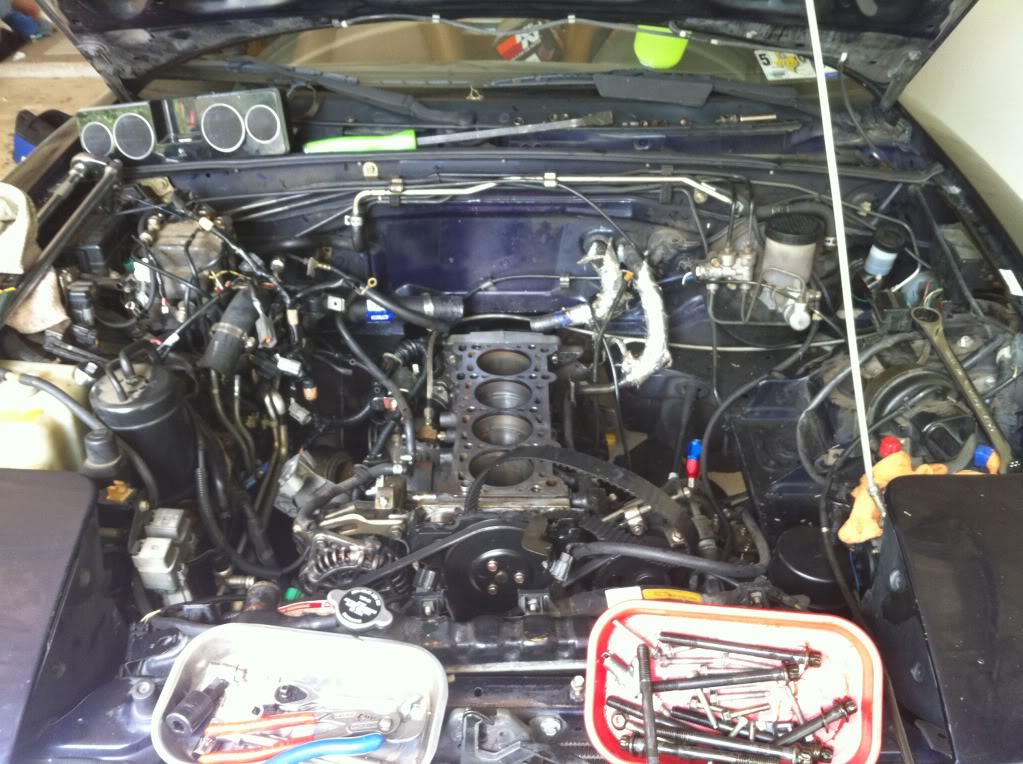
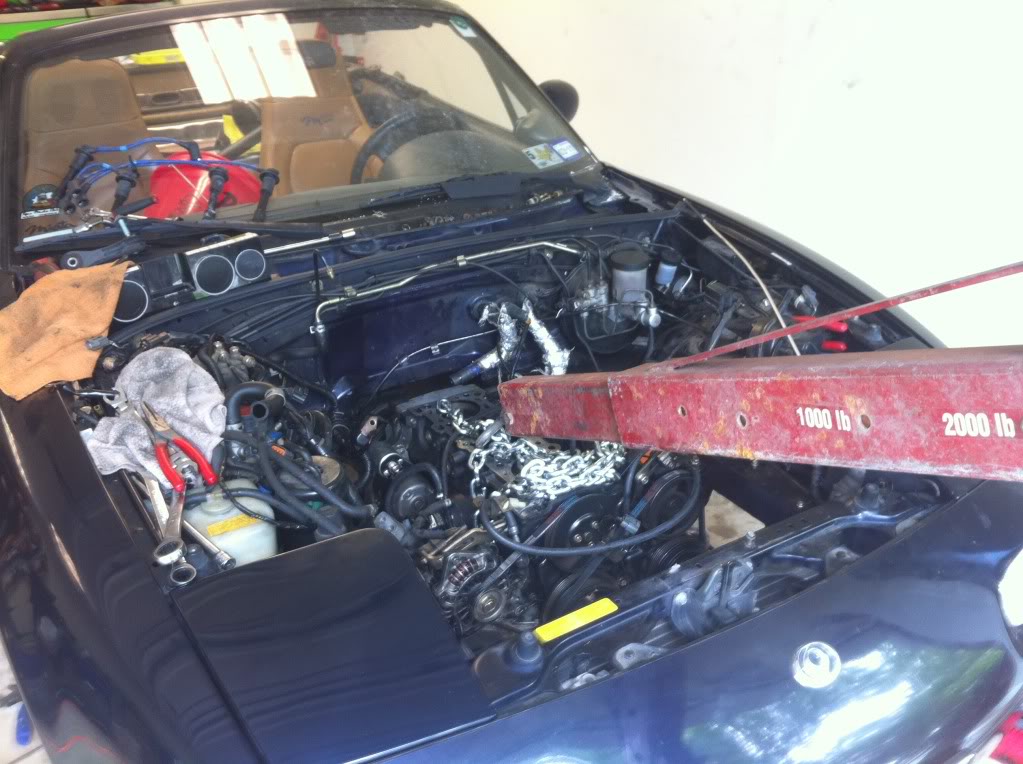
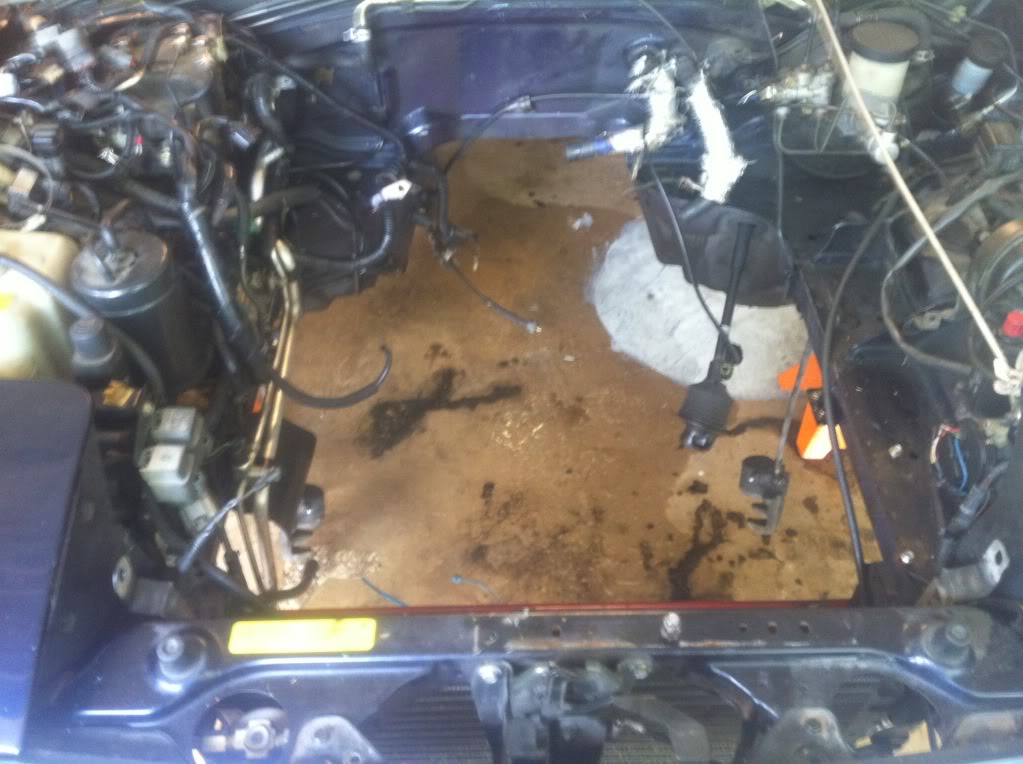
New Miata engine bay.
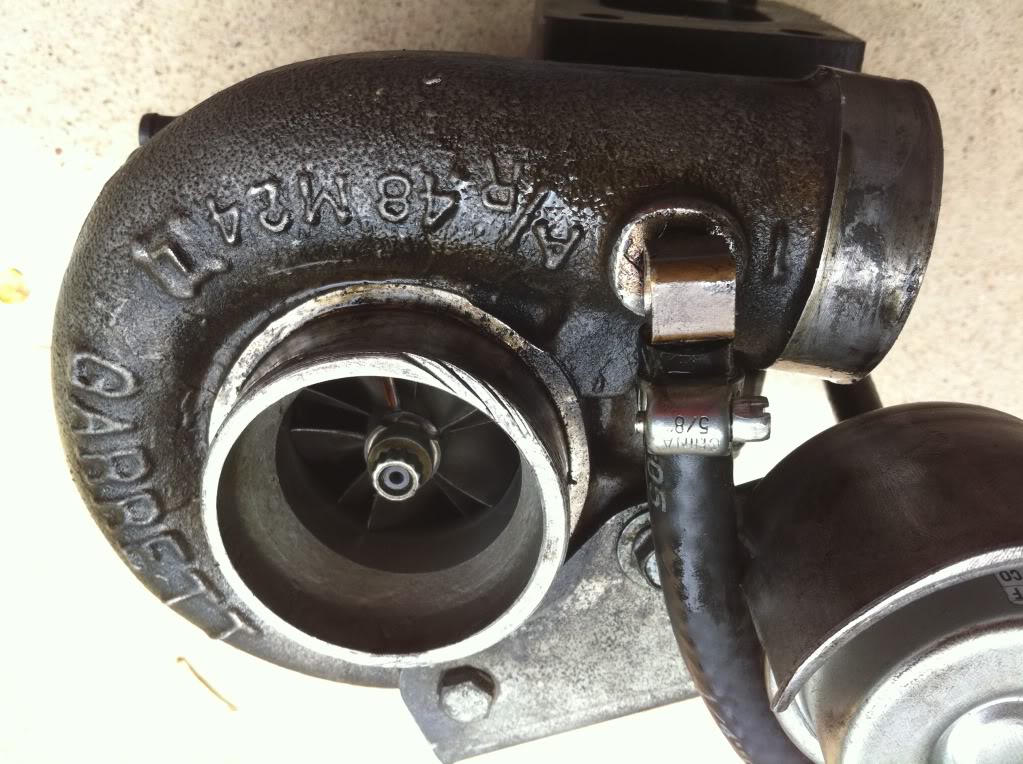
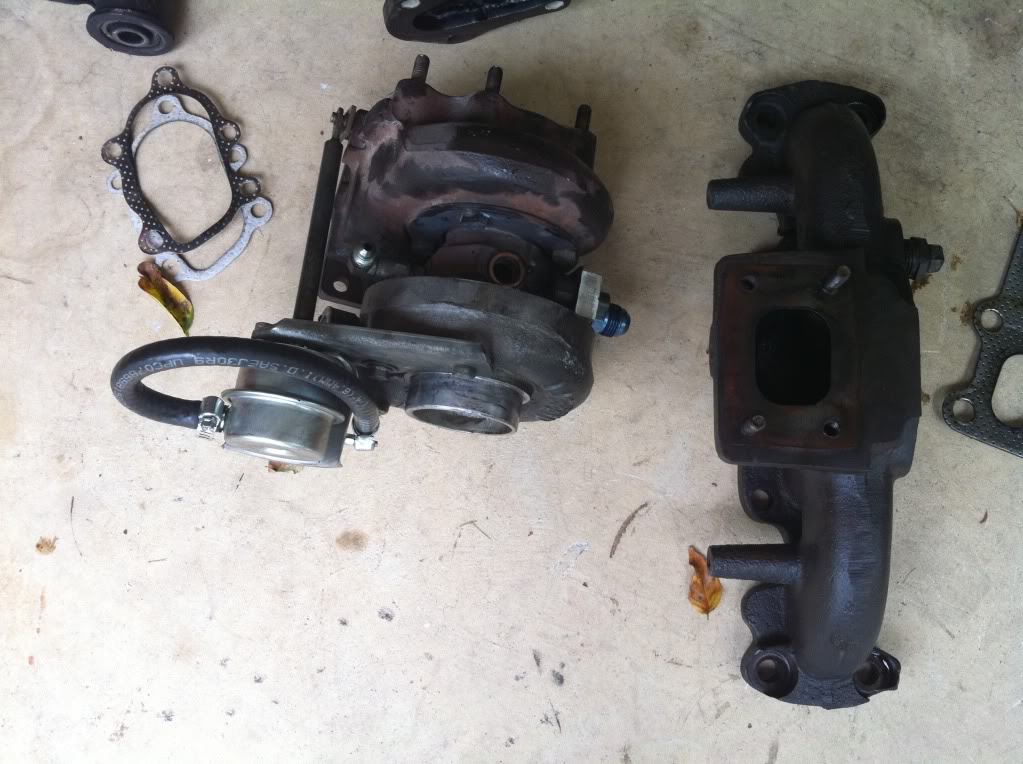
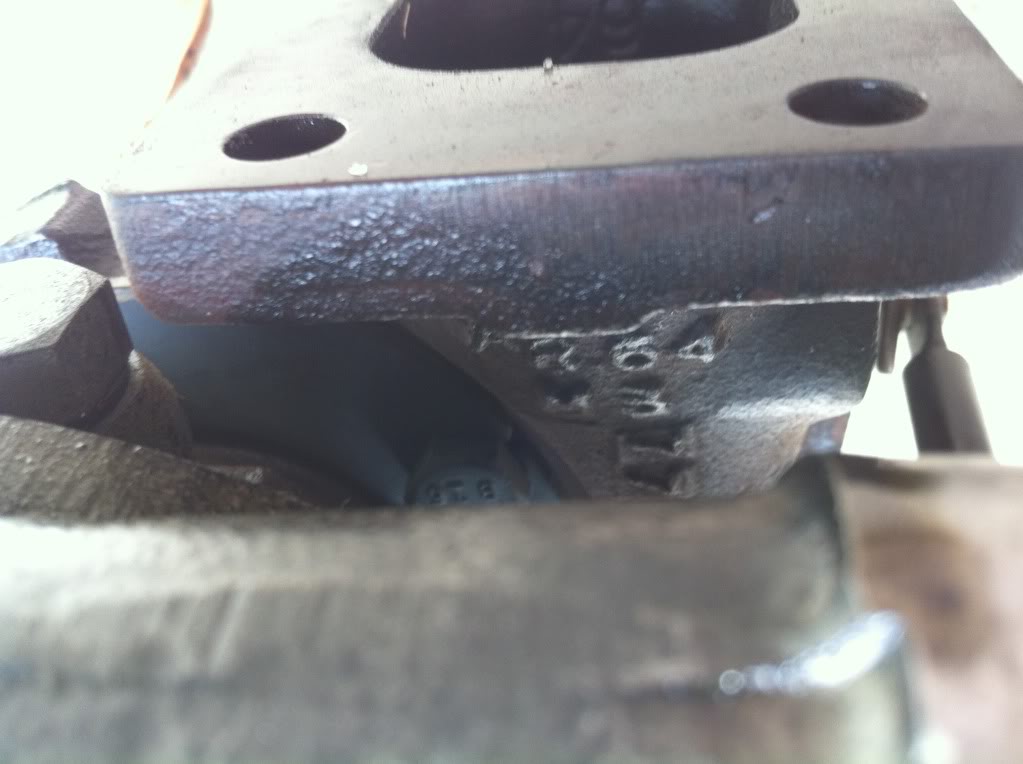
T28
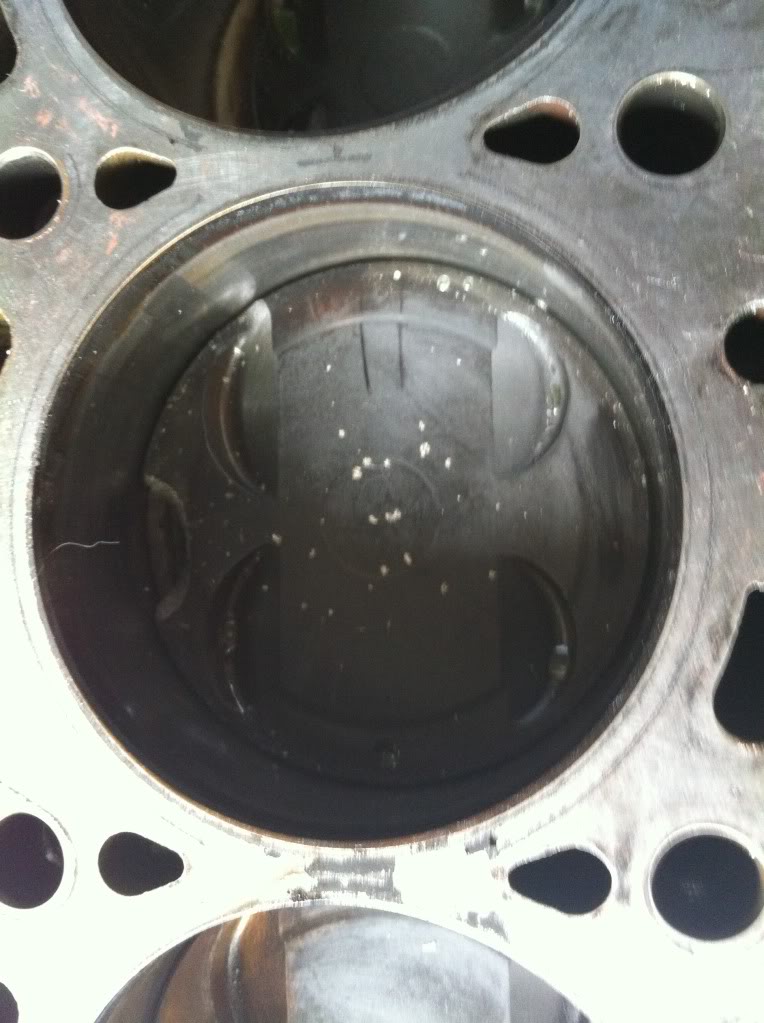
Head off!
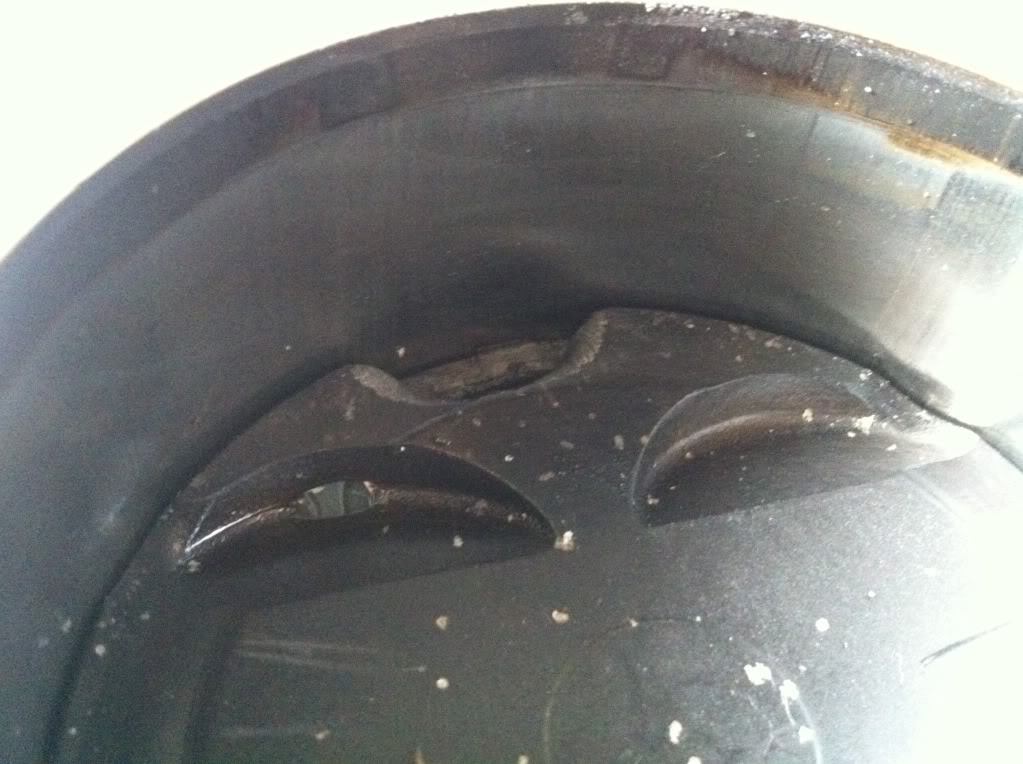
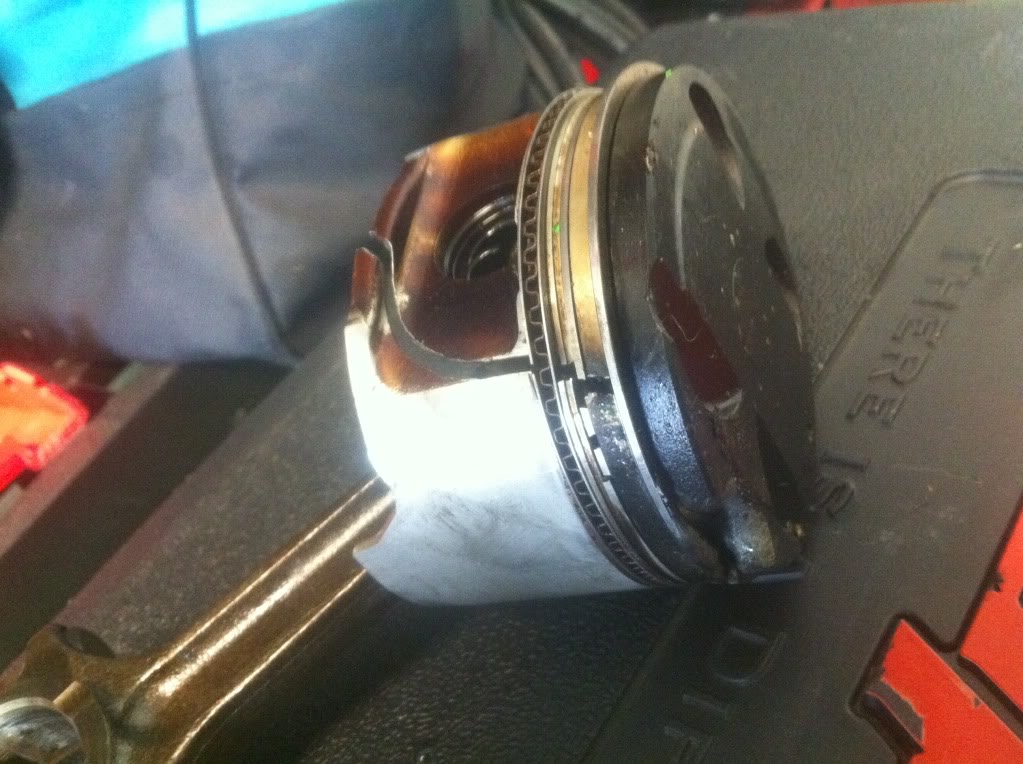
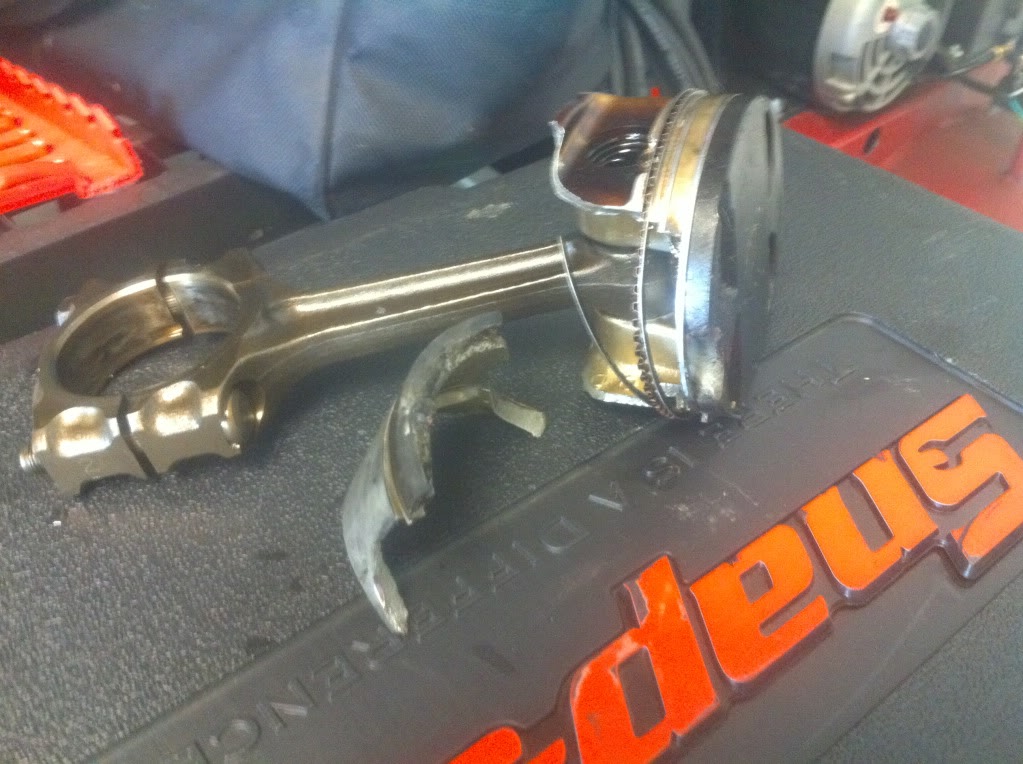
Hole in piston.
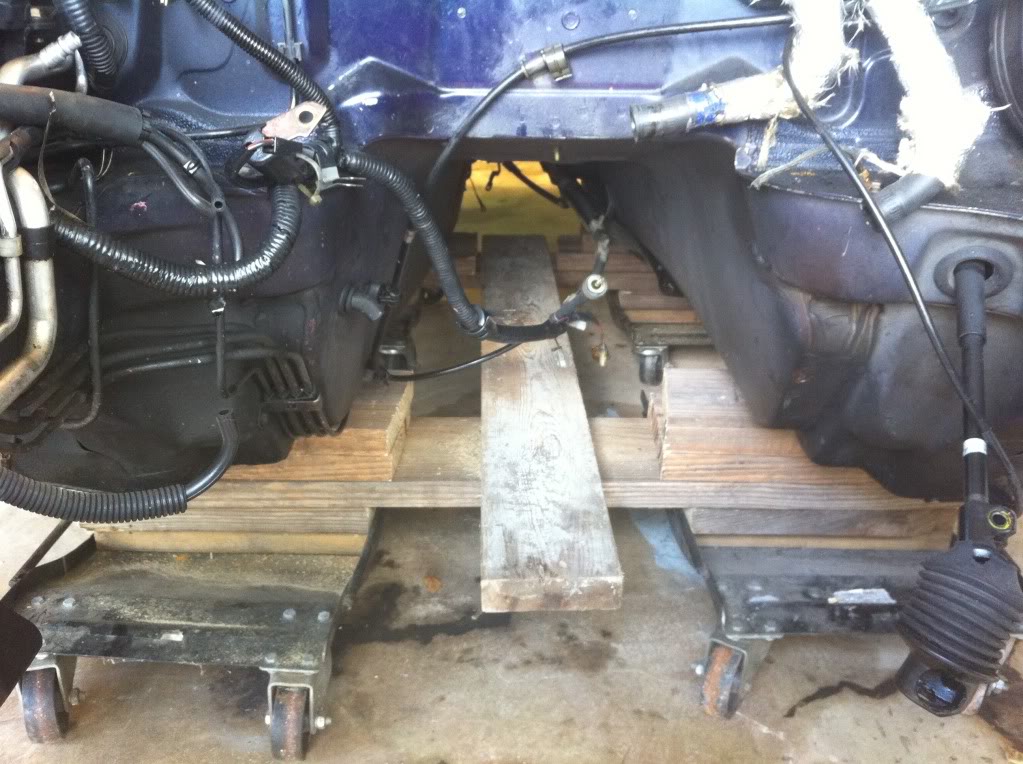
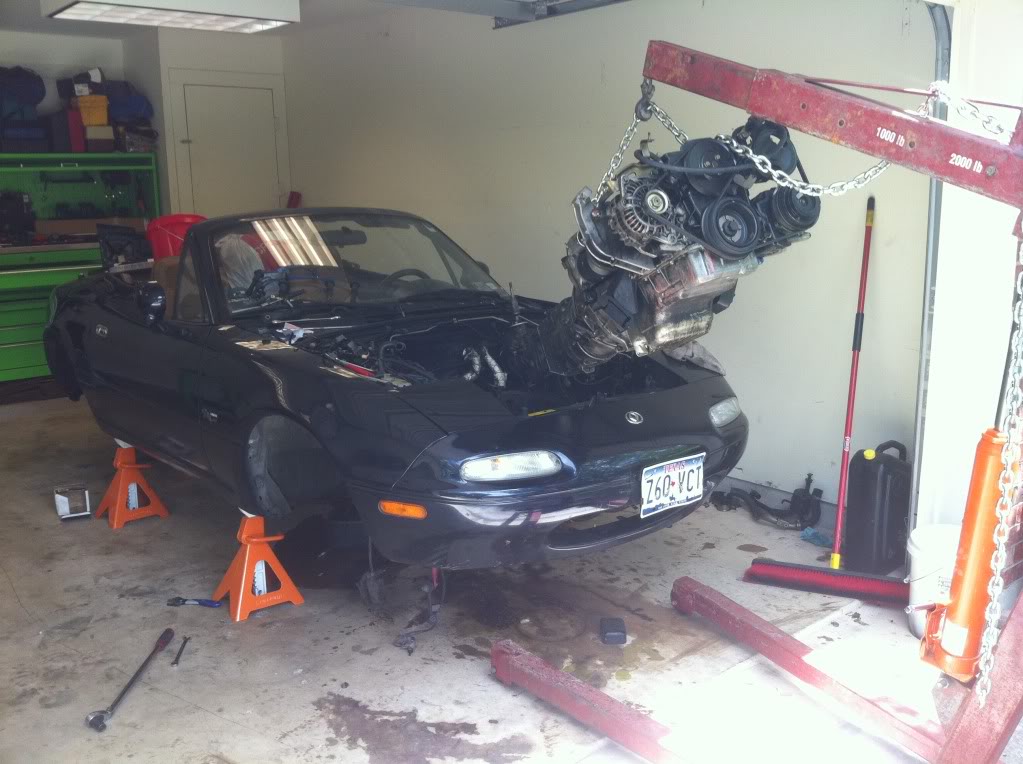
Taking the motor out.
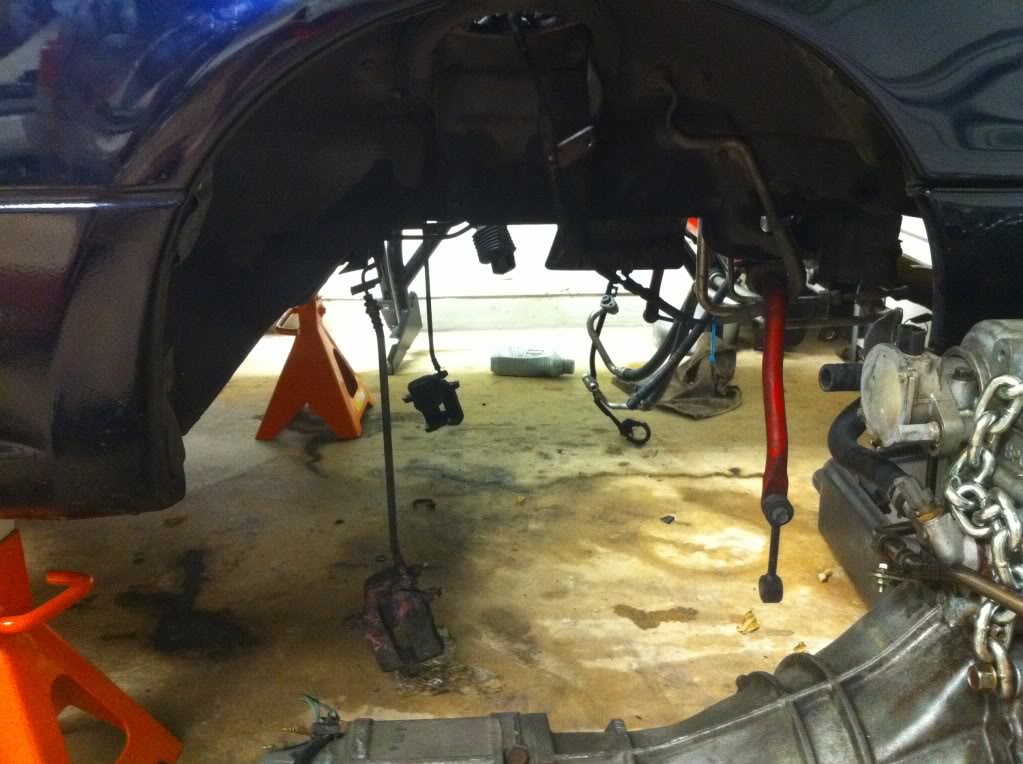
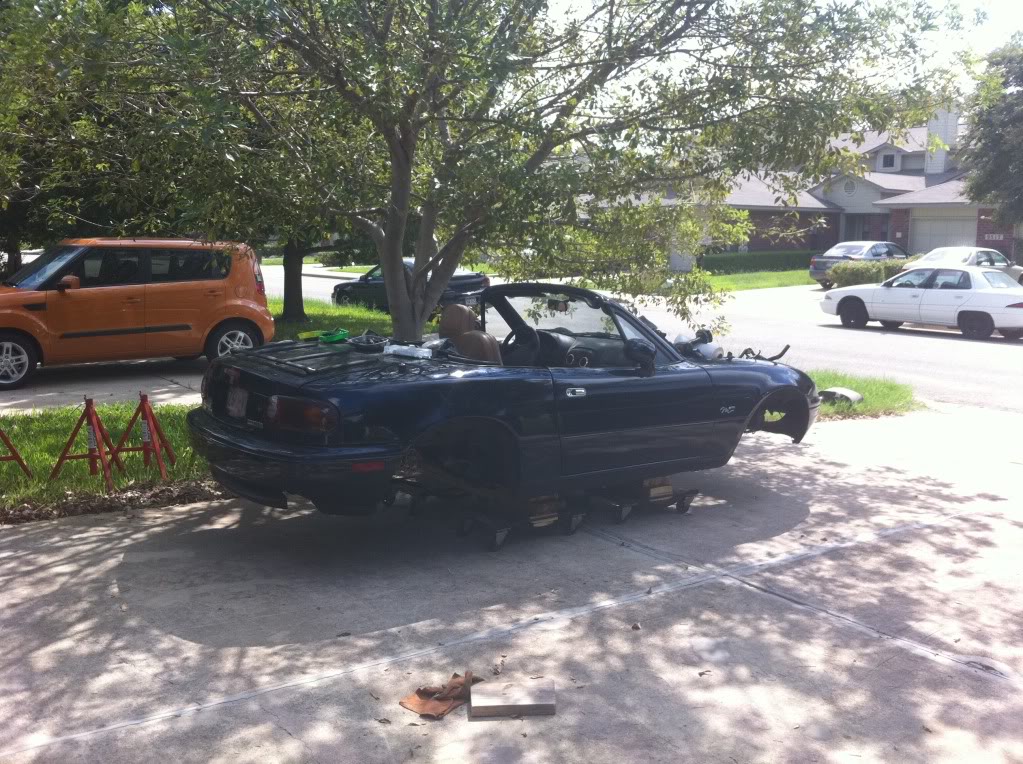
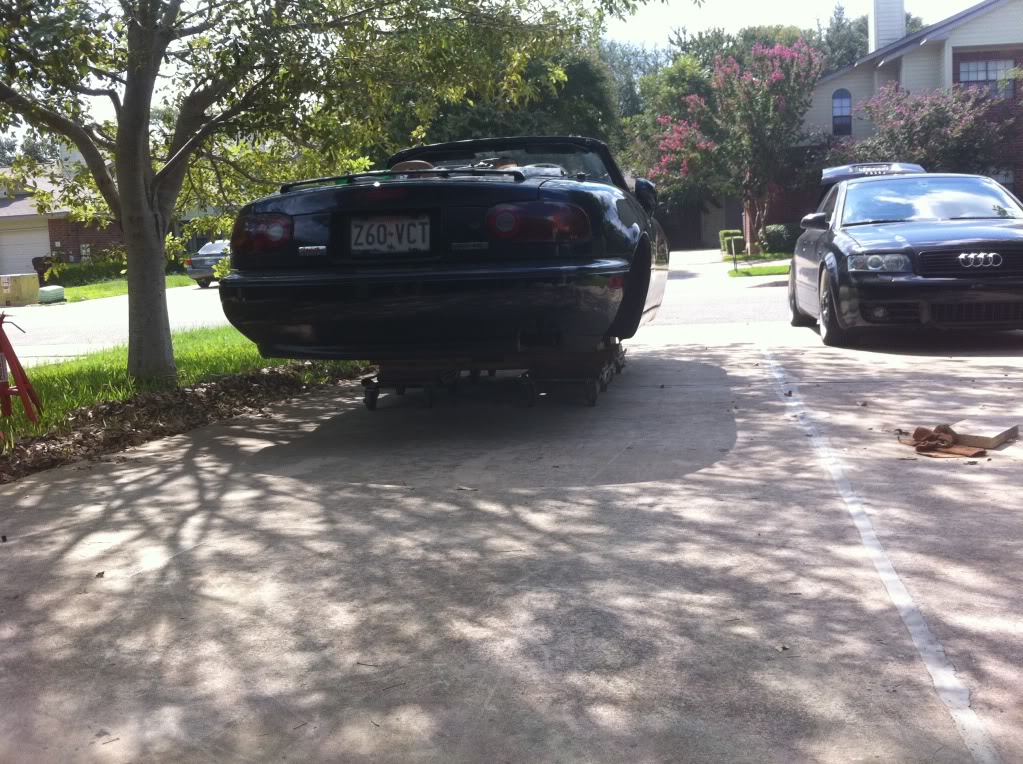
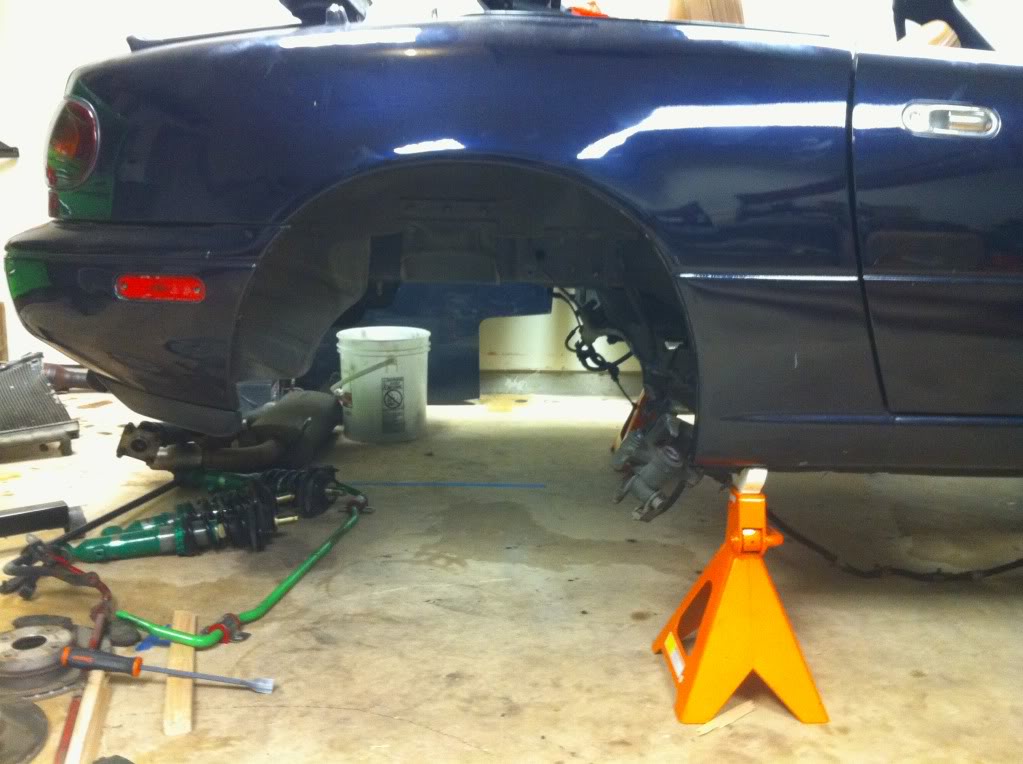
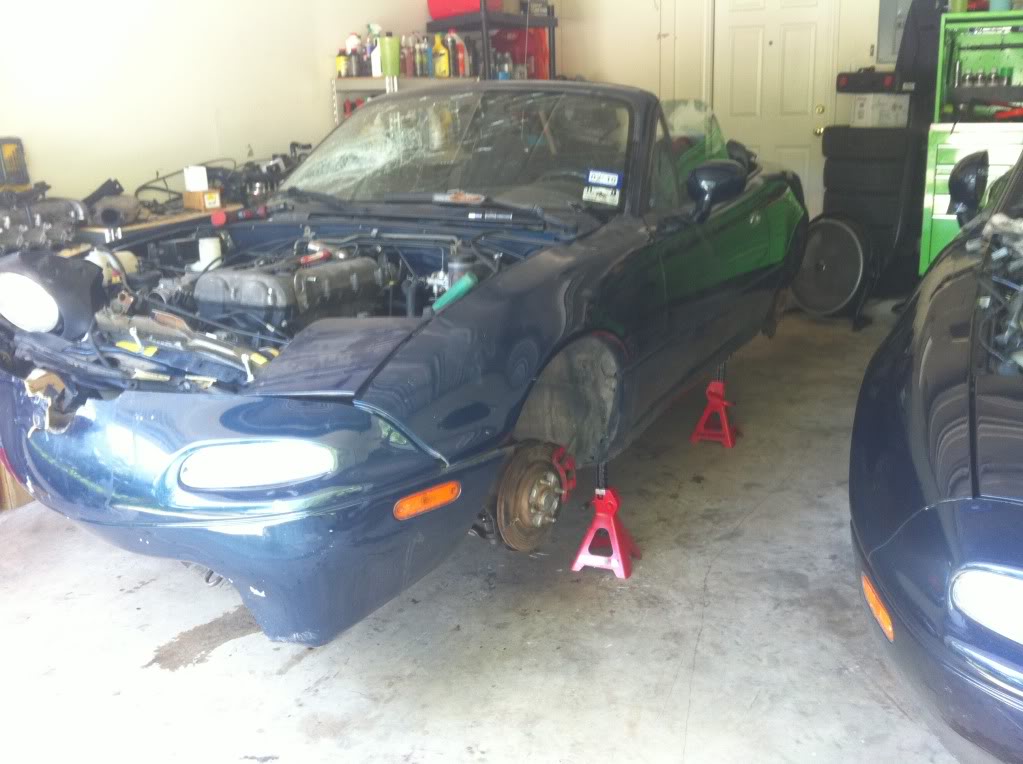
Completely gutted drive train and suspension.
New lights for FREE. (It pays to have an electrician for a dad)
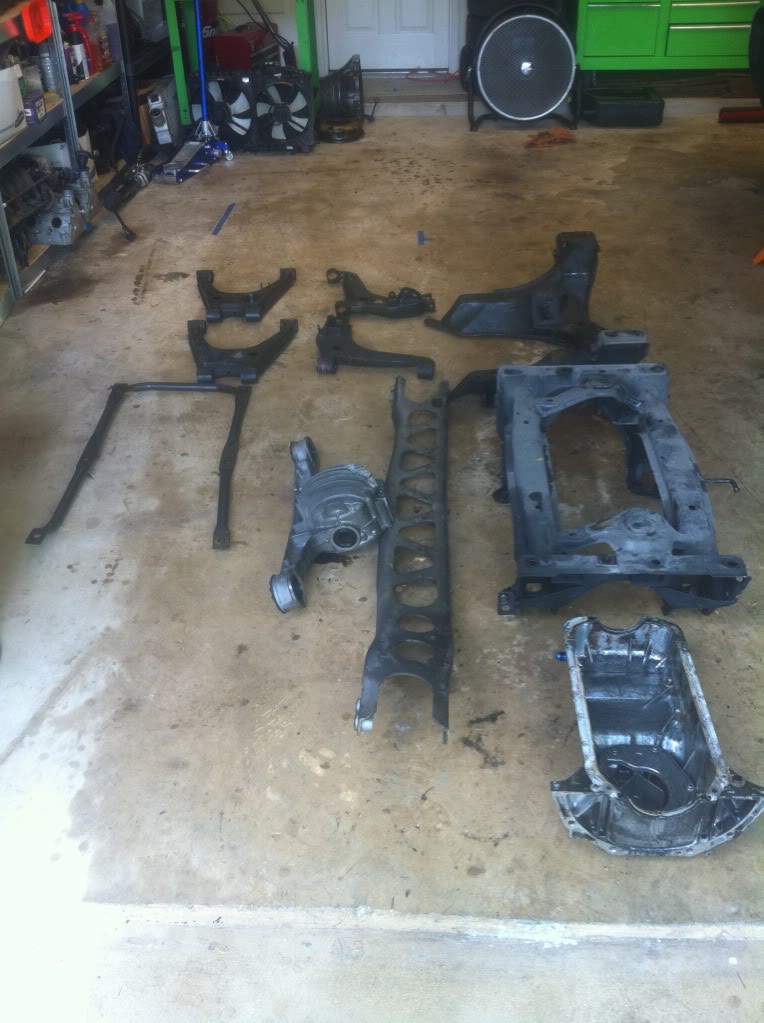
Parts ready for sandblasting and powder coating.
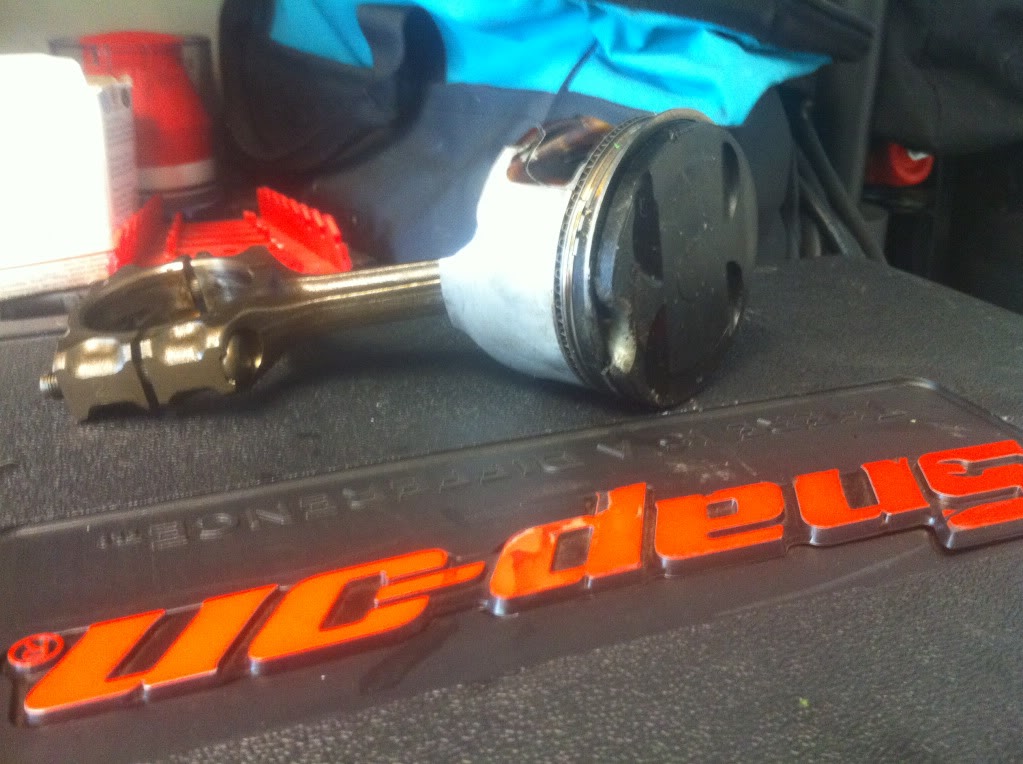
The #3 piston .

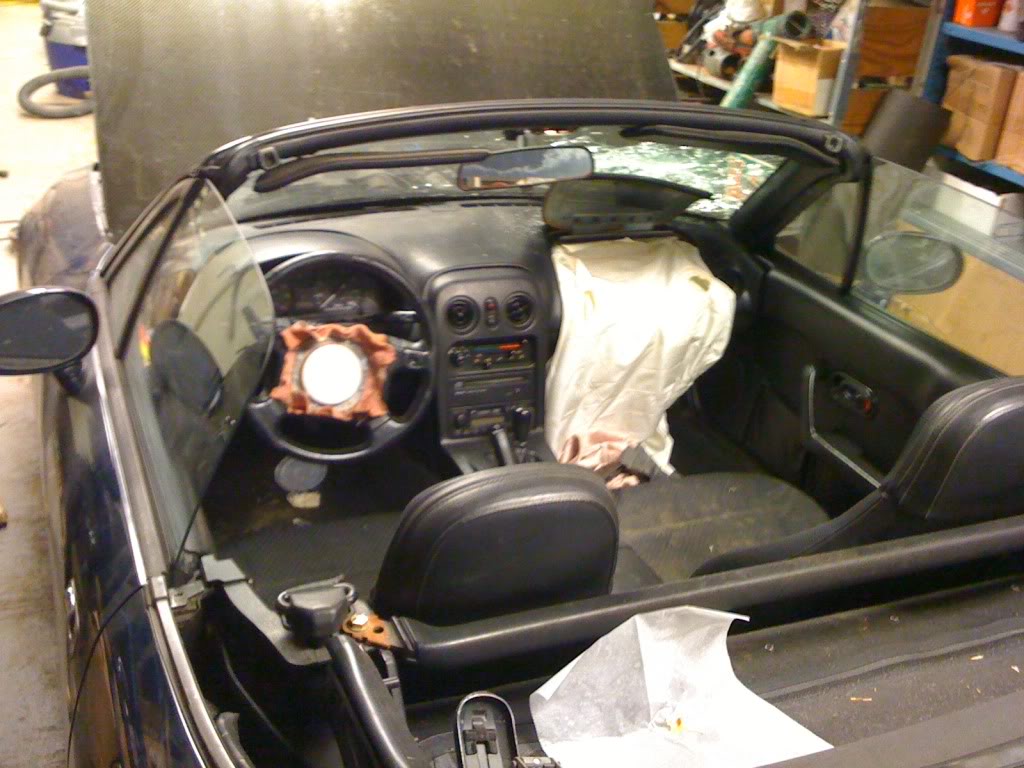
AIRBAGS Work.
Getting ready for the whoring of the parts off the wrecked car.
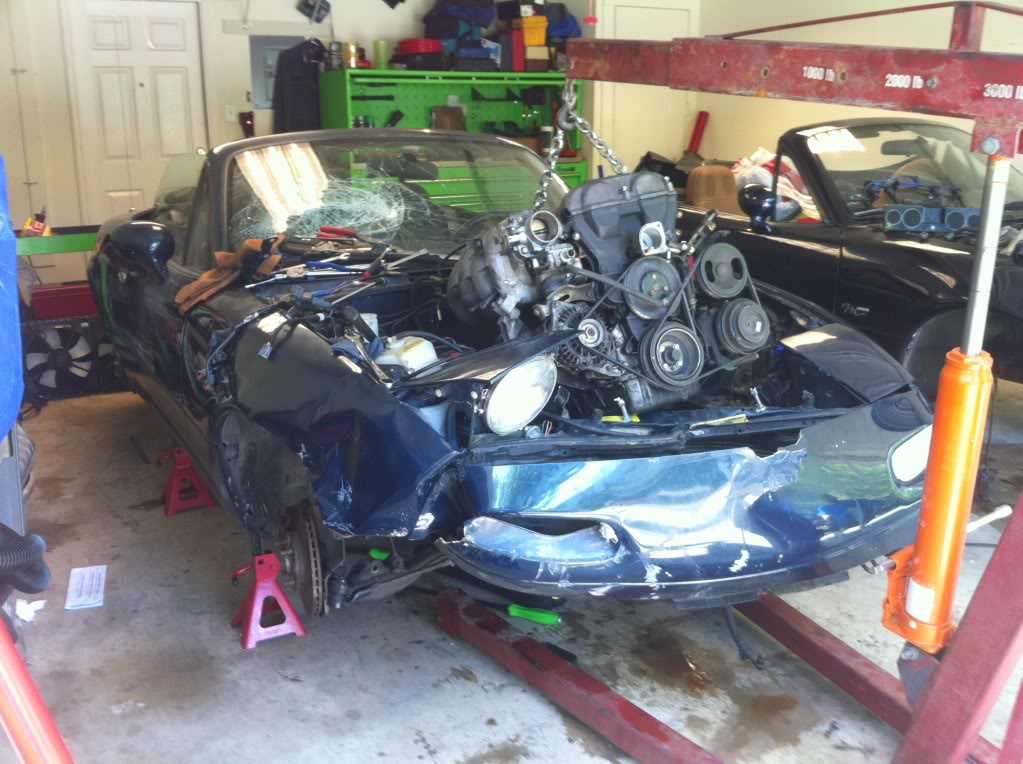
Motor almost out.
Motor almost out.
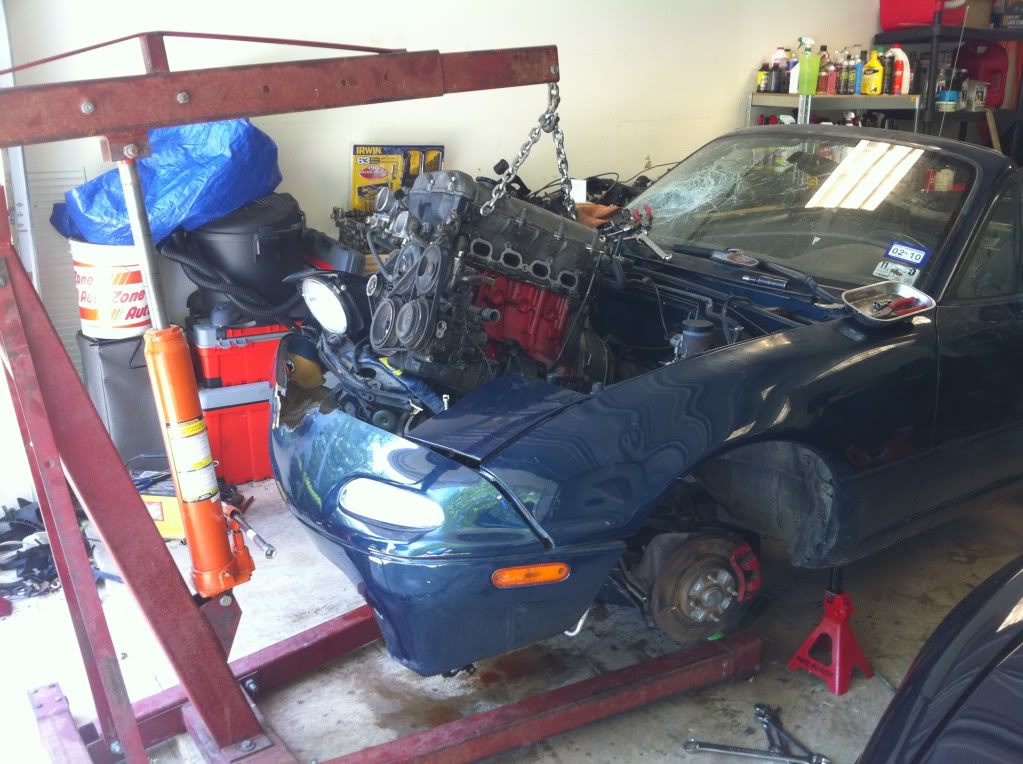
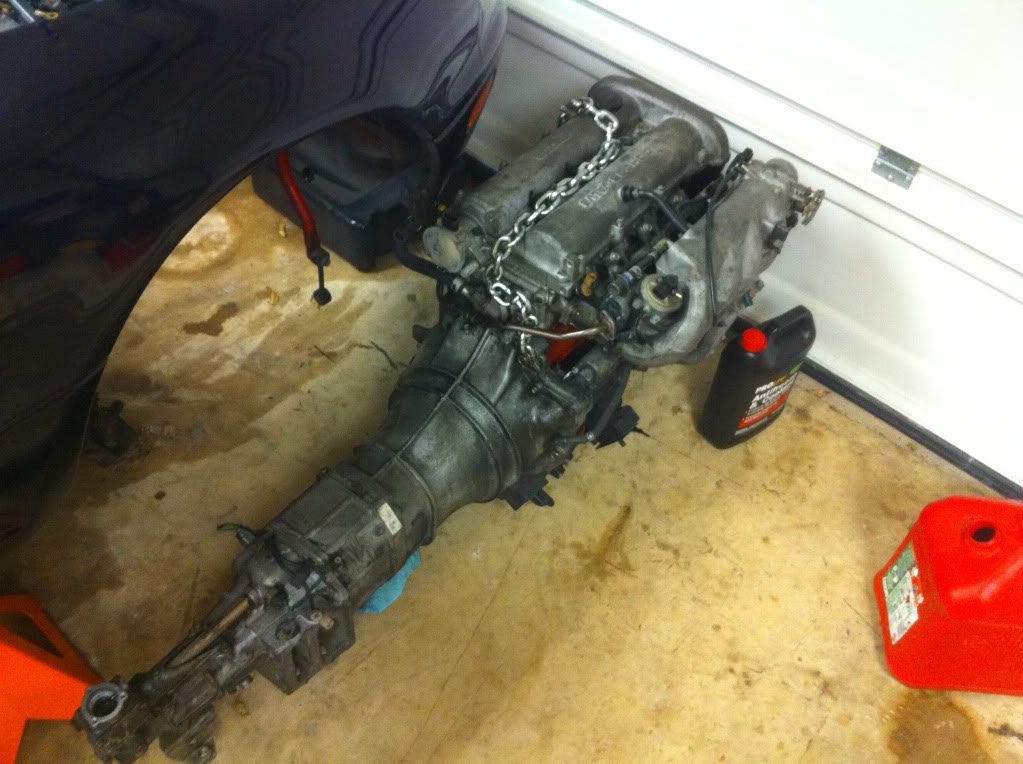
Motor out.
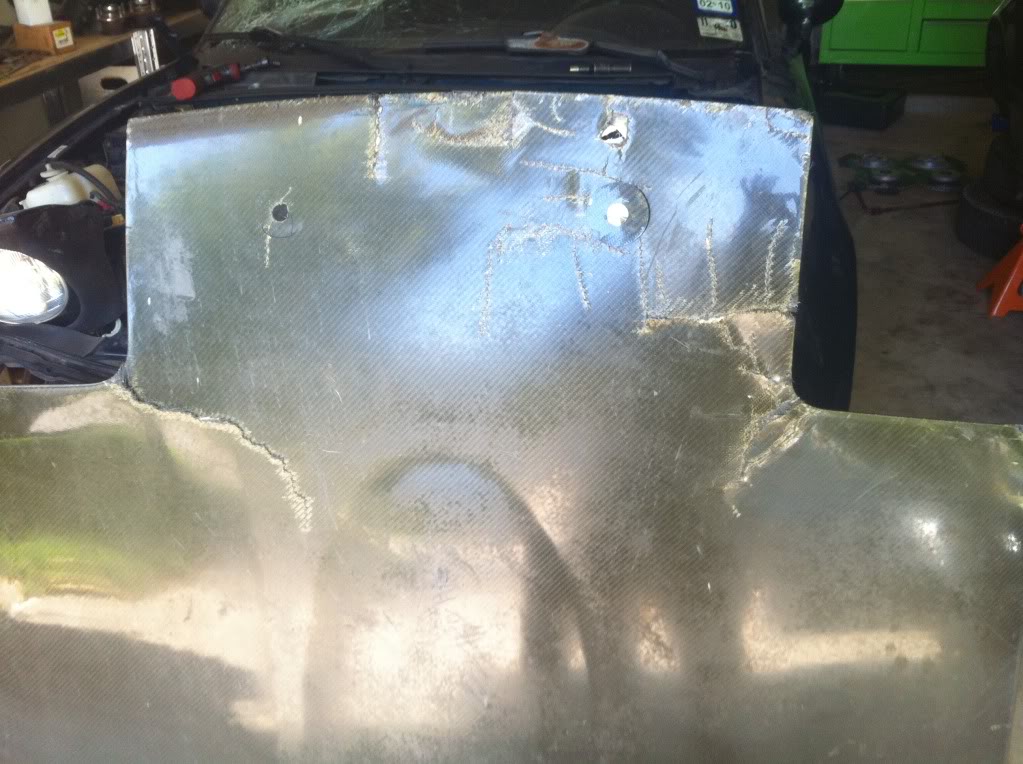
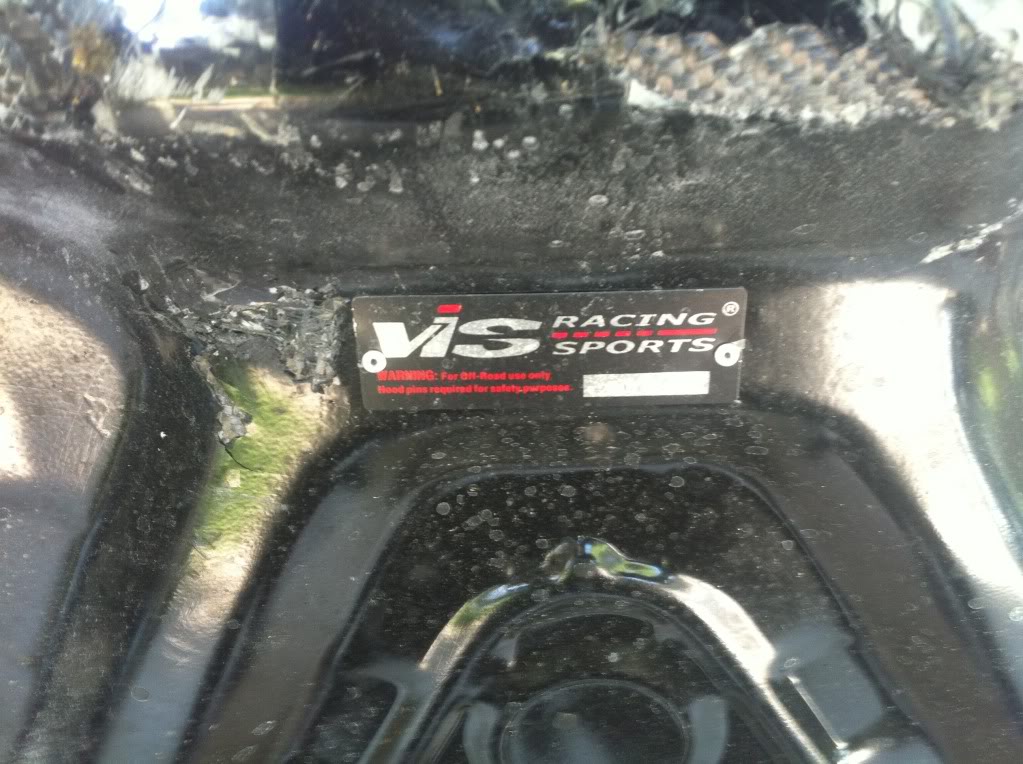
VIS carbon fiber hood destroyed.
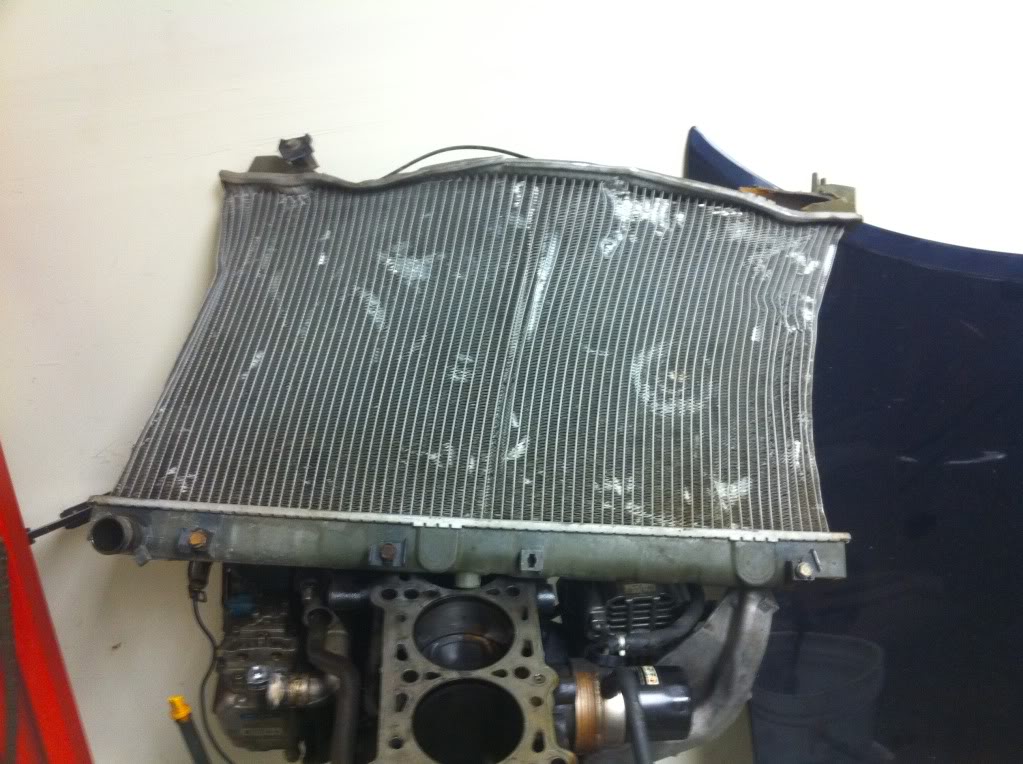
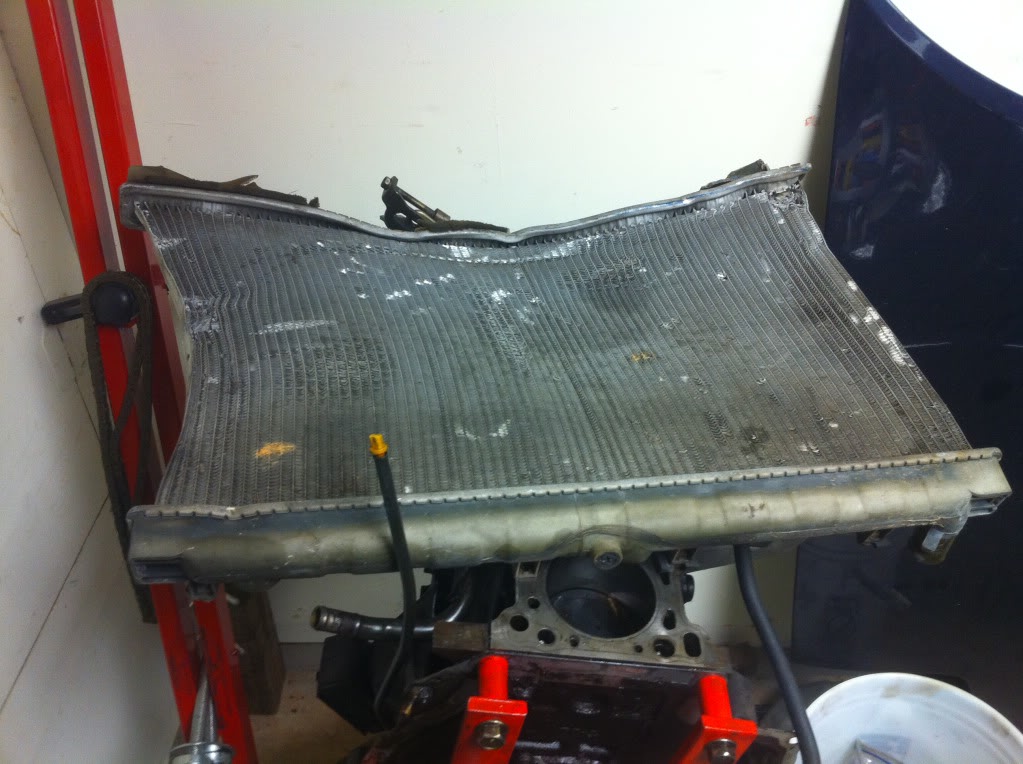
Radiator, Ouch.

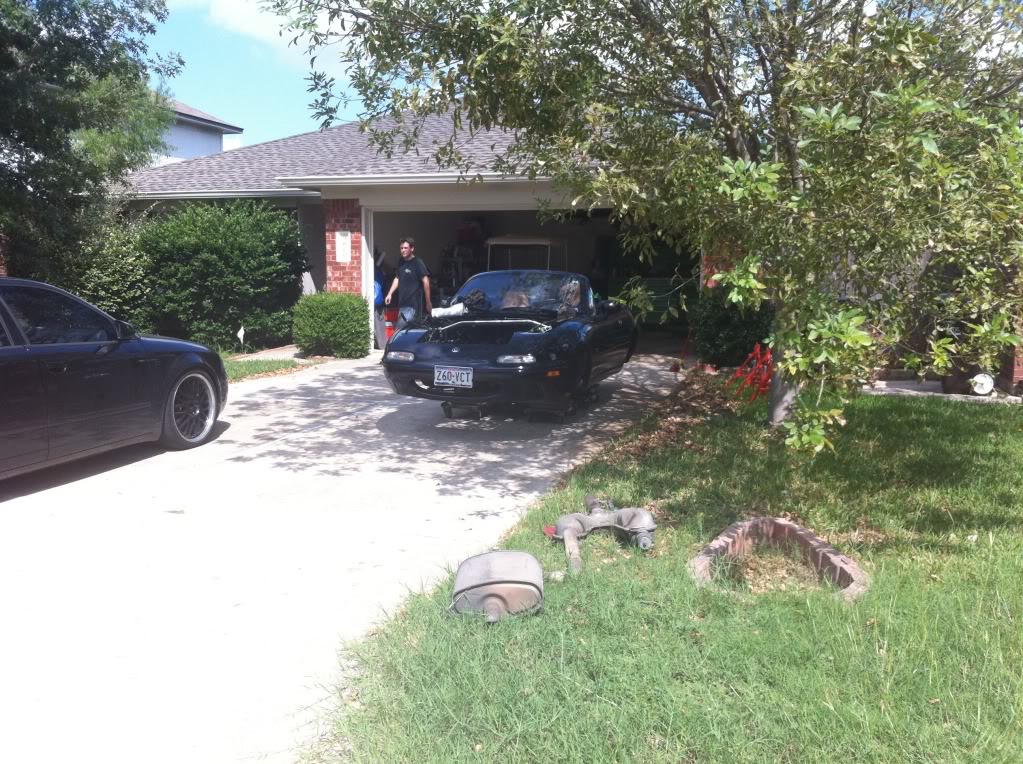
Saying goodbye to the first miata. So Sad.
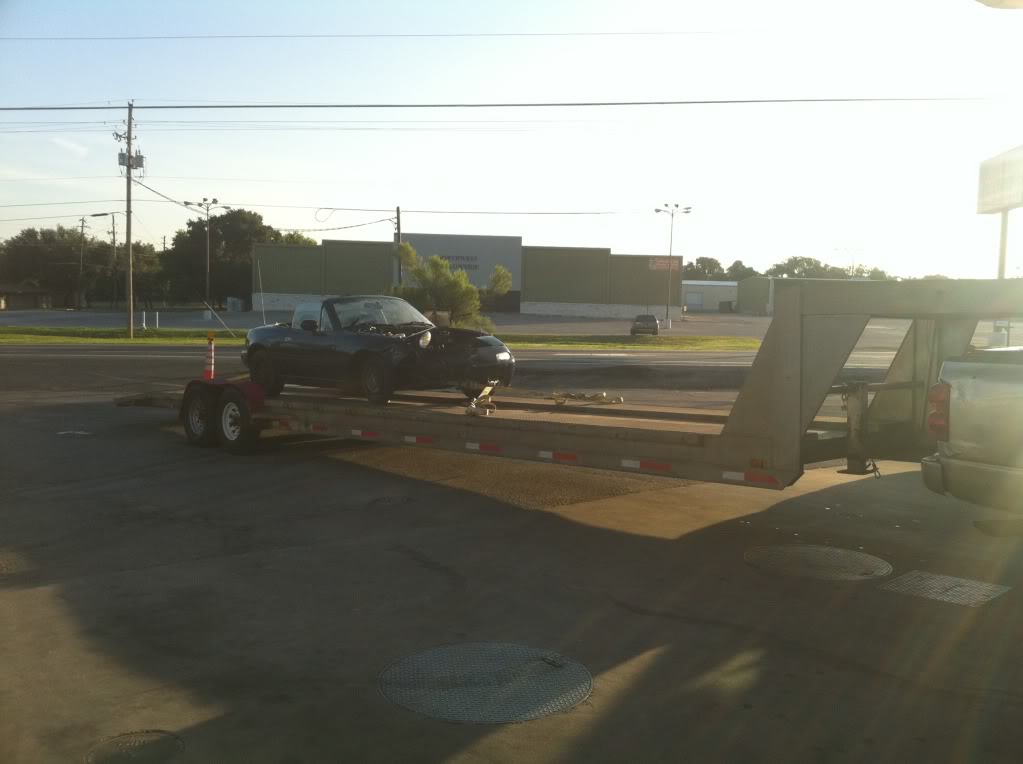
40’ gooseneck towing a 9 foot car.
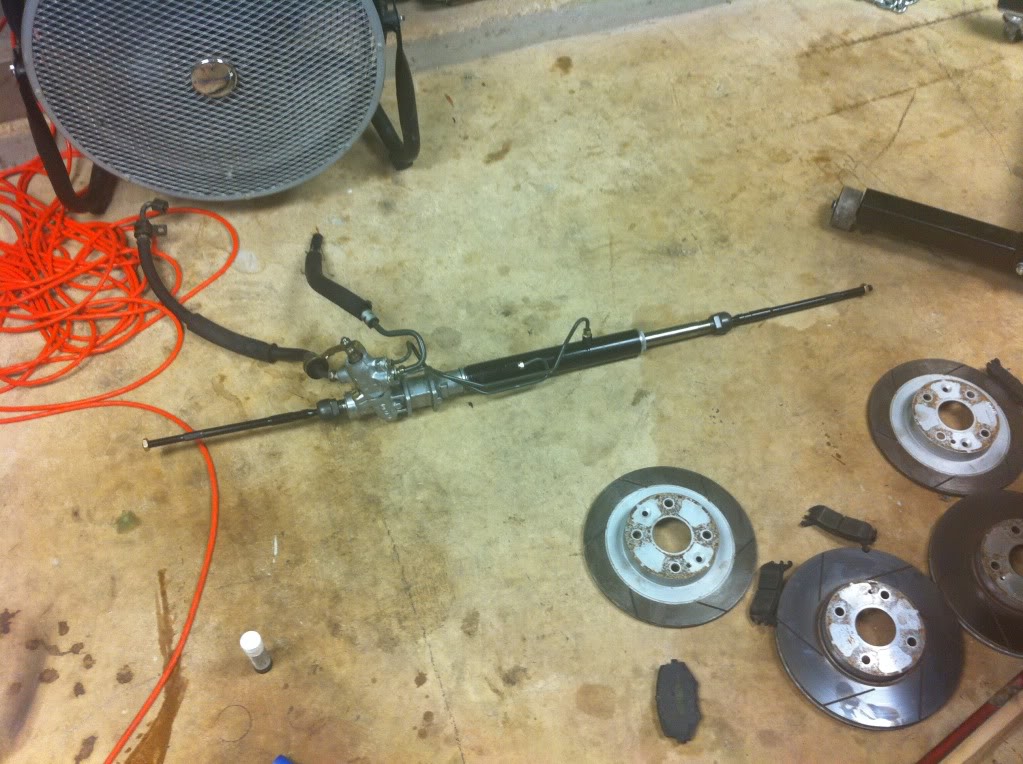
Secret Element tie rod ends installed.
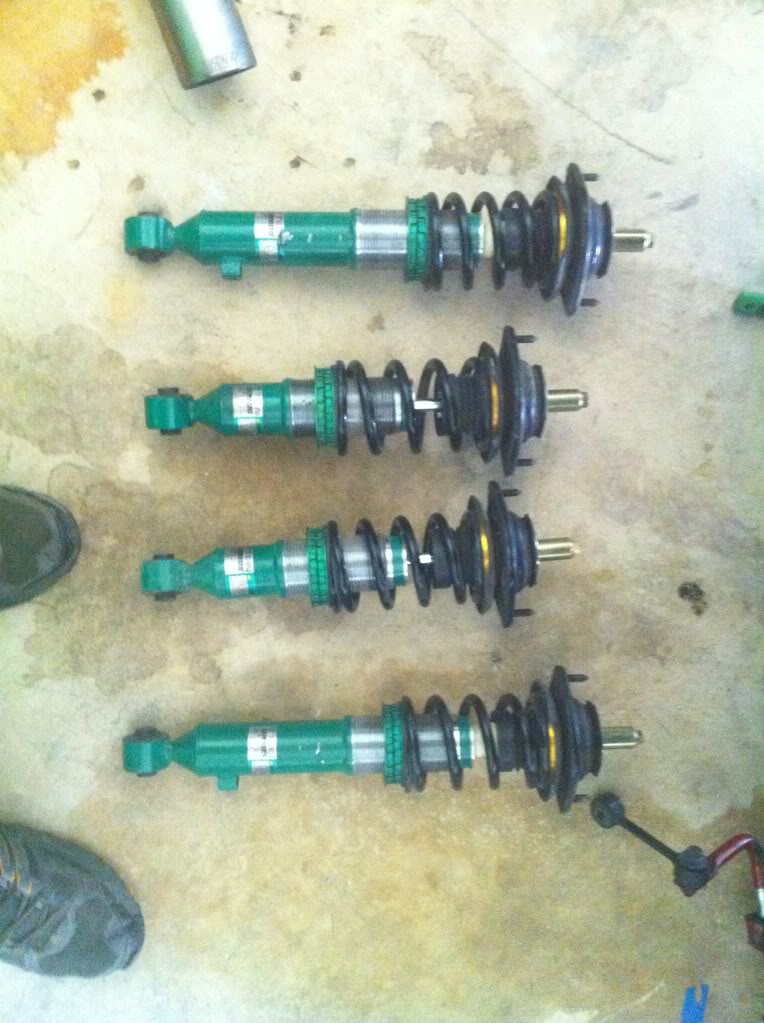
Tein Coilovers.
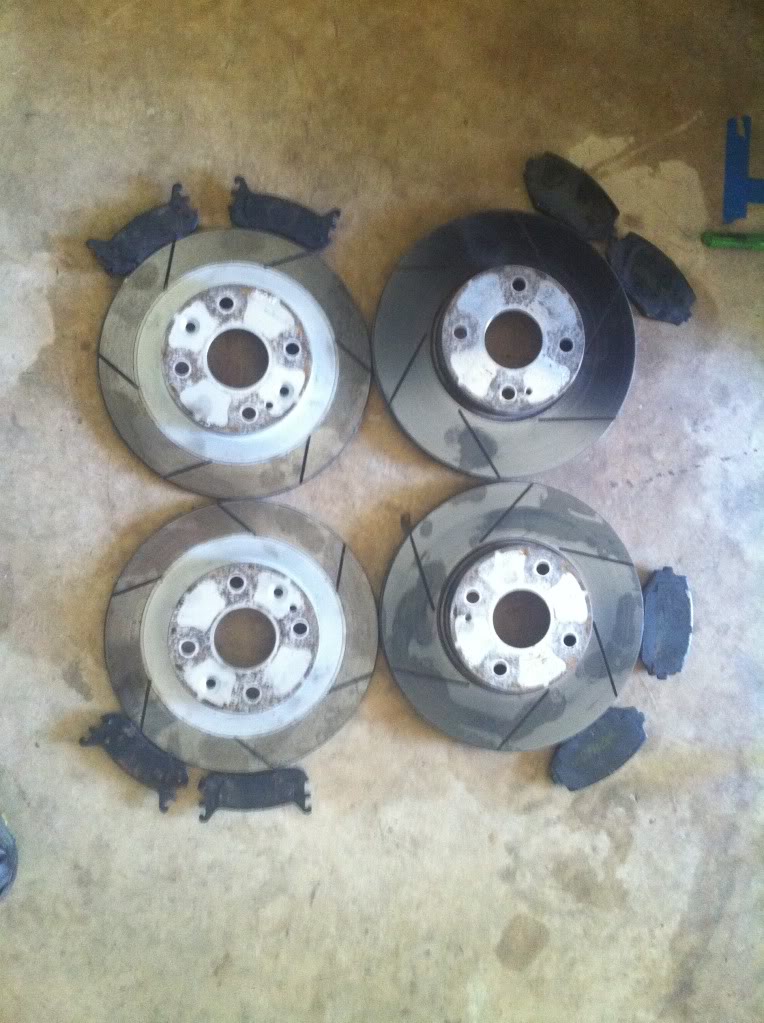
Brembo rotors, and Hawk pads.
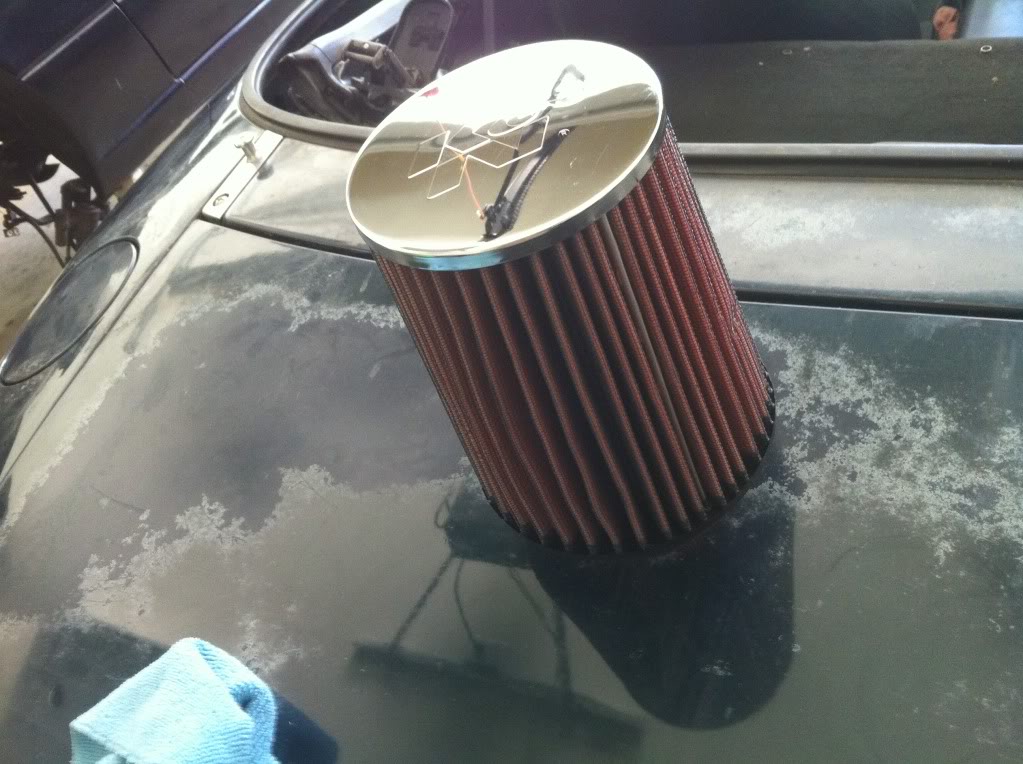
K&N for Free. Pays to work at an autoparts store. ( I did not steal it, display)
Boss frog Clear view.
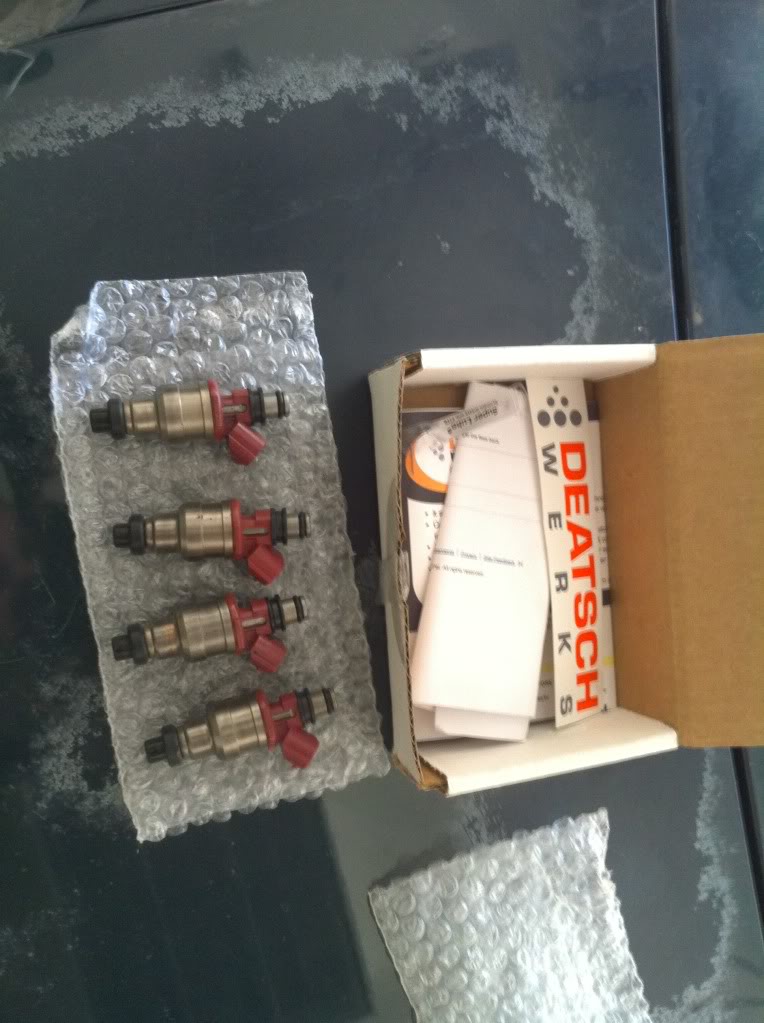
550cc RX7 turbo injectors cleaned and flow tested by Deatsch Werks.
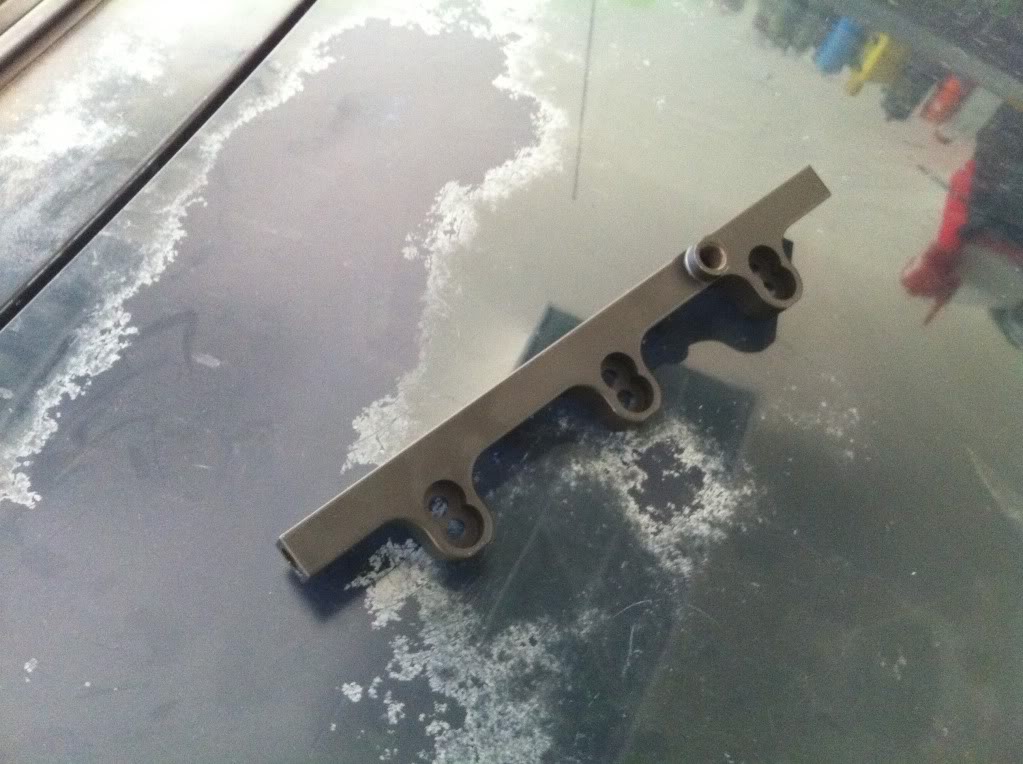
SSC Dual feed fuel rail.
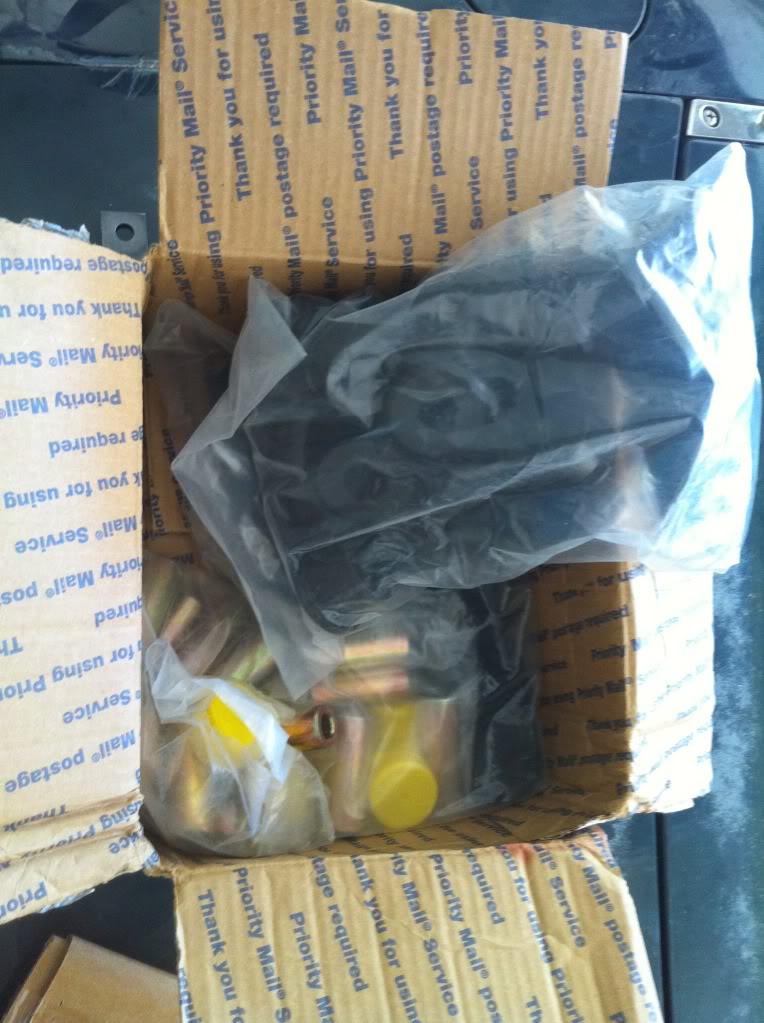
Energy Suspensions bushing kit.
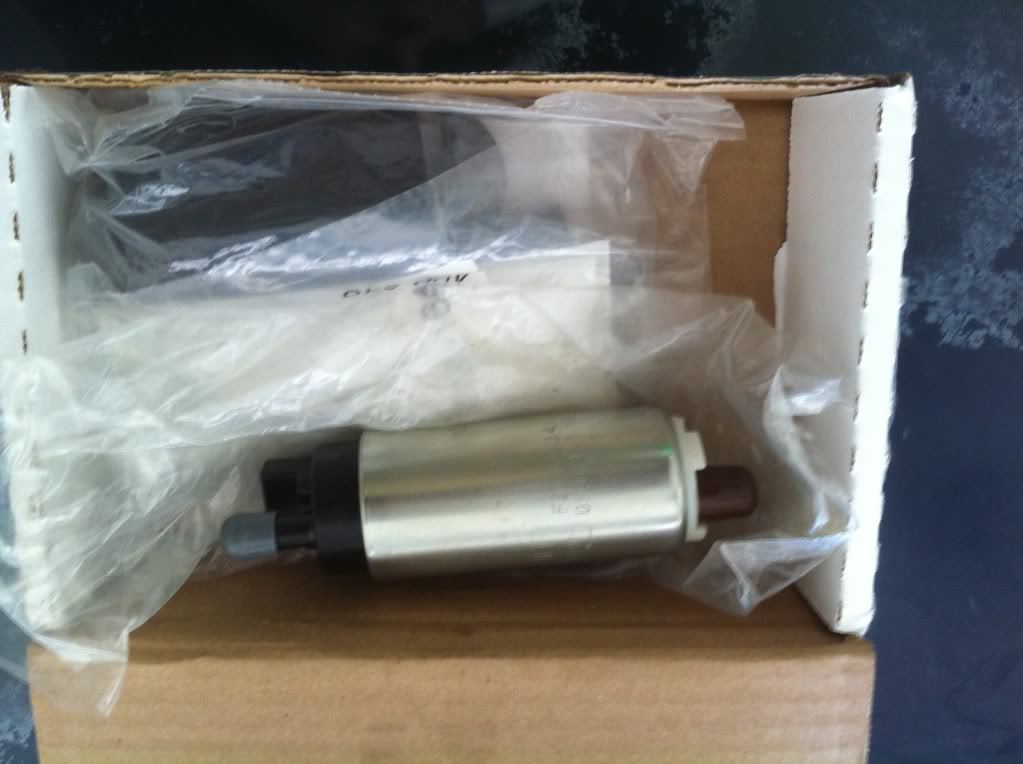
Warbro 190hp.
Ishihara-Johnson Crank Scraper.
Any advise, comments, or concerns would helpful.
Thanks, and enjoy.
Its not anything special, but I figured as much as I like reading other build threads
regardless of what was done, I decided to do my own.
So to recap my introduction,
Bought first Miata with forged motor, and a bunch of BNIB parts,
Built Miata,
Friend wrecked Miata,
Bought 2nd Miata,
Striped and sold first Miata,
Stripped 2nd Miata.
And this is where the build starts. It won’t happen overnight as I’m getting married in February,
but I will be working on it and making it my own as quick as I can. Some might not like my paint
scheme, but I couldn’t give a s#!t. I like Green (as you can see through my toolbox) so I am
going to incorporate it throughout and I have seen yall’s option on the color.
Miata starts as a ’96 M Edition.
The lower control arms are getting blasted and powder coated Tein green to match the coilovers.
The car will be painted either Audi Dolphin grey, or Nissan Storm grey. The wheels will be black
15x9 6UL’s wrapped in 225’s. The goal is 300-350 whp all around street, track car with little strip time.
First Miata before crash.
After Crash.
New Miata finally in my garage.
New Miata engine bay.
T28
Head off!
Hole in piston.
Taking the motor out.
Completely gutted drive train and suspension.
New lights for FREE. (It pays to have an electrician for a dad)
Parts ready for sandblasting and powder coating.
The #3 piston .
AIRBAGS Work.
Getting ready for the whoring of the parts off the wrecked car.
Motor almost out.
Motor almost out.
Motor out.
VIS carbon fiber hood destroyed.
Radiator, Ouch.
Saying goodbye to the first miata. So Sad.
40’ gooseneck towing a 9 foot car.
Secret Element tie rod ends installed.
Tein Coilovers.
Brembo rotors, and Hawk pads.
K&N for Free. Pays to work at an autoparts store. ( I did not steal it, display)
Boss frog Clear view.
550cc RX7 turbo injectors cleaned and flow tested by Deatsch Werks.
SSC Dual feed fuel rail.
Energy Suspensions bushing kit.
Warbro 190hp.
Ishihara-Johnson Crank Scraper.
Any advise, comments, or concerns would helpful.
Thanks, and enjoy.
Reply
 0
0

0


Thread Starter
Joined: Dec 2008
Posts: 736
Total Cats: 8
From: Austin, TX
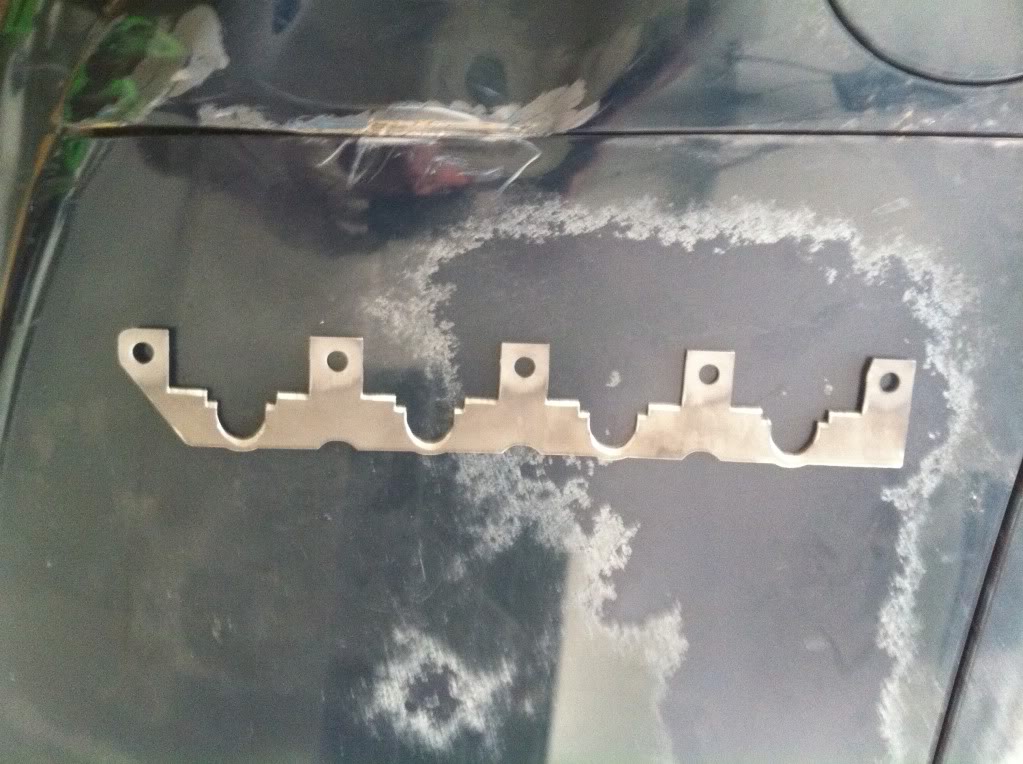
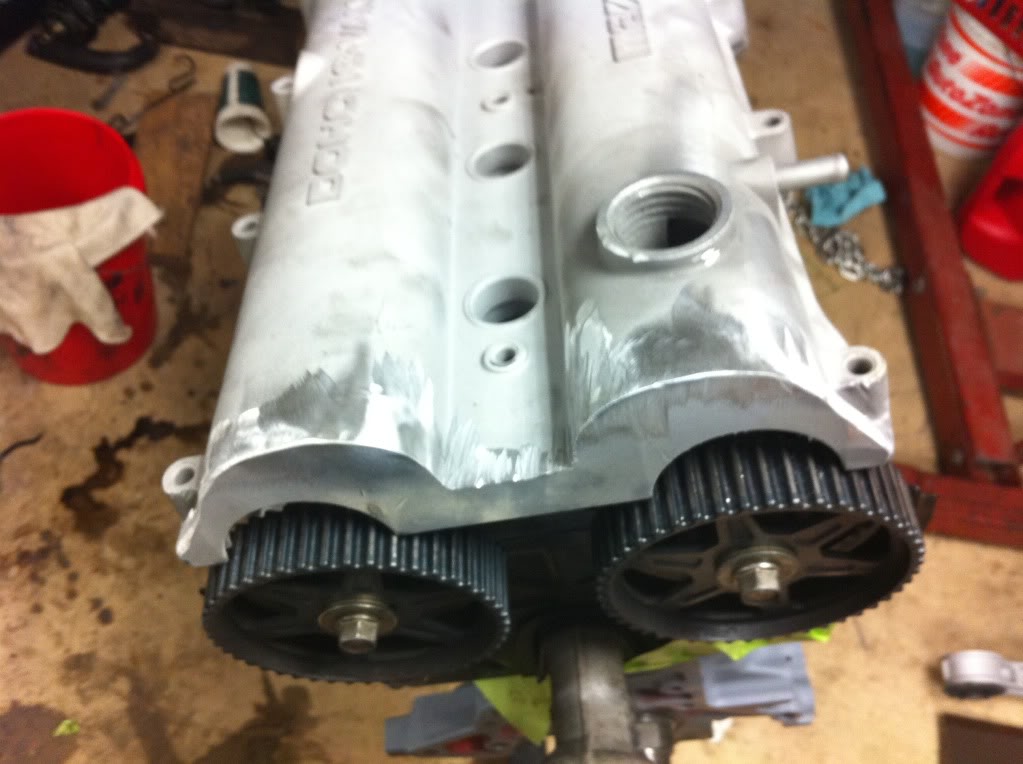
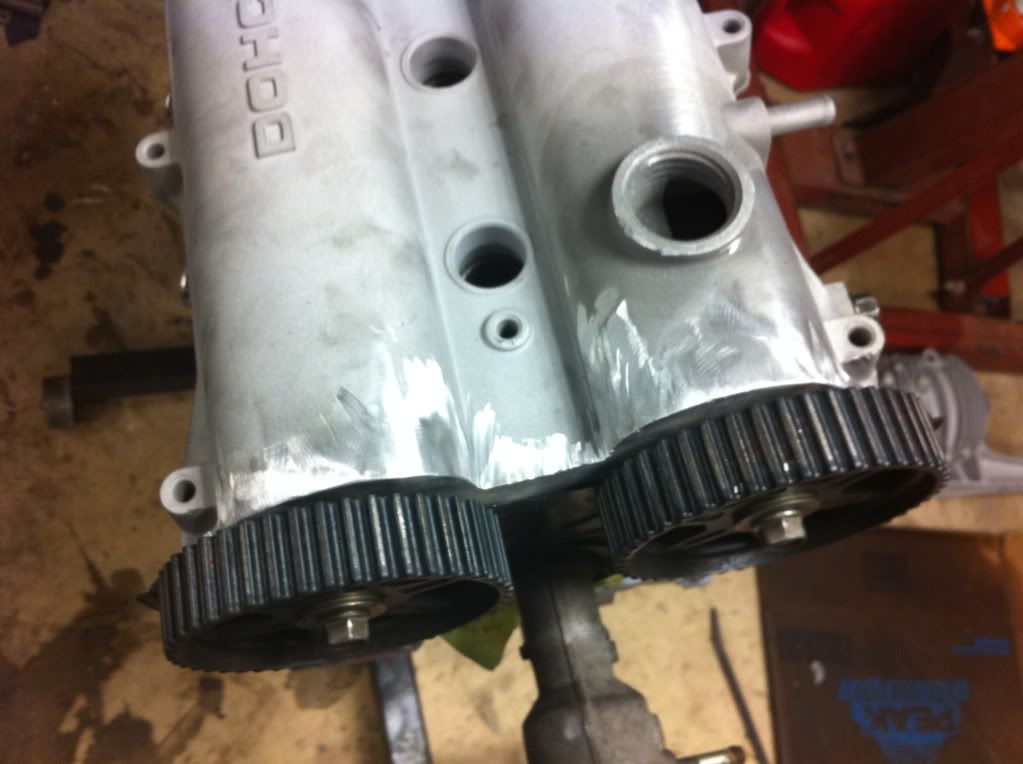
Here is the beginning stages of the exposed gear valve cover.
And the engine primered and ready for paint.
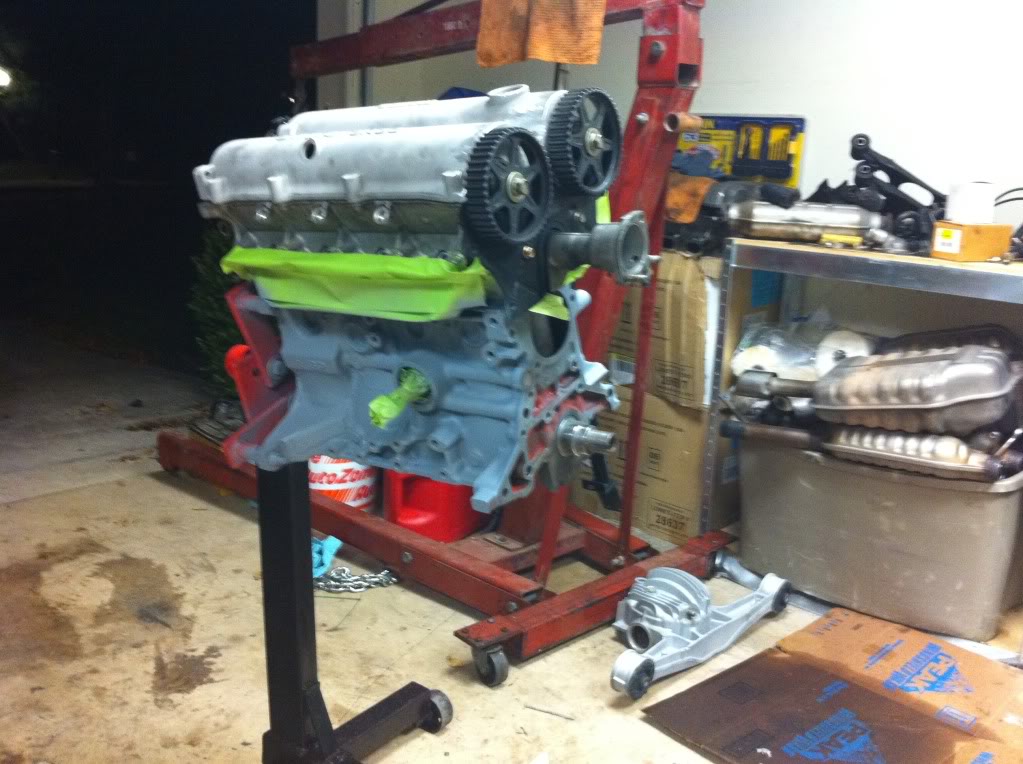
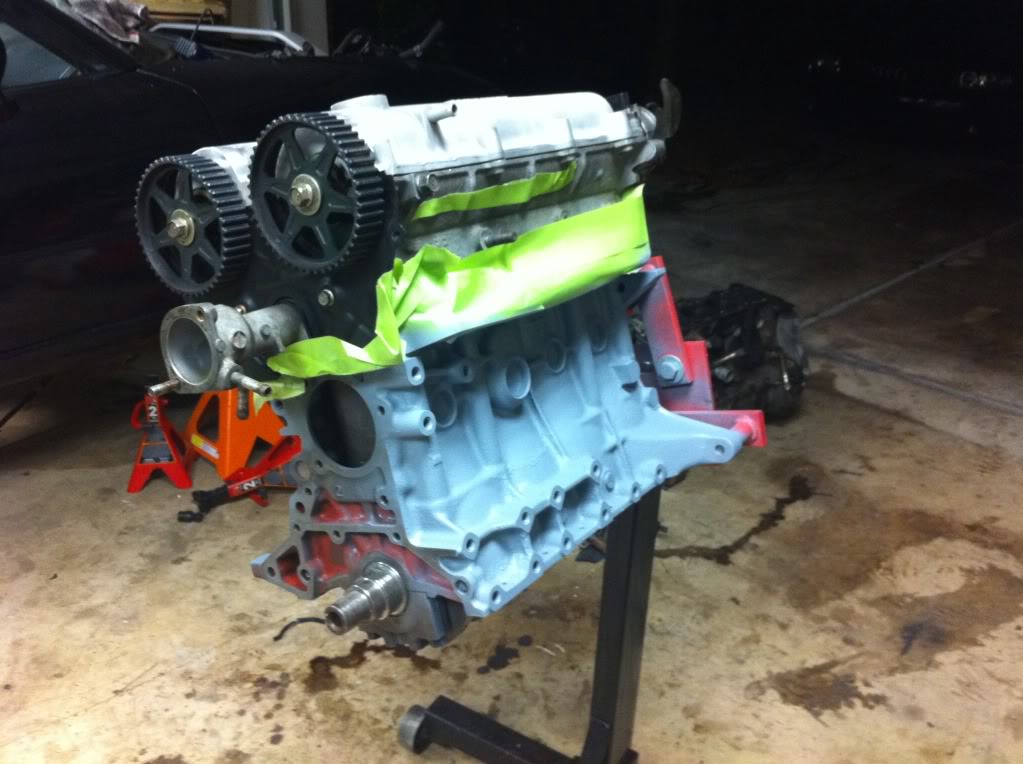
What color should I paint the engine. The car will be dark grey and the sus. is green. They don't make the tein green in engine paint, and anything that is green on the car has to match the sus. or I'm not doing it. So aside from a different green, what color should I paint it.
And the engine primered and ready for paint.
What color should I paint the engine. The car will be dark grey and the sus. is green. They don't make the tein green in engine paint, and anything that is green on the car has to match the sus. or I'm not doing it. So aside from a different green, what color should I paint it.
Reply
0
0

Whatever color you paint it, do yourself a favor and put the oil pan on. Also, take the time to tape up any mating surfaces. Looks like you have over spray all the way to the nose on your crank. of course that's just my opinion.
Reply
0
0