
The custom fabrication thread! (Post pics of stuff you have made)
 05-21-2014, 03:16 PM
#781
Elite Member
iTrader: (8)

Join Date: Dec 2008
Location: Kingston, Ontario
Posts: 2,910
Total Cats: 51
The IB app sucks for small pics.
Picture of the completed intake manifold.
 FE3 Miata intake manifold by HellaFab, on Flickr
 Fe3 overview by HellaFab, on Flickr
Picture of the completed intake manifold.
FE3 Miata intake manifold by HellaFab, on FlickrFe3 overview by HellaFab, on Flickr

Reply
 1
1

1
 05-22-2014, 01:02 PM
#783
Elite Member
iTrader: (8)
Join Date: Dec 2008
Location: Kingston, Ontario
Posts: 2,910
Total Cats: 51
Uses a BP4 throttle body, but there is enough space on the flange to be ported should the owner want to upgrade to a skunk2 at some point.
Lots of volume in the plenum and the runner length should match the turbo characteristics quite well.
Lots of volume in the plenum and the runner length should match the turbo characteristics quite well.
Reply
0
0
06-09-2014, 02:55 AM
#784
regretted letting a friend borrow my trans jack years ago and never got it back, so i fabbed my own out of a old craftsman floor jack, scrap angle beam, and a **** flux core welder.
Its the best I could do in a pinch, but i made it. All eye balled measured with test fits.
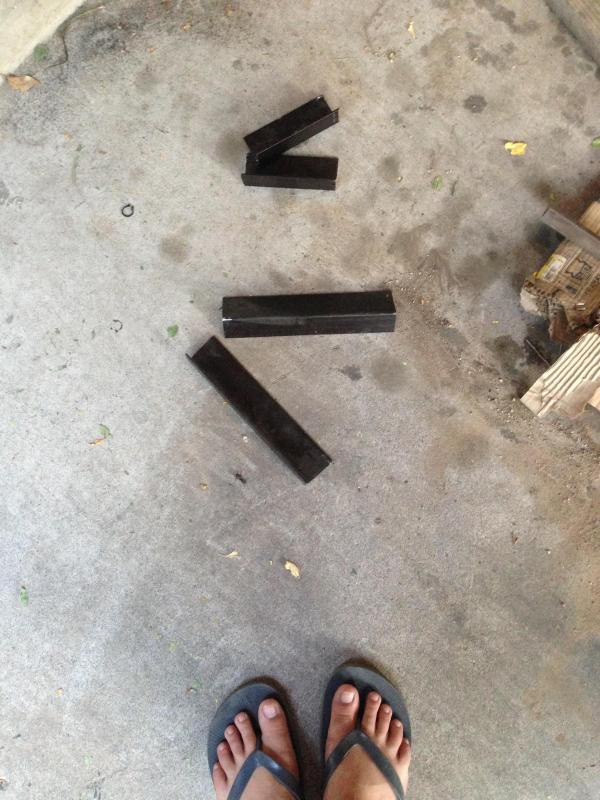
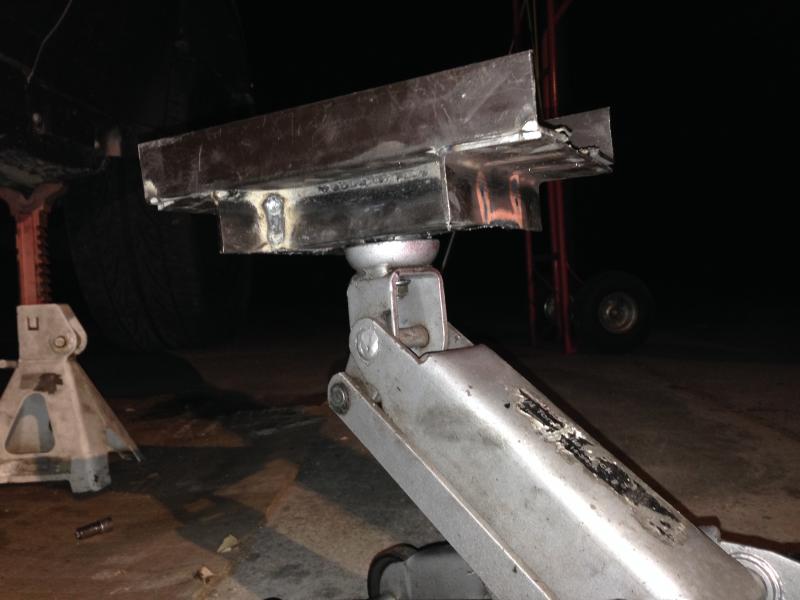
Its the best I could do in a pinch, but i made it. All eye balled measured with test fits.
Reply
0
0
06-24-2014, 01:30 AM
#785

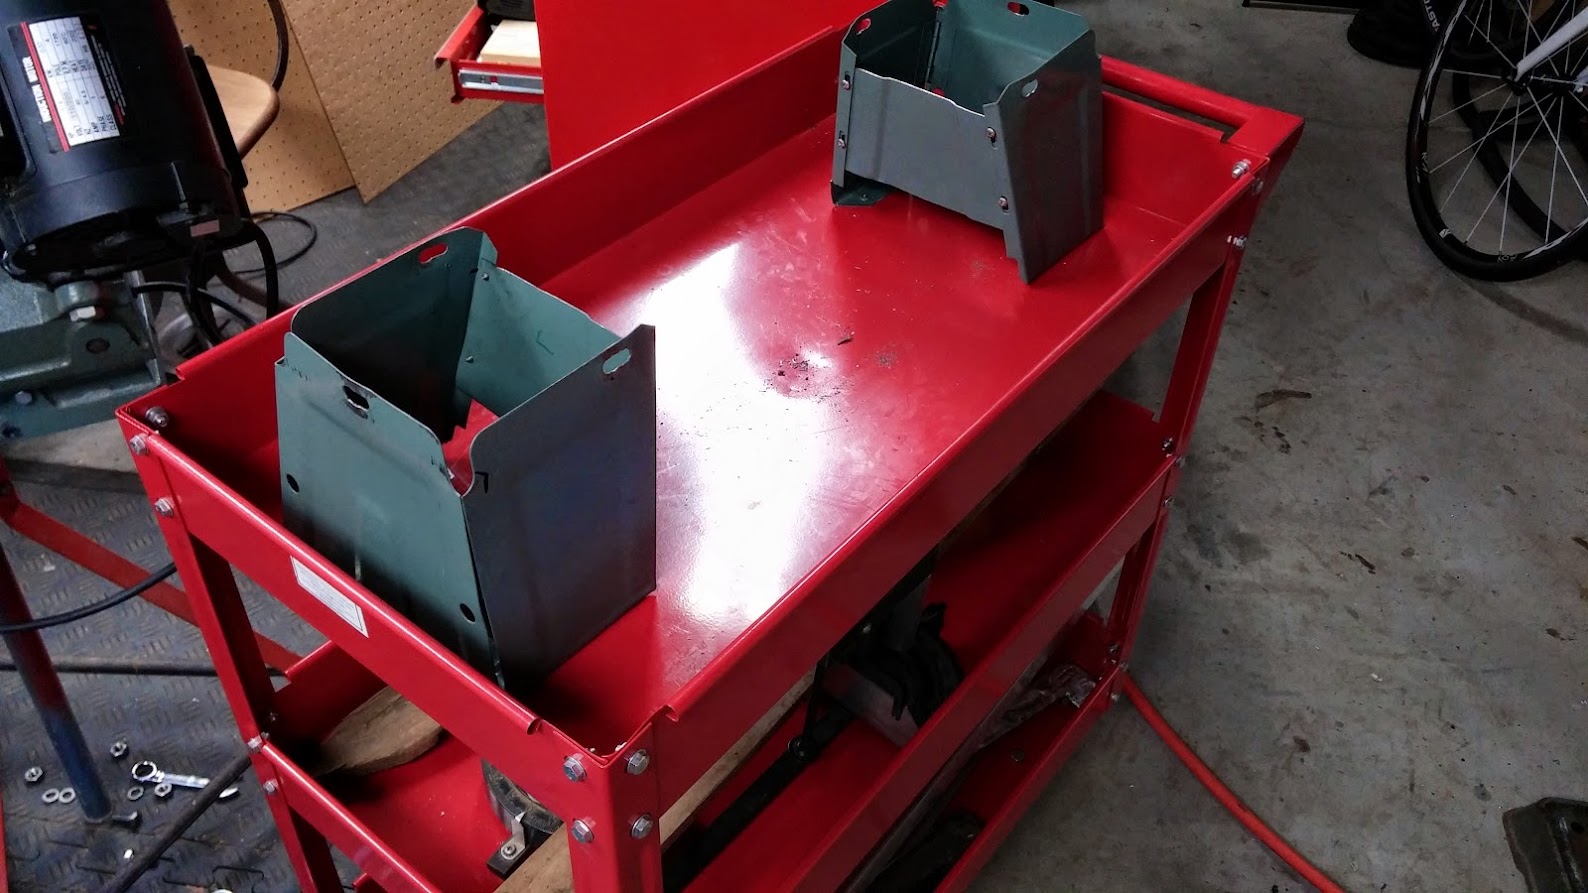
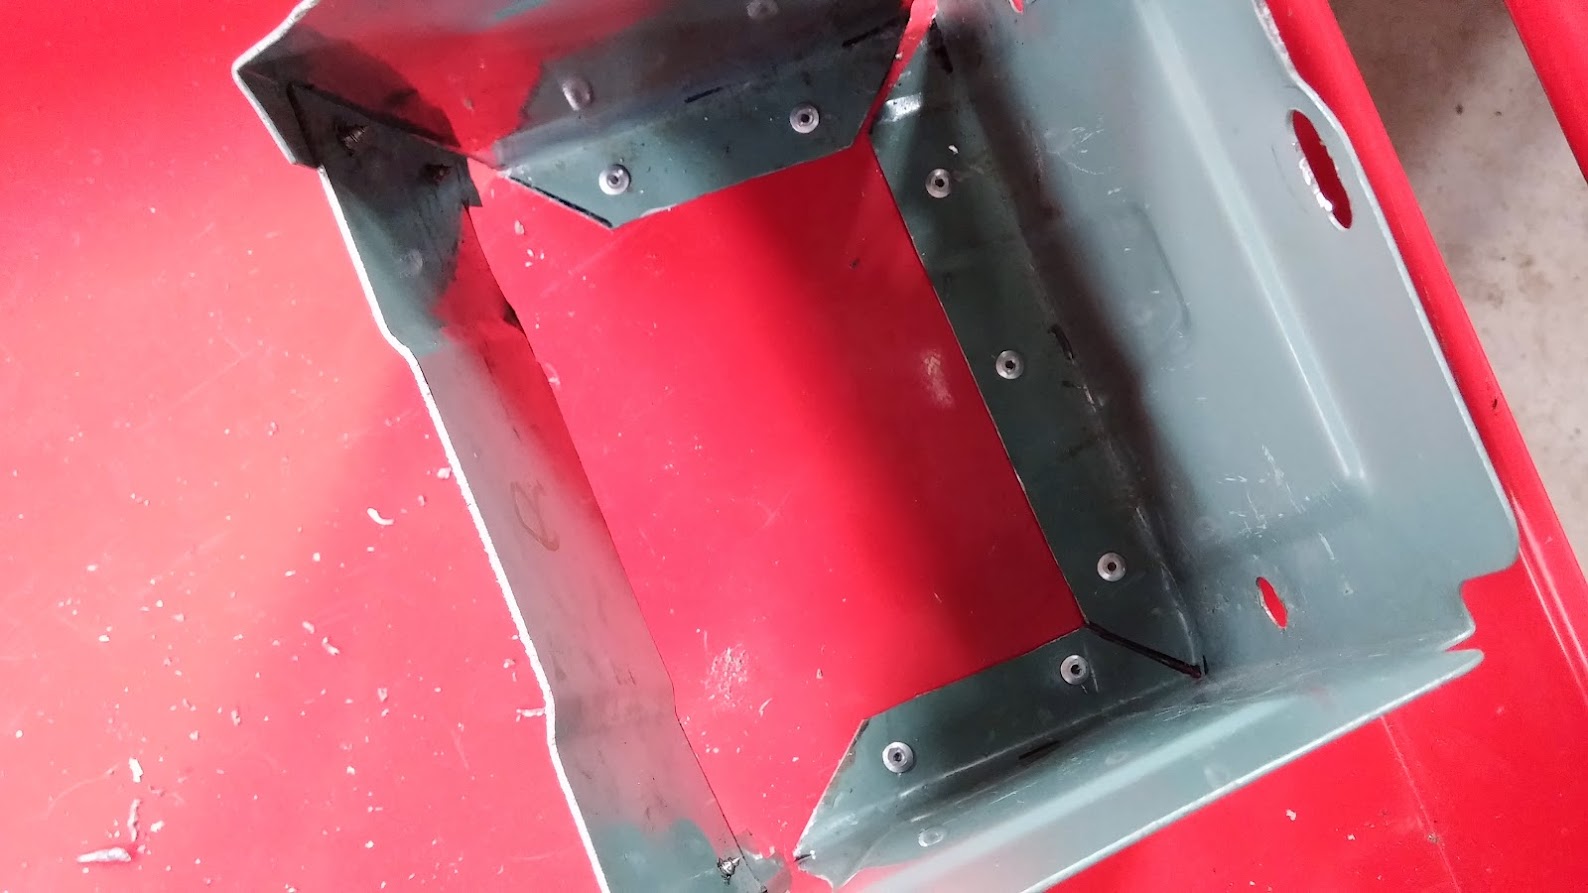
I found the legs on my 4x6 bandsaw to be the worst part of the saw. I cut them down and mounted it to a cart. I didn't see anyone else doing this so I figured I would share. Sheet metal is not my thing so the work is a little rough.
Very stable and now I have everything I need to make a flood coolant setup. I already had the pump, just have to hook it up.
I realize these photos aren't the best, but you get the idea. I can take more.

Very stable and now I have everything I need to make a flood coolant setup. I already had the pump, just have to hook it up.
I realize these photos aren't the best, but you get the idea. I can take more.
Reply
1
1
06-24-2014, 09:18 AM
#787

I tried tigging aluminum for the first time yesterday. I do not dare post pictures of the result. Had a lot of trouble getting a puddle started and maintaining an appropriate size. Only my second time attempting to use any form of welding though, and first time not using mild.
Reply
0
0
06-24-2014, 09:29 AM
#788
Elite Member
iTrader: (8)
Join Date: Dec 2008
Location: Kingston, Ontario
Posts: 2,910
Total Cats: 51
TIG weld?
Try running a dry bead. so light up the torch, hold it there until you see the aluminum get shiney (hot enough for filler) and then move the path with no filler (don't do it on a joint though, it wont work. Do this in the middle of a piece of plate)
trick with welding (aluminum especially) is reading the puddle. aluminum is easy to read. you see it shine, wait just a second and it will start to keyhole. in the time between shiney and keyhole you dip and move on. Im not as good as some at aluminum, but that has gotten me good results with nice penetration.
Reply
0
0
 06-24-2014, 09:51 AM
#790
TIG weld?
Try running a dry bead. so light up the torch, hold it there until you see the aluminum get shiney (hot enough for filler) and then move the path with no filler (don't do it on a joint though, it wont work. Do this in the middle of a piece of plate)
trick with welding (aluminum especially) is reading the puddle. aluminum is easy to read. you see it shine, wait just a second and it will start to keyhole. in the time between shiney and keyhole you dip and move on. Im not as good as some at aluminum, but that has gotten me good results with nice penetration.
Try running a dry bead. so light up the torch, hold it there until you see the aluminum get shiney (hot enough for filler) and then move the path with no filler (don't do it on a joint though, it wont work. Do this in the middle of a piece of plate)
trick with welding (aluminum especially) is reading the puddle. aluminum is easy to read. you see it shine, wait just a second and it will start to keyhole. in the time between shiney and keyhole you dip and move on. Im not as good as some at aluminum, but that has gotten me good results with nice penetration.
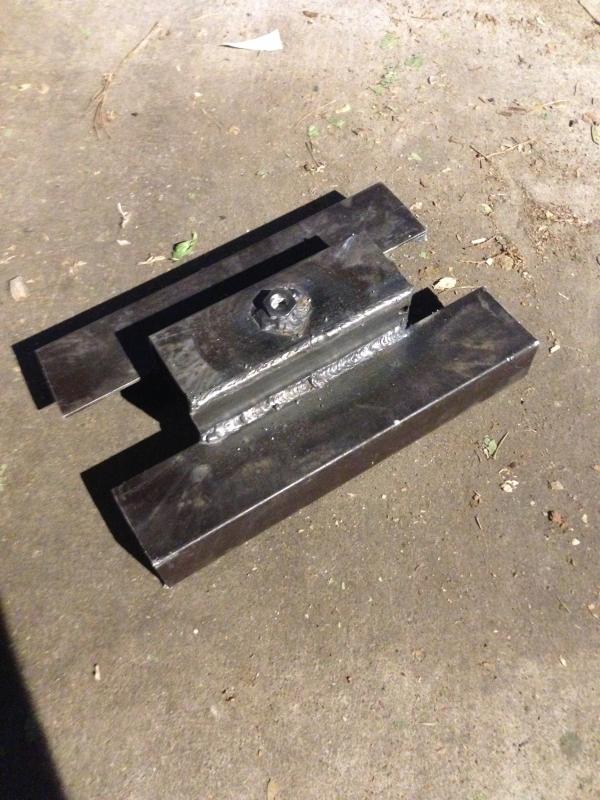
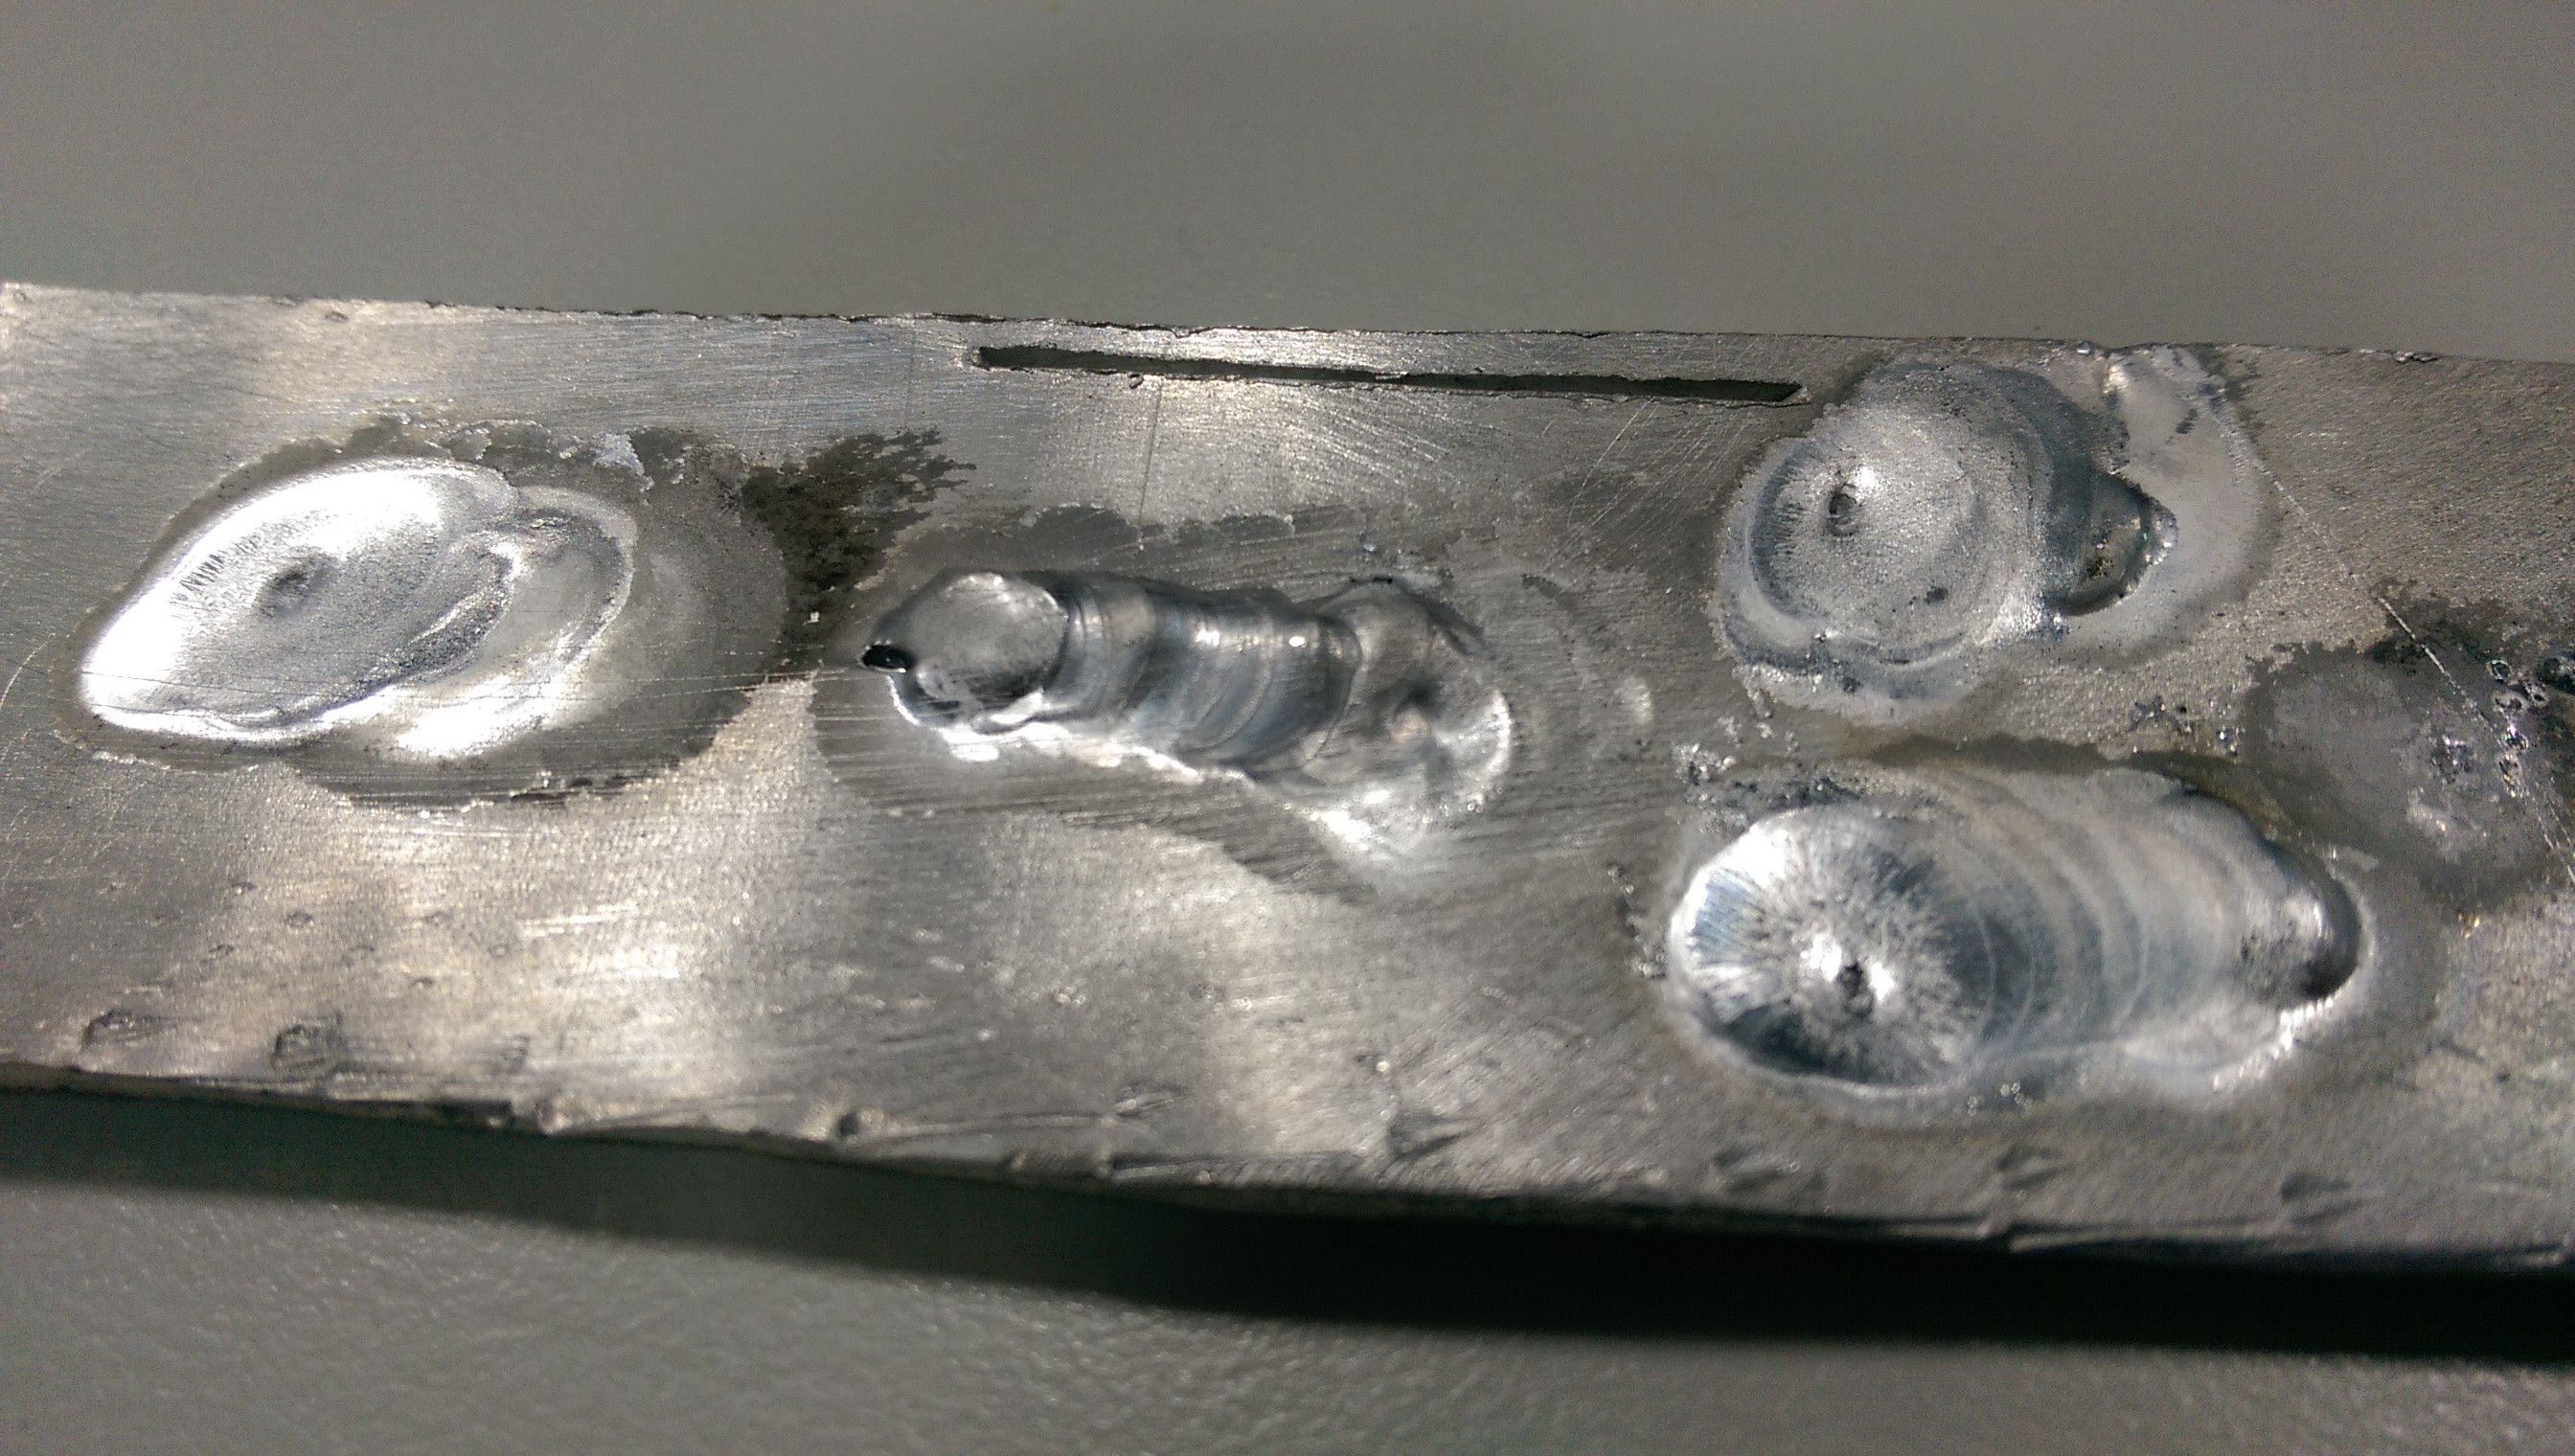
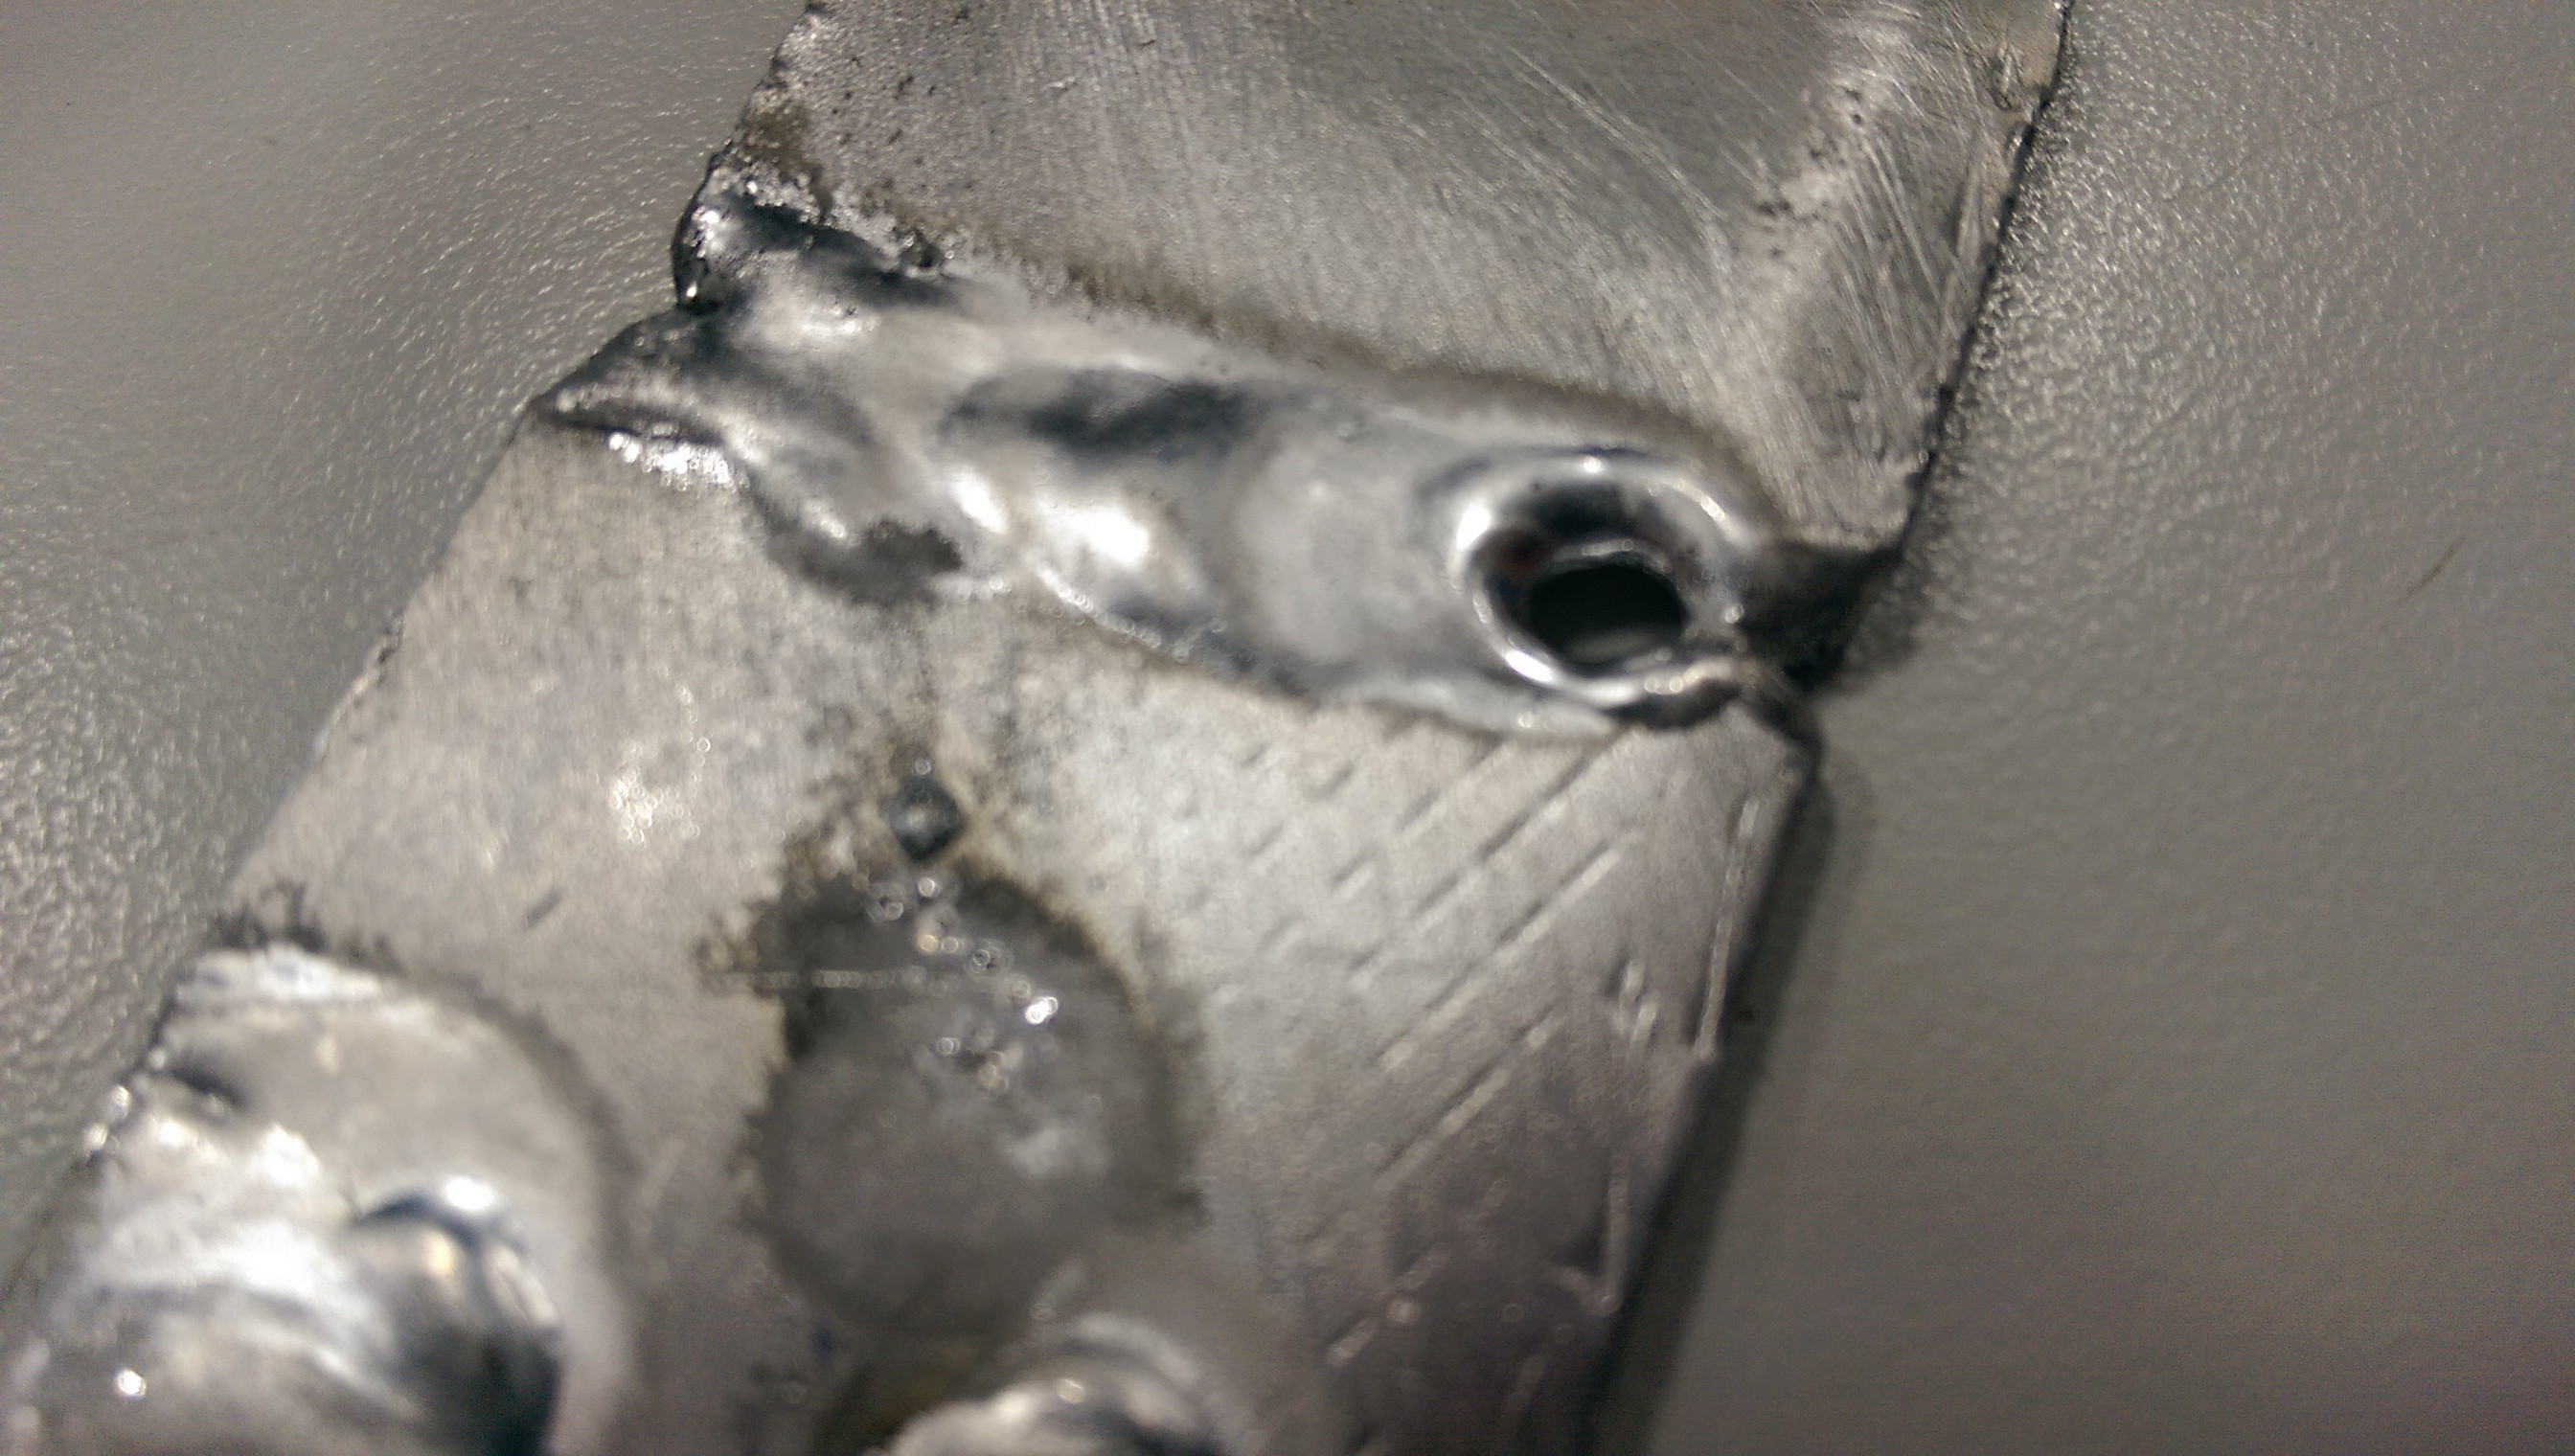
pics for constructive criticism
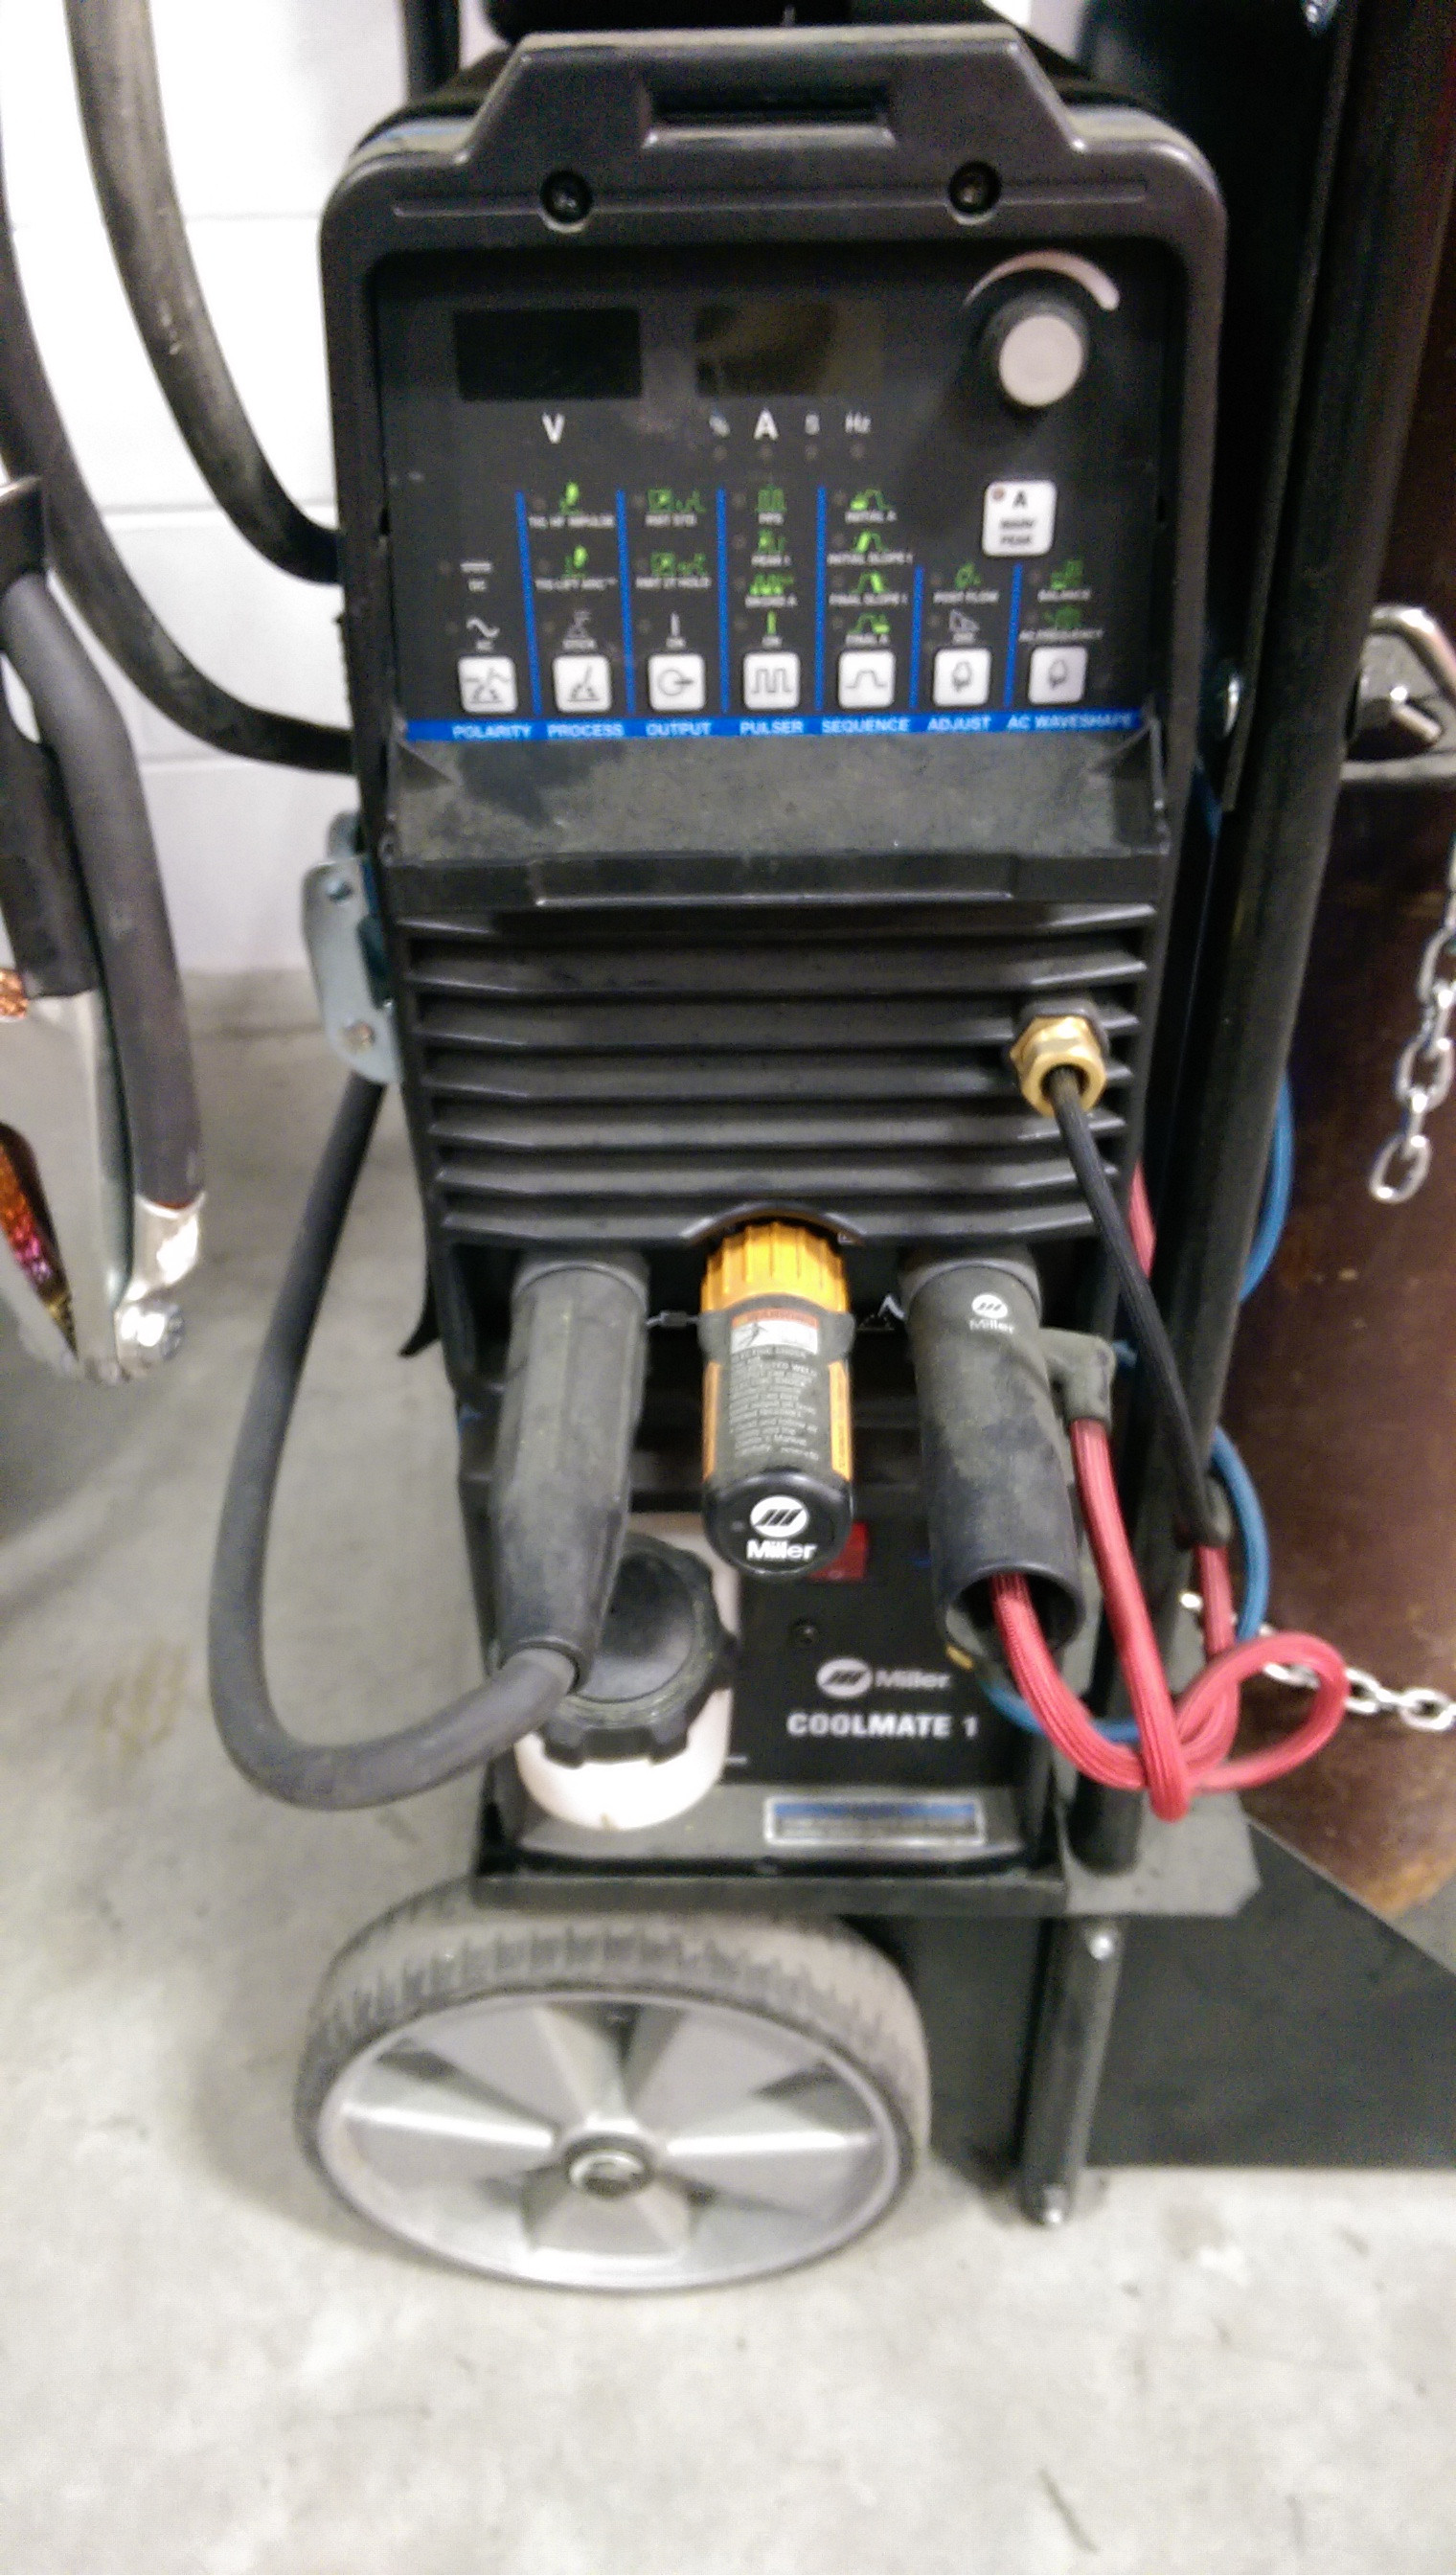
 Just my first attempts with pretty much no idea what I was doing. Also pic of the welder, meant to attach a picture of the settings I used but forgot. Though, I'm 70% sure the guy that got me setup set the amperate to 200A and told me to control it with my foot.
Also, did attempt one pathetic joint at the end. Also shown.
Reply
0
0
06-24-2014, 10:34 AM
#793
Elite Member
iTrader: (8)
Join Date: Dec 2008
Location: Kingston, Ontario
Posts: 2,910
Total Cats: 51
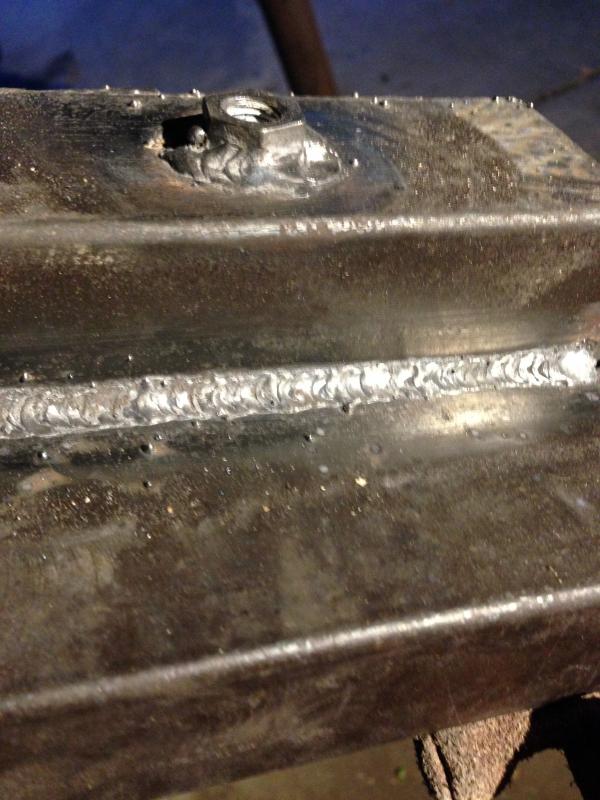
When you touch the tungsten to the metal or hit the filler rod on the hot tungsten, stop welding.
with aluminum especially, you will see it glinging to your tungsten and its making your welds look black in the etch zone. The only material that I have ever welded that turned black like that is cast aluminum that has been in service (oil pan, valve cover, transfer case, etc).
You should be able to keep a nice white band on your weld.
 HellaFab Turbo GXP intercooler kit by HellaFab, on Flickr
(Can you spot the dip? I stopped, cleaned the material and tungsten then continued on. Proper.)
Aluminum is great to learn on because it forces you to be clean with your material and tungsten or you get **** welds....
with aluminum especially, you will see it glinging to your tungsten and its making your welds look black in the etch zone. The only material that I have ever welded that turned black like that is cast aluminum that has been in service (oil pan, valve cover, transfer case, etc).
You should be able to keep a nice white band on your weld.
HellaFab Turbo GXP intercooler kit by HellaFab, on Flickr(Can you spot the dip? I stopped, cleaned the material and tungsten then continued on. Proper.)
Aluminum is great to learn on because it forces you to be clean with your material and tungsten or you get **** welds....
Reply
0
0
06-24-2014, 10:44 AM
#794
Elite Member
iTrader: (8)
Join Date: Dec 2008
Location: Kingston, Ontario
Posts: 2,910
Total Cats: 51
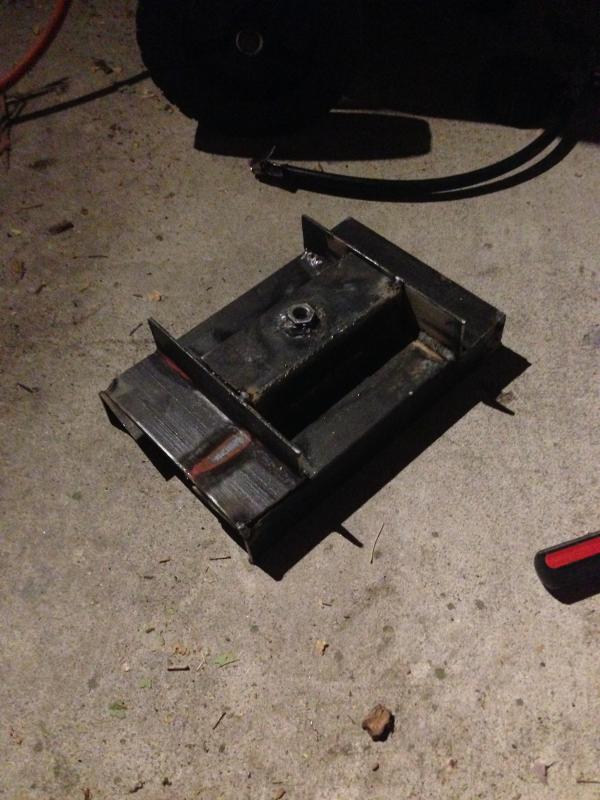
you get a flap disc out and grind the **** out of your weld.
On charge piping/intake manifolds especially. if you don't grind it out you get pinhole leaks everywhere.... even if it holds water at atmospheric pressure... once you add boost/vac it leaks through the weld RIGHT where you dipped. Learned that one early on.
Then start your next bead back where the last visible non-ground out weld is and weld over the last weld to keep going.
Reply
0
0
06-25-2014, 06:45 PM
#795
Junior Member

Join Date: Jan 2013
Posts: 59
Total Cats: 9
So I picked up a bottle of Scotch (glendronach 15) for my FIL as a 35th anniversary present. Since it comes in a round tin, I didn't know how to wrap it. Additionally, I wanted a sufficiently manly wrapping, befitting of the contents. I think I came up with a pretty good solution:
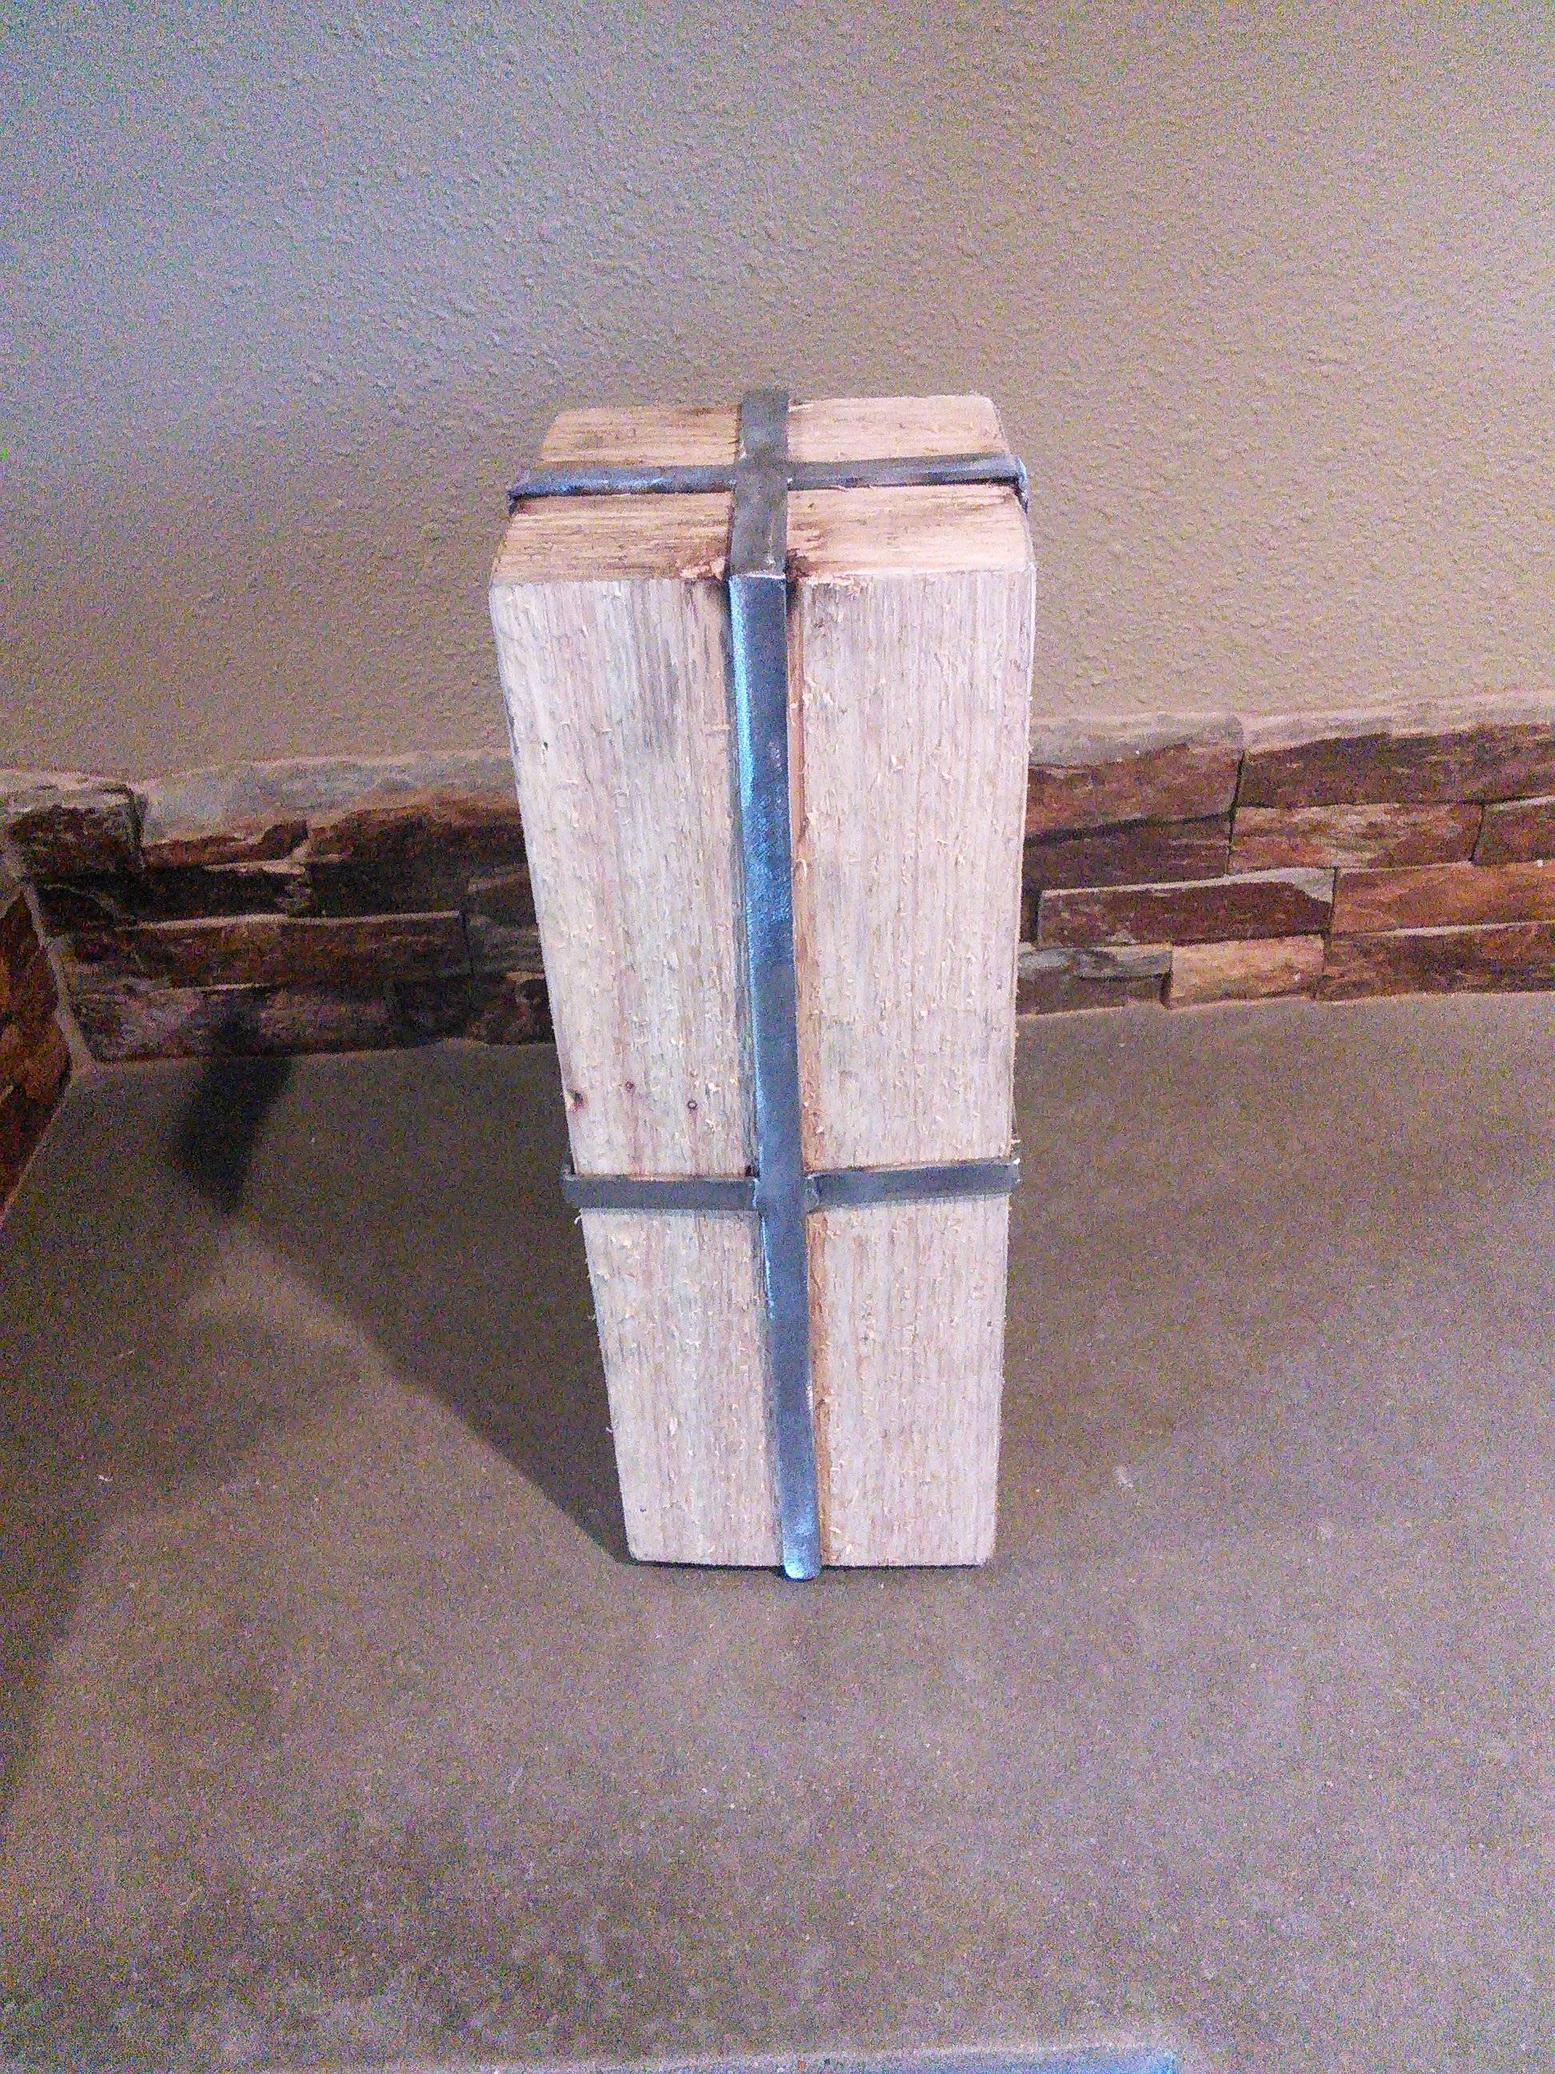
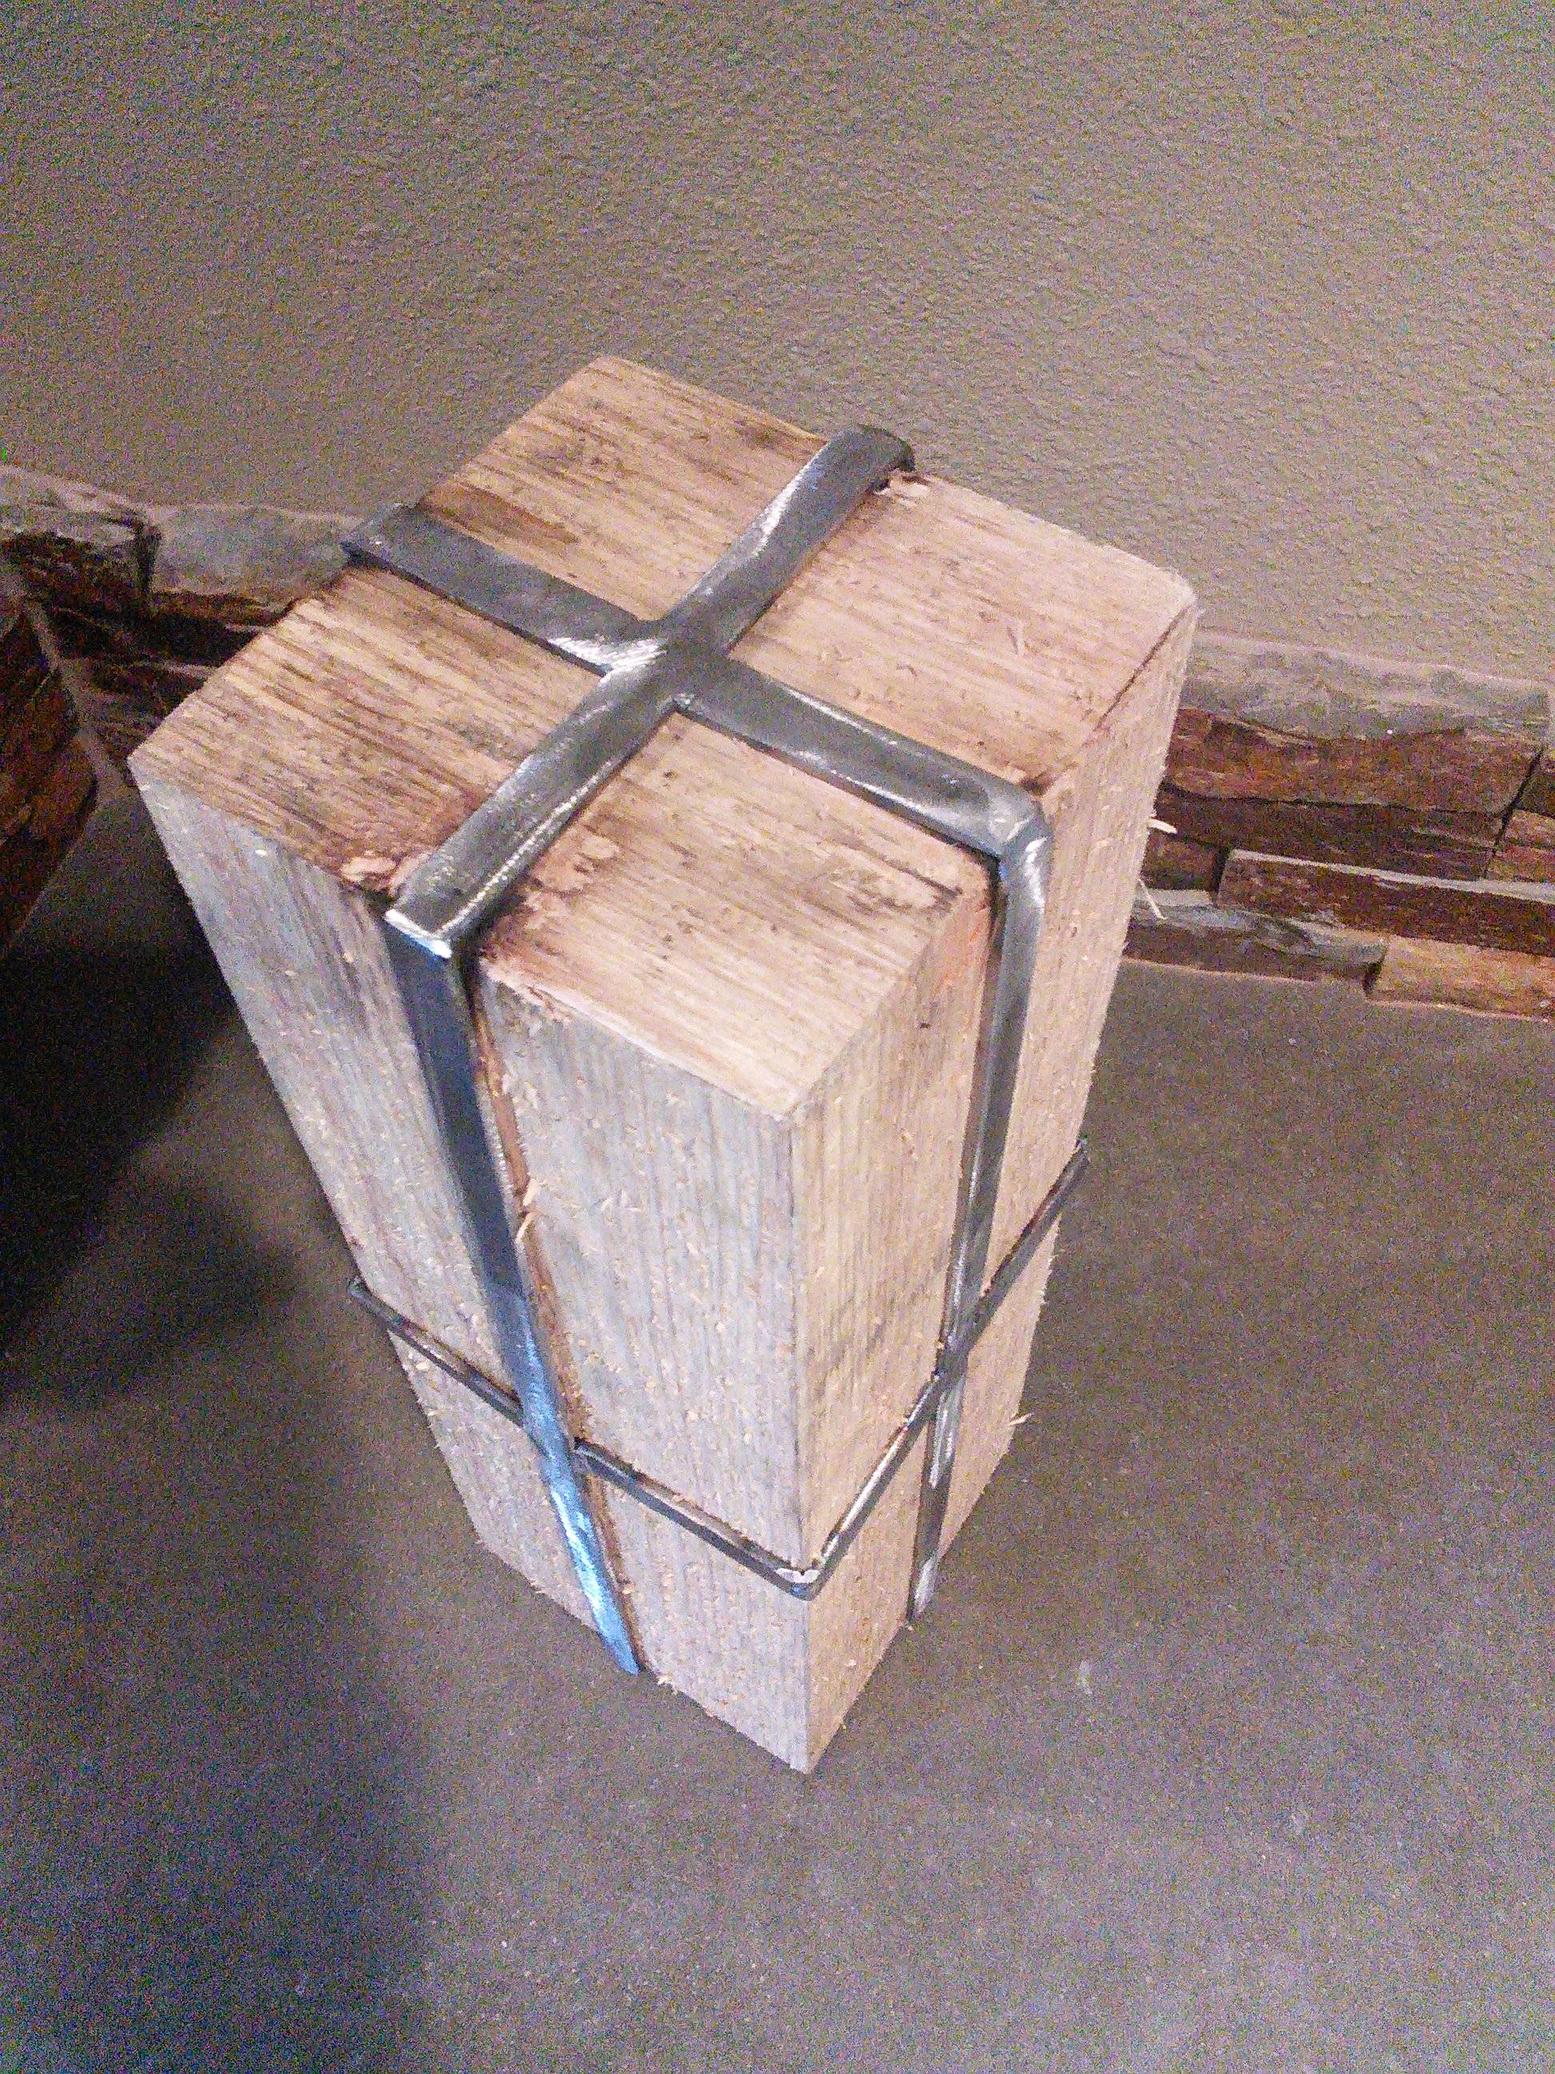
I made a box from some cedar 1x6 I had laying around. All four sides of each piece are cut on a 45, so it almost looks like a solid block, since there's no edge/end grain showing. Then I made the "ribbon" out of �"x⅛" steel bar that I welded into the cage. I did 5 sides of the cage, slid it on then welded on the top (you can see some of the singed wood in the second pic) so it's going to take an angle grinder to open. My FIL and I have a somewhat antagonistic relationship, so the fact that it'll be a pita to open is a bonus. Though I'm so happy with the final product, I kinda hate to see it cut up.
I made a box from some cedar 1x6 I had laying around. All four sides of each piece are cut on a 45, so it almost looks like a solid block, since there's no edge/end grain showing. Then I made the "ribbon" out of �"x⅛" steel bar that I welded into the cage. I did 5 sides of the cage, slid it on then welded on the top (you can see some of the singed wood in the second pic) so it's going to take an angle grinder to open. My FIL and I have a somewhat antagonistic relationship, so the fact that it'll be a pita to open is a bonus. Though I'm so happy with the final product, I kinda hate to see it cut up.
Last edited by krazykarl; 06-25-2014 at 07:25 PM.
Reply
2
2


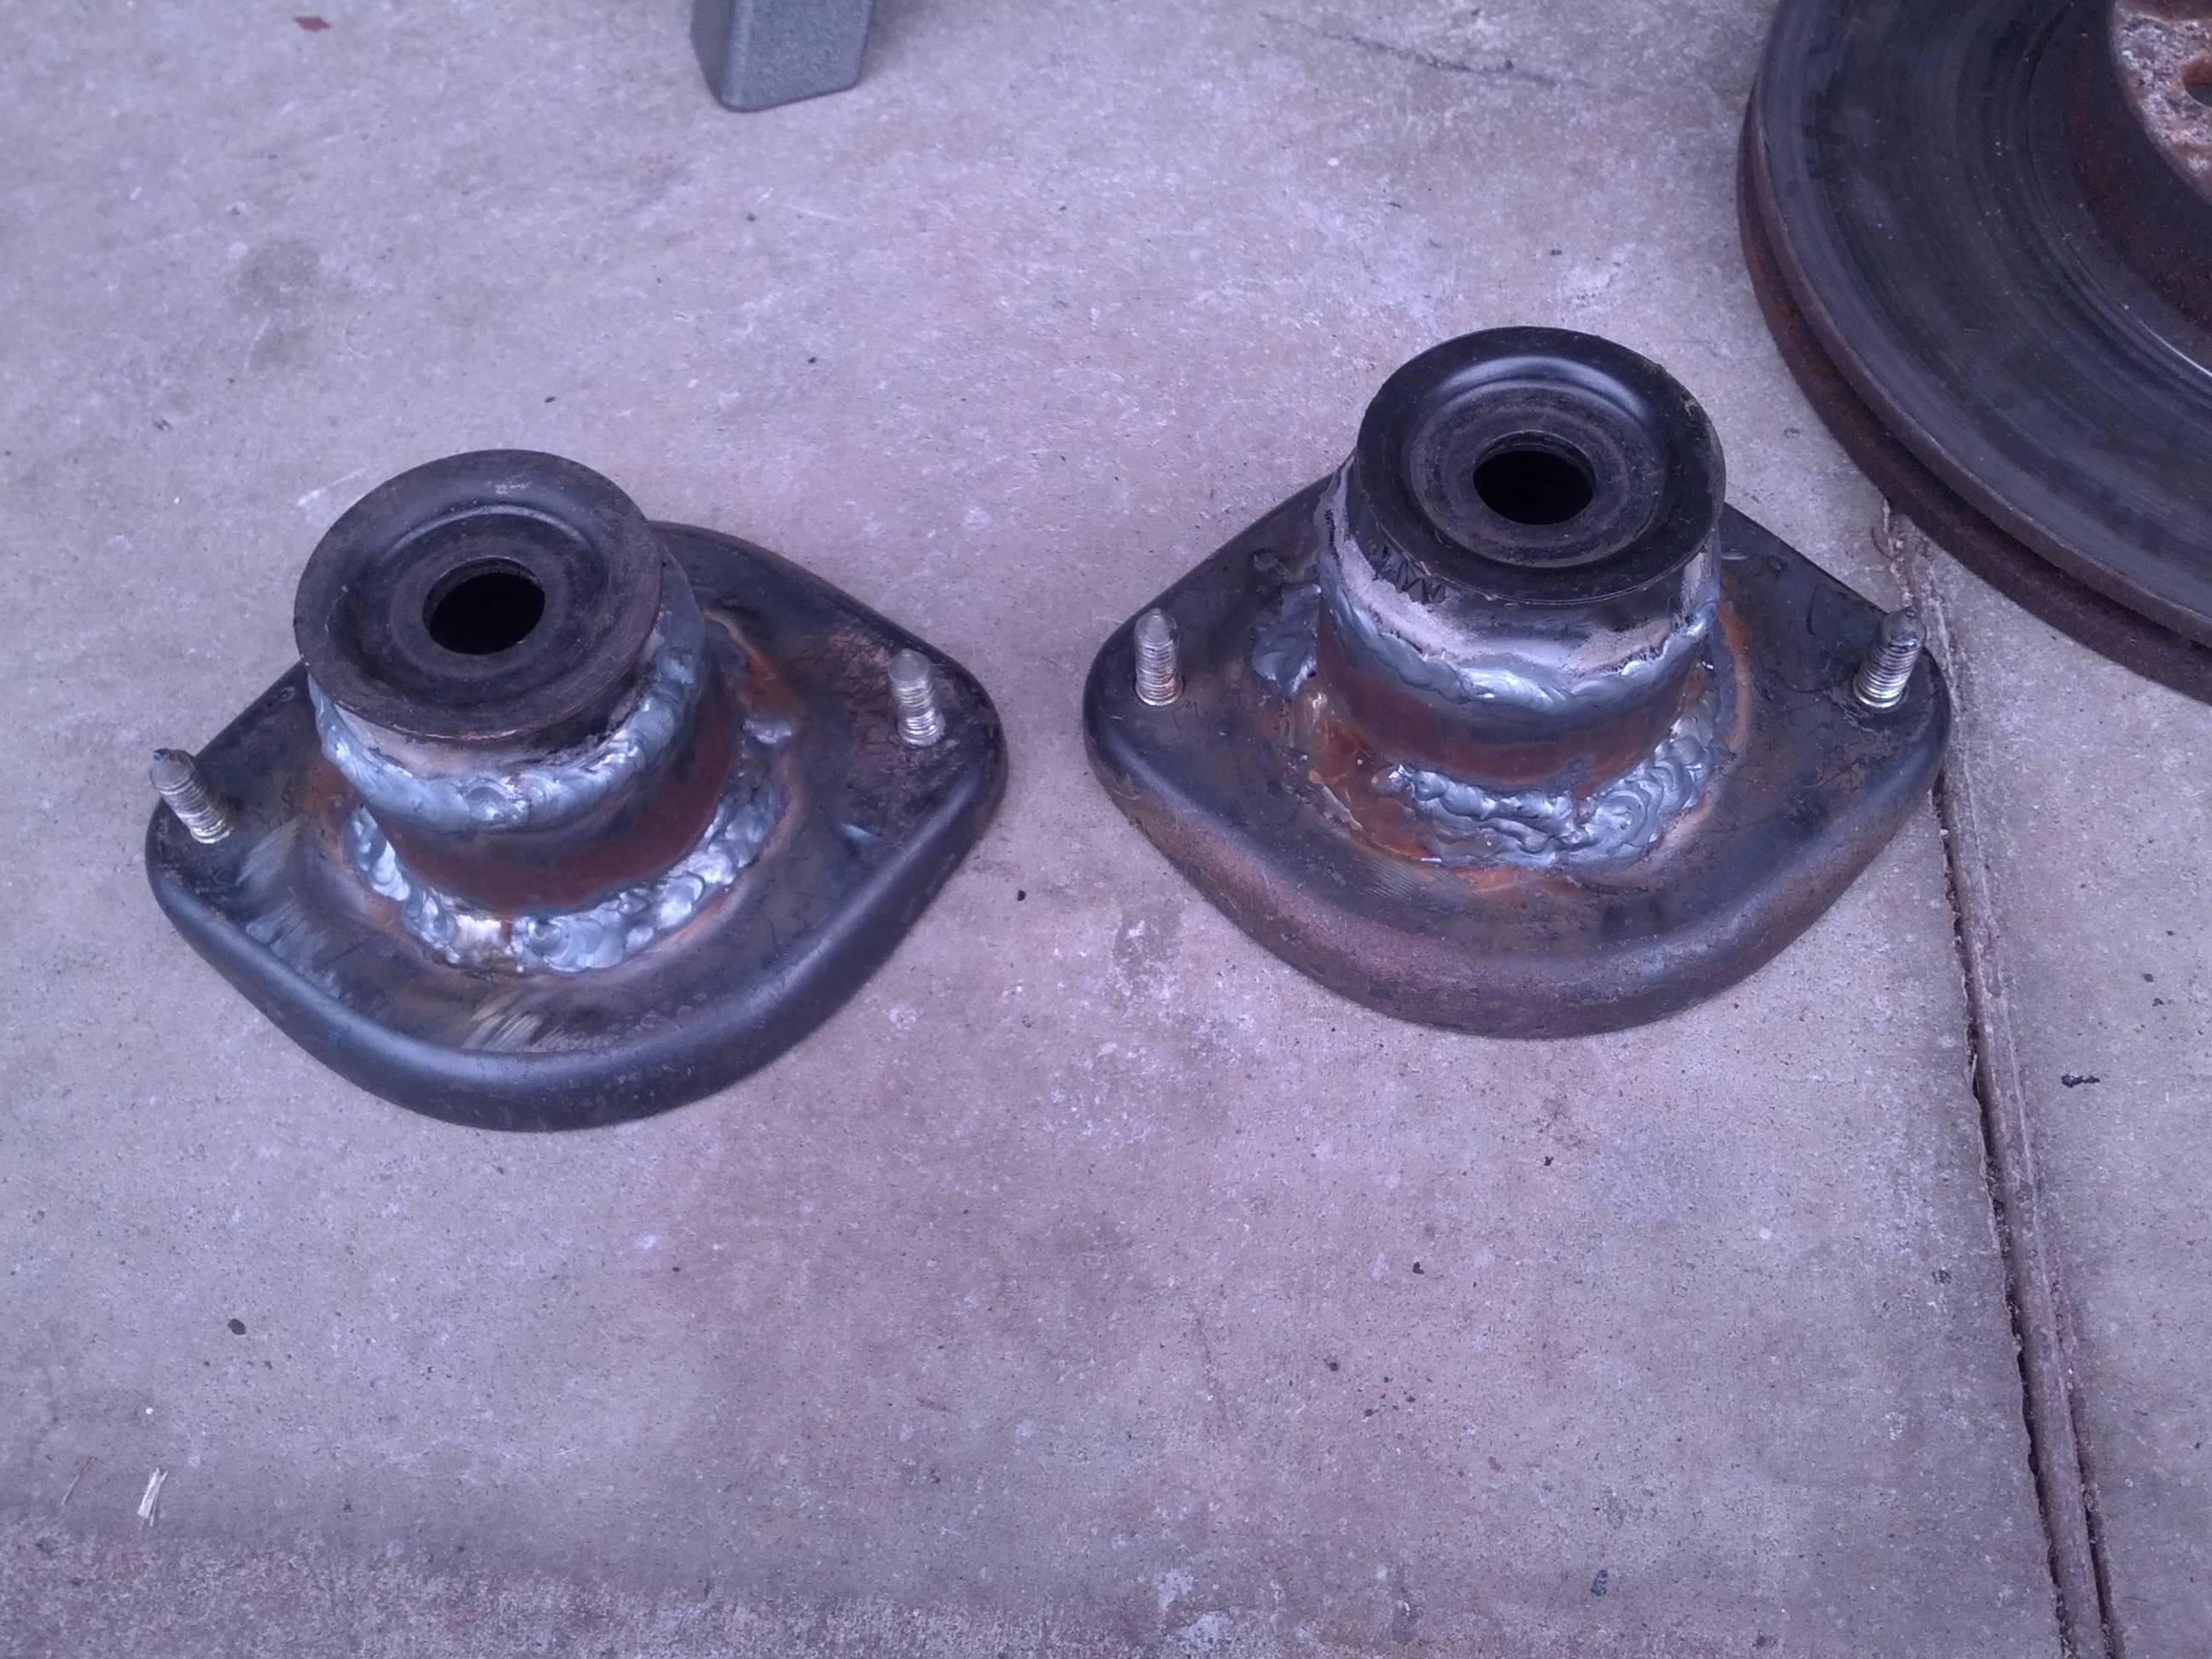
 07-14-2014, 11:22 AM
#799
mkturbo.com


iTrader: (24)
Join Date: May 2006
Location: Charleston SC
Posts: 15,178
Total Cats: 1,681
I made my friend some extended tophats for his rear shocks. I spent zero time at all actually prepping the metal in a good fashion. Used a big hole saw to cut off the top of the tophat, welded a pipe in its place, then welded the top back on the pipe.
Reply
0
0


