

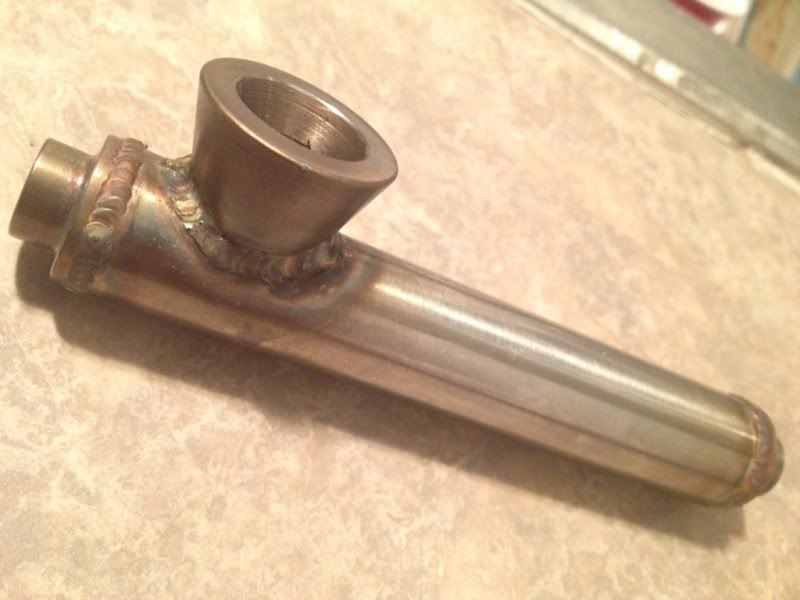
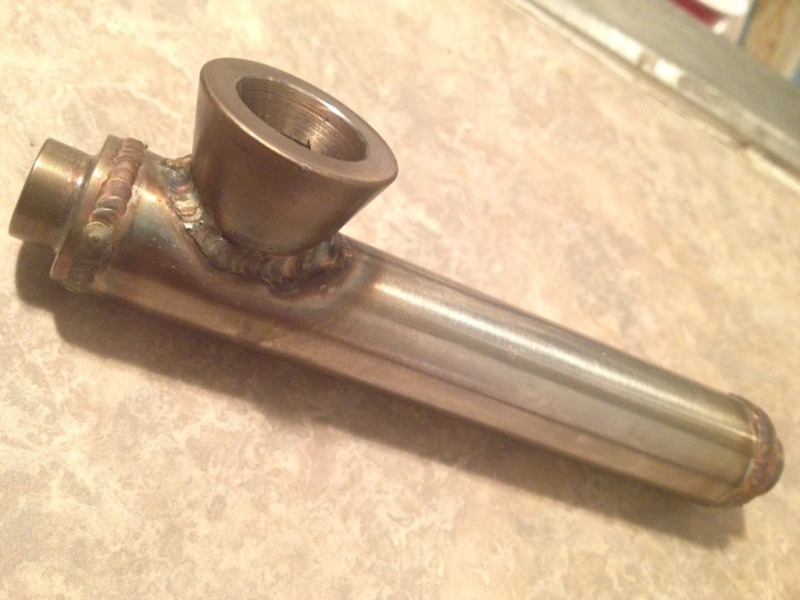
The custom fabrication thread! (Post pics of stuff you have made)


Newb
Joined: Sep 2008
Posts: 22
Total Cats: 2
Reply
 0
0

0


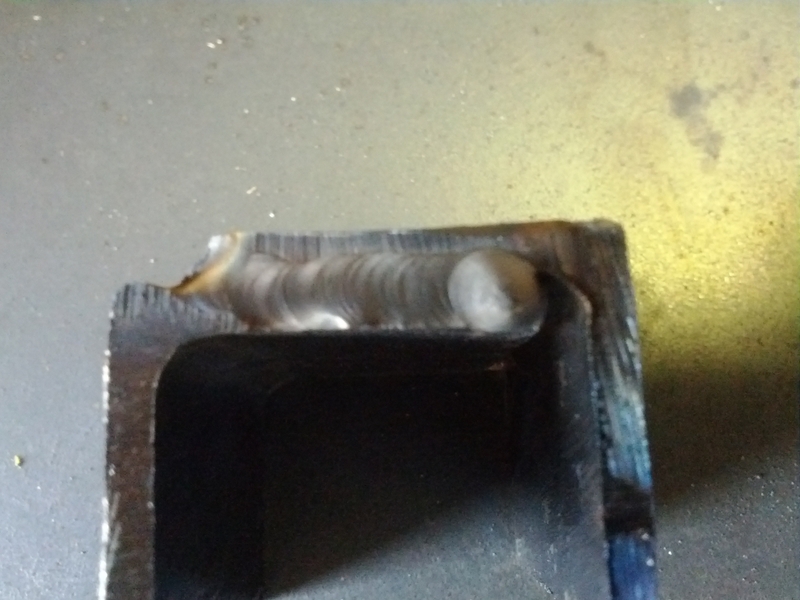

At the gauge I have it set to about 14cfm. It turned the little *** on the back of the tig torch and that allowed more argon to flow out. I have been experimenting with different amounts of argon flow.
Also for filler rods should I be using he same thickness as the tungsten electrodes I am using?
Also for filler rods should I be using he same thickness as the tungsten electrodes I am using?
Reply
0
0
I like to use as small a filler rod as I can for a given weld puddle size which usually depends on how close the fit is. For stainless stuff I'll use MIG wire when I can.
Reply
0
0

the filler rod size depends on the amount of weld your looking to fill. if there a large gap or large fillit needed ill use a larger wire.. if its something like FMIC pipes and the gaps are small, ill use a smaller wire.
make sure you metals are cleaned.. i have wire brushes only for aluminum, steel or stainless. i do not mix.. same for the tig wire.. i have a scuff i use to clean it also.. always use equal or better metal as your welding wire for best results too!
make sure you metals are cleaned.. i have wire brushes only for aluminum, steel or stainless. i do not mix.. same for the tig wire.. i have a scuff i use to clean it also.. always use equal or better metal as your welding wire for best results too!
so much this.
we were welding some IC end tanks on friday, and despite wiping everything down, there was this one spot that must have remained contaminated, and it was absolutely shocking how badly that spot rejected any type of weld. it would either burn through, bird crap, or do all kinds of other assery but not bond together cleanly
Reply
0
0

Thread Starter
Junior Member
Joined: Jun 2010
Posts: 176
Total Cats: 4
If you read that a few times and google the terms you don't know you'll have kick *** welds, they're not too bad for a beginner as it is.
And. Make sure you post your new welds after practice.
Hope this helped, wish someone said it to me.
Reply
0
0
From all this talk about cleaning parts and not using the same brush/wheel on everything, I may try that.
I have one wire wheel and one grinding wheel that is used on everything. Removing the green paint on mild weld elbows, buffing stainless so it's shiny, deburring chop saw cuts, grinding electrodes, etc.
Needing an assortment of wheels & brushes will be a pain in the ***.
I have one wire wheel and one grinding wheel that is used on everything. Removing the green paint on mild weld elbows, buffing stainless so it's shiny, deburring chop saw cuts, grinding electrodes, etc.
Needing an assortment of wheels & brushes will be a pain in the ***.
Reply
0
0
Reply
-1
-1

From all this talk about cleaning parts and not using the same brush/wheel on everything, I may try that.
I have one wire wheel and one grinding wheel that is used on everything. Removing the green paint on mild weld elbows, buffing stainless so it's shiny, deburring chop saw cuts, grinding electrodes, etc.
Needing an assortment of wheels & brushes will be a pain in the ***.
I have one wire wheel and one grinding wheel that is used on everything. Removing the green paint on mild weld elbows, buffing stainless so it's shiny, deburring chop saw cuts, grinding electrodes, etc.
Needing an assortment of wheels & brushes will be a pain in the ***.

Easy way to do this is, get the diamond wheel from HF for tungsten and when you grind you tungsten put it in a hand drill so you can get it perfectly round and dont burn your hands/risk getting your glove caught in the grinder. Thats the one thats the big deal for contamination if you never do aluminum. Its not a huge deal to use a carbon steel contaminated brush on stainless, you'll just make some fireworks when you weld and random areas will rust, stainless onto carbon is perfectly fine. I just buy a crap load of HF stainless steel brush cups for the drill/angle grinder and get the multi pack of hand brushes when they're on sale.
Reply
0
0
Thread Starter
Junior Member
Joined: Jun 2010
Posts: 176
Total Cats: 4
From all this talk about cleaning parts and not using the same brush/wheel on everything, I may try that.
I have one wire wheel and one grinding wheel that is used on everything. Removing the green paint on mild weld elbows, buffing stainless so it's shiny, deburring chop saw cuts, grinding electrodes, etc.
Needing an assortment of wheels & brushes will be a pain in the ***.
I have one wire wheel and one grinding wheel that is used on everything. Removing the green paint on mild weld elbows, buffing stainless so it's shiny, deburring chop saw cuts, grinding electrodes, etc.
Needing an assortment of wheels & brushes will be a pain in the ***.
Reply
0
0
I have 2 issues with chem sharp, it can only refine an already correctly shaped tungsten, and the bigger issue. I've only ever seen them in glass jars with brittle plastic caps and they always fall off the welding table (murphy's law) and break the cap and/or jar and make a mess.
Reply
0
0


