

The custom fabrication thread! (Post pics of stuff you have made)


Ya, all in house. The flywheel is 94-97, the clutch is for a NC 6 speed 23 spline and the pressure plate is 94-97. All off the shelf items. The pilot bearing is also stock. Mazda just wanted this to work out.
Reply
 0
0

0


If you were to make another adapter plate, roughly how much do you think it would cost?
Reply
0
0
It took me 2 full days to get the plate completed. Measuring, cutting, drilling, sanding .... The total material cost was around $200, that's the plate, the countersunk hardware and the dowel pins. Once I get the car on the road (hopefully in the next 2 weeks or so) i'll be able to see how well it works. I designed this one to use a 6-speed starter. If it works as planned i'll remove it and send it out to a have a number of plates cut out by water jet or lazer. Total price, I have no clue yet what I would sell them for.
It's just the PP and it's been on the car for 30K miles. Stage II fingers are crossed.
It's just the PP and it's been on the car for 30K miles. Stage II fingers are crossed.
Reply
0
0
I just took a TIG class at my local community college. It was 4 weeks long and we only welded with mild steel. The actual classes that teach more then that were regular semester long classes, but those have a 2 year wait on them. I honestly would not recommend the class unless it goes over more then just mild steel. I did get better at welding during it, but that is more because I spend tons of time practicing.
If you are interested in only building 1 manifold and thats it then I would suggest going to Abe and getting it done. If you want to actually be able to fabricate and build things in the future then I would say learn to weld. After you factor in costs of welder, and saws, and other tools your costs will far exceed the cost of just having a custom made.
If you are interested in only building 1 manifold and thats it then I would suggest going to Abe and getting it done. If you want to actually be able to fabricate and build things in the future then I would say learn to weld. After you factor in costs of welder, and saws, and other tools your costs will far exceed the cost of just having a custom made.
My class was 6:30-9:30 pm Tue / Thurs and was $160 total.
I'm taking another one this same quarter next winter. Maybe MIG or more TIG. As I was a non-traditional student I could do whatever metal and thickness I wanted to so I did stainless, aluminum and thin mild steel as that's what I'll use it for at home. It's a nice time to take class as it is dark and cold after work and can't do anything else.
Reply
0
0

It took me 2 full days to get the plate completed. Measuring, cutting, drilling, sanding .... The total material cost was around $200, that's the plate, the countersunk hardware and the dowel pins. Once I get the car on the road (hopefully in the next 2 weeks or so) i'll be able to see how well it works. I designed this one to use a 6-speed starter. If it works as planned i'll remove it and send it out to a have a number of plates cut out by water jet or lazer. Total price, I have no clue yet what I would sell them for.
I just finished a TIG class at the local CC last week. It was the normal 10 week course that the regular students took. I learned more in that 10 weeks than I learned in the 20 years of being a self-taught hack. Definitely worth it.
My class was 6:30-9:30 pm Tue / Thurs and was $160 total.
I'm taking another one this same quarter next winter. Maybe MIG or more TIG. As I was a non-traditional student I could do whatever metal and thickness I wanted to so I did stainless, aluminum and thin mild steel as that's what I'll use it for at home. It's a nice time to take class as it is dark and cold after work and can't do anything else.
How were the TIG welders at the college? Did you have to scratch start the torches? For whatever reason I have so much trouble with scratch starting the torch and not contaminating it when working on t-joints. With my Lincoln at home where it autostarts I have no problems at all with it.
Reply
0
0
Joined: Oct 2011
Posts: 5,733
Total Cats: 830
From: Detroit (the part with no rules or laws)
We have Dynasty 350's with a water cooler where i go to school.
Usually they don't care what order you take the classes in. I mean, if you don't care about passing or failing. I can't say if they just let random people come in to the shop just to weld, but i can't see why not. IMO the projects they made us do taught me way more than if i was to just go into a booth and start buzzing stuff.
Protip: If you ever flash yourself i found it best to hurry up, flip the mask down and start welding. That seems to "cure" it and stop it from hurting / being blind quickest and easiest. Not sure why, but it's better than other techniques i've tried.
Reply
0
0
How were the TIG welders at the college? Did you have to scratch start the torches? For whatever reason I have so much trouble with scratch starting the torch and not contaminating it when working on t-joints. With my Lincoln at home where it autostarts I have no problems at all with it.
Reply
0
0

Some stuff we have been working on.
Sorry we have been so quite lately been busy In the shop.
Customers Custom turbo kit.
DoapFab manifold to downpipe. with BOV welded to the endtank.
Welding the downpipe
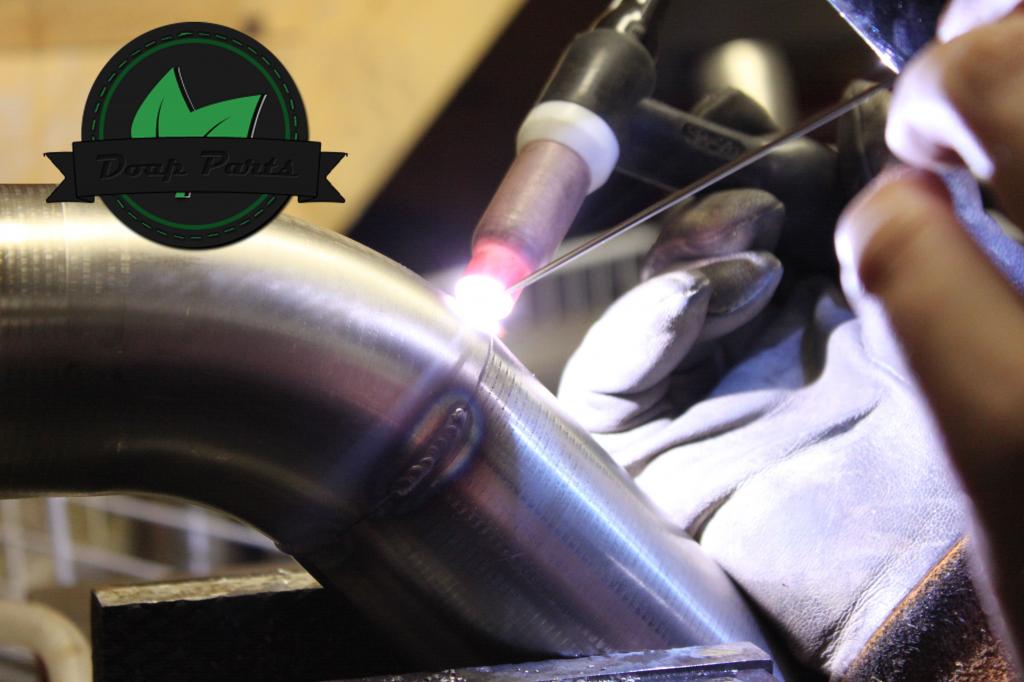
The furthest pipe is the dump tube, and the closer pipe is the Downpipe.

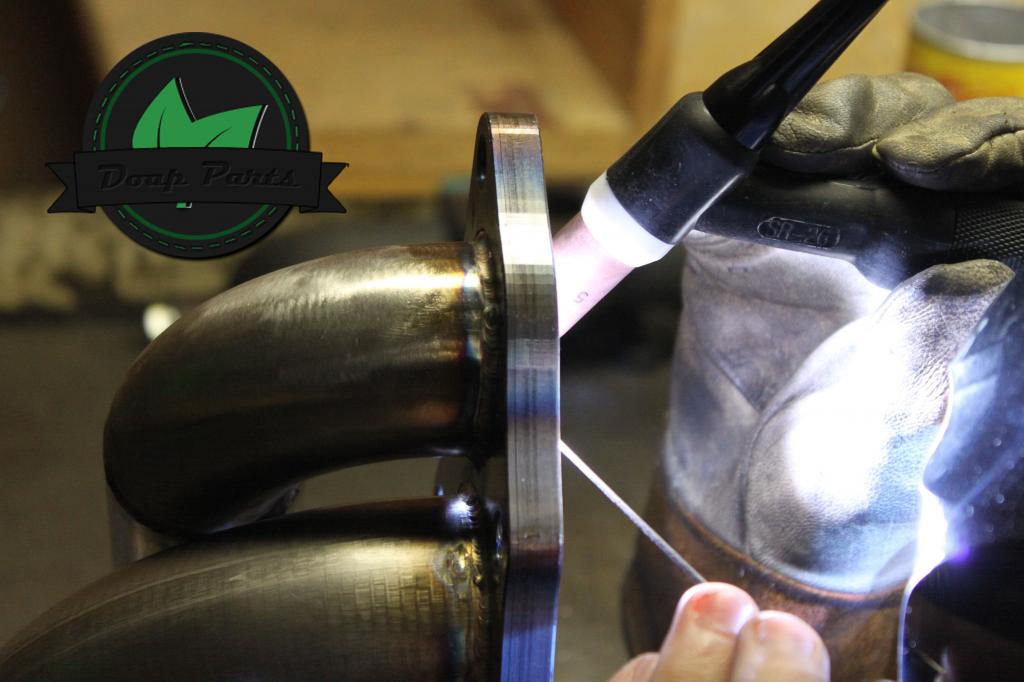
Along with back purging we also weld the inside of certain flanges to ensure reliably and quality.
Welding the Greddy RS Blow of valve to the Intercooler endtank
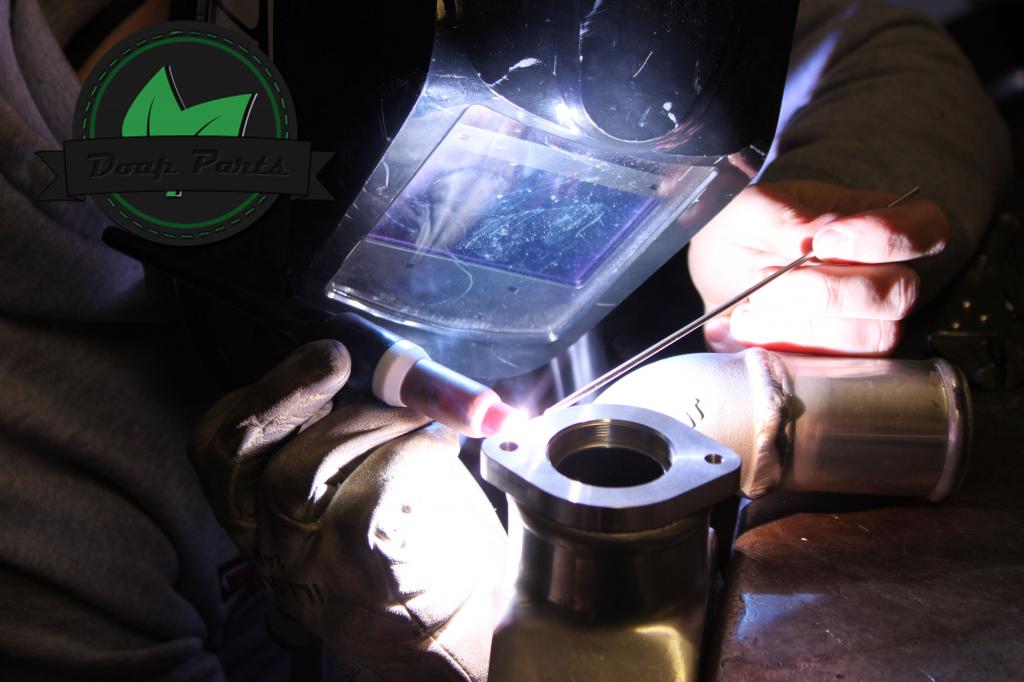
You can see the Back door intercooler set up, using a proper Hump hose.

Sorry we have been so quite lately been busy In the shop.
Customers Custom turbo kit.
DoapFab manifold to downpipe. with BOV welded to the endtank.
Welding the downpipe
The furthest pipe is the dump tube, and the closer pipe is the Downpipe.
Along with back purging we also weld the inside of certain flanges to ensure reliably and quality.
Welding the Greddy RS Blow of valve to the Intercooler endtank
You can see the Back door intercooler set up, using a proper Hump hose.
Last edited by DoapParts; Mar 19, 2013 at 11:14 AM.
Reply
0
0


Reply
0
0

The flange is not warped?!.... It is not fully bolted down. It would take alot of heat and carelessness to warp that Mild steel flange that bad. HAHA. We do our best to ensure a flat mating surface on ALL flanges we weld. However we are human, so we surface everything before it goes out.
The Kit is coming off and the car is being towed back home. This is the reasoning for the lack of hardware. we just put it on for one last picture.
The customer wanted to Be able to switch to a T3 framed turbo when she is done with the internally gated setup. At that time we will also add the desired wastegate flange.
Last edited by DoapParts; Mar 20, 2013 at 03:34 AM.
Reply
0
0

Elite Member
Joined: Apr 2010
Posts: 2,826
Total Cats: 66
From: Newcastle, Australia
If you do big enough welds with enough penetration to never break even after dozens of laps on a car making 400% more power than stock, the flanges warp unless they are bolted to at least 3 other flanges.
Also its not warped, the turbo and the adaptor arent exactly the same shape as the flange, which is common.
Dann
Also its not warped, the turbo and the adaptor arent exactly the same shape as the flange, which is common.
Dann
Reply
0
0


Reply
0
0
Yes, I removed or cut out the PPF. I don’t have any pictures at the moment but it looks similar to this.
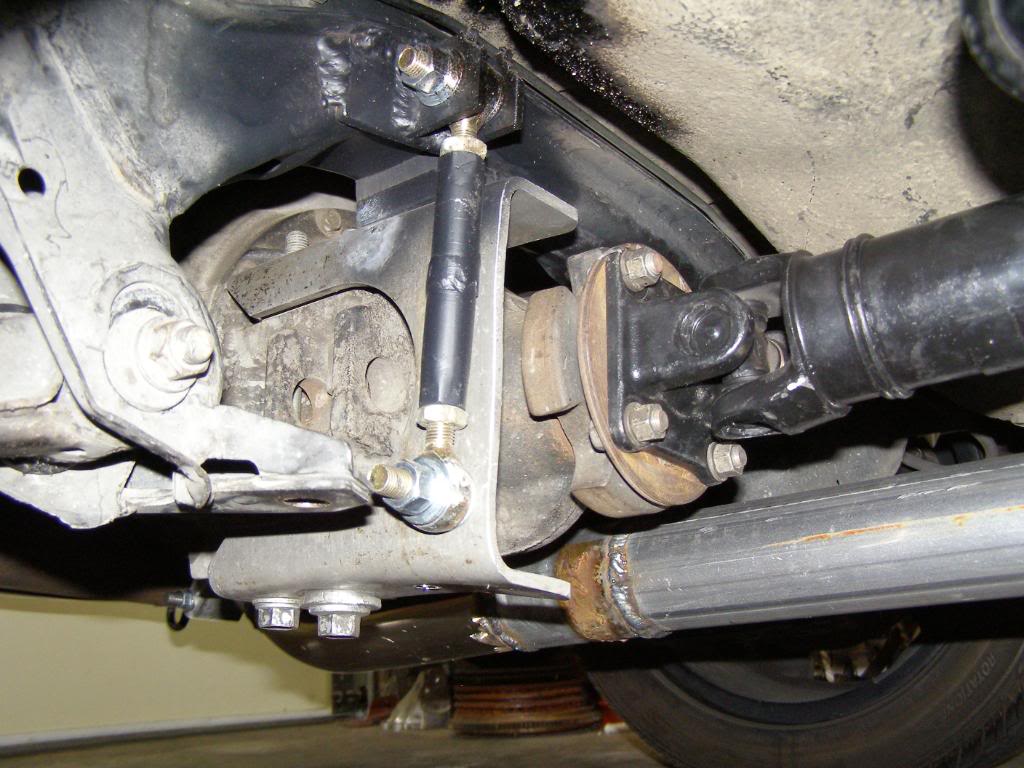
Securing the battery cable to the upper portion of the tunnel was not difficult.
Securing the battery cable to the upper portion of the tunnel was not difficult.
Reply
0
0


