When you click on links to various merchants on this site and make a purchase, this can result in this site earning a commission. Affiliate programs and affiliations include, but are not limited to, the eBay Partner Network.
They're pull down, and for the $10 extra Crow charges to switch to pull up, I think I'll go with that next time. It's not that hard to tighten the harness but it would definitely be more natural to pull up. I'd also switch to 5 point I think. The 6 point bottom strap is just stitched together, so I'm not sure what I gain from having extra strap material in an already... crowded area.
I haven't handled many different harnesses, but I'm still happy with my purchase. It's definitely a lot smoother and easier to adjust than the cheap RJS harness I had before.
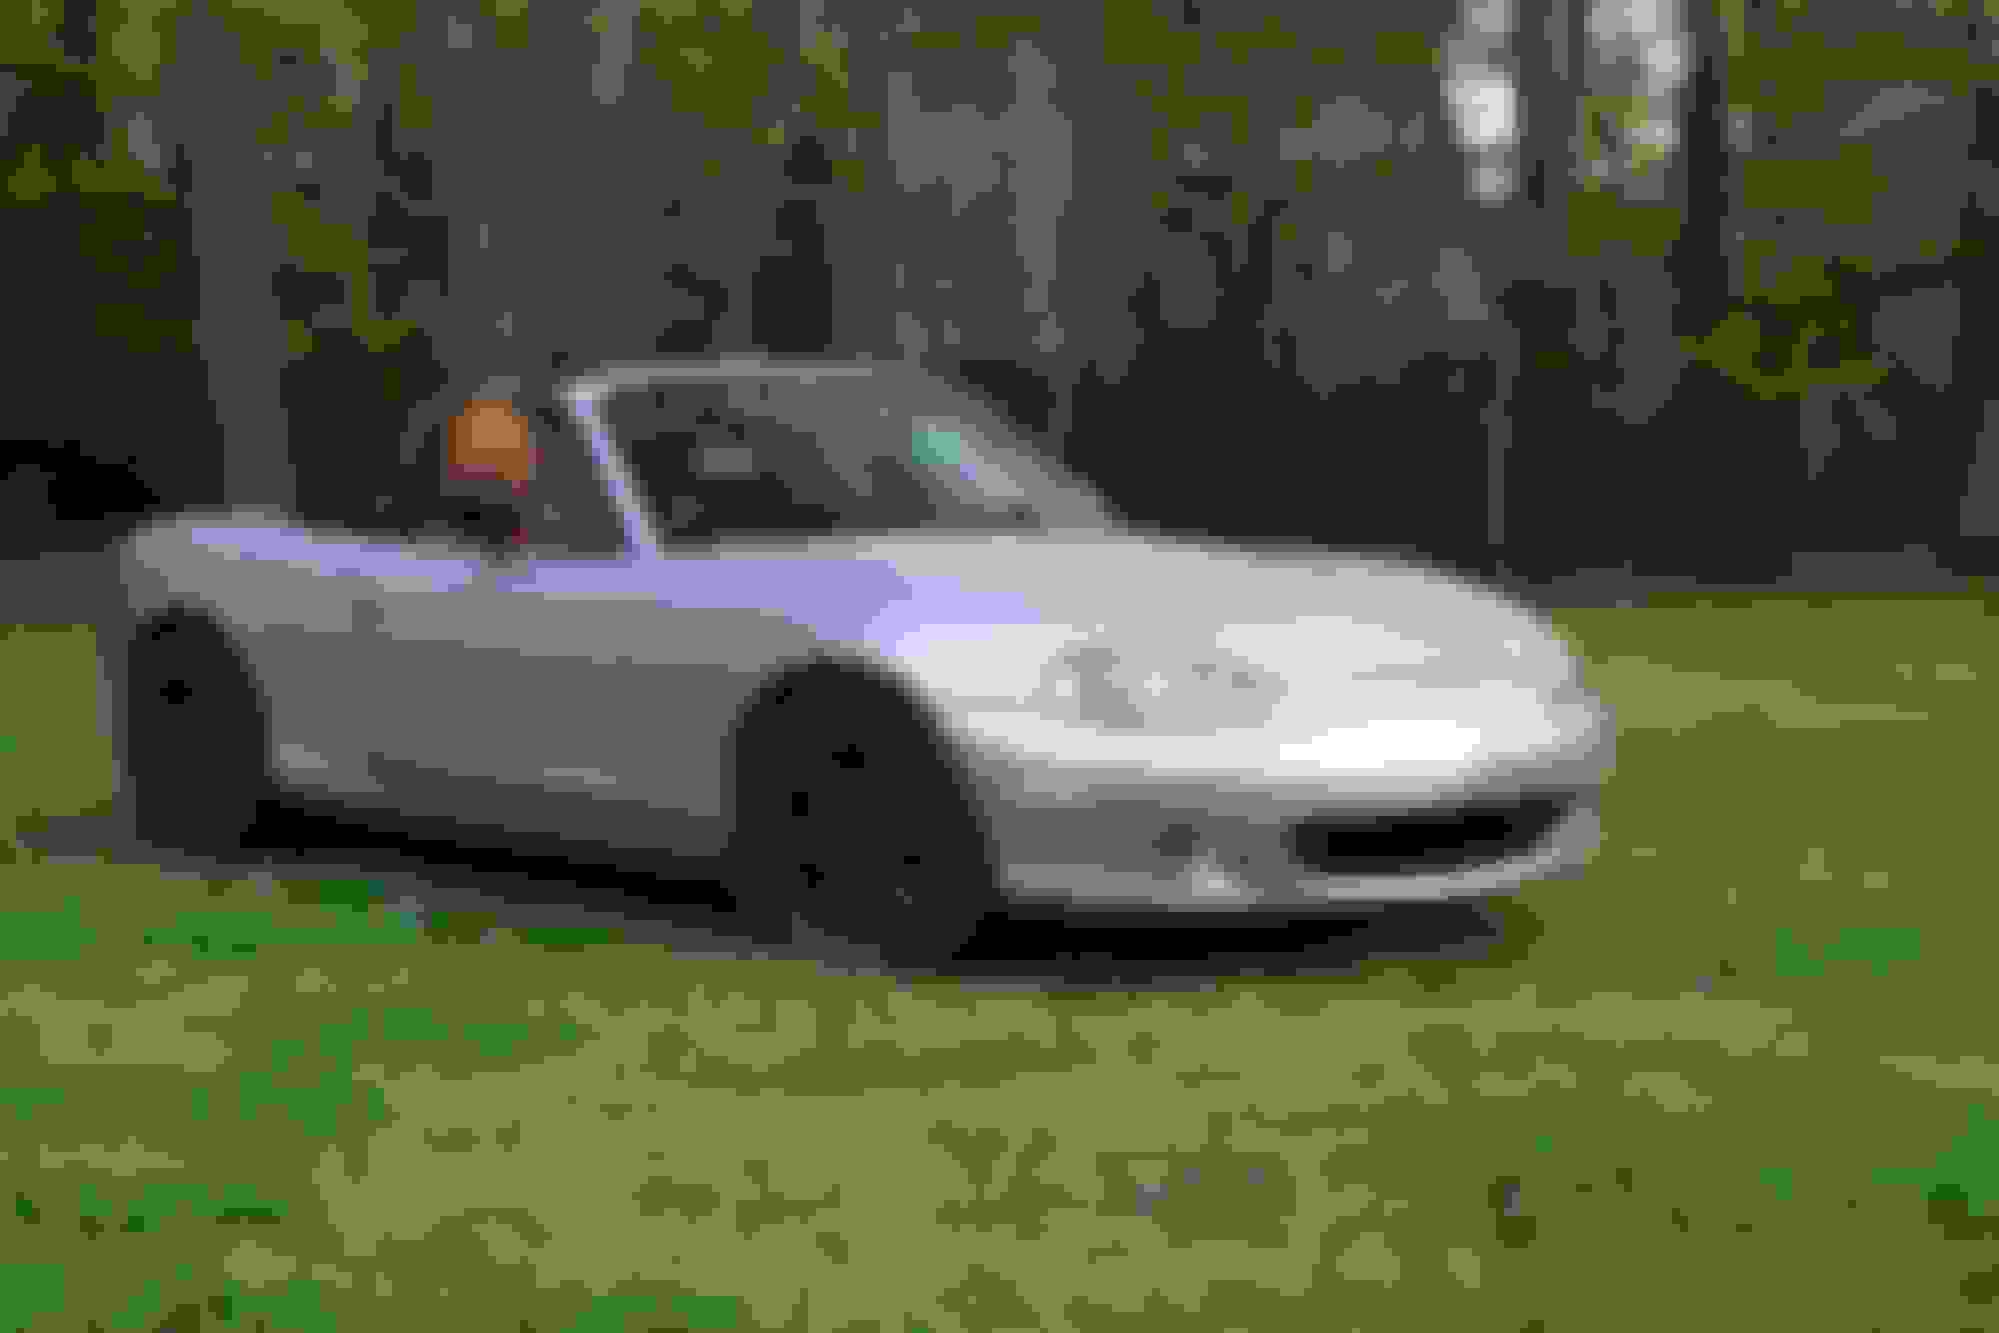
Another driving season has passed. I only got one track day this season, between life and maintenance issues I just haven't had the time to get out there. Let's catch up.
This other thing has been taking up most of my tinkering bandwidth for the past two years.
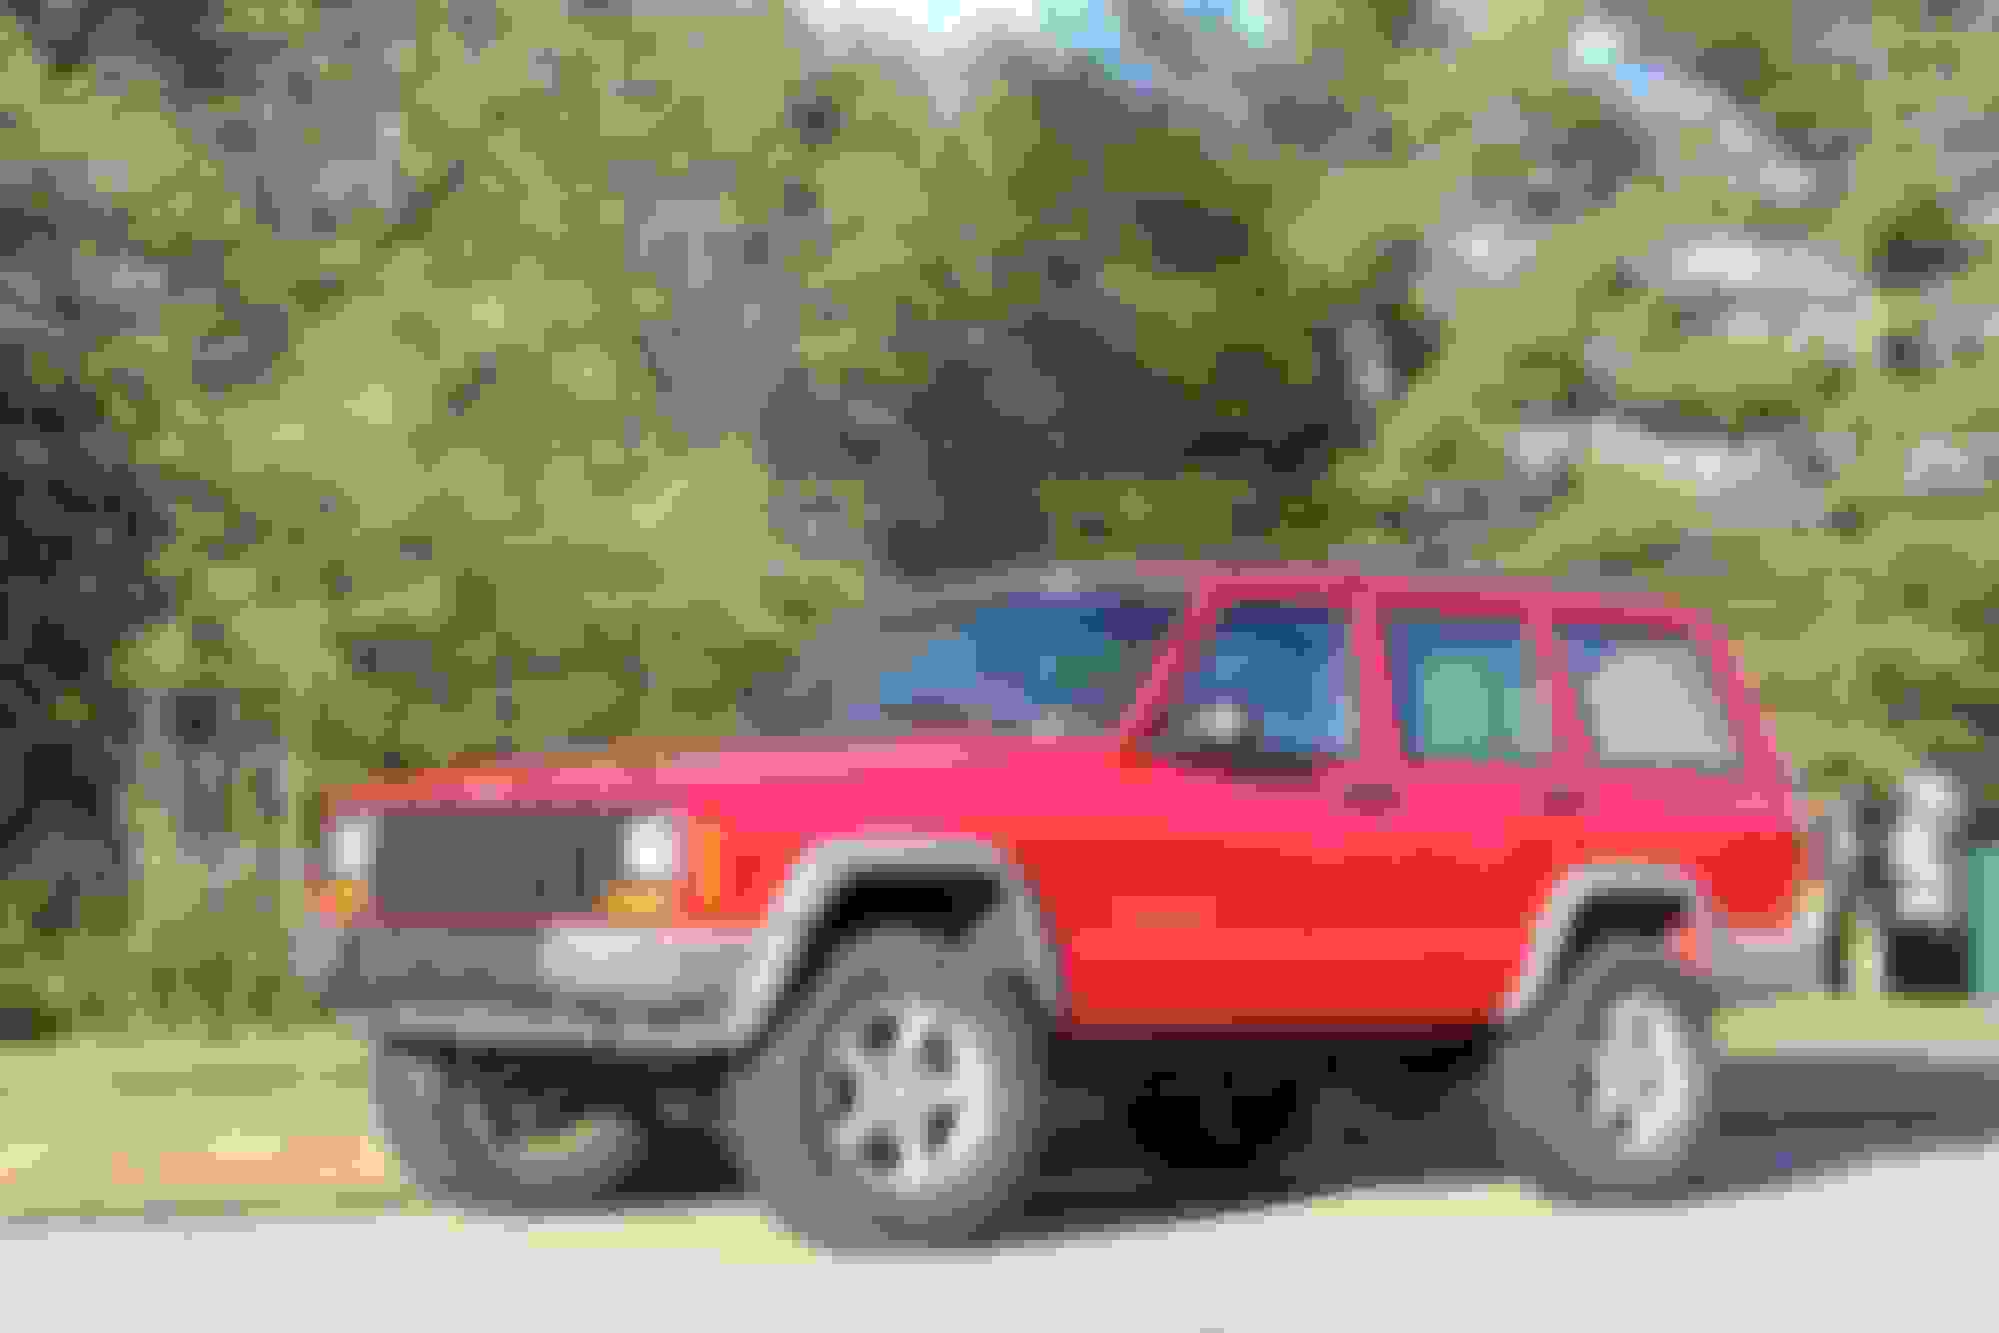
It's a 1999 Jeep Cherokee XJ base model that I bought for $700 because I couldn't find a spec of rust on it. The low price was because it was RWD, had a cracked head, leaked every single fluid, and was absolutely disgusting on the inside. To make a long story short, it's basically been completely rebuilt. I 4wd swapped it with a full time transfer case, gave it a 3” lift, skid plates, WJ/ZJ front and rear brake swap, Truetrac helical rear diff, etc etc. I love it to death.
Anyway, with that thing basically complete, I'm turning my attention back to the Miata, which has been pretty stable.
My plans:
Suspension:
FM Fox coilovers, 550/375 standard spring rates. Return to stock 22mm front bar, 14mm 5XRacing rear bar. I plan on staying at a fairly tall ride height for coilovers, so the spring rate should provide enough roll resistance by itself.
Supermiata poly bronze bushings, which should be available in February. I messaged SadFAB about theirs back in August and in September, and have gotten no response. I'm still not having much luck with boutique Miata suppliers. I could have a friend lathe these out, but the 949 Kit seems to be a hard to beat value.
SadFAB RUCA-O spherical (?). I'm not sure about these. I have the sleeves and the spherical bearings, I need to decide if I want to deal with the durability concerns for a street car.
Engine:
Junk2 throttle body so I don't make my engine choke on a screw. I'll need to do the standard fixes for it, and I will probably pull the intake manifold to clean it and port match it to the throttle body.
Check valve lash. I've never done this, and my engine is pretty clattery compared to the lower mileage NB2s I've heard.
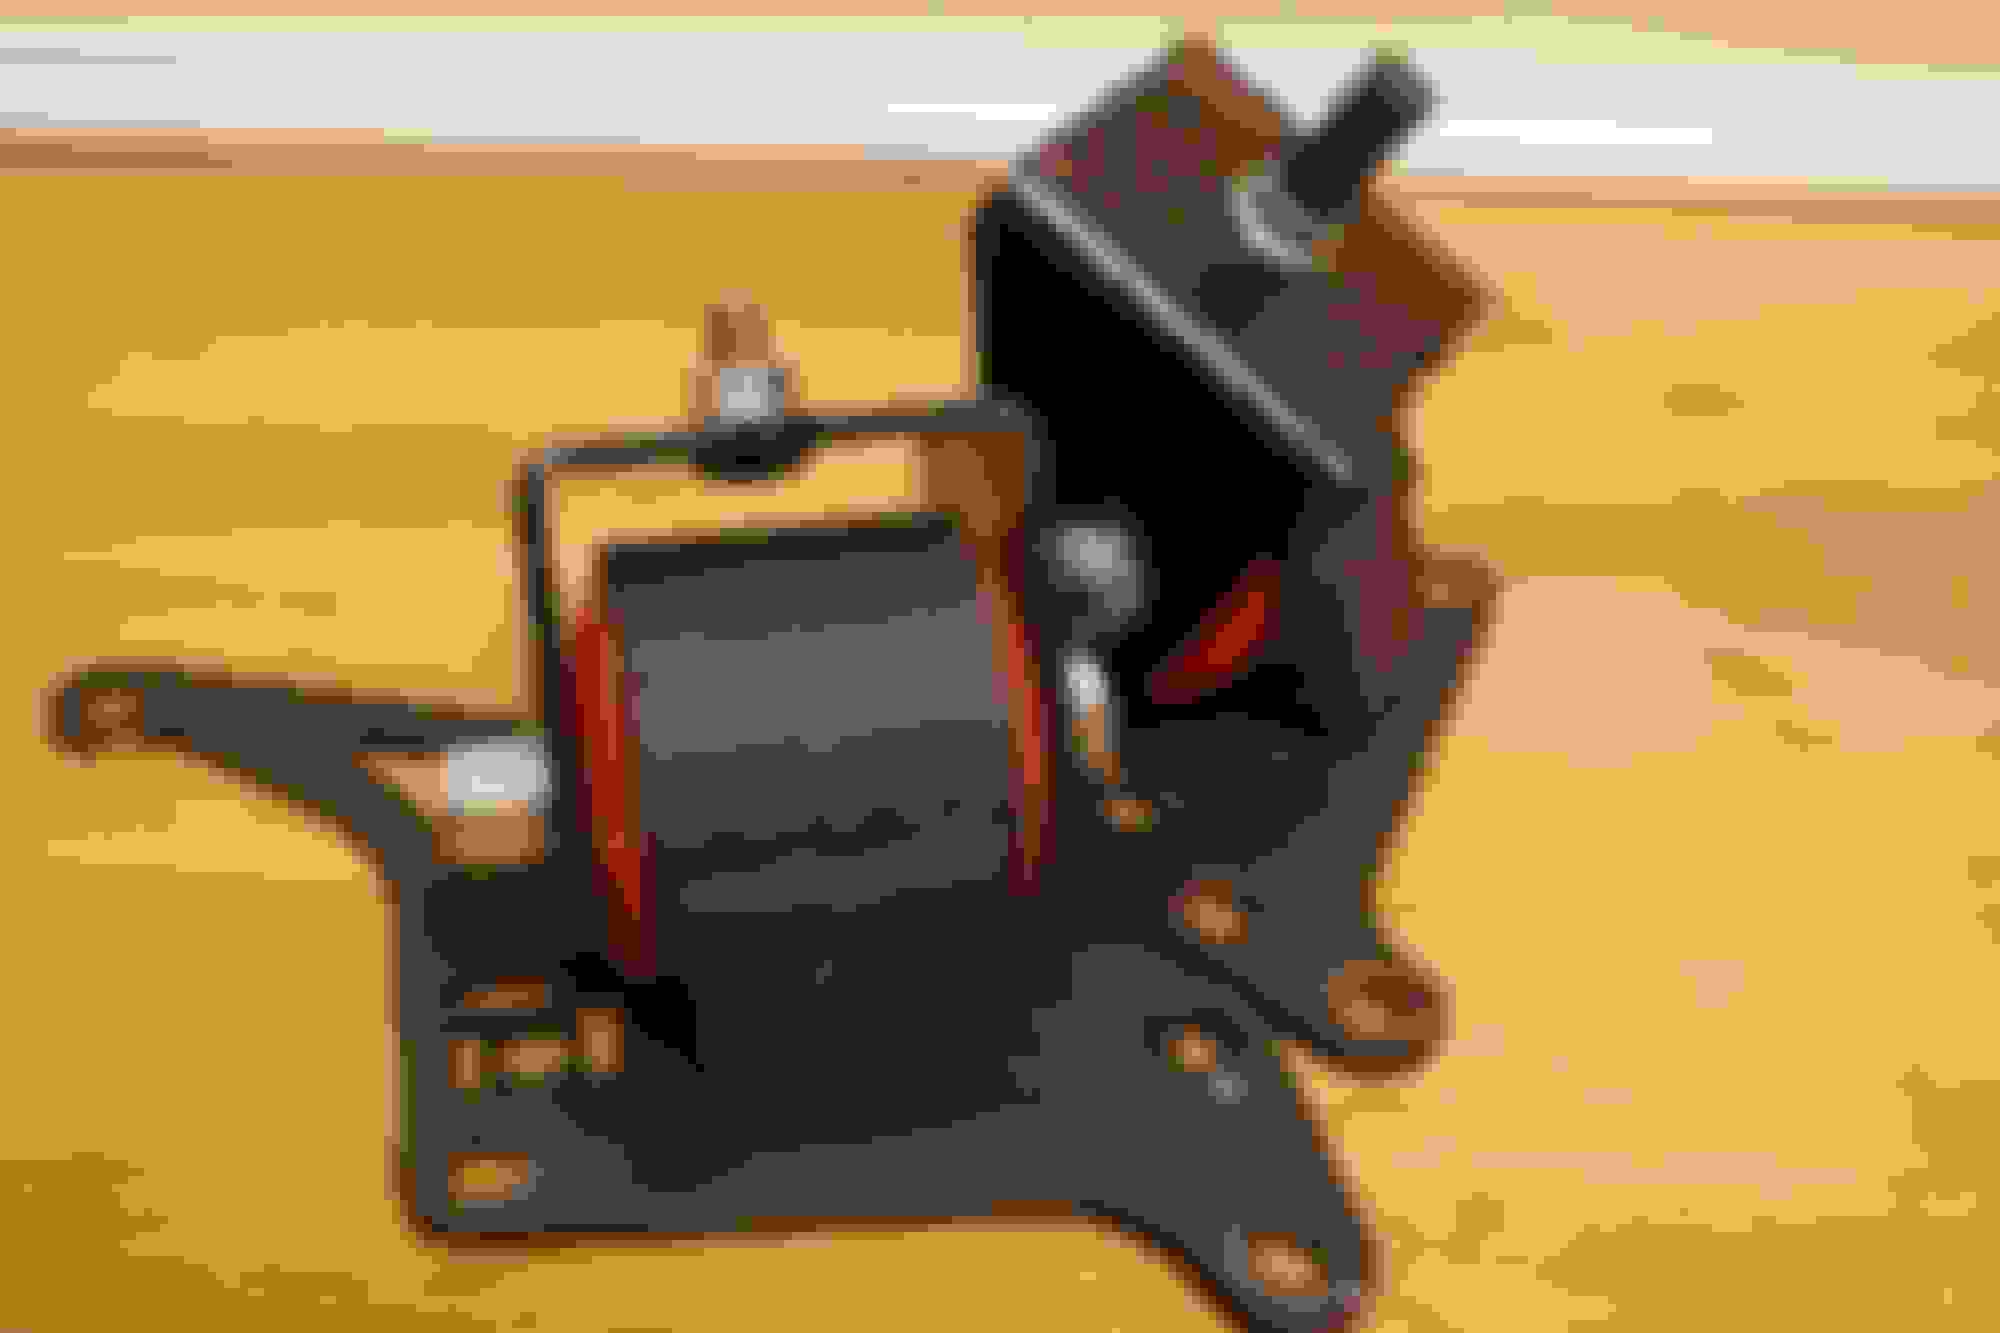
Innovative engine mounts - When I sat in a car with these mounts, I couldn't believe how much less vibration there was at idle compared to the Blackbird mounts I had installed years ago. The owner of that car wanted his engine held in place tighter, and I wanted something in between the Mazdacomp rubber mounts and the Blackbirds. We traded straight up.
Catch can for PCV system (?) Depends on what I find in the intake manifold.
Brakes:
Fix the soft pedal. I've bled the brakes with a vacuum bleeder and by the traditional two man method, I've completely drained and refilled the system, I've replaced the master cylinder, and I've taken that new master back out and bench bled it. I still have a soft pedal. Between my master cylinder brace and the stainless lines, the brake pedal used to be one of the best parts of this car. Now getting lockup is difficult. I assume I still somehow have air in the system.
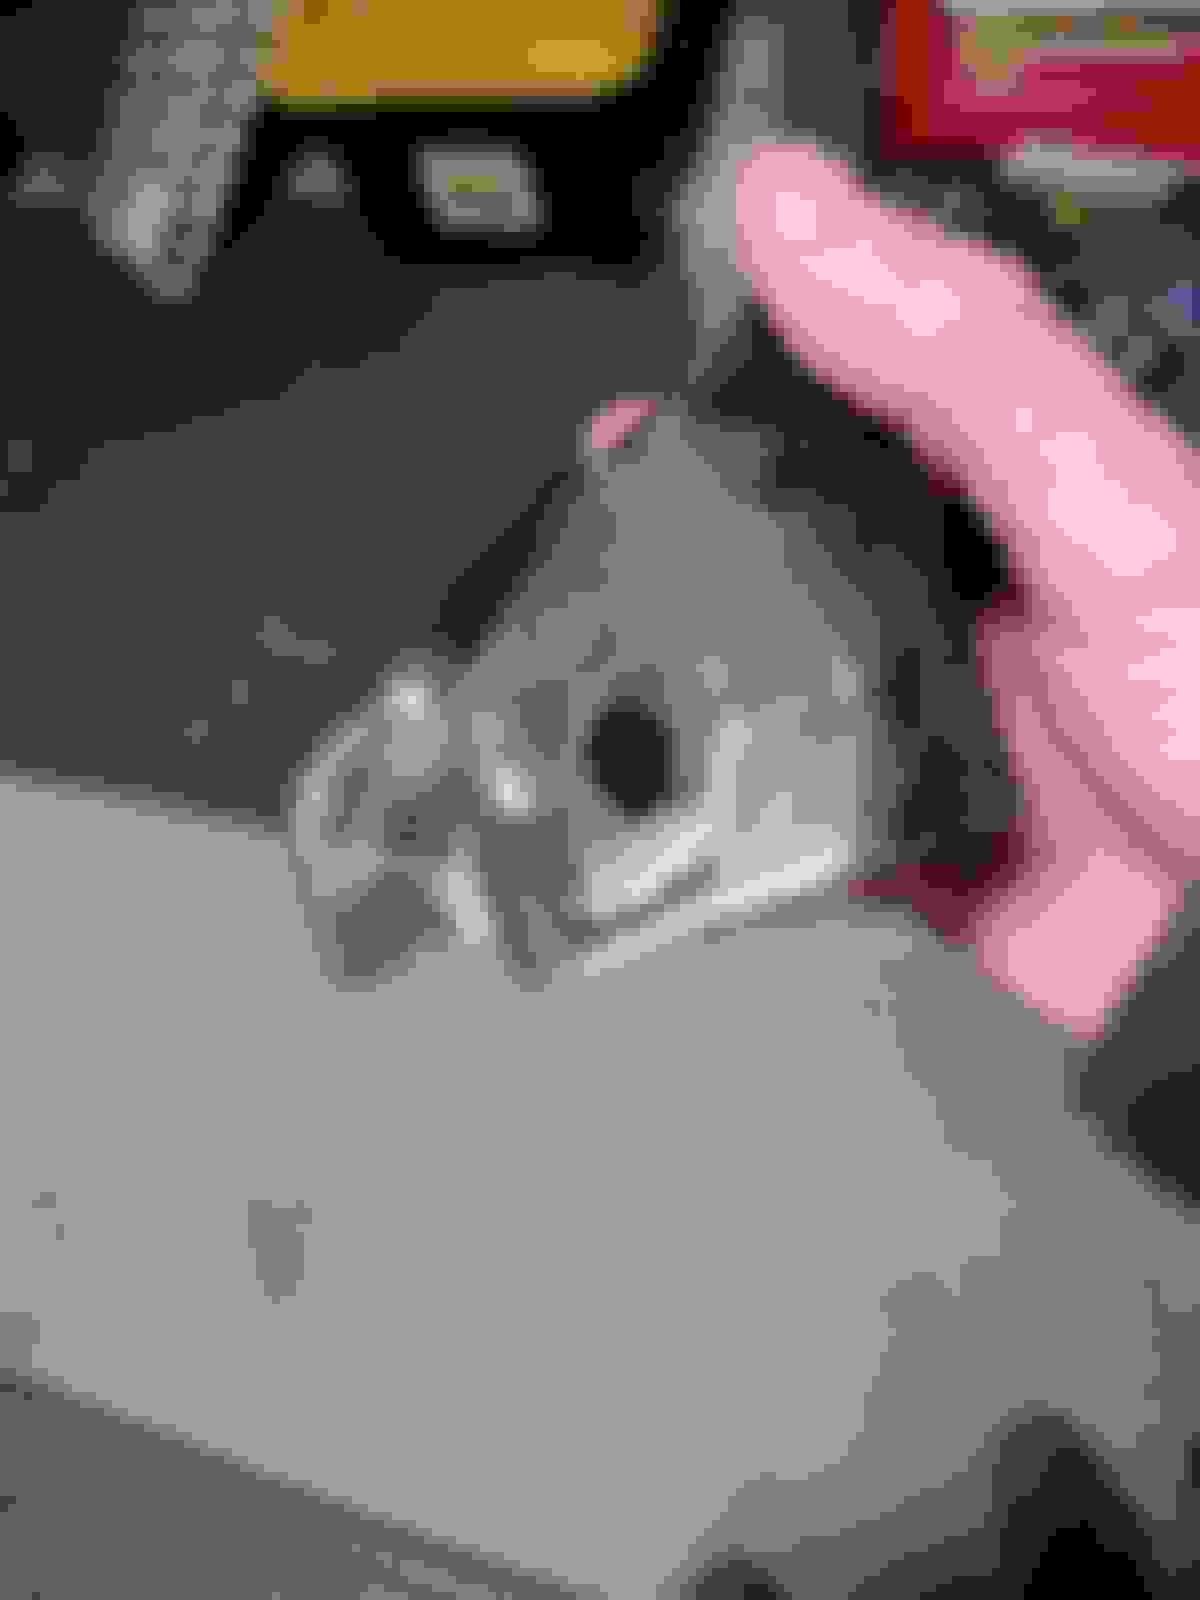
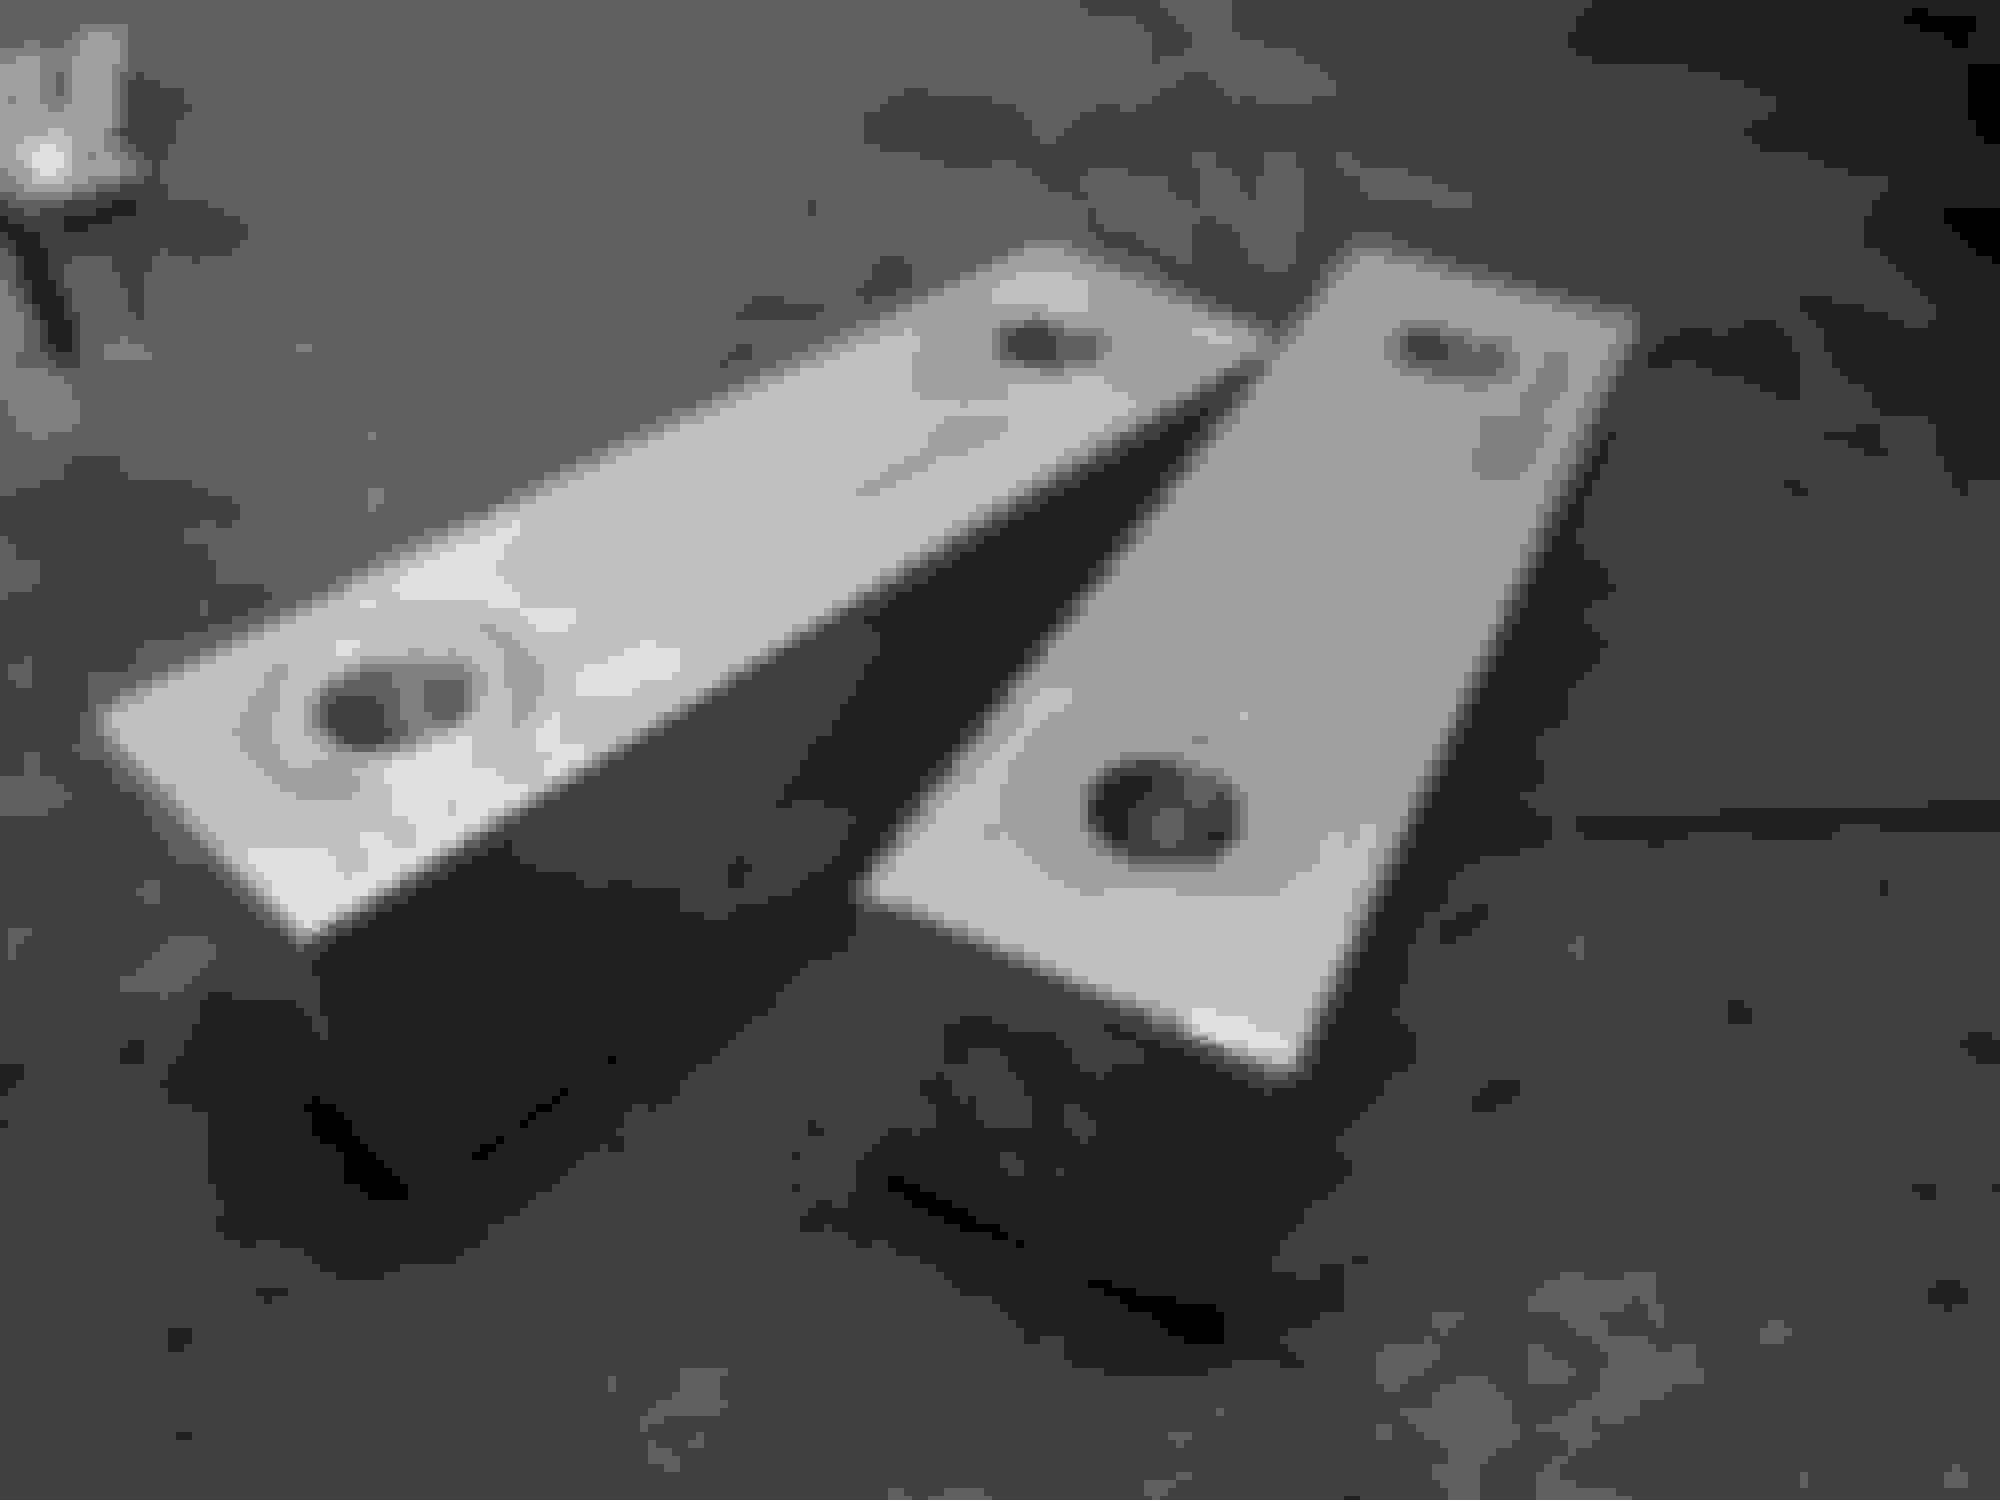
I traded my Blackbird mounts for these from a friend after sitting in his car and being dumbfounded at how much less vibration there was. That said, I'm disappointed with a lot of the design decisions.
.
The crinkle powdercoat is two layers thick and absolutely atrocious. It cracks off easily, and there's really no need for it. Satin black would be much better and probably cheaper.
The slotted mount where the bolt is held in place with a tiny sliver of metal is dumb.
The stupid "laser cut your logo into a structural part" trend. On top of that, the logo area fouled against the oil dipstick, which made a great excuse to remove it.
The second two are worth fixing.
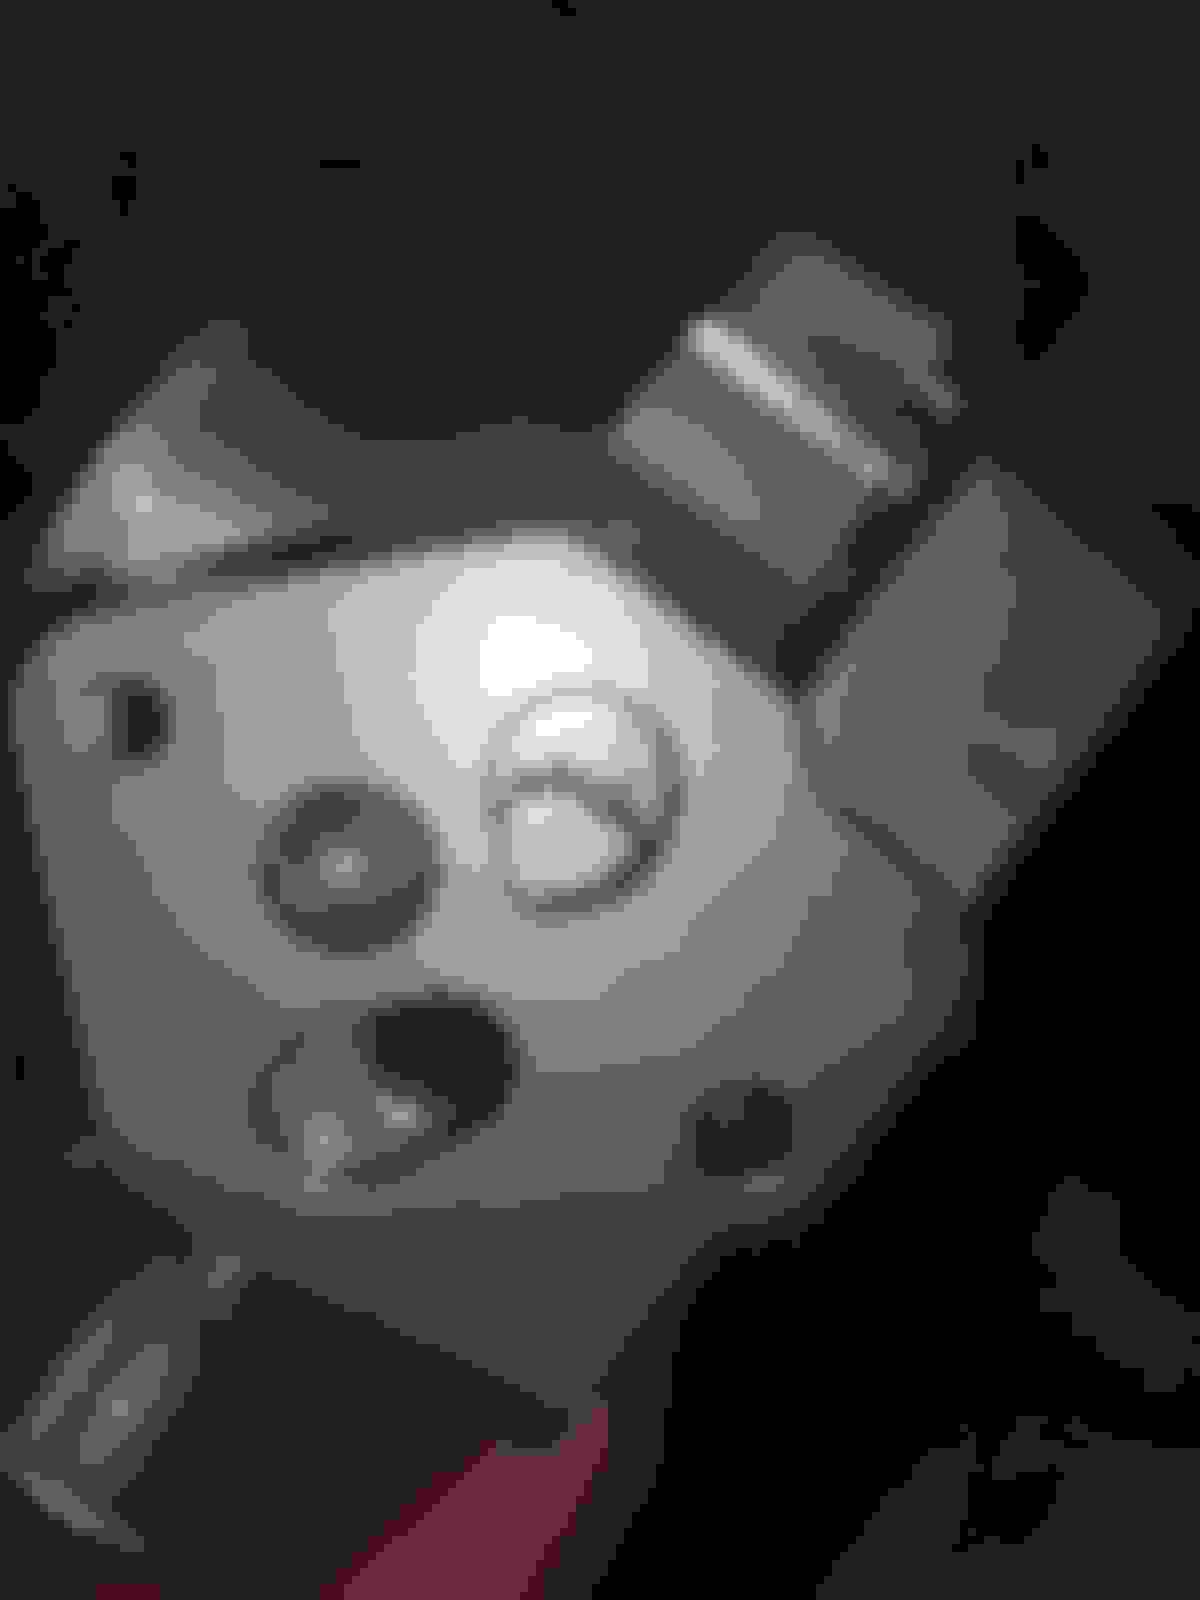
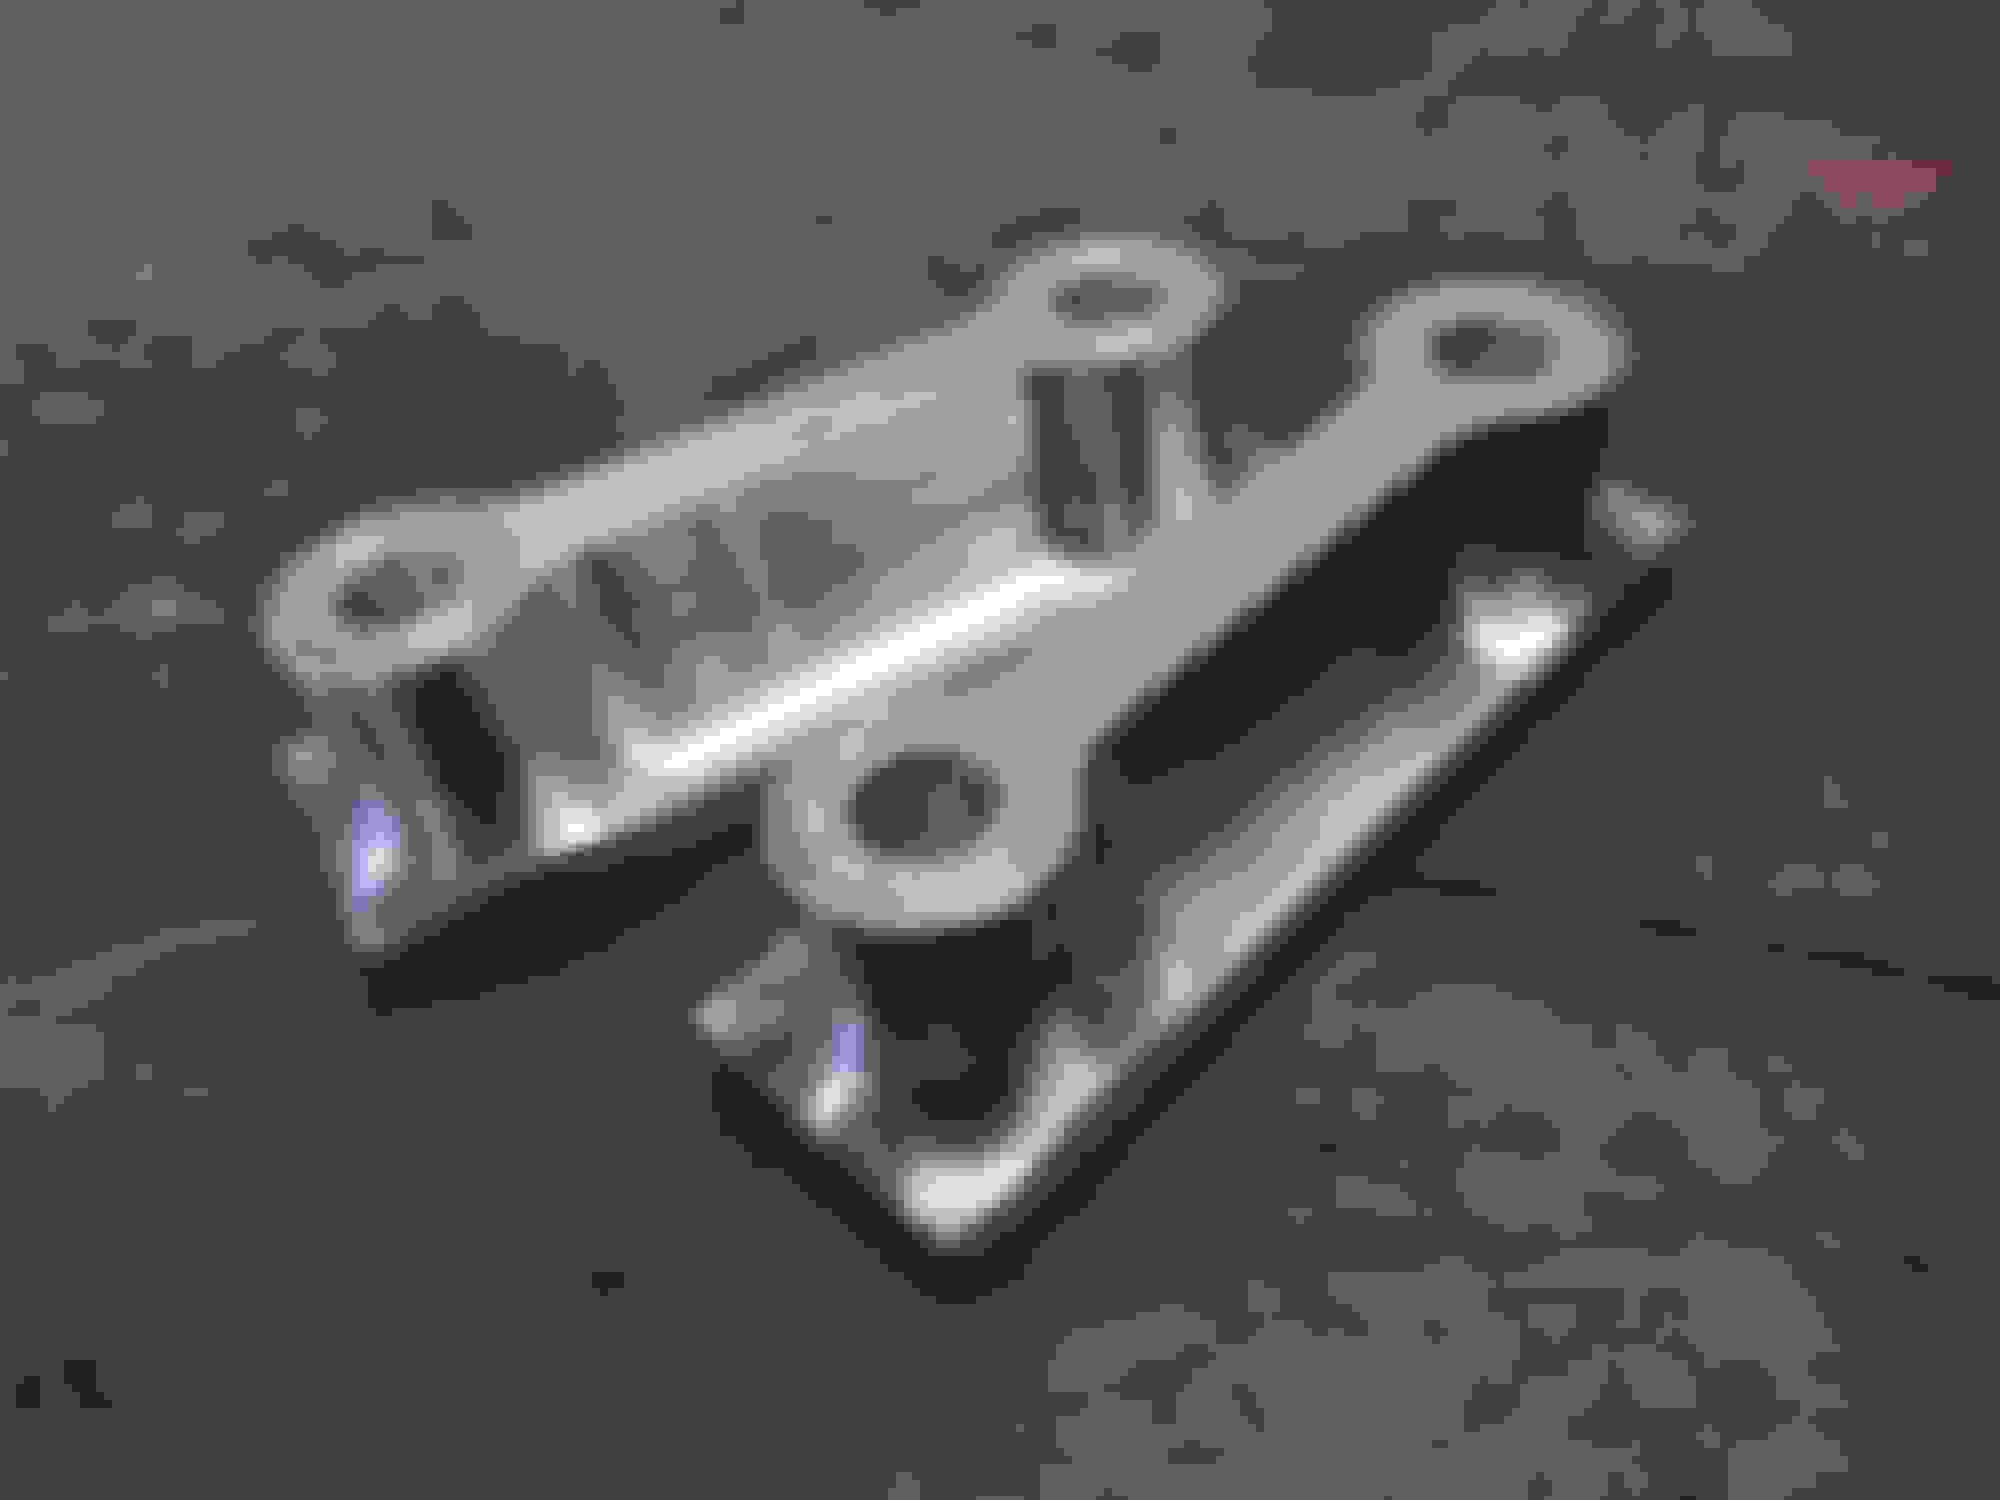
Not the best angle, but you can see the adjustment slot. I really don't like this design and have no need to change the engine height
So we cut out some disks to fill the raise and lower bolt locations, welded them in, and machined/ground the ear back smooth.
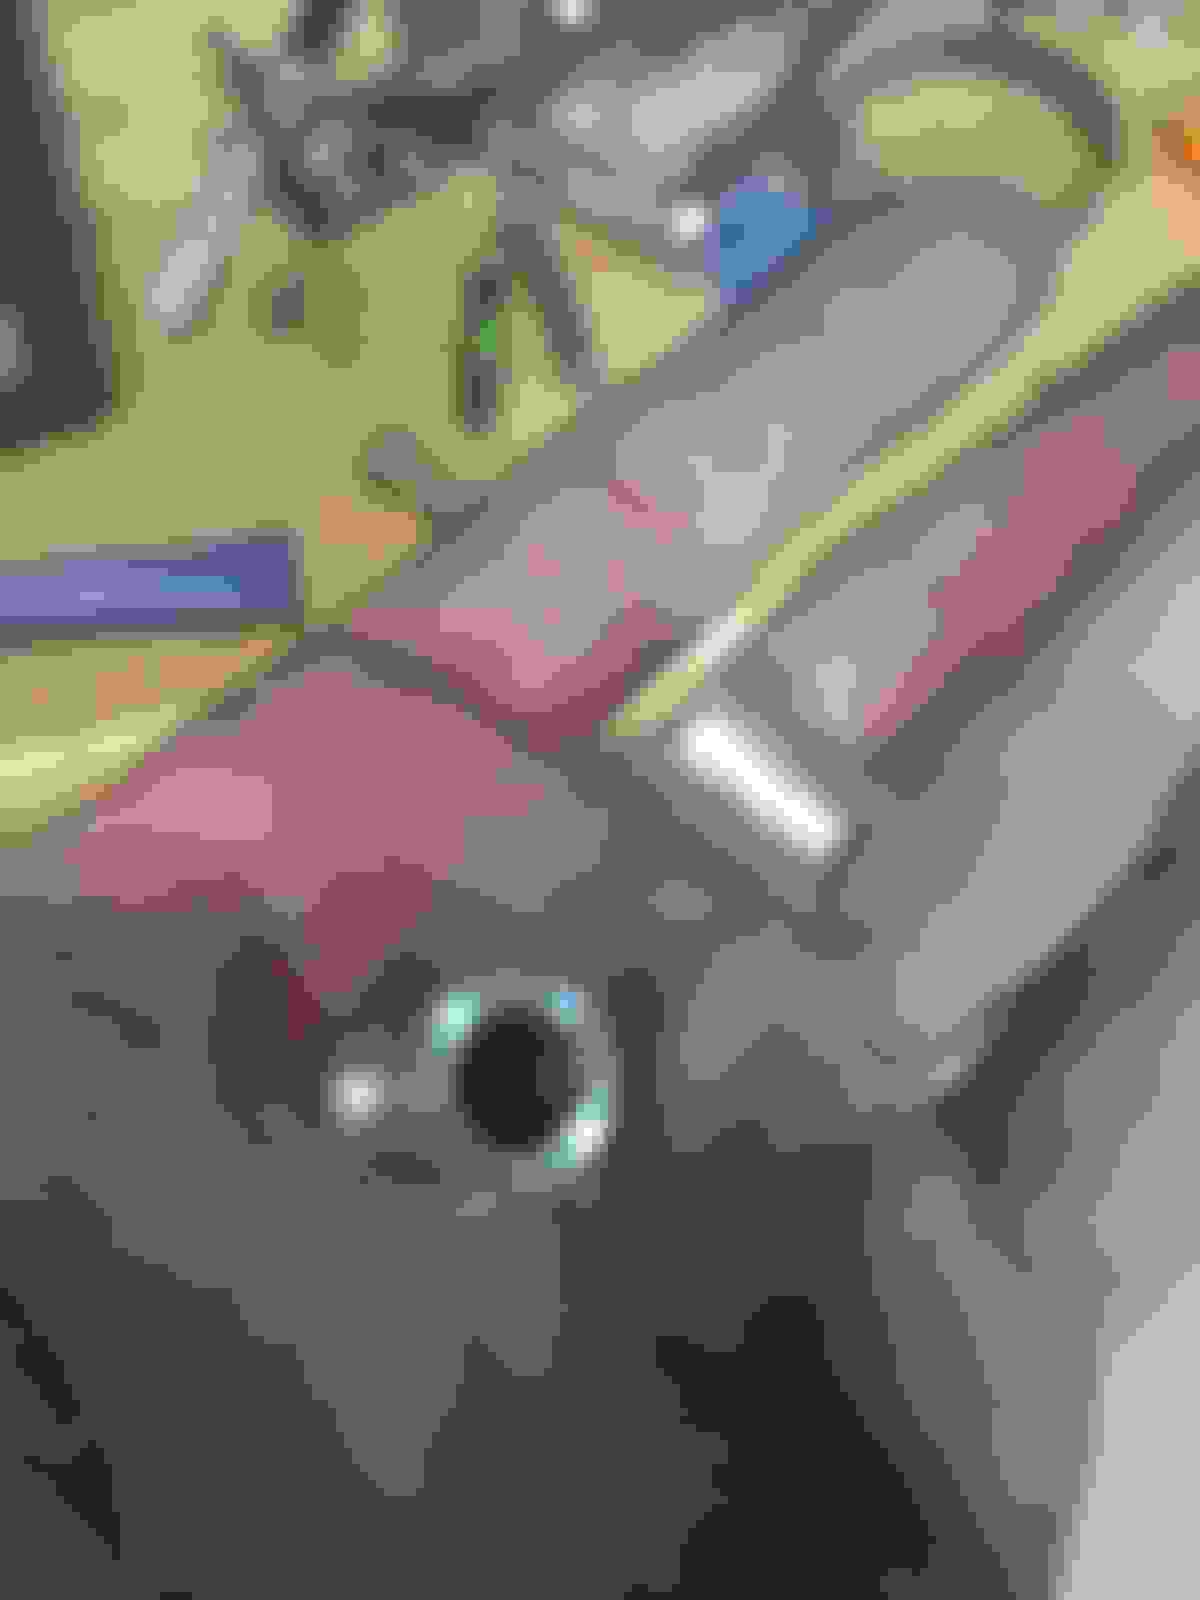
If you look at the bushing side of the bracket you'll see where the logo was cut out, and a plate was welded in. Then I cut that area back to clear the oil dipstick tube.
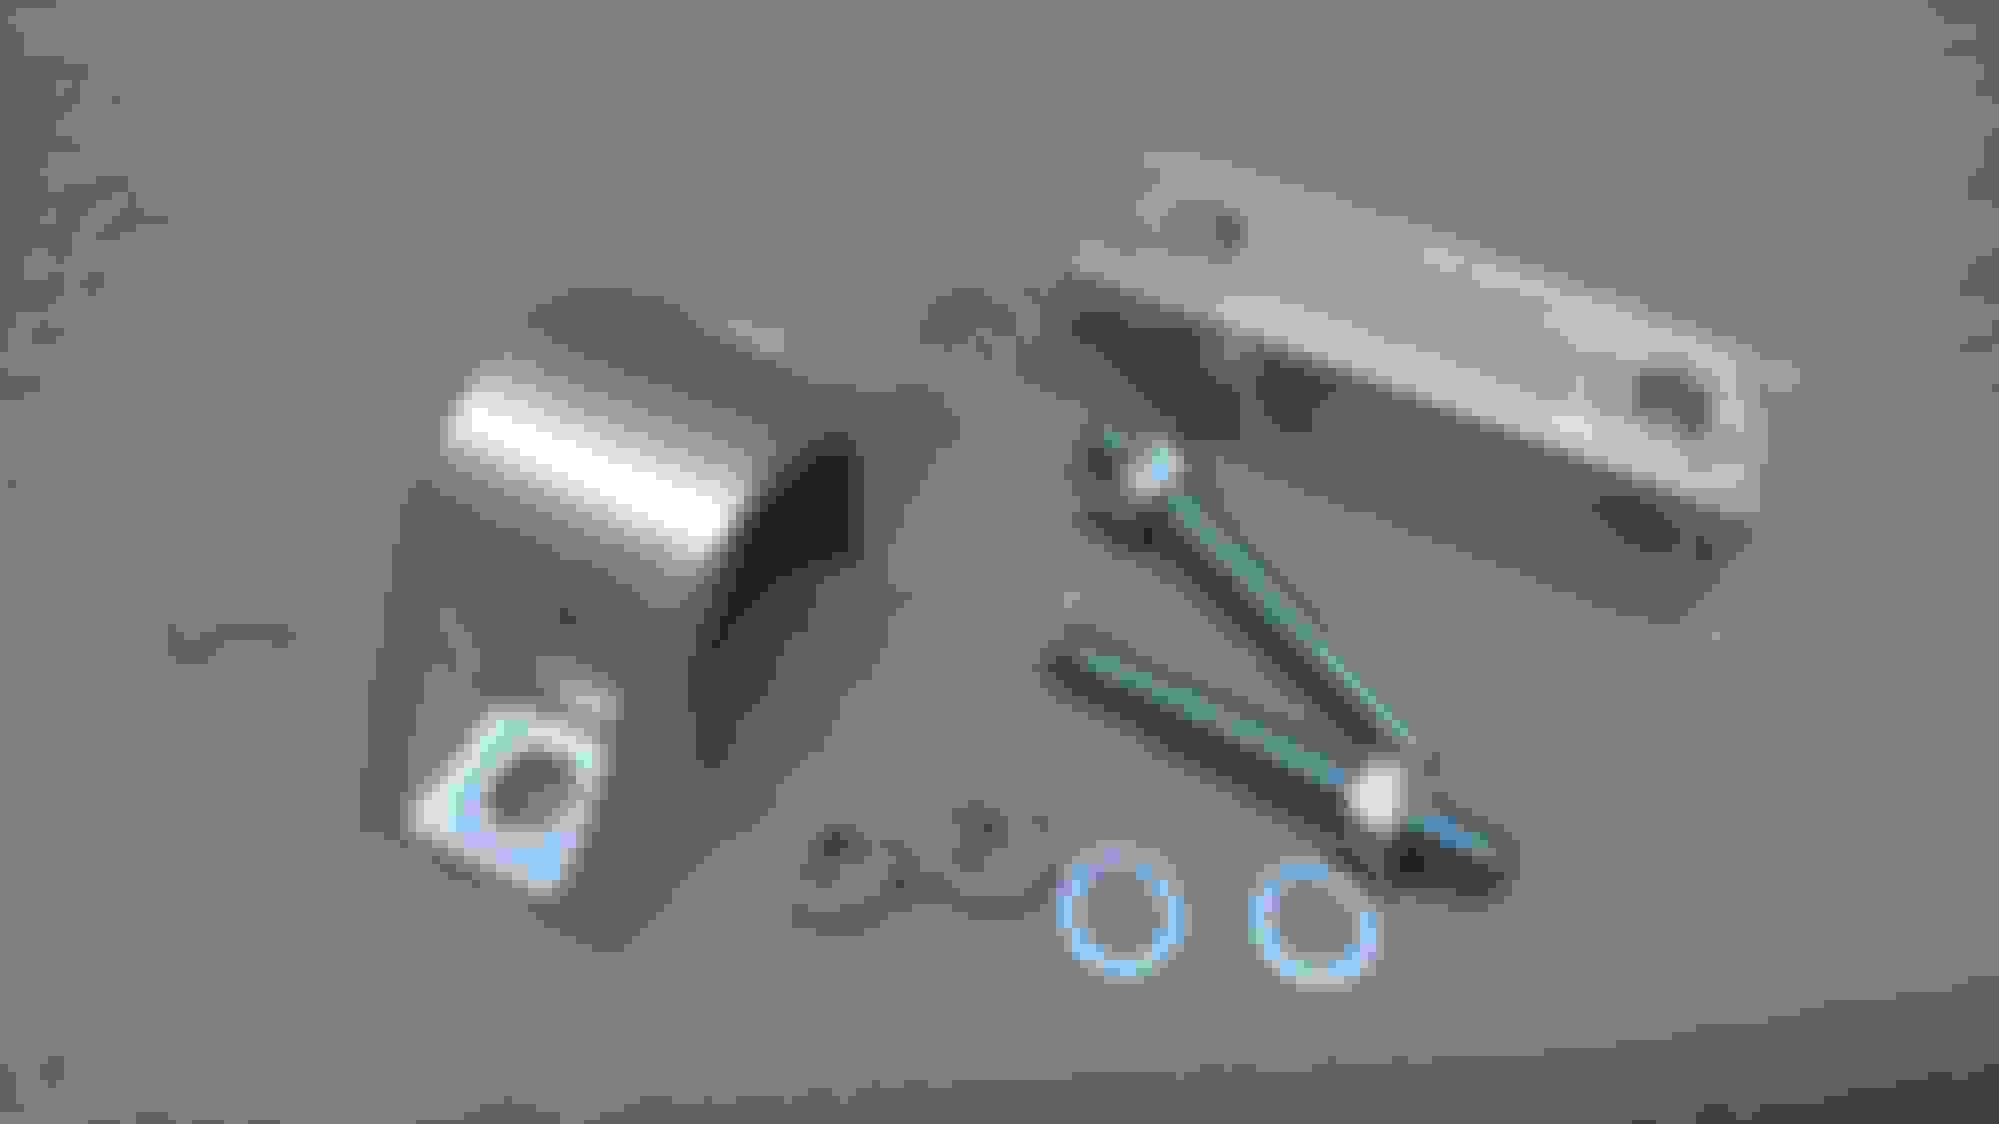
They were a bit more of a struggle to install than the Blackbird mounts. A lot of that is down to my oil cooler install hiding some of the bolts. I think the bushings that squished out also made it more difficult to line it up fore/aft. But they're installed.
Here's hoping they won't make for too much vibration. My Mazdacomp rubber mounts were perfectly fine.
Last edited by OptionXIII; 02-07-2022 at 12:14 PM.
I have no high power goals. This is just for durability. I'm not on track as much as the guys that typically have the issue with eating a screw, but I didn't want to take chances. Of course, being a crappy part, it has a ton of issues of its own that should be addressed and will probably make my car worse overall.
These are the issues I've encountered myself or am otherwise aware of through my internet research.
.
It's bigger. Not a bad thing necessarily, but you should match your intake manifold to it to avoid a step in the flow path.
Included hardware is generally wrong, but apparently YMMV. I had no such luck. The IAC mount has a blind bolt that I needed to shorten to clear the IAC itself that is mounted over it. One external IAC bolt just needed a washer. One external IAC bolt wasn't included. I am Loctiting anything that doesn't need adjustment.
Drilling a new return spring hole for more tension at closed throttle, or you can get a high idle once warm. I haven't done this yet as it's easily done in the car, and I want to give it a try as delivered.
Set throttle stops and adjust cable tension. Some people have had an issue with the throttle cable barrel snapping off. Adjust the max throttle pedal stop in the footwell so that the pedal stops the pedal travel, not the throttle body itself.
Idle control issues. I ported the IAC flow path a bit, hopefully that will help.
Intake crossover tube needs some persuasion to fit over the larger TB inlet. Warm it up, use some lube, jam it in there, just like in the bedroom.
S2 TB has no provisions for the throttle body coolant path. I am going to use a hose barb to connect the two coolant hoses so the stock coolant/oil heat exchanger still gets flow.
The material that needed to be removed from the IM to match the new TB. I jammed a rag into the intake, then taped over top of it to be absolutely sure no shavings would get in.
The patient after surgery. The die grinder made quick work of this.
I also gave the IAC airflow path a bit of a port job. The stock throttle body has massive, high flow ports for this. The Skunk2, not so much. I wish I had hogged out a bit more, but it's loctited down now. Hopefully this will help mitigate some of the idle issues I've seen reported.
Also, the bolt in the pocket there that really needs to be shortened or replaced. Other bolts will be fine with washers, as they are not covered up and height sensitive.
The stock IAC flow ports are MASSIVE in comparison.
I didn't want to use all the included bolts, the standard top studs make it easy to install. So these spacers were machined out, as washers look trashy. The nut will bottom out on the end of the stud threads before it tightens down on the S2 TB, you need something in there to take up the space.
I used the included stainless allens on the bottom two bolt locations.
When I installed my $260 suspension back in 2019, I had to make some previously mentioned custom sway bar clamps and brace blocks. But with the Fox coilovers with more than triple the stock spring rate waiting to go on, the Racing Beat bars are a tad overkill. So, back to smaller stuff.
The allthread studs were a terrible idea as the whole locknut idea only works if there isn't a soft spring (like those flexible sway bar mounts) in the mix that eats up all the preload you add. I threw that into the trash pile long ago.
The clamps were designed for the bushings Racing Beat sent out. They won't work with the stock sway bars.
At least the brace blocks can be reused. They're massively oversized though. Let's trim some weight.
Before:
During:
My friend made enough money off his homemade mill to buy a much bigger machine. It's pretty neat.
After:
Much more better, and still complete overkill compared to what's commercially available.
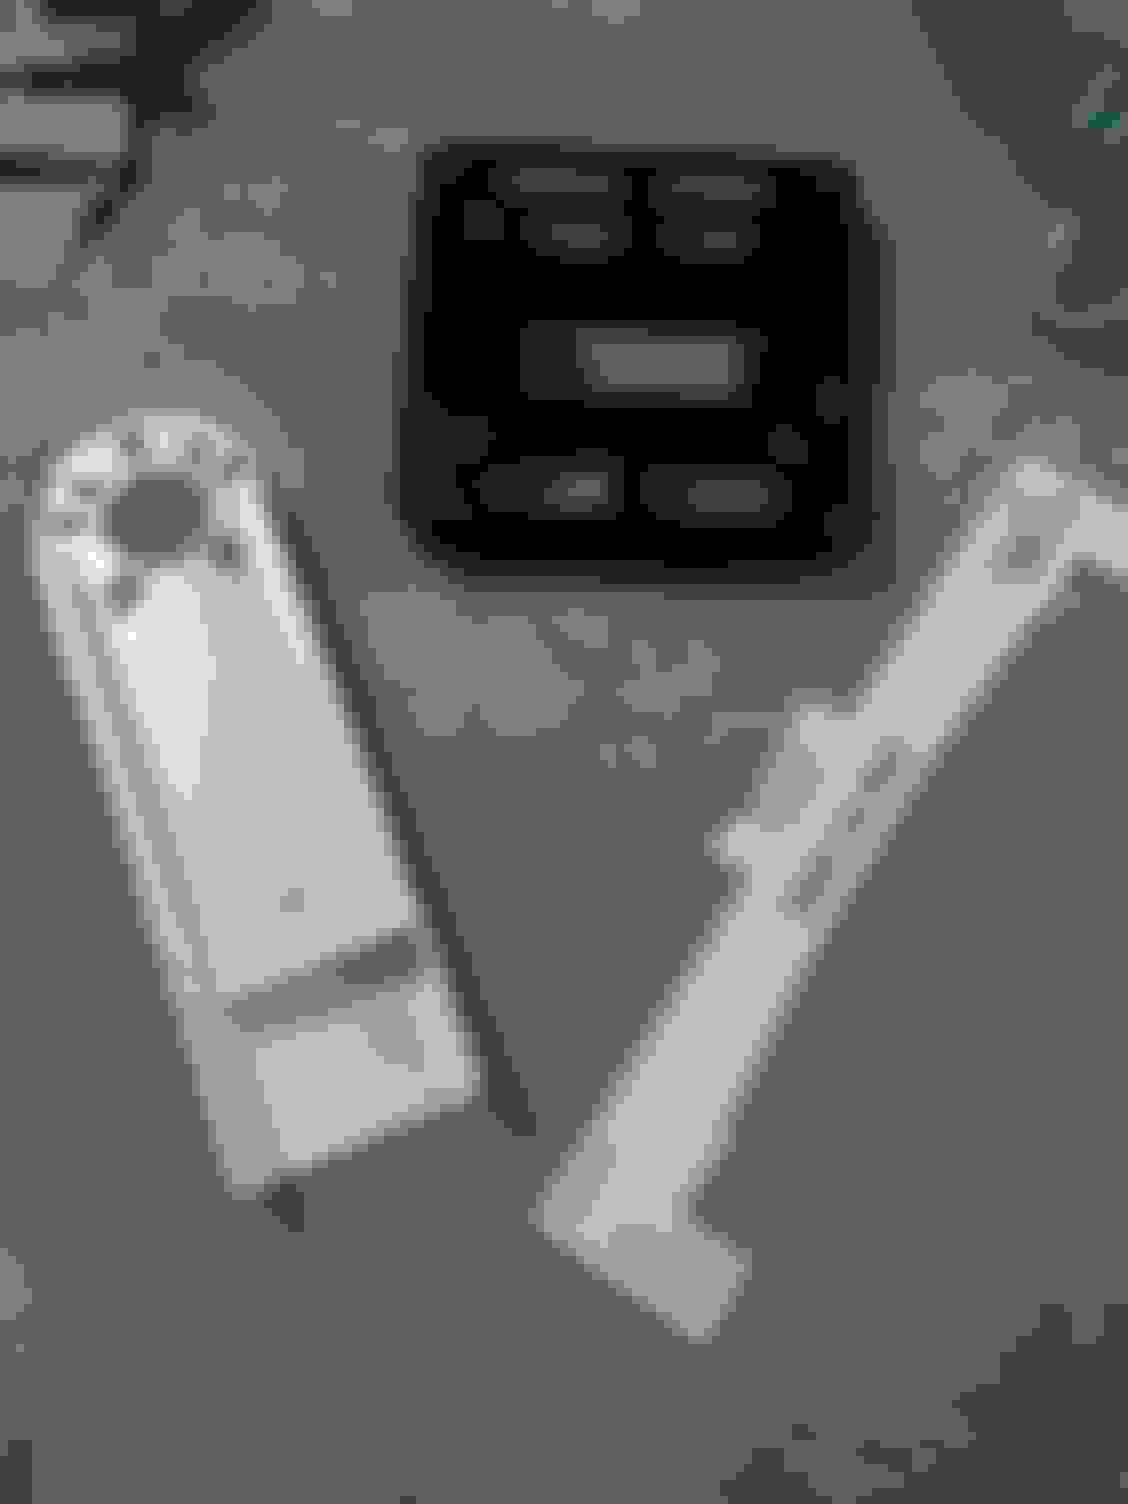
Well, I decided there was enough I wanted to do around the dash that it was a good idea to take it out. The list:
1. Remove the alcantara dash wrap
2. Swap to NA HVAC controls. They fit the dash better and will give me more room so I can ...
3. Add a radio.
4. Finish mounting fuse panel and OBD port, and generally tidy up and address rattles.
5. Stiffen the throttle pedal stop mount.
6. Clean out the blower motor.
Dash is out.
Man, it's gotten so bad.
'
The area covered by the VIN tag shows how bad the fading has been. It'd be one thing if it took years, but this began to fade within weeks.
Goo gone made quick work of 90% of the contact cement residue. The last 10% is taking ages of scrubbing.
It's amazing how much time gets eaten up by the little things. I spent most of the last weekend working on the pedal box.
As described. I used an old tooth brush to lightly scrub the face of the evaporator and get 22 years of detritus off of it. The sound of the leaves had been bothering me for years.
Lowes Racing HVAC foam tape to reseal the fresh air duct. Not sure why a massive hole to the outside world needs to be sealed on the edges, but here we are.
The dash is almost entirely cleaned free of the old contact cement. There are a few spots on the dash that have discolored from I don't know what. And of course, I had to knock off all the little slats on the defrost vents when I wrapped the dash. This is the dumbest mod I've ever done to a Miata, the dash was pristine before I fucked it up. Oh well, it tells a story I guess.
Skunk2 TB Install, Part 2
I went to adjust the throttle pedal stop to keep stress off the linkage. The original plan was to use a set of feeler gauges to get the throttle just shy of hitting it's own stop when the gas pedal is pushed to the floor. That didn't quite work out because the pedal assembly has a massive amount of flex, resulting in more throttle cable travel even after you hit the pedal stop.
With some homemade bracketry and TIG welding, the pedal box flex is sorted and now have the worlds stiffest Miata gas pedal mount.
With that taken care of, the max pedal travel was set so that the Skunk2 should never hit its own throttle stop. This should keep stress off of the throttle cable barrel.
Last edited by OptionXIII; 02-14-2022 at 10:30 AM.
I've still been chipping away, getting the other winter projects done so that when the Supermiata poly bronze kit ships I can redo my whole suspension in one go.
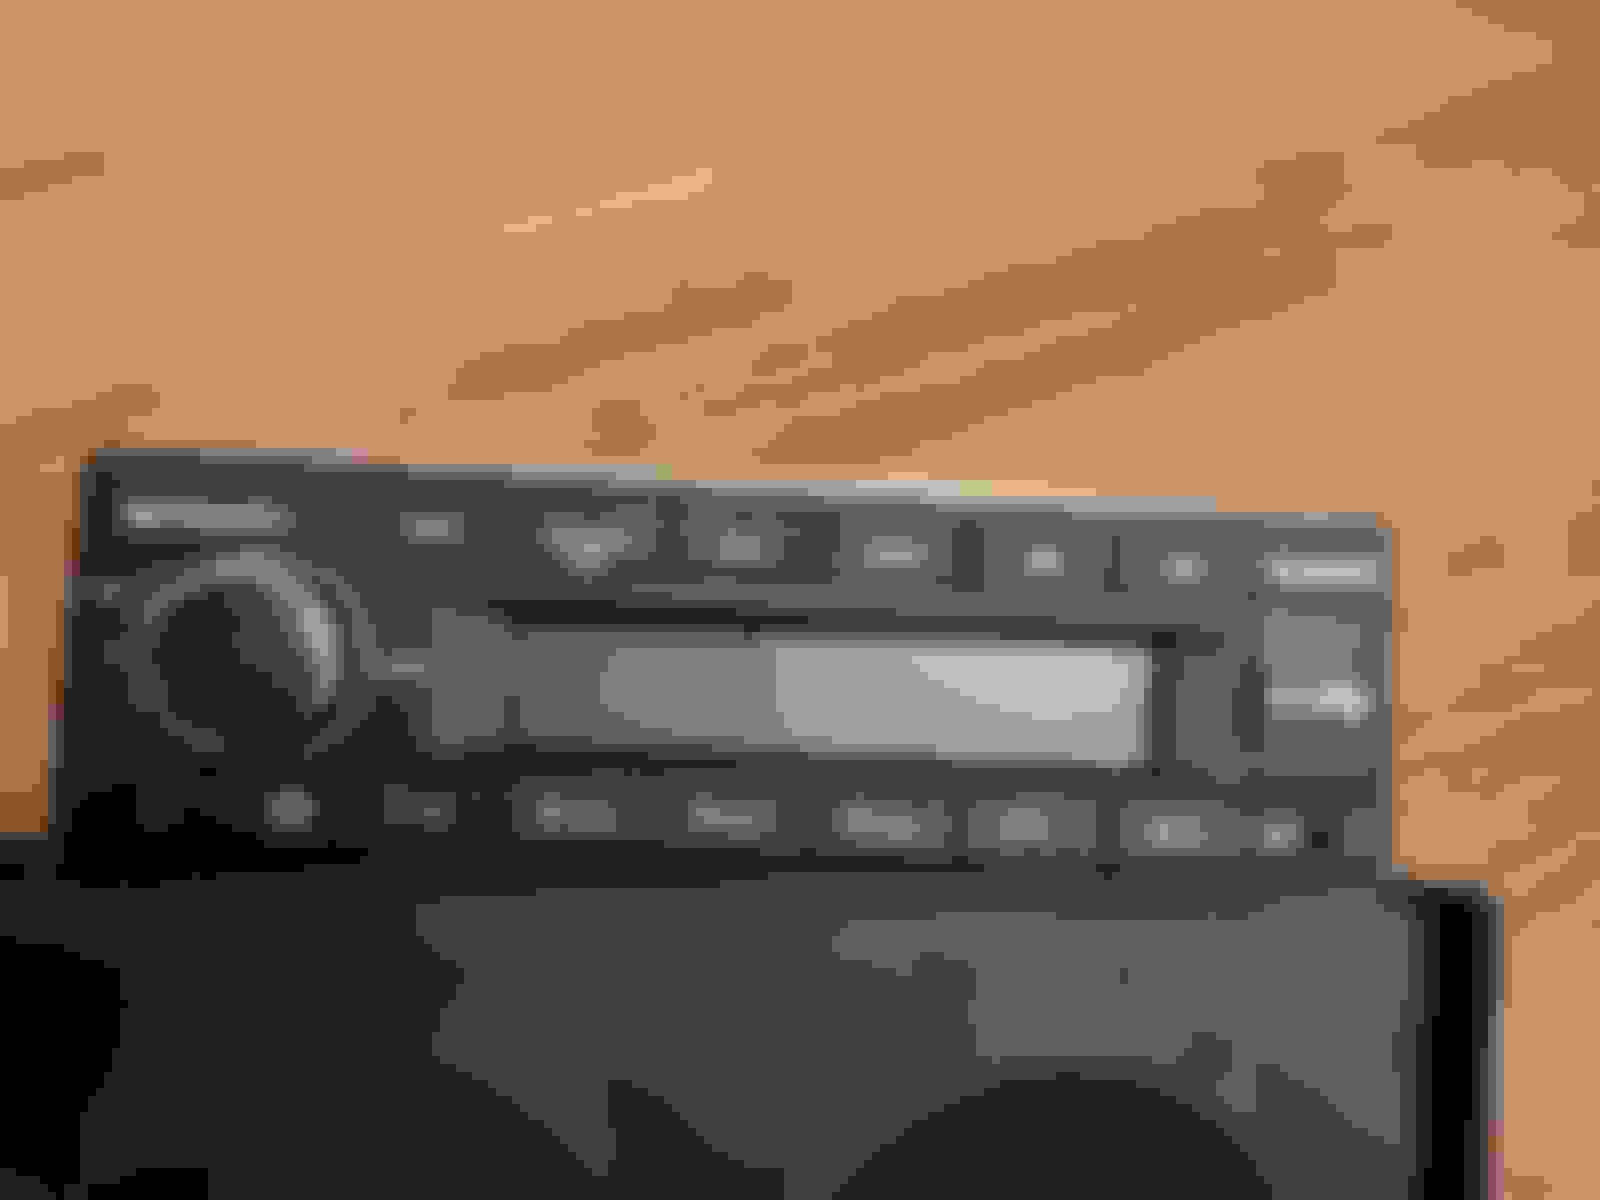
This should work wonderfully. Finally, I own a modern radio that doesn't look like a discoteque.
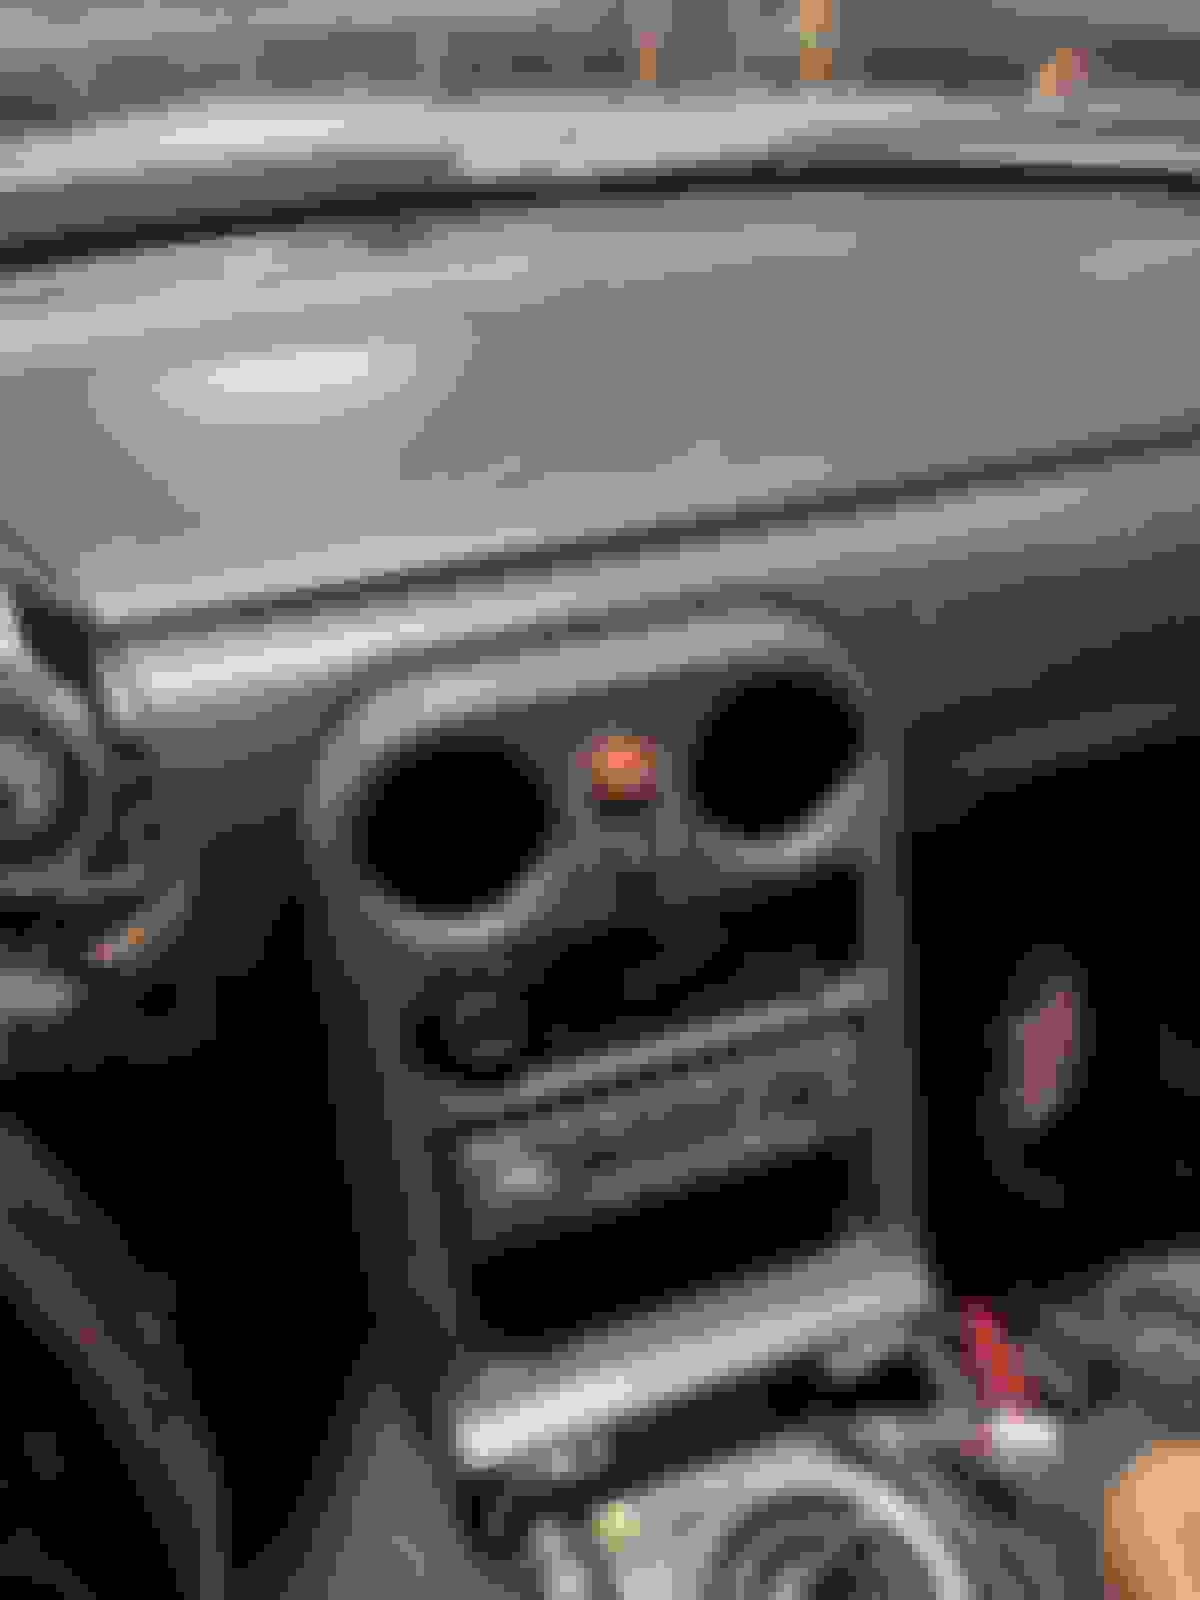
The test fit of a spare set of NA HVAC controls and the Continental radio. Below the radio I'll either put a storage cubby or a switch panel. Wearing headphones to listen to music was getting really old on road trips.
The plan is to install a better set of NA HVAC controls that will eventually get Revlimiter JNC faces. I plan to do the same to the gauge cluster.
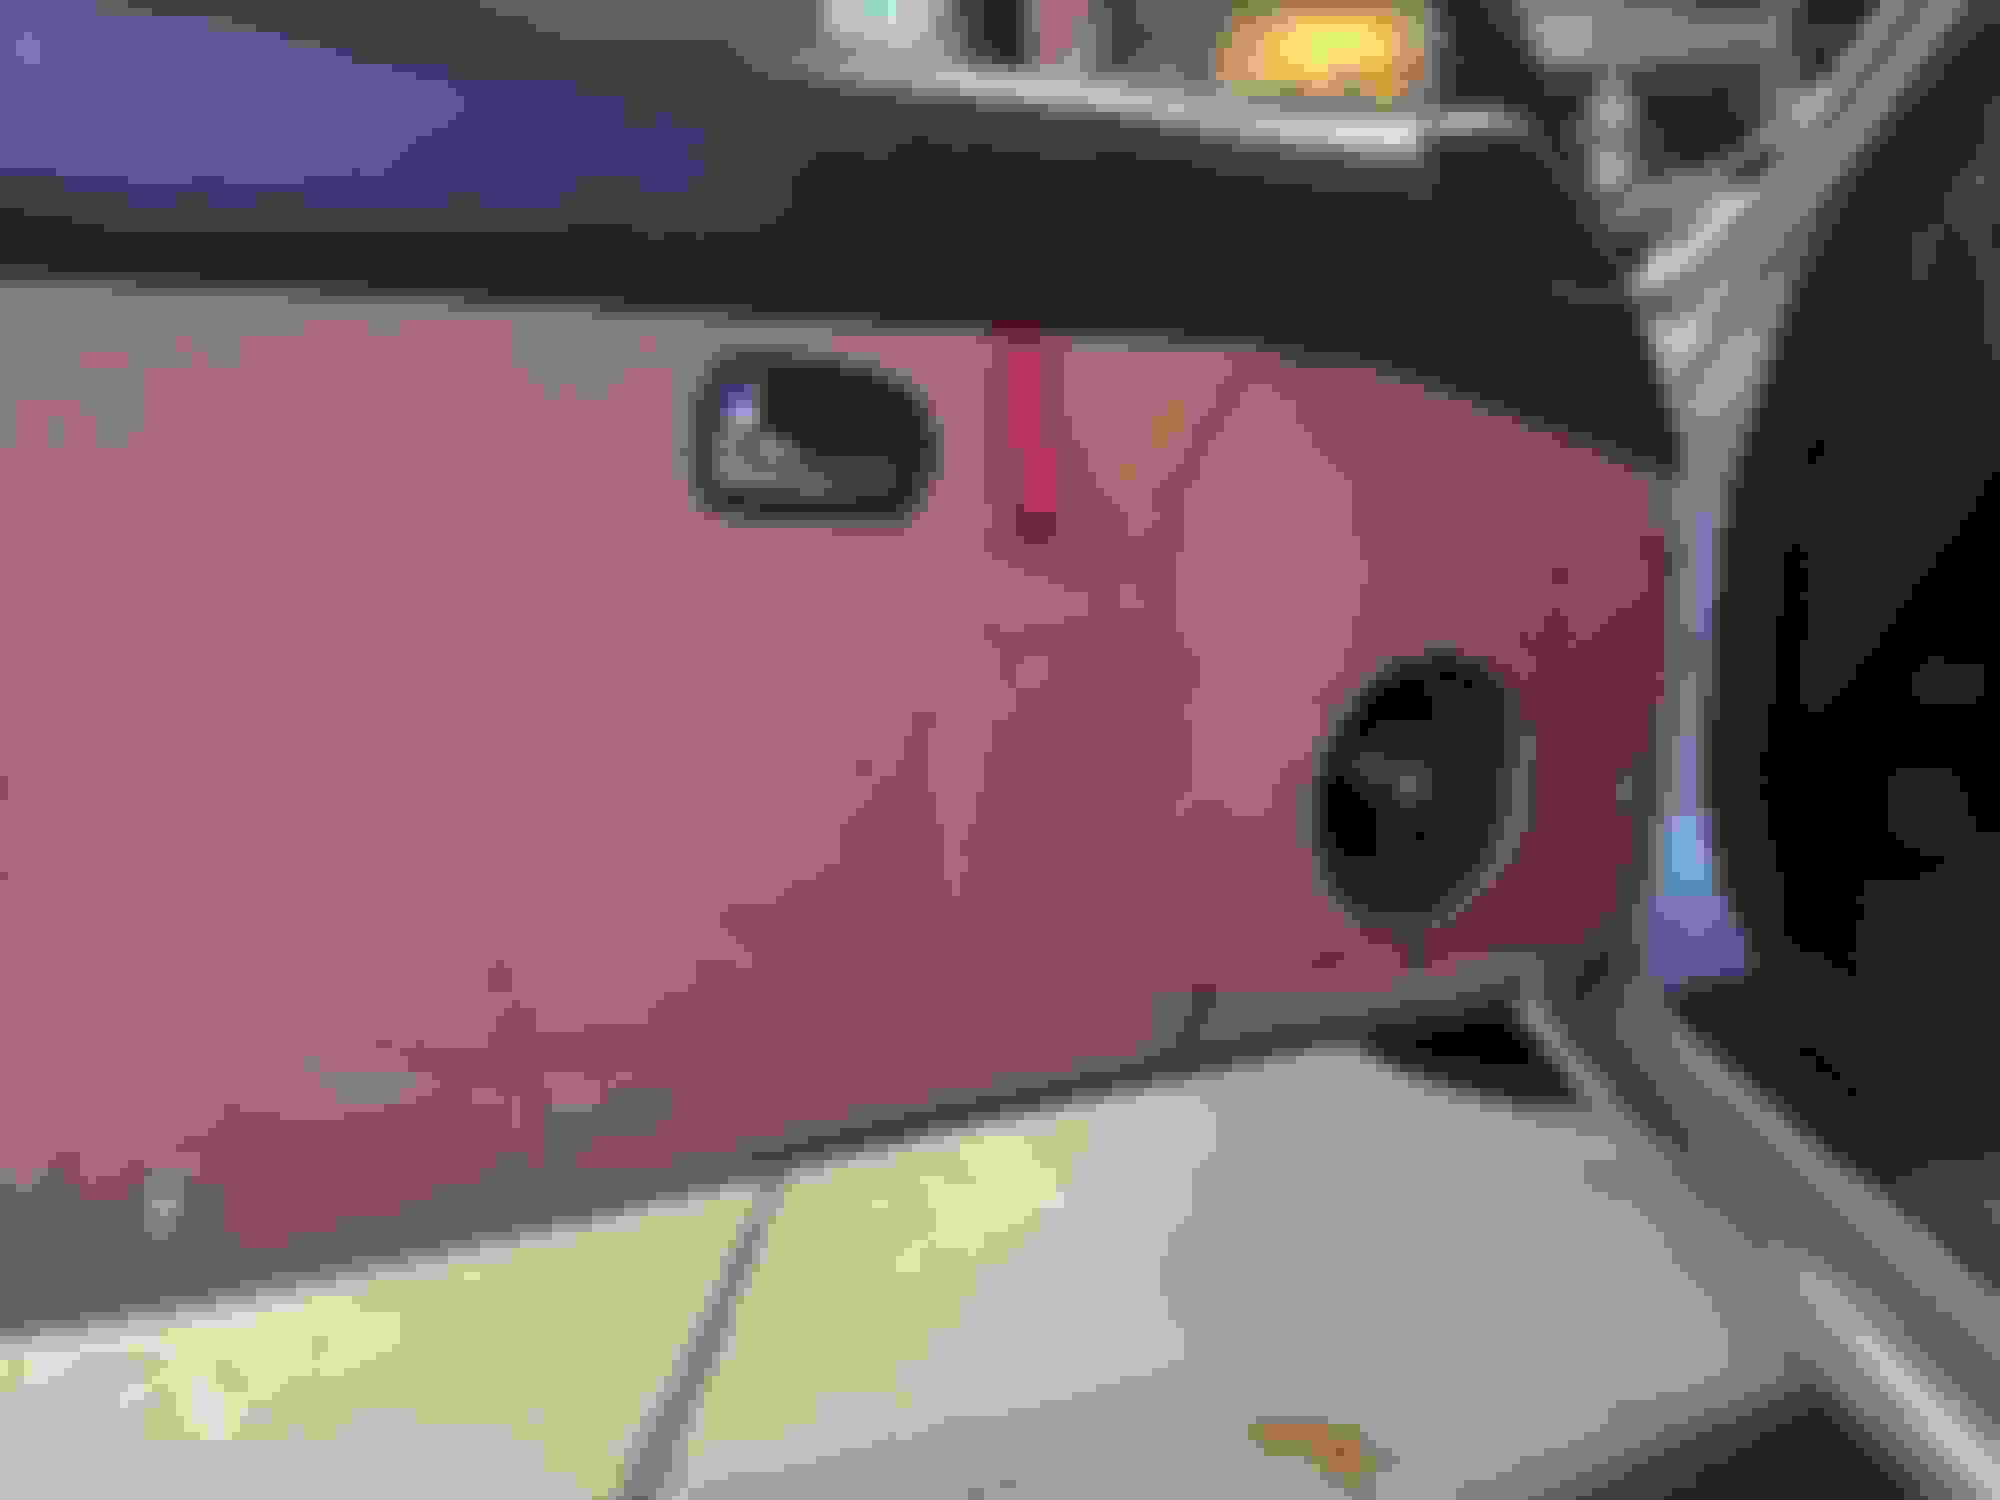
Not my picture, but since my car came with the Bose sound system, it came with 8" round speakers. The base model uses these adapter mounts to fit 6x8 speakers in the same place. If I have the space with my flat door cards, I'd like to find a set and use them to install aftermarket 6x8 speakers.
It was time for a new battery tray. I got this thicker one from Rspeed.
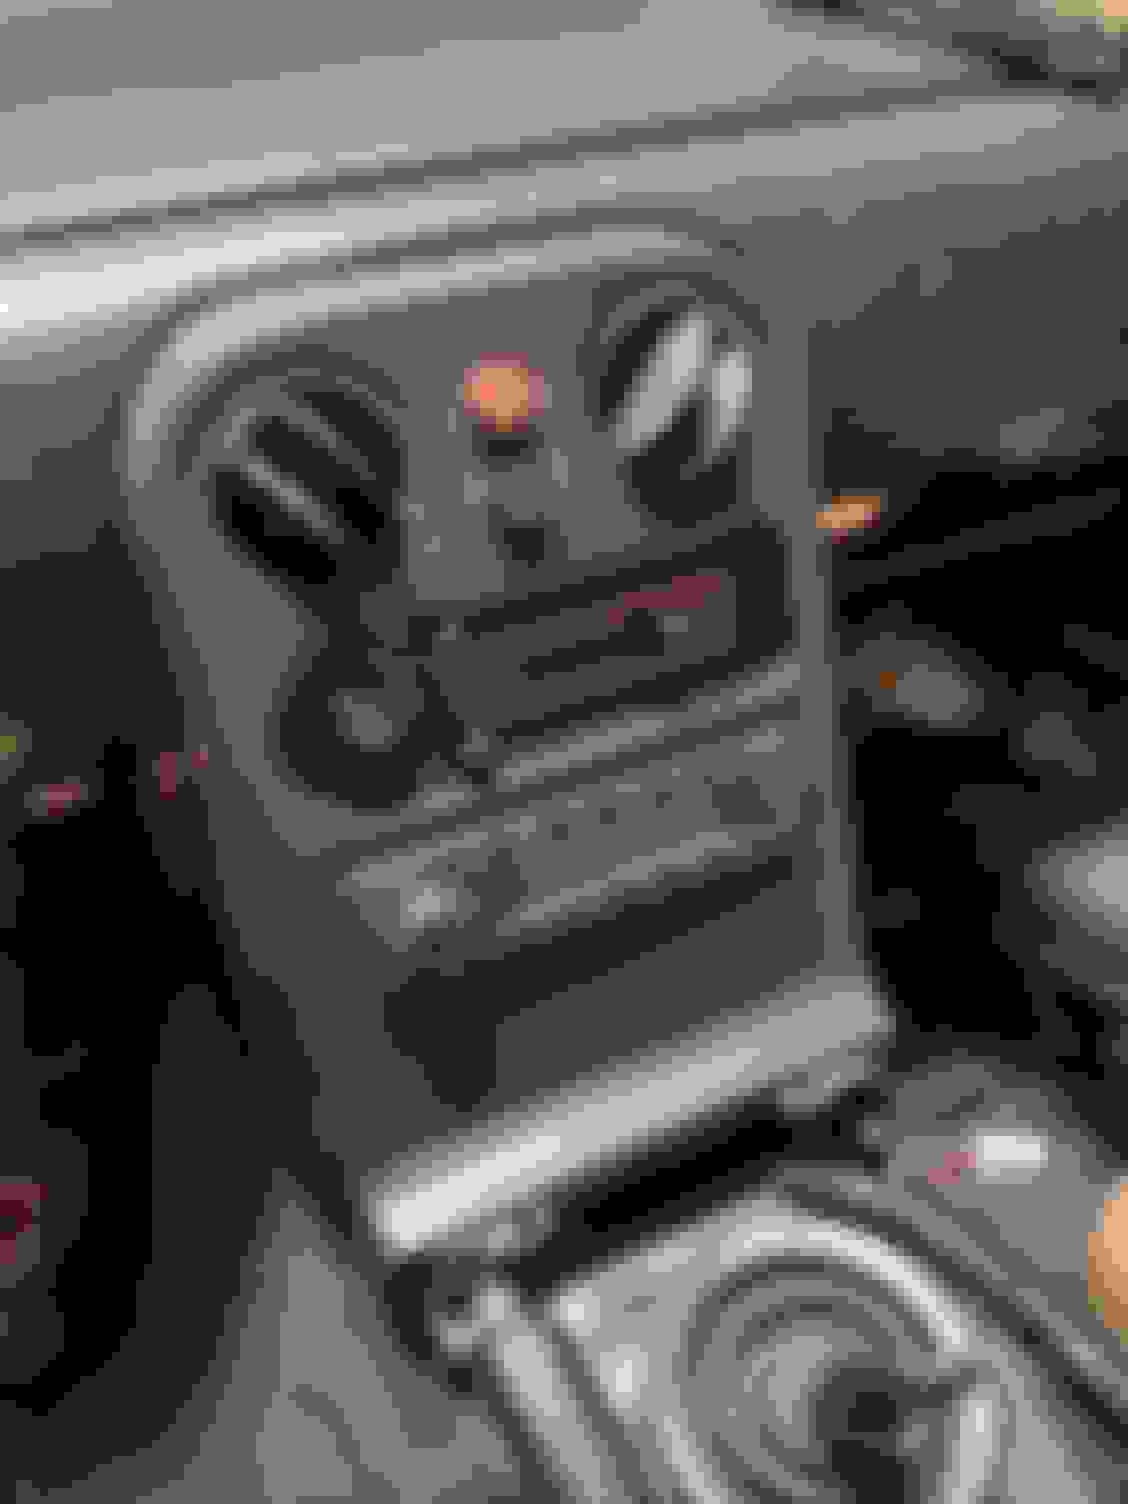
I really like that continental HU. The only thing I do not like about it is that the lighting is orange, which does not match my interior.
Yeah, I think it's intended more for the old BMW crowd, but it's the most reasonably priced OEM looking non-disco unit I could find.
Anyway, I've been travelling a lot for work lately so time has been precious. I've only got one week back home before I have to take off again. Time to play catch up.
I reinforced the front control arm sway bar mounts with a bit extra weld in the gooch.
The rear swaybar mounts had already gotten that treatment, but I wanted to be able to run the end links "backwards" again as it gives way better linkage angles. This should keep them from ripping out again.
Both rears, stripped clean and ready for paint.
I got some Superpro diff bushing inserts. These should complement the poly motor mounts well. They accidentally sent me two sets!
Pretty easy to see how they fit in the part of the bushing that drops out.
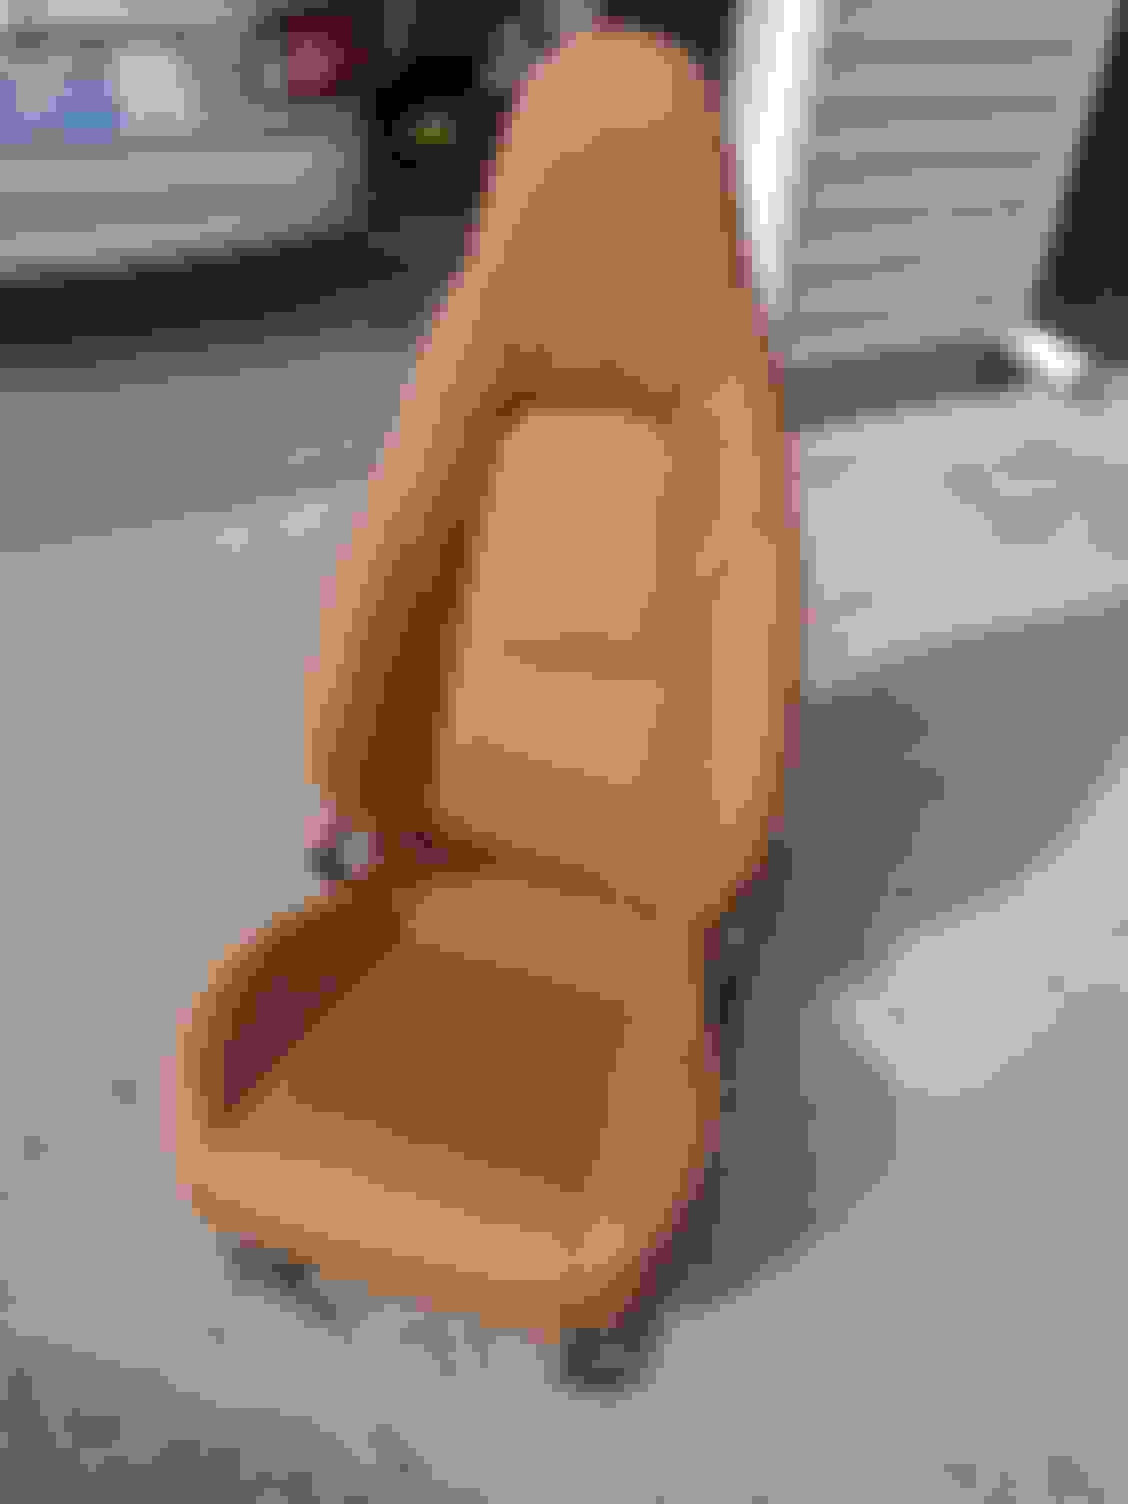
I eventually plan to swap out the fugly tan seat covers. The old seat hinges off the NA are better looking in my opinion, and not tan. That may even be this spring!
Don't think I've posted this previously, but I had to take it off to drop the diff far enough to slip in the little donuts in the bushing kit. The front ladder bar got bent back twice from impact with road debris, and it bends the chassis mounts with it, so I heavily reinforced it.
The S2 throttle body doesn't seem to have enough tension at idle. I drilled in some adjustment holes (stock is furthest left). Currently set to the least stiff new option, the second from left (red arrow)
The HID retrofit throws out a great low beam, but the old halogen high beams were left looking pretty mediocre in comparison. I was looking for inexpensive relay harnesses when I realized the Morimoto HID relay harness happens to use 9005/9006 connectors. So I bought the same relay harness that powers my HIDs as a $20 closeout on eBay and hooked it up to the high beams. Hopefully this will be a good improvement, but if not, I'll try getting new bulbs.
Blue arrow is the much more OEM looking mounting arrangement for the HID relay setup. Red is the new high beam relay harness. I was going to make a new bracket to mount it more cleanly, but the coolant overflow tank was too convenient to ignore.
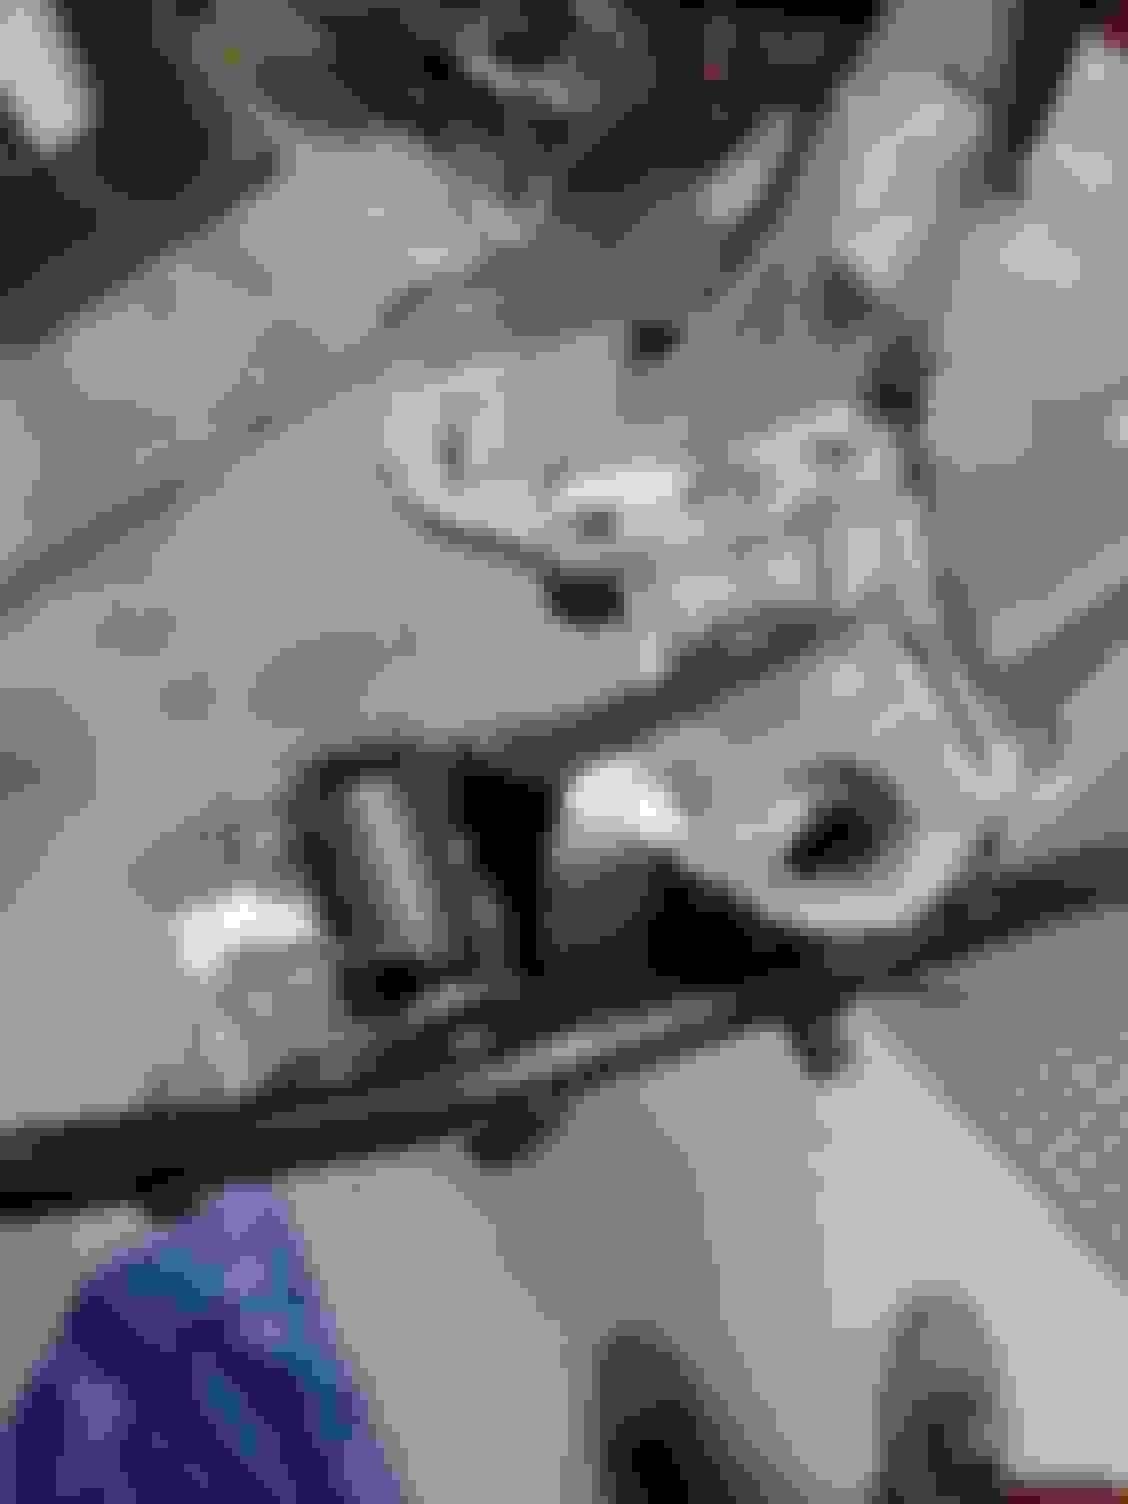
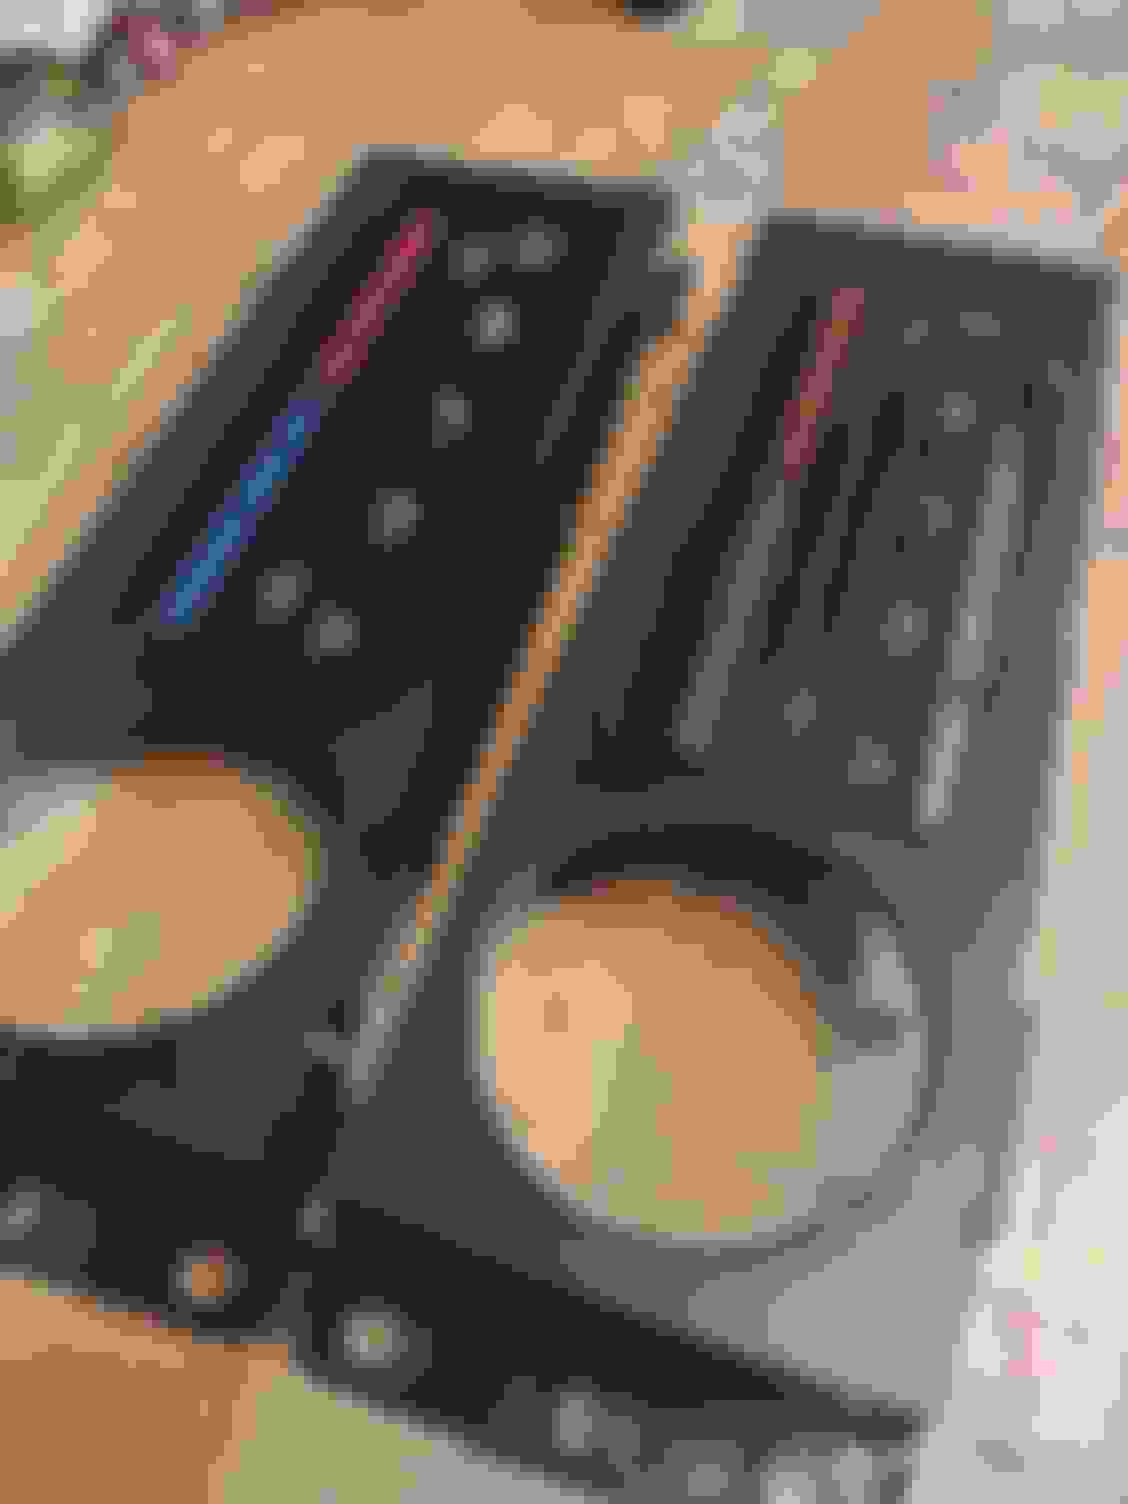
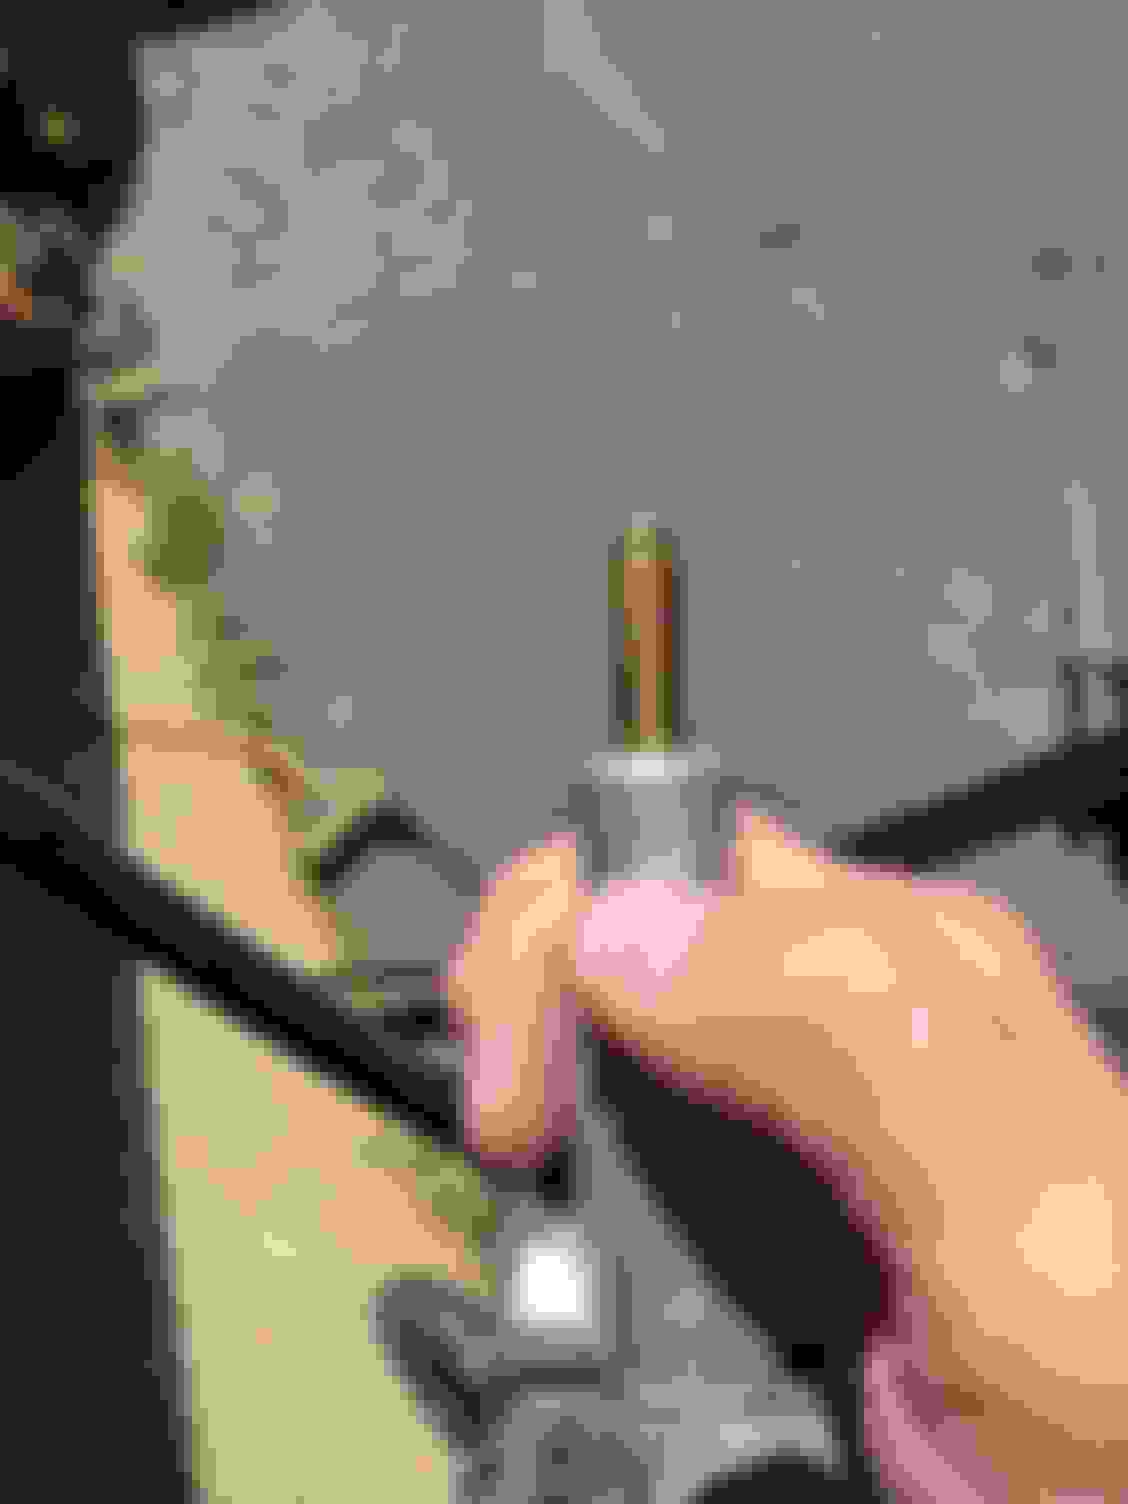
So I've been trying to find a creative way to mount the 3 point and 6 point harnesses at the same time, so that I don't have to switch bolts. The crappy aftermarket harness tabs were a crappy fit on the stock shoulder bolt, lets take care of that.
Making what would be one of the most expensive harness tabs ever sold, if I was paying for it.
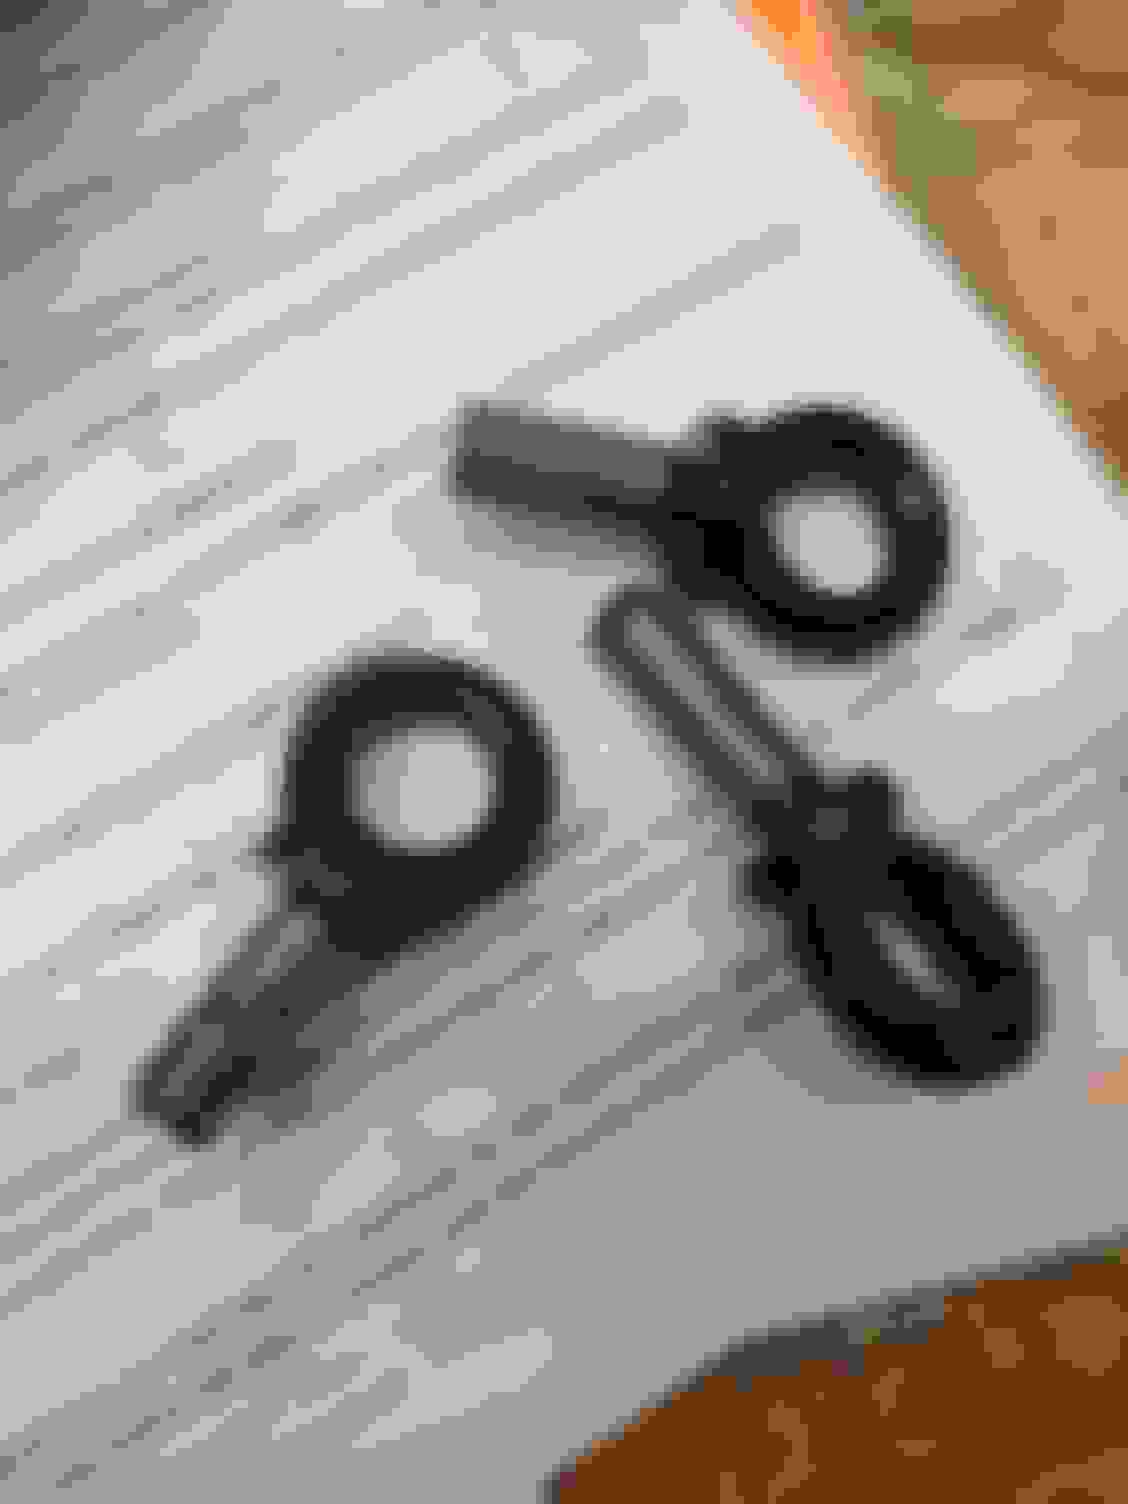
Left is the crappy harness tab, middle is the snap in tab, on the right is the much improved harness tab. It's thicker at 1/4", and an extremely tight fit to the stock shoulder bolt. This will take the place of one of the factory spacers. The factory belt will pivot just like normal, should be a nice fit. We'll be revisiting this later!
More parts are on the way, and other projects are in progress.
Did a hotboi mod. The lack of amber really ties the front end together. For $12 shipped to my door I had to give this eBay Racing set of side markers a try. Fit was a bit off, and they're a bit proud of the bumper at the rear. But I'm happy with the change.
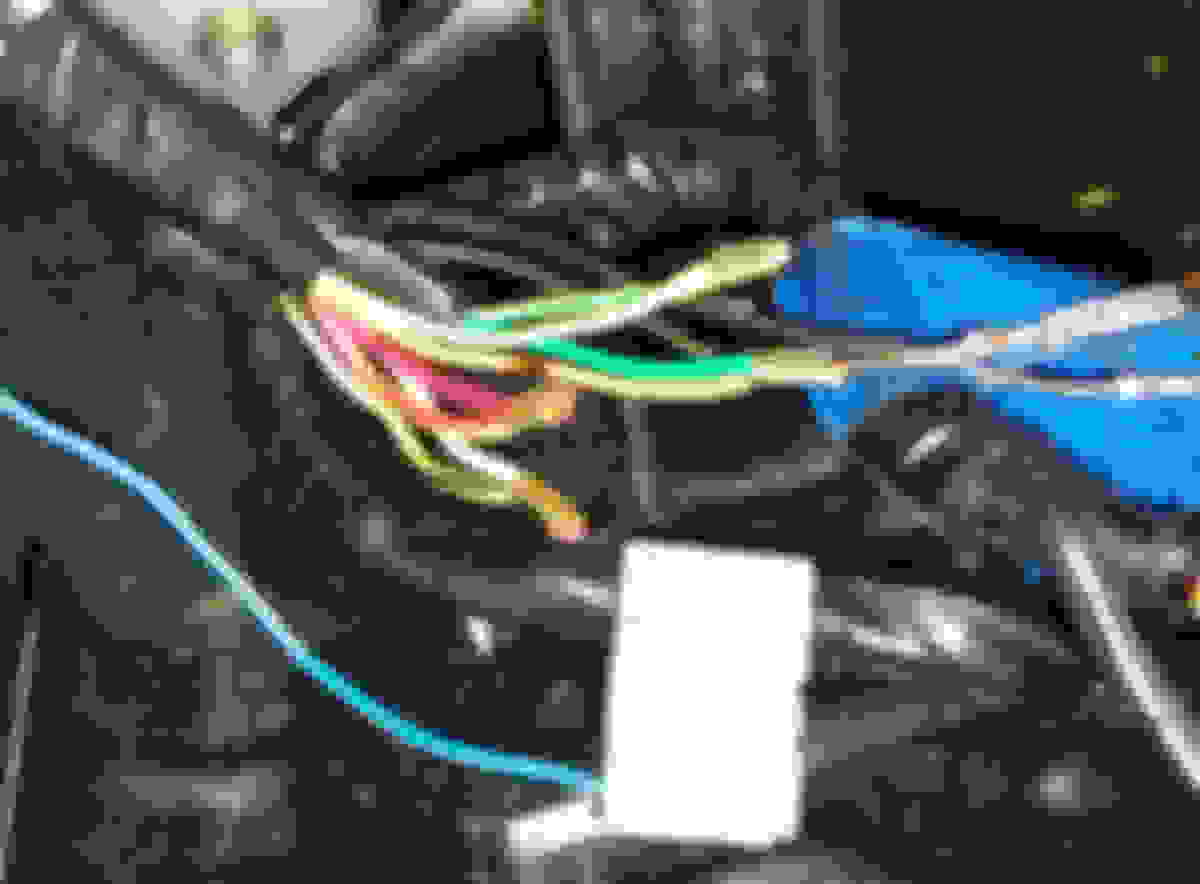
Today I got my hands on some decent crimps, and got the radio wiring done proper.
I went off of what I found online, but naturally, it was slightly wrong. I say that assuming that the aftermarket stuff is marked correctly. I trust audio suppliers to have their act together more than Miata forums though.
This is my pinout, from the aftermarket radio right to the speaker connectors.
Here is the relevant factory wiring diagram. The black and orange wires are shielding for the not mentioned in most online writeups about a bosectomy, but there's no reason not to ground them as far as I can tell.
The pile of audio cables, still completely NB2 Bose stock.
The radio in and amp out wires crimped together with these super nice crimps. The remaining depinned black and orange wires are the signal wire shielding. The last wire to deal with is the amp power wire, its still in the connector for now.
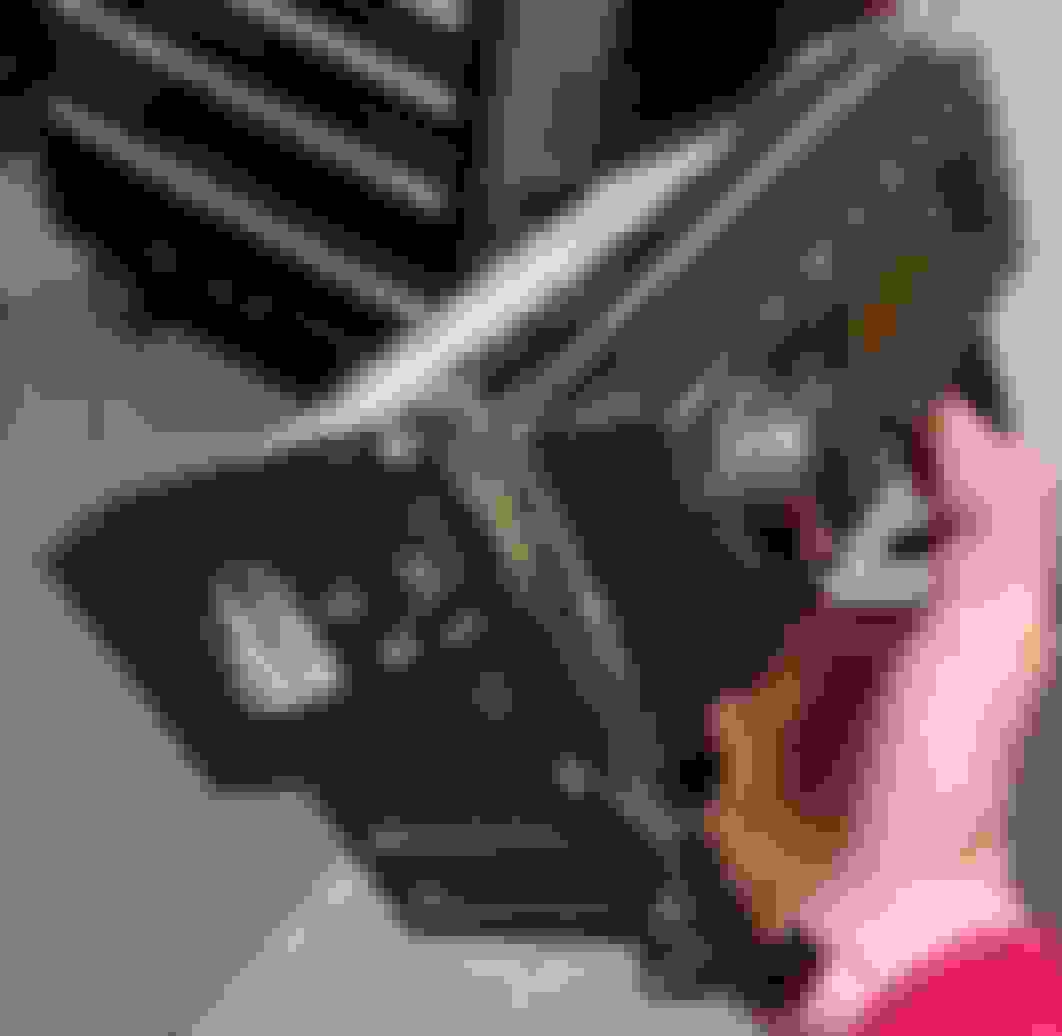
Shout out to this random single DIN radio bracket that came in my NA. It's probably 20 years old.
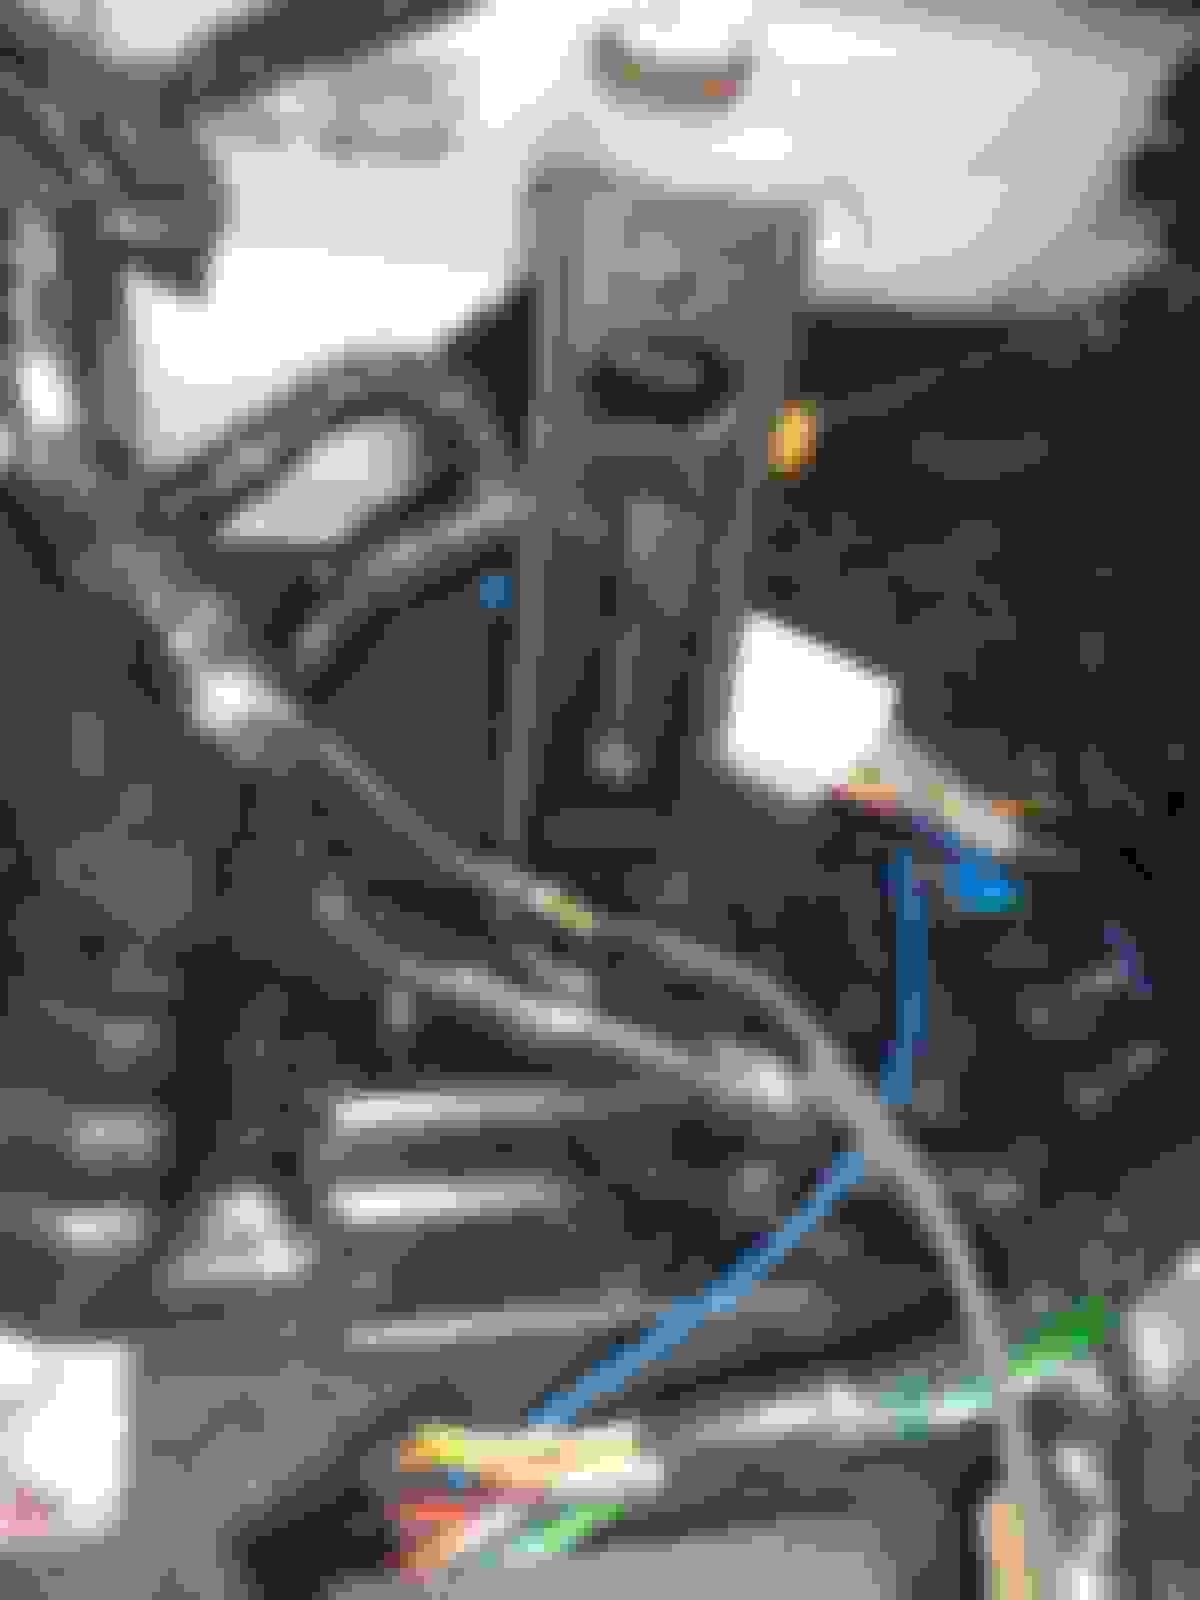
The unpinned blue wire is the antenna power wire. I am going to put it on a switch, as the antenna goes up whenever the radio powers on, regardless of audio source. The black and orange wires have been hooked to a ground in this shot.
As it sits now. There's some remaining wires that could be cleaned up and removed, but I'll trim them out after a few months of it working right.
1. Hazard lights. Still going to use a jumper for this.
2. HVAC controls
3. HVAC backlighting
4. Window switches
5. Aftermarket radio connector/jumper harness
6. Factory NB radio connector
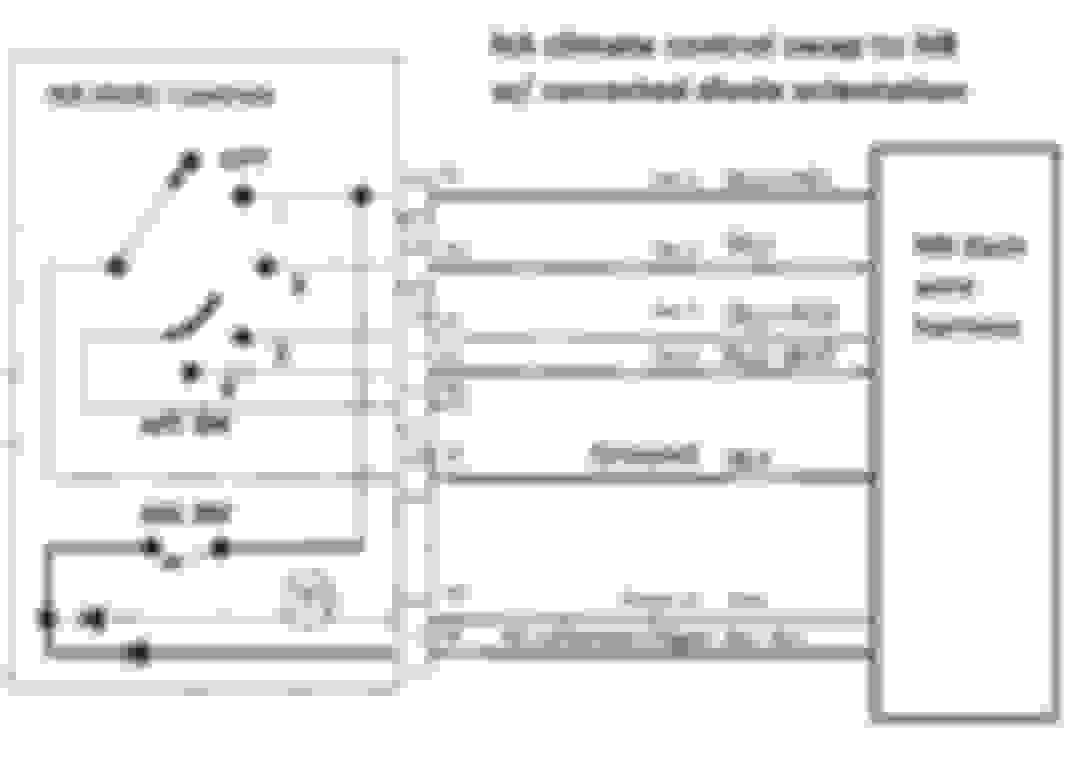
And since we're posting wiring diagrams, I might as well post the pinout for swapping NA climate controls into an NB. And the diode direction is corrected, because the wiring diagrams online are wrong. Imagine that.
Kinda makes me miss working on Jeeps. Reliable info is much easier to find.
The NA HVAC climate controls got some attention today. I disassembled the sliders, cleaned them of the old grease, lubed them up with high viscosity damping grease, and lubed the cables with cable lube. They should be good for another 30 years of service!
Test fitting all the controls again. Man, the climate control face really could use some love from revlimiter.
Test fitting what will become the radio bezel.
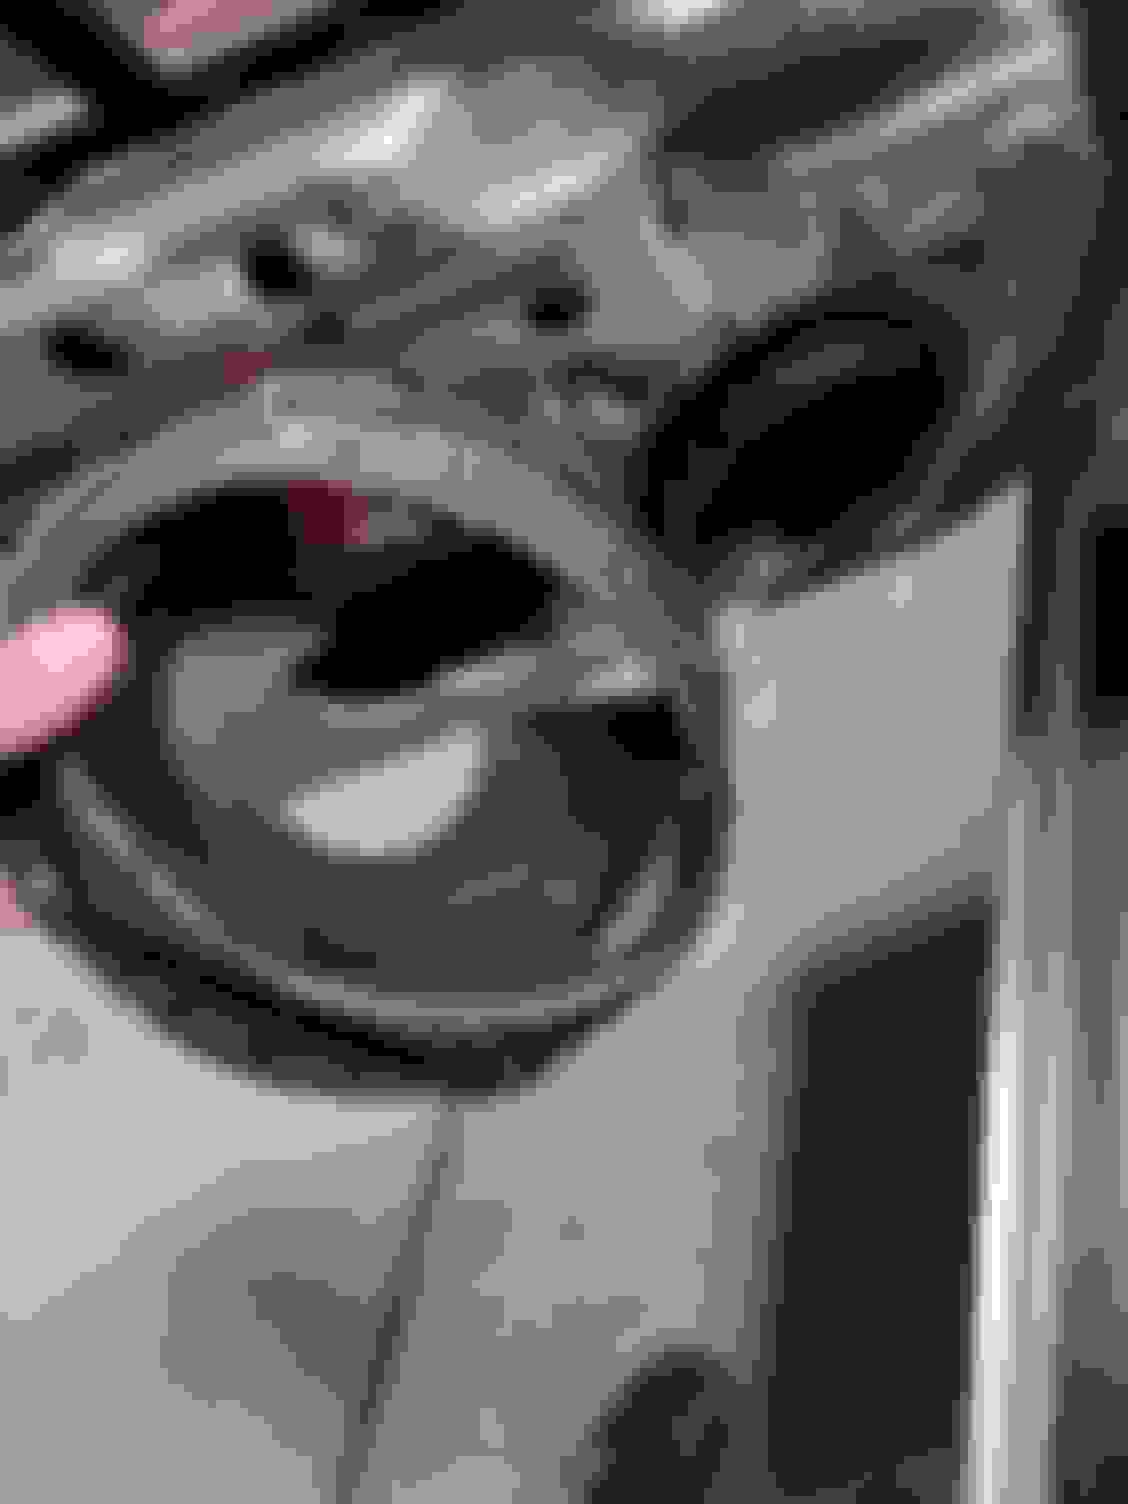
Two new harness tabs. Made from stainless! These were a total pain to machine, but I think they'll last the rest of my life and beyond.
I had massive amounts of bushing slip. This made for a really noisy, clunky suspension over bumps.
I bought some Supermiata poly bronze bushings on January 4th and just missed the first batch. Then the second batch was delayed from it's initial ship date of March 10 to April 27. This immensely pissed me off. Miss a group buy announced over the holidays, end up having your purchase not ship for almost three months. The communication after the purchase was good, and the product an excellent value... I just don't like the business model.
My friend lathed out bushing sleeves based on SadFAB dimensions.
Here are the homemade poly/bronze bushings installed, along with the Mazda Motorsports front lower control arm braces. All of the original control arms (not including the previously replaced upper control arms) were painted.
Complete overkill for my grip level? Yes. Bulletproof is the goal!
I did some travel measurements front and rear with the Fox coilovers for future reference.
FM got more of my money. I was sick of paying local tire shops that don't care to align my car. So I'll do it myself. I know there's cheaper solutions, but I've come to really appreciate these stands.
I made some load spreading plates that are specific to the Miata bolt pattern. I know it works, but I don't like the overlapping stud patterns.
Close up.
The interior has always been the ugliest part of this car. I'm sick of it!
Here was the passenger seats condition. Awful. Gross. The girlfriend was unimpressed and didn't particularly enjoy riding with me. :(
This is the drivers seat after being reupholstered. IMO, this is the ideal combination of Miata seat parts. NB2 Surfboard seats, black NA seat hinges, and seat covers that won't get but so brutally hot in the sun. I'd prefer cloth, but I couldn't find any full replacement upholstery.
A face plate was made to fit around the radio. I will put some switches and doodads on the bottom of it.
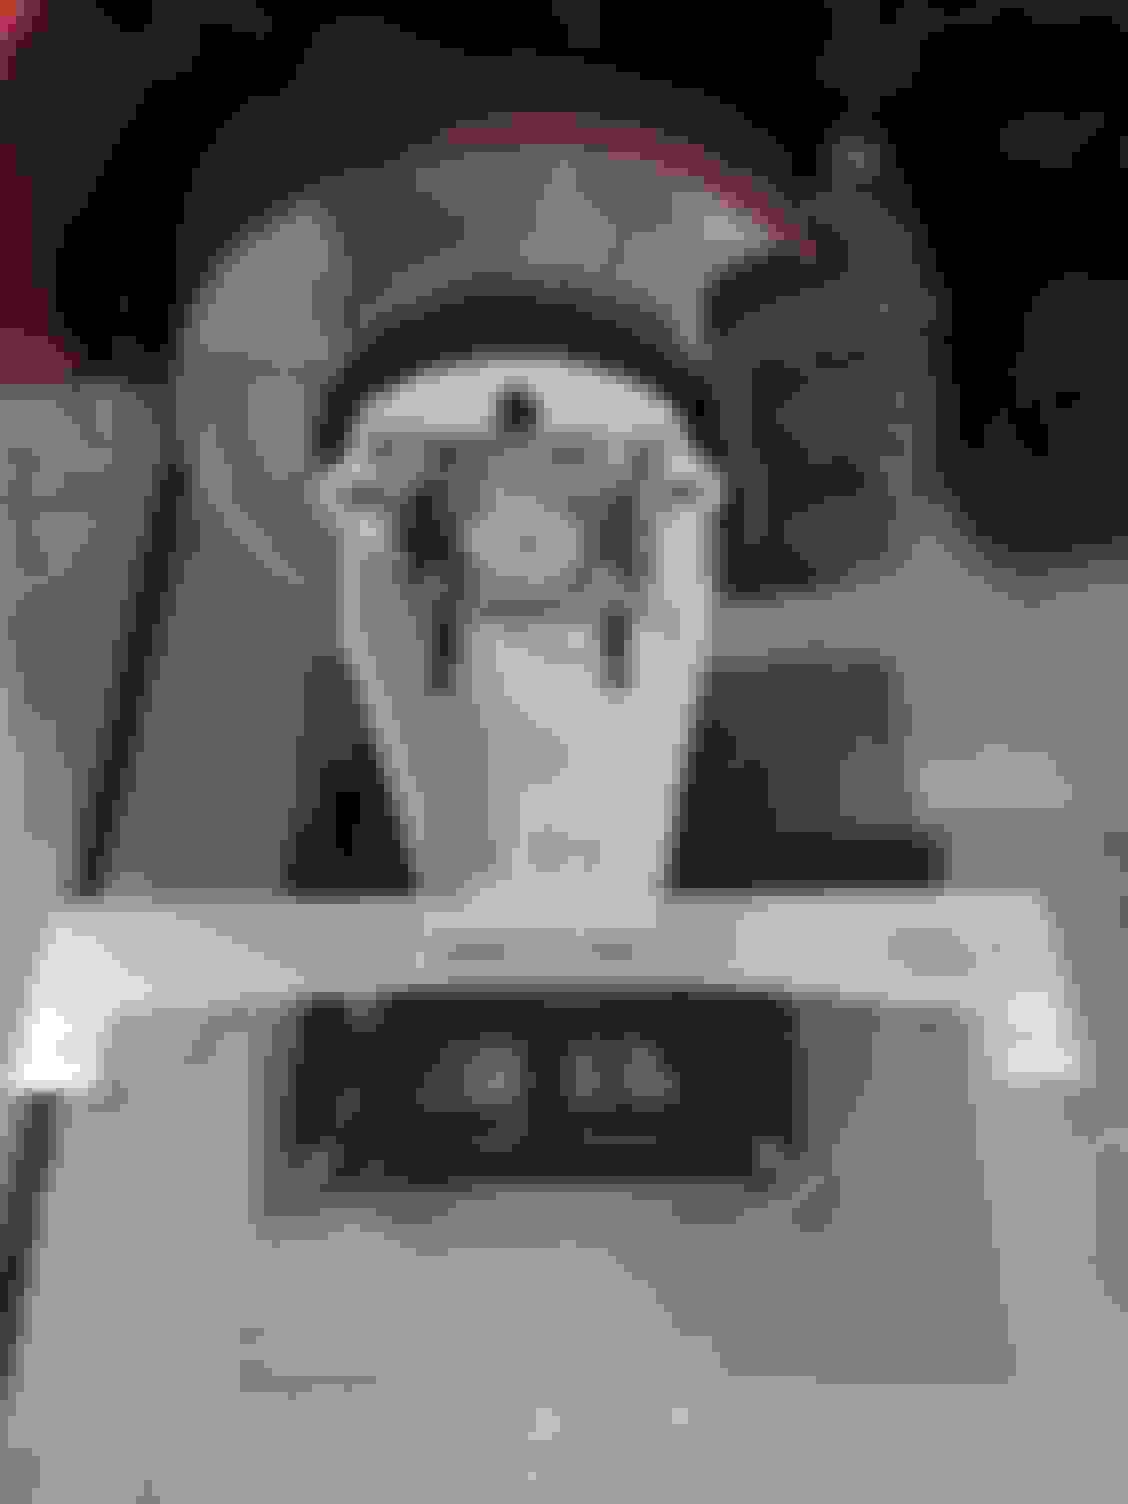
I replaced the cracked and yellowed HVAC panel with a brand new one from Mazda.
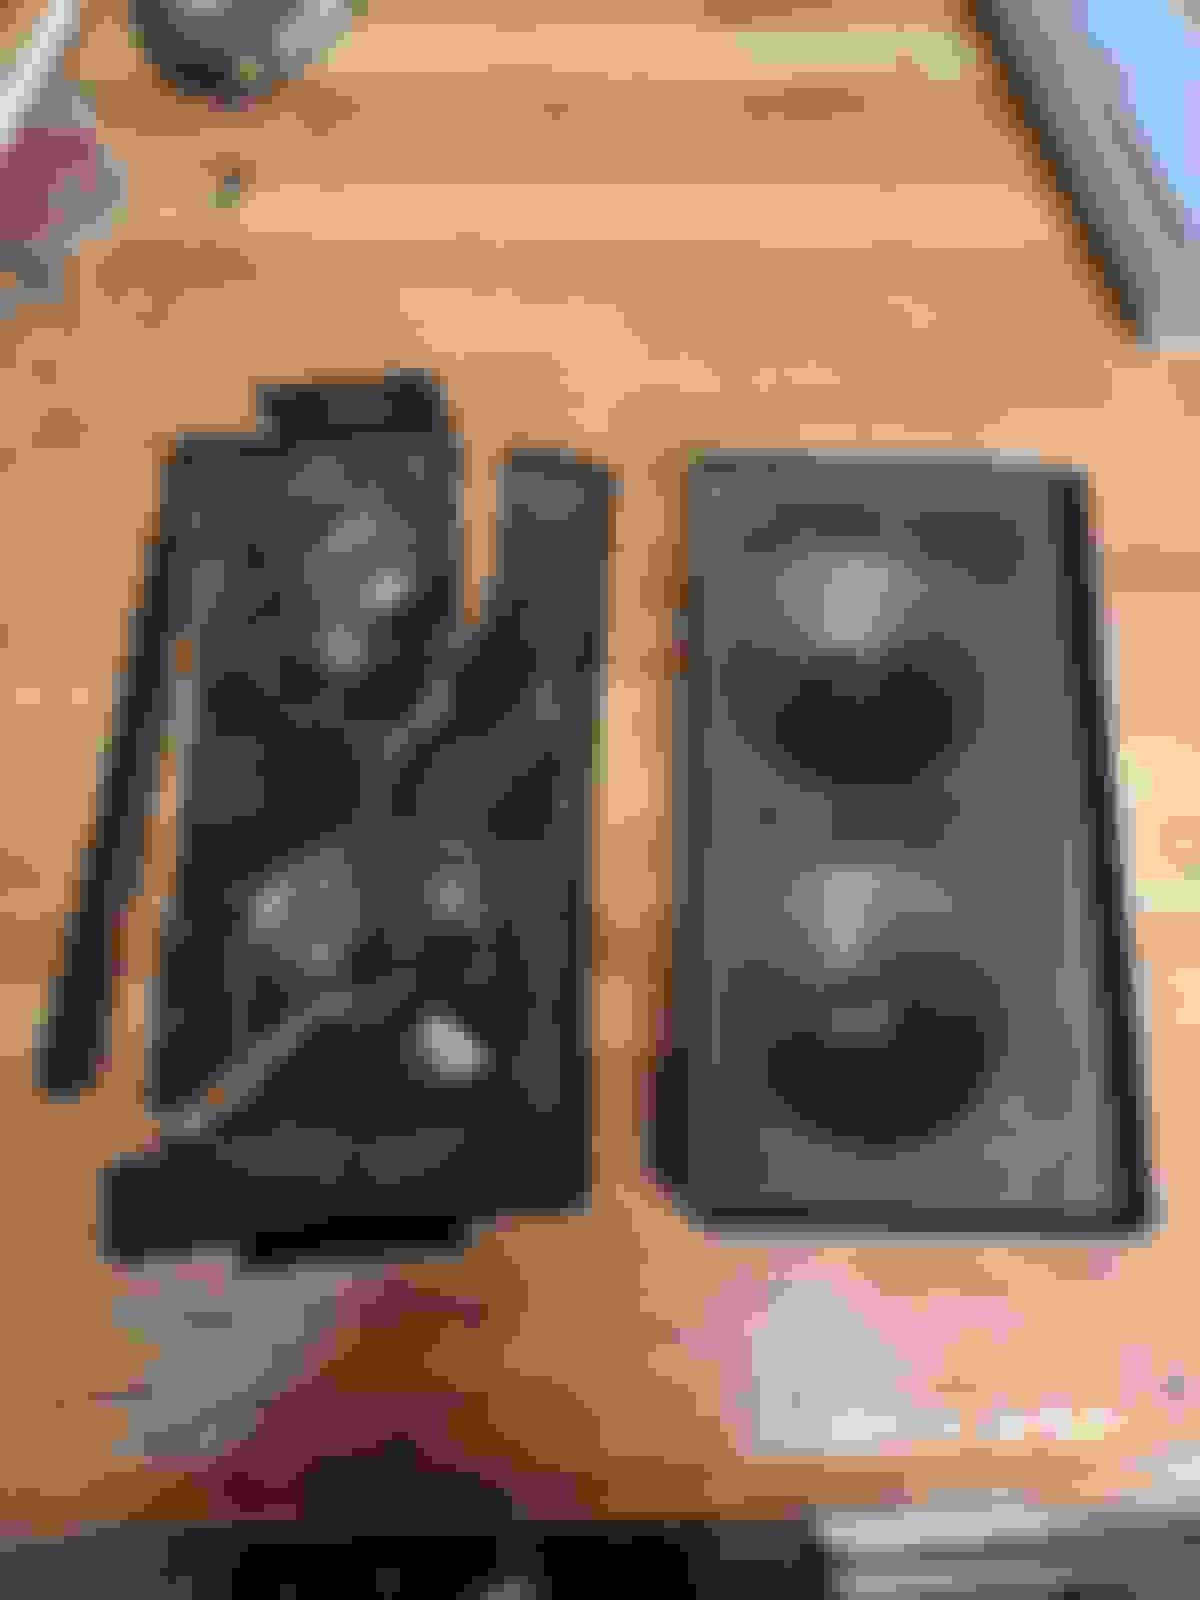
I picked up some of the base model speaker mounts, as 8" round speakers like came on the LS are not exactly common.
Then I got a case of analysis paralysis. So I improvised and finally got the radio working and get some momentum.
These are the speakers I had in my NA. They were purchased somewhere in the middle of nowhere on my cross country trip to get audio back on that car. They've been sitting around for years since.
The interior panels were trimmed to suit.
It's still not loud enough for my liking at highway speeds with the top down. After 5 years without a radio, I get it working again and now I want to get picky. There's really no logic to it. But man is it nice to have a normal car again.
The stiffer driveline mounts are not that bad. There's a large resonance when you engage the clutch to take off, and a pretty loud resonance at 3,000 RPM, which unfortunately is right at about 60 MPH in 5th. But outside of those ranges, it's really not that bad for poly mounts. I'm happy with the change.
Next projects are doing a proper install of a set of 6x8" speakers, adding rear speakers, and attempting to fix the brakes again so I can finally get back out on track.
I'm definitely lucky to have custom parts just a request away. After receiving the Supermiata parts I wish I could have gotten in on the first batch or waited longer, the quality of the sleeves is absolutely fantastic and they're definitely a great value. I'll keep these as spares.
I finally got my soft pedal sorted. I can't explain why other than giving the bubbles time to gather in one spot, and more brake bleeding over time. I was also getting a lot of brake pedal pulsation. Once again... it was time for new rotors. I am wondering if it's related to the Stoptech Sport brake pad compound. I might try a different pad next time.
Anyways, with that fixed I've been able to get to the track both at VIR, and at Carolina Motorsports park as part of Gridlife. I used the latter as a way to force myself to finally "finish" the car.
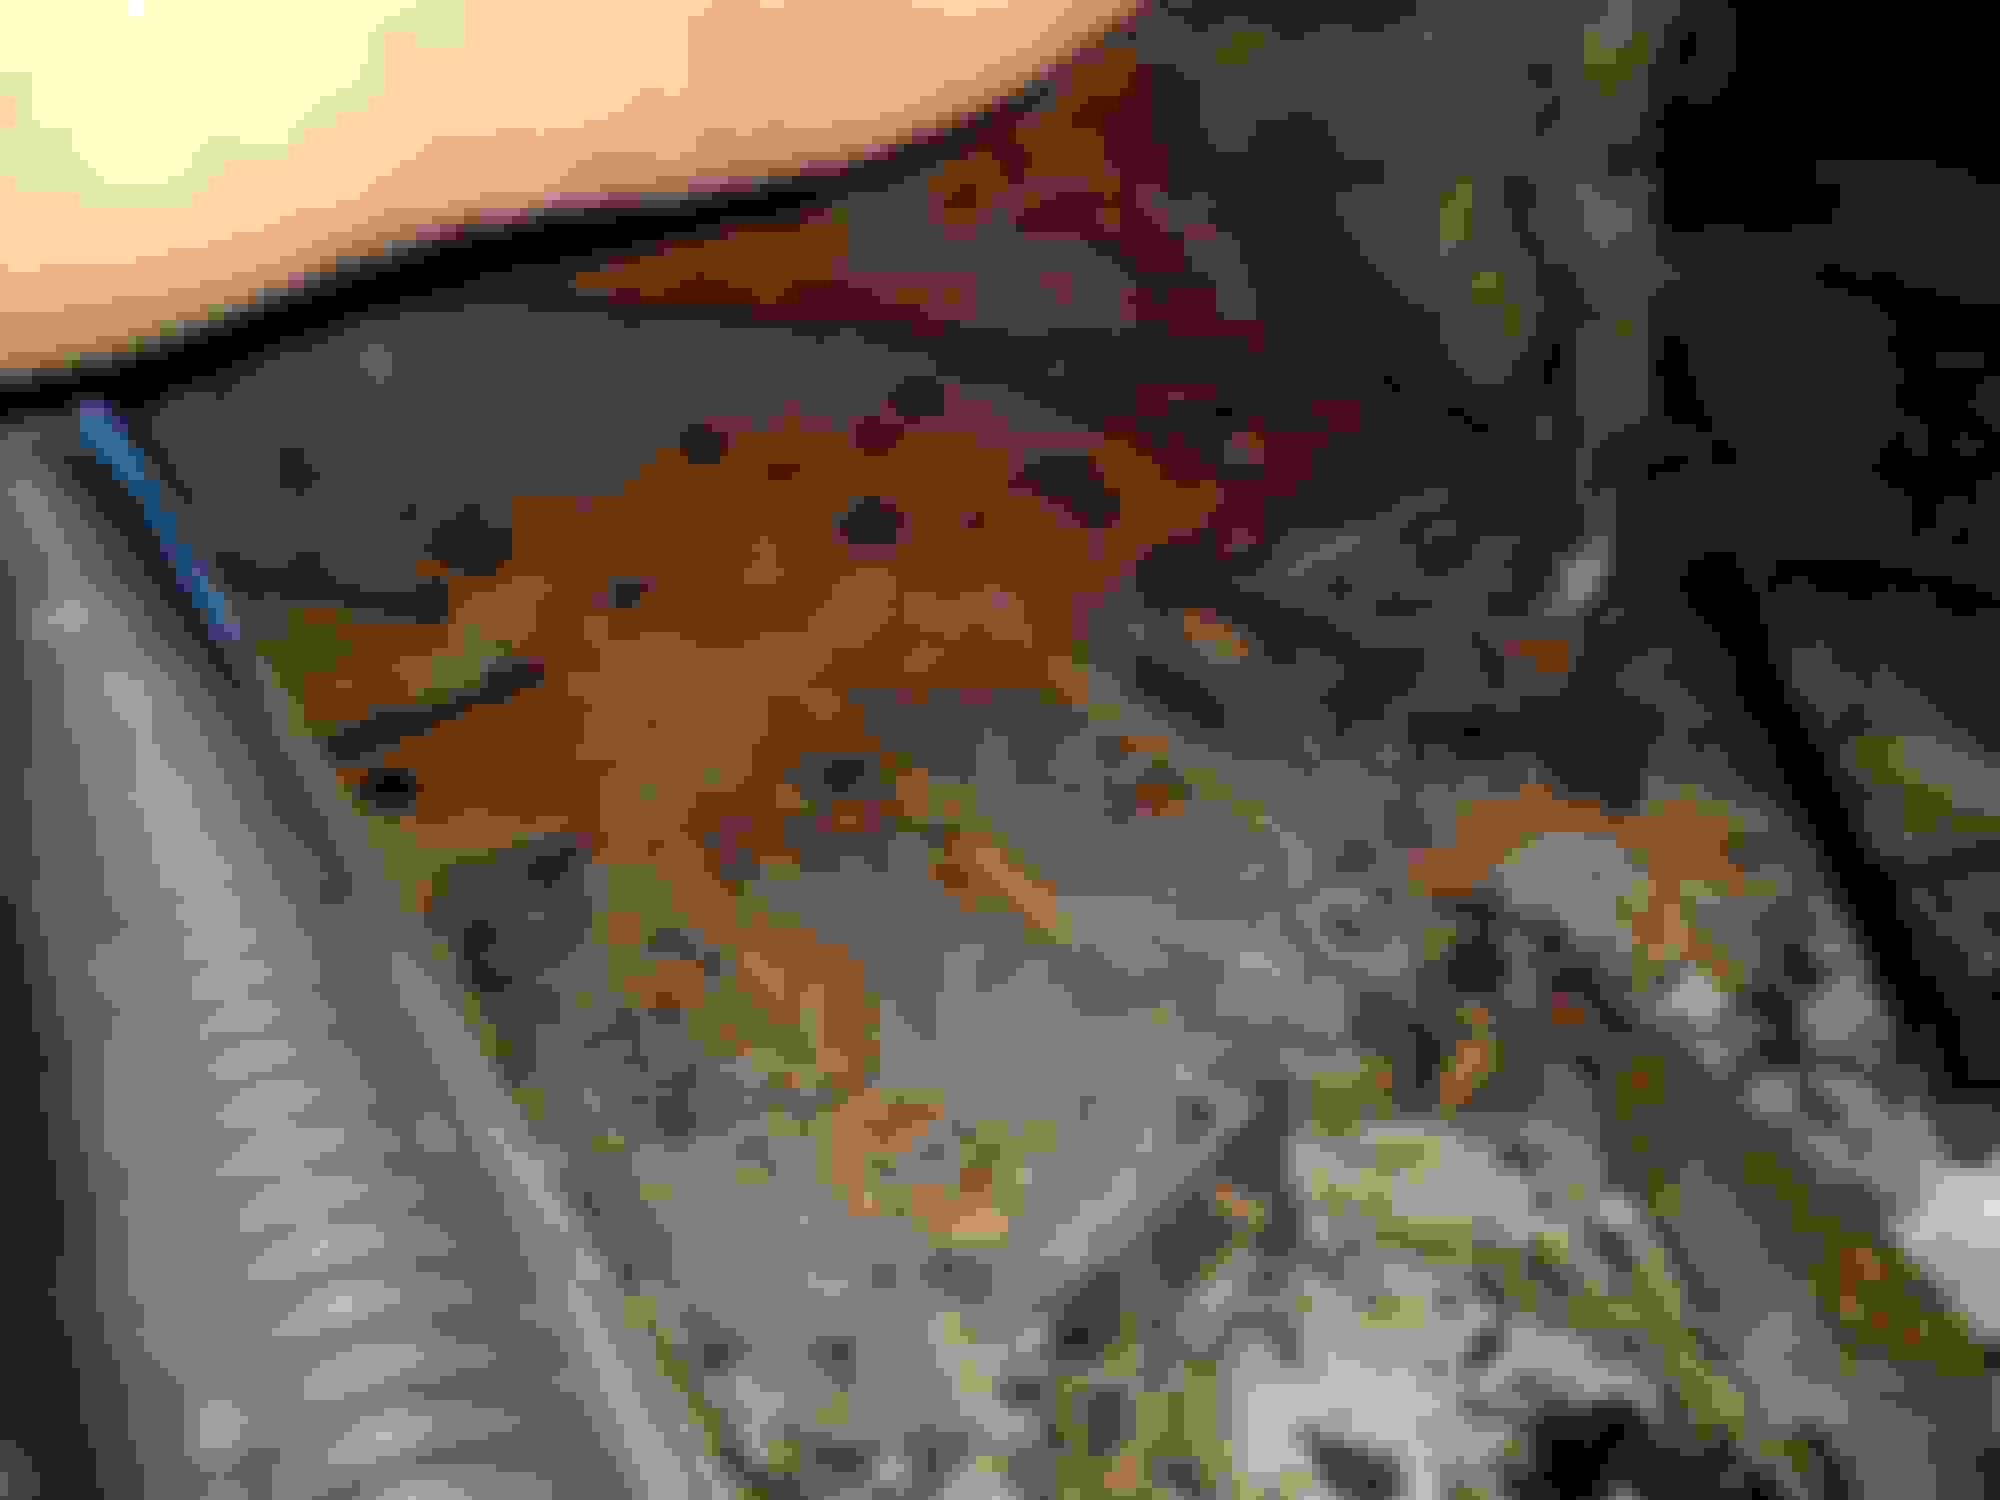
I pulled up the drivers side carpet a while back and unfortunately found some rust. I started by scraping off the tar sound deadening.
A wire wheel and Goo Gone took care of most of the rust and leftover tar.
Naval jelly and hand scrubbing with a wire brush took care of the remaining rust. The black spots are E-coat or paint.
I put down two coats of Steel-It paint.
Before the bolts and washers went in, I sprayed undercoating on the bolt holes and back side of the washers. I used larger washers in some locations where the sheet metal had deformed. After the bolts were tightened down, the excess was wiped off.
I put down some butyl rubber sound deadening to replace the tar. Hopefully, this will also work as a replacement for the factory seam sealer that came off with the rust.
The red mirrors were never a good look. I don't know why I waited for so long to paint them black.
While the carpet was up and the floor pan paint was curing, I addressed the rust on the harness eye bolts.
To finish the door cards, I started by adding some 1/4" wood struts to them. This reinforced the card, gave me room to staple down the upholstery, and lined up the door card better with the door sill.
The finished result is so much better. I can't believe I waited 6 years to do this. Some new finish washers and speaker grilles off of eBay really make it pop.
Normally I like more color, but monchrome works well for cheap on a silver car.
New 15x8 Konig Hexaforms are wrapped in 205/50R15 Falken RT660 tires.
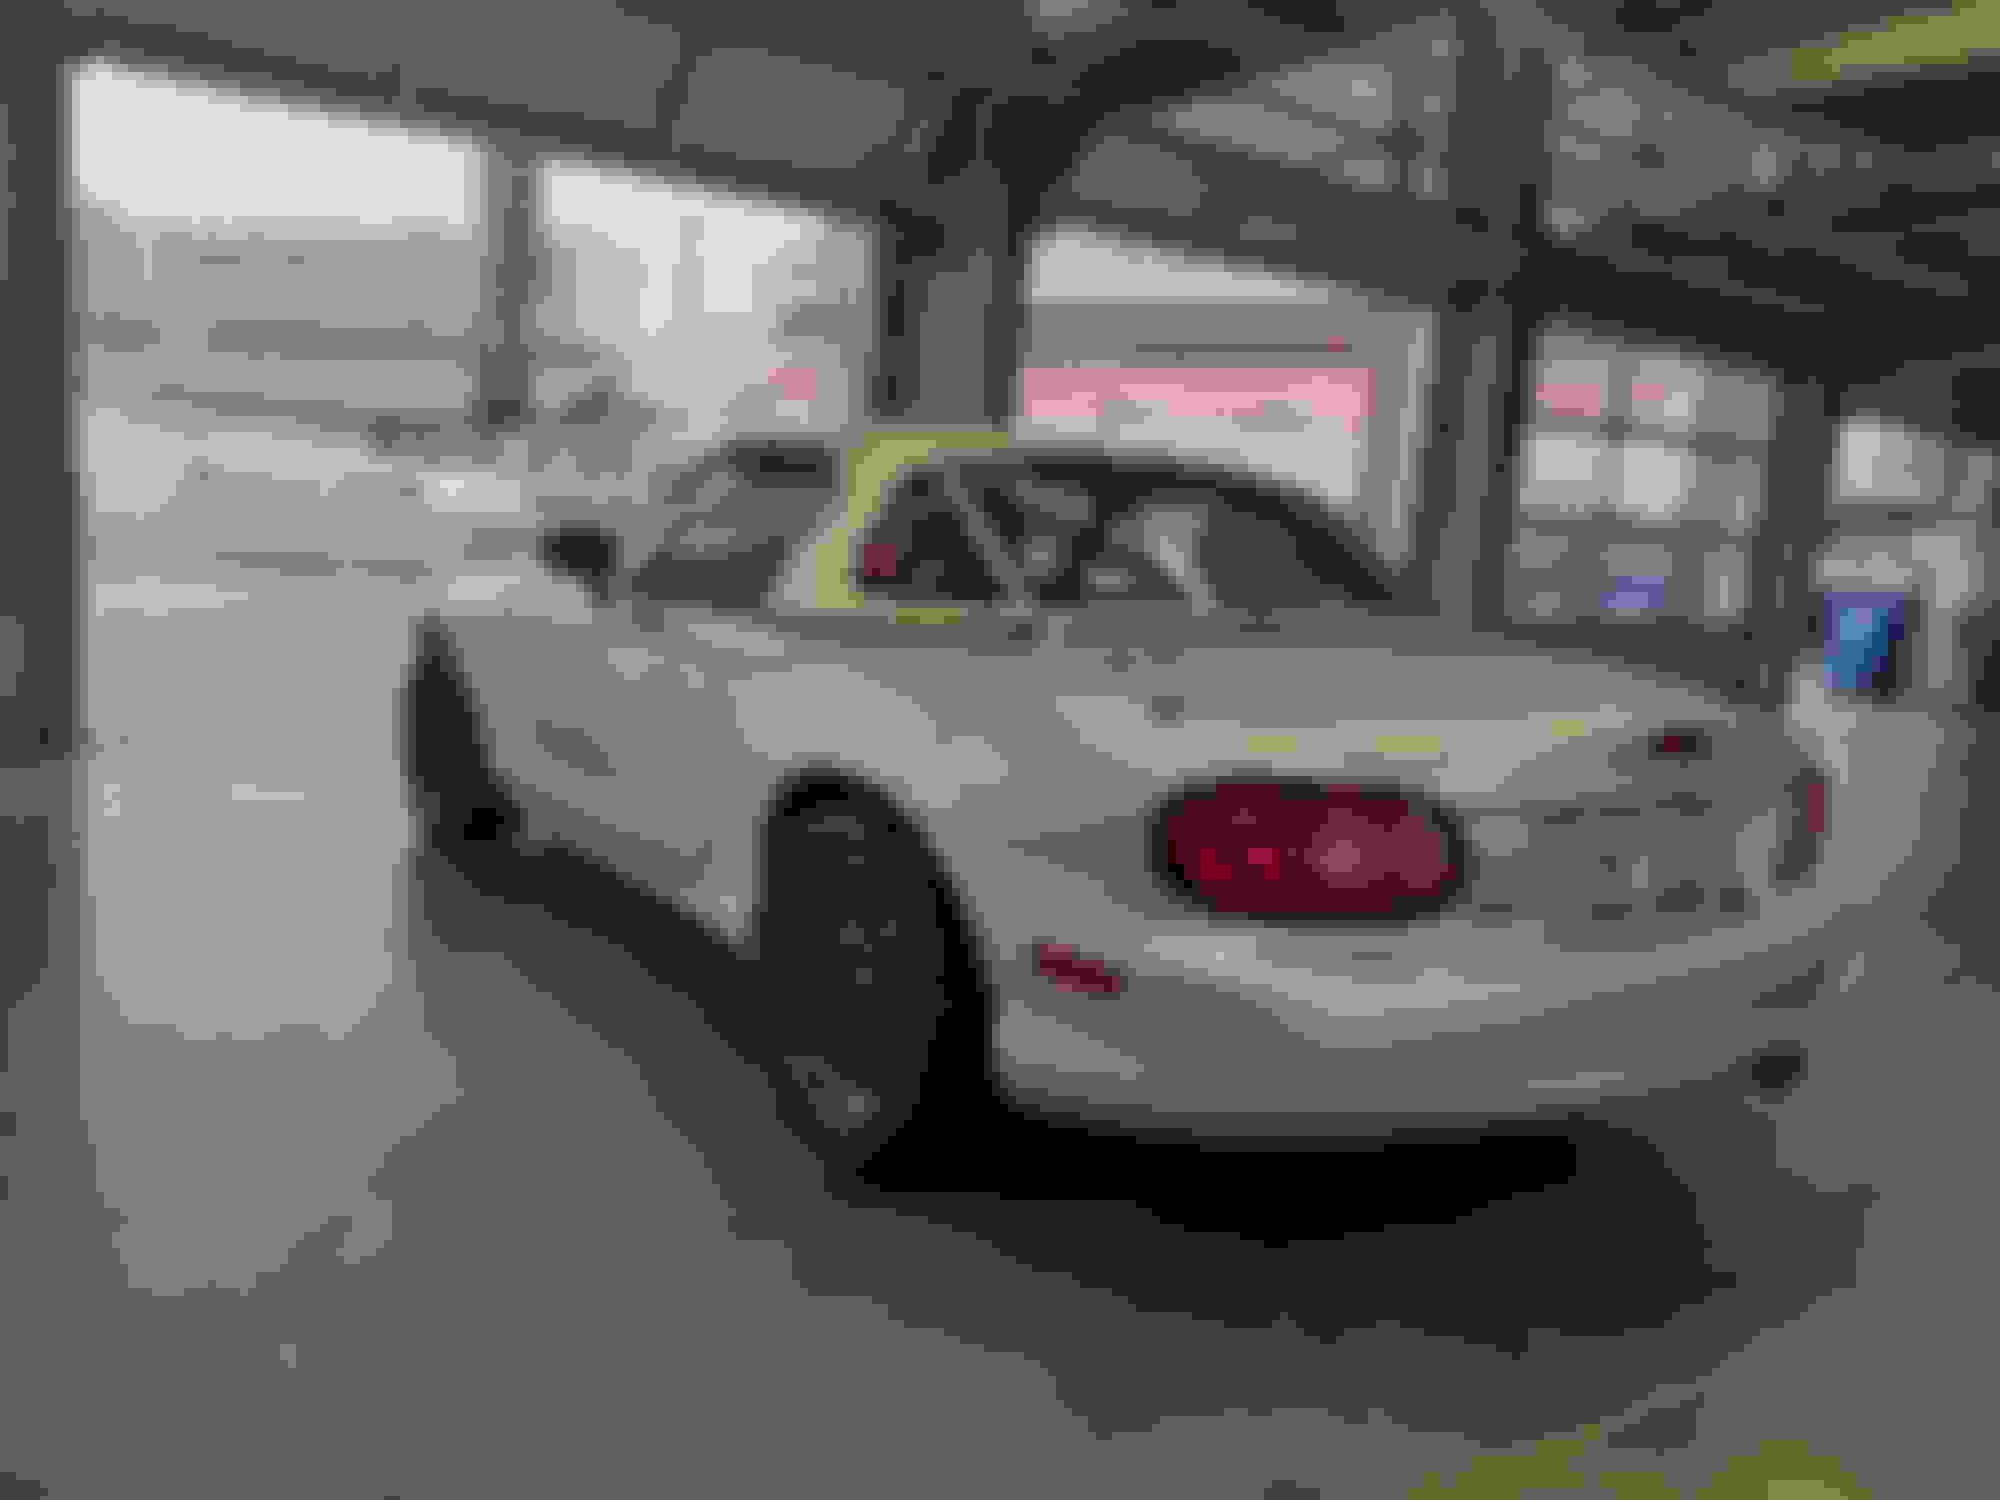
The interior finally is close to what I've imagined for years. I've added an IL Motorsports center console, Hard Dog roll bar wrap, a custom brass shift ****, tucked an Element fire extinguisher by the seat, and finished up the radio install since the last update.
A picture from Gridlife. All credit to NVUS images, I'll probably buy this picture or another after I've had more time to sort through them.
I ended the day running consistently in the 1:56 range. There's always more time on the table, but I don't think it's too bad of a showing for a first timer running with the top down, on a car that's basically stock other than poly bronze bushings and coilovers in terms of actual speed improvemnts.
Gridlife apparently sucks at traffic management despite years of practice running track days, so I didn't really get a lot of clean laps in until the last session, and the extra bonus round they threw in at the end for anyone that stuck around.
I didn't leave unscarred though. 8 years of service from this soft top is not that bad, but less than I wanted=. I think I'll get the hardtop painted and bolt it down for the summer while I figure out what I want to do about the soft top situation. I have since gotten another Miata that needs a top and don't think I want to put in the time and cash to replace two soft tops in one summer.
Last edited by OptionXIII; 04-13-2023 at 08:52 AM.
Got out to the track again, this time I brought my GoPro! I went to the Charlotte Roval on a very rainy Thursday evening with Track Night in America.
My experience with rainy track days is that a lot of people drop out. Luckily, that meant garage space was available for everyone. There were lots of faster cars here.
My favorite though had to be this Plymouth Gran Fury with an aluminum headed SBC swap.
Ready to take on the Roval! This is also actually my first time running the hardtop on track. With the rain, it was basically a necessity.
Am I a liar for putting all these track stickers on a hardtop that hasn't actually been to those tracks?
First session out, I wanted to do a run on my street tires. With so much rain, I was worried about water evacuation and didn't have to worry about my all season street tires getting eaten up by the heat. Well, I thought I didn't have to worry...
Turns out they still don't like getting locked up in the wet.
I ran with the fog lights on for extra visibility.
And also managed to lock up my RT660s. Thankfully the damage was much less dramatic.
What was dramatic though was the difference in grip. I didn't think that even with so much water on track, the RT660's would have such incredible traction!
This is a video from the second session. My buddy is in the RSX ahead of me, and due to traffic issues we asked and were able to move from intermediate to advanced. Probably the only guy on track faster than us in this session was in the C5 Corvette that passes us, and it's not like he was making up his time in the infield or braking zones!
After the last track day lockups, and an exciting four off at an autocross due to cold brakes and cold tires, I've decided to start modifying my braking system. First step is to maximize what I already have – time to add a proportioning valve.
I bought the FM kit as an easy button to get all the adapters.
I also sprung for a Speedway Motors remote cable adjuster. I've seen a few people install the Wilwood cable and complain about the plastic ****. Well, the Speedway is cheaper and comes with an anodized aluminum ****.
The prop valve **** is held on with Loctite. I cut it off.
There's not much to say about my prop valve placement other than the Sport brake setup has a vertical prop valve arrangement, instead of the horizontal that I saw on all installs online for 1.6 and 1.8 brakes.
Rather than Loctite the cable on as I saw in some how-tos, I drilled and tapped the cable end nut for a set screw, made a flat on the prop valve threads, and used that to keep the cable from loosening it's grip. Check out that extremely professional mounting bracket I made last minute! I'll get a 3d printed bracket on there some day.
I think that vertical orientation worked out well for me though – the 5' long cable was the perfect length to install it and run it through the hole I had previously used for my Megasquirt MAP vacuum line, I couldn't have done that with it facing forward or to the right.
I installed the **** right under the radio. The cable will need some more support, right now it's only held up on the steering column to clear the pedals. If left to it's own devices, a few quarter turns have to get wasted on coiling up the cable sheathing. That doesn't matter for now, it's dialed all the way to max rear and still locking up the fronts first.
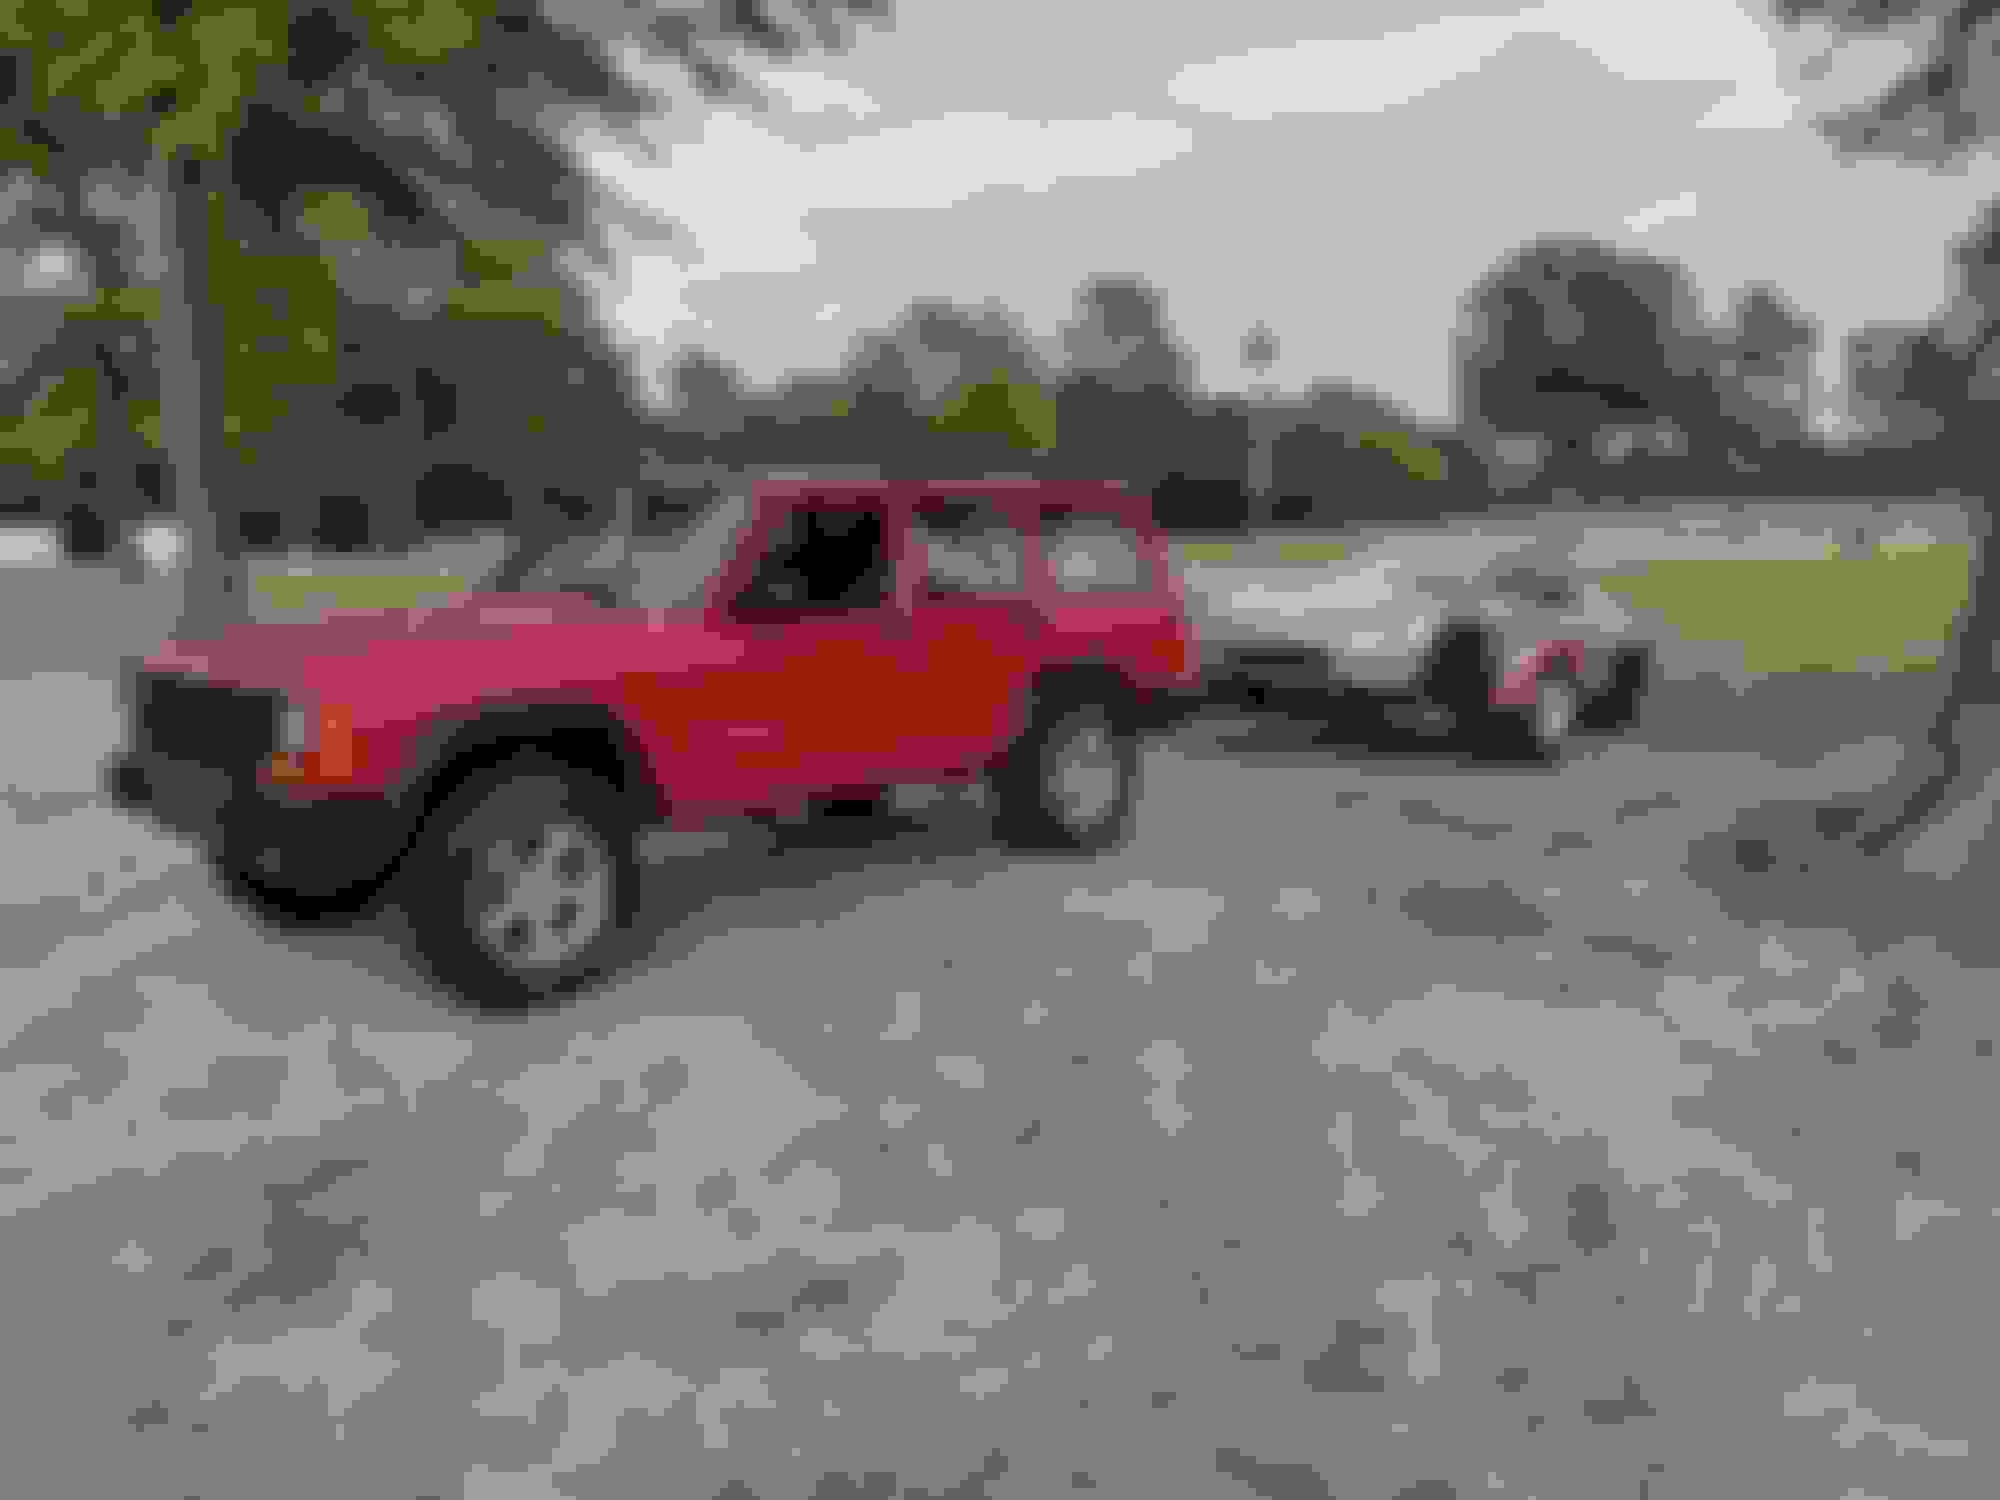
Another track day down, this time it was a private weekday event at CMP. Normally I drive the Miata to events, but with a 2.5 hour drive to and from the track on a work night, with no friend to act as a race tire hauler, and the possibility of up to 6 hours of track time I wanted the security of a second vehicle in case something happened. My XJ didn't skip a beat.
I got there the night before, pretty sure I was the only person who spent the night on site. It's always a nice feeling to wake up next to your car at the track.
Every day I'm glad I finally finished this interior. I never should have waited so long, it's such a nice feeling every time I get in the car, turn on the radio, and don't have to look at fiberboard door panels.
The Miata did fine. I, however, decided that at the end of the day I really needed to carry a bit more speed into turn 8 to try and set a new personal best for the day. That didn't go so well.
I got at least 4 hours of track time, including one session an hour long. No issue with anything. The only problem I have now is worn out tires made worse by not enough camber.
This car kicks ***.
Last edited by OptionXIII; 05-17-2023 at 12:19 AM.
 09-22-2020, 10:34 AM


 0
0