When you click on links to various merchants on this site and make a purchase, this can result in this site earning a commission. Affiliate programs and affiliations include, but are not limited to, the eBay Partner Network.
Glad to hear someone doesn't think that project is a total waste of time! I am planning on more aero work like this in the near future, maybe cleaning up the rear of the underbody. I just can't do a wing.
Some little mods now, truly detail stuff.
Last time I messed with my motor mounts I had a bad time, and felt the subframe was to blame. The driver side motor mount hole isn't slotted, but simply has two holes top and bottom. The passenger side is fully slotted. Hoping to ease the effort, I cut the drivers side out to match the passenger side. I've no idea why it was designed this way, but it was a lot easier to get the mount in place like this.
One thing they changed from 93 to later years is this little slot in the trim panel at the rear of the door.
Its purpose is to hold the belt buckle in place while no one is using it. On track this would fling into the roll bar if not carefully stowed. It's audible in some of my on-track videos, and I'm glad it won't be any more. I wish I had done this years ago.
I just stick my spare belt buckle into the receiver ...
That doesn't work when you've pulled out the drivers seat and the receiver comes with it! Although now I wish I had made the hole somewhere more hidden instead of matching the stock location. There are surely nicer looking ways to do hold them still, but this required almost no thought.
This weekend is a double header track day at VIR hosted by the SCCA. I considered doing the Time Trial, but my mods like the fender spats, throttle body, Brofab bearings, and frame rail braces all push me into uncompetitive categories by my read of the rules. Would anyone care? I don't know, but I'd rather not deal with it. I can time myself and compare to the results everyone else gets.
When we left off, I had gotten the intake and fuel system back together and had a fuel pump relay failure. Turns out, this is a pretty common issue on the NB. Flyin' Miata sells both a higher rated relay, and the old Trackspeed relay kit. They're each $100 though!
Rather than deal with some limited production, hard to find relay, I wanted something readily available. So, I changed over to a generic Bosch style relay rated at 50 amps and powered it directly from the battery instead of through the Main Relay. This should improve the reliability of both relays, and be easier to fix if it's my fuel pump relay that goes bad on the road. I grabbed a spare main relay off of rockauto for $20 just in case, but with the highest load item removed from it's circuit, even a cheap replacement should be much more reliable.
Thankfully the terminals are standard blade style, making this an easy test fit and conversion.
I hung the new relay in the stock location.
Power wires went back along the drivers sill, across the gas tank tray...
... and to the battery. With two items now powered directly off the battery (the other being my 12v outlet), I feel like it's time to set up a fuse block back here when I get time.
Continuing the weight reduction theme, I pulled 1.5 lbs of sound deadening off of the gas tank access panel while I had it removed.
To keep AC functional with the idler pulley removed, I found thread on Miataturbo about a stretch belt option that fits the pulleys well. The only downside is that it is a 3 rib belt, vs the 4 rib pulley. So far it's worked well, but the peak need for AC is many months away.
Do you like my Crocs?
I grabbed some cheap install tools off of Amazon to get it on there.
The NB2 strut tower brace isn't a dainty thing. 3.25lbs for the center bar...
... and the towers weight 2.3lbs each. I still have the drivers side one in place due to the MC brace, but I am working on a lighter weight, more blingy setup.
Speaking of weight reduction, I was surprised to do a side by side comparison and found the 11.75x0.81" to feel significantly lighter. Not only is the rotor overall thinner, it also has larger vents, so there's significantly less thermal mass. Looking at it now, it's hard to believe the stock rotor moves much air.
I got it aligned earlier this week. The Paco stands seem to consistently under report camber (maybe due to the effective offset changing the suspension load?). I targeted 0.6* more than my end goal all around. Assuming that's true, I'm at 2.5F/2.0R camber, zero toe all around, max caster. Pretty close to the Supermiata Dual duty setup.
I gave the new 15x9 and 225 RS4s a test run on my Thursday commute. No scrapes or rubs thankfully, I still feel like I need to look into getting my fenders rolled.
Tonight I've got to throw as much stuff as I can in fit in the Jeep and get ready to camp at a rainy VIR. I'm starting to see the value of a larger tow vehicle and a full trailer. Most of my concern is due to the weather, and my as yet untested BBK. It is a bit nerve wracking knowing that you've truly taken your life in your own hands, so I am bringing the entire stock front brake setup as a backup.
The car is looking great. Also funny that you just did the same thing I did with the rotors, I was super surprised to find the huge *** 11.75 rotor setup to actually be less rotating mass than the OEM (sport) brakes. Good stuf. Also love the wheel spats, and the wheels look great too. Nice work all around.
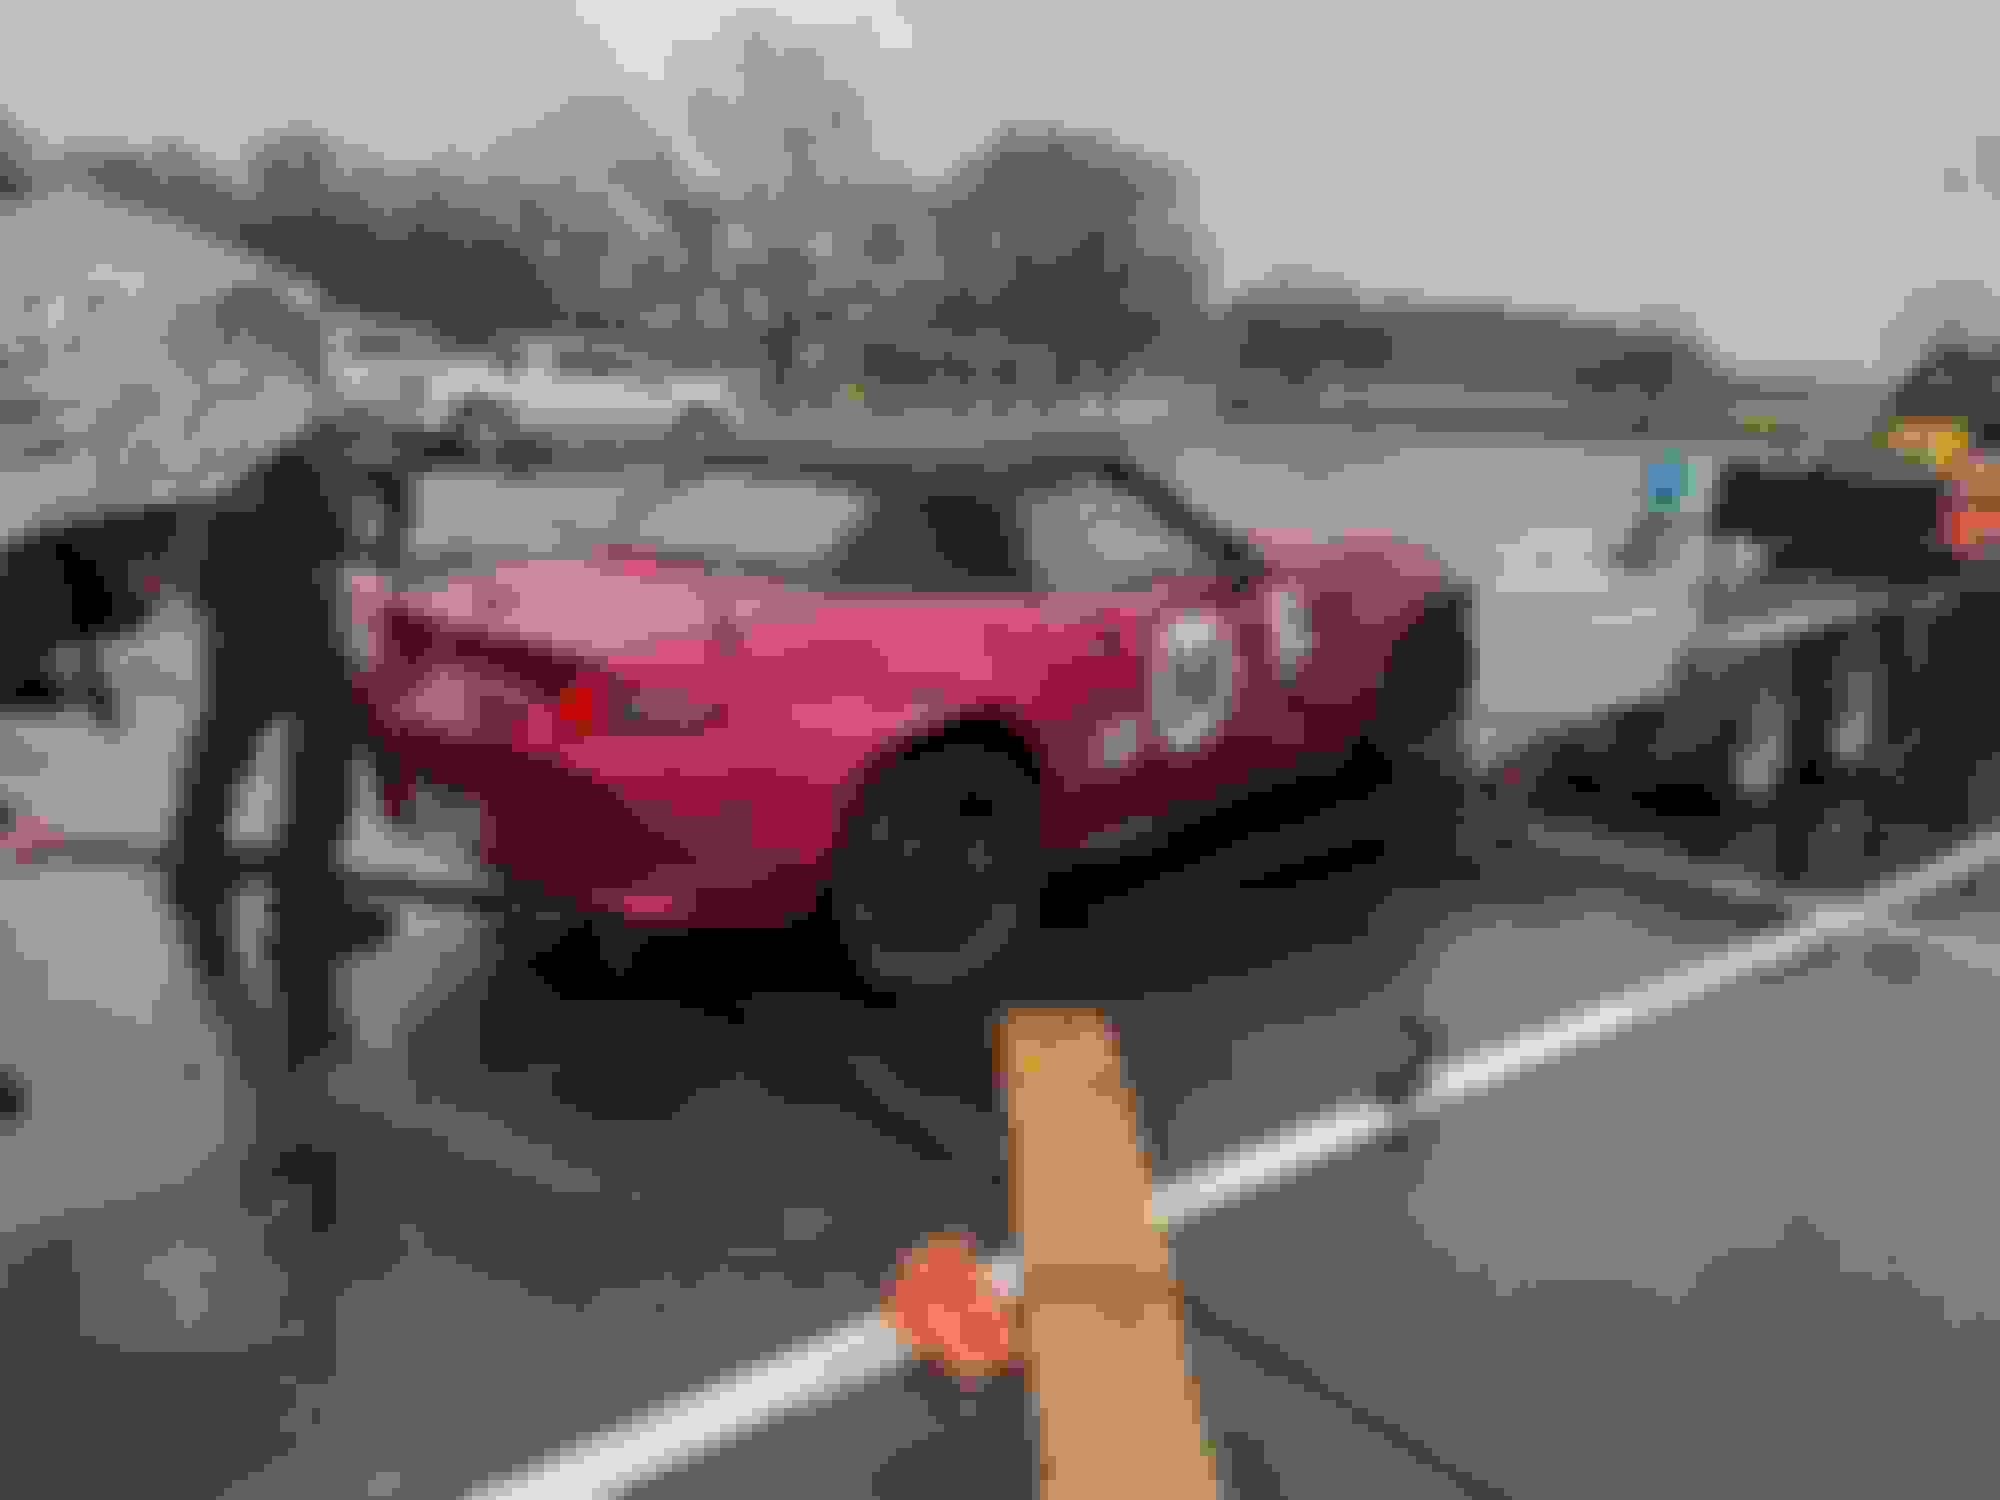
VIR was total carnage this weekend - a cold and rainy Saturday had a lot of people crashing out.
225 RS4s definitely were not the ideal tire for the conditions, but I made it work. I did have an incident going too deep into T1, but thankfully I got it slowed down in time and wasn't in danger of hitting the wall. The tow truck almost had to pull me out though, there was just zero traction out there.
The guy next to me in the paddock lost it going into the uphill esses.
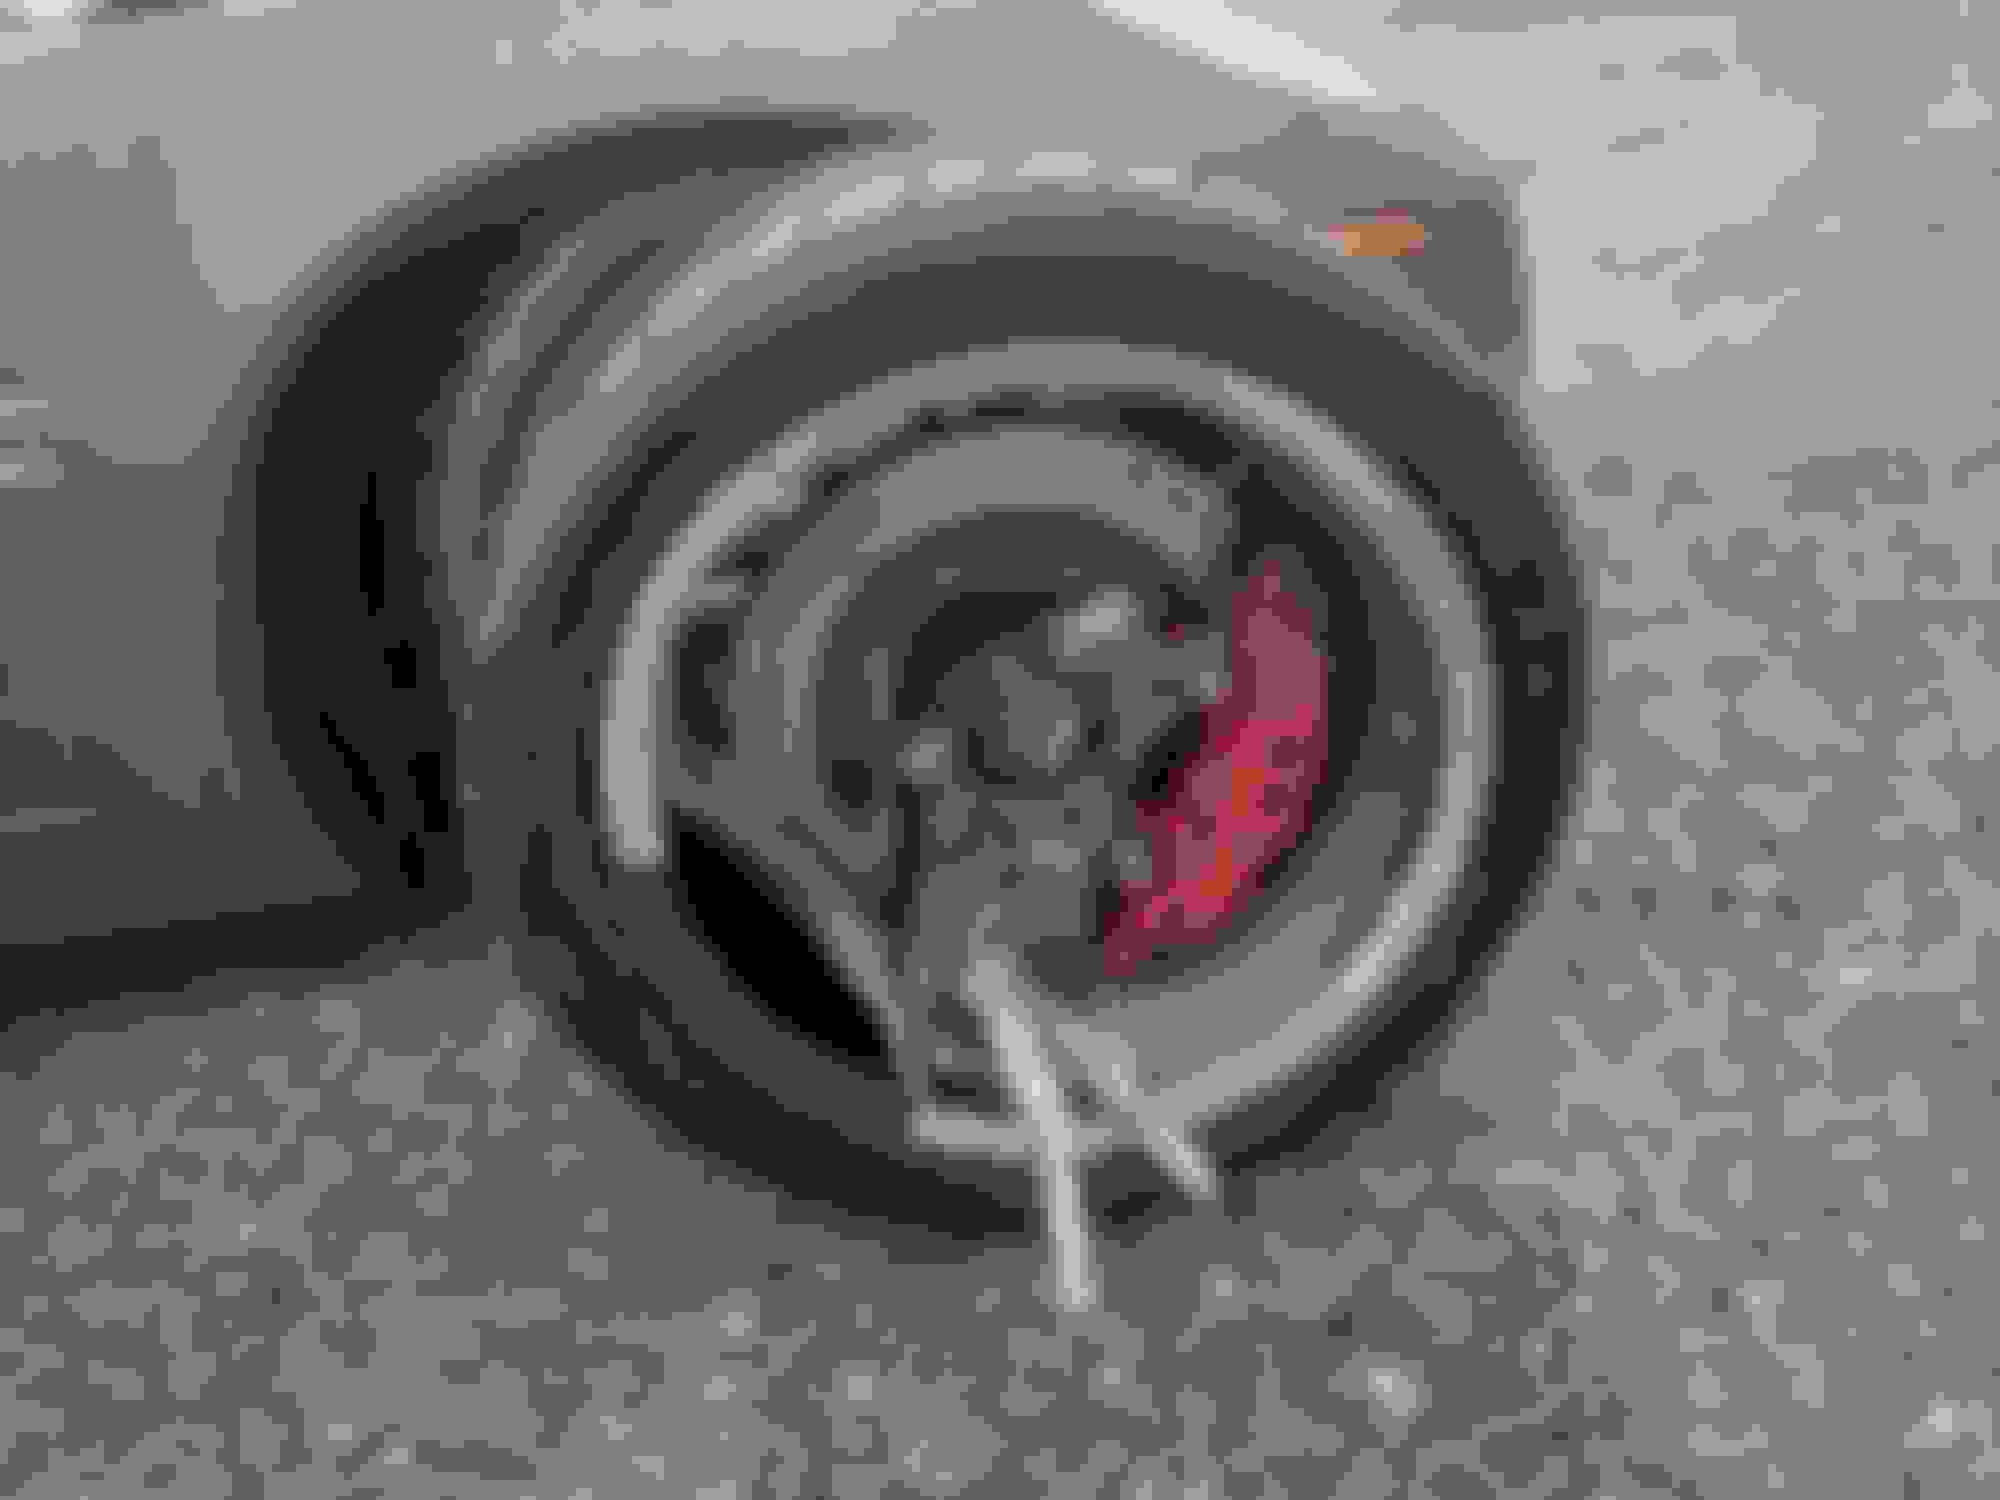
This C6 Z06 hit the pit entry barrier and cut off the whole front corner. Driver was okay thankfully!
I've never seen an upright rip in two.
Sadly, I picked up some damage as well. The uhaul trailer hung up on my nice new low lip.
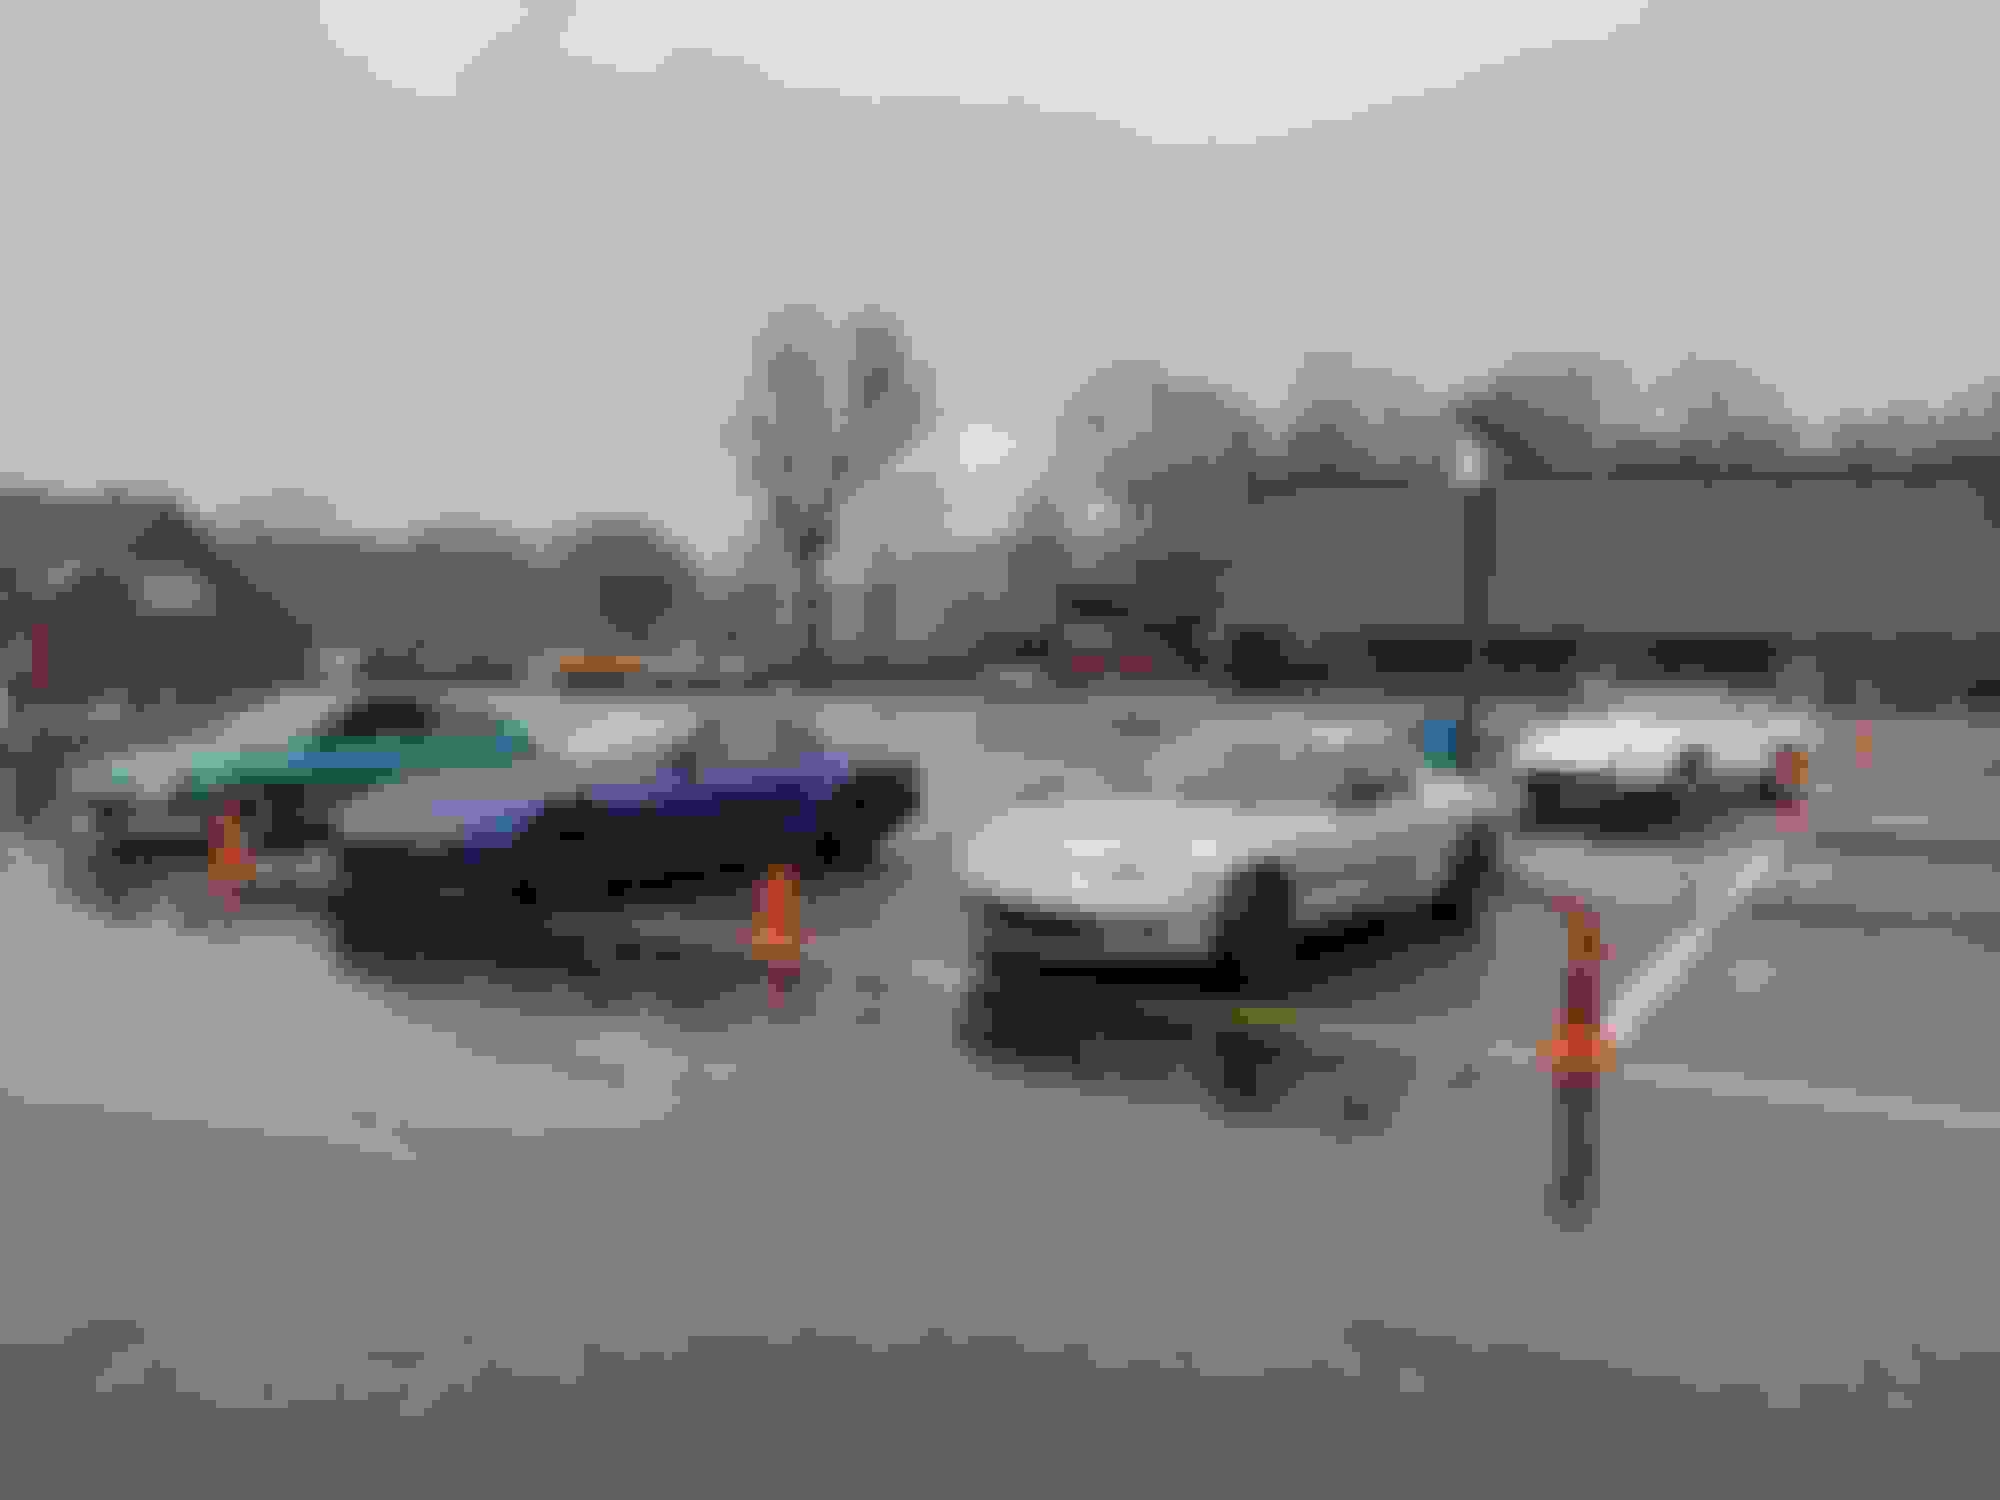
Some pretty iconic cars in grid.
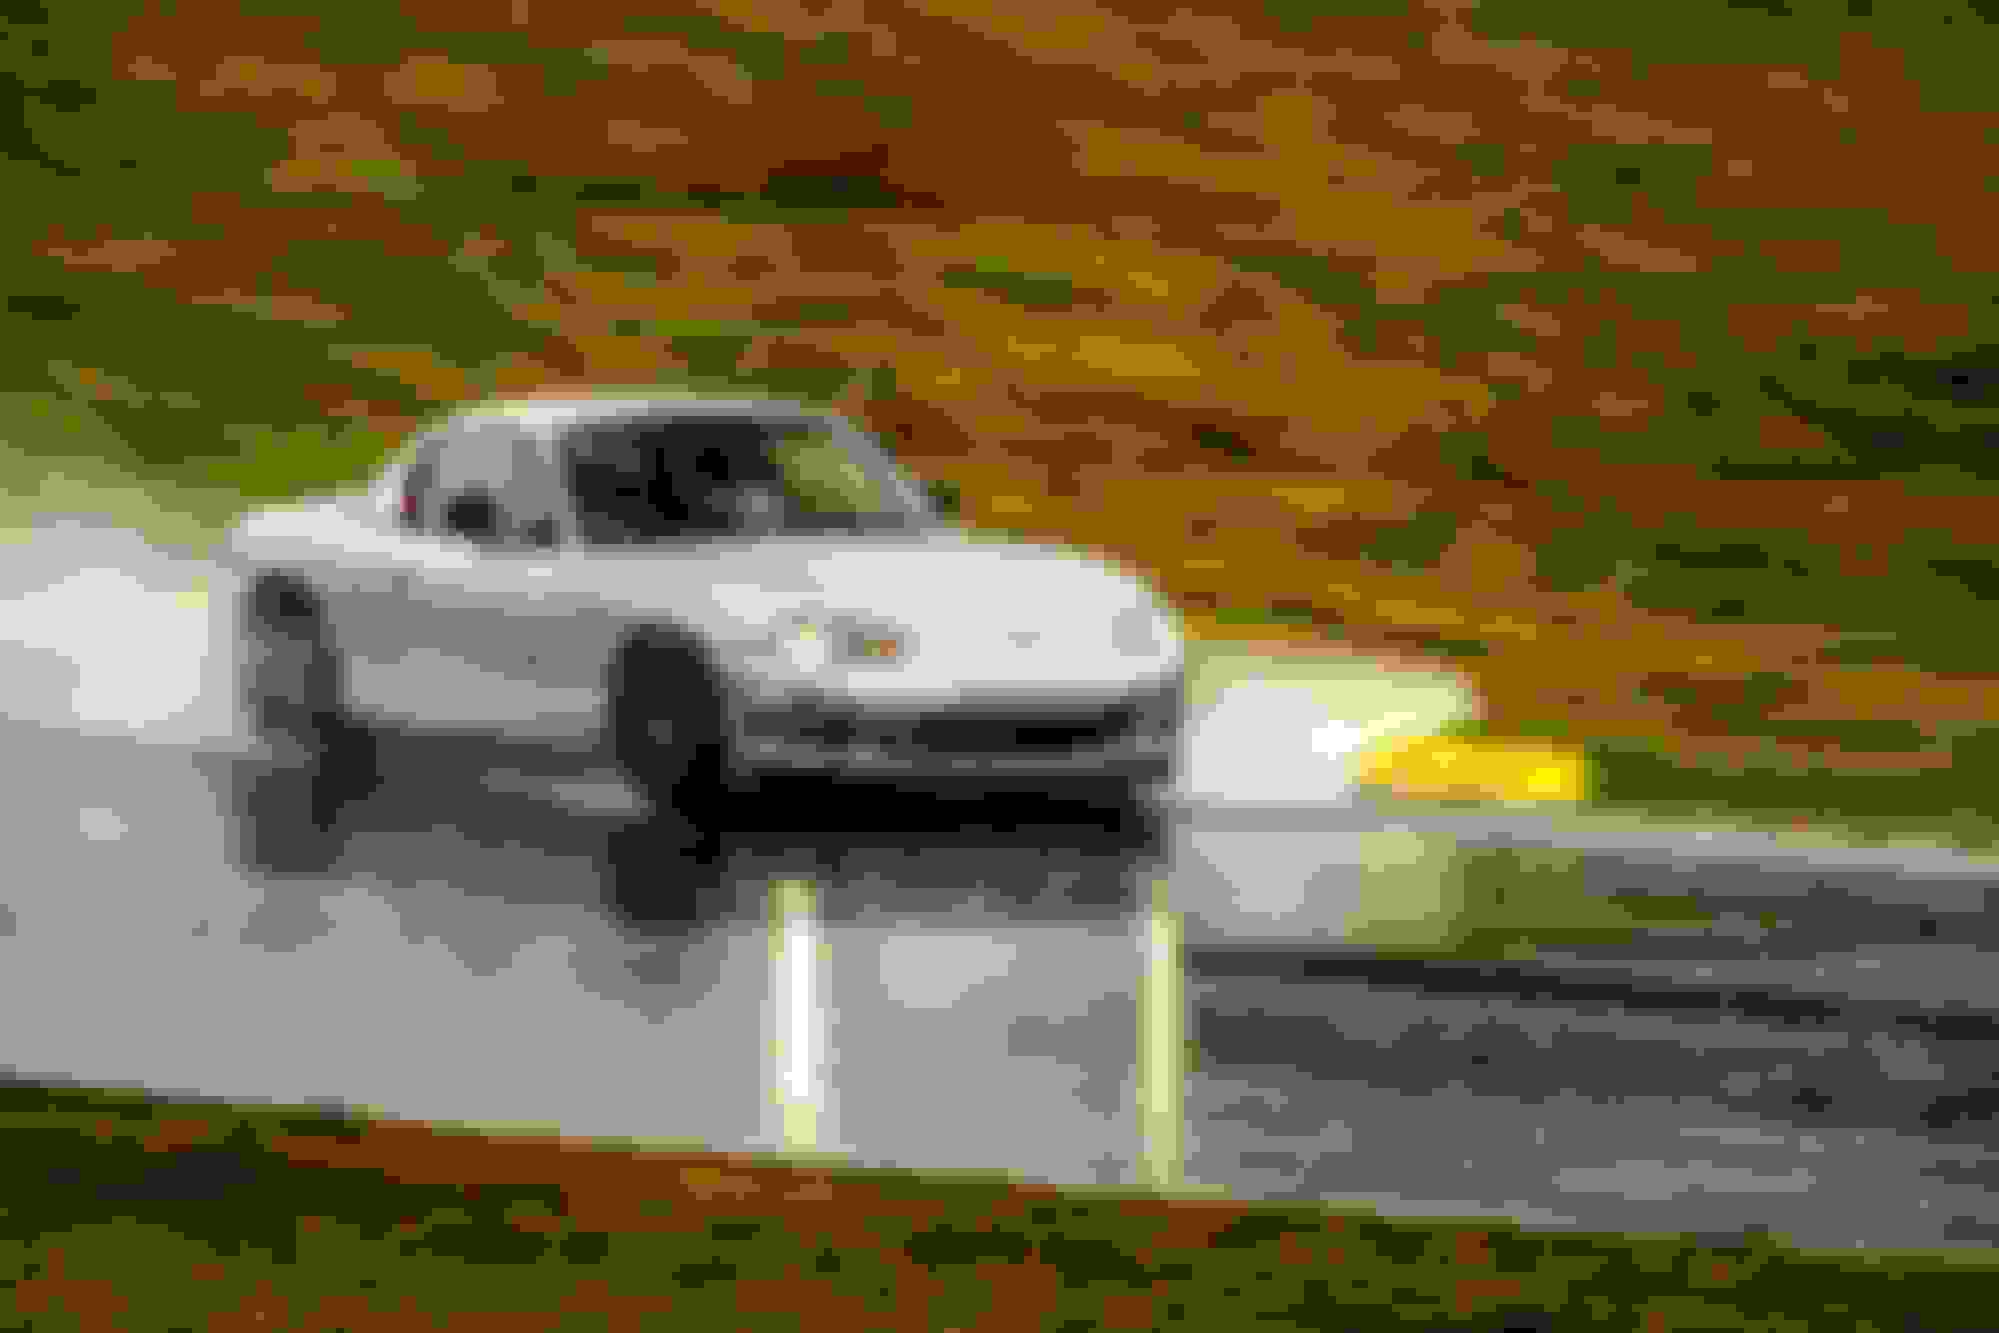
This yellow RX7 was MOVING. It's great to see a car like this get to stretch its legs and not just be a car show ornament.
Thankfully on Sunday it did clear up, and I got some good sessions in. I was improving every session, making up time and steadily pushing deeper into the braking zones. There's still time on the table, especially with how I played it safe on the brakes on the back straight.
How's that for consistency? I could definitely feel the difference in grip on the last two laps. It was most obvious going into the right hander into Snake.
The car was sublime. Oil temperature peaked under 250. Coolant temps stayed under 210. The suspension ate up the curbs and asked for more. The only adjustment I made all weekend was to tire pressure. I did 32 PSI cold in the rain, and 26 PSI cold on Sunday.
The new brakes were fantastic! The pedal feel and balance was excellent. I had removed the in-dash bias adjuster cable as it just wasn't working, so I took my best stab at setting the brake proportioning valve and it was pretty spot on. I had three lockups big enough to scuff the surface - two on the front axle, and one big puff of tire smoke from a rear tire going into Oak Tree. The difference in feel of front vs rear lockup was pretty interesting. Trail braking gives me more rotation now too. I feel like there was a bit more piston knockback than I was used to with the stock brakes though. There was definitely more pedal travel before building pressure after the uphill esses, maybe due to spindle flex? My theory for this is that the stock sliding caliper can pivot slightly to deal with any spindle flex, while the solid mounted Afco can only deal with rotor misalignment by getting piston knockback.
Unfortunately, I did not have my gopro on me so no footage. But it was awesome! I should get some on-track pics in the coming days.
Last edited by OptionXIII; 03-11-2024 at 01:25 PM.
I'm still waiting on the professional pictures, but here's the best one my dad got.
Anyway,
So turns out, my local yard is having a sale this weekend - $75 for all you can carry. There's a bunch of BMW E9x 3-Series in the yard, and as per my last post it's past time to get ABS in this car. I've read through Wingman's posts and picked his brain a bit. I'll be bringing in a bucket and hopefully leaving with the basis of my next major project, an Mk60 system. At first I was targeting the E5 system as he did, but I have some research to do to see if this car in particular can be a good donor. If it is, I'll probably grab it as well.
Sadly, I don't think I can carry a V10 on my own. :'(
I just removed the strut braces off my car as well. I was surprised by how heavy they were. From my research, it sounds like they don't aid in handling, just in NVH. Not sure if that's true, but along with another brace I'm planning to pull I think it'll be worth 10-12 pounds.
Any plans to move over to a lightweight battery? Seems like a no brainer if you're looking to reduce weight.
I'm trying to stick to the free weight removal for now. Unfortunately, I've probably got more than 60 lbs in extra weight that I really do, and really don't want to remove - the soft top, and the hitch I so rarely use. I have plans to modify a lightweight trailer I've got to carry tools and tires, and it only took one top down drive after the worst winter weather had passed to remind me why I barely use the hard top in the nicer months.
A lightweight battery is definitely on my mind, but for now I don't plan on picking one up until my current one is done for. It's several years old at this point, and my system seems to overcharge the battery to 15.7 volts, but it still keeps on trucking. I should probably figure out that overcharge first, now that I think about it.
I pulled the NB2 Sport underbody brace (Factory butterfly) off my car as well. I haven't weighed it yet, which is why I haven't mentioned it.
Same boat here. I have a minimum class weight of 2330 (with driver I think?) and I'm pretty sure I know how to get there, but I like having the soft top, AC, etc... Seeing all of these clean, wide open engine bays makes me think about removing some stuff though. My battery's also working for now, but I figure I'll head to LifePo once this one bites the dust, they don't seem too much more expensive than a standard unit, depending on what you get.
Tradd's photos came in right after my last post, of course. My two favorites:
Anyways, on to more recent developments.
As promised, I got out to the junkyard and raided a few BMWs, and a surprise guest.
I checked the yard stock list two days before and there was no Miata shown. I grabbed a few bits, but when you've got the latest and bestest spec Miata, there aren't that many parts you want to swap.
This guy got an LS for $150 (two man carry, 2x $75)
Not a bad haul for $75. I would have liked to grab more stuff, but my friend was whining about missing his wife or something. Lame.
I got the ABS/DSC pump, Yaw sensor, wheel speed sensors, and wiring off of two E9x cars. One system is an 820.3, one an 870.3. I'm still working to gather as much information as I can, but as I understand it the 870.3 is known to be reprogrammable. Unfortunately, the 870.3 car had a sunroof left open and the yaw sensor was underwater when we found it. Inside the connector was dry, so hopefully the sensor is a well sealed solid state item and will dry out with no issues. We tried to pull some wheel speed sensors off of a Chrysler 300, but found ourselves lacking big enough tools. I'm worried that they'll disintegrate on removal anyways, but I may give it a shot later instead of just buying new. Once I got home, I also went ahead and grabbed The Wingman approved cable. Next steps are to do a whole bunch of research so I can start bench testing components.
Of course, being a hoarder, I grabbed a lot of the junk I found in the Miata and raided a bunch of other cars for good fuses and relays.
I bought a spare set of Stoptech Sport rear pads off Amazon and they came in plain white box with no hardware included and the pads in different plastic wrap than usual. They're probably fine but it gave me the wrong vibe. So I returned those and bought another set, this time off of Tire Rack. Despite this massive shipping box, they still couldn't fit the hardware in there. At least the box is correct and I have more faith they're not rejects. Stoptech really seems to have suffered since the bankruptcy, so I may need to find a new favorite brake pad soon.
I also signed up for a VIR track day with the Porsche Club next weekend - $150 for almost 3 hours of track time is well worth having a constant point by going on. Of course, to meet their standards I'm going to have to have an approved shop give my car a tech inspection. I guess they are keen on living up to their cars heritage.
I have run Alfa and Porsche track days here. The Porsche people got so peed off being passed that they stopped taking entries from MX5s, the Alfa people also suffer getting hosed off, but they take it in good part, and we remain welcome there.
I did some detail work to the car getting it ready for the PCA track day, which as I said involves my car having a date with a qualified mechanic. That'll be tomorrow. Rossini Racing is a local Spec Miata shop and they've agreed to give my car a once over.
I gave the underbody a clean and inspection after our little off track excursion. All is well and the car tracks just the same as before the track day, but I wanted to get the dirt off so it was obvious I'd looked at the car myself. The oil is at just under 4,000 miles, so I am going to send it on another track day. Previous oil analysis didn't show any oil deg after 3 track days, which lines up with my temp readings at the last track day. I'll give the suspension and brakes a torque check and regrease when I change over to the RS4s tonight.
I fixed the tear in the lip. I epoxied and riveted a piece of plastic on the bottom half, and the top half got fiberglass and epoxy. All tears had a stop hole drilled at the end of the crack.
I may try to find a way to cleanly cut the lip so that the outer portions can be quickly removed for service. It's just too low for trailers and my service ramps, both of which are major convenience items. Removing the self tappers repeatedly any time I need to trailer it isn't going to work.
Something like 8 years ago, a glut of Suzuki Cappuccino bottles became widely available in the US for like $40. I grabbed one and put it on the shelf in case I ever needed the space in the engine bay.
That time has arrived.
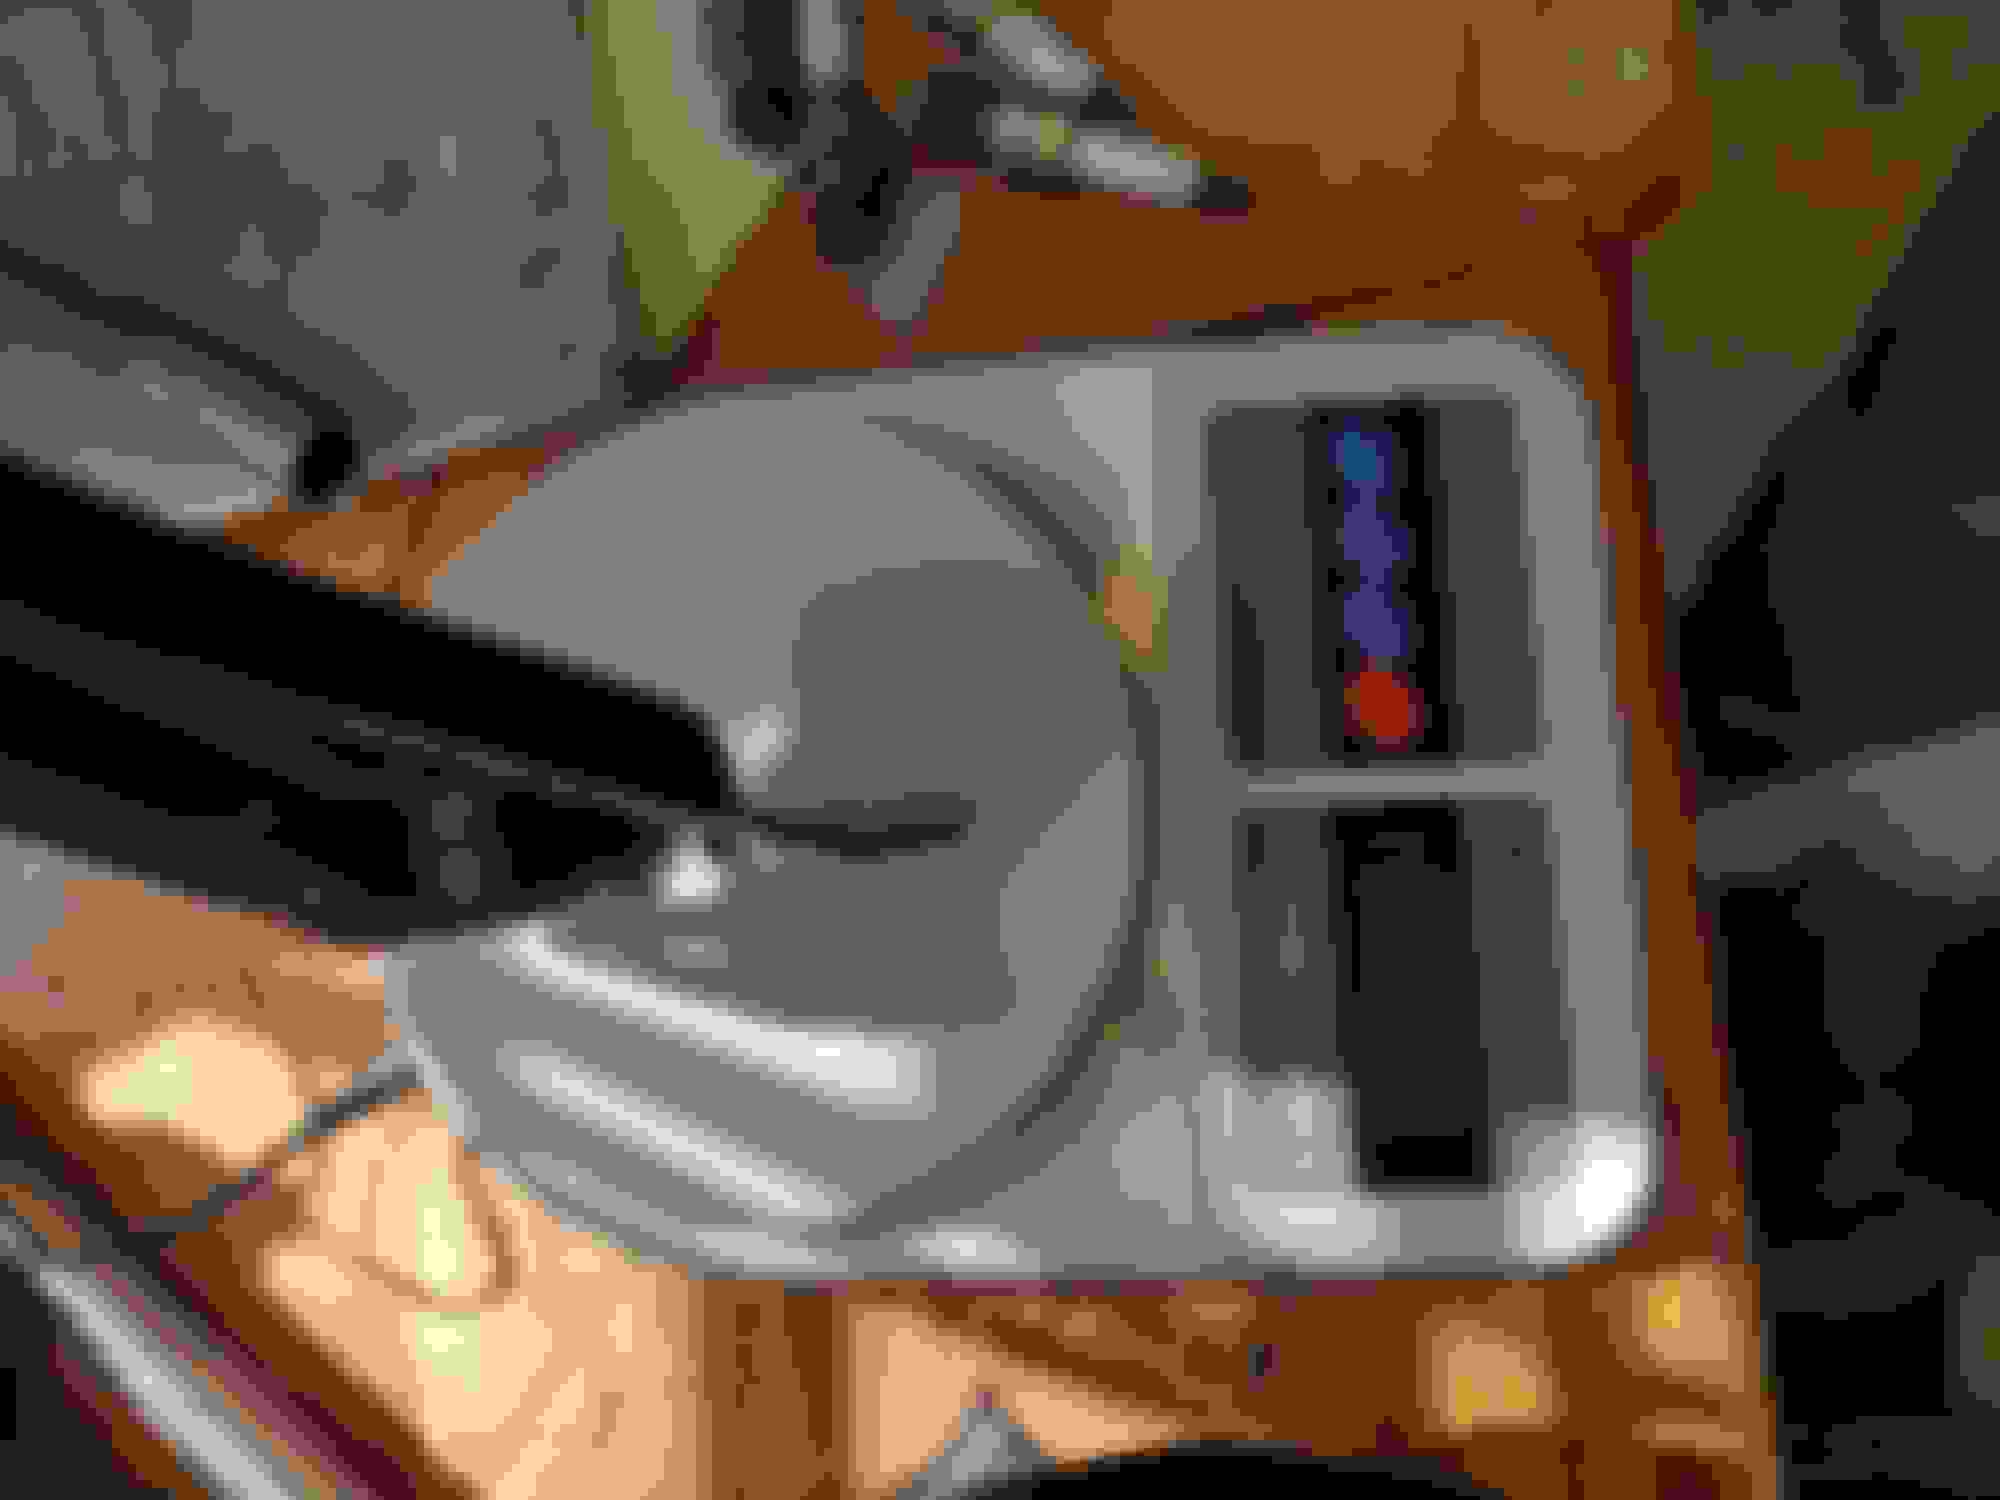
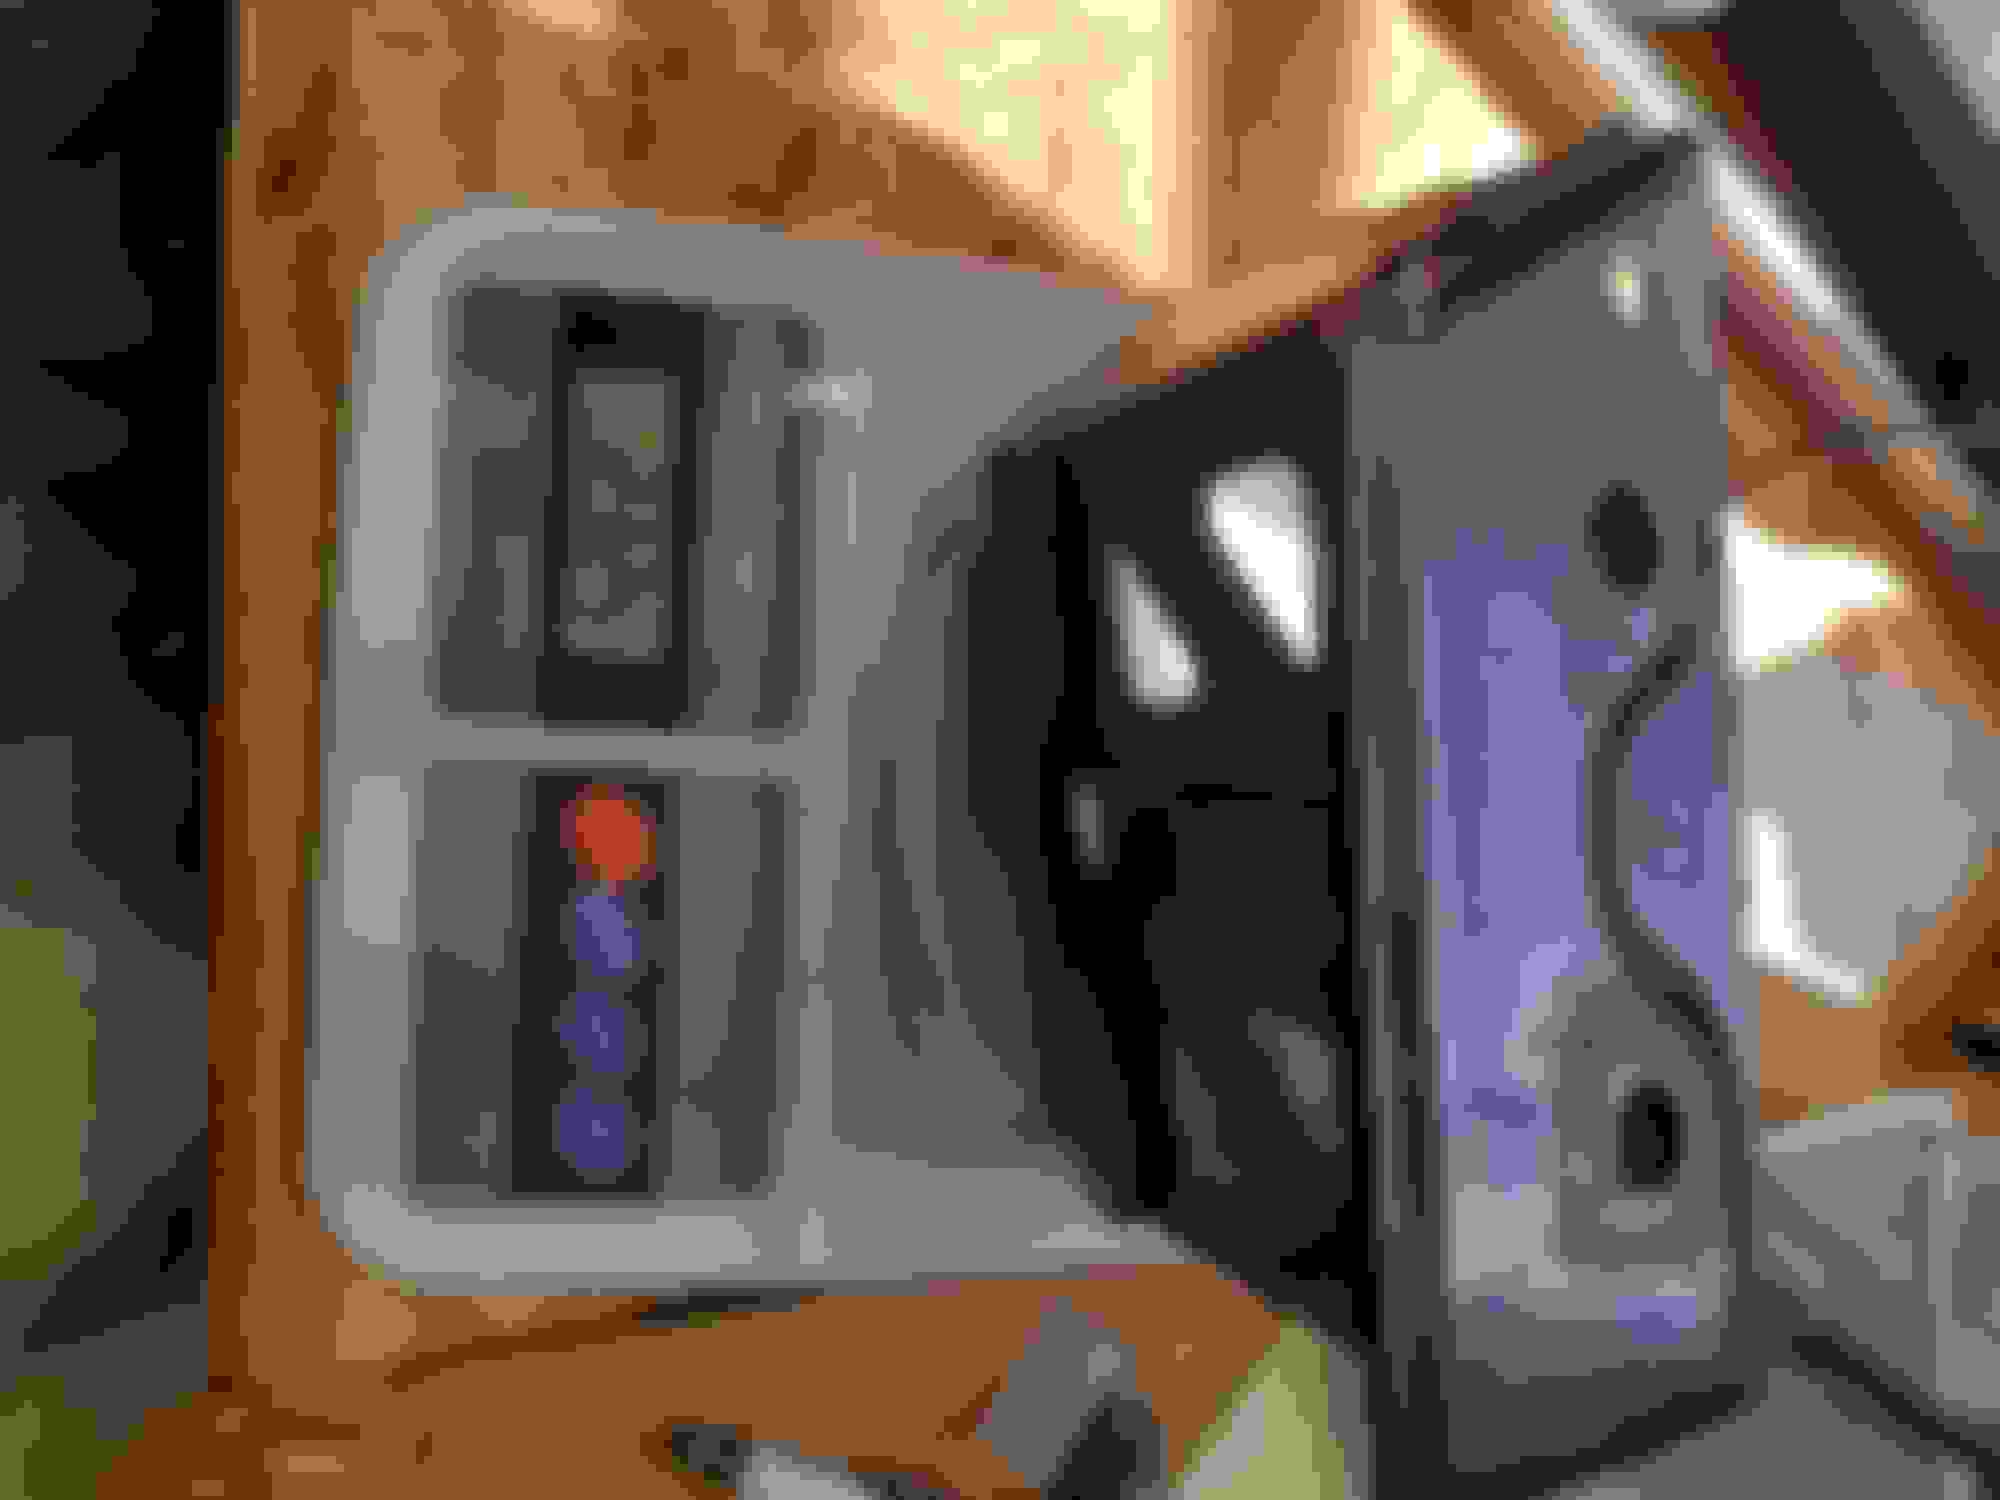
The Mk60E5 unit fits where the washer bottle used to go, between the fuse box and A/C lines, as if it was always meant to go there. It's hard to capture but there's more clearance all around the unit than there appears to be in this picture. Everything looks like it will be pretty serviceable after install. I've tried a few different orientations of the unit, but my first inclination shown above still looks to be best. Designing a bracket to support this will be fun!
My programming and diagnostic cable arrived as well. There's a few more parts to grab before I can give my parts a bench test and start working to install everything.
I'm at the exact step of about to install the pump myself. I saw this today on Facebook. It's in the same spot you are looking at, just a little different orientation.
I can't decide if the plastic is strong enough to hold it long term, especially in an accident or something like that. (I also want to use rubber isolator mounts like BMW did...so would need to look at how to do that if I went this direction.) So I'm leaning towards building my own bracket.
I've installed the Chrysler Tone rings and the BMW sensors already. I used the rear BMW sensors for both the front and rear because it will read from the side along with from the top. I went this direction because Wingman was starting to melt his, and this fits the brake ducting I have too. I also used the old tone rings as spacers (after shaving them down.) Getting those rings installed was a PITA. I think I have 8 hours into just getting the rings on. Here's some pictures if it helps.
Front: you can see the two tone rings in this picture and how I oriented the sensor.
Front: I cut off the original stub that Mazda machined to hold the sensor and welded on this little piece of 16 gauge. I welded a nut to the "front" side so the sensor was easier to attach.
Rear...just a little piece of square with a nut welded in it. This is before I painted it.
Good Luck with your install. Very interested in seeing what you come up with.
Awesome, thank you for sharing your install! Good to know about the rear sensors being less sensitive to orientation. Do you know if there's a reasonably complete list of what sensors and tone rings will work? Are your sensors and tone rings new? And are you documenting your install anywhere?
I saw the same bracket on Facebook, I think it's a bit close to the A/C lines for my use. And like you, I'd prefer to have the rubber isolators in place. I might give it a test print, but my current plan is to either do Cardboard Aided Design, or 3d print a test fit bracket, then convert it to sheet metal cutouts and have some place like Send Cut Send cut it out for me.
As for heat, I'm so ridiculously over-braked at this point that I doubt I'll have the issues Wingman did. But the whole theme of the build is complete overkill, so I might as well lay out my ABS like the car is going to be pushing 400 hp. Eventually I do plan to get more power, but I've been saying that for probably 6 years now.
Last edited by OptionXIII; 03-21-2024 at 12:32 PM.
Do you know if there's a reasonably complete list of what sensors and tone rings will work? Are your sensors and tone rings new? And are you documenting your install anywhere?
So on that Facebook page there is (somewhere) an excel spreadsheet with a list of tone rings on it that may fit. There wasn't a lot of hall effect tone rings on the list, most of them were older VR ones. I looked at the list and nothing would fit my car. (I have BroFab e30 front hubs and V8R Getrag rear end half shafts, so nothing OEM Miata size.) I'm fairly certain Wingman couldn't find a tone ring that would just work (he had Miata half shafts at that time). There is an ABS VR Converter (that is sold out right now) that should work if you have the stock tone rings & sensors installed. https://happycactusgarage.com/products/mk60-companion My guess is that people will ask him to make another batch of the converters. I had to install tone rings anyway, and I figured if that converter piece ever broke, I might not be able to get it repaired / easily fixed, thus why I chose to go this route. As far as sensors, I believe there is also a Mercedes sensor that would work with the MK60e5 if memory served, but it was basically the same sensor as the BMW ones in shape and size.
I bought new tone rings because I didn't think I could easily remove used ones without destroying them. Sensor wise, I couldn't find but one at the pull a part. The others had been removed already and I wanted to use all of the rear sensors because they read from the side along with at the very end. I can find the part numbers for you if needs be. I think I bought the rings and sensors from ebay and it was something like $120 for all of them.
I am going to put all of this in my build thread, but I'm pretty behind on keeping it updated right now. I normally write stuff up once I'm done, but maybe another ABS brake thread on the MK60e5 is the way to go instead. Seems like a few of us are all interested in doing this right now and another write up or two wouldn't hurt. I'm currently looking up and about to purchase the rest of the wiring parts that I need and hope to have the pump and yaw sensor installed in the car this weekend. Happy to share those pictures / how I did that if you are interested.
Seems like a few of us are all interested in doing this right now and another write up or two wouldn't hurt. I'm currently looking up and about to purchase the rest of the wiring parts that I need and hope to have the pump and yaw sensor installed in the car this weekend. Happy to share those pictures / how I did that if you are interested.
Yeah, I think it's time we start a new tech thread for Mk60E5 setups. It's going to be different enough from the Mk60 installs that we should gather as much data as we can in one place.
Please post any more info you want here in this thread as well! Easier for me to reference that way.
The VIR track day with PCA was an absolute blast! I was definitely the slowest car on track, so I had to be on the spot with the point bys. I had one 4-off into T10, after the esses, but that was the only big excitement and it was a pretty tame incident. Once I knew I wasn't going to make the corner I just committed to the off.
Compared to two weeks ago, I was pushing deeper into the braking zones and the car was better set up. I was a bit higher on rear tire pressure, went up on the damper settings front and rear, and decreased the rear brake bias. While it was 10 degrees warmer than two weeks ago, and there were a bunch of Porsches that had really rubbered in the track all weekend, my times would have put me as the second fastest Miata in the TT5 class last weekend. My fastest lap still has lots of room to improve.
I was really proud of this until I checked the results again and found that P1 was 2:22, not 2:24 as I remembered.
I have a lot of work to do!
Here's my fastest lap. I'm surprised at the pace, given how clumsy it looks.
Thanks Emilio! It means a lot coming from someone with your experience and background!
I've had a bit more time to digest the experience of yesterday, and here are my takeaways so far:
1. Pad knockback. It seems the BBK upgrade isn't all upsides, and for the first time ever I felt the need to give the brakes a tap with my left foot before going into a braking zone. How low the pedal was at each braking zone was proportional to how hard I was cornering and the number of directional changes. It was at its worst after the uphill esses, and almost like normal going into NASCAR. At first I was worried it was the parts I designed not really being up to the task. I did some thinking and came to the conclusion that if there's any flex between the hub and the caliper, the only way the brakes can deal with it is by opening up the distance between the pads - knockback. Contrast this with the stock sliding caliper, in which the caliper doesn't really care where it sits and can float a bit with the pads/rotor.
I've got Brofab E30 front hubs and Afco F88 calipers. It's pretty much as rigid as you can get the stock upright and braking system.
The problem is flex in the upright/hub assembly causing the rotors to push against the pads and subsequently push the pistons back in to the calipers. Typically worst in high-G back and forth complex sections. Floating rotors eliminate the knock-back. It's a reactionary solution, I'd prefer to eliminate the flex that is the root cause, but at least at this point in the development of fast Miatas, we don't have that solution yet. Floating rotors are a solution. Regarding floating rotors, how much float you need depends on lateral grip and specific track. Stoptech has a Street and Race version of the floating hardware. The Street has solved 99% of the knockback in my car for all of the SoCal tracks I frequent. At VIR I had substantial knock-back, first time since changing to floating rotors. Possibly because that track has way more complexes with lots of load than most, including the "esses" which I was doing 135mph through. On my dry laps I was pre-loading the pistons with my left foot before every braking zone, and elsewhere just to reassure myself they were still there. Looks like I need the race version at that track.
I love it when I can find an experienced hand can confirm my crackpot theories. Keisler drop spindles with stiffer bolt on MR2 hubs, and floating rotors with sprung anti rattle clips are distant daydreams, so I'll just keep giving the brakes a tap for the foreseeable future.
I'm guessing that this wasn't really an issue last track day because the pads were so new, there wasn't hardly any room for knockback and it would just press the rotor and pad together for extra drag in the corners. Now that some pad has worn away, there's room for the pistons to retract.
2. I'd like some kind of aero upgrades if I'm going to keep visiting high speed tracks. The rear end of the car just is not as confidence inspiring as I'd like. At low speeds it pushed a bit, but without any rear aero in my toolbox, I can't address it without compromising on the fast parts of the track. I don't know if I can stomach the 9LR "Street" **** or a Blackbird style spoiler, which are the actual correct answers for my use case.
Carbonmiata has a nice "longtail" spoiler that I'd have no issue with rocking full time, but I've heard wait times can be around 6 months. I've emailed Goodwin to see if this is something they ever plan to stock as the US distributor for CM.
I just found this "Track Car Aero" wing setup sold in the UK. Trunk mounted and easily removable, and reasonable enough to actually run on the street between track days without feeling like that guy.
I'm going to visit a friend in the UK in May, so I think I'll look into the cost of getting this shipped, vs flying back with it. I wish there was an intermediate option, something between this wing and the 9LR wing, but still trunk mounted. The Cobalt SS and RX7 wings are sort of in that vein, but I can't imagine those bulky uprights and unknown wing profile are doing any good from a drag perspective.
Underbody aero is something I'm still wanting to work on as it's a much sneakier solution. I need to finish up those wheel well liners and underbody spats, there's interference with the hand brake cables that I never dealt with. Also, now that the party primaries are over, I'm cleaning up some of the litter on the side of the roads and adding to my coroplast stockpile. Maybe that can become underbody paneling.
3. Too much rear brake bias is a real problem. In my first session I found that the rear occasionally wanted to pass the front or I'd get rear lockup, especially while trail braking. While I was able to dial it down with the prop valve between sessions (remote adjuster is disconnected), this may not be the ideal combo of parts if I want the prop valve to be just barely adjusted off of the full rear setting for best trail braking. That's what Emilio recommends. ButI'd seen multiple different perspectives on what setup gave too much rear bias between Emilio, Keith Tanner, and Bob Bundy, so I decided to go with what was already on the car.
I need more seat time to really get the feel for this, but I have the calipers and brackets on hand to mix and match any 1.6, 1.8, or Sport brake caliper or caliper bracket.
4. There's only so much improvement I can make in a day. Even my fastest lap looks clumsy with clear gains to be had. Sometimes you just need to turn it in for the day and let your mind internalize the lessons you've learned. I'm sure when I come back I'll be able to find even more speed. And this is the real ticket. As much as I enjoy modifying my car, seat time is the number one mod it needs.
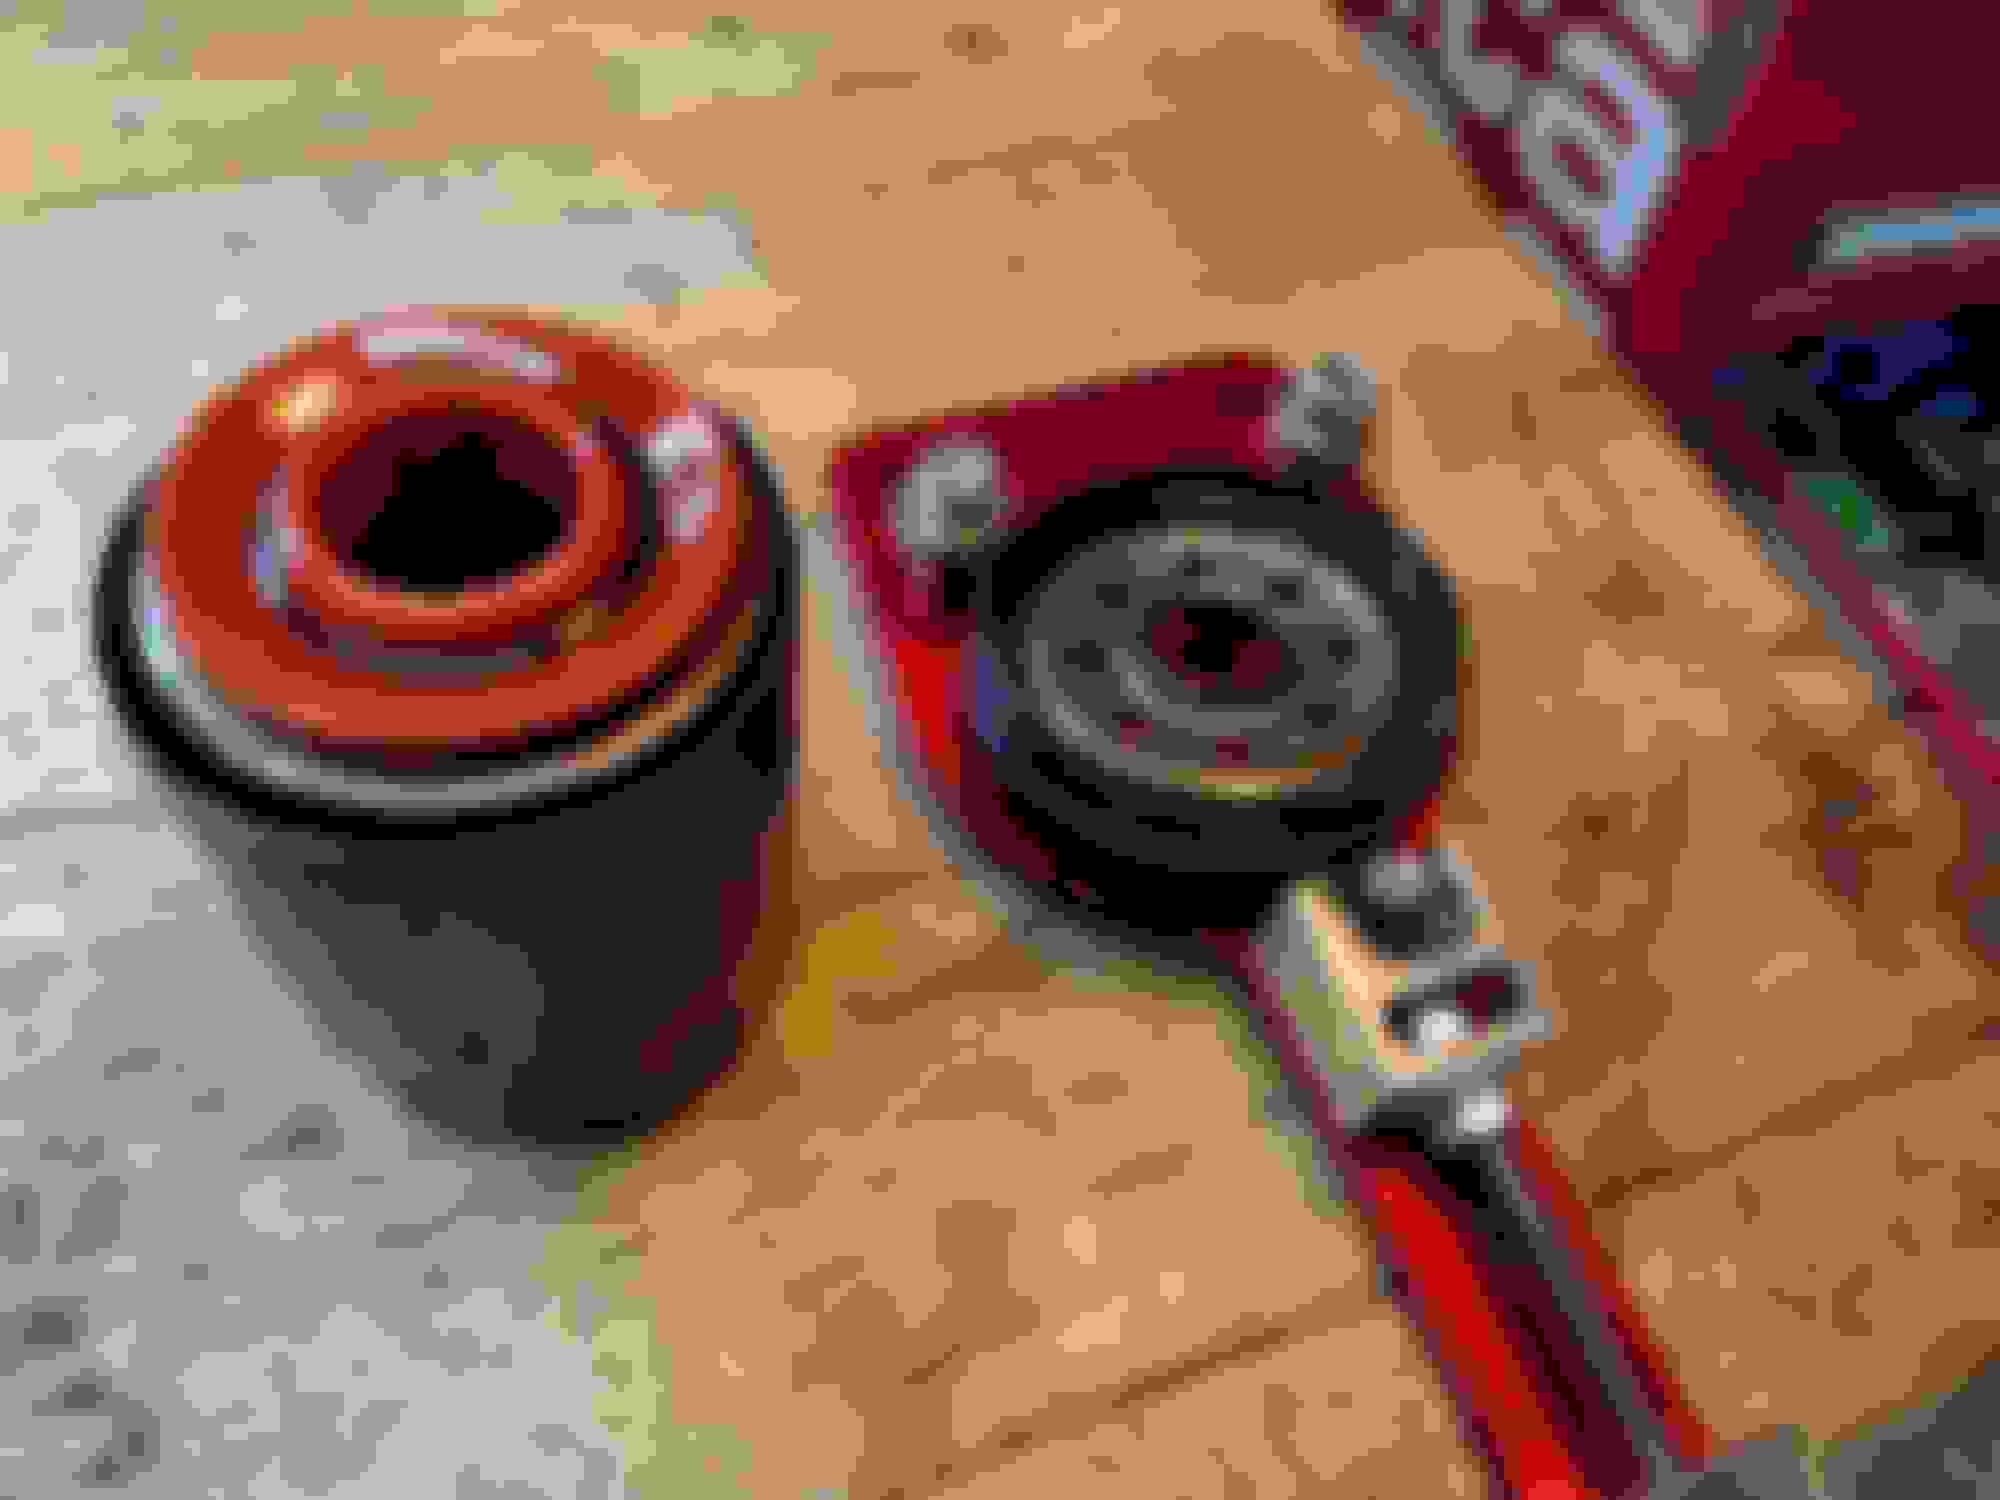
Oh, and I lied about the oil change. I did it the day before the track day. Really, I only posted about this because I wanted to showcase one of my favorite silly tools - an oil filter cutter.
I bought this thing when I wanted to see if my Jeep 4.0 engine that nuked a distributor gear had pushed any metal through the system.
The Miata's oil filter was nice and clean. 4k miles and two HPDE days on it.
I don't know why I waited until after the track day, but I took the dust shields off for improved cooling. I didn't want to cut them, so the bearing came off. I'll probably do the same in the rear since I'm running pretty tame pads and shouldn't have to worry about over cooling my brakes.
That spindly little spindle is what seems to be causing my long pedal after the esses at VIR.
I've been keeping an eye on the boots that go with my Bauer ELBJs, they've been cracked but still sealing for a while now. I'll need to insulate and shield them from the rotor with the dust shield now gone. I'll start with aluminum tape and find a better solution from there.
 02-20-2024, 11:17 PM


 1
1