When you click on links to various merchants on this site and make a purchase, this can result in this site earning a commission. Affiliate programs and affiliations include, but are not limited to, the eBay Partner Network.
After the last long track day without an oil cooler, I decided I wanted to actually know what was going on with temps.
For now, the gauge is in a vent while I figure out how I want to bring it up onto the dash in a good looking manner.
Sometime in the spring, I began to notice a clicking sound from the driver rear corner when I got on and off throttle. I checked a lot of stuff at the back end, and never could find anything. I figured it was just axles, my poly bushings, sway bar links, something, but I never could find it. I checked all the hubs, and they were tight by my test. The car drove fine, so I began to ignore it.
Then I started to hear a grinding sound. I checked my hubs again. I changed out my tires. I checked my diff oil - clean and clear. I checked my driveshaft - it had a clear line of grease that escaped, so I figured that was it. I changed it out for a Dorman unit.
No change in the noise, but I notice a vibration I've never felt before, but I'm paying a lot more attention now. Figuring it to be a crappy Dorman part, I return it and get an FM unit. Imagine my surprise when the FM unit comes it looking almost identical other than the part number, down to the weight placement. Same warranty sheet and everything, just $100 more expensive. I'm still chasing this vibration.
The grinding sound started to get worse and became dramatic when turning left. I am losing my mind at this point. I start to take apart the poly bushings to check their health. Well, that's not good. I polished up all the sleeves on the rear suspension not related to alignment settings, cleaned out the bronze bushings with a bit of oil and a rag, and reinstalled with plenty of grease. I had been pretty zealous about greasing these at first, so I am disappointed by what happened here. When I installed these I sealed the bronze sleeve to the poly bushing with silicone, and I wish I hadn't. It's probably better to have grease go around the sleeve and clear out any dirt and water.
Eventually I realize it simply has to be the hub, so this time I really, really shove it around to check. And there it is, a small, hard to feel click. Only by violently shaking the car with the wheels on the ground, with the car on a very specific sideways grade, am I able to get a click. At home, using a lot of strength, I'm finally able to replicate it in the air.
That'll do it.
A new Brofab Yaris hub went in on the drivers side. I didn't realize the new version used the normal 0.579" 1.8 rear stud instead of the smaller 0.507' knurl front studs used on the MR2 units. That caused an additional delay waiting for more parts. I torqued the bearings to Bronson's revised 250lbft torque spec. I've learned it's possible to stretch the axle enough with sticky tires to remove preload from the bearing. I'll be doing torque checks on these as a regular maintenance item in the future.
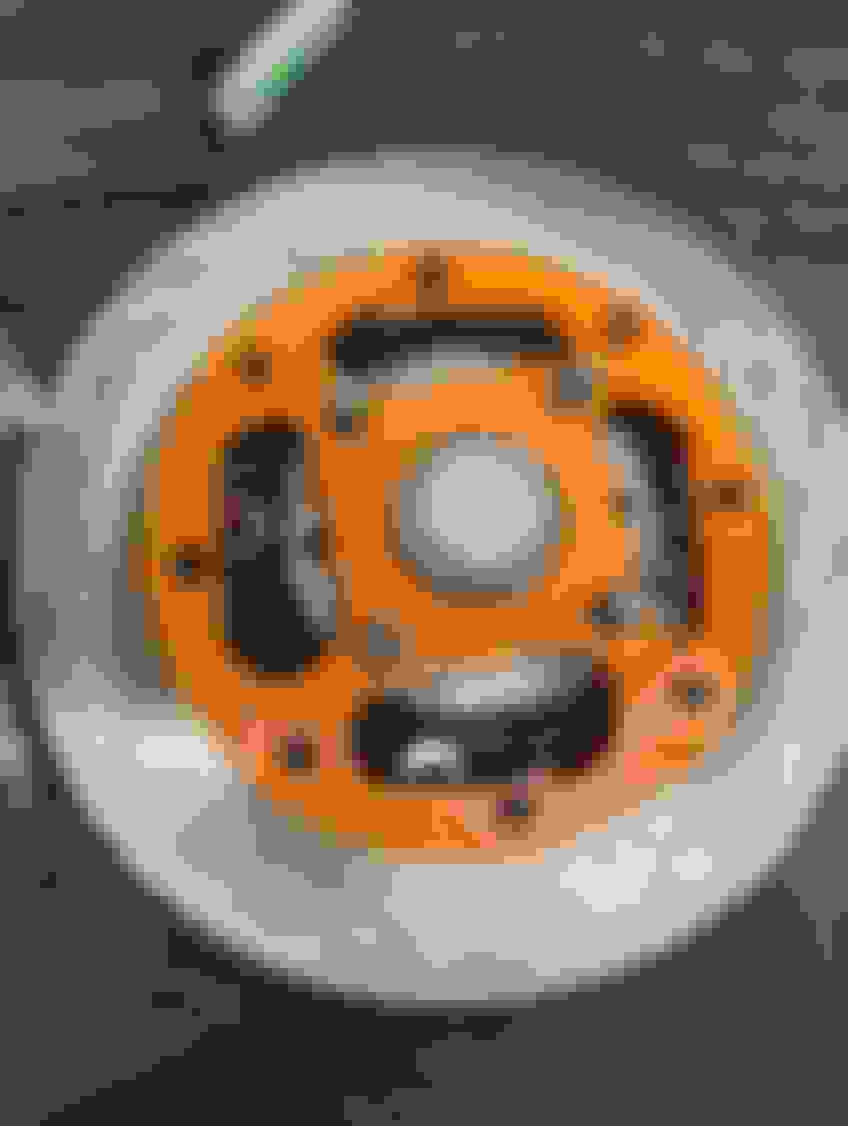
The front Brofab hubs have been trucking along fine, but I've always been bothered by the spacer being free to move around without the wheel torqued down. I noticed this threaded hole was centered between the two lugs, so I had a slot cut in the hub spacer in order to use a button head screw to hold it down.
No more worries about dirt and brake dust ingress when working on the brakes!
I've also had a string of CELs of late related to cat performance. First the downstream o2 heater went bad, then I replaced it. For that, I got a P0420 cat effectiveness code. And when I was troubleshooting the driveshaft, I knocked the sensor around too much and broke it.
Not being satisfied with the crusty state of the stock Michigan native take off exhaust I replaced after my last P0420, I went for the pricey option and got an FM 2.25" mid pipe. It took me a while to find the right adjustment for everything, but fit and clearance are now excellent. It's a tiny bit louder, but the tone is much the same as stock. I'm happy with the change, but sort of wishing I'd gone for the 2.5" option to give a bit of room for any future power increase.
For the past few years the carpet has been coming untucked on the sides of the footwells. That's due to the tabs that hook over the sills missing on my carpet, and that I've removed lots of the jute insulation after water damage.
I bought the cheapest foam sleeping pad I could find and cut it to fit around my footwells.
I slipped it under the carpet and no more gaps! The footwells are a bit cooler as well.
After the last long track day without an oil cooler, I decided I wanted to actually know what was going on with temps.
For now, the gauge is in a vent while I figure out how I want to bring it up onto the dash in a good looking manner.
Are you running stock ECU? Megasquirt? I, like you, want gauges for all the things - but it's kind of impractical I'm realizing. I like the digital dash that @BEAVIS runs:
Stock ECU unfortunately. I had a bad experience with Megasquirt and decided I preferred unquestionable reliability over a bit more power. The next step was going to be installing an MP62, but I obviously never got around to it. Now I'm itching for more power again and have been spending a lot of time pondering over various swaps and power adders.
Another few small projects I haven't added to the thread.
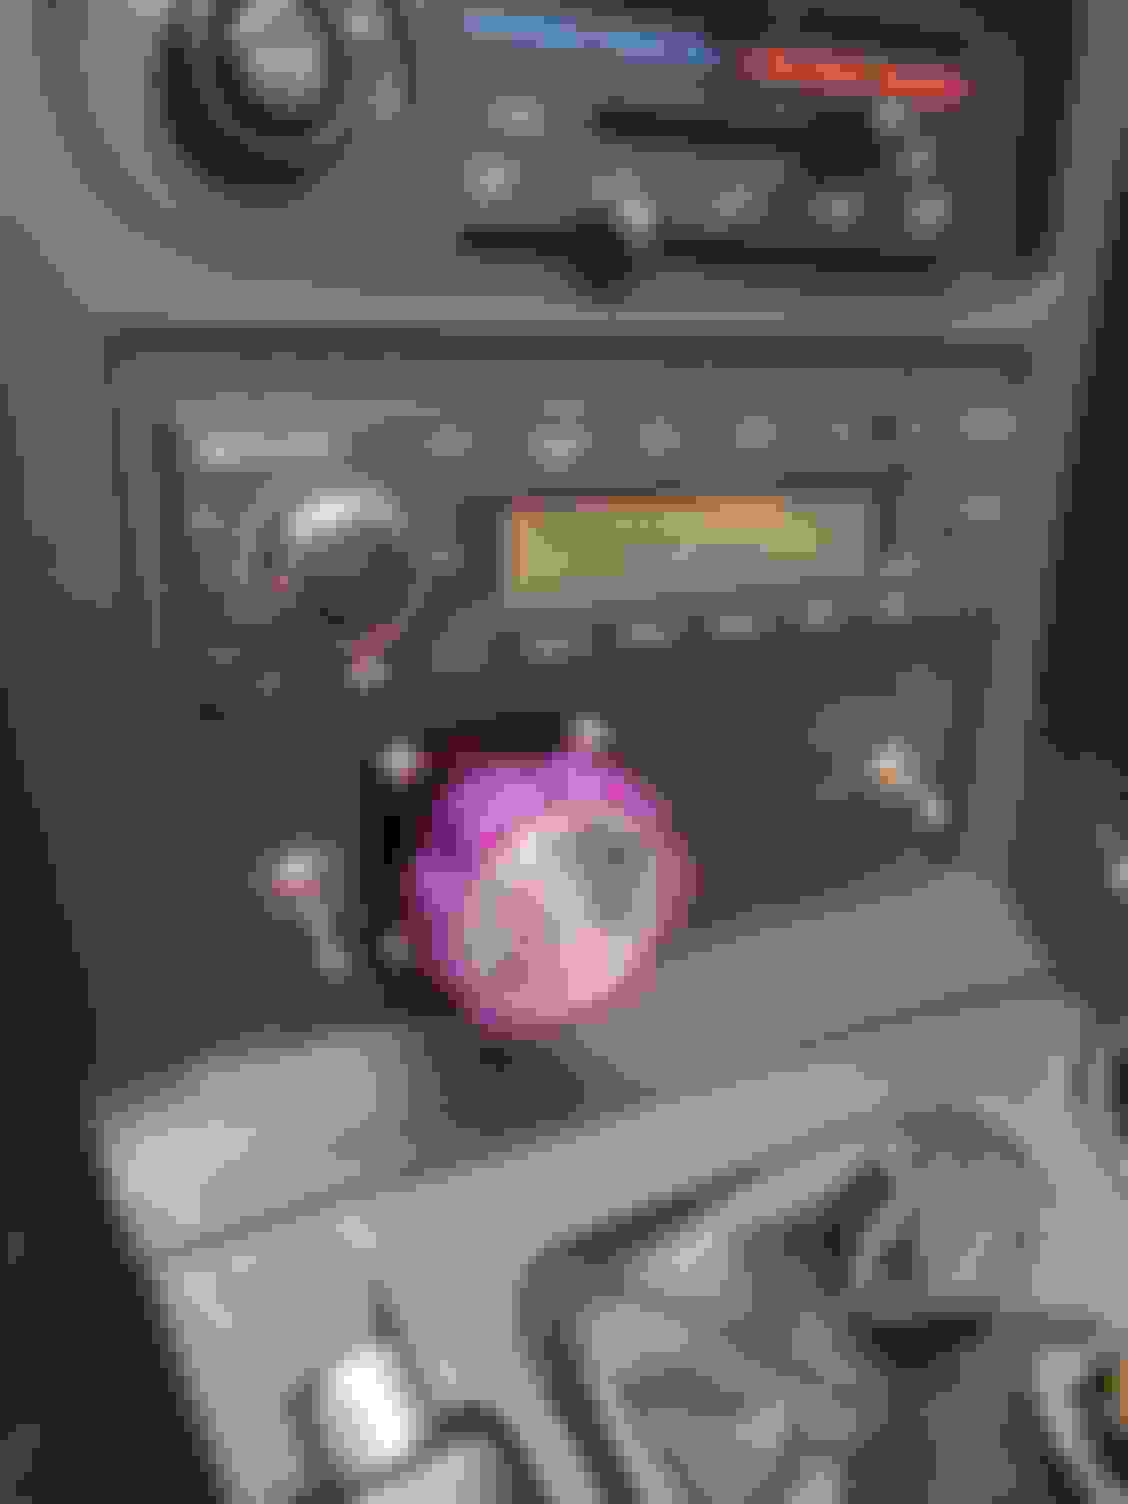
The Speedway cable adjuster came with an ugly yellow sticker to denote which direction to turn for more front/rear bias. I didn't want that yellow and purple combo in my car, so I had my buddy make me this instead.
I attempted to turn it black with some kind of gunsmithing touch up product. It came out looking like *** and pitted the surface pretty badly, and the finish was not durable at all.
I sanded it back down to metal and painted each half a different color.
The finished product in the car. I had wanted something a bit less eye catching than turned aluminum, but I'm happy with how it turned out.
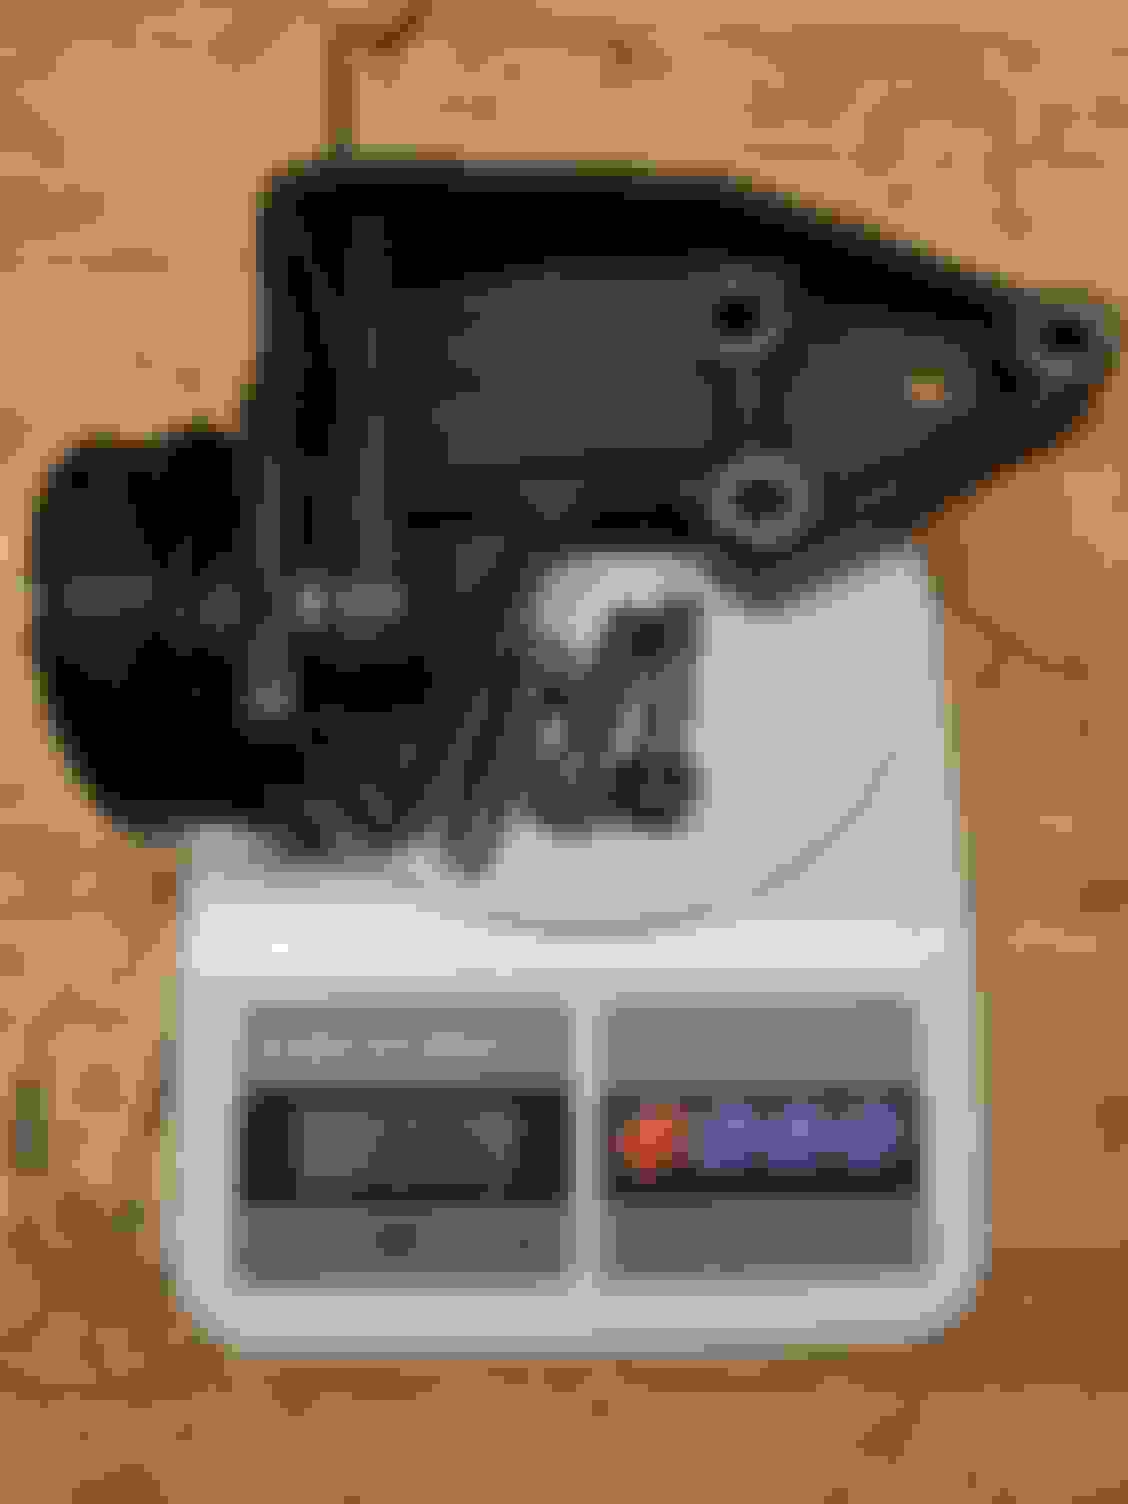
I've been chasing vibrations for a while now. I caught a glimpse of the motor mount and thought replacing this driver side mount might fix it.
The vibration was still there with a hybrid Innovative and Mazdacomp mount pairing, so I tried just the rubber Mazdacomps. It's still there. I'm thinking it's the new FM driveshaft that's at fault. Thankfully I kept the original driveshaft and will swap it back in to see if anything changes.
Once the vibration is gone, I'll go back to the hybrid setup with the passenger side Innovative mount. It seems like a great combination of Cadillac vibration isolation and holding the motor decently in place.
So, why all the extra effort on getting the brake proportioning valve be cab adjustable when it's set to full rear and still locking up? Well, partially for racecar bling. But also...
I have plans. Complete overkill plans.
Afco F88 brake calipers were STUPID cheap this spring. I paid $45 for this forged body, 4 staggered diameter piston piece of amateur level NASCAR caliper. If it can stop a 3,000lb V8 monster, it can stop my Miata. This is the 0.81" rotor version.
Here's a first draft of the rotor bracket. I'll probably add a bit more beef in the middle of the bridge, but the plan is to do a Supermiata style double sheer "Boxmount" setup so it should have much more effective reinforcement than additional thickness on one side. Patents can't stop you if it's not for resale!
For the rotor hat, I experimented with some lightweighting but it's just going to be a full beef setup, slightly thicker than the stock rotor hat. So I'll have the equivalent of about 1.3mm of spacer if I remember correctly.
Getting the caliper positioned properly took more clearancing of the caliper and upright than some other setups I've seen online
An earlier version of the hat was 3d printed for test fitting.
Plenty of ventilation!
This 11.75" brake setup should actually shift my bias rearward by about 15% if my calculations are correct. That's roughly equivalent to running Sport rear brakes and 1.8 front, which I've seen a lot of people say is a well balanced setup that actually allows the rears to lock up first with no prop valve.
Then, once I get a few other home projects done, I can start thinking about adding some real power.
Here's a first draft of the rotor bracket. I'll probably add a bit more beef in the middle of the bridge, but the plan is to do a Supermiata style double sheer "Boxmount" setup so it should have much more effective reinforcement than additional thickness on one side. Patents can't stop you if it's not for resale!
Actually, article 28 of the TRIPS act covers replication in any form. We spent a lot of money obtaining this patent, its provisions and protections. It matters.
Smart to use the solid hat. The printed shape does not look like it would hold up in our experience.
Actually, article 28 of the TRIPS act covers replication in any form. We spent a lot of money obtaining this patent, its provisions and protections. It matters.
Smart to use the solid hat. The printed shape does not look like it would hold up in our experience.
That is an aspect of US patent law that I had been mislead on. Noted.
The printed hat shown is for test fitting only. Cutaways are simply to speed printing time and reduce material usage.
Progress is slow on the BBK, but I now have access to a more local 3d printer to test fit on my car, and not just random junkyard parts of unknown provenance and straightness I left with my guy. Plus now I'm the one doing the CAD instead of just pen and paper drawings and begging him to turn them into stl files.
With the parts actually test fit on my car, I did a bit of fine tuning to get the rotor centered and the pad edge aligned with the rotor edge. Should just be one more test print on the bracket, but hats are in line for machining.
V2 of the hat, but the first one I've got on site.
I've got loads of clearance to the spokes, and radially it clears wheel weights on the inner wheel barrel by about 3mm on this 15x8 +25 Hexaform. These tires are shagged, I'll swap over my street tires to these wheels, ditch the old Hypergrams, and upgrade the track set to 15x9. I am not one to swap wheels constantly but the Hypergrams were simply a decent choice at the time, not my aesthetic preference.
I'm only losing about 0.05" of clearance between the tie rod and the inner rotor face.
Bracket without the rotor.
Also, turns out that the cheapest rotors on Speedway are hilariously poorly cast. Check out this wobble in the vents. I might need to consider an upgrade.
Doing this on my own has really made me appreciate how well thought out your 1175 kit is. You guys did great work on it, especially with the duct setup. I've seen a few others post CAD pictures of ducts that go between the caliper and upright, but none that have an actual finished product.
Appreciate that. Ultimately that's why we decided to do the whole AFCO thing, which I know you weren't crazy about and I get that too. But having it all PNP ready to go makes it much more accessible for folks that don't have your skills or resources.
Still love seeing good old fashioned DIY ingenuity.
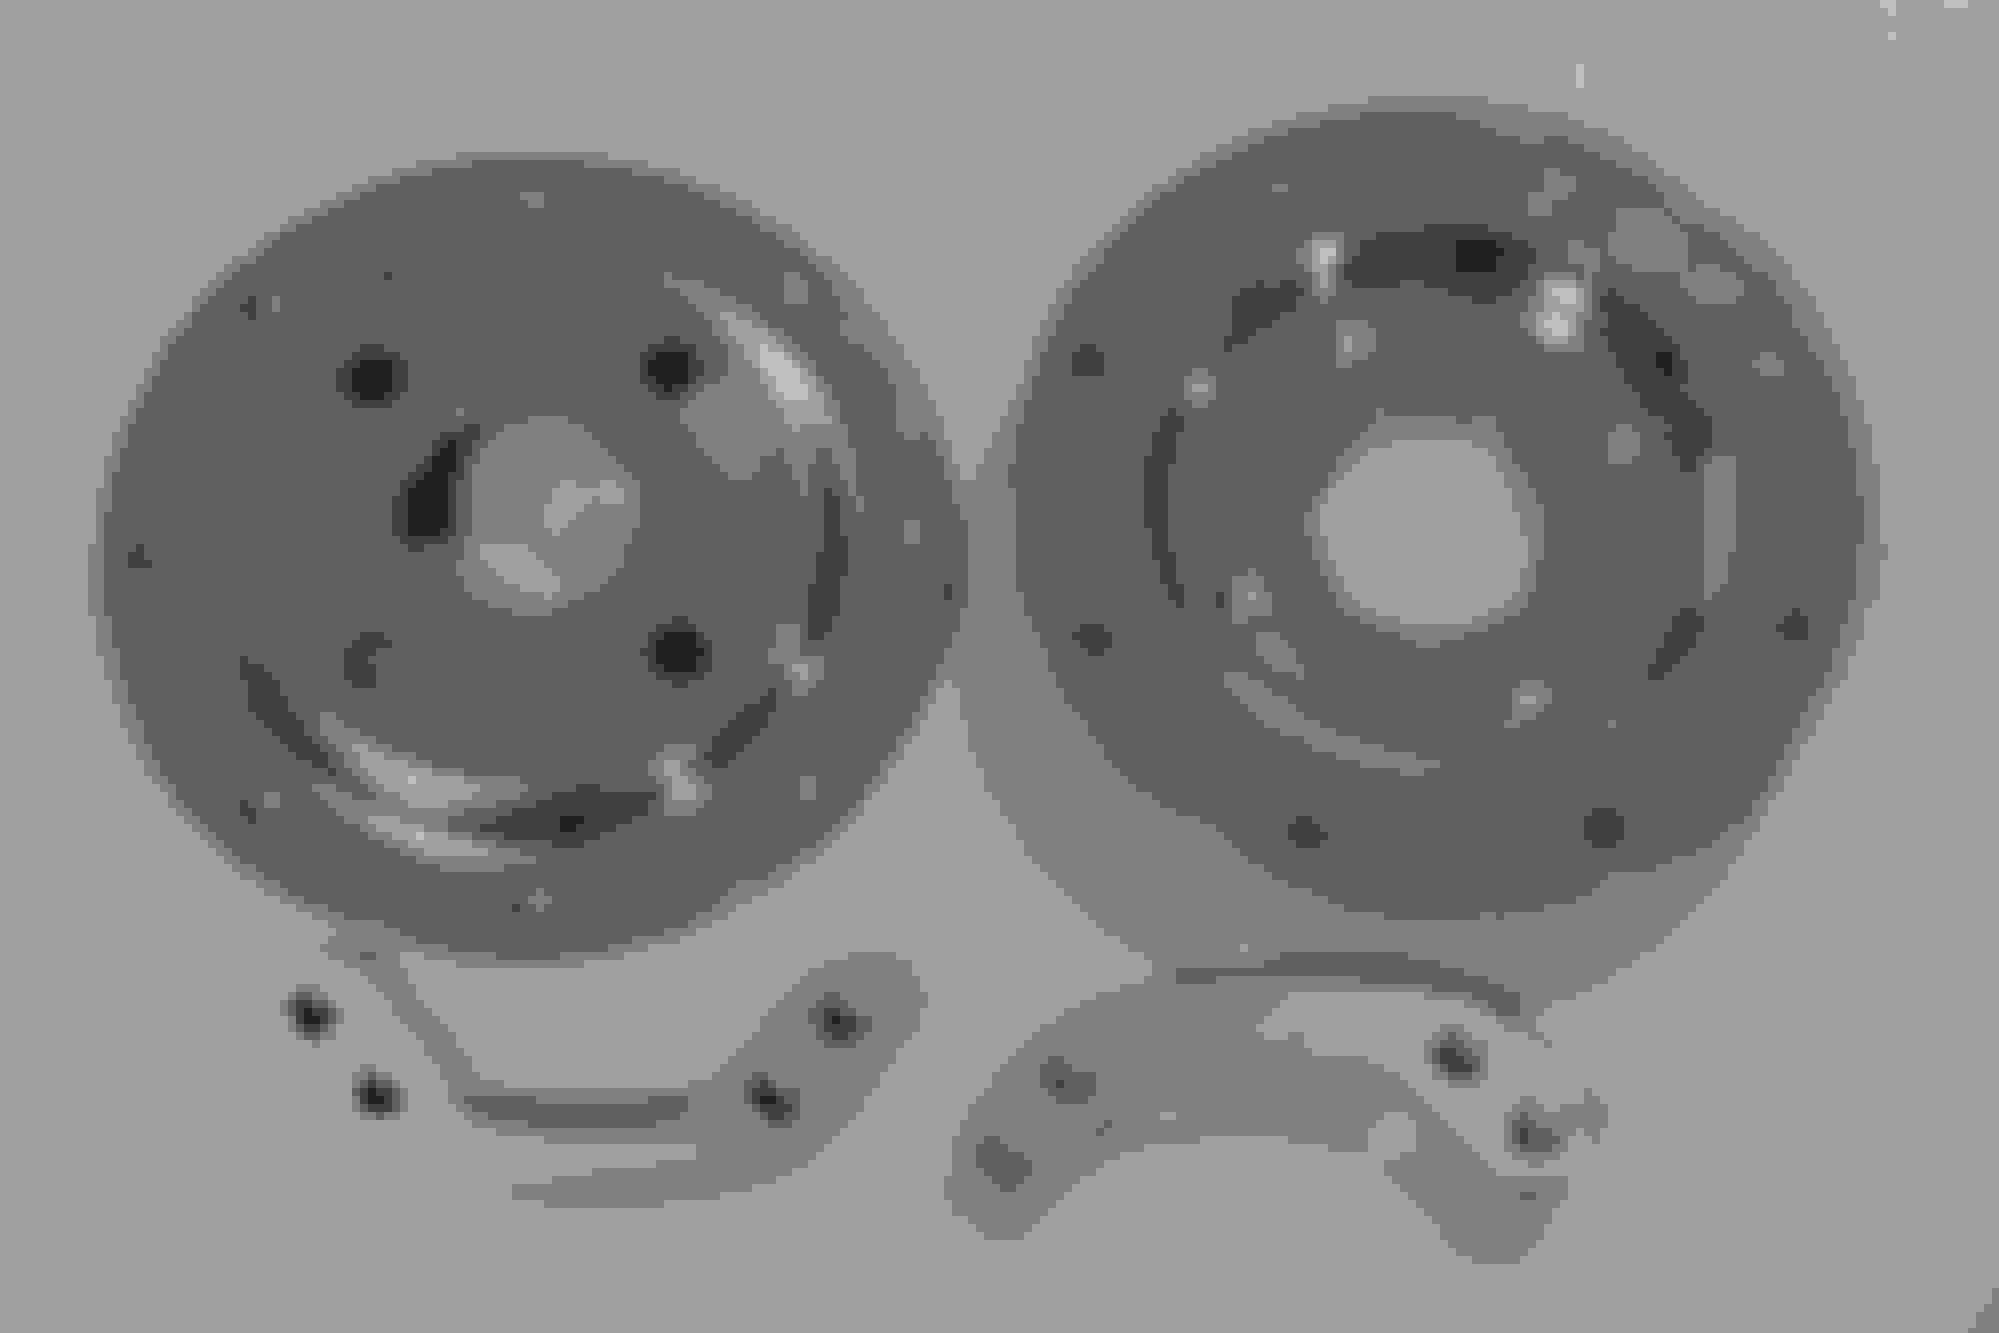
Christmas came early this year. Look what finally came in!
Nickel plated for corrosion resistance and swag, helicoiled for strength.
Oops, fingerprints.
They test fit great, the rotor is perfectly centered which worried me.
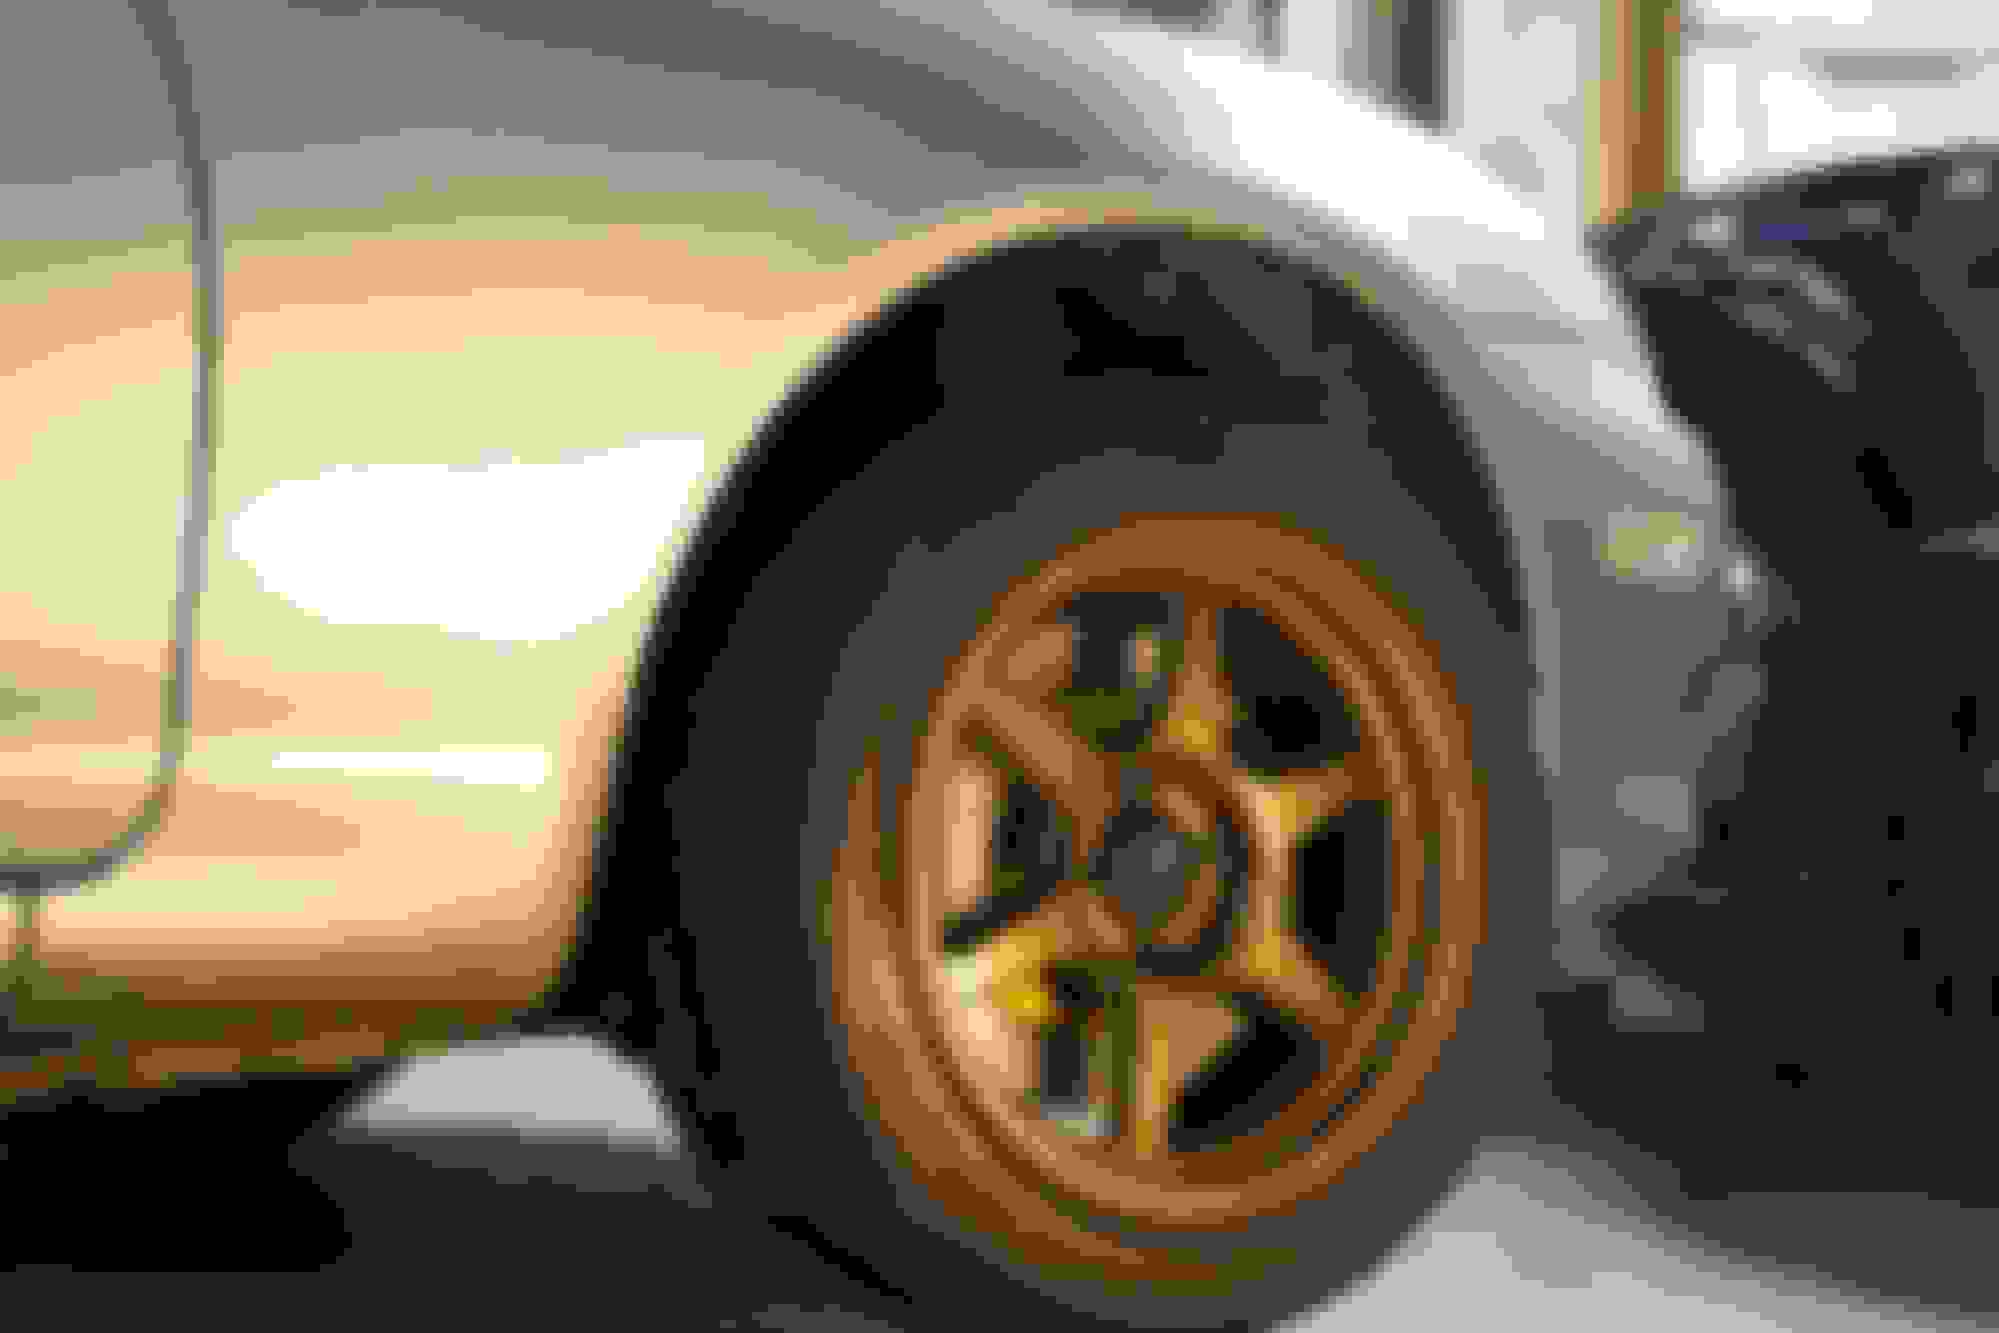
To top it all off, I grabbed a set of 15x9" Flyin Miata Kogekis.
I call them Konigekis - FM says in all their info that they can't disclose the manufacturer, but right on the box there's a Konig sticker. That's not very secretive.
I'll be putting these on after the holiday. I need to swap over my street tires to the Hexaforms before I can drive with them on the street.
On Saturday I got the brakes installed. Today, I went into the mountains without looking at the forecast and found great weather for testing racing brakes.
'
I never drove this thing in the snow in 6 years in Michigan. I didn't expect to do it here in North Carolina, but as long as there's not salt on the roads I'm game.
The nickel plate turned out ridiculously well for being done in a home kitchen. I was debating nickel plate or anodizing, and I'm so happy with my decision.
As for the other background project, it's actually for my Jeep. That's an NP242 HD, it's a full time 4wd transfer case that's something of a rarity out of a V8 Jeep Grand Cherokee. It's actually pretty close to the same transfer case that came in a Humvee. I plan to make it work in my XJ behind a manual transmission. It's sorta like this Afco project - complete overkill for my needs, but fun to do anyways.
On the Miata, the next thing I want to get done is have my hardtop painted. Over the summer I actually almost bought another hardtop, and went on a long drive to check this one out.
It was a new production example, painted the color I wanted, and for a decent price in todays market ($2,200). I found a few small blemishes and justified walking away by saying I would just get mine painted. That was stupid.
I guess doesn't bother everyone, this guy took his shot last week.
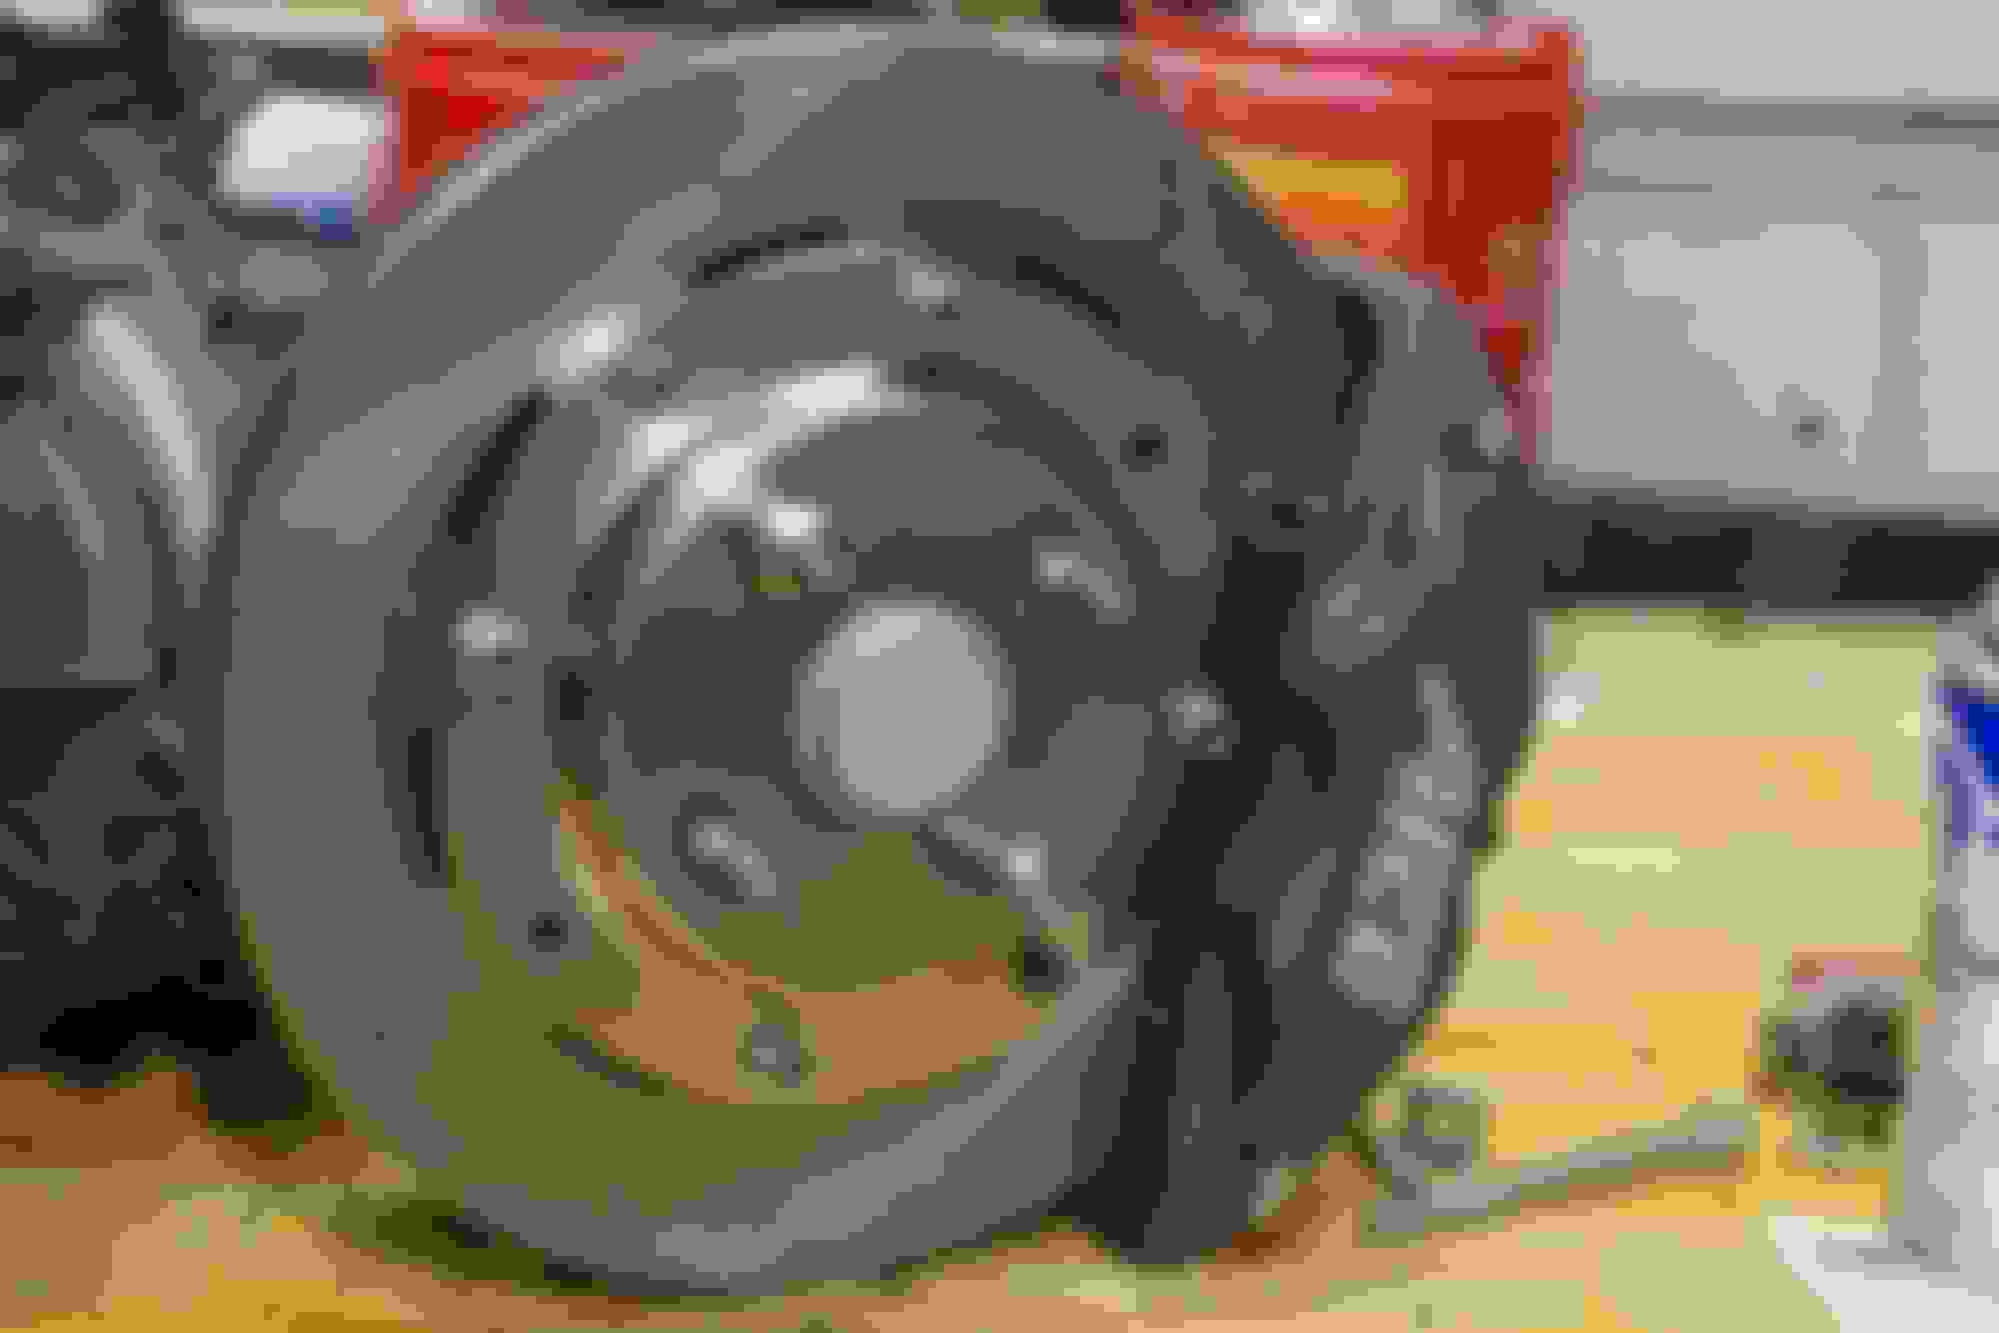
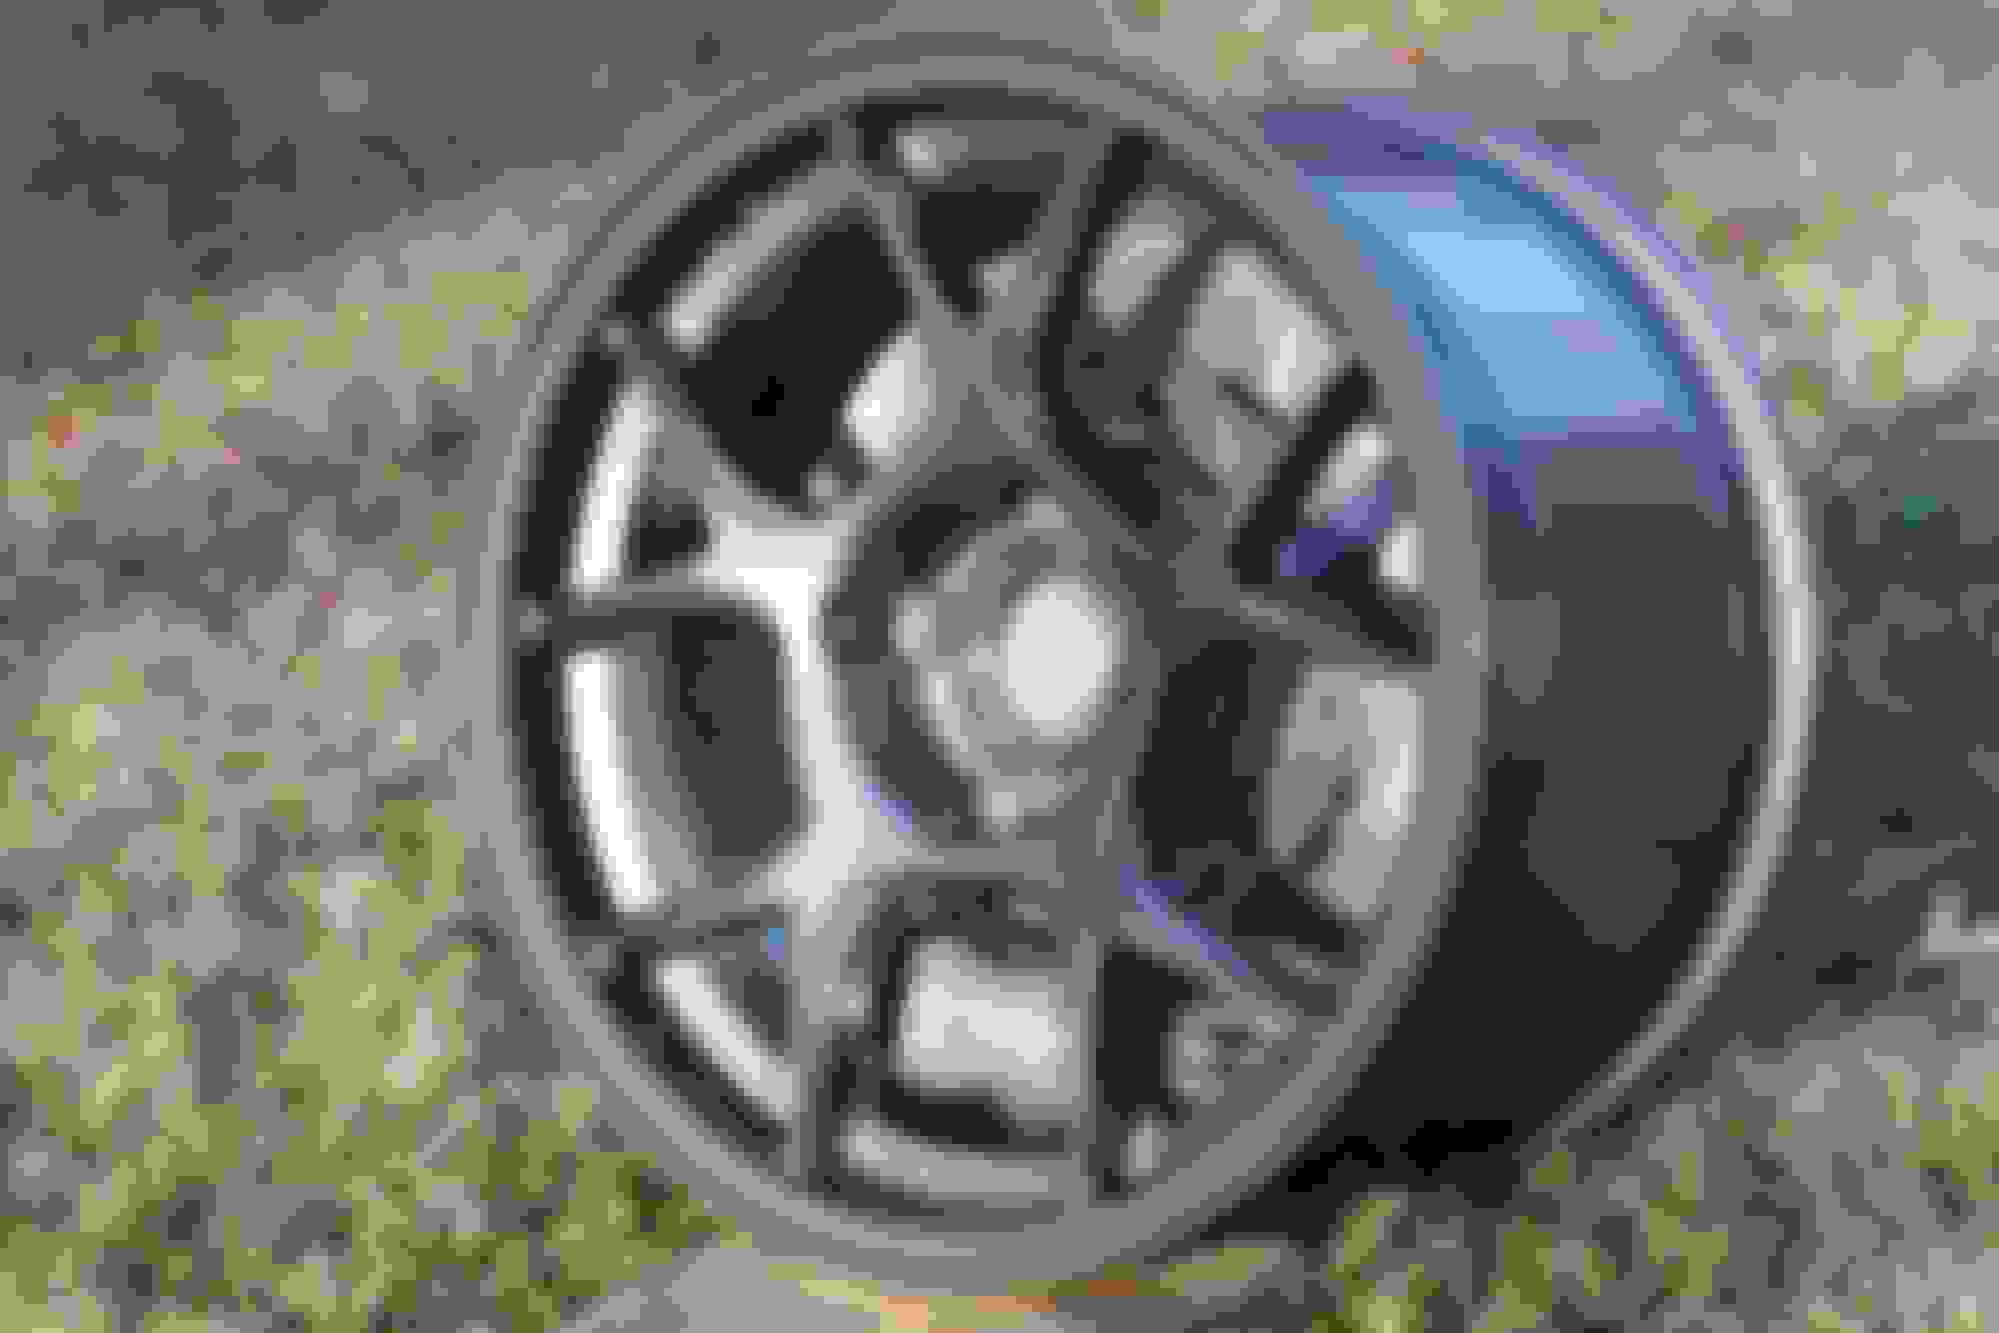
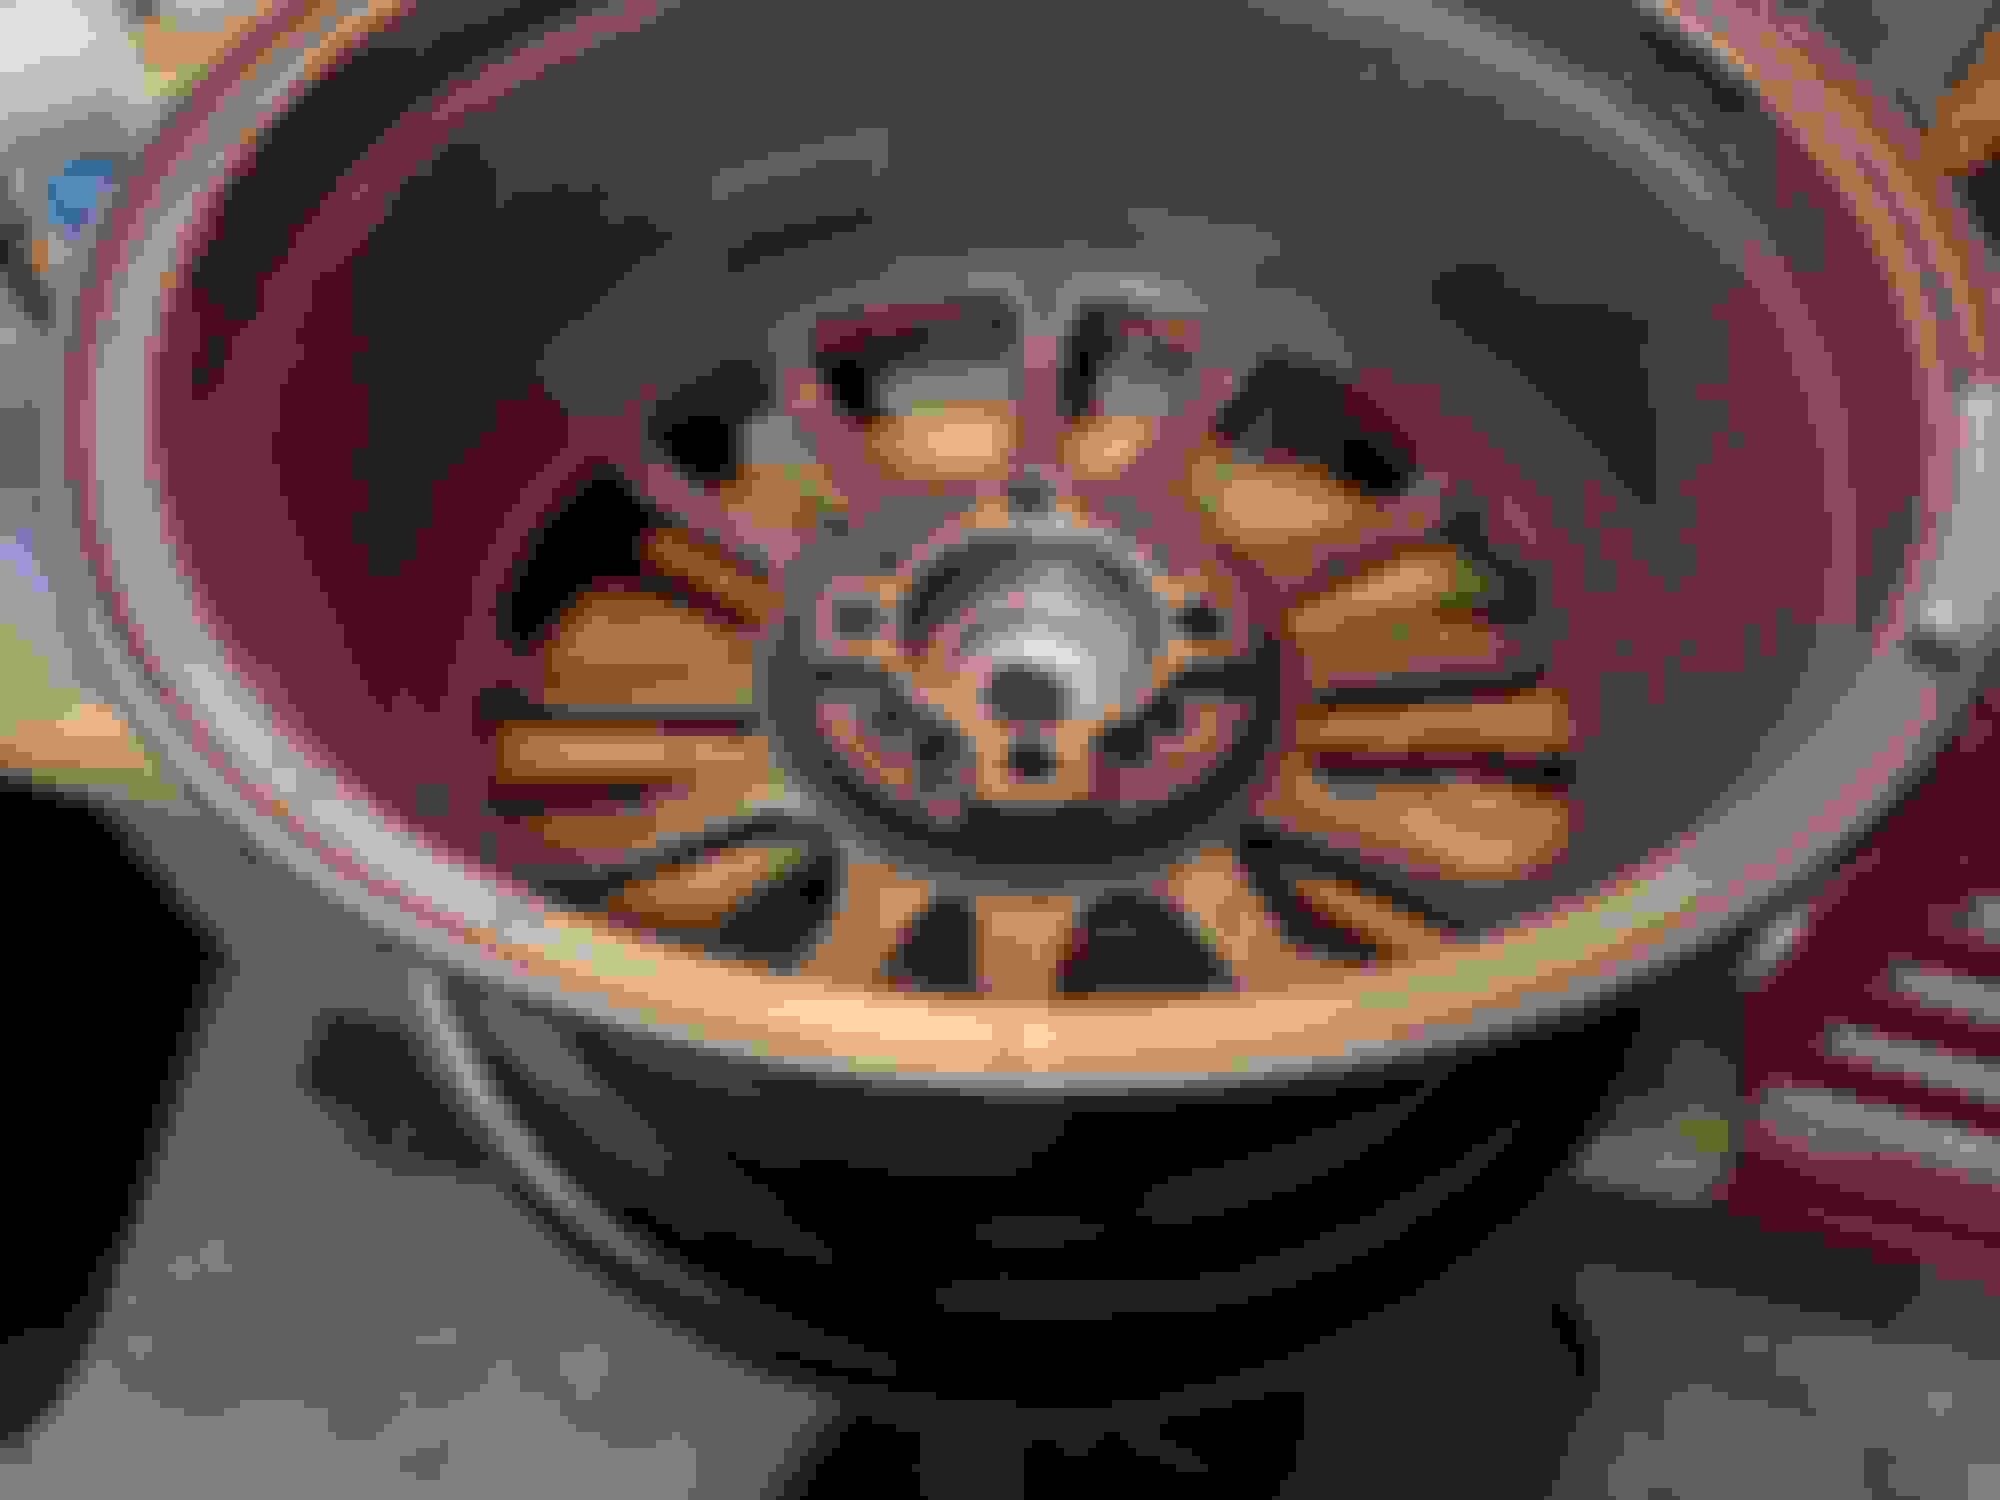
On a more serious note, I had to move on from my old wheels as they didn't clear the Afco brakes. At first I was thinking it was a bit of money wasted to spend money remounting tires, but now I have no regrets. Tonight, I glanced at the pile of them while working in the garage and something caught my eye.
I had checked these wheels a few years ago for cracks, but focused on the spokes. They were soon retired them from track use to be just street wheels. The plan was to sell them to a friend, but now I am wondering if I should just send all of them to the scrap bin. I'd previously replaced one that was bent, I'm not sure I want my less experienced friend gambling on the life left in the other two I bought back in 2016.
CHECK. YOUR. WHEELS.
Last edited by OptionXIII; 01-19-2024 at 01:13 AM.
After buying some old track day pictures that were about to be taken down, I realize that I haven't shared many pictures of the car actually on track. Let's change that!
Track season is fast approaching. I've got my first track day already booked at VIR for March 9-10, and have quite a few changes I want to make before then.
First and foremost, I have a persistent P0304 code for a cylinder 4 misfire. It only occurs during warmup at idle. I've been able to avoid any rough running or codes simply by not letting it idle during the warmup, I just get in and go, and remain stationary as little as possible. Once warm, it was fine. Idled well, and pulled with full power to redline. The other day it misfired at a hot idle as I was pulling into the garage and I knew I could ignore it no longer. Here's what I've done in the past few weeks.
.
Compression test - All cylinders at or above 180PSI both hot and cold. I tested this with the throttle closed for some reason.
Changed spark plugs for a new set of NGK BKR5E-11 plugs. No change.
Changed the 1/4 coil for a spare, including the insulator boot and spring. Swapped them between 1/4 and 2/3. No change. I have a few spares floating around from previous misfire adventures. None of them fixed this.
It's almost always a P0304 and not a general P0300. So it's got to be something specific about cylinder 4. If it was a coil issue, I'd expect a P0301 or P0300 for cylinder 1 or multiple misfires. I've tried three different coils and boots, and new spark plugs. It has good compression. Airflow should be the same to all cylinders, but I am taking that for granted right now.
At this point I felt like my best target was to check for fueling issues, so I decided to get the injectors cleaned. The car has 185,000 miles it, and has spent about 5 months every year for many of the last 8 years waiting for salt to go away. The injectors have earned a spa day.
Taking apart the intake manifold is pretty straightforward. I used some earplugs to fill the injector ports while it's apart.
The injectors looked fine to a visual inspection, and the plugs okay. One of the spacers tried to run away, I found it stuck between the manifold brace and the oil filter.
I shipped them out to Fuel Injector Clinic last week. Yesterday I got a call and was told that the initial flow test did indeed show that injector #4 was not flowing as much as the others and had some debris in the screen filter, but in their opinion it was not enough to cause a misfire. Hopefully their hunch is wrong.
The second engine issue I have is due to the Junk2 throttle body. Ever since it was installed, I am getting stalls as it returns to idle on warm up when it's below 40* out. I am convinced this is due to the terrible IACV passages. I believe they provide so much extra flow restriction that the ECU just isn't able to compensate for as well as it can with the stock TB.
So with the manifold off and the car not running anyway, I went to town on opening up the most egregious offender to flow, the manifold side passage. As designed by Skunk2 it's an extremely thin passage full of 90* bends. I spent some time with a file and opened it up to the edge of the gasket, removing every sharp edge I could along the way. The surface got some collateral damage, but it'll seal up fine with a skin of silicone.
The stall issue existed pretty much from the first time I drove it in the cold, but I'm sure the misfire issue and the stall issue aren't helping each other. With the throttle barrel cracking issue other people have with the Junk2, I am going to give the stock TB the Supermiata recommended epoxy treatment to prep it for potential use. If this fixes the stalling, I'll keep the stock one in the track spares box. If it doesn't, this thing is coming back off.
Last edited by OptionXIII; 02-18-2024 at 10:40 PM.
The injectors came back from their spa trip yesterday, so I was able to get the car buttoned back up.
I'm hoping there was improvement in the #4 injector not captured by the flow rate testing, such as spray pattern or a more dramatic difference at low flow rates. At least it's a directionally correct change.
The injector seals to the head had certainly seen better days. Maybe there was a small air leak here that contributed?
This two year old tube of anaerobic gasket maker was still usable, and it seemed better than opening a massive tube of RTV for such a small surface.
Of course, as per Skunk2 TB install SOP I loctite'd every bolt and nut involved.
It took a bit longer to get to this view than I expected.
While the rail was depressurized, I replaced the fuel filter to protect the new injectors. It was a lovely reminder about what a pleasure it is to be covered in gasoline. I also wanted to flush out the fuel rail. Unfortunately, even with every sensor plugged back in, the fuel pump wouldn't prime. I tried tapping and reseating the main relay in the engine bay, the fuel injection pump relay in the dash checking the ECU fuse in the dash, the fuel injection fuse in the engine bay, and jumping the F/P and GND pins in the engine bay diagnostic connector. No change.
Eventually I found a pinout to jump the under dash fuel pump relay and finally the pump kicked on. It moved enough to push gas out of all four injector holes. Call the fuel rail flushed.
Lastly I superglued the fuel rail spacers to the rail in order to prevent any further adventures into the engine bay abyss.
This is the sort of thing that bothers me. What should be a regular old 4 pin relay is some sort of special one only used on the Mazda Miata and Protege from 1997 to 2005. Rockauto has it for $14 but if I'm ever out on the road and another replacement relay fails on me, I'm looking at $75 to get a replacement on the road if I can even find one that day.
I am considering trying to repin the terminals into a more standard relay format. They look like they'll fit the standard 1" square brick style of relay.
Now is the time for me to reiterate - I really wish good factory manuals for Miatas were as reliable and easy to find as they are for my Jeep projects. It's frustrating having to google for forum info on electrical information, connector by connector.
The Fel-Pro gasket came out of the packaging warped and scratched. That's what I get for buying parts from Amazon.
I got it buttoned up too late to try starting. The garage is right below the master bedroom and I didn't want to wake the lady.
While the car was down for the injector cleanup, I chipped away at some other projects. Since I am still not sold on any route to more power, I need to make the most of what I have by cutting down on weight and drag.
I went across the scales at my local scrapyard some time back. After accounting for the weight of passengers and fuel, the car should weigh 2,430 lbs. She's a thick girl for a Miata.
I'm starting by removing whatever I can that won't really affect the driving experience.
These fog lights have been garbage from the get go. I think a previous owner may have used this as an RV dinghy or something, as the front end has been repainted with no signs of impact damage, and the glass surfaces are really rough. While I could replace them, removing them and installing a custom block off plate saves 1.5lbs total.
The manual steering idler pulley is a somewhat sought after part from my old 1.6 NA, but it's 3.5lbs that can be removed if I instead use a belt that only goes between the crank and AC compressor.
To clean up the airflow a bit at the front end, I added an RS Factory knock off front lip and some RGR spats. I'm not sure if there's a measurable difference from the lip, so it also helps that it looks fantastic. I really like the NA R-Package feel it has.
I wish I'd have weighed it to keep the theme going.
Something I've noticed with newer cars is that the wheelwells have much more attention paid to them than the NB Miata, with its design roots in the '80s. In the front it's pretty decent, but in the rear the sill sticks out 3". Since I'm not Adrian Newey, I can't visualize this in my head, but I imagine air rotating with the tire is getting flung into that edge and redirected back into the wheelwell, under the car.
Compare that to the wheelwell on any new car you see, and it'll look something like this Chevy Volt - a smooth internal surface with a small spat or fence hanging below the body.
I did some rough mockup with a beer box...
And took that template to Wal-Mart, where I found the cheapest plastic container I could as a materials donor.
Since the wheelwell has no place to attach anything, I had to make up some mounting tabs. They're just pieces of plastic held to the sheet metal with VHB foam tape.
I didn't grab pictures on the rear sill, but I did a similar thing on the front to better support the back of the lip.
After some trimming, the trash can was a nearly perfect sized source of plastic. The only issue is that it's polypropylene, which isn't the best choice of material. It's worth the $4 gamble though.
 09-28-2023, 12:04 AM


 0
0