When you click on links to various merchants on this site and make a purchase, this can result in this site earning a commission. Affiliate programs and affiliations include, but are not limited to, the eBay Partner Network.
Whelp, super bummer weekend. Got wait listed for the track day, but I still got an alignment beforehand. Rather than say they couldn't meet my targets for caster and camber in the front, they just hit the caster target and left camber at the max they could get. Less than a degree on either side, with the back at 2.0 degrees. If the alignment had have been right, I would have shown up early to try and get a spot.
Let's see, what's happened recently. Kind of went down the rabbit hole...
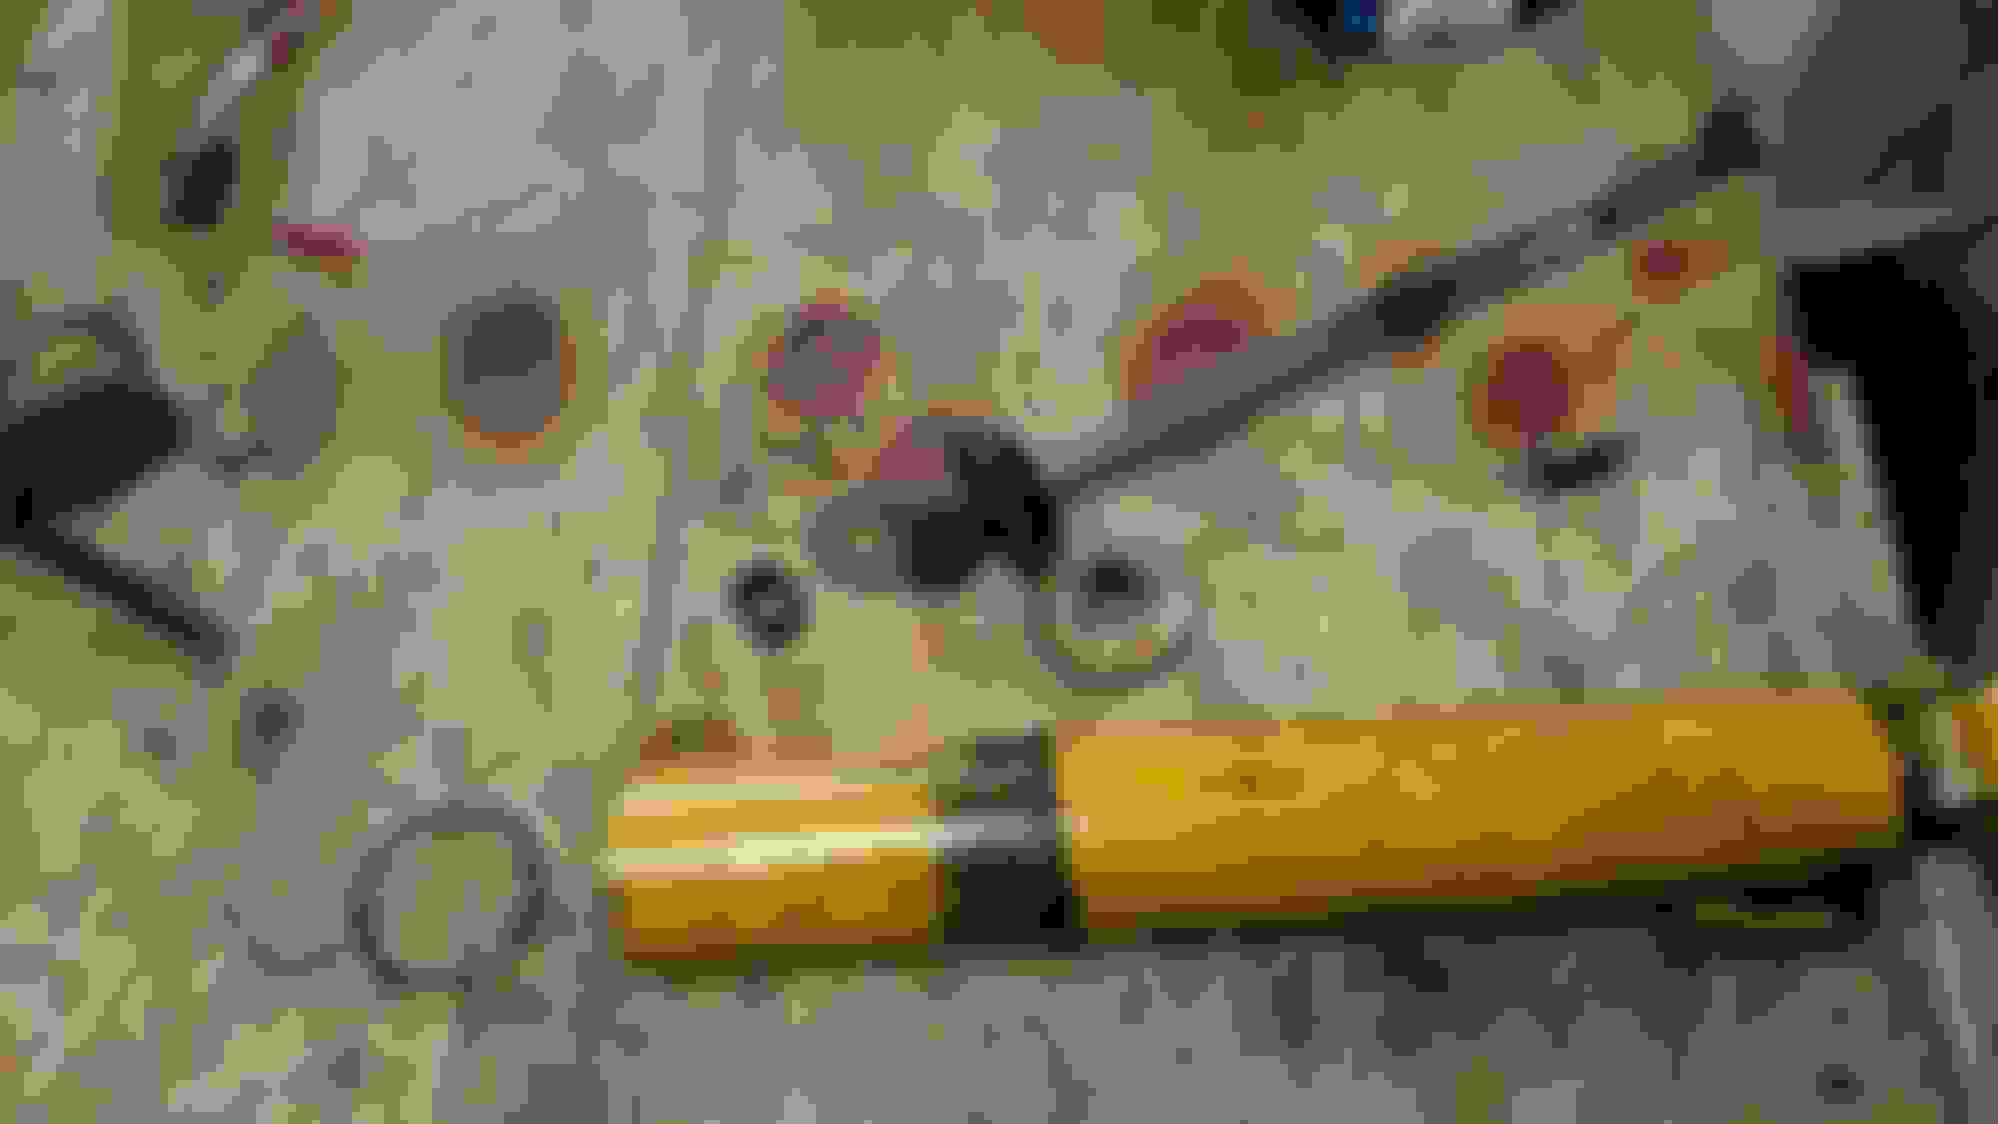
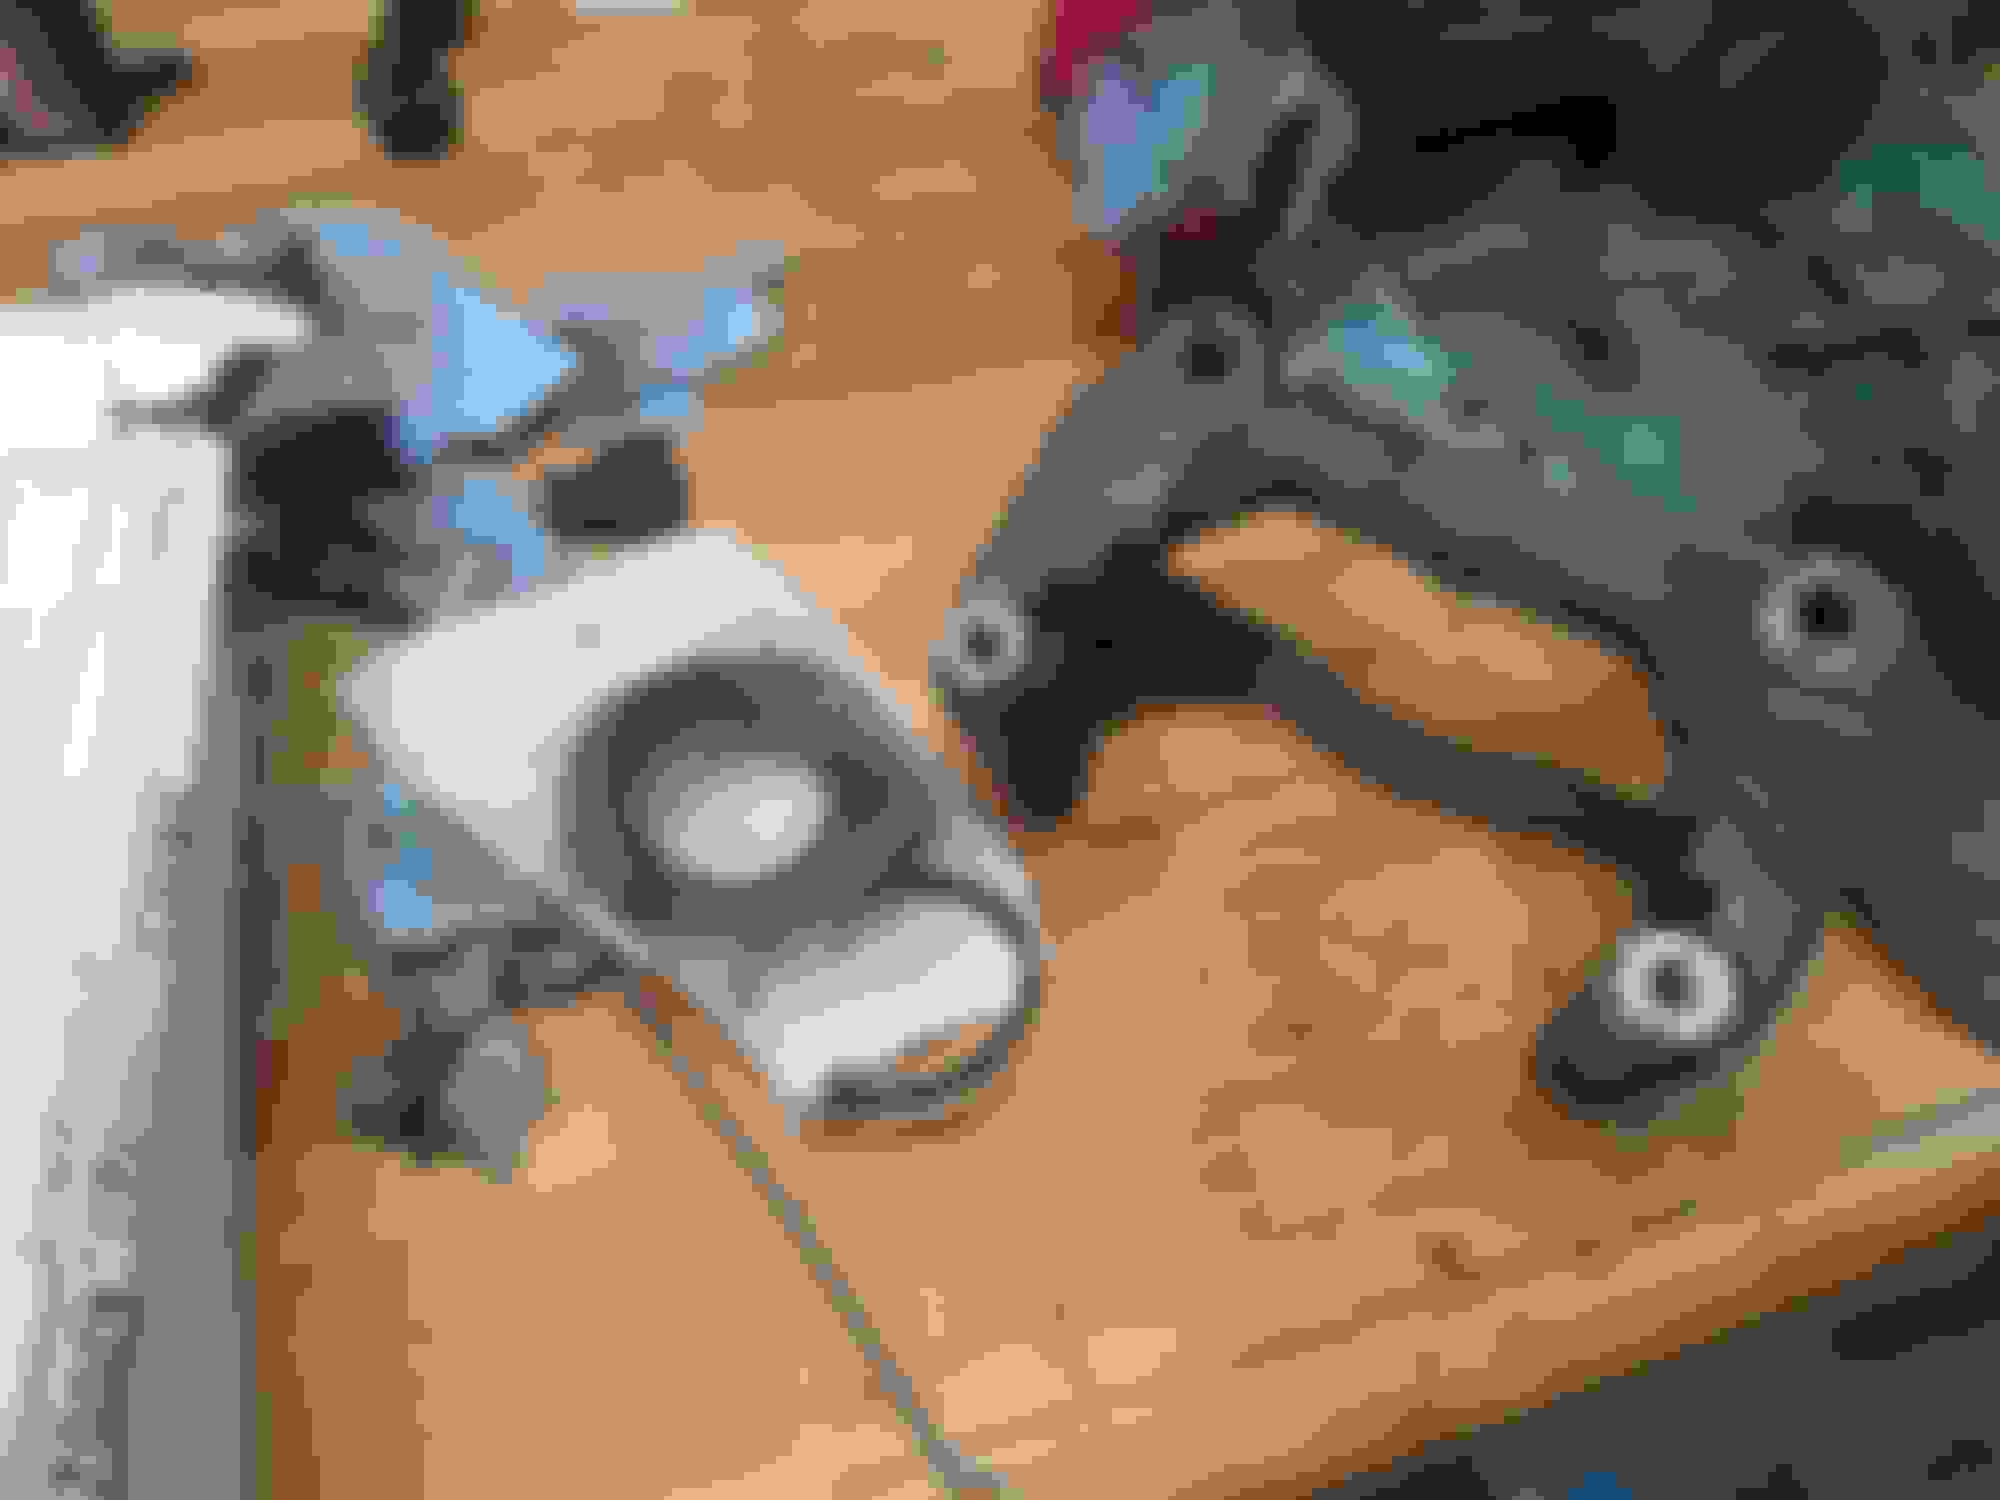
ELBJs went in, and I also rebooted the other ball joints/tie rods with the Energy Suspension replacements. Since it needed an alignment, why not change over to that welded steering rack I had lying around?
Out with this nonsense.
Got the Icehawk alignment and kind of regretted it, as the car understeered. Given that I was changing alignment and steering at the same time, I couldn't pin down why. But with the Rivals and a proper alignment, my next autocross went well. There is someone that was consistently about 2 seconds faster than me on a 30 second course. Those two things put me ahead of him, but one blown corner cooked my left front tire, and from there it only understeered more and more. Disappointment was the mood of the day as he quickly took over the lead and I dropped back down the ranks.
Trying to fix the understeer, I put in just the rear 5X Racing 14mm bar. I noticed it shifted from side to side to the point that it was contacting the subframe, so after eBay failed me and sent me collars that were way too big, my roomie whipped up some that fit just right.
The car felt way better, so I took it to a Test and Tune event with the NWOR SCCA at Toledo Express airport. It was by far the biggest autocross I've ever been on, by the end I was doing 51 seconds and bumping the limiter in 2nd (60 mph) at at least two points on track.
What a difference back to back runs makes - I've never really learned a whole lot at an autocross until this one. It really helped me get a feel for the car, experimenting with what driving style would really help it scootch. Slowing my inputs to match the roll rate of the car seemed to make all the difference. My best time of 51.5 seconds put me two tenths ahead of a 1.6 NA with 700/400 XIDAs, Elise seats to hold you in place, a big honking wing, and was also on 225 Rivals. Pretty proud of that one given that my car has a sway bar as it's only real performance mod!
Also, Test and Tunes may have ruined a regular autocross for me. I can't wait for a real track day.
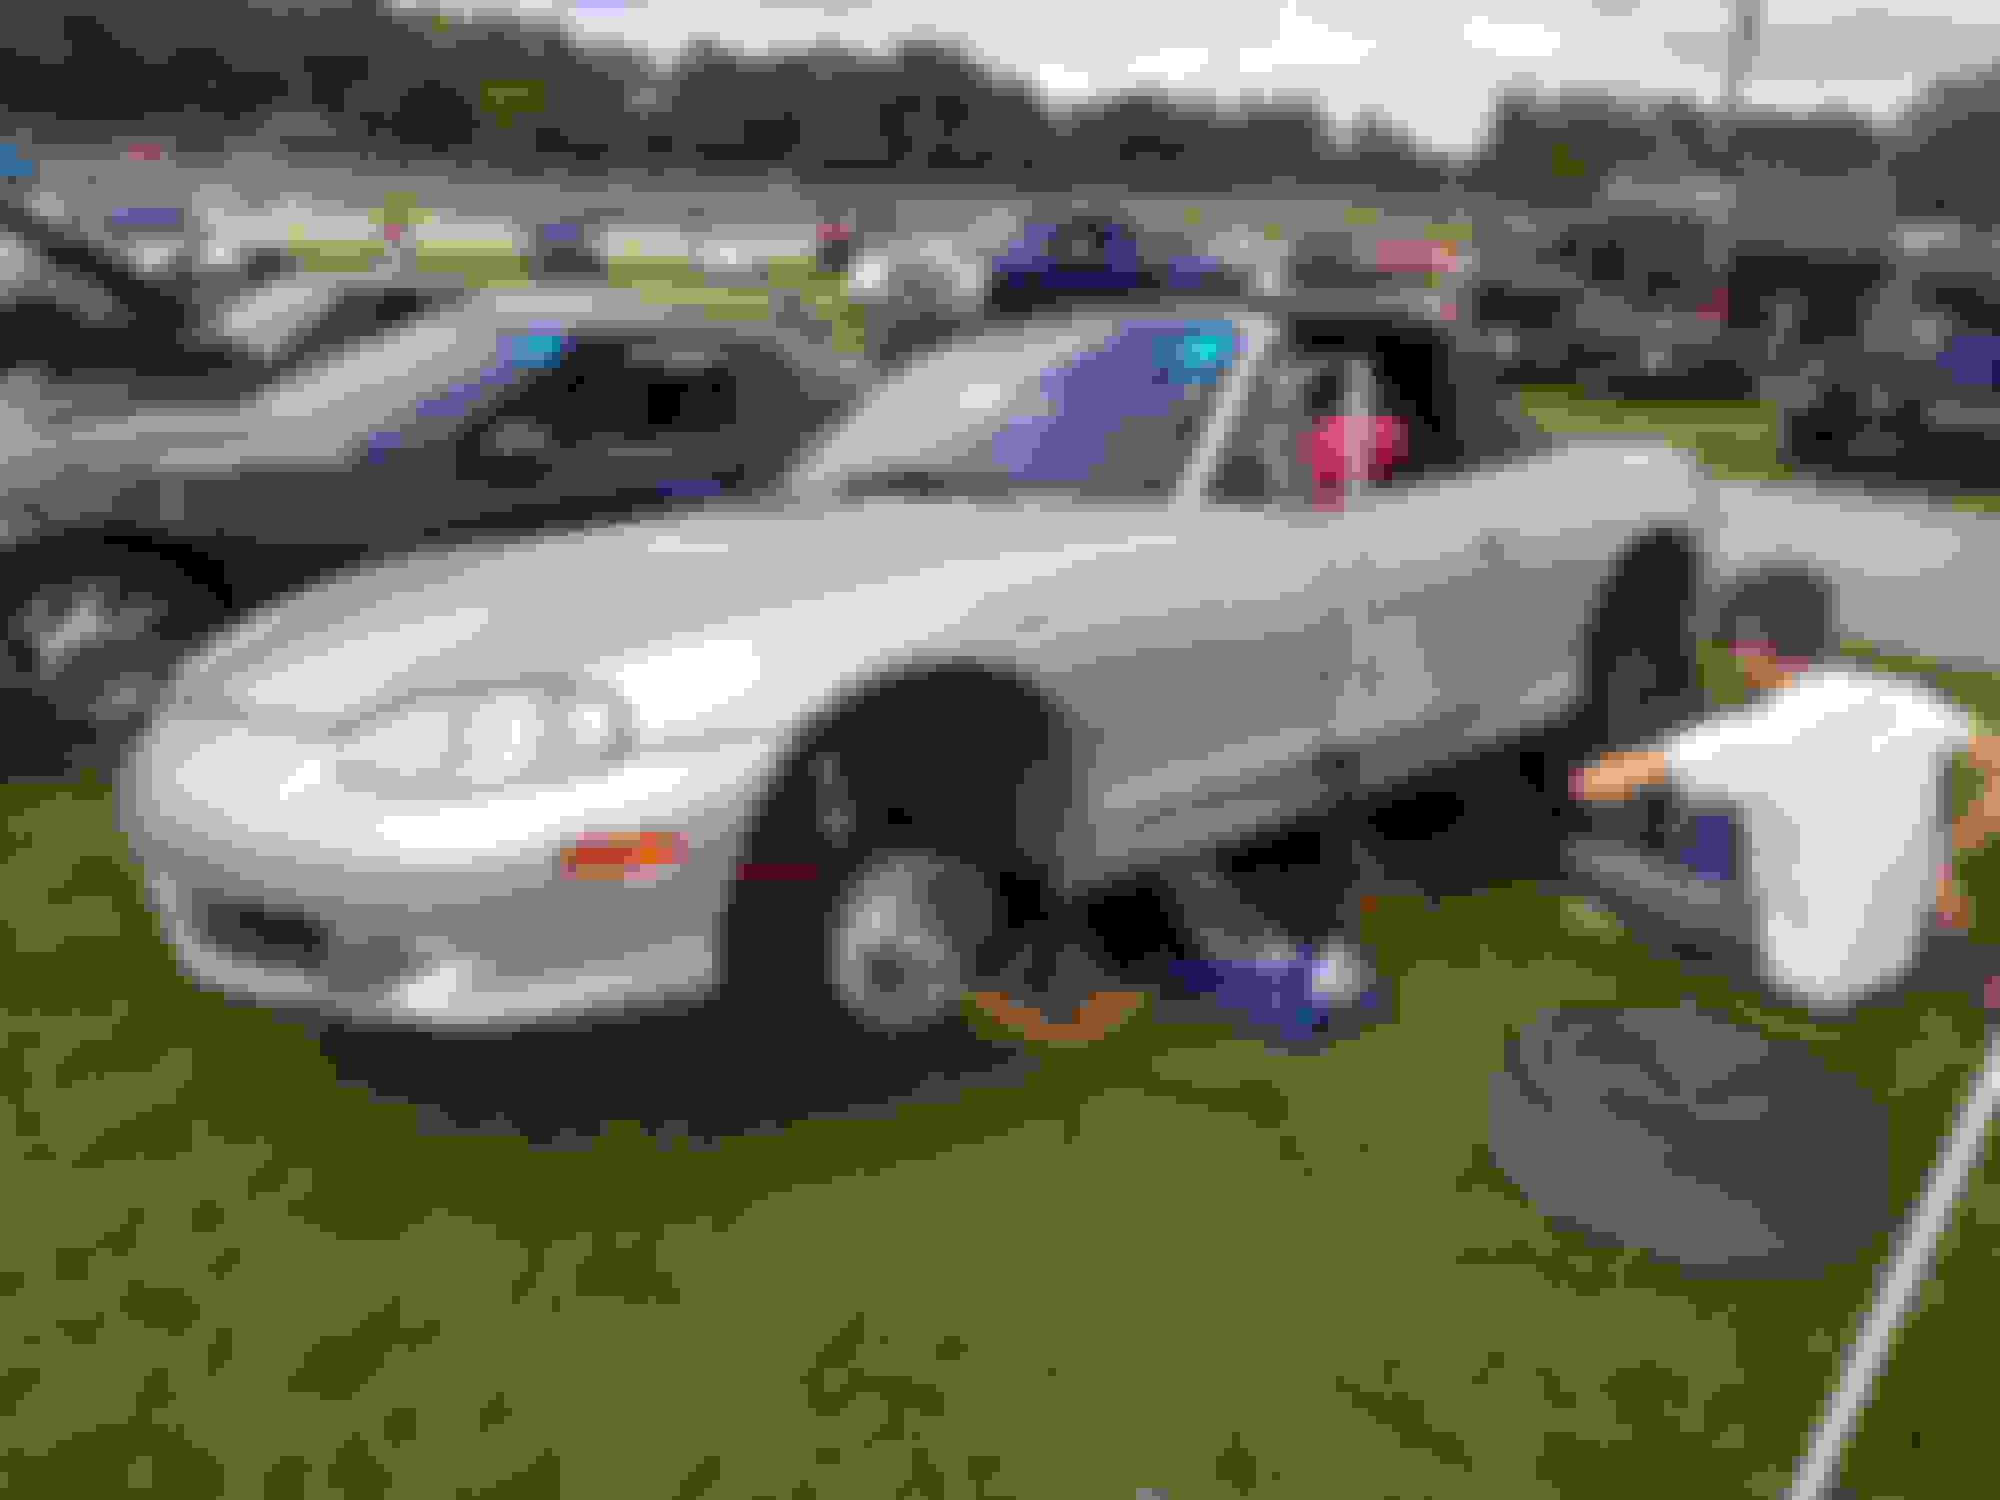
Managed to squeeze in a track day at Waterford Hills this past weekend! Last OTD of the season, glad I got some use out of the rollbar and it wasn't installed for nothing. Since it was going to rain, I set the rear bar to full soft as a precaution and kept my street tires on.
Super cool parking buddy.
Waterford Hills itself, great view from the tower.
It ended up being wet for the first two of my sessions, and dry the last two. I love driving in the rain, it really puts a lot more emphasis on car control IMO. I had one off because my feet got tangled, and rather than try to save it I just took the escape road. Never left the pavement! Next year I'm definitely going to try to be out there a lot more.
I've also done some work making the interior look less ratty and more to suit my end goals. First, a gauge swap to the OPG off my 1990. I missed having a real oil pressure gauge, something that moves with the tach every time you blip the throttle.
So the "alcantara" wrapped dash is faded AF, but it still doesn't reflect in the windshield so I am happy. Also got some Eclipse vents in there, leather parking brake and shifter boots, black floormats and under dash trim, the oil pressure gauge itself, and door straps.
Unfortunately even though it doesn't feel like it, winter is coming. I've got a whole bunch of projects lined up to keep me entertained. Gonna finish off the interior, install gauges and a radio, make the NA HVAC controls fit, and try to remove all traces of tan
Performance wise, I'm definitely going to install some bumpstops and weld up some fender braces. The car is really well balanced but rolls all over the place.
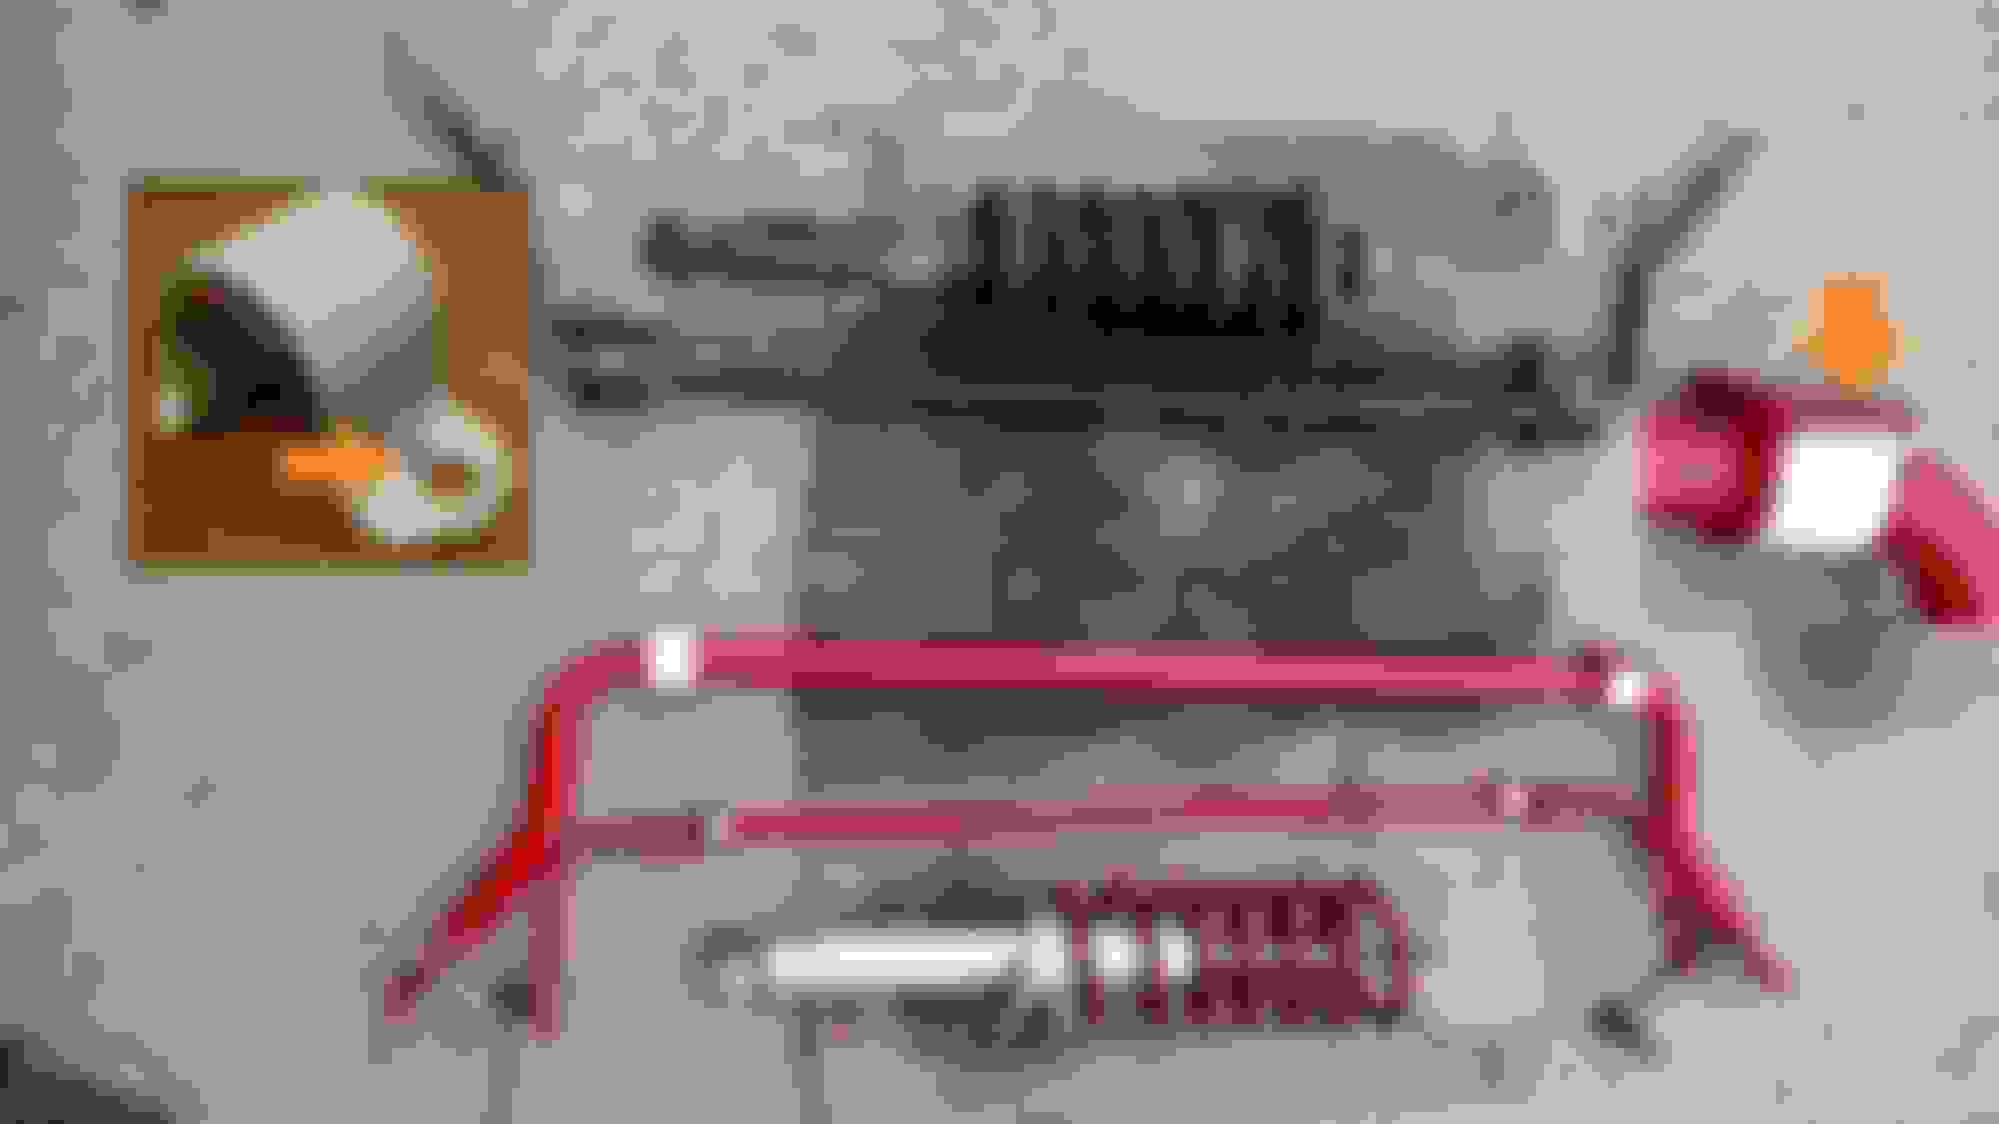
Another stupid good deal on parts. This time, Craigslist fell through, but Facebook Marketplace picked up the slack in my old stomping grounds around Richmond VA. I had my dad trade a crisp $100 bill for these guys.
Mazdaspeed shocks and springs, but the seller described them as off of a '99 he had a brief fling with, but also described them as having never been on his car. Whatever, they look to be in good shape.
With replacements not quite in hand but functionally so, we got some Dutch Courage in our system and took apart the shock that was damaged when I totalled my NA. The finer details are lost in a haze, but it was a bitch to get this thing apart. We got tired of playing nice and cut one of the circlips out, and basically destroyed every single part of it. Oh well, I have another one with a scored shaft we can learn on and be nicer when taking it apart.
Despite the fact that I have 450/300 7" springs and Allstar threaded sleeves sitting on a shelf, the 'Speed shocks are going to stay with their OEM spring friends for now. In the future I'd like to get some FM springs and revalve the Billies, but Michigan roads are terribad so I'm not going to rush into a harsh suspension setup. Fresh bumpstops and bushings should do me just fine. I might do some playing around with extended rear top hats to get some more bump travel since I've got a spare set of NB top hats I can cut up and not feel bad about.
Sort of a slow winter.. Most of the projects I've had in mind are plastic or paint related, and my garage is seperate from the house, unheated. Makes for easy excuses.
On the return trip from Thanskgiving, My alternator started to go south. When the battery light first came on, I stopped to check the belt tension and such in a Kroger in Ohio. A few miles later, all the gauge lights dimmed and it was clear that at that point, the car was only running on 12v from the battery, and I hadn't even made it into Michigan. With 20 miles to go, the HIDs began flickering when the turn signals came on. With 10 miles to go, one headlight went out completely, so I started drafting close to people and turning off the lights completely. By the time I pulled into the house, the other headlight was flickering on its own as well. On a 700 mile trip it just barely got me home, and finally earned its place in my heart.
So, she's gotten a reman'd alternator first thing.
Then I put a set of these in.
50 miles on them so far... shifting is awesome, but oh my god is it loud in the car now. Highway speeds are fine and just like before, but under 2000 RPM it's absolutely ridiculously loud. So many things rattling! I'll be taking the interior apart again when we get a warm day, and putting a ton of soft foam or velcro between things that are rattling. Hopefully it will settle in more, but I'm having a hard time it will become an order of magnitude better.
Found and bought a set of FM springs for sale right here on Miataturbo in RVA... They're kinda sorta really ugly. The tightly coiled section must have smashed dirt through the powdercoating and let water in, cause it was all rusted out. I'm going to repaint them, and if I like the results, consider getting a new set. The free length checked out, but rust pocked springs aren't going to last forever. Still gotta pick up some bumpstops, perhaps new spring seat isolators before they go in.
A while back I decided those Raydyot replica mirrors were bullshit. Can't see nothing, too smol, and too hidden behind a window guide. I tried the NA mirrors to get a bigger manual mirror, but the window guide was still in the way. Time to fix that.
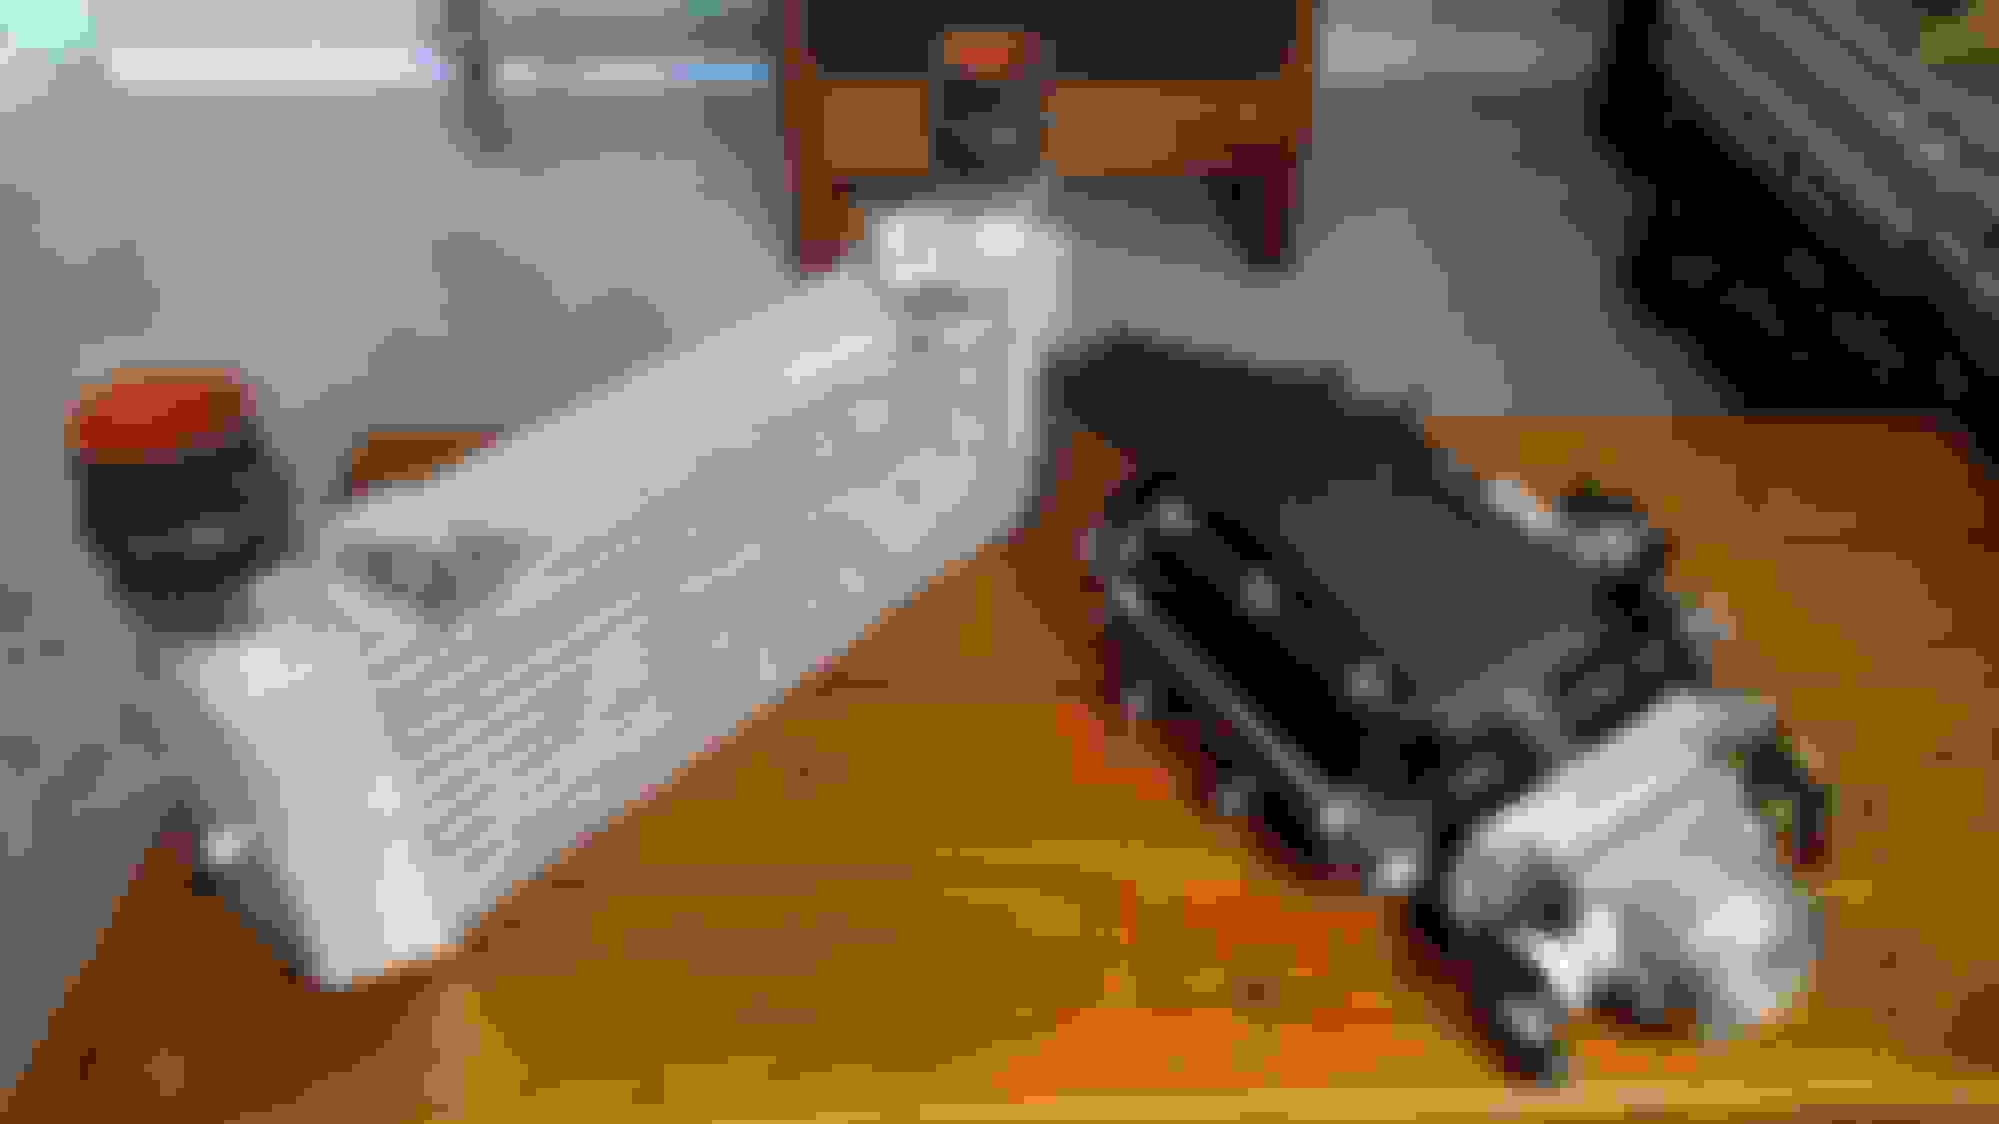
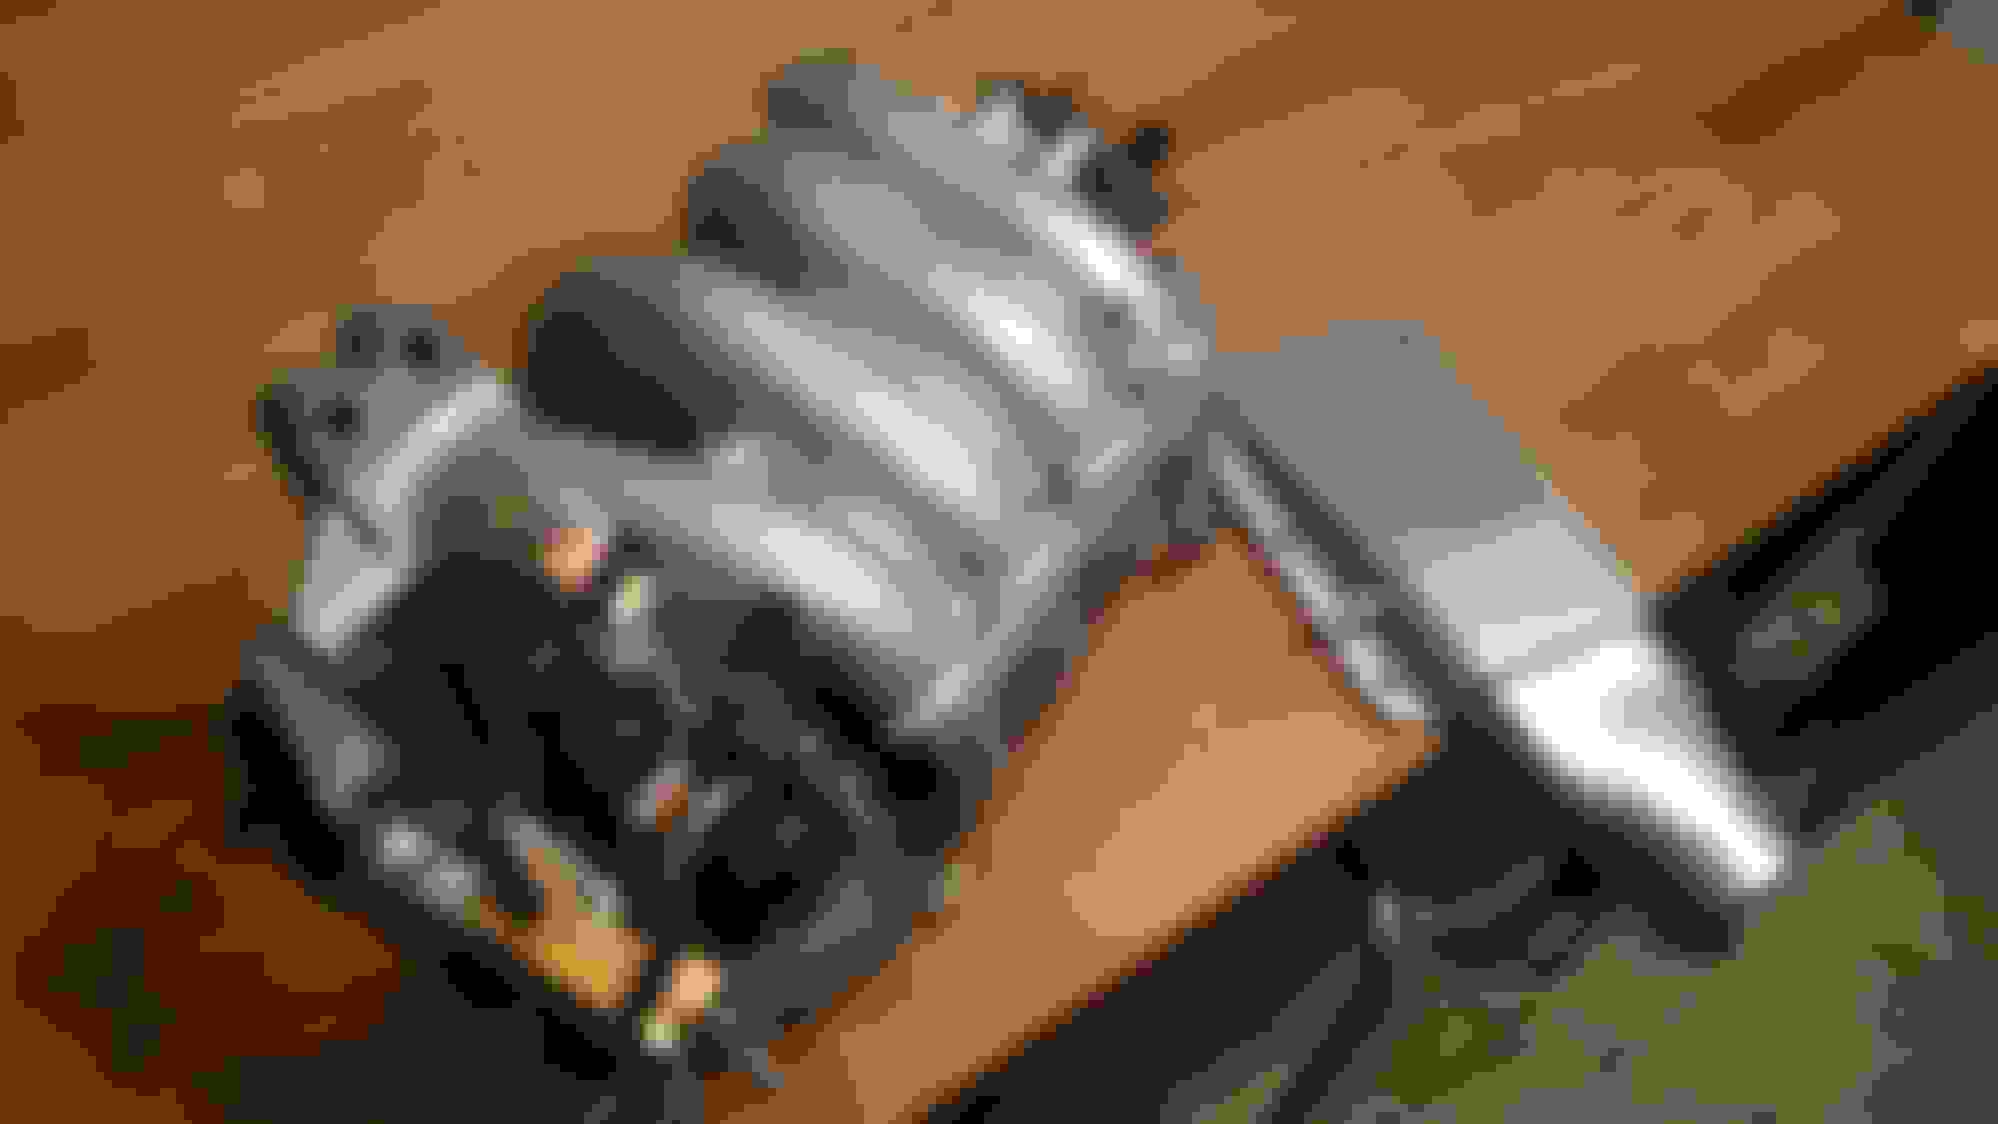
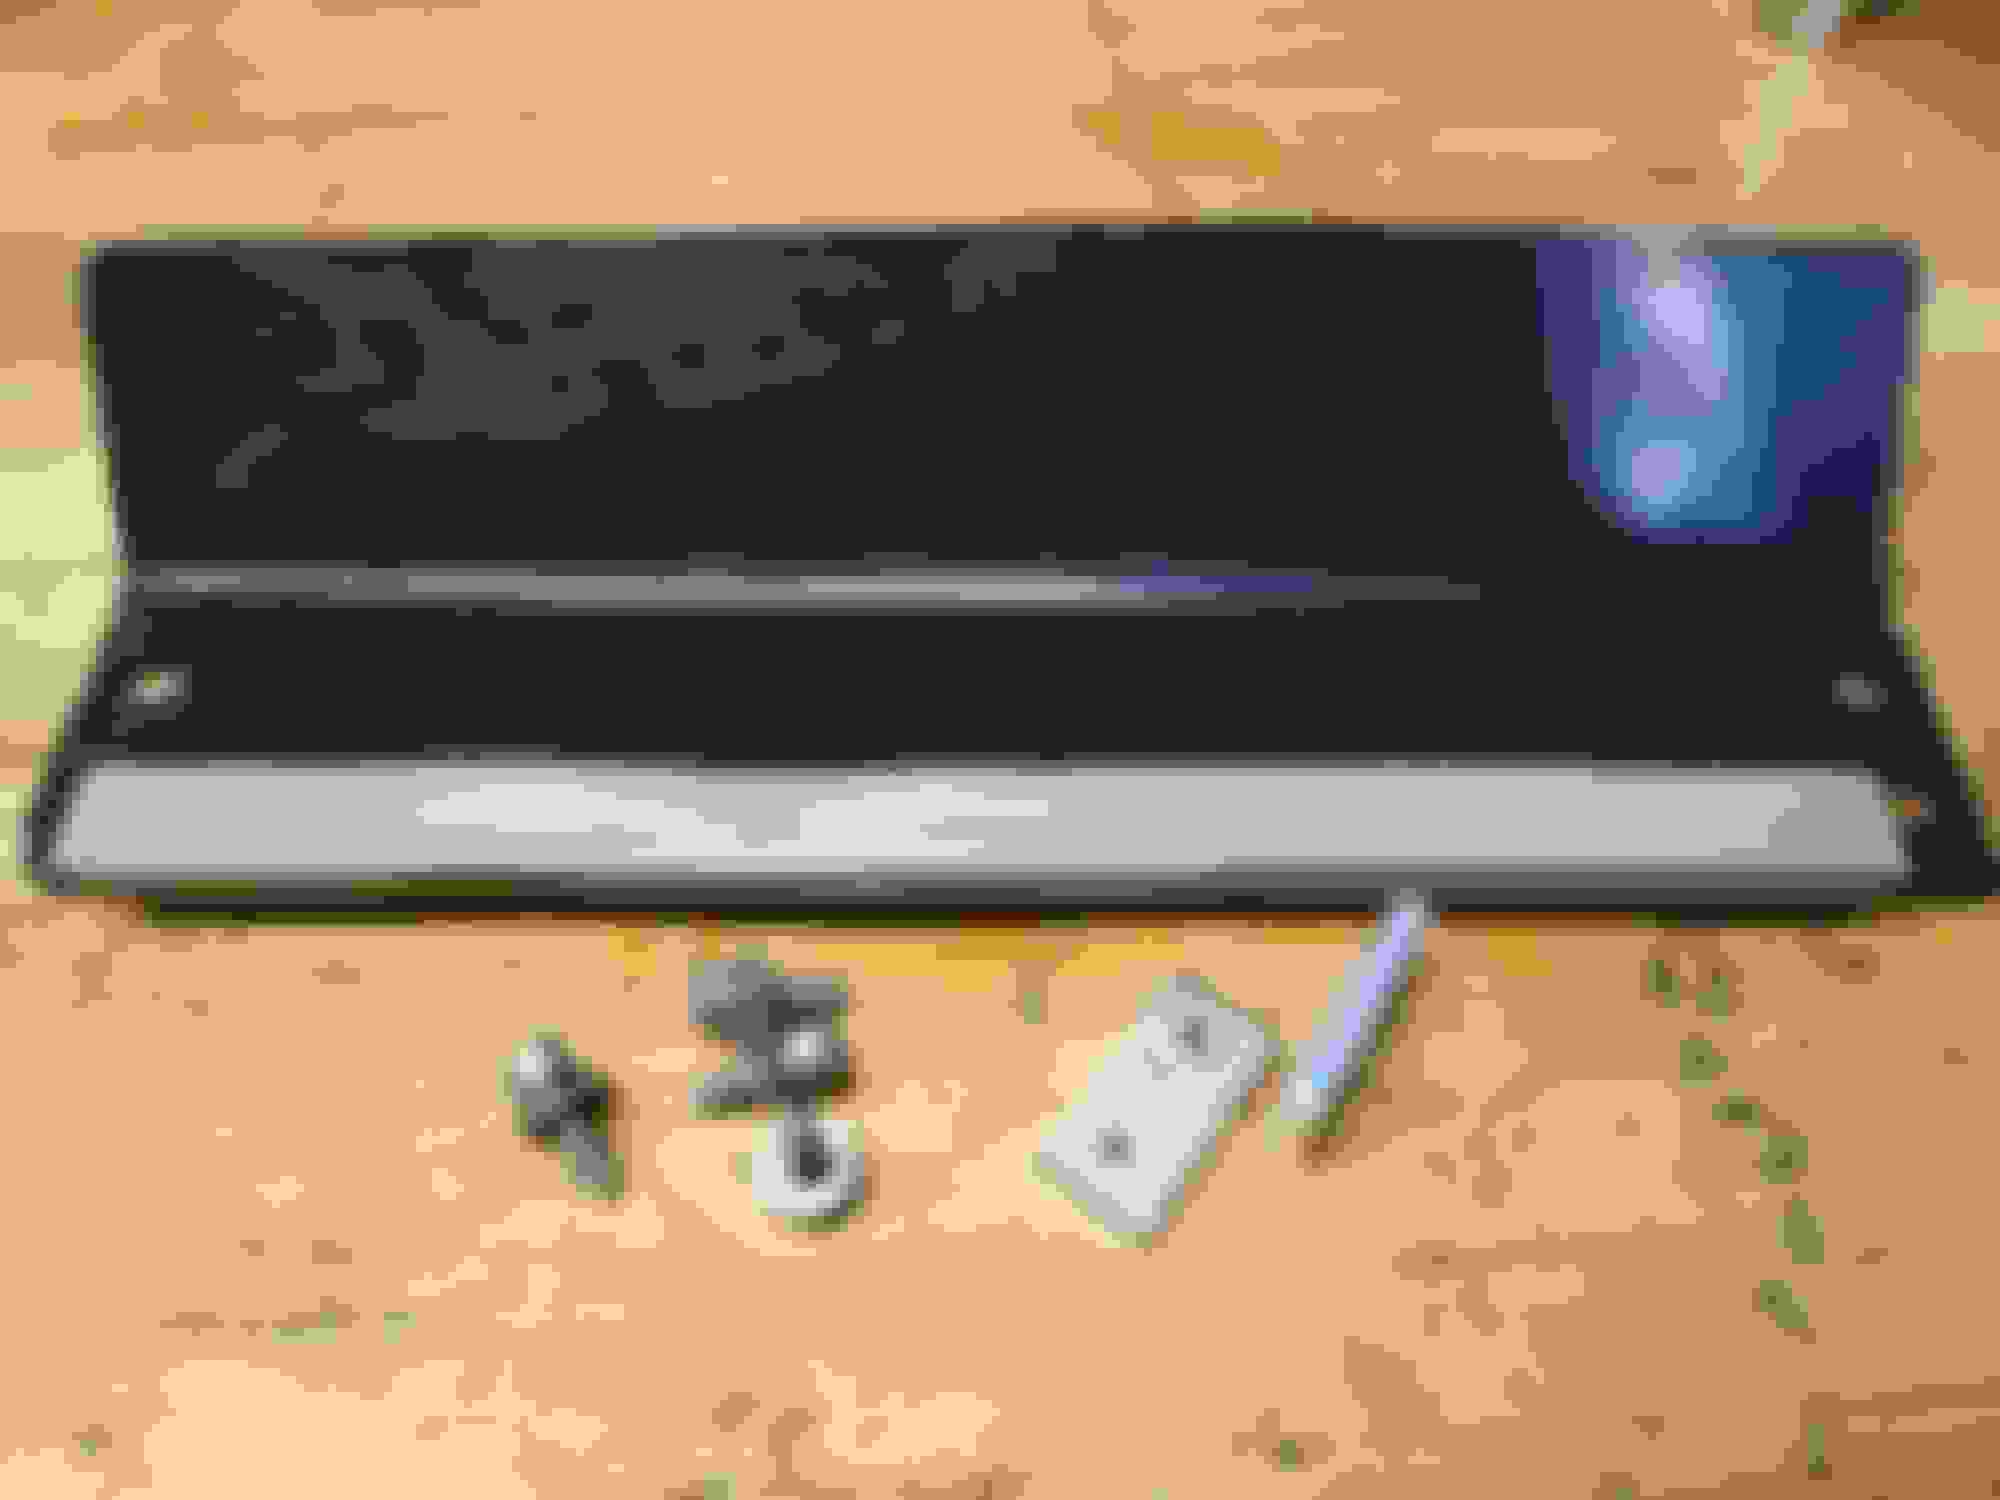
Well, big step. I bought this from Vteckiller2000:
MSLabs MS3 Basic. Not pictured is the VICS intake manifold I got with it.
And I've already fucked up. After plugging it in, I had no issues. So, I figured I'd start by flashing in a base cal from DIYAutoTune, since I have no idea what vteckiller was running. This is where the problems began, and of course I didn't save his tune. At that point, I had an error code for spark/VVT PWM function, so I changed to the 4G63 wheel setting. Then it said VVT was unable to function in this mode.
Naturally, rather than slow down and pay attention, I tried to reflash the firmware. When prompted to install a boot jumper, I realized I had no idea what that was and I was way in over my head. So I exited that menu, and now it seems I have corrupted the firmware, as the fuel pump no longer primes nor does TunerStudio recognize the ECU in the main window. When I open up the firmware update tool, it does recognize that it is connected to a Megasquirt 3.
I recognize that I am a moron. Can someone help me figure out next steps? Seems like I need to open up the case, find the Boot Jumper and jump it, then reflash the firmware. At this point though I am trying to put down the shovel and stop digging the hole deeper.
Firstly, I got the MS3 working all proper. The CAN box it came with hadn't been working, and I managed to get all the settings right so that the ECU and CAN box are on speaking terms. The car has now had a basic road VEAL autotune, I'm trying to work on making it start and idle nice, etc etc. Much reading to do on VVT maps, startup, cold enrichment and the like.
I took the time to remove the dash and clean up some of the janky wiring that had been in place since the dash was first "temporarily installed" last spring. It's pretty packed in there, but no longer a snake pit of disorganization.
Then I accidentally did the worst thing ever according to miataturbo. I bought an MP62 hotside kit from emulsifide, who happens to be local.
Everything seems to be in great shape, but I'm going to take my sweet time on the install. I'm in no rush to nuke my engine due to ignorance. So I'm going to wade in slowly and not dive in the deep end.
What it looked like on emulsifides gorgeous car. 125/65 mm pulleys, TDR intercooler, with the kit itself being a BRP R3 setup.
So how do my end goals differ from his setup? Not a whole lot! I'll be trying to make the most of the boost it's got, rather than making more. Setting up E85 capability will be a primary goal. Eventually, I'd like to address the supercharger plumbing. The corrugated intake hose may not be a restriction, but I'd like to make some hard piping and create an airbox for the filter to feed it cold air. This may eventually include relocating the 5th injector the kit came with to the supercharger inlet for a water injection system. I'm also on the hunt for the revised Moss MP62 outlet that is supposedly worth a few horsies.
The goal is, as always, a reliable do anything car - 1000 mile road trips or track days. Just with more power and more whining.
So, plan of attack.
Cleanup - just make everything pretty, inside and out.
Well... Not as much progress as I would like. I'd really like to dial in the Megasquirt running NA before I put on the supercharger, and apparently I suck at tuning, so this is taking longer than expected. Lots of reading and buying parts, very little driving.
In the meantime, I blew a ton of money on parts and wasted time doing other things.
The supercharger outlet paint had seen better days, so I took it back to base metal for a respray.
Ew.
Ta da! They match! The VICS intake manifold got painted at the same time, after many hours of cleaning, removing casting flash, and soaking in solvent to remove the EGR boogers.
Also gave at home anodizing a try. It turned out pretty great! No more worries about oxidation or polishing for me. This is the mirror mount I had previously made enjoying a nice, relaxing sulfuric acid bath.
On the car, I'm currently trying to figure out why my AFRs seem to change fairly dramatically from day to day. One day it will read rich, then really lean. My ideas on possible causes:
1. I'm thinking my stock IAT sensor may be miscalibrated, as I've found different values for the OE one in different instruction sets. Even though spring has finally arrived, the weather is still inconsistent here in SE Michigan. I'm going to throw the GM one in the airbox and wire it up to eliminate this possibility.
2. Wideband power/ground connections aren't so great. The wideband is talking to the MS3 through an MSLabs CAN box, so signal offset shouldn't be an issue. But I did wire in a connector between the ECU and the Innovate wideband rather than solder them directly together. Given that the CAN box handles direct communication between the wideband and the ECU, is there any reason I can't change the power/ground wire feeds to make sure the wideband is getting a clean, consistent power feed?
Last edited by OptionXIII; 04-25-2018 at 08:12 AM.
Reason: grammar
Honestly thinking about giving up on this boost project. Failures, frustrations, and misdirection at every turn.
~~~~~~~~~~~~~
One of my coils died late last week. I diagnosed it by switching back to the stock ECU, then swapping the coils and following the misfire code. I bought two coils off rockauto, and it started and idled fine once more.
But then I switched back to the MS3, and found the WBO2 gauge and tunerstudio to disagree on the AFR. I spent two hours over two days trying to diagnose issues, verify settings, and check connections. Turns out the serial connector at the CAN case would work if I pushed one way, and fail if I pushed the other. It seems to be working okay now, but who knows how long that will last. I no longer have faith in it to say the least.
Then I finally got to taking it for a drive and noticed some loss of power in the higher rev range. I pulled over to fiddle with and check the fuel map. Two minutes later, it started missing at low engine speeds. Holding the engine at 4k for 10 seconds seemed to make that behavior go away. I want to fiddle/increase my dwell timing but not if it's going to blow up my second set of coils, and of course there is conflicting info out there on VVT coil dwell time. These cheap coils probably aren't as good as the Mazda OEM ones anyway.
I just want to drive the thing. I've been waiting all winter and now track days and autocrosses are passing me by, and every step I take to make the car better set up for megasquirt makes it more difficult to go back to stock. The long hours at work don't leave me much time to troubleshoot. I love wrenching, but fiddling with computer settings and hoping I don't blow up my motor with a wrong 1 or 0 doesn't qualify as wrenching to me. I used to be completely unafraid to drive this car across the country, now I barely trust it to take me 5 miles from home.
I'm back on the wagon. It's been an anxious few weeks as I researched, bought parts, and waited for them to arrive.
I saw a lot of people saying they had issues with cheap coils, and I definitely had the cheapest of the cheap. Well, time to upgrade to something stronger and easily available in the junkyard for OEM replacements. Everyone says D585 LS truck coils are the ones to have, so I got four of those and a harness to hack up from the junkyard. I decided to go with the Hawley coil mounts to keep my strut tower brace intact, and I got their Magnecor wires as well. I got some nice crimpers and the appropriate Sumitumo connectors from Corsa Technic to avoid cutting into the stock wiring harness. And tonight, I did the most janky, awful wiring I have ever seen.
I can't find the original post that I had open last night, but Reverant posted this somewhere. Someone else quoted it for an MSLabs MS2, but it worked just fine on my MS3 as well.
The wire for ignition on cylinders 1 + 4, becomes cylinder 1.
The wire for ignition on cylinders 2 + 3, becomes cylinder 3.
Connect cylinder 4 to the DB-37, pin 6 (Ign C).
Connect cylinder 2 to the DB-37, pin 7 (Ign D).
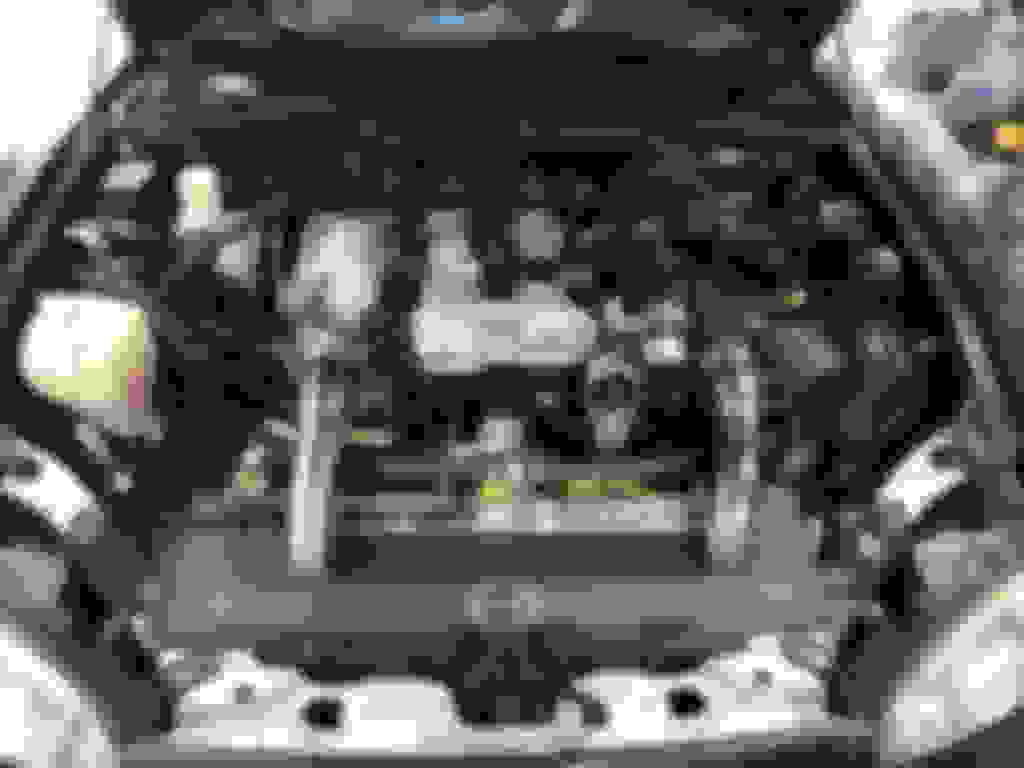
After wiring the coils up as per the LSx coil thread, setting the dwell and ignition settings,and my spare ignition outputs to match the above, it fired up the first time. I taped and tidied the wires into something neater before going out for a rip. She pulls hard right to redline now...Well, as hard as a mostly stock Miata can.
Yes, the engine was running when this was taken. Those wires were making it spark.
The next steps are to make a harness that doesn't resemble a birds nest, and get back to tuning. I've got a bunch of parts that arrived just as the car died, but held off on installing these until I knew my car was going to run decently well on the Megasquirt. So much wasted time!
FM Level 1 clutch
Supermiata Qmax reroute
TSE oil cooler
SS Clutch line, new master and slave cylinders
parts for Deezums style catch can
DW200 fuel pump
That fix took me long enough, but it's good to be back in the game.
Two years later, I guess I'll update as I'm getting back into the forum. I've hated to see the decline of forums as other forms of social media take over, so I should do my part.
I gave up on Megasquirt in August of 2018. Last year I finally got around to selling the supercharger, this year I finally sold the MS3. After I went back to stock, the spark issue was traced to a loose terminal at the coil connector. I tightened that up a bit with a hammer and punch, and it's been a non-issue for the last 13k miles, including many track days. I have no regrets, I really like the get in and go reliability.
In the spring of 2019 I removed the Blackbird mounts and went with Mazdacomp rubber mounts, and that was probably the single greatest improvement I ever made to a car. Despite several track days and 7,000 miles of break in, they never seemed to soften up as promised. That said, based on recent posts in the drop mounts thread, I may be giving them another shot after trimming the bushings a bit. Recently I sat in a car with Innovative Motorsports engine mounts and could not believe they were poly mounts, it was such a night and day difference compared to my experience.
Later that summer, I finally got around to installing the Mazdaspeed Miata take off suspension and RB 1.125"F/5/8"R sway bars last year, and I've been very happy with it for $260 invested in hard parts. It's definitely better than 135k base model suspension missing rear bumpstops! I made some custom sway bar clamps and brace blocks as well, you can see them in this thread.
Fall '19, I watched an S2000 smash into the wall at Waterford. At that point, I decided to start taking safety more seriously.
So as a result, I tried to eliminate any mechanical failure point I could over the winter. I had already addressed the lower ball joints with the Bauer ELBJs, but wanted to freshen up everything else.
Brofab E30 front hubs and MR2 rear hubs.
New Moog upper control arms to get a fresh ball joint.
R-package tie rod ends
A few years back I accidentally vented all the air conditioning refrigerant to atmosphere when trying to clean the engine bay, and had been living without it since. This summer, I realized the main reason I treated this car like a track beater was the lack of AC. This may need to be my daily in the next year or two, so it was time to get that fixed.
I installed a new condenser as the original one had fins that fell off with a harsh glance (and it contains the accumulator as well), replaced some o-rings, vacuumed it out and charged it up. Having AC makes me smile every time I drive!
I did some work to seal up the 36mm Koyo radiator. I've got basically $5 invested and it should be a good improvement for track work. While the Koyo should not be strained by a stock NB2 engine, I am always happy to make detail improvements. I figure this will improve cooling, drag, and reduce front lift. Wins all the way around!
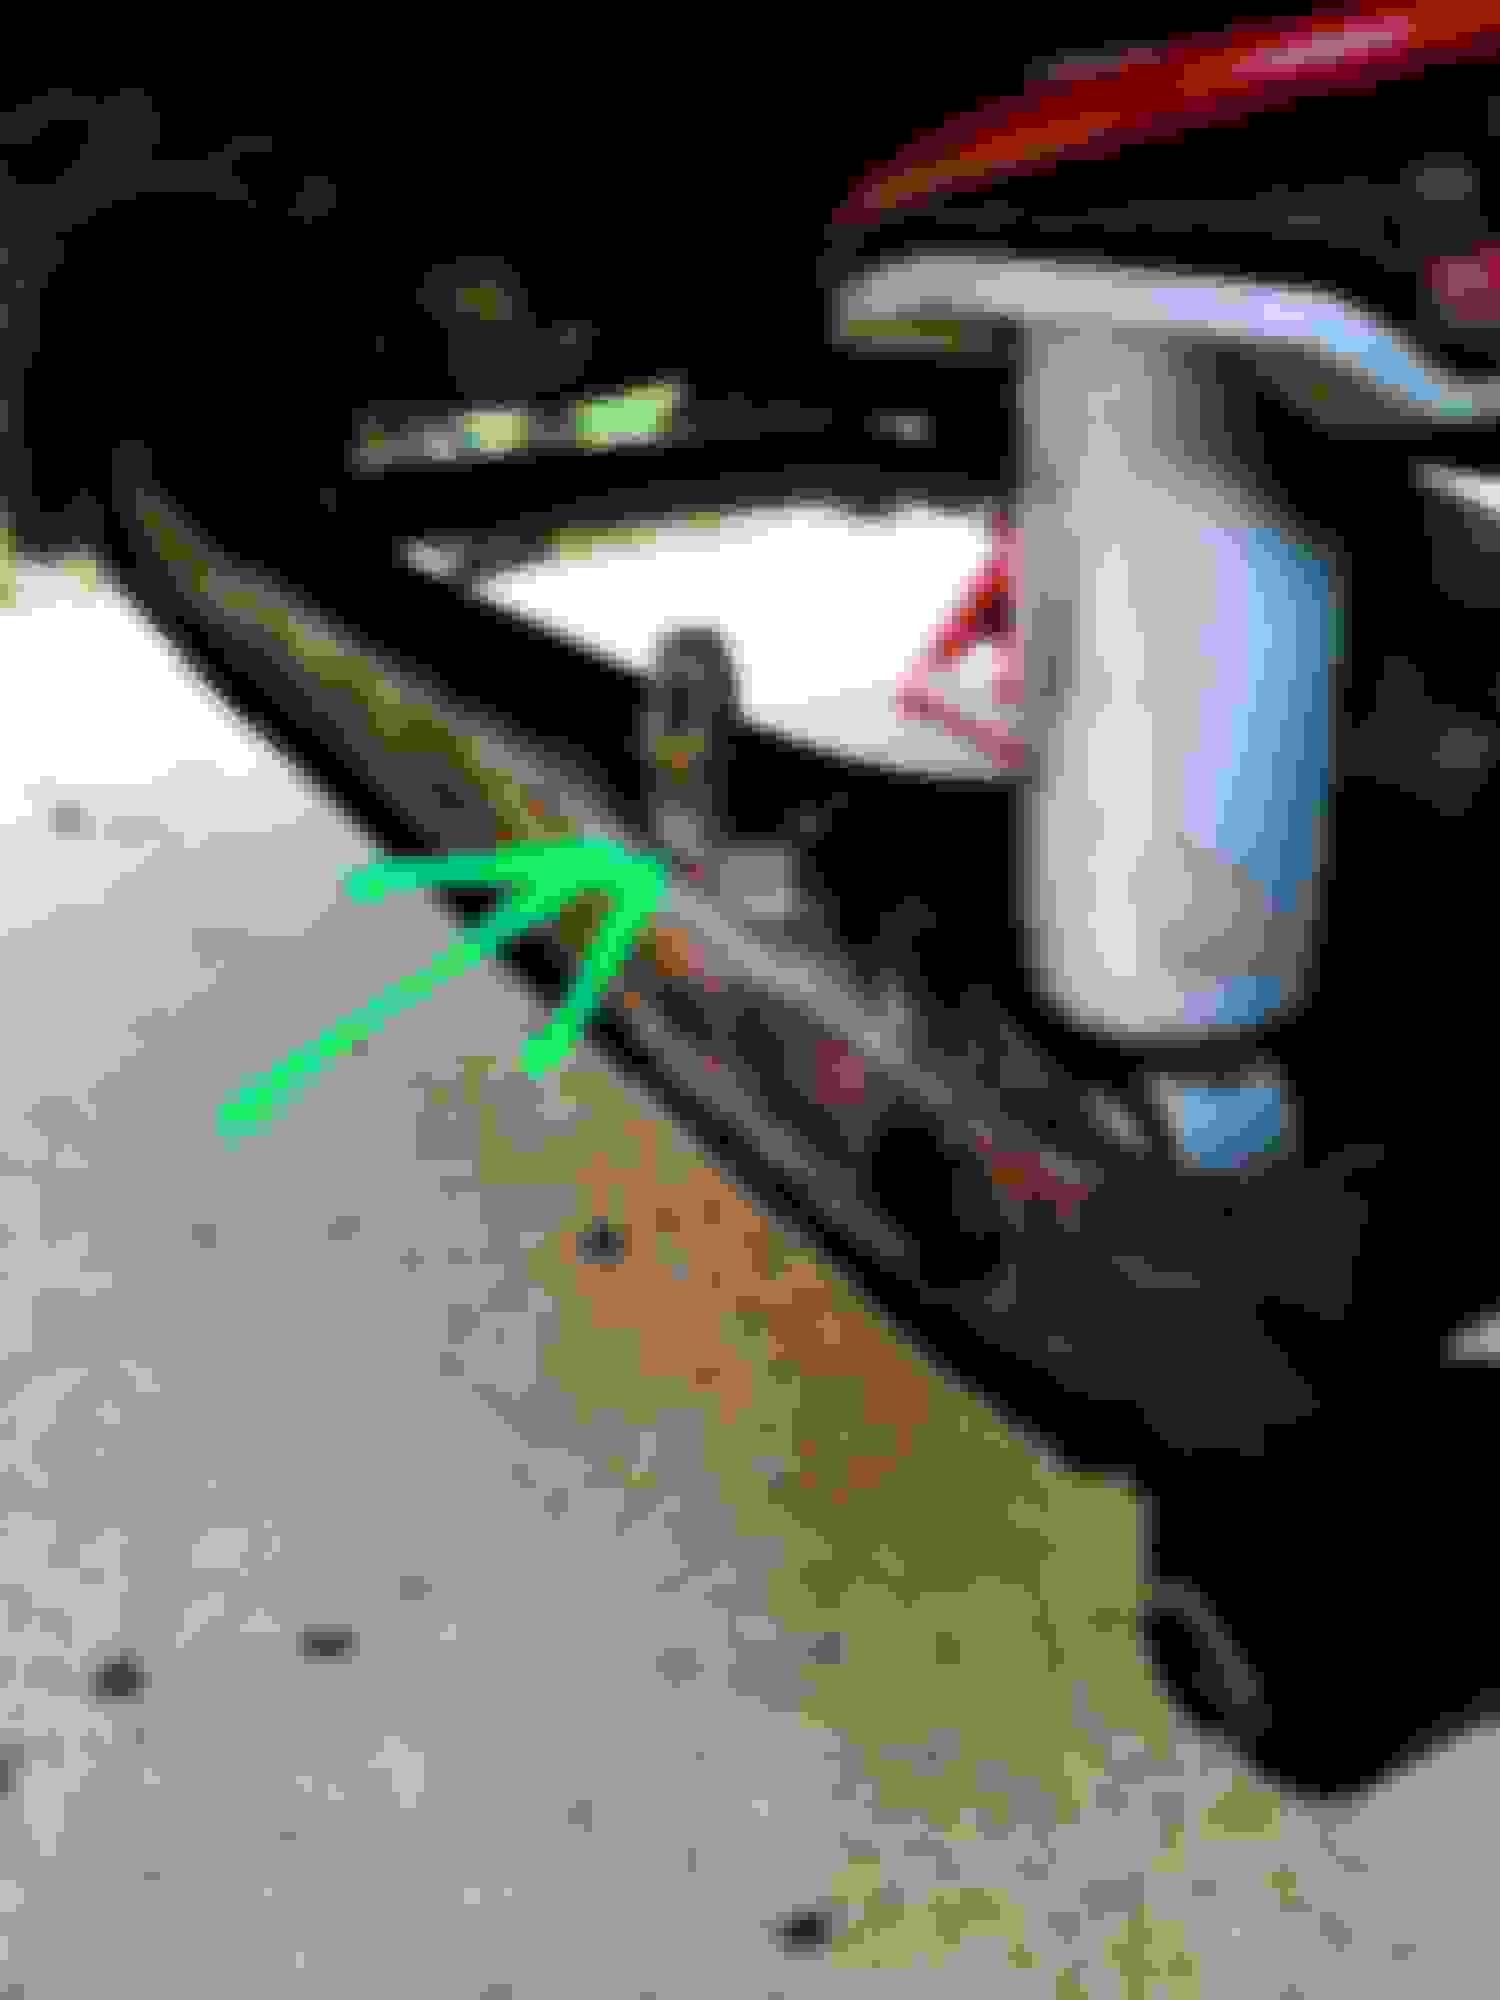
Then after 10k miles and several track days without any issues, this happened.
What you can't see in that picture is that the control arm mount could be flexed by hand.
A combination of running the sway bar links backwards (didn't know better, and it made for a better link angle), a cold weld that never fused (see left side of end link mount), and stiff swaybars meant this was only a matter of time. My belief is that the mount fatigued almost to the point of complete failure, but it torqued the swaybar end link past what it could deal with and broke that off instead.
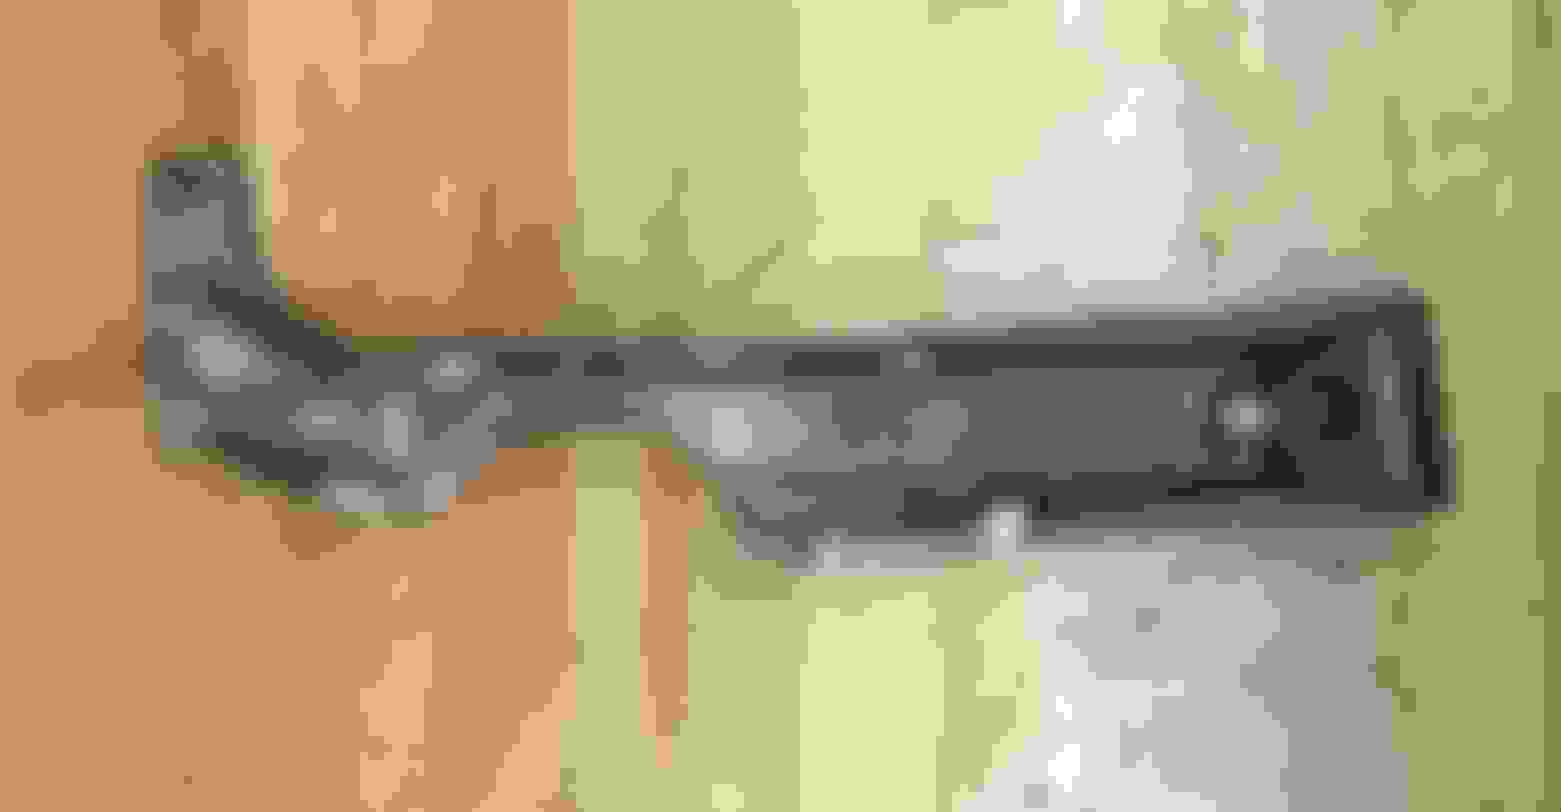
Anyway, I rewelded the driver side back on, and additionally squirted some weld into the lil gooch area on the back of the end link mount on both sides for added strength. Passenger side shown below.
I'd been waiting for the endlinks to fail so I could swap on FM adjustable ones. Thankfully this was just an afternoon repair. And I've got the endlinks on properly towards the front this time.
Another unexpected benefit is that the suspension clunk/rattle I've had since it was stock going over Michigan potholes has finally disappeared. I think that cold/incomplete weld was the source of it, and my car is better off now than it was before the endlink failure!
The car is a riot to drive and pretty well balanced. Maybe a little oversteer prone for some peoples tastes, but I love it.
Here's an example of why I stress daily reliability and durability. I use this car for anything.
I also got out to Grattan for the first time. What an incredible track! Here's a decent lap - not my fastest, but clean and it was easy to find on the GoPro.
Anyway, more coming soon. I've got an oil cooler and race seat install to show off as well.
Great thread, I really enjoyed reading through it. How difficult was it to replace the condenser, vacuum and recharge the ac? Mine works, but I'm really dreading having to touch it if anything goes wrong.
Recharging the AC was pretty straightforward. I just replaced every o-ring I could access, poured an ounce of oil into the condenser before installing it, and pulled a vacuum on it for an hour. By the time I finished up it was getting dark, so I left it overnight and it held a perfect vacuum until morning. The only anxiety came from recharging it, which I did by weight rather than pressure. The gauge readings I got as a result were higher than the service manual recommendations, so I was a bit concerned at first. Other than some disconcerting noises from low belt tension and an AC clutch that hadn't been engaged in years, it's been working great ever since. Drove it to North Carolina and back and was happy to still get 29.5 MPG on the way there going 80+ mph with the AC on the whole time
The oil cooler was installed late in winter, just as our new covid reality was setting in. I purchased a Trackspeed kit when I still had supercharged dreams, but had never gotten around to installing it. I spent way too long trying to decide where to put it before deciding to just jam it in the heat exchanger box, behind the bumper. It made for easy mounting, protection from debris, and will be easy to duct/block based on ambient temps. If I could do it again, I'd probably try to mount the cooler horizontally on the floor of the "mouth" and let it vent out behind the radiator. My oil pressure takes a little bit longer to jump up on cold starts, I assume due to drainback.
The mount location I decided on. The cooler mounts share bolts with the hood latch.
I had to clearance the intake manifold brace to keep running the longer Millenia filters.
Another view.
View of the sandwich plate.
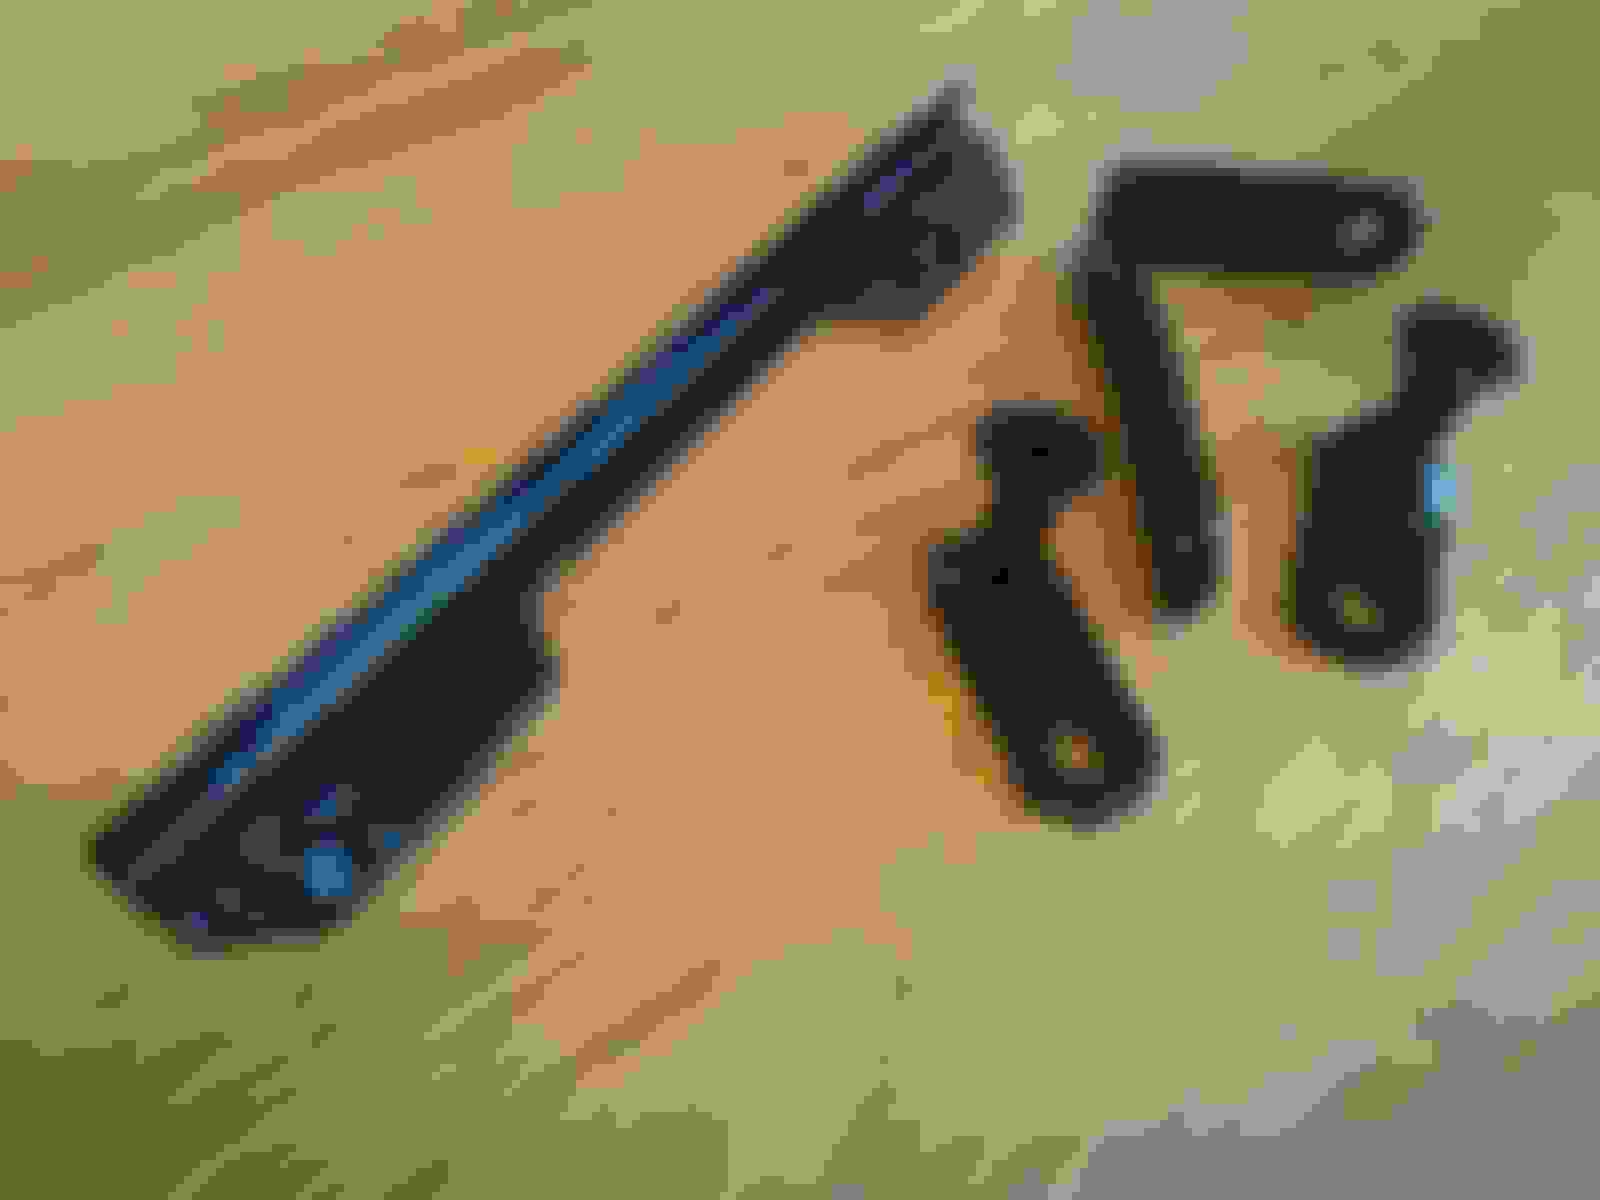
These are the brackets I made to hold the cooler itself in the radiator mouth. They work well, but definitely could be lighter.
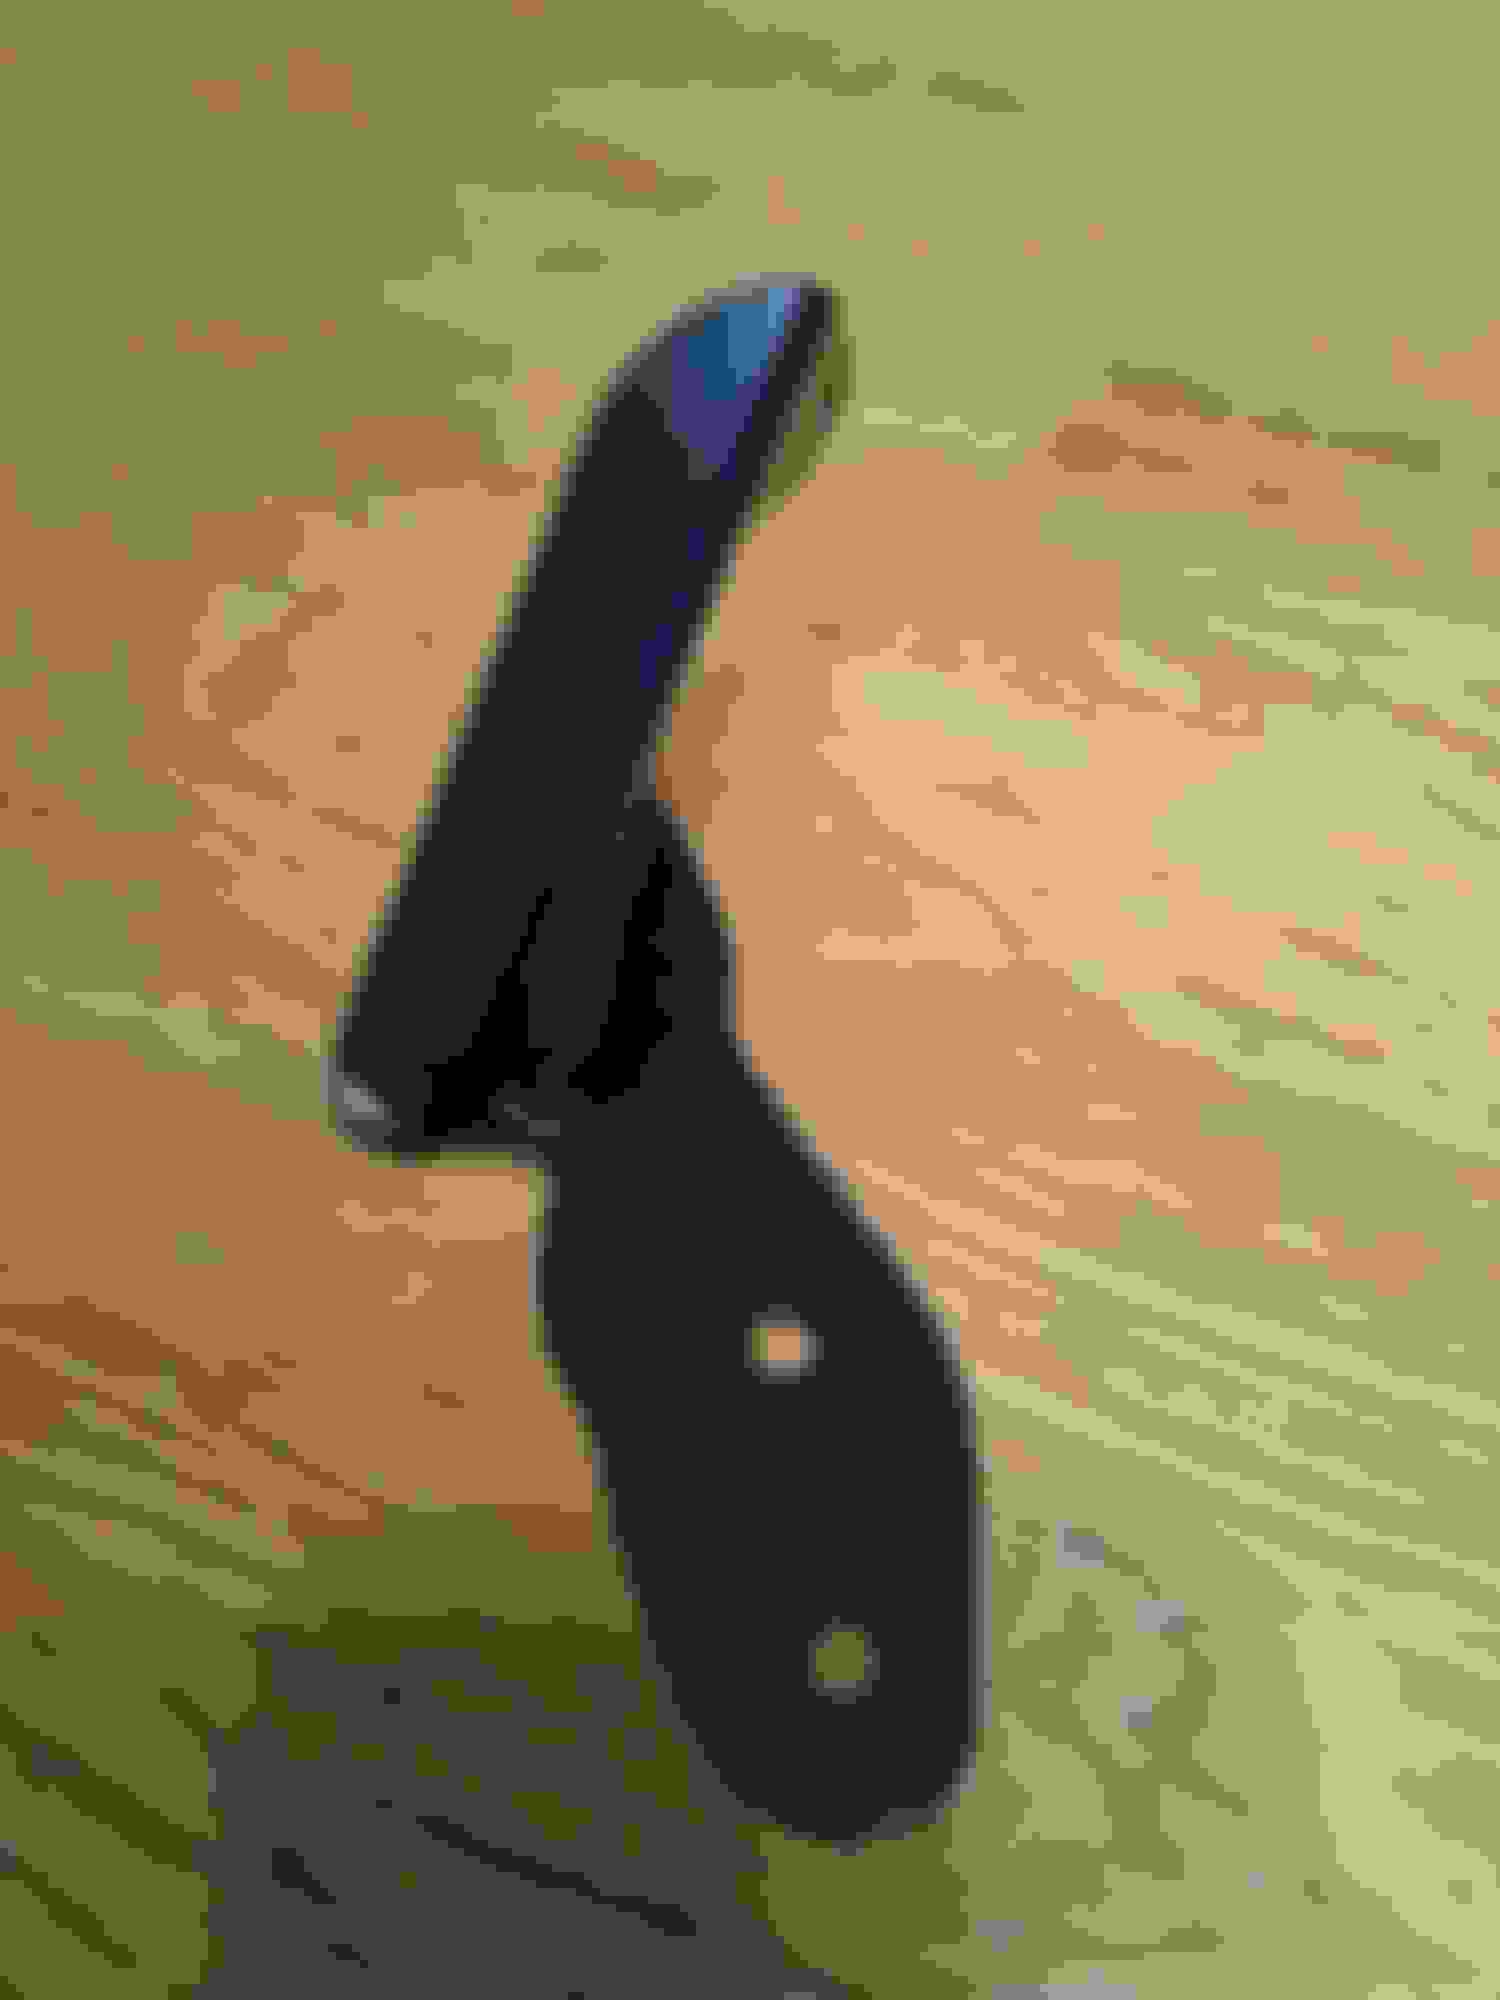
To support the lines, I made this dohickey.
Note the notch, it locates the hose clamp that holds the lines in place
It shares one bolt with the AC lines, the other goes into a nutsert. I used wiring loom to provide some additional abrasion protection to the nylon braided lines.
I don't have an oil temperature gauge, but it's so commonly recommended for track work that I don't see a downside. I'll be working on getting my interior into good shape, and will try to add a gauge in the future once I've found a good mounting solution.
Yesterday I finally got the latest big project wrapped up, following through on what I had said about being more safety focused. After 3 years of driving like an idiot at HPDEs, I've finally got a race seat in this car. In my previous car, I had a Momo Start side mount seat and Garagestar seat rails holding it in, for all of a few weeks before I crashed it. Not wanting to go down that road again, I intended to get a Sparco Sprint and be able to swap back and forth between street and race seats. But while I was in Charlotte NC, I swung by a race shop that had a QRT-R in stock and left with a lighter wallet.
While I knew I could make it fit based on some other threads here, I also knew it would be a lot more work to install. Based on the comfort of the seat, it's worth it. I'll do some work on the foam to make it as comfortable as my last seat was.
As for the seat rails, I tried to get my hands on some Jerfspeed seat rails which didn't go so well. Buying small batch parts from private individuals or boutique stores feels less like exchanging currency for goods, and more like begging other people for attention and their pity. Some people make you feel like you're wasting their time by trying to buy their parts. If you're not interested in responding to people trying to buy your stuff... just stop telling people you're still selling it!
I ended up with Bell Engineering rails. I can't say I'm thrilled with the quality, but they're half the price of the competition at $108 shipped to my door and still mount on the floor, behind the rear seat humps.
On to the work!
I used a spot weld drill to remove the rear seat humps. As you can tell, my handiwork wasn't perfect.
No matter. All welded back up. Note there are some missing bolts for the FM frame rails... foreshadowing!
Look at the slot they cut into the rail at every bend point. Maybe it makes for easier manufacturing and a cheaper product, but it would certainly seem to sap some strength out of them.
Most of my work was done to the front of the seat. I also "shaved" the logo. Cutting your logo into structural parts is a huge pet peeve of mine.
I really do not understand Miata seat rail design. Both of the ones I have handled have had tunnel side adjustment slots that border on useless. Even with heavy tunnel bashing, most of the adjustment slot can't be used as the seat rail will be a good 1/2" through the tunnel. So I moved the adjustment slot inboard and cut off the corner that was bumping into the tunnel and welded on a much more gradual slop to vertical. Also note the already peeling powdercoat at the rear adjustment slots.
While I expect to take some flak for the cut and welded seat rails, I don't think it's any less strong than the slotted bends as delivered.
Making some backing plates, contoured to fit the underbody. These are for the 5/6pt harness sub belts.
Maybe not ideal by the book, but I don't have any fear of it pulling through the frame rail. Since the best spot for a 5 point was in the middle of this rail, I decided to make a bracket topside out of 1/4" hot rolled angle iron.
Here's one of my favorite tricks for painting small parts. Three coats of Rustoleum satin black, and then bake the parts in the oven for 2-3 hours starting at 200F, rising to 350F as the paint smell dissipates. The end result is quite tough, especially compared to how soft the Rustoleum is uncured.
Completed backing plates. One is missing from the picture.
Floor holes touched up with paint. I eventually covered this up with more sound deadening, if only to protect the still soft paint from scuffing and fusing to the carpet.
The original 5 point I had intended to use. I purchased never installed, out of date, for $20 from a LeMons team.
The problem with it was that the 3" lap belt adjusters would not go through the seat slots, and the fixed length lap belts were juuuuuuuuust shy of fitting. Basically, when I got the belt tight, it was tight to the seat body where the adjuster was hung up. The belt length from the seat to the chassis looked tight, but it wasn't under tension.
The new hotness - Crow Quick Change endurance, 2" lap, 2/3" dogbone shoulder belts, made to order.
I also picked up a Schroth HANS / FHR and an HJC AR10 helmet. No more fear of going out like Dale!
What I didn't take pictures of is that all the backing plates are secured to the car with smaller set screws. If you remove the seat or the harness bolts, the backing plates stay in place. I can remove and install the seat in short order - not as fast as the stocker obviously, but I had the seat out in 5 minutes when I swapped the belts. Install doesn't take much longer.
Long term, I'll modify the stock seat rails to bolt into the same location so switching back and forth will still be possible. And I'm working on a way to keep both the 3 point and 6 point belts in place at the same time. Hopefully, swapping seats will be a 20 minute affair that won't involve wearing out the threads on the stock seatbelt receiver.
I've rolled almost 2k miles on the odometer since the last update, which in my mind is a good bit for less than a month in your weekend car. Unfortunately, not all of it was trouble free. Soon after mounting the seat, I took it on a 1200 mile round trip.
Race seats can be pretty comfy if you do some work. This is the second seat I have put the same pieces of Confor foam from Aircraft Spruce in, and both are 8+ hour drive comfortable. Note the massive 5/6 point slot hole as a sign that this foam has been around for a few experiments! Anyway, I definitely recommend it. I'll get the blue bottom cushion sewn into a cover so that it's not so... distinctive.
On the trip, I noticed the brake pedal not only had a vibration/pulsation that I had been trying to get rid of, but now the pedal travel was longer. In fact, I reached the bottom of the pedal before lockup. When I got back home, I set about to rebuilding the front calipers because it costs all of $8.
The situation escalated quickly...
I had two unrelated issues - an interference fit on the drivers side that introduced aluminum shavings into the bearing, and a bearing that developed play on the passenger side. Disappointing for sure on a kit that was supposed to make things bulletproof. BronsonM came to the rescue. Less than two hours after I had sent him a request to sell me replacement wheel bearings in preparation for my next track day, he had already created a shipping label for a complete fix - two new WJB poverty spec bearings, 1mm thinner washers to prevent any more interference/shavings, a stud remover/installer tool, and a delrin plug so that I could machine my own bearings. For free.
I cannot overstate how nice it is to get this level of customer service. Like I said last post, lots of small time vendors are difficult to communicate with. Not Bronson. I wholeheartedly recommend his products, even with the issues I had. Not like he can control QC on the cheap bearings that I chose, and the washers - we'll call that teething issues. Buy his stuff, you won't regret it.
Make sure to run a tap through any threaded holes when you buy cheap Chinese BMW parts. I got lots of shavings out of each one.
At this point, I figured I had the long pedal travel fixed, but went ahead with the caliper rebuild anyway.
Here's my new favorite way to keep fluid from draining out of the lines with a caliper off - just depress the pedal enough to cover the fill port in the master cylinder. A spare vise works fine.
Bores looked good. Just a tiny bit of wear on the bore. No lip or any sort of roughness. I polished it a bit with valve lapping compound just to be sure.
I cleaned out the thick old grease on the brackets, regreased, and replaced the slider boots.
While fiddling about to prep, I decided to clean up the engine bay. Good call...
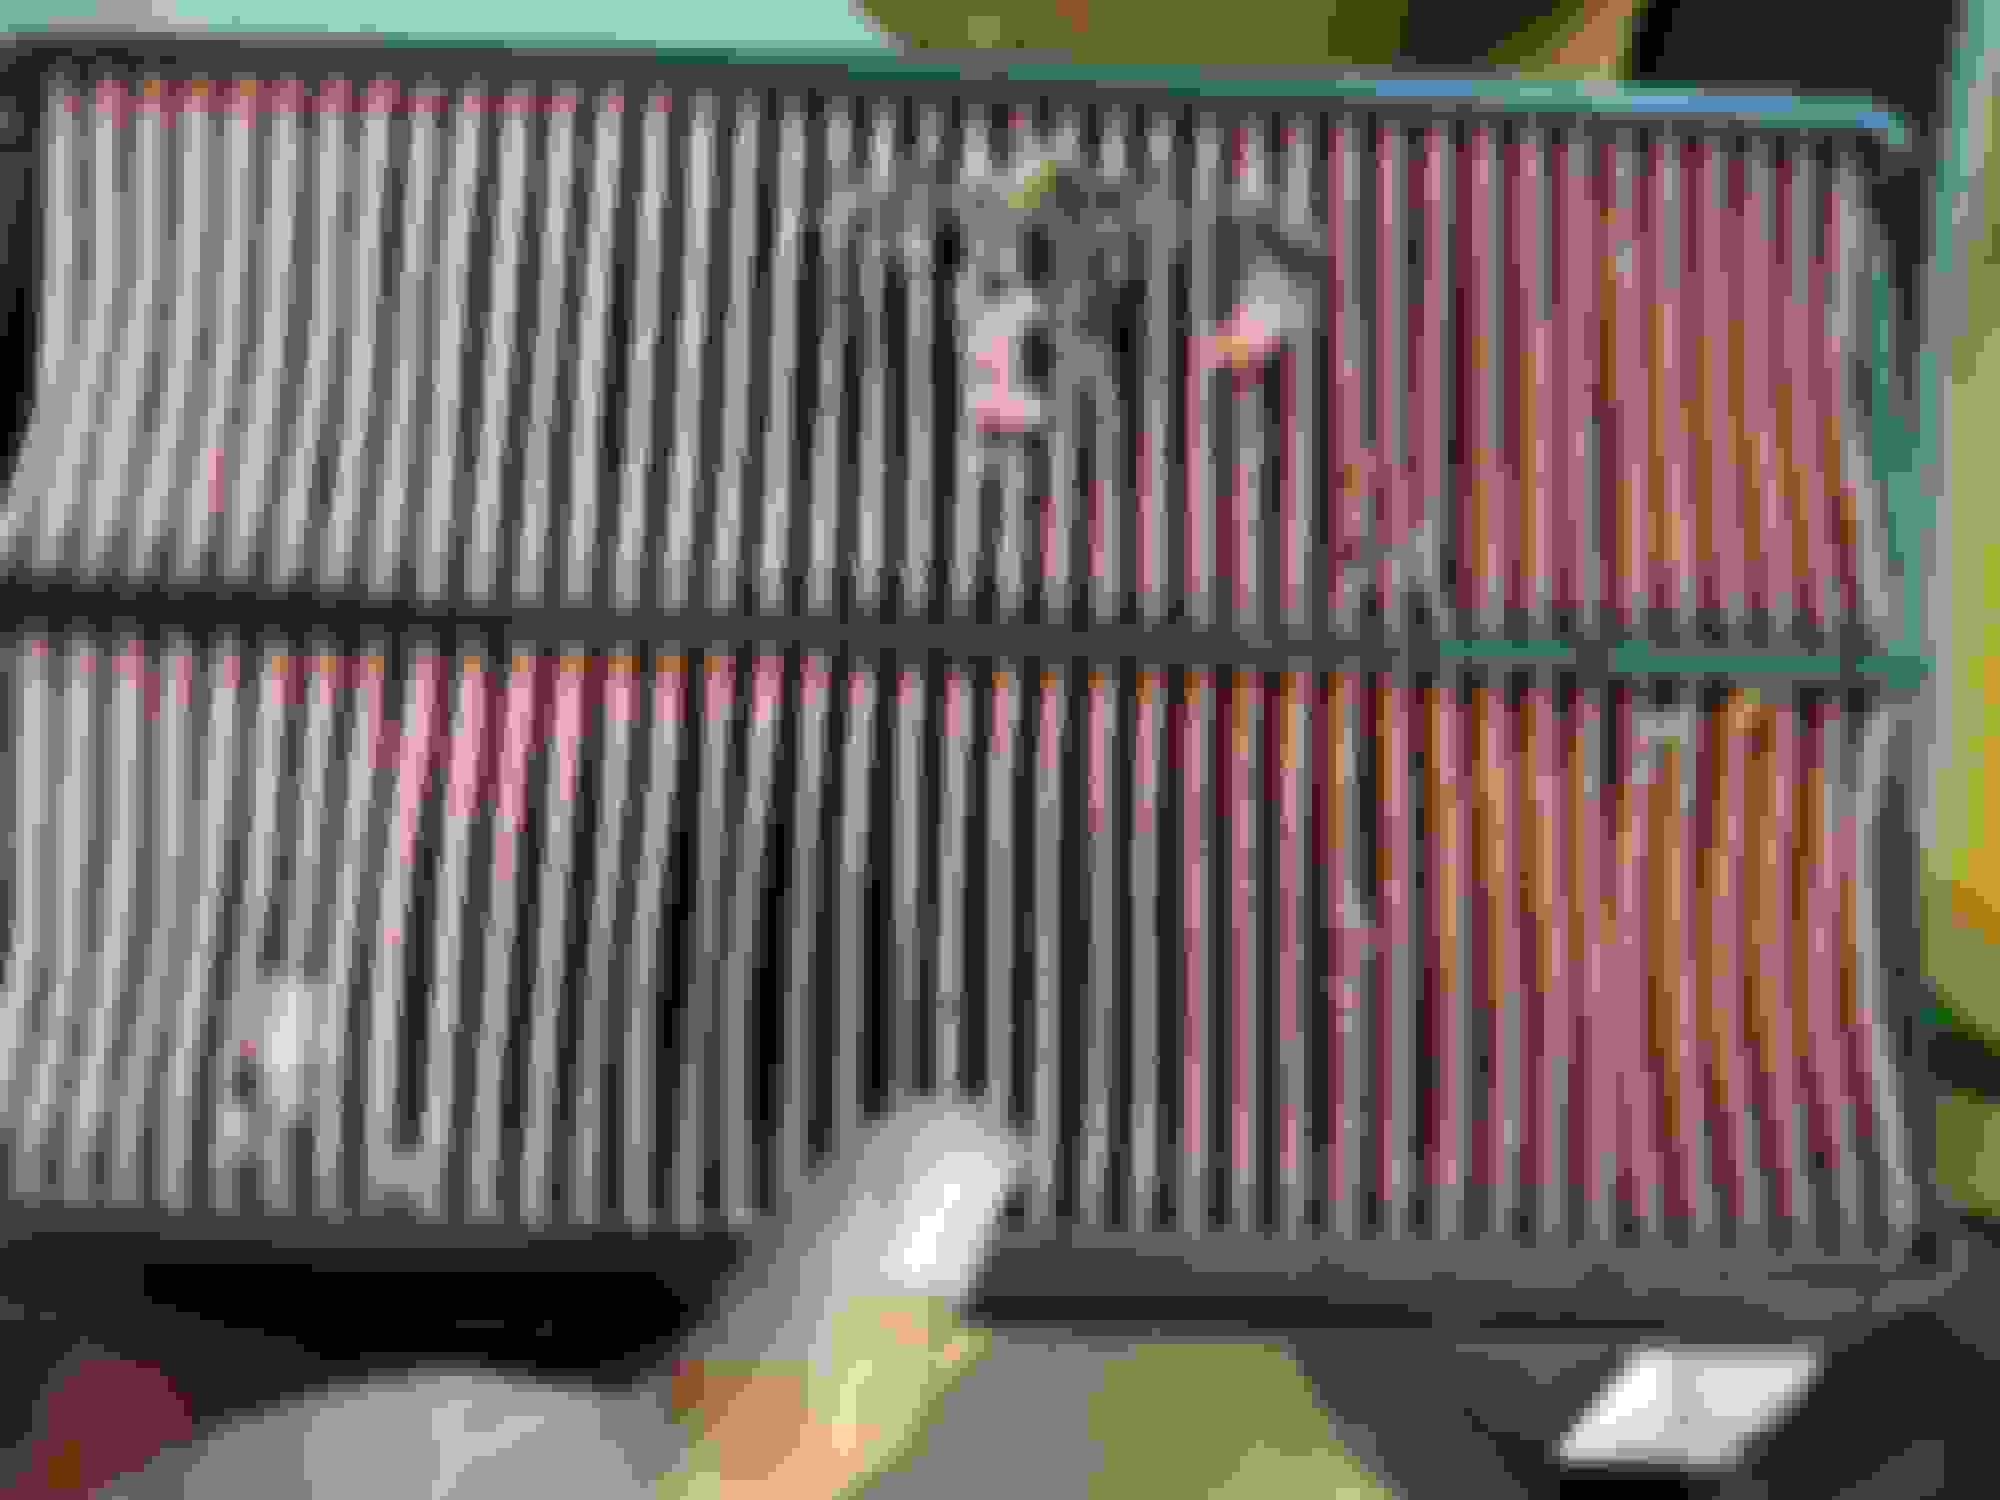
Something made me check the air filter. Wish I had done that at the start of the season... because I totally curbstomped a mouse into the snow when I spotted it running out of my garage this winter. I knew he had been near my car.
Oh look, the wiring harness just about wore a hole through the intake resonator. Slap some velcro on there to keep it from happening again.
As part of the prep, I wanted to present the inspectors a car that didn't draw too much attention and nit-picking to a fresh race seat install. So, it was time to clean up the interior.
The race seat did not clear the door card topper, so I ran without a door card for a while. I had removed the vapor barrier during the 1.6 interior swap years ago, and covered the butyl rubber that remained with duct tape and shopping bag plastic. It was horrid to look at, and to worry about touching without a card in there. Side note: I really need to get better at taking pictures of how my projects start!
What you see here is over an hours worth of work with Goo Gone and a plastic scraper to get all the butyl off.
I wish I knew why they spec'd that specific formulation for the doors. Seriously, the aftermarket sound deadener stuff I used is plenty sticky without forming endless strands of butyl that coat EVERYTHING.
I used a hole saw to give the seat shoulder wing a place to tuck into.
Here's the backside of the old door card. Check out the lovely mold, water damage, warpage, and missing chunks - the vapor barriers definitely work. I'll have one back in there before I let it rain on the car.
Not perfect, but it's better than cutting off the back portion! Check out that nice new door card.
I'll make a vapor barrier for the door before I let it get rained on again so I don't have to waste an hour cutting out and test fitting another panel out of $2.50 worth of particle board.
But what else can we do to draw attention away from our race seat? Well... find out next post.
Okay, I didn't see anything in the posting guidelines that specifically says this is verboten, so here you go. Mods can delete if necessary.
You've been warned.
I had a rather... distinctively carved piece of wood lying about for a few years. What you are about to see is completely home designed and built - a college friend modeled it in CAD. The design goal was to make it look like a cobra that was ready to strike. Another donated the locally sourced Apple wood "billet" it was carved from. A third friend cut it out on his CNC mill. It was finished the night before the track day and installed at 7AM the following morning to give the epoxy time to cure.
Hey, look my odometer is at exactly 150k on the way to a track day!
Showcasing the finest DP-420 epoxy that was used to secure the threaded insert.
Yes, it passed tech inspection. Yes, I drove with it on track (only one session though). Honestly wasn't that bad to use. Having such a big shift **** certainly gives you a lot of options on where to hold it.
And it definitely drew a lot of attention. Thankfully, it was all positive and everyone got a laugh. I hope you guys do too.
Last weeks track day at Waterford went alright. The first session was plagued by understeer, and the brake vibration I was hoping would disappear with some serious heat... didn't.
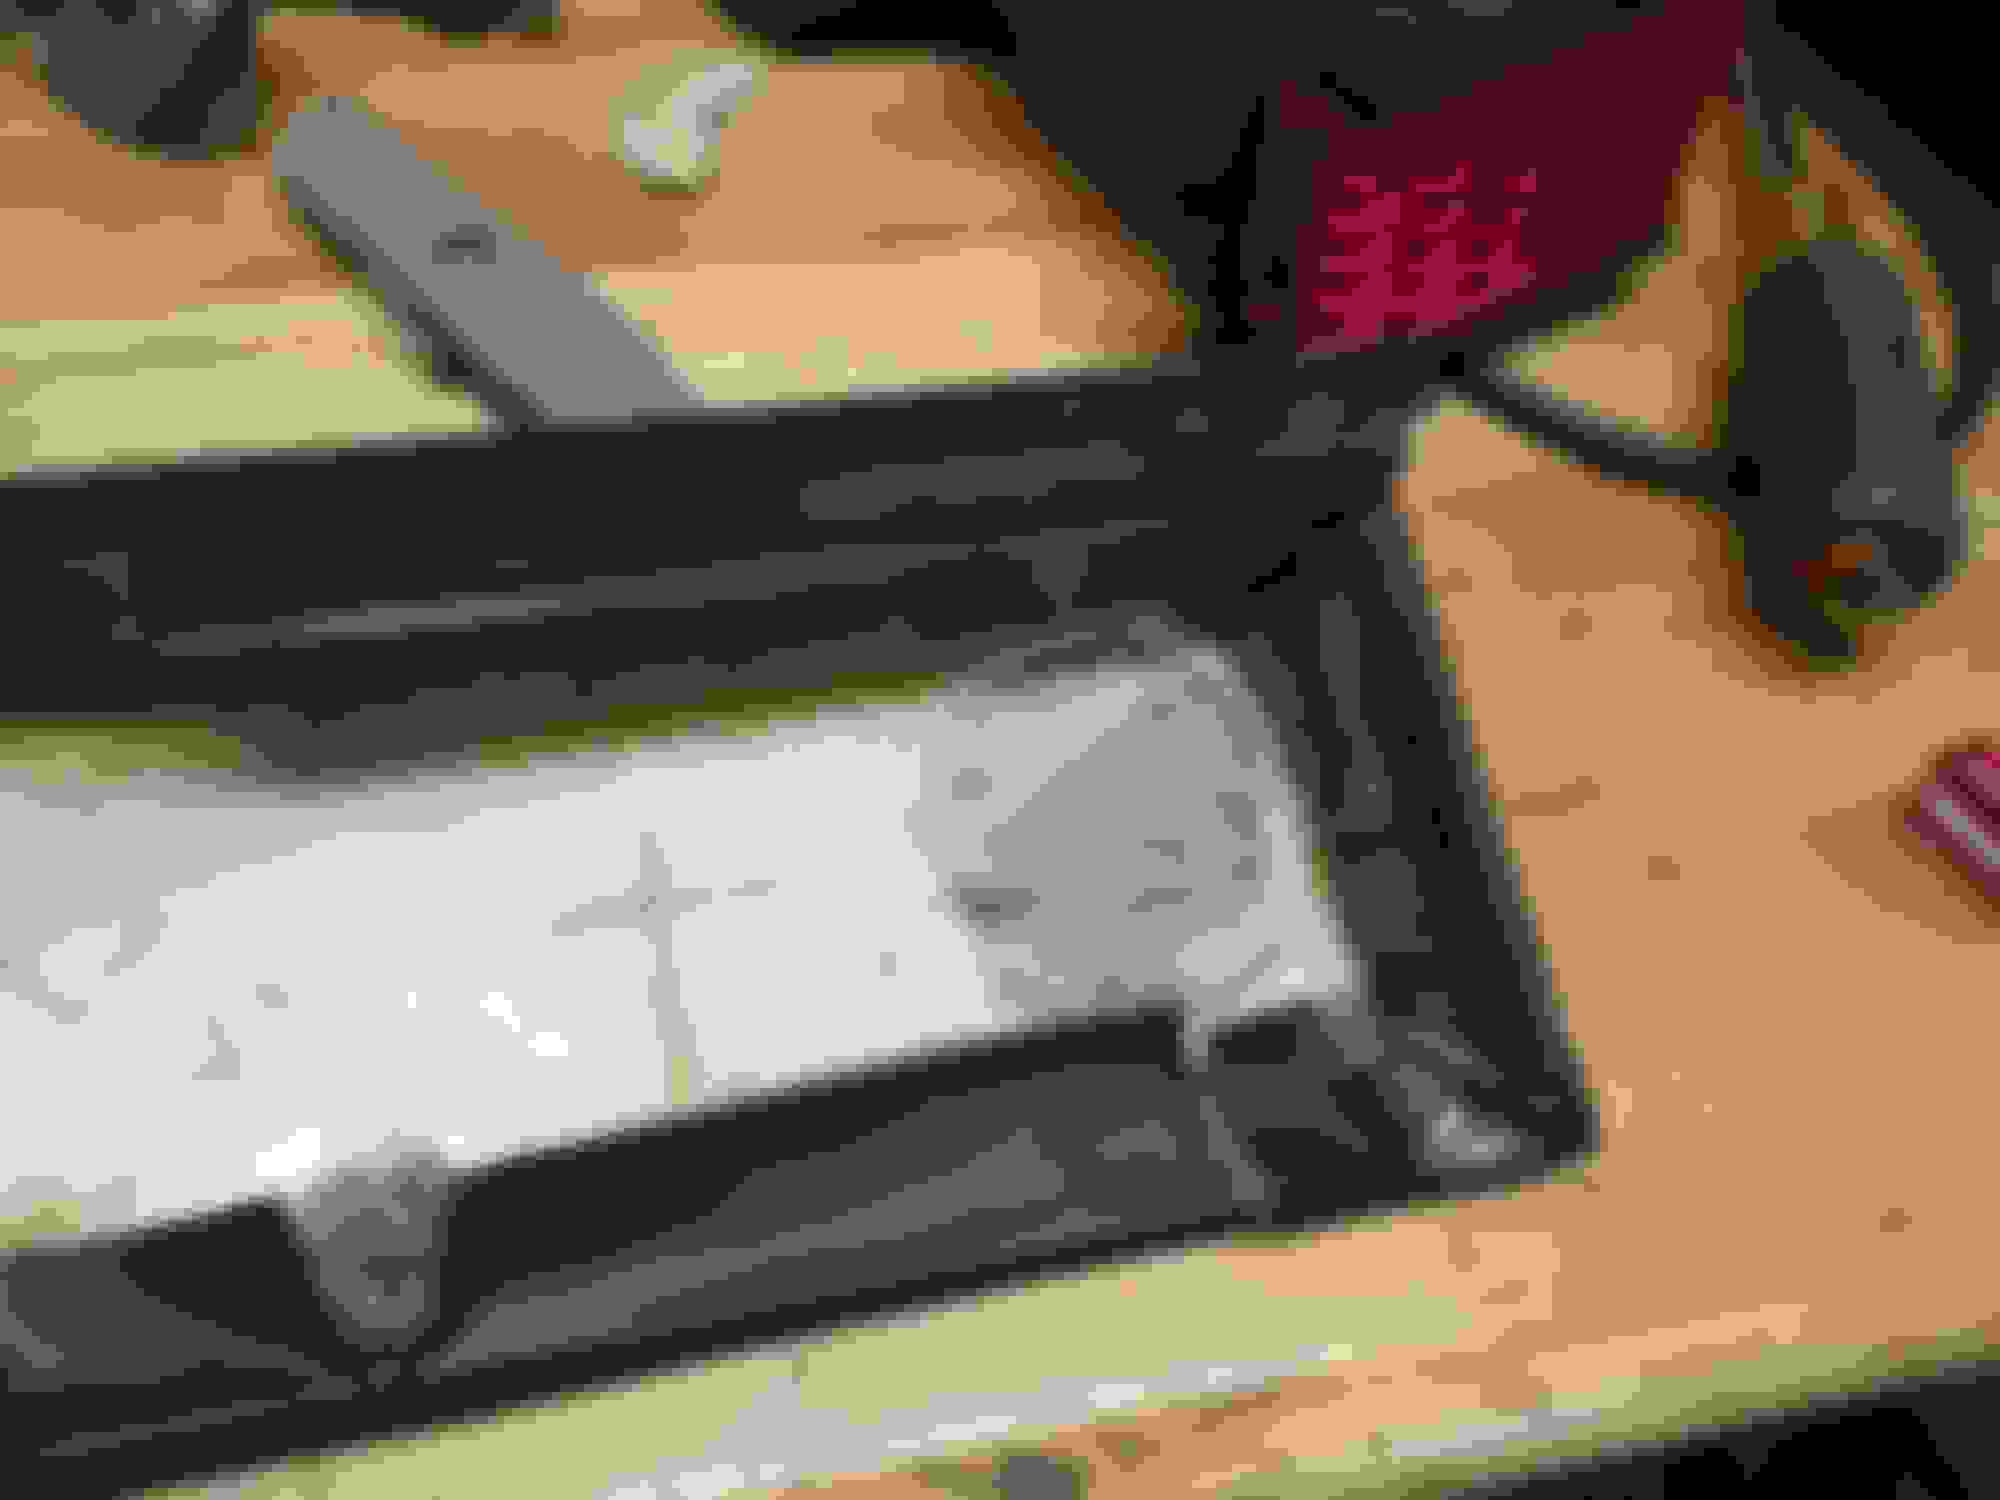
Swapping rotors between sessions, feat. my pit crew.
It's too bad, they still had half the service thickness left. I wasn't going to potentially be disappointed in another session just for the sake of being cheap on Miata rotors.
My second session was the opposite of the first - oversteer everywhere. I probably should have come in halfway through, but kept going until I had a four off. I had juggled the tires and pressures around to what I'd been running recently with success, but not this time. After that, I adjusted tire pressures again, and the last two sessions were perfection. Car was well balanced and fun to drive, as it usually is.
I was booked for another track day less than a week later at Gingerman Raceway. I knew it was a possibility that I might be able to get extra sessions in, so I wanted to make sure the oil cooler was working it's best if I was running back to back sessions. These past few months, I'd been spending way too much time trying to figure out a way to perfectly duct it from the nose. In the end, I decided just to put a "flick" on the underside of the cooler to throw some fresh air across the face of it. The sides and bottom are sealed to the AC condensor, so I'm hoping that will help force some fresh air through it.
Maybe I should get an oil temp gauge to actually know whats going on?
Fancy stuff here. The flick, backing plates, and bolts
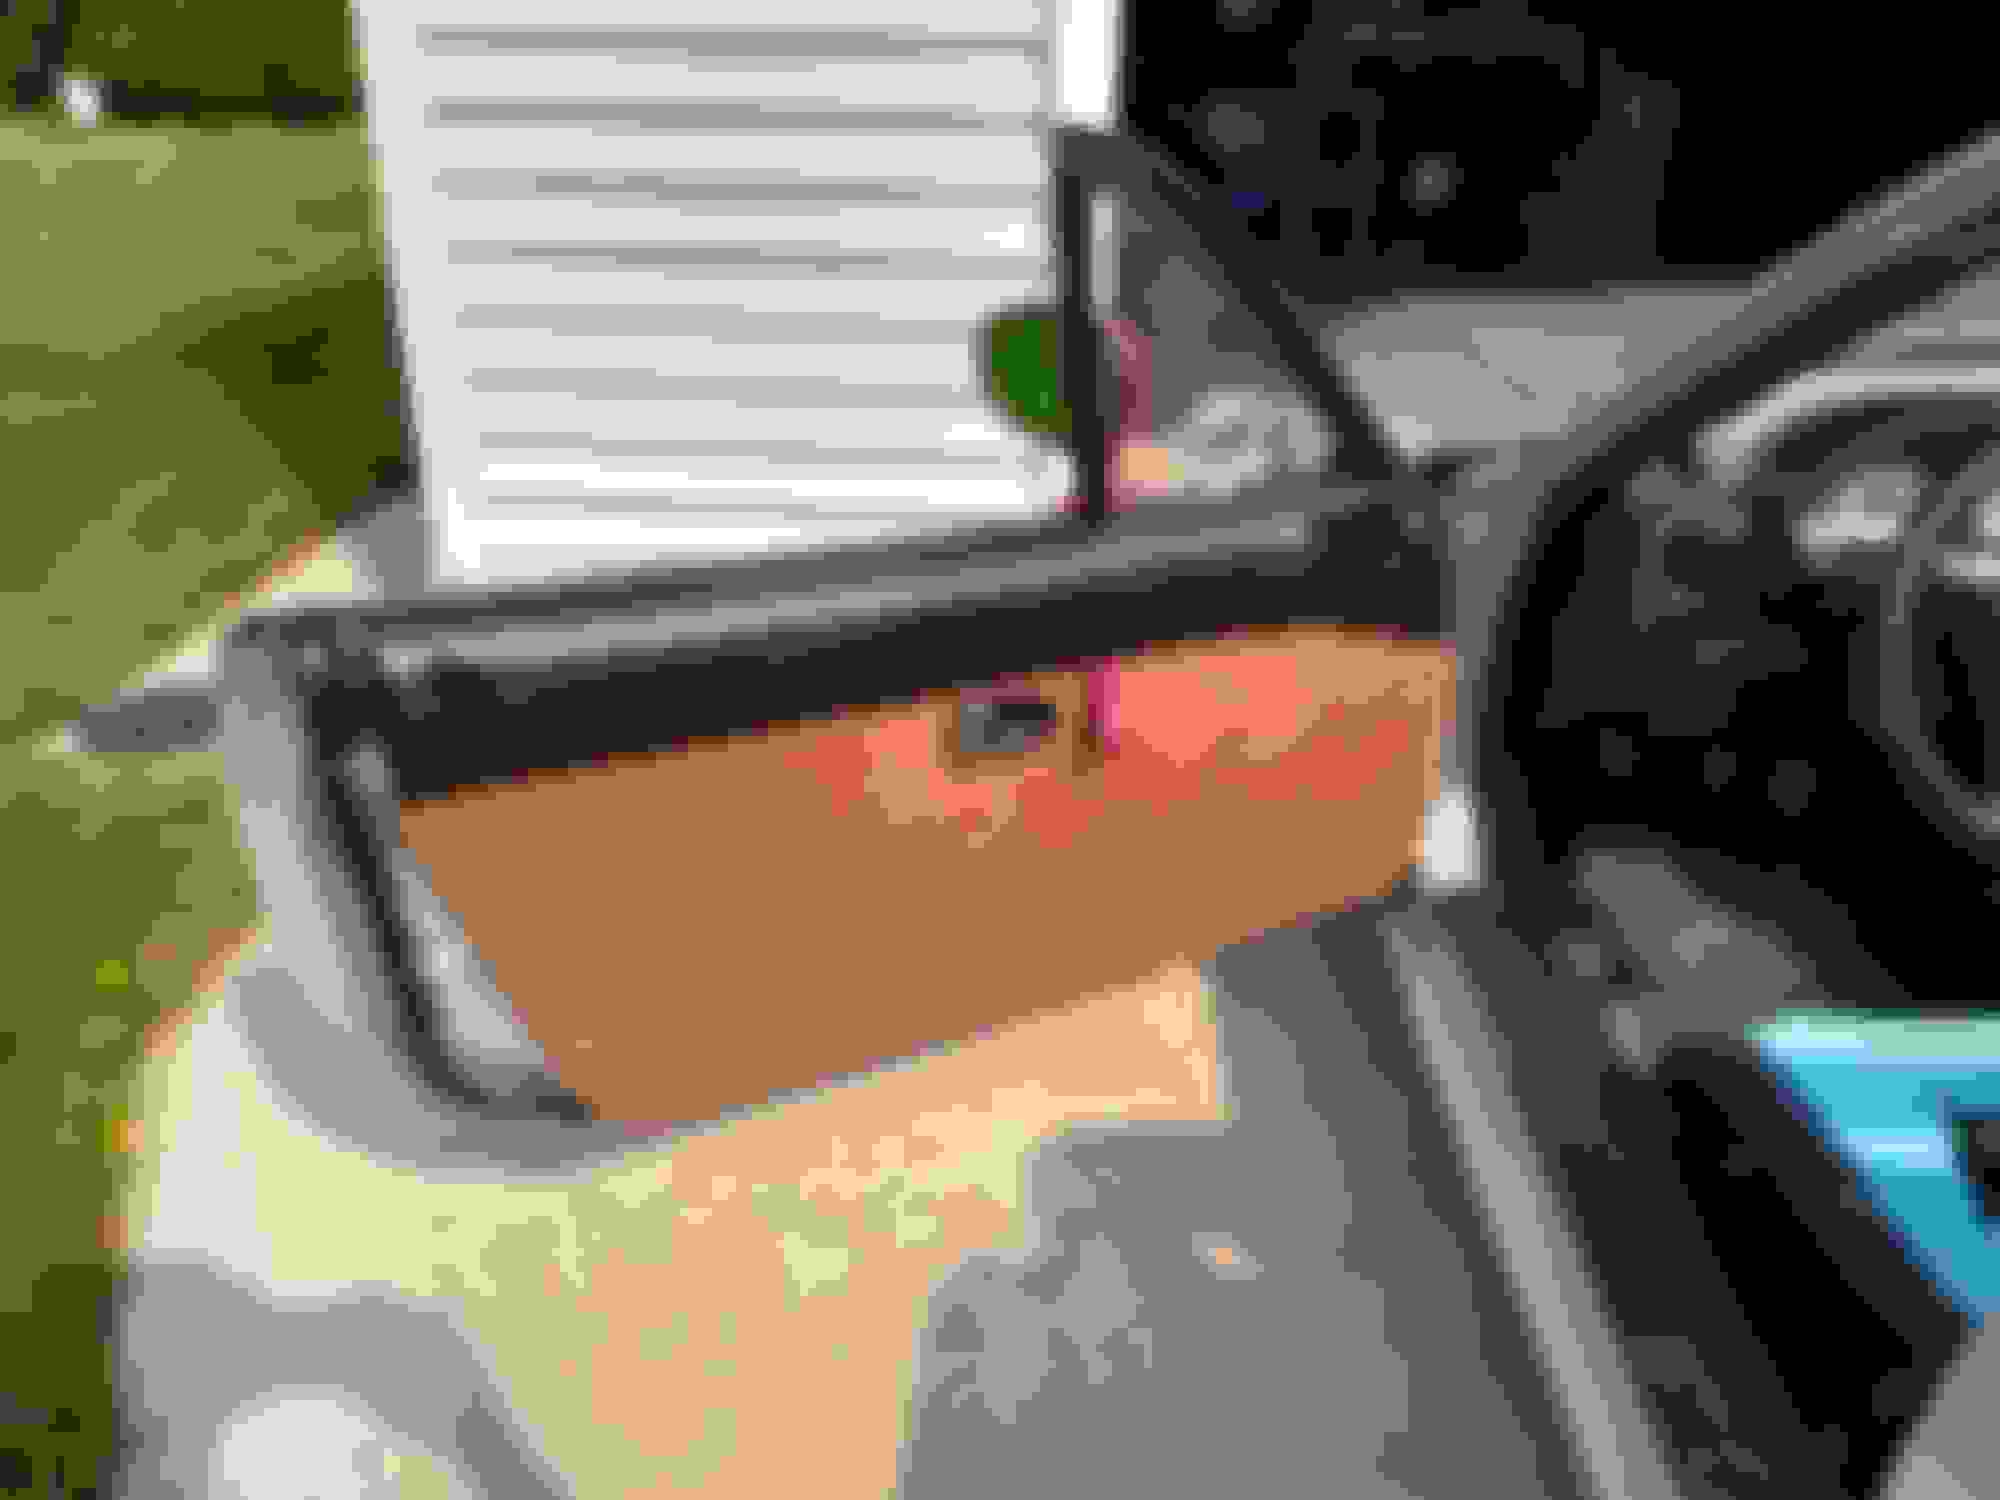
View from the front.
A little closer. You can see I cut away some of the plastic "mouth" framework to give the air an easier path to the cooler.
The cool kids hanging out together at Gingerman.
But the coolest kid was hanging out on his own.
In the end I did end up running the equivalent of two track days in one - 8 sessions. No video though, just got lazy and with only 20 minute turnarounds between sessions I just wanted to focus on driving. By the end I was consistently in the 1:56 range, and Racechrono claims I ran a 1:54.9 one lap. I wouldn't mind a bit more consistency but I'm happy with the lap times, given that the performance mods basically consist of ARBs, a race seat, and different sized wheels running 400tw summer tires.
I got home and checked the maintenance logs... Turns out I did almost 5k miles on this oil change, including 3 (or 4, if you're going by track time) track days. Oops. Got that swapped out and she's ready to go again. Hopefully I'll get one more track day in this year!
 06-11-2017, 10:57 AM

 If the alignment had have been right, I would have shown up early to try and get a spot.
 0
0