
97 Montego sr20 t25 Turbo Build


mount it in a vise, heat the turbine housing with a torch and then get a small pipe wrench on the stud.
it helps to tap the housing with a hammer once its heated as well to relieve some stresses and loosen the corrosion.
it helps to tap the housing with a hammer once its heated as well to relieve some stresses and loosen the corrosion.
Reply
 0
0

0

Thread Starter
Junior Member
Joined: Sep 2012
Posts: 283
Total Cats: 12
From: Cranston, RI
Reply
0
0


I used a heat gun and tapped on the top of the stud. Being careful to not put too much preassure as to break it. I broke 1 out of 3 stuck and it was the first one. I heated and tapped for several cycles before it broke free. The key was patience. Good luck!
Reply
0
0
Thread Starter
Junior Member
Joined: Sep 2012
Posts: 283
Total Cats: 12
From: Cranston, RI
Did you use the locking nut method? Unfortunately, mine is stripped so I can't get a nut on it.
Reply
0
0

Thread Starter
Junior Member
Joined: Sep 2012
Posts: 283
Total Cats: 12
From: Cranston, RI
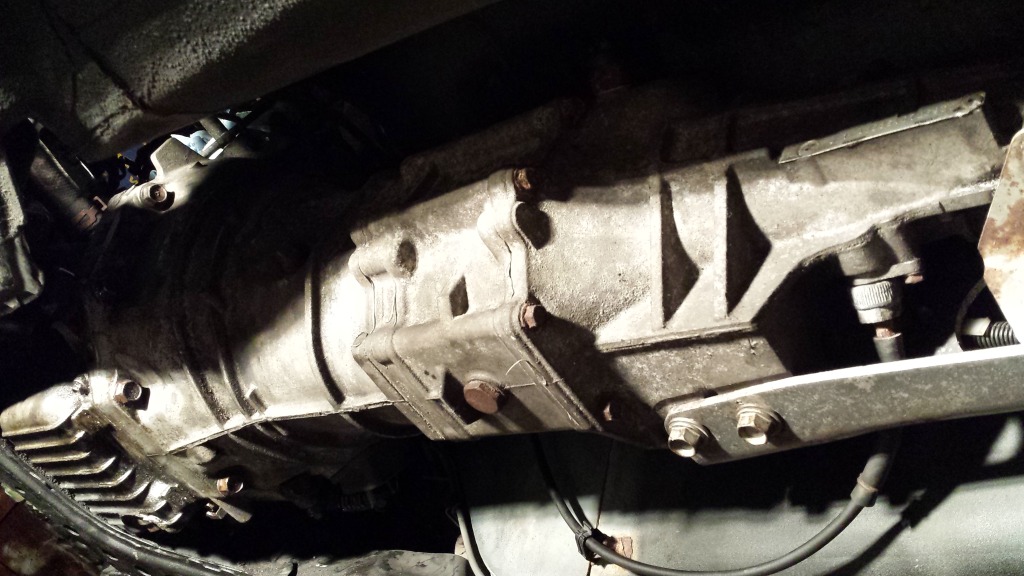
I degreased and cleaned up the transmission a bit yesterday. It's by no means spectacular, but its better. I also got the clutch installed, and also started working on the oil feed. I got the new fitting in the block, with the brass T, and the oil pressure sending unit. I'm waiting to install the feed line until I get the transmission back in, because I want to make sure I route it around the bellhousing correctly.
Hopefully getting the transmission back in tonight.
Pics! Didn't bother taking any of the oil feed, because I'm not a contortionist.


Reply
0
0
Thread Starter
Junior Member
Joined: Sep 2012
Posts: 283
Total Cats: 12
From: Cranston, RI
Transmission and driveshaft are back in! So glad that's over with. It feels like the world's been lifted off my shoulders and I can finally proceed with getting the turbo in there (after I get it clocked..)

Reply
0
0
Thread Starter
Junior Member
Joined: Sep 2012
Posts: 283
Total Cats: 12
From: Cranston, RI
So after 2 hours of expensive labor at the shop, they still could not get the turbo clocked. Since there is some shaft play anyway, I may need to pick up a newer turbo.
This is putting a damper on my plans :(
This is putting a damper on my plans :(
Reply
0
0
Here's how I did it: separate the turbo first, using ~1/2" nuts and bolts as tiny bottle jacks. Then install the turbine housing. Then with a level I installed the rebuilt CHRA into the turbine housing so the top was level (aka, so was the drain). Then install the compressor housing loosely, rotating until you're happy.
The CHRA will NOT turn in the turbine housing easily, it's best to take it out, rotate, and reinsert. Go to gopopshop.com and buy a rebuild kit. It's a good experience.
The CHRA will NOT turn in the turbine housing easily, it's best to take it out, rotate, and reinsert. Go to gopopshop.com and buy a rebuild kit. It's a good experience.
Reply
0
0


Junior Member
Joined: Apr 2013
Posts: 87
Total Cats: -4
From: Va
Reply
0
0
Thread Starter
Junior Member
Joined: Sep 2012
Posts: 283
Total Cats: 12
From: Cranston, RI
Here's how I did it: separate the turbo first, using ~1/2" nuts and bolts as tiny bottle jacks. Then install the turbine housing. Then with a level I installed the rebuilt CHRA into the turbine housing so the top was level (aka, so was the drain). Then install the compressor housing loosely, rotating until you're happy.
The CHRA will NOT turn in the turbine housing easily, it's best to take it out, rotate, and reinsert. Go to gopopshop.com and buy a rebuild kit. It's a good experience.
The CHRA will NOT turn in the turbine housing easily, it's best to take it out, rotate, and reinsert. Go to gopopshop.com and buy a rebuild kit. It's a good experience.
Haha yup that's me. I just texted you back.
Reply
0
0
Thread Starter
Junior Member
Joined: Sep 2012
Posts: 283
Total Cats: 12
From: Cranston, RI
Back at it, finally. Freshly rebuilt turbo from JDS Performance is in the mail.
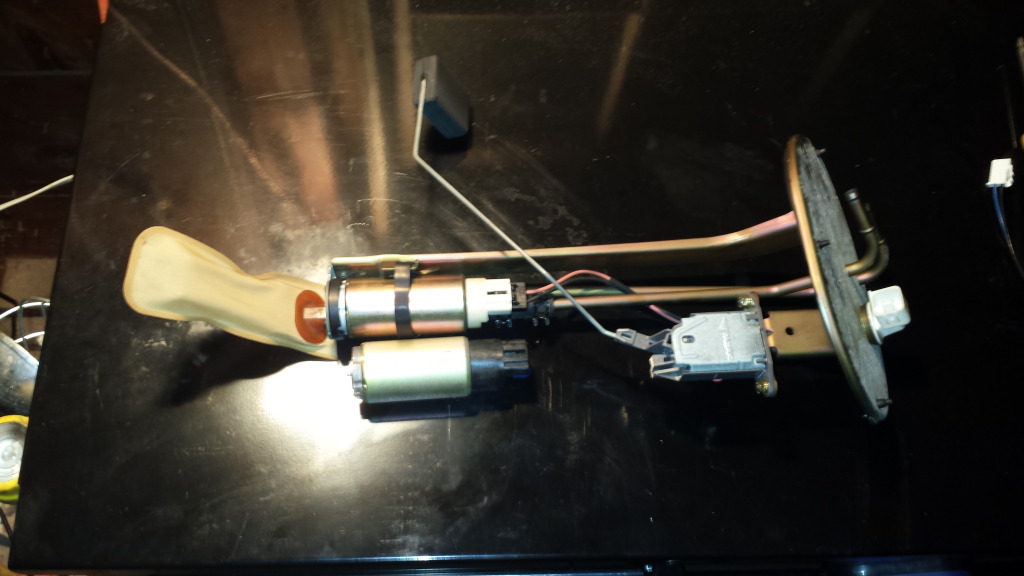
Did the fuel pump last night
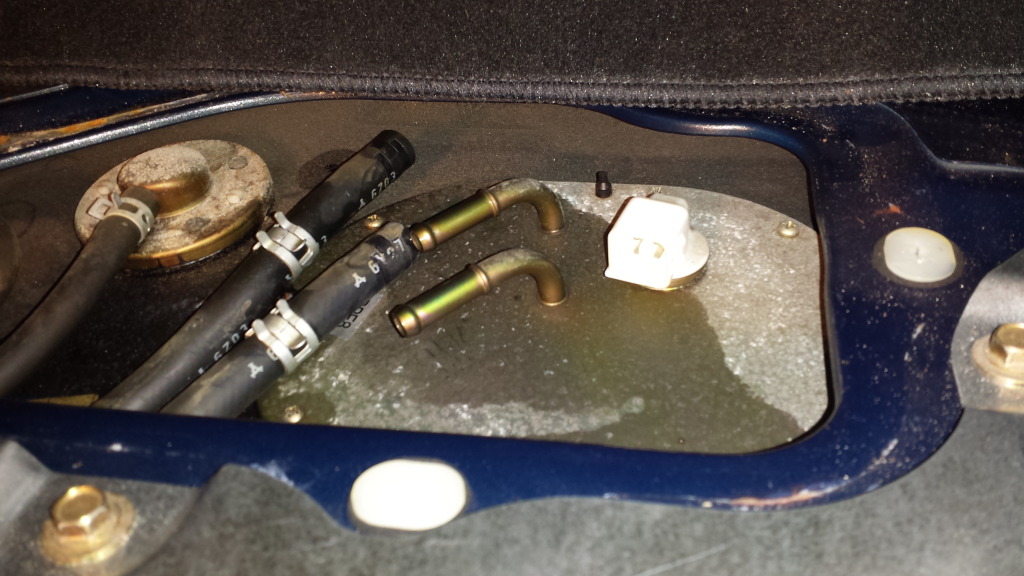
Out with the old, in with the new! And by new, I mean my roommate's fuel pump from his STi!
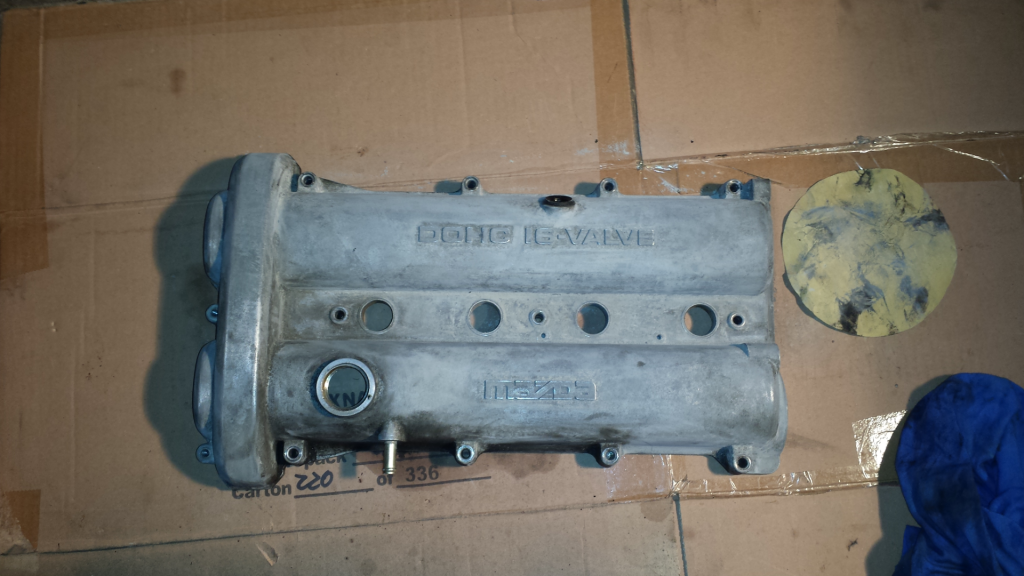
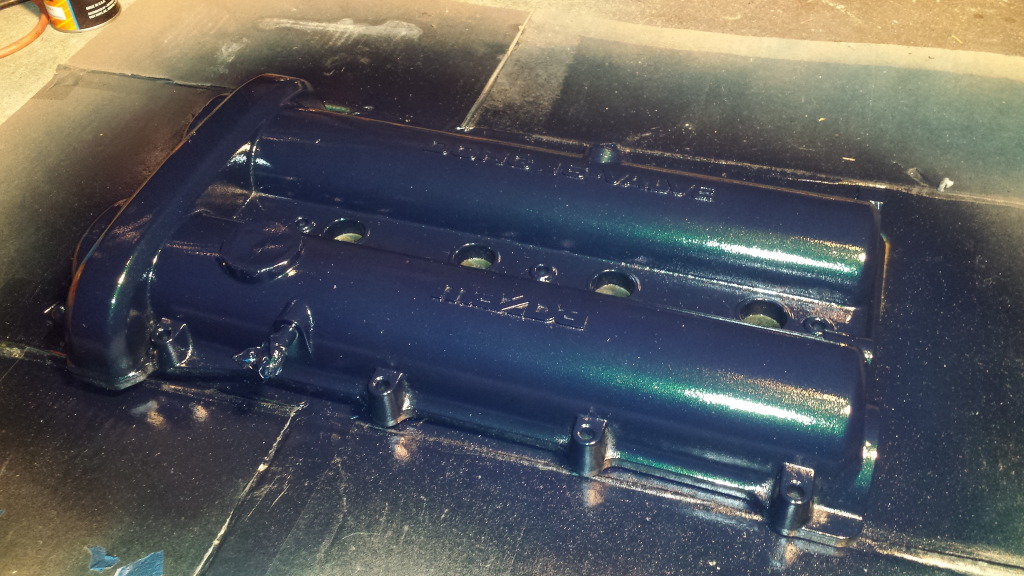
Started sanding my valve cover for a fresh coat of color-matched Montego
Got the CAS back in

I will hopefully have an update with a purdy, clockable turbo soon!
Did the fuel pump last night

Out with the old, in with the new! And by new, I mean my roommate's fuel pump from his STi!

Started sanding my valve cover for a fresh coat of color-matched Montego

Got the CAS back in

I will hopefully have an update with a purdy, clockable turbo soon!
Reply
0
0

I HIGHLY recommend you rebuild that turbo after clocking. I know mine was super seized together, i had to apply heat, a BFH, and lots of PB blaster to finally get it clocked. Now the turbo makes a funny noise and I think it may be consuming oil. In the future I'd rebuild it for sure if it's stuck and wont clock easily.
Reply
0
0
Thread Starter
Junior Member
Joined: Sep 2012
Posts: 283
Total Cats: 12
From: Cranston, RI
Last week I was travelling to Ireland for work, so no progress was made. However, my turbo came in! I'll have pictures later tonight.
Last night I took care of some smaller things, like getting the shifter back together with the new boots, putting some interior back together, and painted my valve cover. I think it's going to come out pretty nice. I'm going to clear coat it tonight.
Last night I took care of some smaller things, like getting the shifter back together with the new boots, putting some interior back together, and painted my valve cover. I think it's going to come out pretty nice. I'm going to clear coat it tonight.
Reply
0
0
Thread Starter
Junior Member
Joined: Sep 2012
Posts: 283
Total Cats: 12
From: Cranston, RI
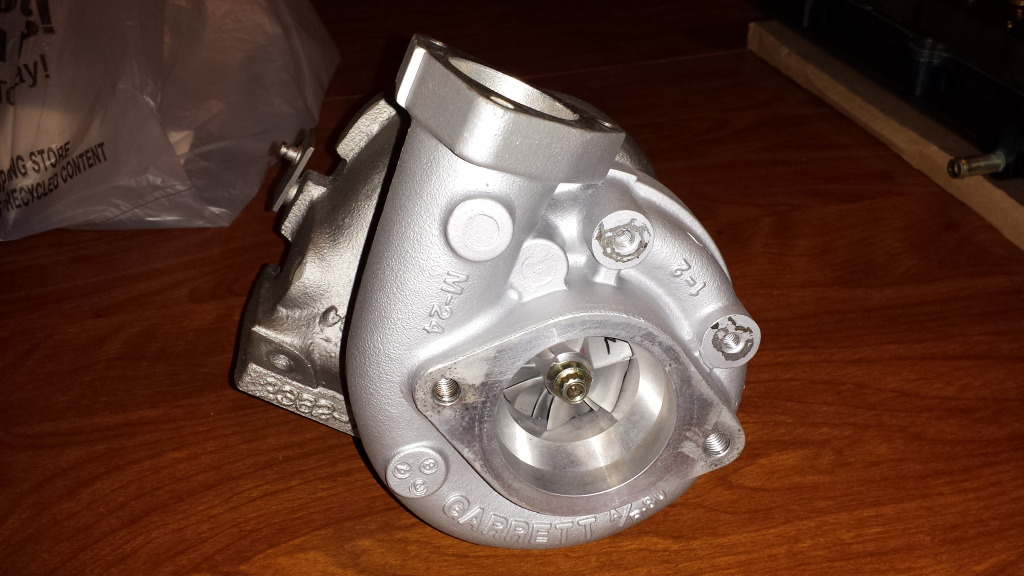
Here's the new turbo, mid clocking process. All 4 of the turbine housing bolts loosened super easy. When I tried to clock it, the compressor housing was spinning (with difficulty, as the snap ring is still in., as opposed to the exhaust housing, like I wanted. Any suggestions?

Color matched valve cover

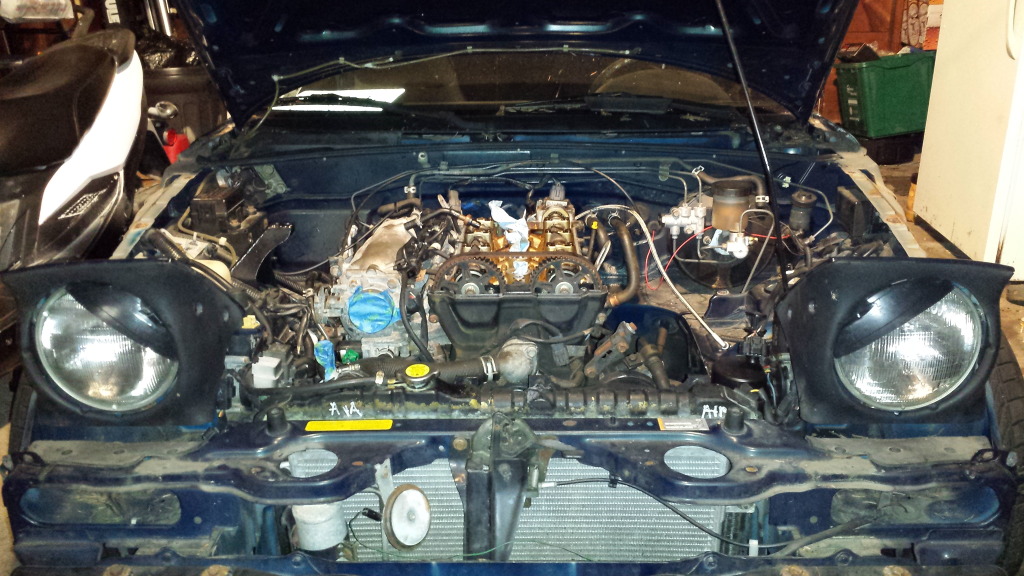
EGR removed and blocked off, new heater core hose on, and oil feed line set up. Forgot pics of the EGR.
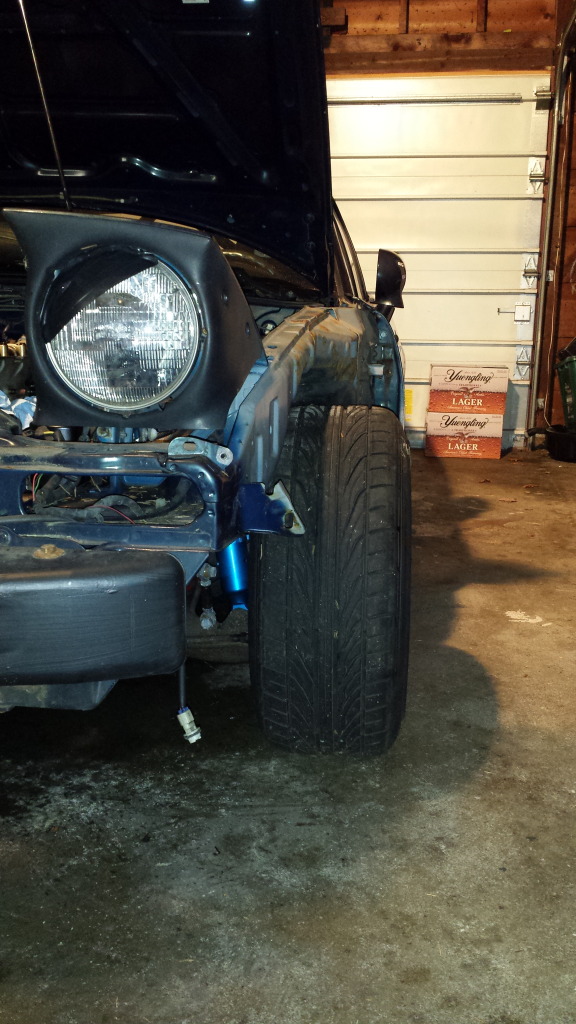
Back on the ground. Open wheel class!


Color matched valve cover


EGR removed and blocked off, new heater core hose on, and oil feed line set up. Forgot pics of the EGR.

Back on the ground. Open wheel class!

Reply
0
0


