
Gross.


Those seat brackets are going to work. I'm going to need to lop the top hole of the side brackets off in order to get the seat low enough to use the bottom holes, but that's it. And some mild massaging of the transmission tunnel. No big deal. I can pass a broomstick test as is using the second lowest holes, but would really need a 320mm steering wheel for comfort at that point. Would rather sit lower and not need to swap steering wheels. Excite. Will NOT be able to use the integrated sub strap eyelet hole in the brackets because it won't clear the bottom of the seat. Oh well. Going to try to get the seats and harness eyelets bolted in on Wednesday.
Other things:
1) Spent 7 hours on Friday trying to remove the diff from this ******* car. **** the PPF design. Seriously. **** it. These came out, which Mazda says is bad, bolts stayed in. DA FUQ? Diff still in car. Will re-attack as soon as my rage subsides. Kudos to Monk for providing retard strength. Wouldn't have even gotten this far without him. And my rage would have been far more if we weren't busy laughing at each other.
 20150704_154823 by concealer404, on Flickr
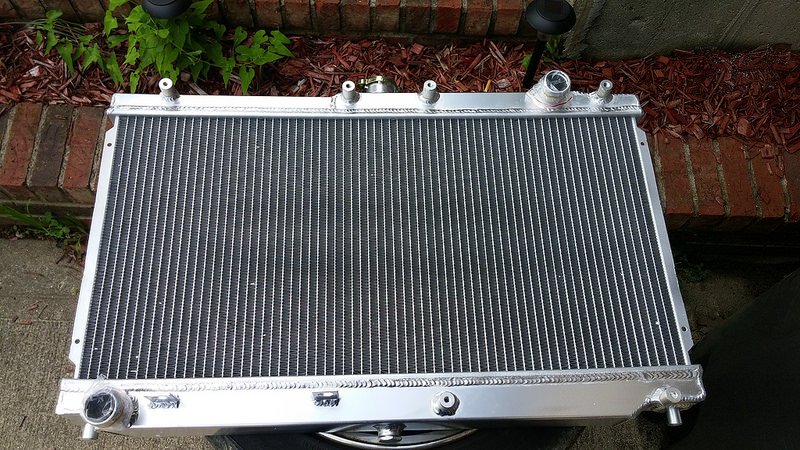
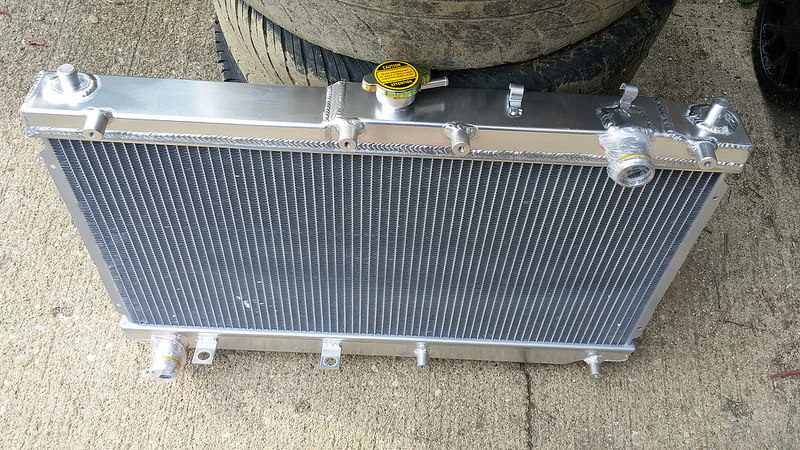
1) Radiator came in. Ebay because poor right now. I've used these in the past and they worked just fine. Learned my lesson in the past though, and did NOT get the fan/shroud setup to go with it, because garbage. Will either use the main factory fan on this, or hack up my old shroud to run one SPAL 12", use the other side to fab up some oil cooler mounting brackets. This is one of the better-looking ebay radiators i've had my hands on. No warping, all welds look pretty uniform, no bird **** splatter anywhere.
 20150703_175754 by concealer404, on Flickr
 20150703_175822 by concealer404, on Flickr
3) Stock exhaust including manifold weighed 51lbs. Racing Beat header + Hytech race exhaust weighs 29lbs. I like.
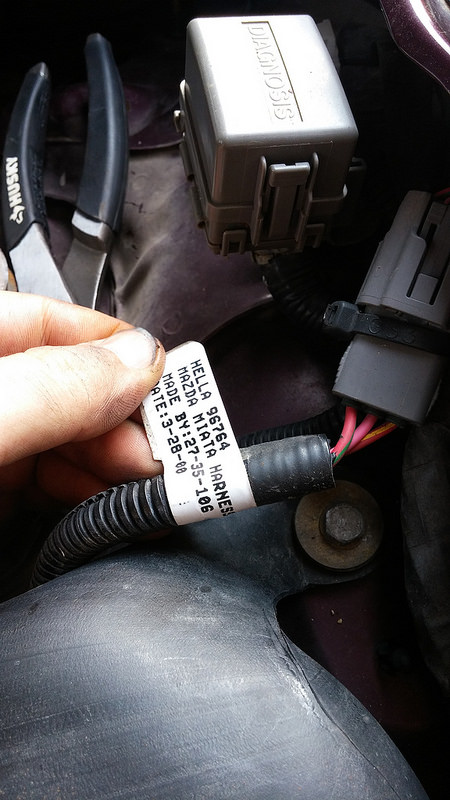
4) Hella made the oem headlight harnesses?
 20150704_182653 by concealer404, on Flickr
5) Let the molestation commence.
 20150704_170606 by concealer404, on Flickr
6) Cut, remove, drain, repeat.
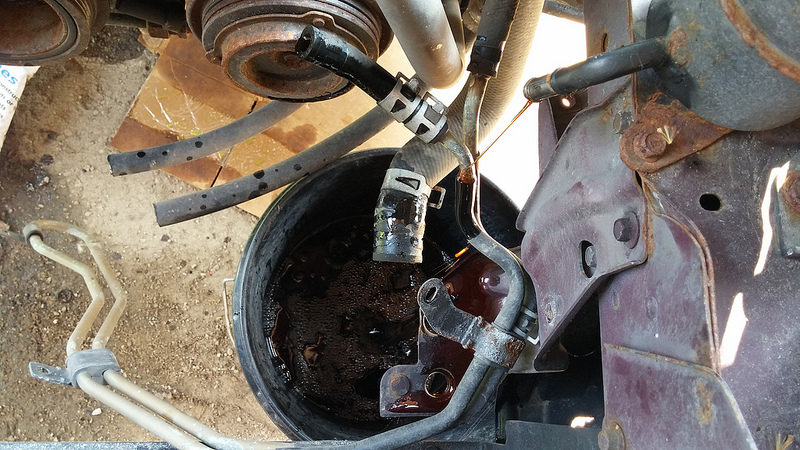 20150704_173252 by concealer404, on Flickr
7) Much better. I need to run and get an M8x1.25 45mm bolt to go in the lower A/C bracket area so my oil doesn't come out. Motor mount replacement from here is now SUPER EASY. I like.
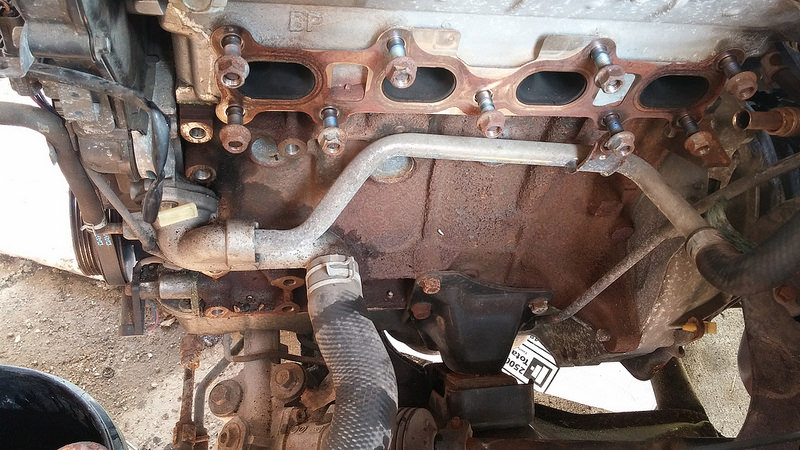 20150704_181653 by concealer404, on Flickr
8) **** this thing in particular.
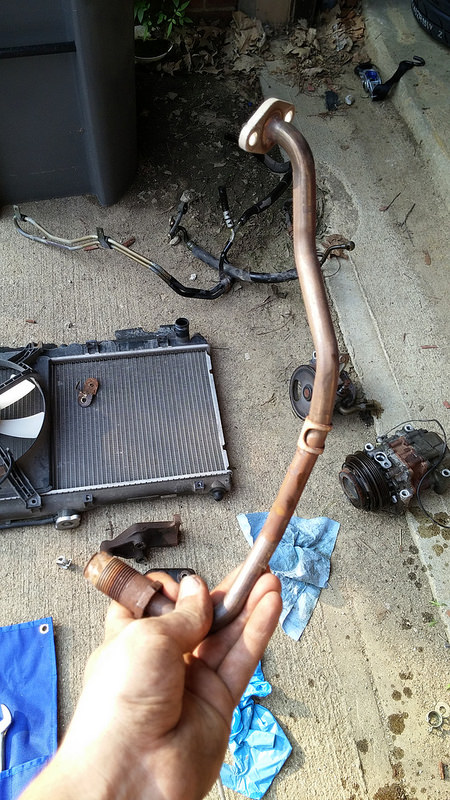 20150704_182946 by concealer404, on Flickr
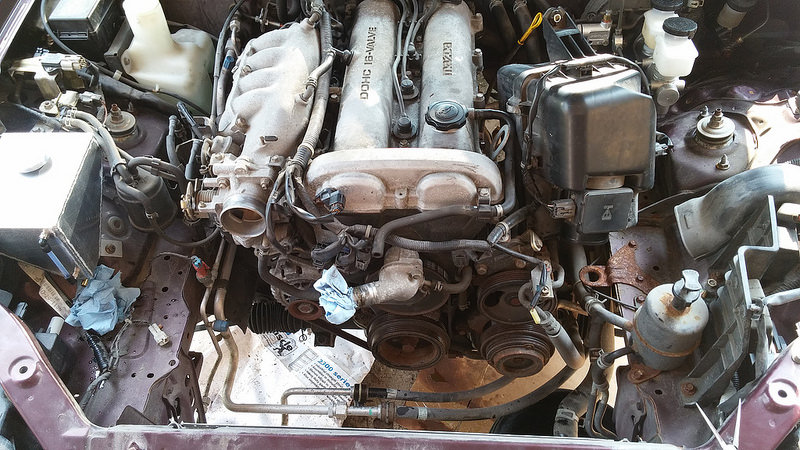
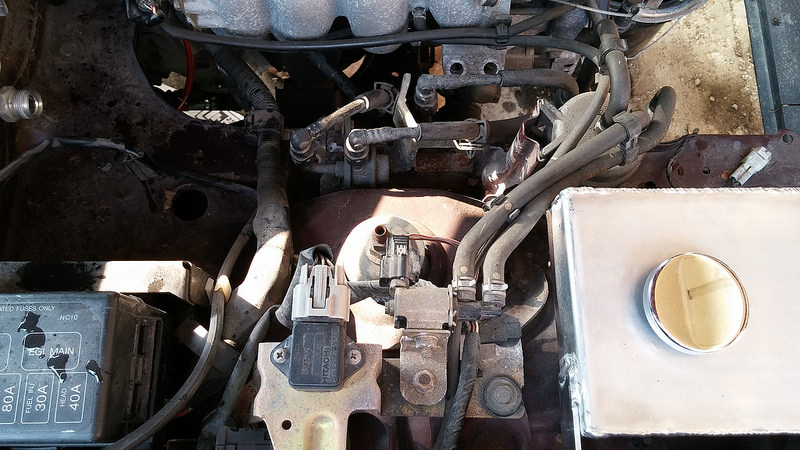
9) I like it when you remove things from Miatas. Motor looks like it floats. Still more work to be done. Shortly after this i removed the A/C box from under the dash, installed the delete pipe from Mazda, as well as the 3 firewall plugs. Looks nice.
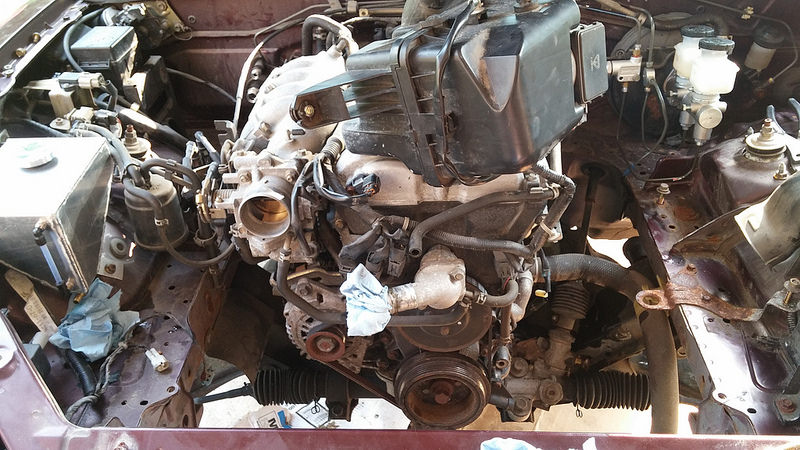 20150704_183440 by concealer404, on Flickr
10) Next weekend's job after the diff comes out: Figure out how much of this BS i can remove.
 20150704_183553 by concealer404, on Flickr
Other things:
1) Spent 7 hours on Friday trying to remove the diff from this ******* car. **** the PPF design. Seriously. **** it. These came out, which Mazda says is bad, bolts stayed in. DA FUQ? Diff still in car. Will re-attack as soon as my rage subsides. Kudos to Monk for providing retard strength. Wouldn't have even gotten this far without him. And my rage would have been far more if we weren't busy laughing at each other.
20150704_154823 by concealer404, on Flickr1) Radiator came in. Ebay because poor right now. I've used these in the past and they worked just fine. Learned my lesson in the past though, and did NOT get the fan/shroud setup to go with it, because garbage. Will either use the main factory fan on this, or hack up my old shroud to run one SPAL 12", use the other side to fab up some oil cooler mounting brackets. This is one of the better-looking ebay radiators i've had my hands on. No warping, all welds look pretty uniform, no bird **** splatter anywhere.
20150703_175754 by concealer404, on Flickr 20150703_175822 by concealer404, on Flickr3) Stock exhaust including manifold weighed 51lbs. Racing Beat header + Hytech race exhaust weighs 29lbs. I like.
4) Hella made the oem headlight harnesses?
20150704_182653 by concealer404, on Flickr5) Let the molestation commence.
20150704_170606 by concealer404, on Flickr6) Cut, remove, drain, repeat.
20150704_173252 by concealer404, on Flickr7) Much better. I need to run and get an M8x1.25 45mm bolt to go in the lower A/C bracket area so my oil doesn't come out. Motor mount replacement from here is now SUPER EASY. I like.
20150704_181653 by concealer404, on Flickr8) **** this thing in particular.
20150704_182946 by concealer404, on Flickr9) I like it when you remove things from Miatas. Motor looks like it floats. Still more work to be done. Shortly after this i removed the A/C box from under the dash, installed the delete pipe from Mazda, as well as the 3 firewall plugs. Looks nice.
20150704_183440 by concealer404, on Flickr10) Next weekend's job after the diff comes out: Figure out how much of this BS i can remove.
20150704_183553 by concealer404, on Flickr
Reply
 0
0

0

Joined: Apr 2014
Posts: 18,643
Total Cats: 1,870
From: Beaverton, USA
<br />1) Spent 7 hours on Friday trying to remove the diff from this ******* car. **** the PPF design. Seriously. **** it. These came out, which Mazda says is bad, bolts stayed in. DA FUQ? Diff still in car. Will re-attack as soon as my rage subsides. Kudos to Monk for providing retard strength. Wouldn't have even gotten this far without him. And my rage would have been far more if we weren't busy laughing at each other.
<br />
<br />
<br />Need more hammers
<br />
<br />

Reply
0
0

 (Can't blame her.)
I think an air hammer would make quick work of pretty much everything holding me up at this point.
More dumb questions to follow in next post.
Reply
0
0
Joined: Apr 2014
Posts: 18,643
Total Cats: 1,870
From: Beaverton, USA
Reply
0
0
1) I'm going to run just one fan because track day bro and that seems to be what all you cool dudes are doing. I've removed A/C. I believe driver's side fan is main fan, passenger is a/c fan, yes?
2) Do i need to do more things to remove a/c the rest of the way? Lines, thing under dash, **** in front of radiator, and compressor have all been removed. Is there relays and such i can get rid of/tuck out of the way? (Like my *****?)
3) I have a shroud left over from the MSM. I was thinking of cutting it in half to run the one fan (Thinking a SPAL), and use the leftovers to make oil cooler bracket for the other side. Is this a stupid idea and i should just use those horrible push pin/zip tie things to mount fan instead? (If i move from stock fan.)
4) How the **** do i take the bumper off of this thing? I tried to remove bumper once on the MSM once. Got frustrated and gave up. Need to install my Frog Arms and i ASSume that the bumper has to come off for fenders to come off?
Reply
0
0

Good progress

Reply
0
0
I don't have an air hammer though.
Reply
0
0
I don't think we'll eat before we come up there, so we can do that. I like arteries. Or hate them. Either way, they must be beaten.
I'll bring the rest of your beer too that you insist on leaving in my fridge every time.
I think Vteckiller2000 was telling me i could probably leave the bumper on for NB as well, but that bumper is pretty easy. I just need to figure it out. I'd like to polish out my headlights while i'm at it. Because shitty NB1 light output.
Reply
0
0
Reply
0
0
Sounds like what i have up at the place in Lawrence. It's positively deafening and has a small leak from something, so it likes to kick on out of nowhere and give me a heart attack when i'm working up there at midnite by myself.
Reply
0
0

EDIT: Sorry still trying to find a link... They're under the wheel well liners, 1 on each side. If you have the liners off you should be able to find them. The rest of the bolts are in plain sight.
Last edited by bahurd; Jul 6, 2015 at 01:38 PM.
Reply
0
0
Much appreciated. 
Cameron says "Four bolts at the radiator, two attach to fender and the splash shields."
That sound right? If so, don't sweat it, i can figure it out from there.
Cameron says "Four bolts at the radiator, two attach to fender and the splash shields."
That sound right? If so, don't sweat it, i can figure it out from there.
Reply
0
0
So before you get out a bigger hammer remember them.
Reply
0
0


