
HornetBall's Build #2: Meet Red


Reply
 0
0

0


Thread Starter
Elite Member
iTrader: (4)
Joined: Mar 2008
Posts: 6,301
Total Cats: 697
From: Granbury, TX
I hear you. But I really want a "drive and forget" car to work on the nut behind the wheel (at least to the extent that this is possible in road racing with 30 minute long sessions).
I toasted cylinder #2 on track yesterday in the Silver car (while setting a personal best, mind you ).
).
Cage weekend. Stay tuned for pix.
I toasted cylinder #2 on track yesterday in the Silver car (while setting a personal best, mind you
).Cage weekend. Stay tuned for pix.
Reply
0
0
Thread Starter
Elite Member
iTrader: (4)
Joined: Mar 2008
Posts: 6,301
Total Cats: 697
From: Granbury, TX
Got the cage installed this weekend.
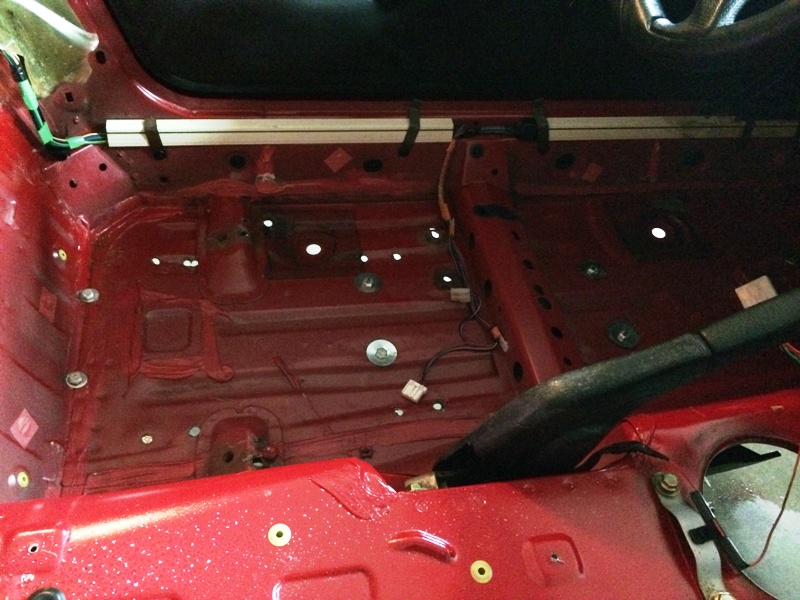
First order of business was to pull the existing roll bar (HD Sport SD) and all carpeting. Then it was time for a Jeffbucc style scrubbing. With body plugs pulled, Used engine degreaser, a brush and a hose in the trunk and interior of the car. These are some shots post-cleaning:
Swiss cheese car. PO's skill with a hammer is only exceeded by his skill with a power drill. I guess you could call it lightening. LOL. Spent a bunch of time with a hammer and dolly straightening out the floor pan where it had been crushed by the PO's seat/harness install.
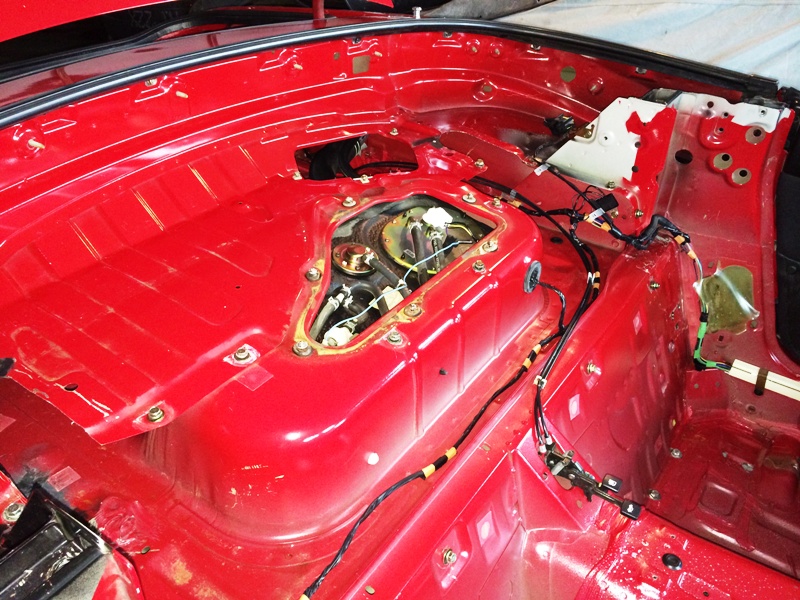
Shelf area cleaned up nicely.
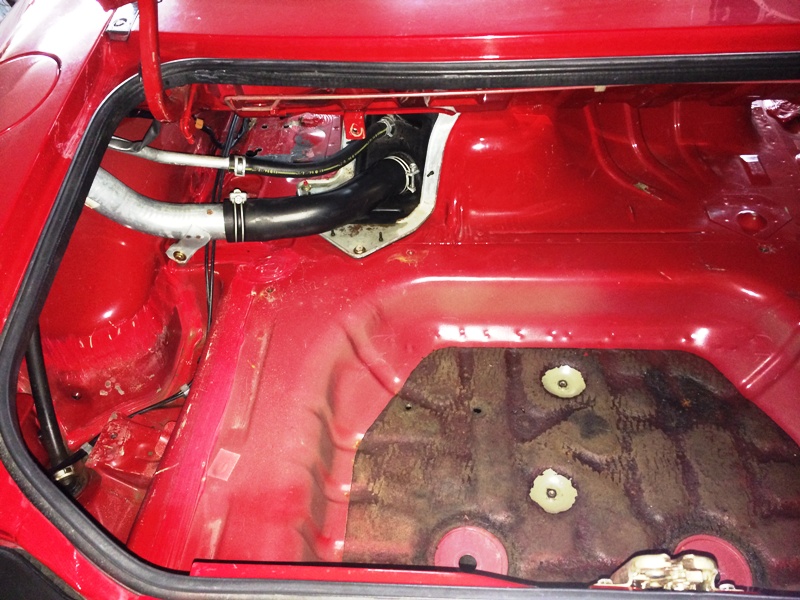
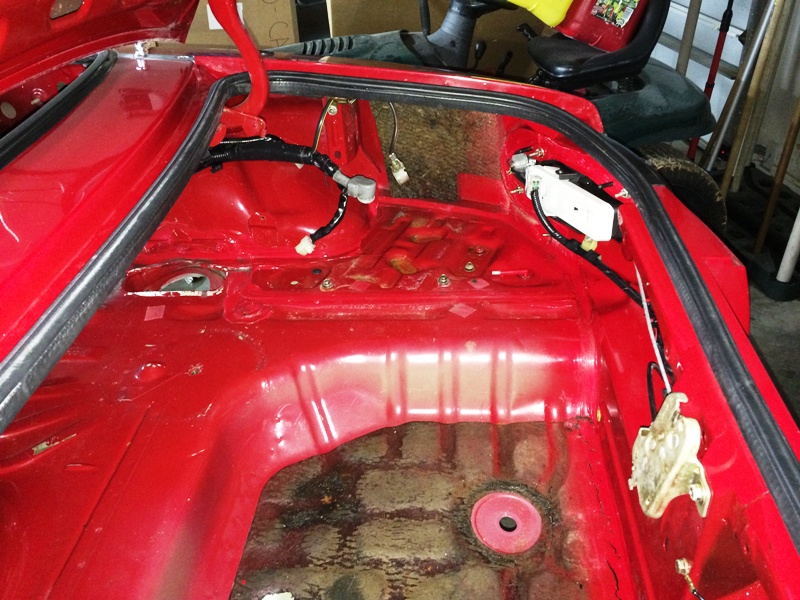
As did the trunk.
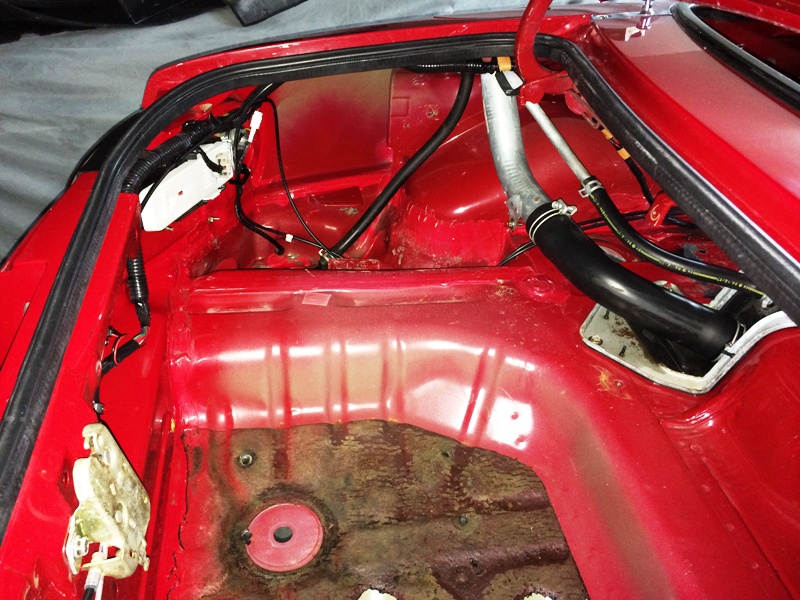
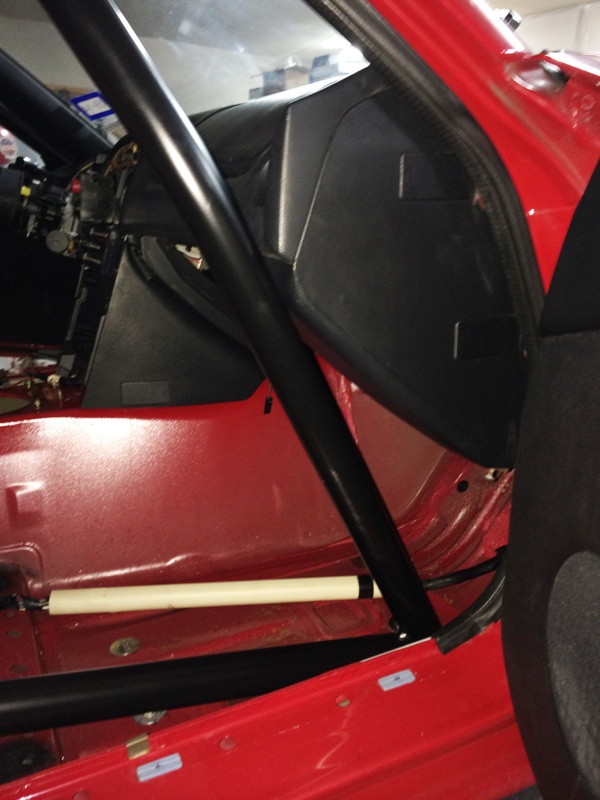
One area of concern is the ECU location behind the passenger seat. You can see that the ECU harness goes through the area that the cage will occupy. Plus, without carpeting, it's not well protected. I'm thinking about shortening the harness and locating the MSPNP in the 1.6 location. I've got a spare kick panel and all the studs are in place on the body to support it. Open to suggestions though. I did notice some of the ECU wires were worn through where the PO had pinched them with his harness installation -- so maybe shortening and cutting out that bad section is the way to go (although I'm definitely not looking forward to it).

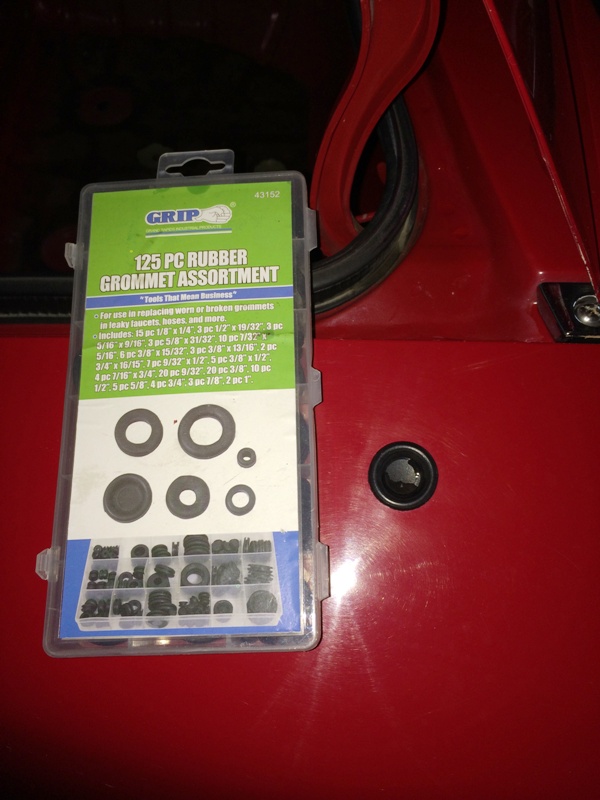
I knew I had some holes to fill, so I bought this kit for cheap off e-bay. The 1" size rubber plug was the perfect size for the antenna hole.
Hard Dog Roll Cage. I can tell you that unpacking this takes 3X as long as unpacking a roll bar.
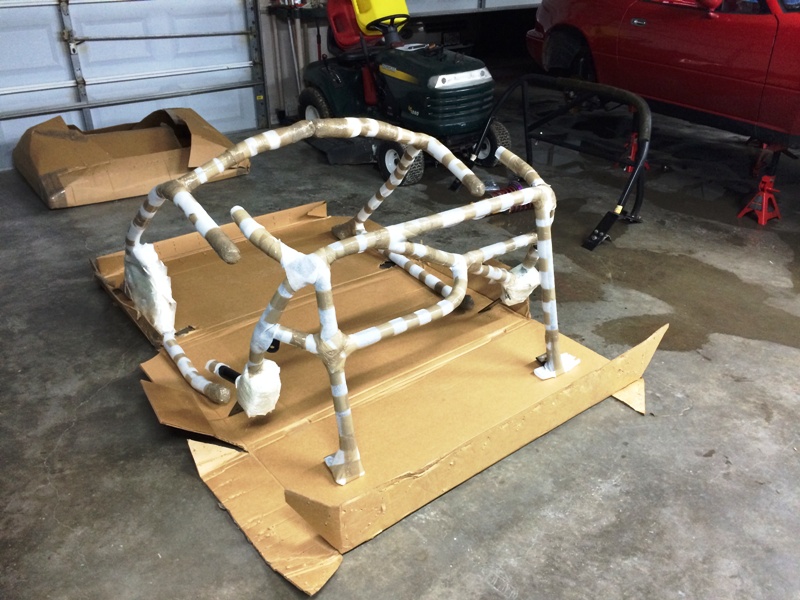
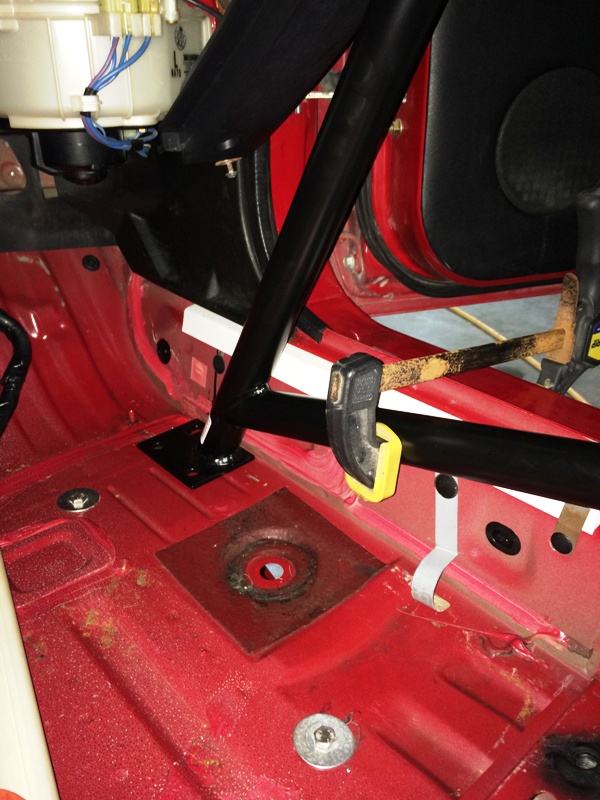
I had hoped that since I pulled out a Hard Dog Sport that I would be able to re-use the holes. Alas, no such luck. Also, whoever installed the previous roll bar neglected to install these bolts into the OEM seat belt structure.
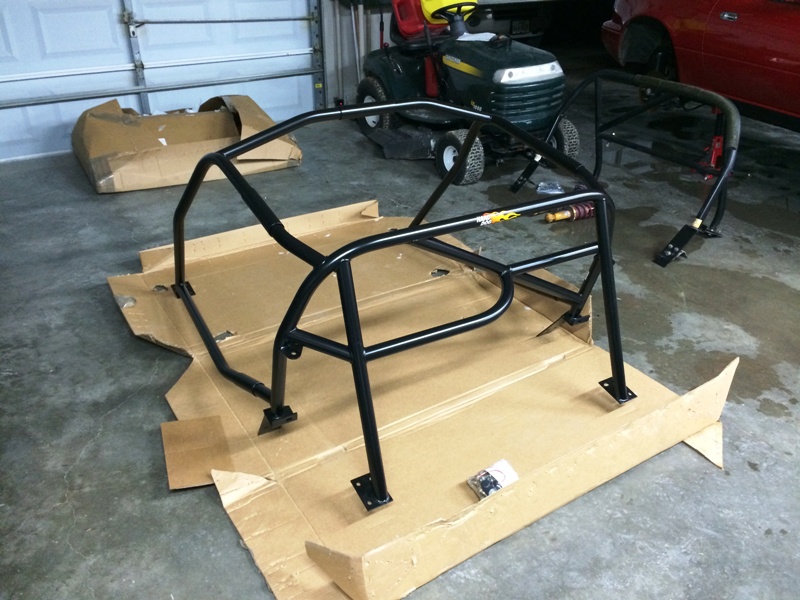
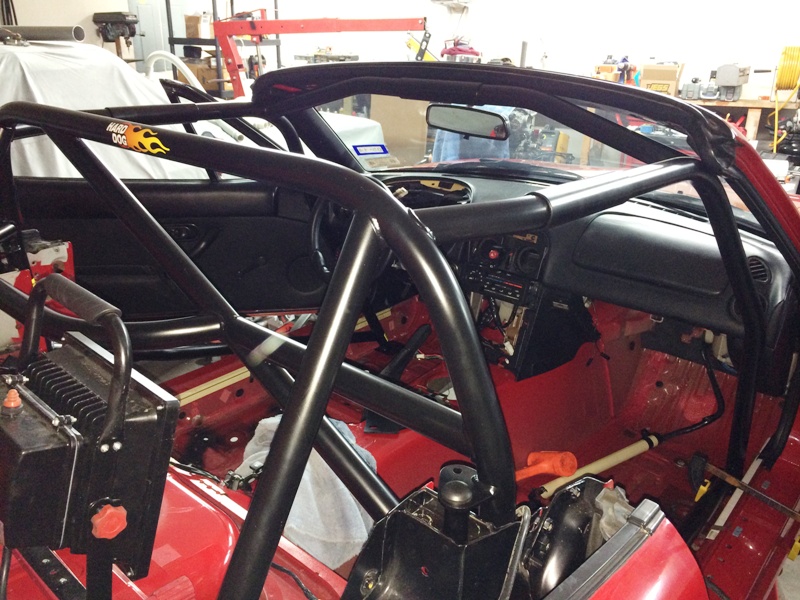
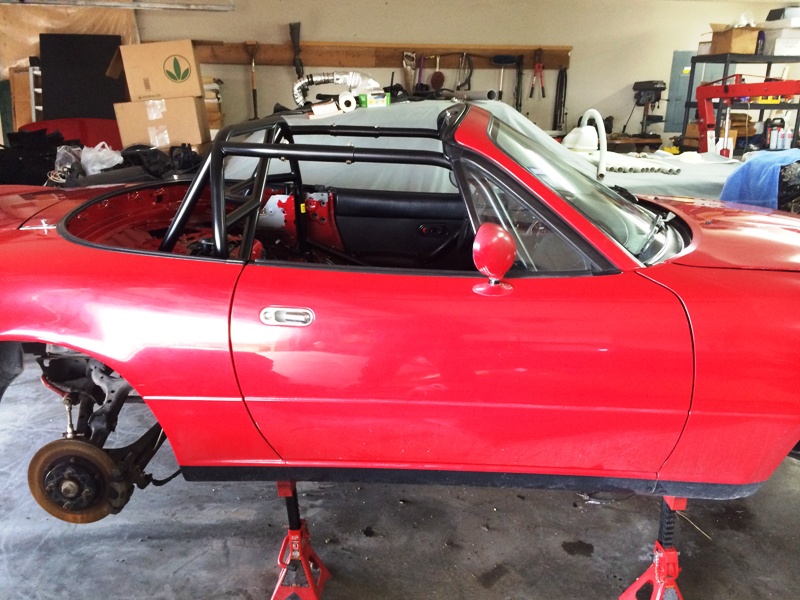
"Roll bar" part of the cage installed.

Hard Dog definitely has their roll cage jig figured out. Fit was tight!

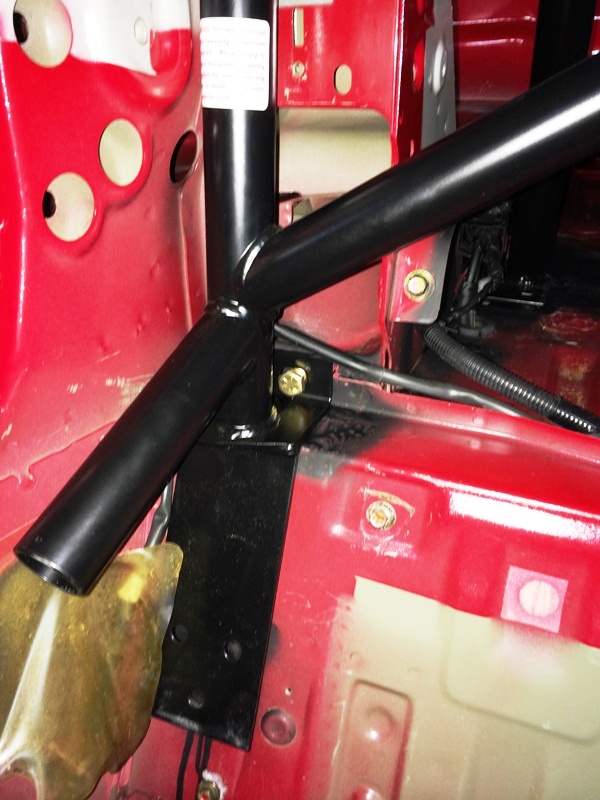
I used a clamp to hold the roll cage foot as far over as possible while securing:
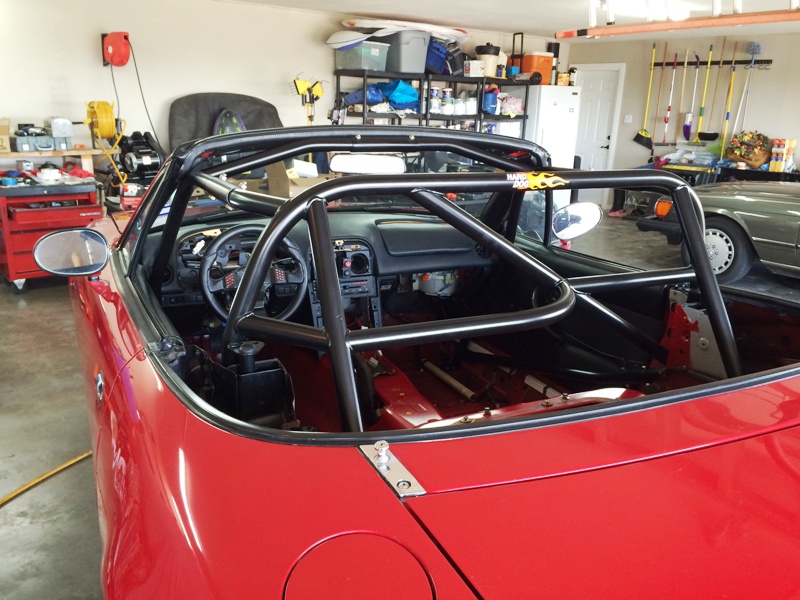
Tada!!!
First order of business was to pull the existing roll bar (HD Sport SD) and all carpeting. Then it was time for a Jeffbucc style scrubbing. With body plugs pulled, Used engine degreaser, a brush and a hose in the trunk and interior of the car. These are some shots post-cleaning:
Swiss cheese car. PO's skill with a hammer is only exceeded by his skill with a power drill. I guess you could call it lightening. LOL. Spent a bunch of time with a hammer and dolly straightening out the floor pan where it had been crushed by the PO's seat/harness install.
Shelf area cleaned up nicely.
As did the trunk.
One area of concern is the ECU location behind the passenger seat. You can see that the ECU harness goes through the area that the cage will occupy. Plus, without carpeting, it's not well protected. I'm thinking about shortening the harness and locating the MSPNP in the 1.6 location. I've got a spare kick panel and all the studs are in place on the body to support it. Open to suggestions though. I did notice some of the ECU wires were worn through where the PO had pinched them with his harness installation -- so maybe shortening and cutting out that bad section is the way to go (although I'm definitely not looking forward to it).
I knew I had some holes to fill, so I bought this kit for cheap off e-bay. The 1" size rubber plug was the perfect size for the antenna hole.
Hard Dog Roll Cage. I can tell you that unpacking this takes 3X as long as unpacking a roll bar.
I had hoped that since I pulled out a Hard Dog Sport that I would be able to re-use the holes. Alas, no such luck. Also, whoever installed the previous roll bar neglected to install these bolts into the OEM seat belt structure.
"Roll bar" part of the cage installed.
Hard Dog definitely has their roll cage jig figured out. Fit was tight!
I used a clamp to hold the roll cage foot as far over as possible while securing:
Tada!!!
Reply
2
2

Thread Starter
Elite Member
iTrader: (4)
Joined: Mar 2008
Posts: 6,301
Total Cats: 697
From: Granbury, TX
The install was really straightforward. Hat's off to Hard Dog for parts that fit really well.
This cage is also reversible. Custom weld-in cages are where it's at if you're doing real W2W. But I'm just doing HPDE and TT. Wasn't ready to do something as permanent as a weld-in cage.
This cage is also reversible. Custom weld-in cages are where it's at if you're doing real W2W. But I'm just doing HPDE and TT. Wasn't ready to do something as permanent as a weld-in cage.
Reply
0
0

Elite Member
Joined: Oct 2013
Posts: 2,764
Total Cats: 951
From: Cedar City, UT
Damn, good job on the cage and cleaning the interior. I think you had less rust than I did I the floor pans.
Also, I wish I would have used a giant clamp to pull the door bars as far to the side as you did. Probably would have given me another 1/4"-1/2" of space for the seat bolsters.
Nice!
Also, I wish I would have used a giant clamp to pull the door bars as far to the side as you did. Probably would have given me another 1/4"-1/2" of space for the seat bolsters.
Nice!
Reply
0
0

Junior Member
Joined: Mar 2013
Posts: 111
Total Cats: 42
From: Redmond, WA
That cage is awesome! I've been wondering if one was to swap to a different hard dog roll bar, if it would fit in the same mounting holes... I've been thinking about swapping in a double diagonal one in place of my current one with no diagonals.
Reply
0
0
Thread Starter
Elite Member
iTrader: (4)
Joined: Mar 2008
Posts: 6,301
Total Cats: 697
From: Granbury, TX
Now that's high praise if I ever heard it!
I think the issue I had is that the original bar was pretty old, 2001 vintage. In that time, Hard Dog's jigs have probably changed. Also, stepping from a Sport Bar to a Roll Cage is a pretty big step. In your case, the holes might match.
I think the issue I had is that the original bar was pretty old, 2001 vintage. In that time, Hard Dog's jigs have probably changed. Also, stepping from a Sport Bar to a Roll Cage is a pretty big step. In your case, the holes might match.
Reply
1
1
Right! lol back when I had my 1.8 dash I remember that sucker weighing a lot more than I thought it would have. I also noticed when I swapped to a 1.6 dash the 1.8 dash even without the airbag was much heavier. I think its do to all the support in the passenger side to keep that airbag in place when it explodes.
Reply
0
0
Elite Member
Joined: Oct 2013
Posts: 2,764
Total Cats: 951
From: Cedar City, UT
What are these airbags you speak of....
When I removed the stock steering wheel in my Jetta and put the Euro Golf R steering wheel in, I was terrified of the airbag blowing up in my face. I literally disconnected the battery, waited an hour for any charge to dissipate, pumped the brakes, and used a grounding strap.
Had a friend have one blow up in his face when he removed it and he had 2nd/3rd degree burns from his neck up, also a very bad case of whiplash.
There is a video of people putting them under couch cushions and igniting them when a friend sits down and I watch them and go, "well that is a good way to break someones back". Explosives are no joke.
Reply
0
0
Thread Starter
Elite Member
iTrader: (4)
Joined: Mar 2008
Posts: 6,301
Total Cats: 697
From: Granbury, TX
I followed the FSM recommended procedure, namely:
1. Battery disconnect.
2. Disconnect connectors in proper order.
3. Discharge static from body and remove bag.
The FSM also shows a cool SST for setting off the bag prior to disposal.
I used to fly while sitting on explosives (and while delivering explosives to intended recipients, LOL).
1. Battery disconnect.
2. Disconnect connectors in proper order.
3. Discharge static from body and remove bag.
The FSM also shows a cool SST for setting off the bag prior to disposal.
I used to fly while sitting on explosives (and while delivering explosives to intended recipients, LOL).
Reply
1
1
Junior Member
Joined: Mar 2013
Posts: 111
Total Cats: 42
From: Redmond, WA
Woot! I'll look more into it. Thanks
Reply
0
0
When I removed mine I kept my face outside of the car. lol I disconnected the battery pumped the brakes etc etc. while either being under the dash or outside the car snaking my arms around the a pillar. Im only 5ft 9 and my arms arent exactly long. My biggest fear was it hitting my face. I did the same thing with the steering wheel. Until the bag was out I never sat in front of it.
Reply
0
0

Elite Member
Joined: Jul 2007
Posts: 3,215
Total Cats: 151
From: Houston, TX
You should add the 99-05 subframes will you have it all torn apart, keeping carpet is nice as dust collects in your garage and on your first out lap blows all in your face, pull the bumpers and remove those big hunks of crash support metal, order a different rear bar.
Reply
0
0

I can't get over how clean that chassis is.
Now is a good time to take a heat gun and remove the tar at the floor drains in the passenger compartment, and in the trunk floor.
Now is a good time to take a heat gun and remove the tar at the floor drains in the passenger compartment, and in the trunk floor.
Reply
0
0


