
HornetBall's Build #2: Meet Red


Elite Member
Joined: Oct 2013
Posts: 2,764
Total Cats: 951
From: Cedar City, UT
Reply
 0
0

0


Joined: Sep 2010
Posts: 8,157
Total Cats: 1,094
From: Lake Forest, CA
Well as long as there are no trees along the side of the track you should be safe to ride with me for a session 
Looking forward to it.
Looking forward to it.
Reply
0
0
Joined: Sep 2010
Posts: 8,157
Total Cats: 1,094
From: Lake Forest, CA
Shh we are having a conversation. No words from you until track videos. :P
Reply
0
0

Junior Member
Joined: Apr 2013
Posts: 87
Total Cats: -4
From: Va
Man after reading this and Jeff's crazy miata 110% restore I really can't continue to mod my '94 at all.
:(
I can see it now, my wire wheel, brake cleaner and paint budget is going to greatly suffer
:(
I can see it now, my wire wheel, brake cleaner and paint budget is going to greatly suffer
Reply
0
0
Elite Member
Joined: Oct 2013
Posts: 2,764
Total Cats: 951
From: Cedar City, UT
I just love that this will be a reliable naturally aspirated go kart on the track. I'd love to see him turbo the hell out of it. Some day though, right Hornet?!
Reply
0
0

Dont loose hope little buddy. These arent the only build threads out there. Yeah they are some of the better ones but not the only ones. Plenty of low budget get the job done ones out there.
Reply
0
0

Thread Starter
Elite Member
iTrader: (4)
Joined: Mar 2008
Posts: 6,301
Total Cats: 697
From: Granbury, TX
Turbo or LS someday, maybe. OTOH, I really like driving on track, so maybe I'll leave this one alone and piddle with the silver car. Haven't been on track in a month and a half and it's bugging the heck out of me.
As for mod quality, whether you make it pretty or not is up to you. But quality and reliability go hand-in-hand. One eventually learns the axiom that there's never enough time to do it right, but always enough time to do it over -- and decides to try to do it right in the first place.
What I like about build threads is learning techniques that achieve simple, reliable, high-quality results. I make my own build threads for three reasons:
1. (Selfish) Others often point out when I've messed something up/could do something better/helpful ideas I never thought of.
2. (Unselfish) I've been at this for a while (including aircraft), and have some tricks that I hope others can use.
3. (Selfish) Sometimes I get props for #2. LOL.
The stickies, general knowledge, build threads and humor on this site keep me coming back. Everyday. Like crack.
Reply
2
2

How do you get the RTV on the brake ducts to cure properly? Last time I had it on an open (non-sealing) surface, it'd barely cure and stay goopey and sticky. Does it get rock hard or more rubbery?
Reply
0
0
Elite Member
Joined: Oct 2013
Posts: 2,764
Total Cats: 951
From: Cedar City, UT
You could also probably use shoe goo if you don't want to use RTV. May not have a ton of heat resistance but it is highly flexible and cures really nice. I use it on a ton of stuff that I need to have a little flex. Takes about 8-24 hours to cure fully but once it does it isn't going anywhere.
Reply
0
0

Glad I creep on this thread, I never knew about that rtv/fiberglass trick. Should come in handy now that my hardener is dried up, to bad I don't have anything to use it on yet.
I use the high temp silicone on basically anything and everything that would need it! I've heard people complain about it a lot. But it held up just fine on my turbo'd miata. I have never had any problems out of it and it's always been used on our race cars.
I use the high temp silicone on basically anything and everything that would need it! I've heard people complain about it a lot. But it held up just fine on my turbo'd miata. I have never had any problems out of it and it's always been used on our race cars.
Reply
0
0
Reply
0
0


Thread Starter
Elite Member
iTrader: (4)
Joined: Mar 2008
Posts: 6,301
Total Cats: 697
From: Granbury, TX
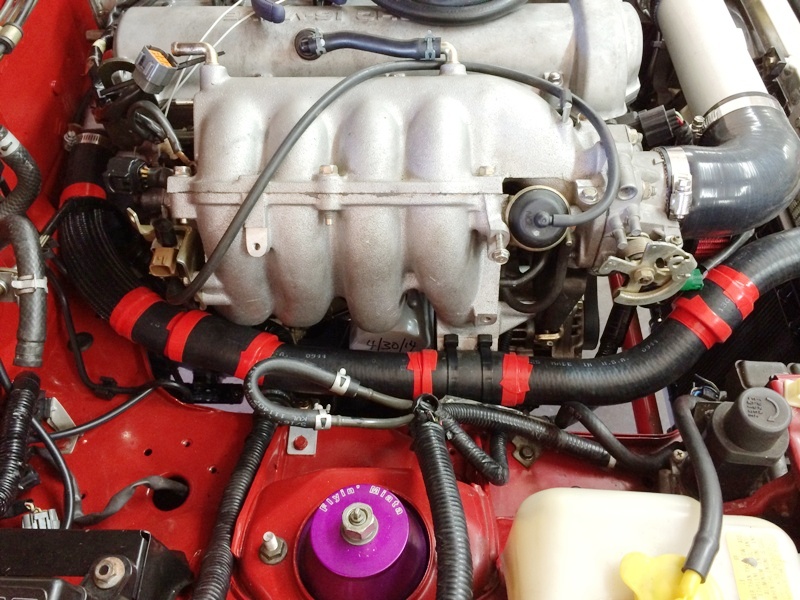
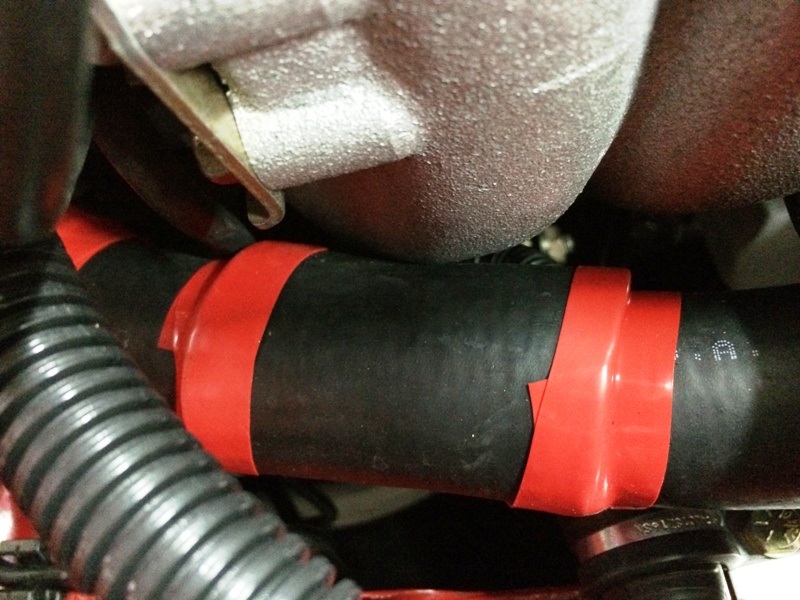
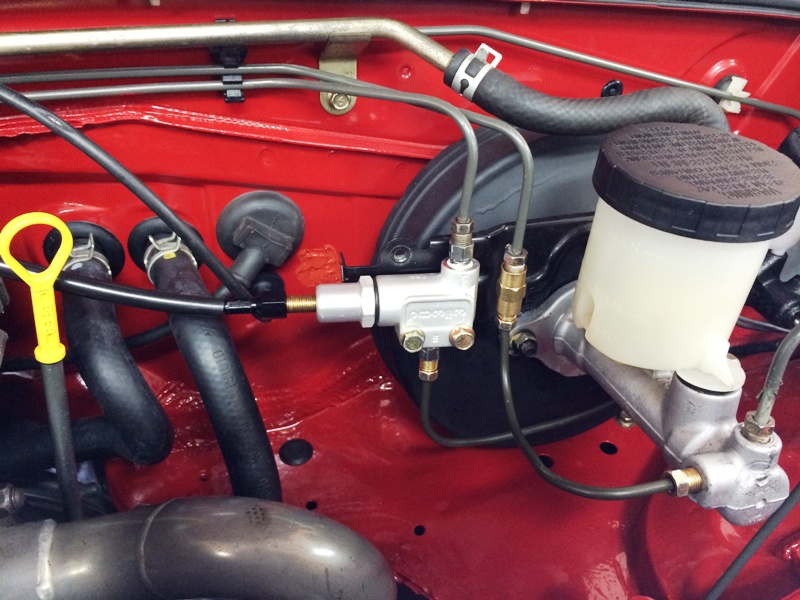
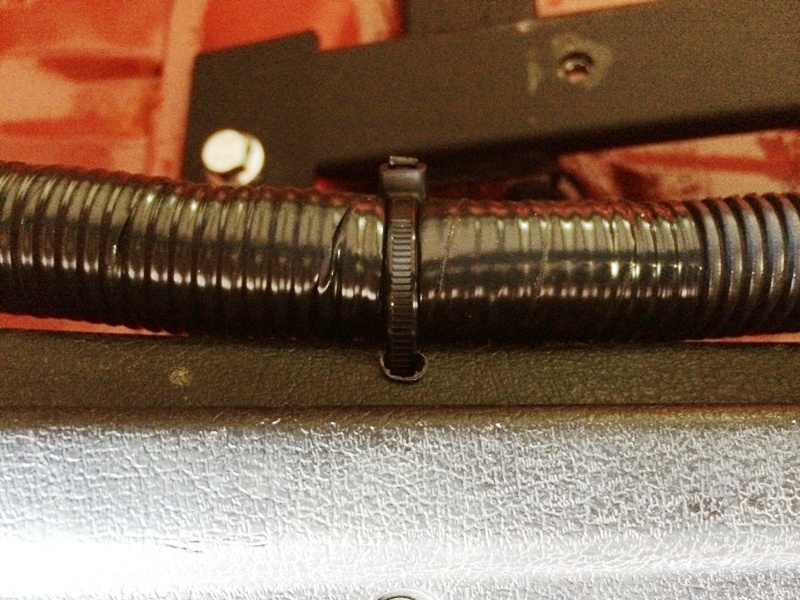
Reroute in. Added rub protection (cut from old radiator hose and secured with self-fusing silicone tape) in locations that had contact/potential contact:
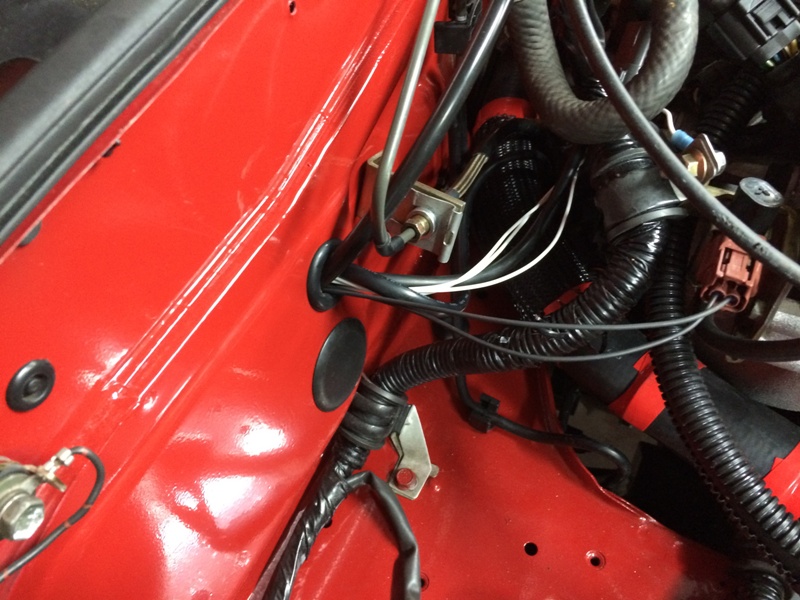
Busy hole (formerly upper evaporator hole). Things going through here:
1. WBO2
2. Oil Temp Sensor
3. Water Temp Sensor
4. ECU Ground
5. VICS + and Signal
6. Remote Brake Bias Adjuster Cable
7. MAP Line
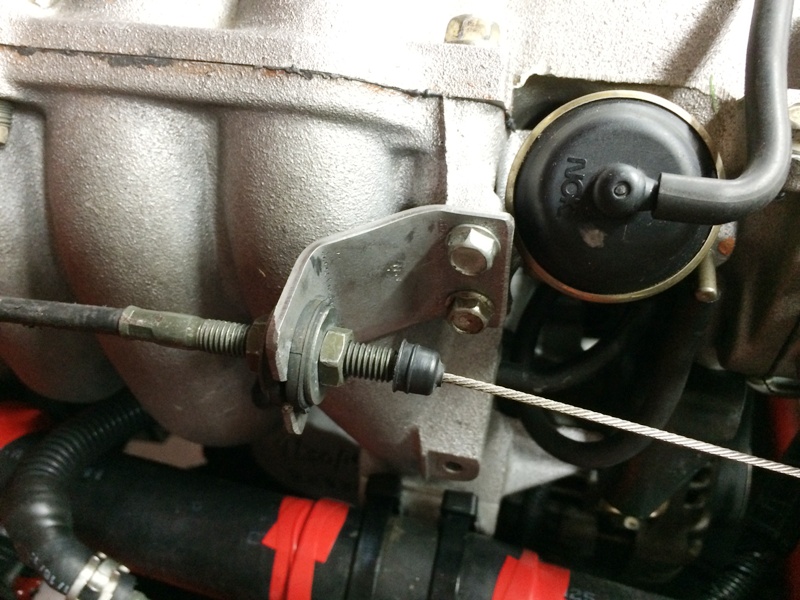
Bent up a throttle bracket to use the '95 throttle cable on the '99 head/IM. PO had used OEM '95 bracket and spaced it out with some nuts. Didn't like that.
Wilwood adjustable prop valve with remote adjustment. I got the remote kit from Summit (http://www.summitracing.com/parts/wi...4990/overview/). The cable length going from this point through the upper evaporator hole to the center pod was PERFECT.
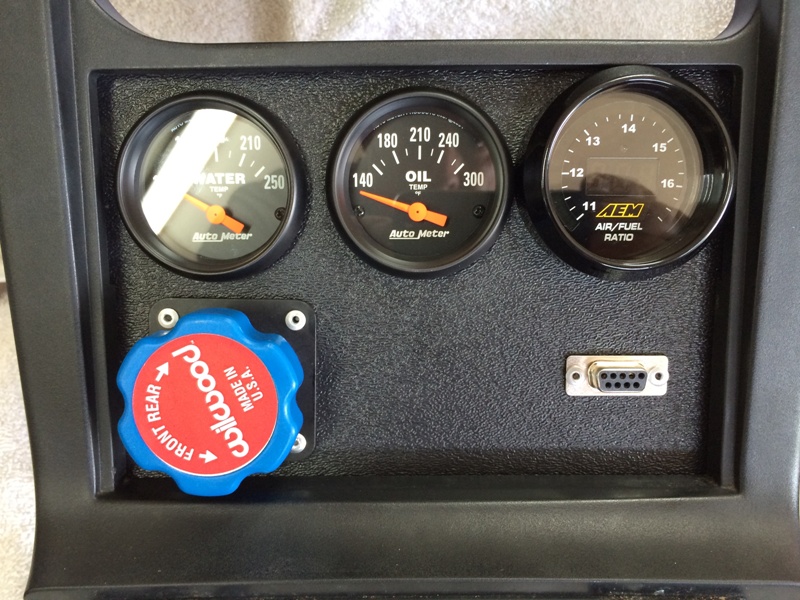
Business end of the pod. Connections to the car are through the OEM radio plug (for switched power and illumination), a 2-pin Molex (ECU ground and power for the VICS and AEM gauge), and a 9-pin D-sub (MS RS-232, Oil Temp Sensor and Water Temp Sensor):

Do yourself a favor and make a wiring diagram. In two years when you need to fix something, you'll be glad you have this.

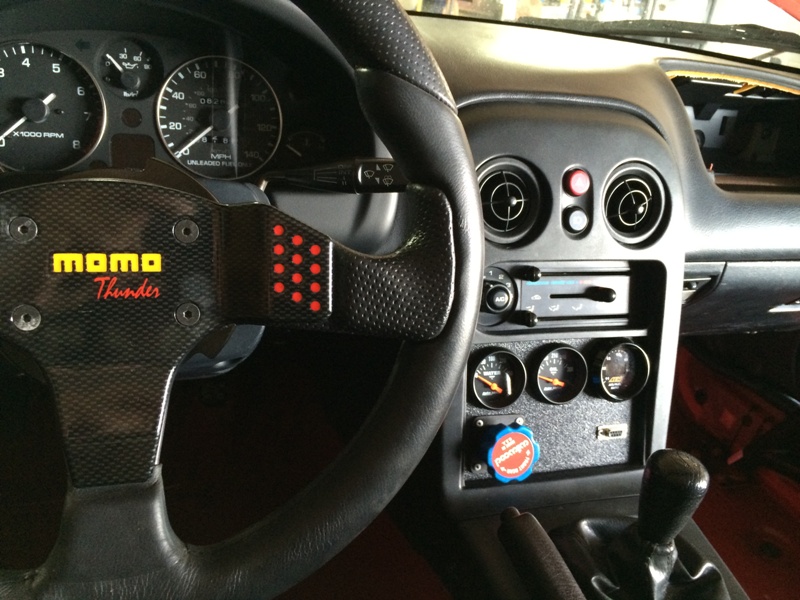
How it looks to the driver:
Fixed the wiring to the MS and protected/mounted the bundle. I found 5 ECU wires with insulation worn through and 1 that was separated from being pinched by the PO harness "install." I also fixed a bunch of wire tap damage. The bundle is now secure and protected. Mounted with wire ties to the door sill trim, which was easy and effective.

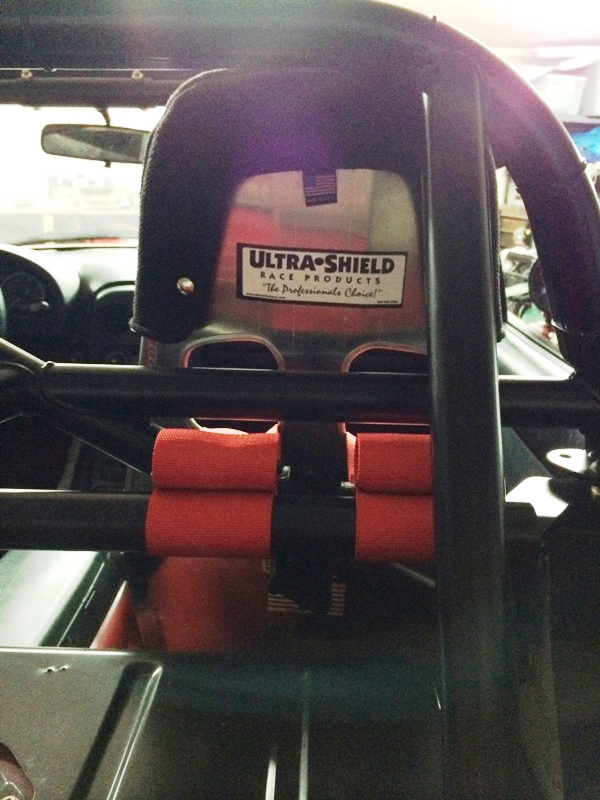
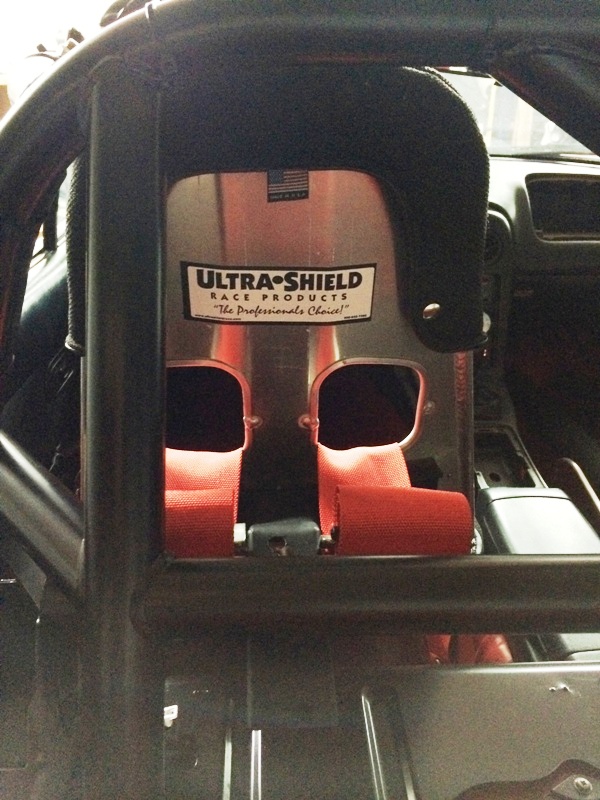
Harnesses installed.
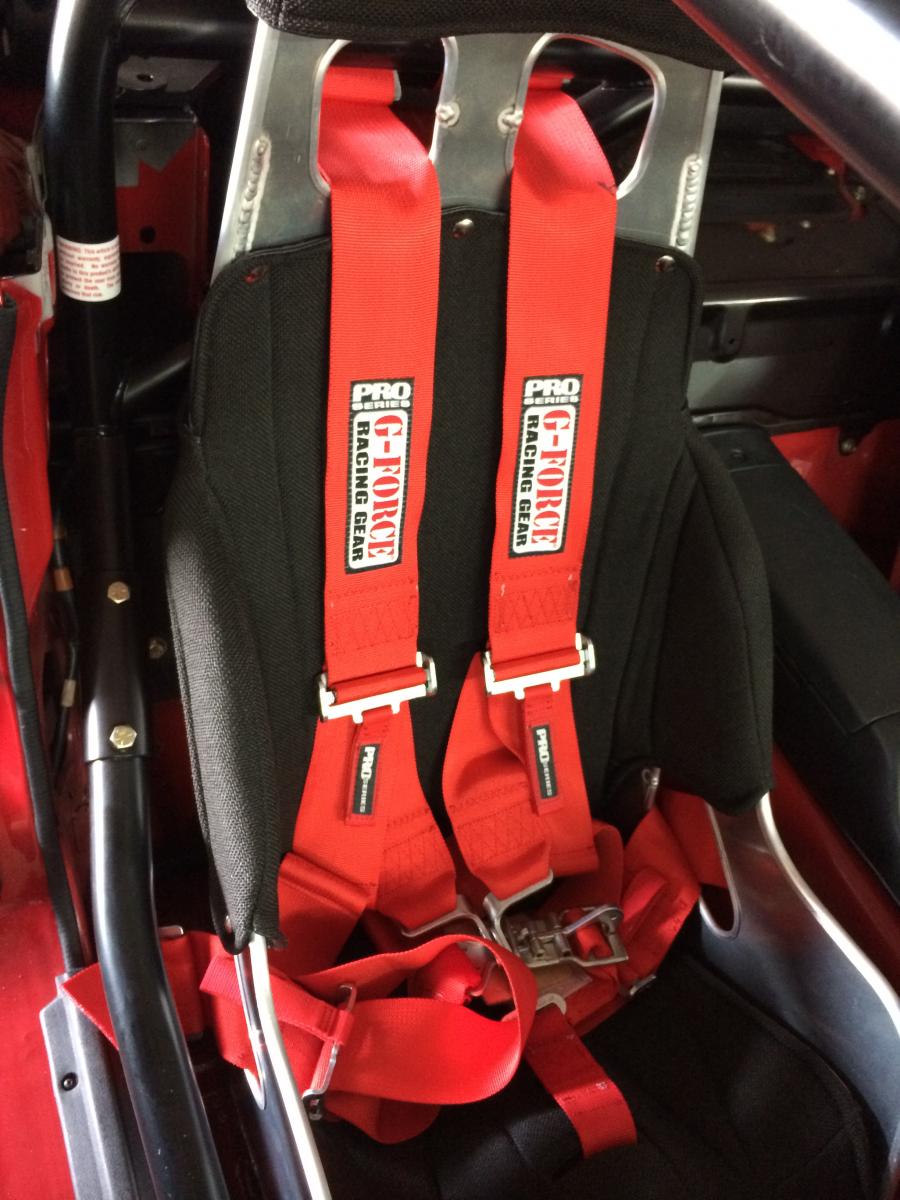
These are the pull-up type harnesses. I was surprised at how much webbing there was. The pro is that you can grab this with both hands and PULL. Snugs you in nicely and the spare webbing tucks under the shoulder straps.
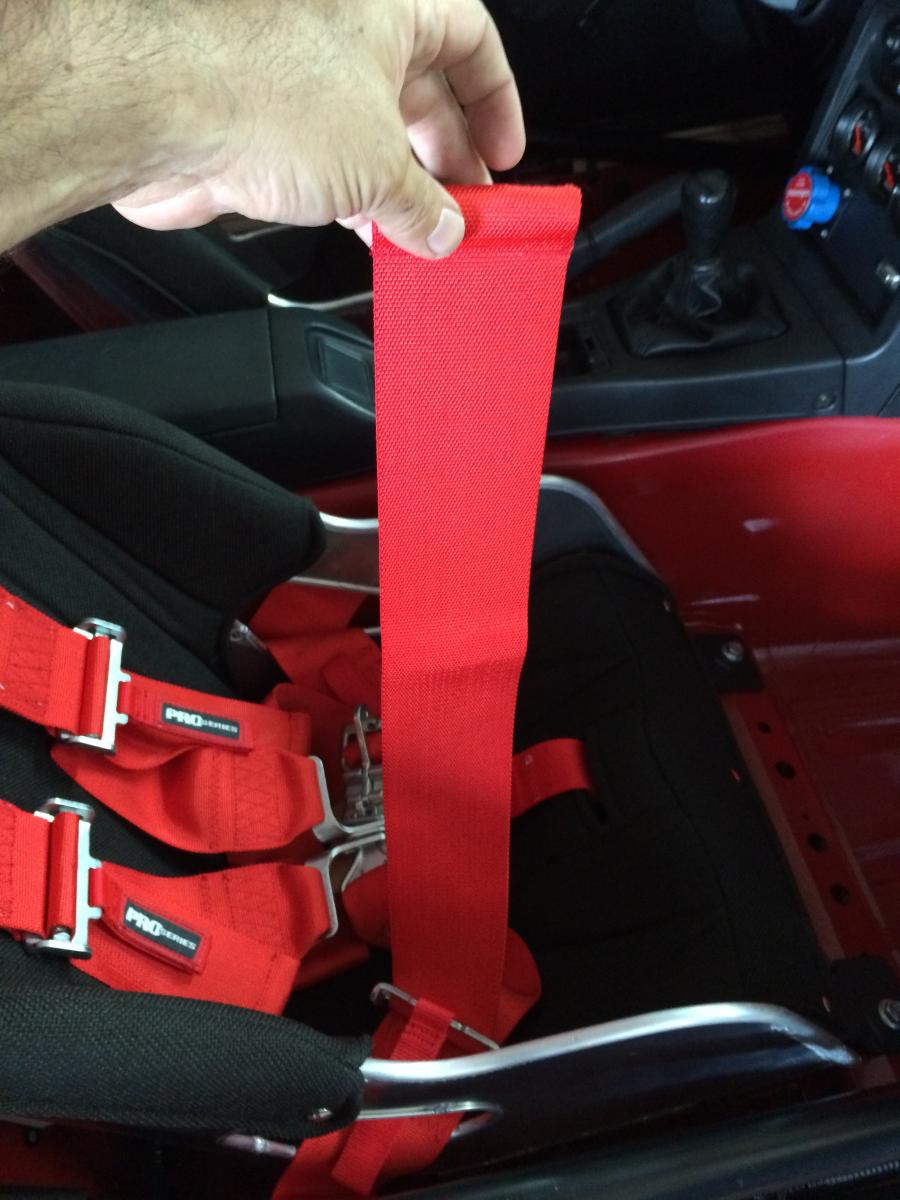
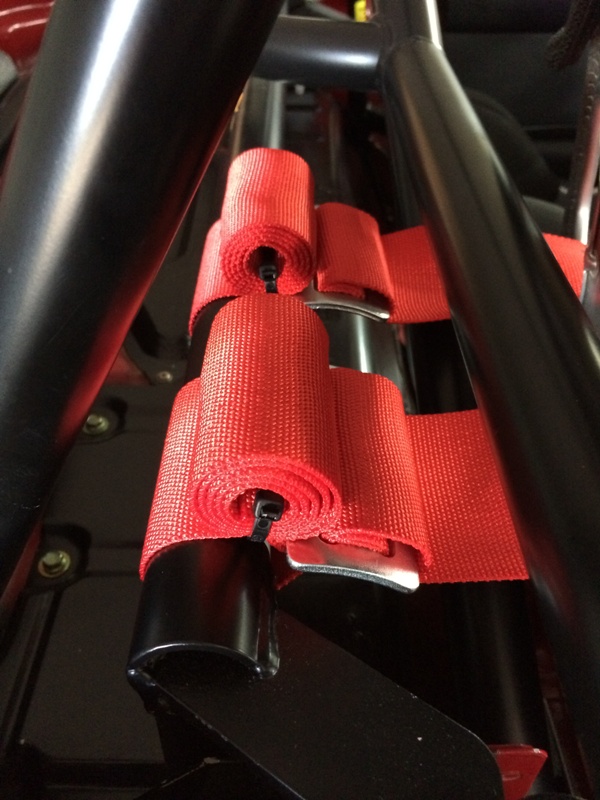
Lots of spare webbing for the shoulder straps too. This was expected. The Scroth instructions recommended rolling and tie-wrapping the excess. That worked well.
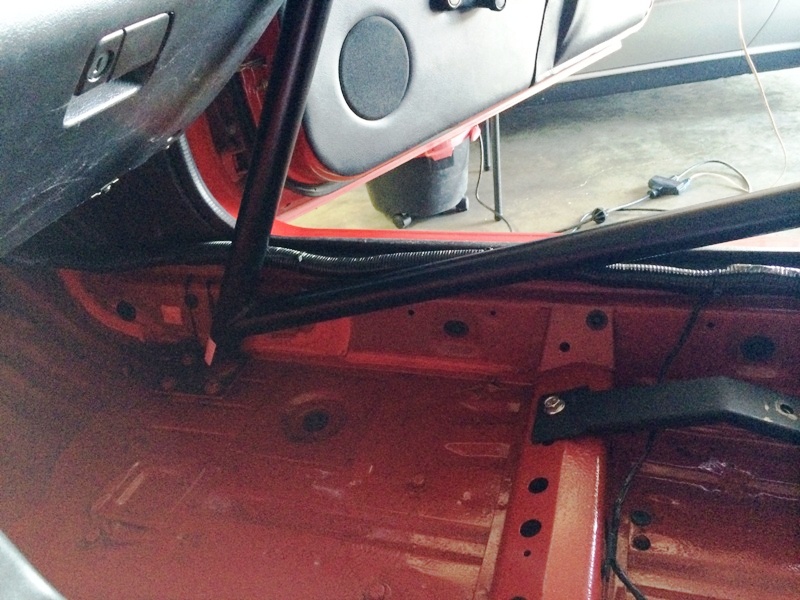
With the added on harness-bar, shoulder harness locations are ideal.
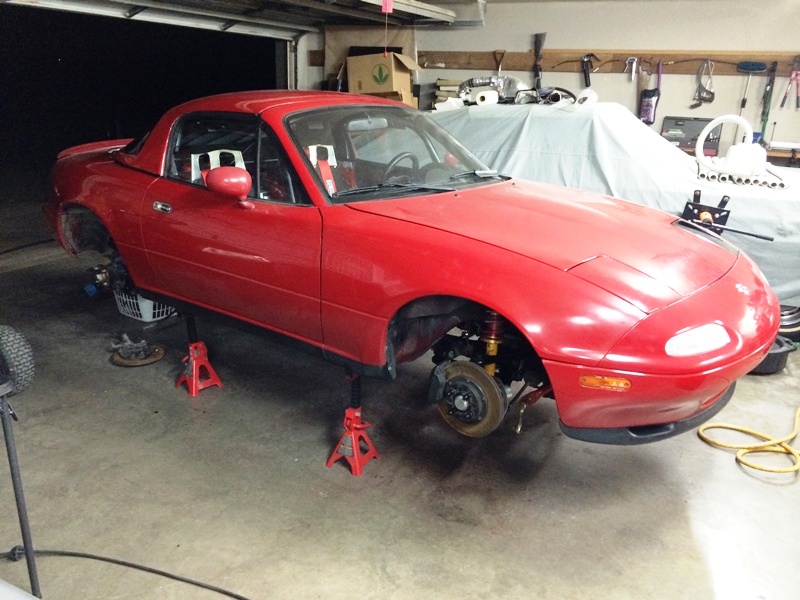
Also installed cage padding and put the hardtop back on! Another milestone.
It's amazing how much time all this detail work eats up. Really, really close to firing it up and giving you gays some track vid!
Busy hole (formerly upper evaporator hole). Things going through here:
1. WBO2
2. Oil Temp Sensor
3. Water Temp Sensor
4. ECU Ground
5. VICS + and Signal
6. Remote Brake Bias Adjuster Cable
7. MAP Line
Bent up a throttle bracket to use the '95 throttle cable on the '99 head/IM. PO had used OEM '95 bracket and spaced it out with some nuts. Didn't like that.
Wilwood adjustable prop valve with remote adjustment. I got the remote kit from Summit (http://www.summitracing.com/parts/wi...4990/overview/). The cable length going from this point through the upper evaporator hole to the center pod was PERFECT.
Business end of the pod. Connections to the car are through the OEM radio plug (for switched power and illumination), a 2-pin Molex (ECU ground and power for the VICS and AEM gauge), and a 9-pin D-sub (MS RS-232, Oil Temp Sensor and Water Temp Sensor):
Do yourself a favor and make a wiring diagram. In two years when you need to fix something, you'll be glad you have this.
How it looks to the driver:
Fixed the wiring to the MS and protected/mounted the bundle. I found 5 ECU wires with insulation worn through and 1 that was separated from being pinched by the PO harness "install." I also fixed a bunch of wire tap damage. The bundle is now secure and protected. Mounted with wire ties to the door sill trim, which was easy and effective.
Harnesses installed.
These are the pull-up type harnesses. I was surprised at how much webbing there was. The pro is that you can grab this with both hands and PULL. Snugs you in nicely and the spare webbing tucks under the shoulder straps.
Lots of spare webbing for the shoulder straps too. This was expected. The Scroth instructions recommended rolling and tie-wrapping the excess. That worked well.
With the added on harness-bar, shoulder harness locations are ideal.
Also installed cage padding and put the hardtop back on! Another milestone.
It's amazing how much time all this detail work eats up. Really, really close to firing it up and giving you gays some track vid!
Last edited by hornetball; May 19, 2014 at 01:49 PM.
Reply
2
2

Looks good, looks real good. Alternatively you can just let the excess shoulder harness webbing down between the seat and package shelf, you'll never notice it. It's kind of a moot point though.
You should add a launch control switch to that dash, with the MSPNP you have, it's a simple job of wiring pin 11 of the center connector to the switch, and the other side to pin 12 and enabling it in TS. It's epically fun.
You should add a launch control switch to that dash, with the MSPNP you have, it's a simple job of wiring pin 11 of the center connector to the switch, and the other side to pin 12 and enabling it in TS. It's epically fun.
Reply
0
0
Joined: Sep 2010
Posts: 8,157
Total Cats: 1,094
From: Lake Forest, CA
Haha... they have it on a normally aspirated 1.6 and it's plenty fun. You'd love it on your car.
Reply
0
0


