
HornetBall's Build #2: Meet Red


Thread Starter
Elite Member
iTrader: (4)
Joined: Mar 2008
Posts: 6,301
Total Cats: 697
From: Granbury, TX
One note of caution, with a turbo most just cut a hole for the air filter (i.e., no flanges). This provides room for engine motion. With this normally aspirated setup, I have a few feet and 3 silicon couplers to provide "give."
Funny story, bulb trim seal came from Egypt and had to be picked up at the local post office. Should have seen the looks my wife got as she went to pick up a non-descript package from the Middle East in a small-town post office in Texas. LOL. I'm always amazed at how the internet enables worldwide commerce.
Funny story, bulb trim seal came from Egypt and had to be picked up at the local post office. Should have seen the looks my wife got as she went to pick up a non-descript package from the Middle East in a small-town post office in Texas. LOL. I'm always amazed at how the internet enables worldwide commerce.
Reply
 0
0

0


Joined: Sep 2010
Posts: 8,157
Total Cats: 1,094
From: Lake Forest, CA
I like Violas too, but I think you meant Voila 
Looks awesome.
Looks awesome.
Reply
0
0

Joined: Sep 2010
Posts: 8,157
Total Cats: 1,094
From: Lake Forest, CA

Reply
0
0
Joined: Sep 2010
Posts: 8,157
Total Cats: 1,094
From: Lake Forest, CA

Reply
0
0

Well damn, that airbox is brilliant. Will have to do one of my own once i'm on the new turbo setup (no time to waste fabbing stuff around my current t25 ).
Props.
).Props.
Reply
0
0

Elite Member
Joined: Oct 2013
Posts: 2,764
Total Cats: 951
From: Cedar City, UT
Reply
0
0

Thread Starter
Elite Member
iTrader: (4)
Joined: Mar 2008
Posts: 6,301
Total Cats: 697
From: Granbury, TX
Justin, where's a good place for a quickie alignment on the Konis? When the Xidas go on next month, I'll be going to MER for setup/corner weighting. But right now I just need something good enough for a track day.
Reply
0
0
Thread Starter
Elite Member
iTrader: (4)
Joined: Mar 2008
Posts: 6,301
Total Cats: 697
From: Granbury, TX
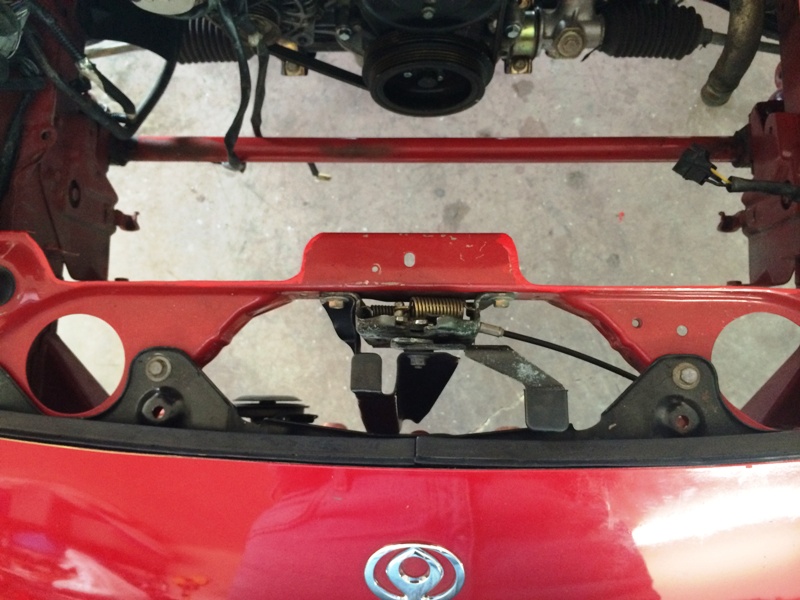
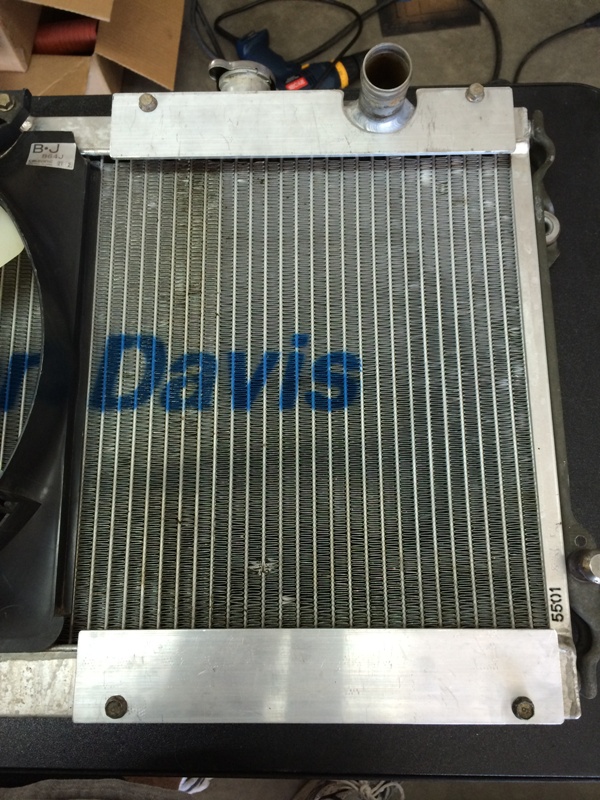
Radiator Cover:
Issue -- large holes including some large openings that were made for a TDR over-the-radiator intercooler installation. Radiator sealing is desperately needed.
I have a TDR cover on the silver car and used it as a pattern. Used a dremel router attachment to cut it out of ABS. I left some overhang to make a bend and cover the large intercooler cutouts. This is my bending rig.
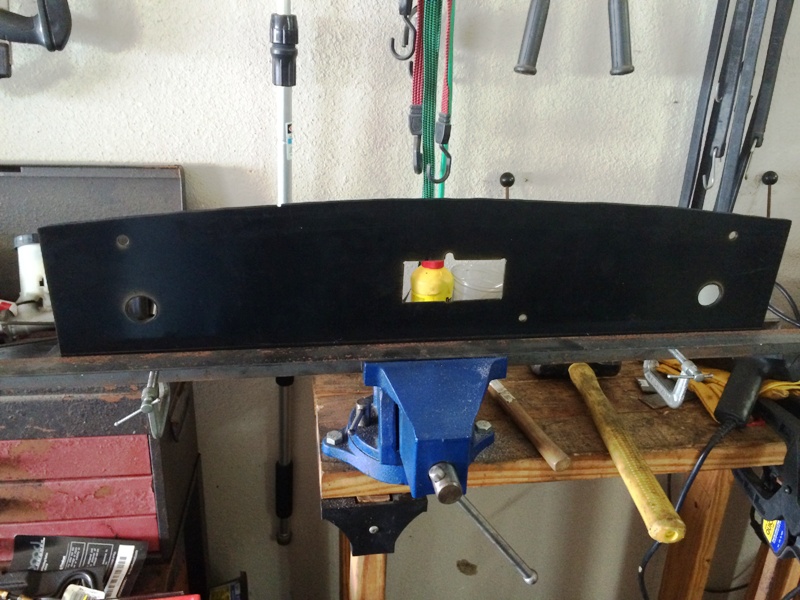
Apply a LOT of heat with a heat gun. Once the ABS gets soft, bend away.
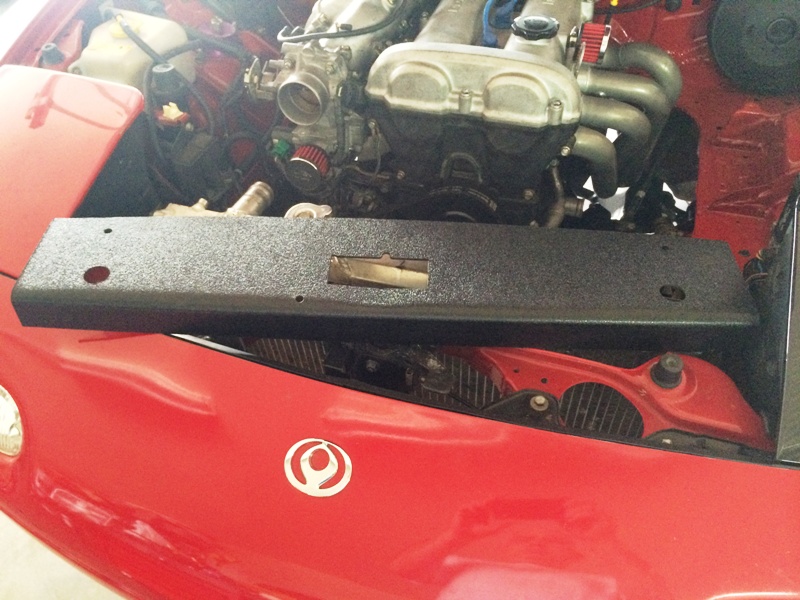
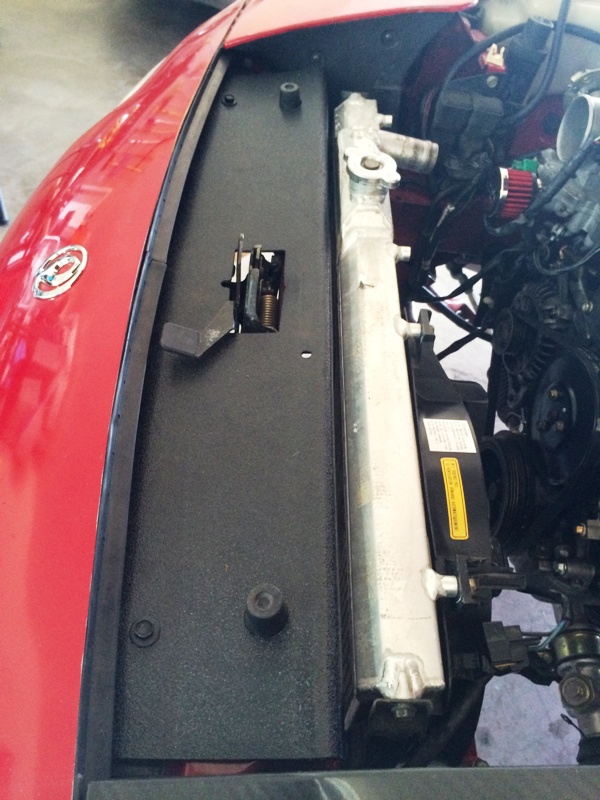
Not too shabby. Radiator should work better now.
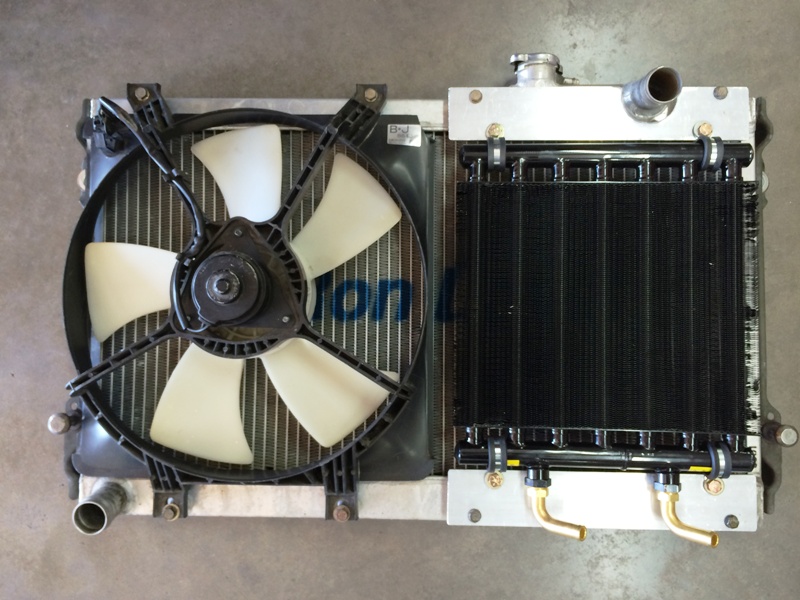
Oil Cooler Mount:
Used 1/8" x 3" aluminum. Drilled holes to re-use the mounting points for the AC fan.
Added threadserts for the Adel clamps.

All done. The cooler is both secure and vibration isolated.

Brake Ducts:
Issue, R-package spoiler cooling ducts aren't exactly designed to transition to SCAT hose:
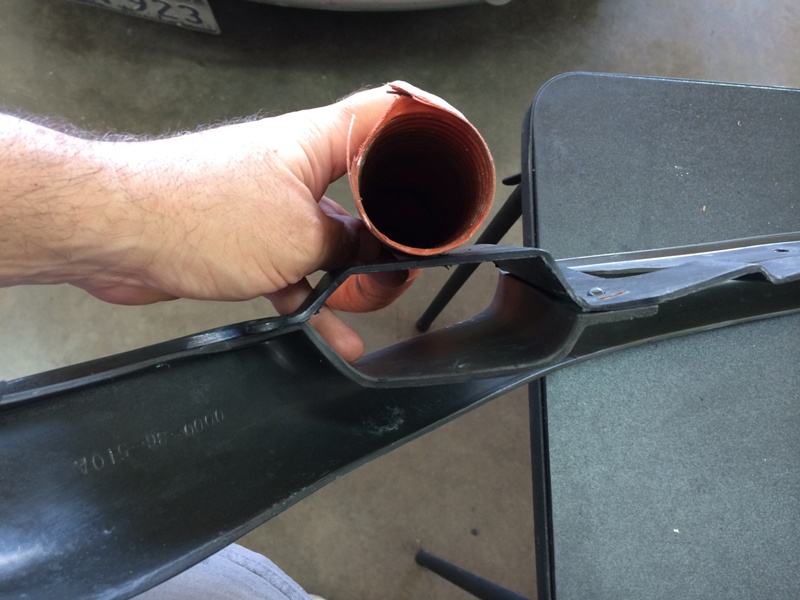
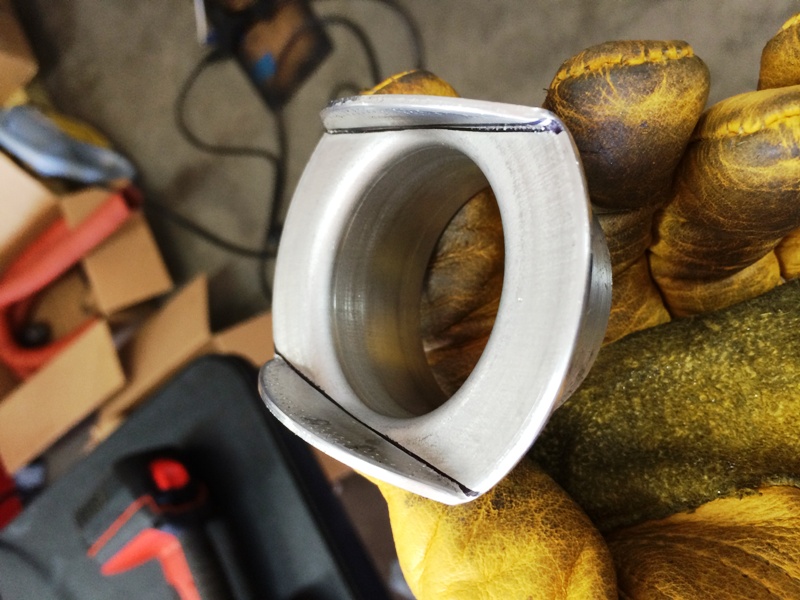
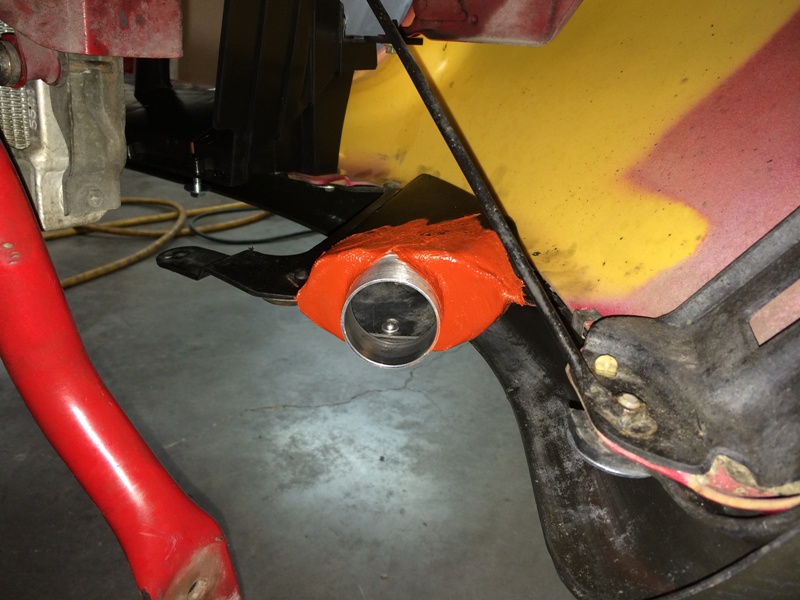
Aircraft Spruce & Specialty to the rescue. These are 2" flanges (similar to the ones used on the cold air box).
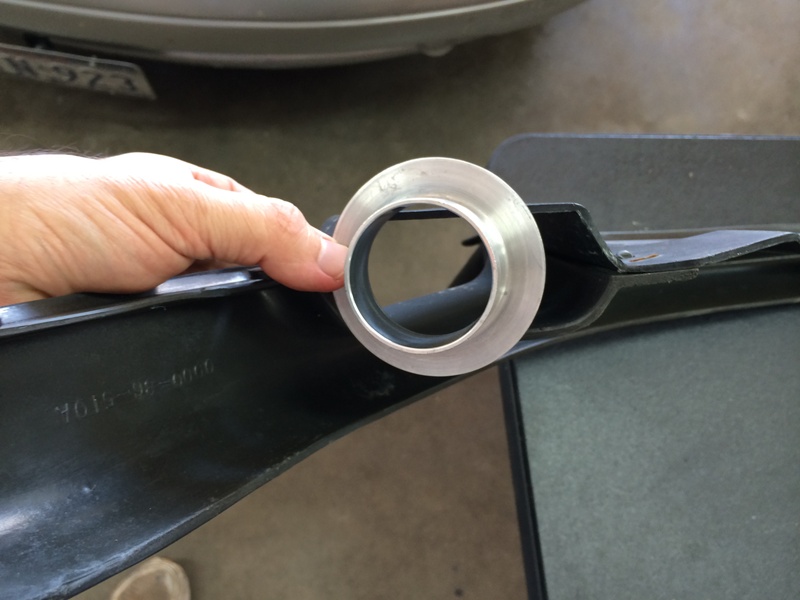
Annealed aluminum is really easy to bend.
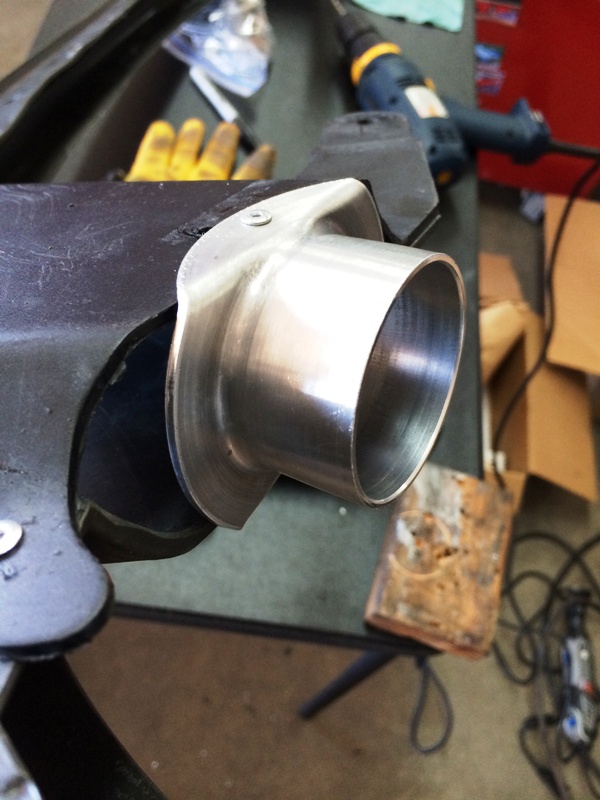
Pop riveted. Note that I still have some holes to cover.
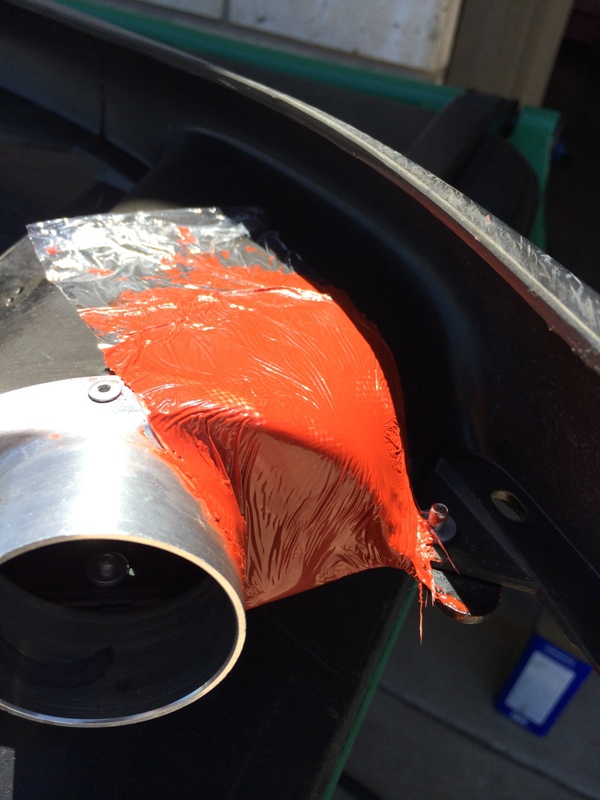
To cover the holes, I used some fiberglass and RTV. Make a sandwich (plastic wrap--RTV--fiberglass--RTV--plastic wrap).
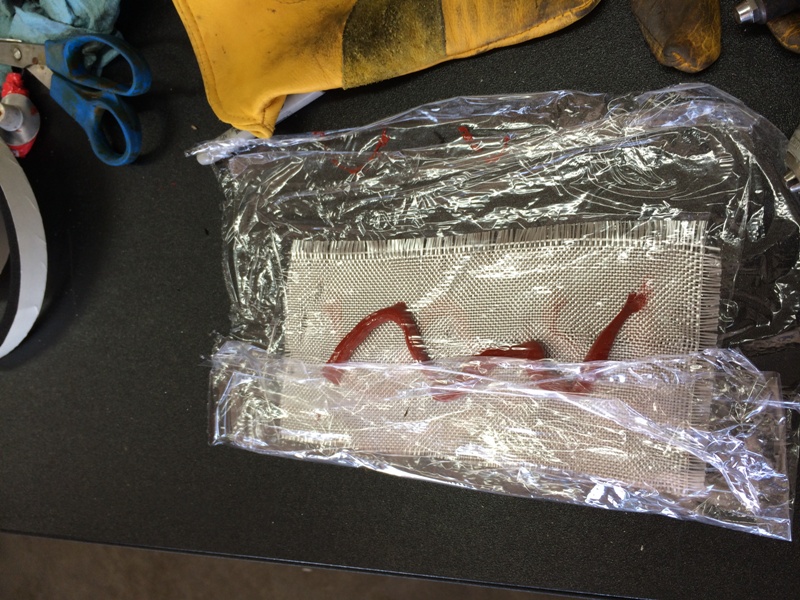
Work the RTV into the fiberglass. Note that the plastic wrap keeps air away from the RTV so it doesn't cure. You have lots of time to do this.

Once the RTV is pressed into the fiberglass, cut strips as needed. It cuts easily.
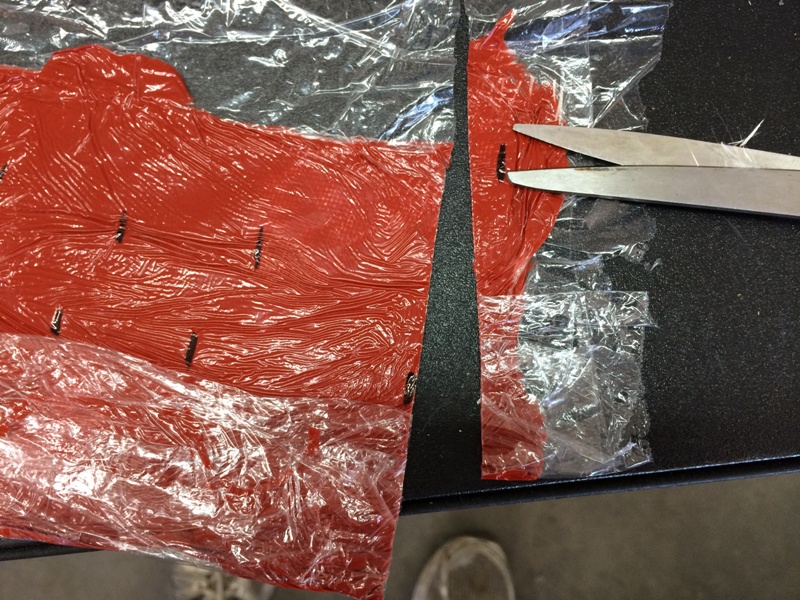
Pull the plastic wrap from one side to expose the RTV and apply to the hole you want sealed. This part gets messy--paper towels and paint thinner keeps things clean.
Once you're happy with the placement, pull off the outer layer of plastic wrap and allow to air cure. Here's the finished spoiler installed.
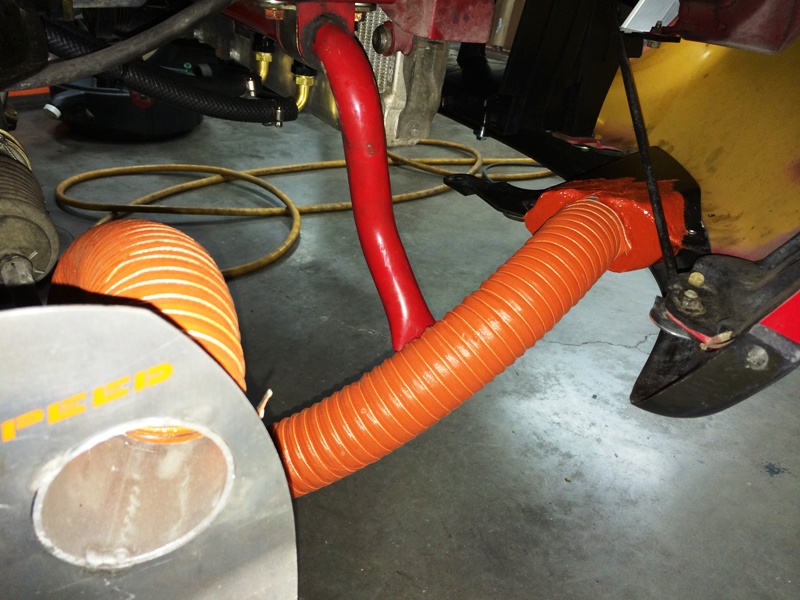
Mock-up with SCAT.
Issue -- large holes including some large openings that were made for a TDR over-the-radiator intercooler installation. Radiator sealing is desperately needed.
I have a TDR cover on the silver car and used it as a pattern. Used a dremel router attachment to cut it out of ABS. I left some overhang to make a bend and cover the large intercooler cutouts. This is my bending rig.
Apply a LOT of heat with a heat gun. Once the ABS gets soft, bend away.
Not too shabby. Radiator should work better now.
Oil Cooler Mount:
Used 1/8" x 3" aluminum. Drilled holes to re-use the mounting points for the AC fan.
Added threadserts for the Adel clamps.
All done. The cooler is both secure and vibration isolated.
Brake Ducts:
Issue, R-package spoiler cooling ducts aren't exactly designed to transition to SCAT hose:
Aircraft Spruce & Specialty to the rescue. These are 2" flanges (similar to the ones used on the cold air box).
Annealed aluminum is really easy to bend.
Pop riveted. Note that I still have some holes to cover.
To cover the holes, I used some fiberglass and RTV. Make a sandwich (plastic wrap--RTV--fiberglass--RTV--plastic wrap).
Work the RTV into the fiberglass. Note that the plastic wrap keeps air away from the RTV so it doesn't cure. You have lots of time to do this.
Once the RTV is pressed into the fiberglass, cut strips as needed. It cuts easily.
Pull the plastic wrap from one side to expose the RTV and apply to the hole you want sealed. This part gets messy--paper towels and paint thinner keeps things clean.
Once you're happy with the placement, pull off the outer layer of plastic wrap and allow to air cure. Here's the finished spoiler installed.
Mock-up with SCAT.
Reply
12
12


Thread Starter
Elite Member
iTrader: (4)
Joined: Mar 2008
Posts: 6,301
Total Cats: 697
From: Granbury, TX
I liked that it was "pre-finished." Plus, had never worked with it before and wanted to try it out. ABS is supposed to be good to 350F before getting soft. Given what I had to do with a heat gun to bend it, I believe that. Not appropriate for, like, a turbo heatshield. But around the radiator it's fine. OEM radiator is made from the stuff.
"Because racecar" means different things to different people.
Planning to sell them. Watch for a for sale thread.
Built the seatback braces today. Turned out better than I had hoped given the challenging geometry. I'll post pics tomorrow. This is the last of the heavy (i.e., welding) fab work. From here out, it's just assembly. Should be driving this week!
"Because racecar" means different things to different people.
Built the seatback braces today. Turned out better than I had hoped given the challenging geometry. I'll post pics tomorrow. This is the last of the heavy (i.e., welding) fab work. From here out, it's just assembly. Should be driving this week!
Reply
0
0


