When you click on links to various merchants on this site and make a purchase, this can result in this site earning a commission. Affiliate programs and affiliations include, but are not limited to, the eBay Partner Network.
The murdered out look might not be for everyone, but given the look of the rest of the car, the engine needed to keep with the theme. You'll probably notice that the engine is painted a flat black. This makes it easy to spot leaks if I ever have them.
Still waiting on oil pan stuff before moving forward from here, but I got the alternator painted gloss black late last week and mounted up.
Played around with some wrinkle black on the throttle body. Realized quick that I wasn't a fan of how the paint was laying down. Luckily, the poor spots in the wrinkle will be covered by an intake coupler and the rest looks pretty decent. Kept with gloss black engine enamel for the Kmiata IM as I was a fan of how it laid down on everything else I've already painted, then got to final assembly of the IM assembly. Love how it looks.
While waiting on Kmiata parts, I managed to squeeze in another set of NB2 retrofit lights for a customer. I'm VERY happy with how these turned out. Kept it simple and clean with these. With a little direction from me, the customer decided to save some money and not run halos, but instead spend money where it really makes a difference. I installed new Morimoto HB LED pods in the high beam area and tossed on some new lenses! The lenses were stolen off of a new set of the aftermarket NB2 headlights that you can get on eBay. For the most part, the lenses are a drop in replacement, but there are a few modifications you need to make to the lens and the NB2 bezel to get them to fit together properly.
I cannot say enough good things about the quality improvement of the Morimoto HB LED pods vs the Profile LED pods that I did on my previous set shown earlier. Much improved beam pattern and output on the Morimoto parts! I'm also a fan of how the projector lenses now look consistent for both the low and high beam regions. I gave everything a coat of gloss black paint, and you'd swear its OEM.
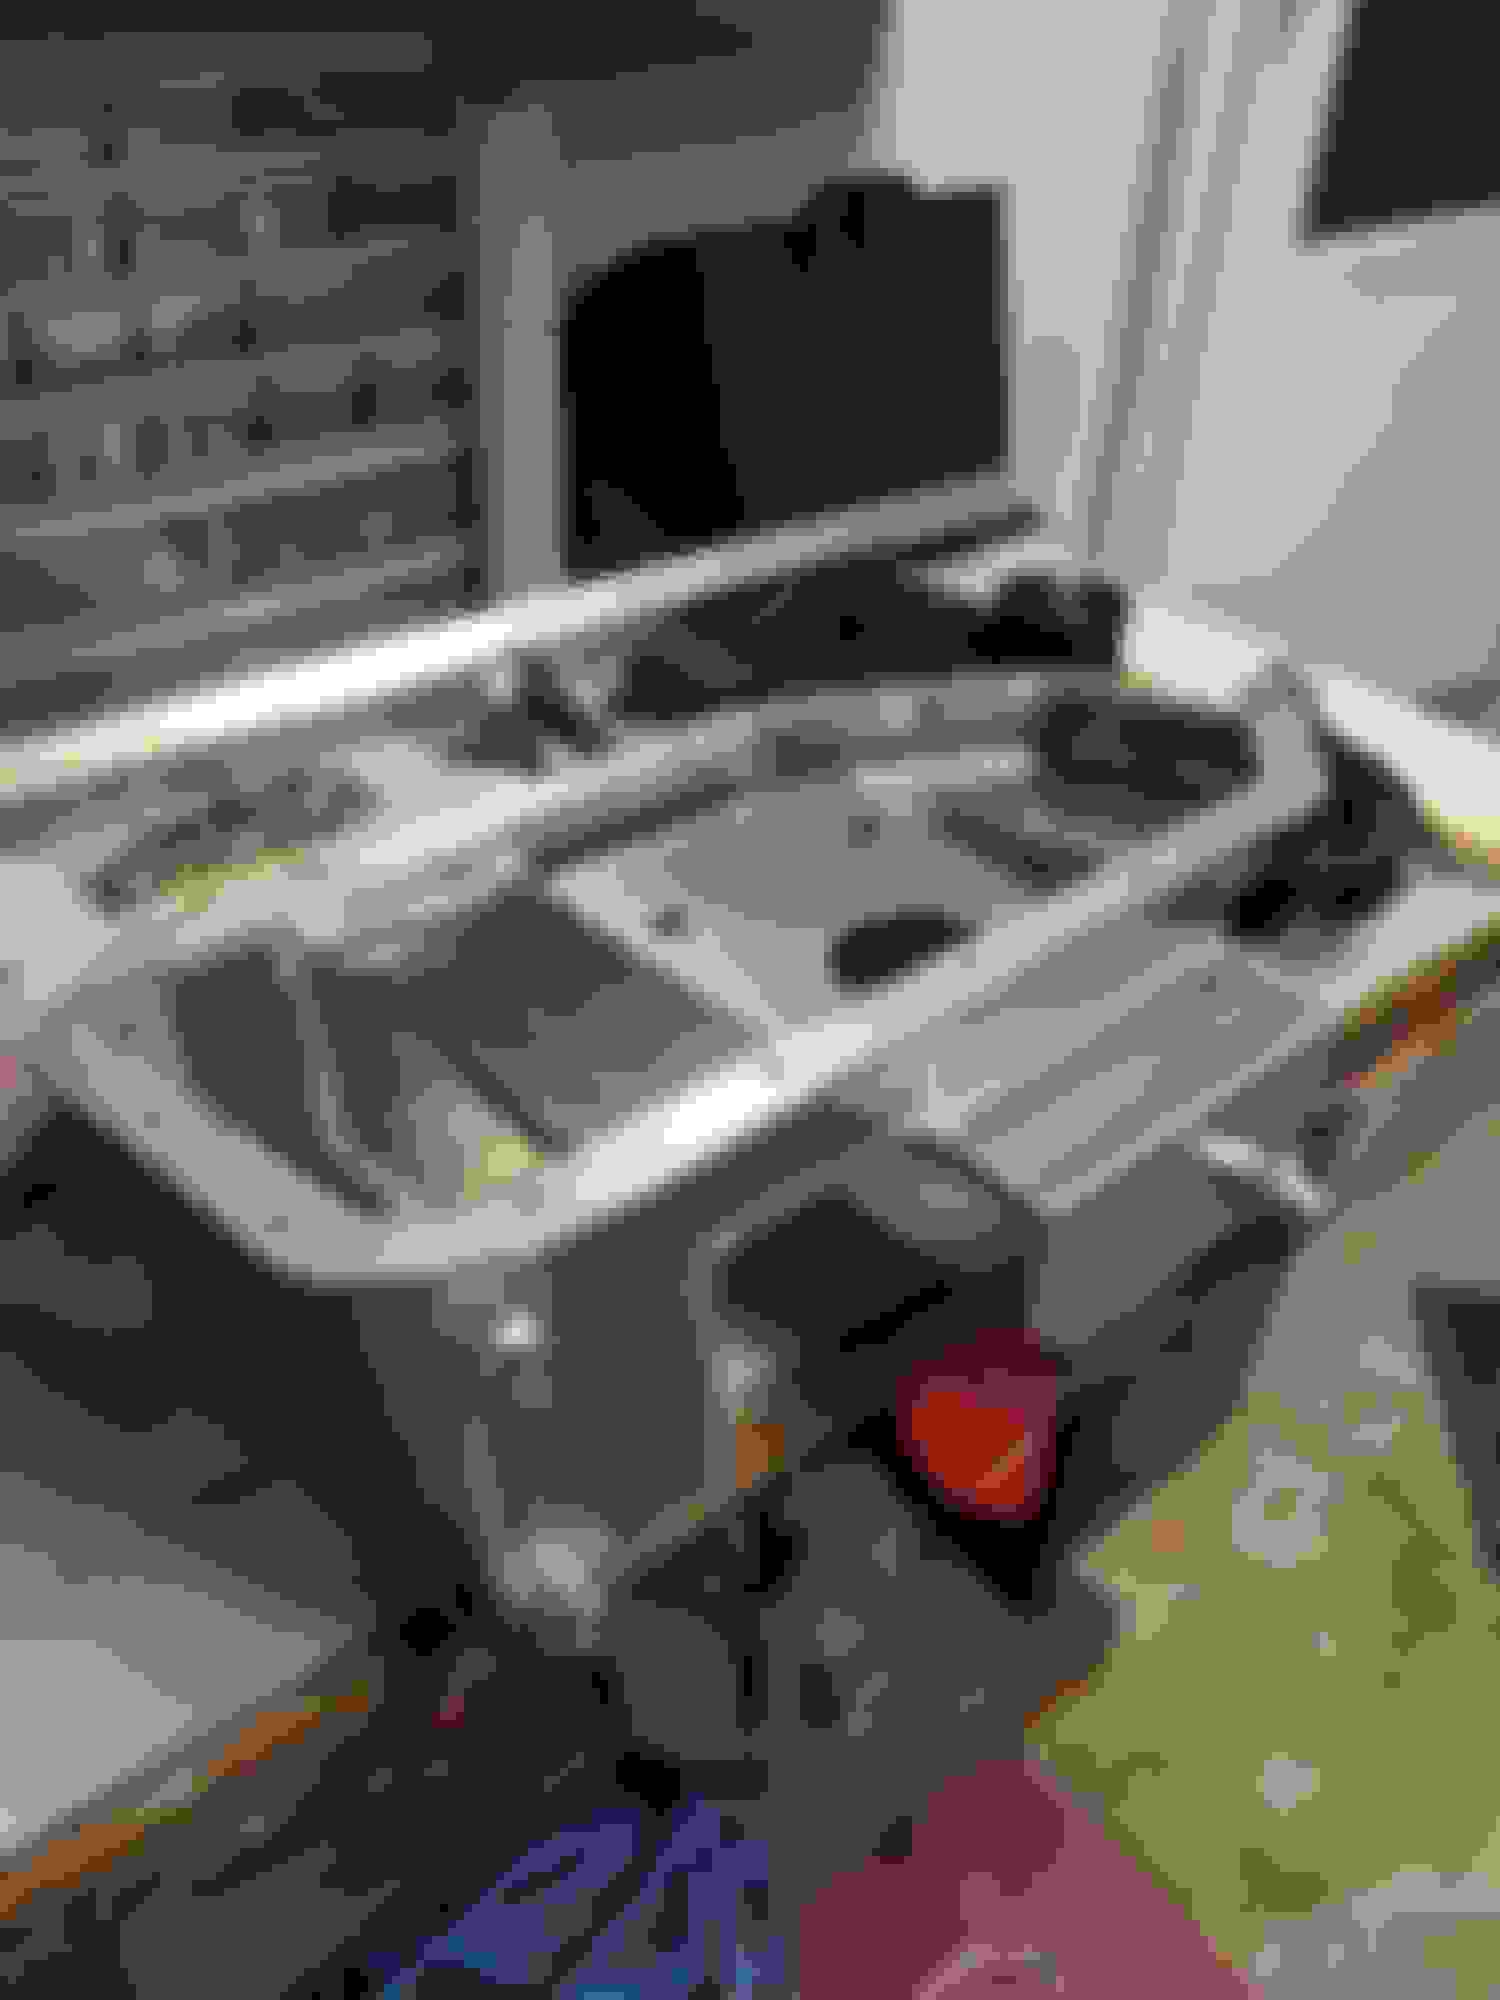
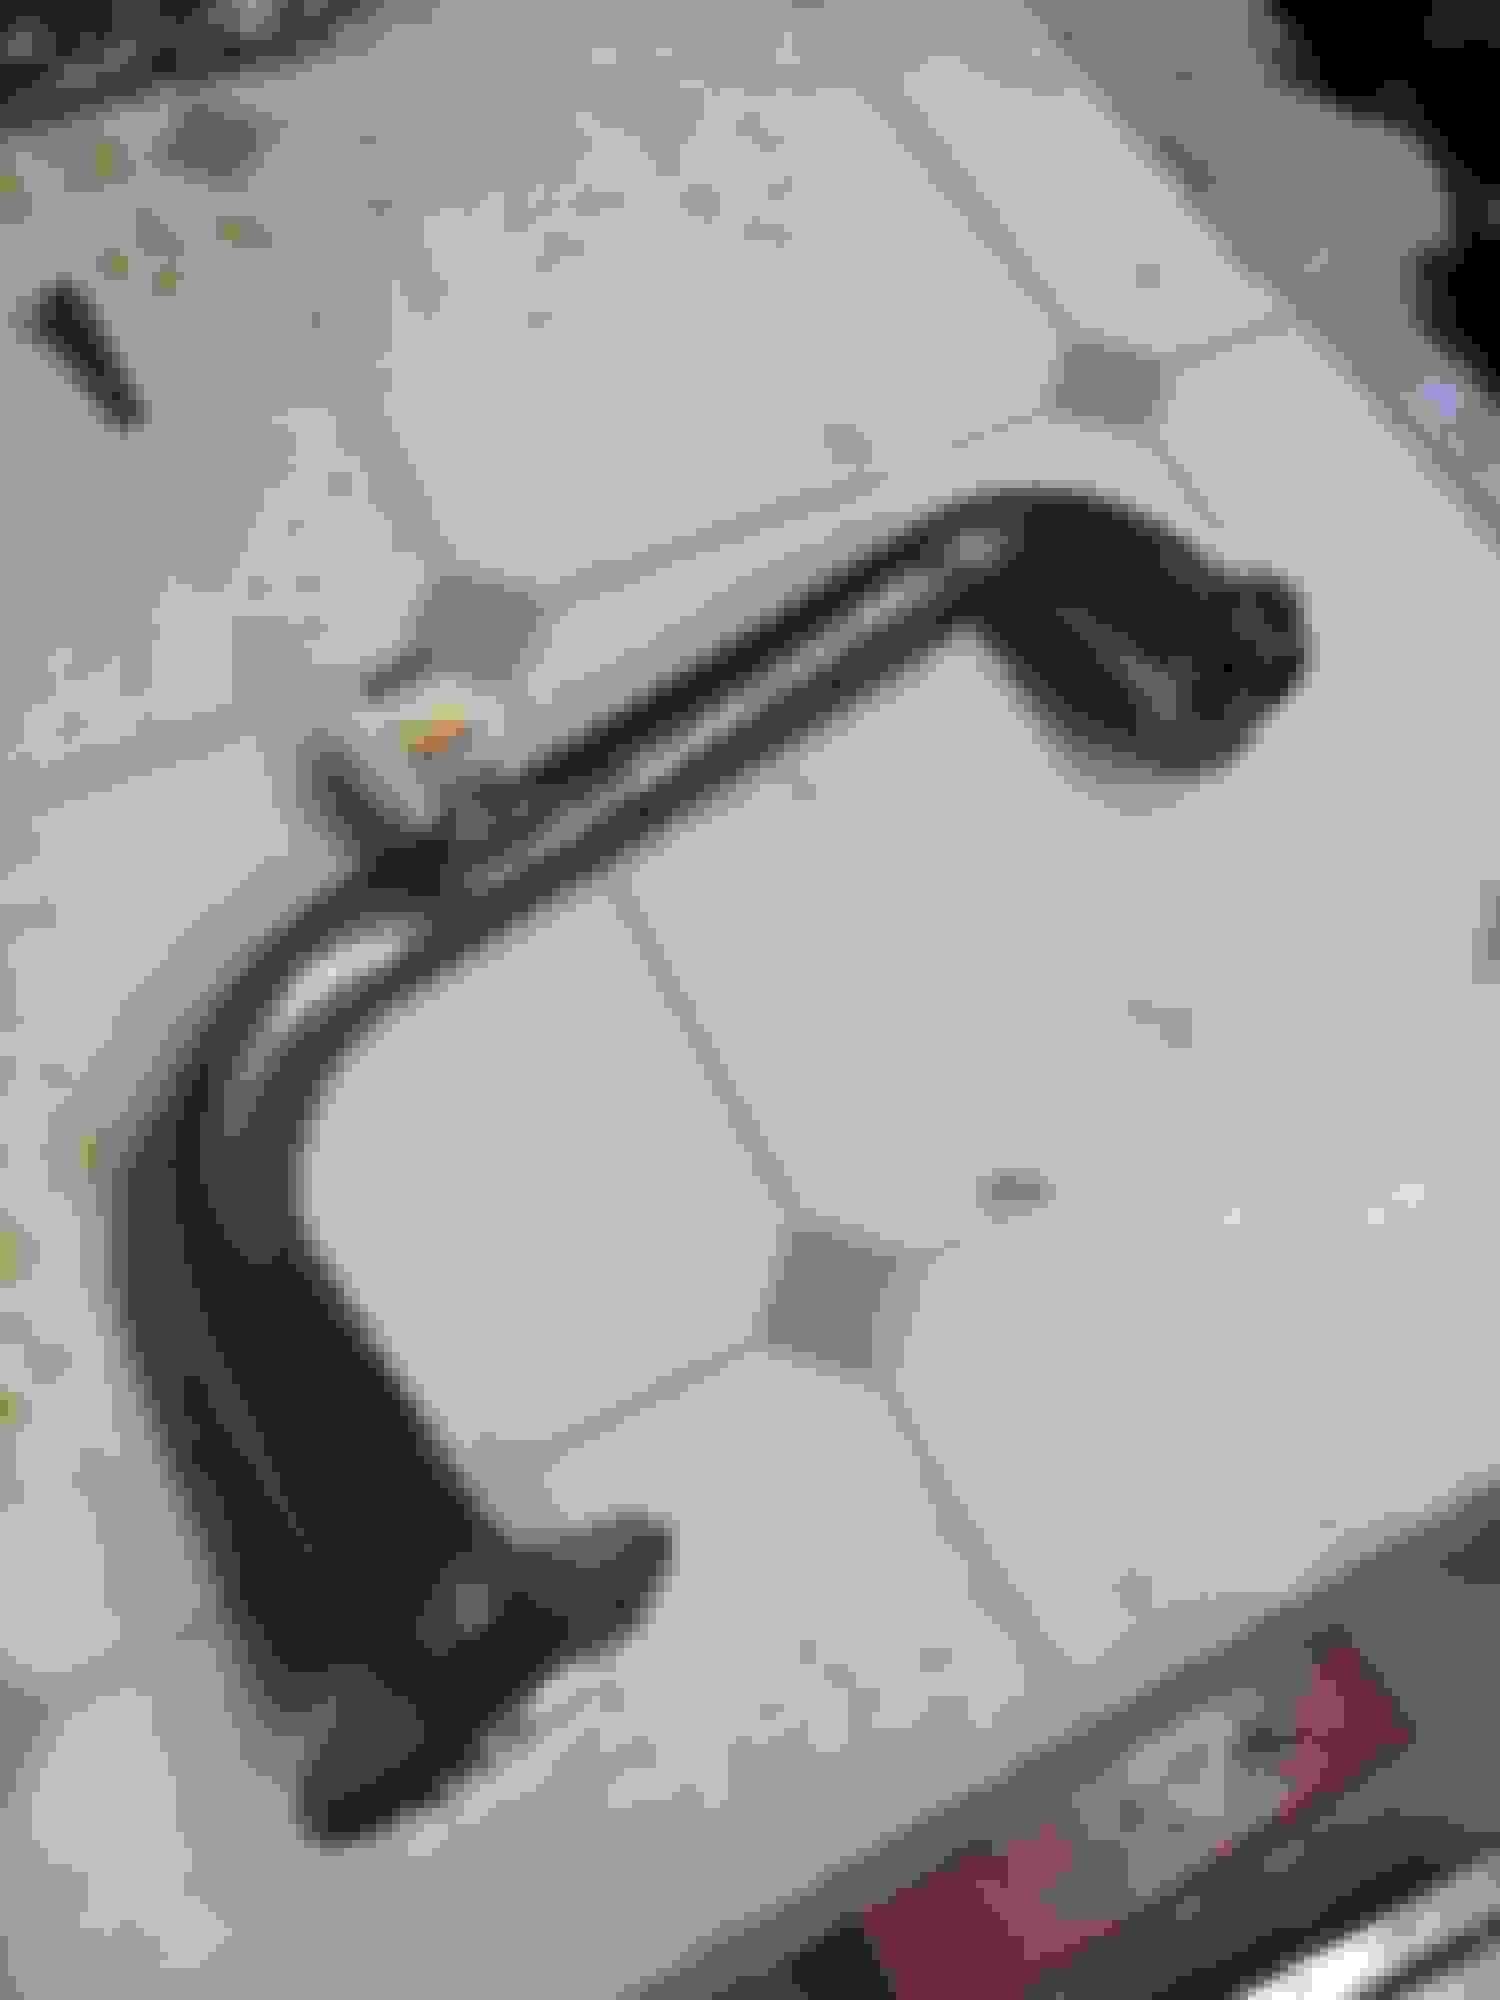
Got a few expensive parts in the mail. The Kmiata tubular front subframe is made by V8R for those who aren't aware. I haven't fit it up to the car yet to validate fitment, but initial impressions are somewhat lacking on it if I'm being 100% honest. A lot of MIG weld spatter is on the front tube portion of the subframe, where it was all simply just powder-coated over yielding a less than ideal finish. I understand that I won't see this when installed, but for what the piece costs I was expecting a bit better. The packaging could also being improved some as the powder was scuffed off of 3 notable portions of the subframe. I'll have to hit them up with some touch-up paint to prevent future oxidation.
The Kmiata specific pieces are pretty straight forward and bolted right up.
Then I found this new overflow tank for a price I couldn't refuse on eBay. It needs to be modified to work where I want it located, but its a good starting point and beats starting from scratch.
It's nice to see close up pictures of the subframe and mounts up close. I had no idea they sourced the tubular subframes from V8R. Very interesting. Bummer about the mig splatter on what should be a high quality finish for the pricing
Might be a good time to reinforce the steering rack and control arm mounting points with some gussets. They are known weak points per Keith at Flyin Miata.
Might be a good time to reinforce the steering rack and control arm mounting points with some gussets. They are known weak points per Keith at Flyin Miata.
Yeah, after seeing the recent post of the rack mount failure, I'm thinking some reinforcement may not be a bad idea as long as its easy to access.
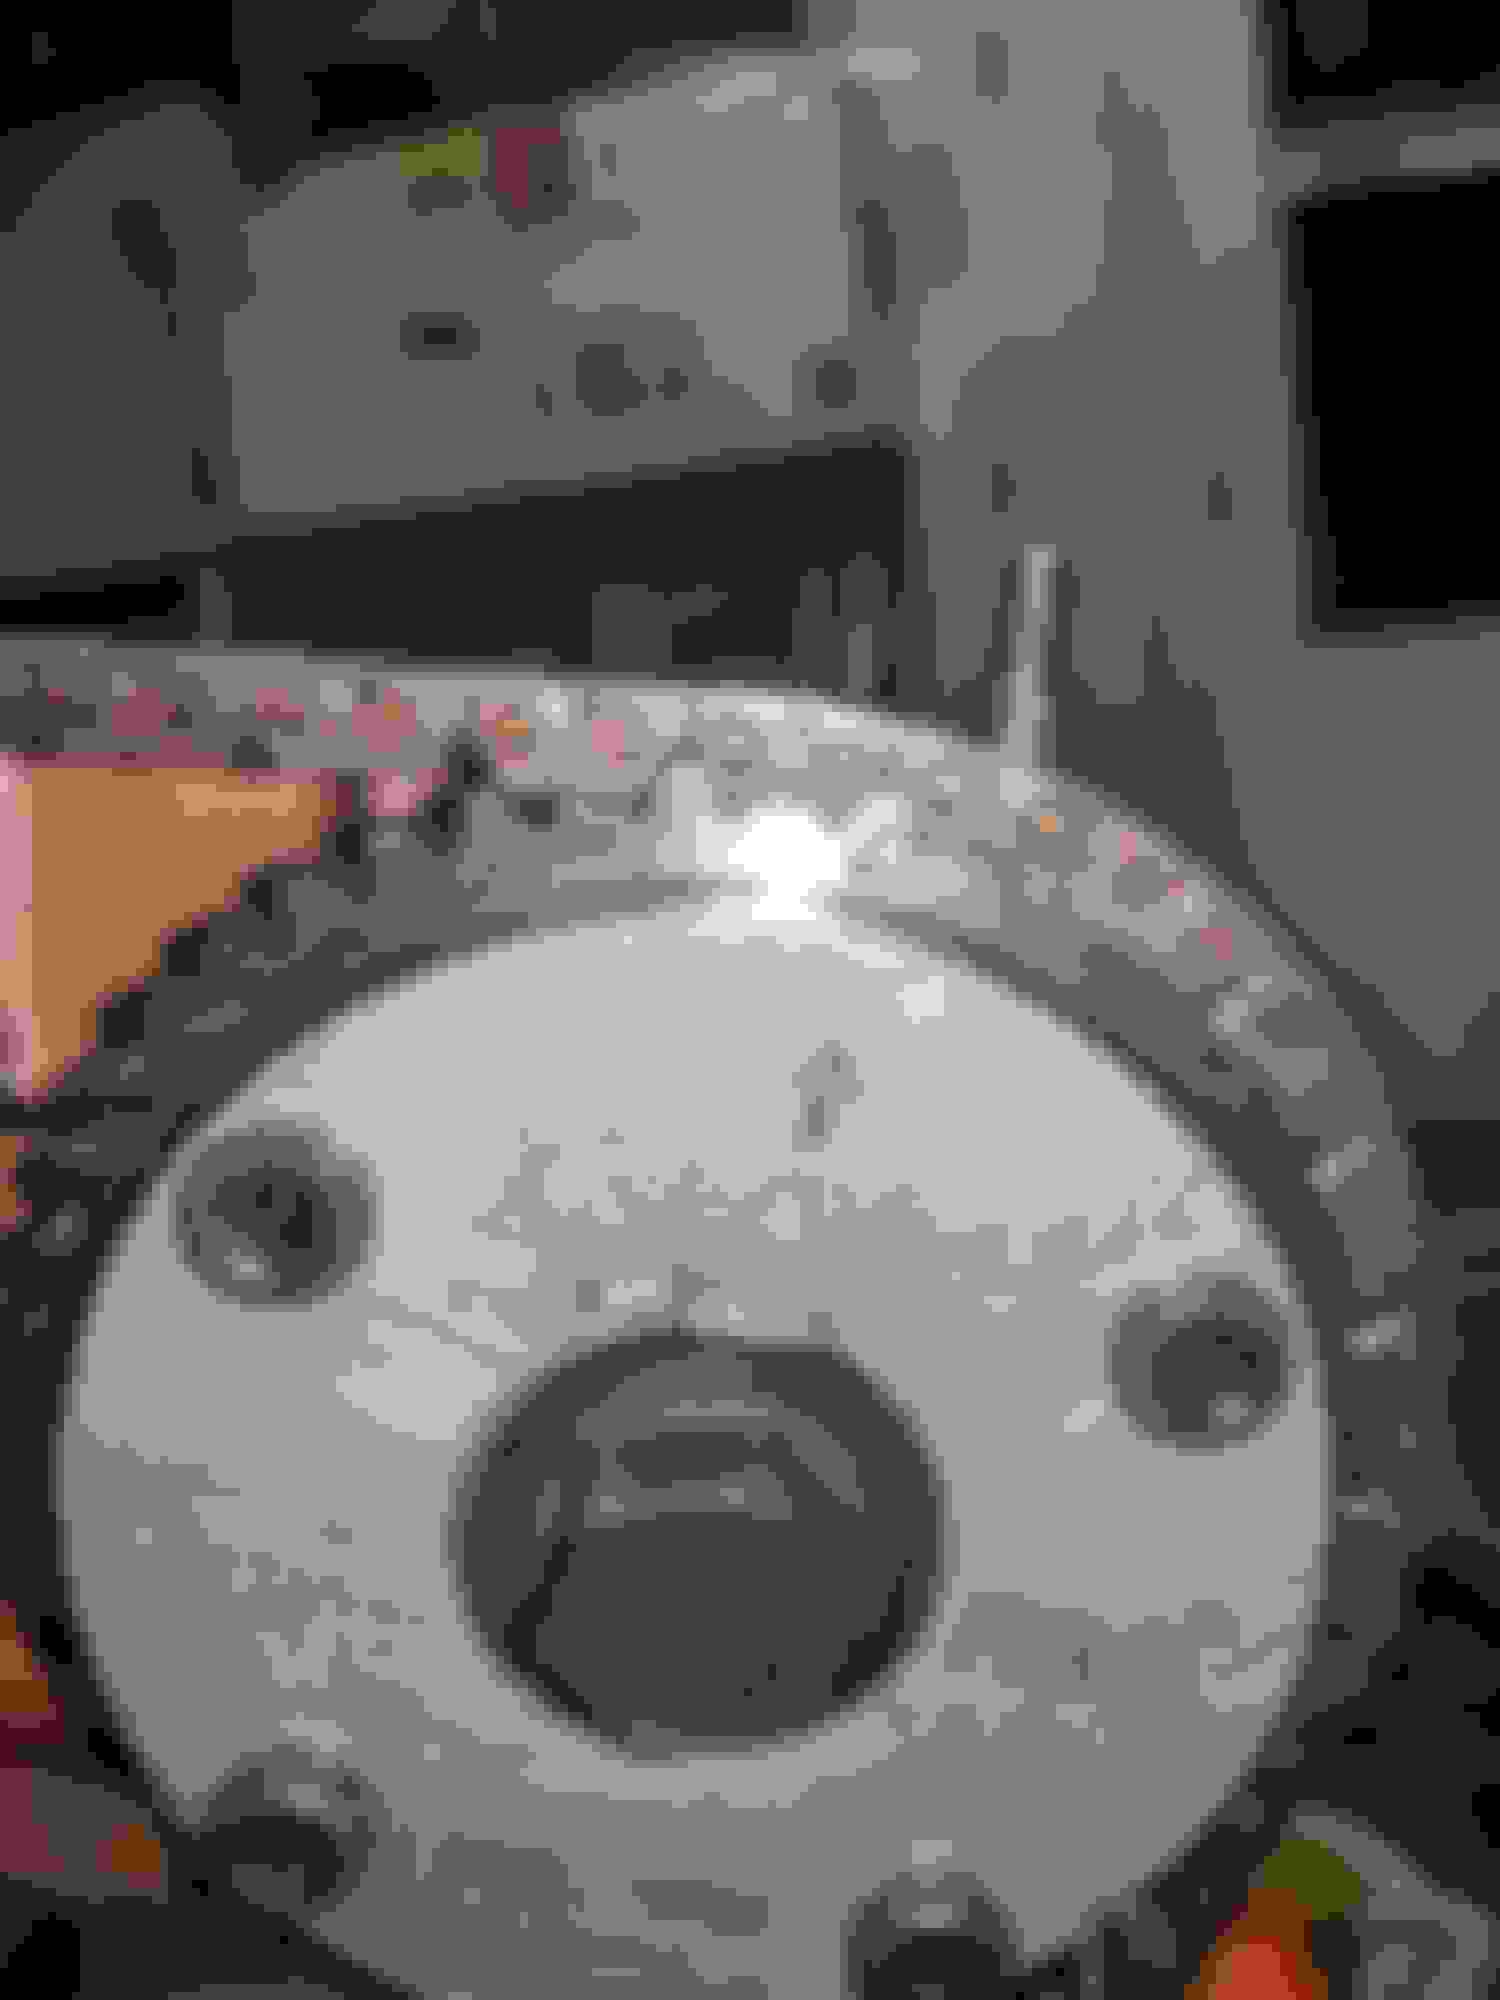
Oil pan kit finally came in. Had a small moment of frustration in thinking that the pan was dented somehow, but after following up with David realized that this is done on purpose. More on that later.
The pickup tube came in with a finish that wasn't exactly what I was expecting given other Kswap builds I've read through. A few burrs were found on the exterior of the tube and o-ring flange. I made quick work of it with a wire wheel.
Here you can see how the Kmiata pump adapter replaces the OEM type S pump.
The "dent" in the pan is to help clear the gusset on the oil pump and give as much steering rack clearance to the oil pan as possible.
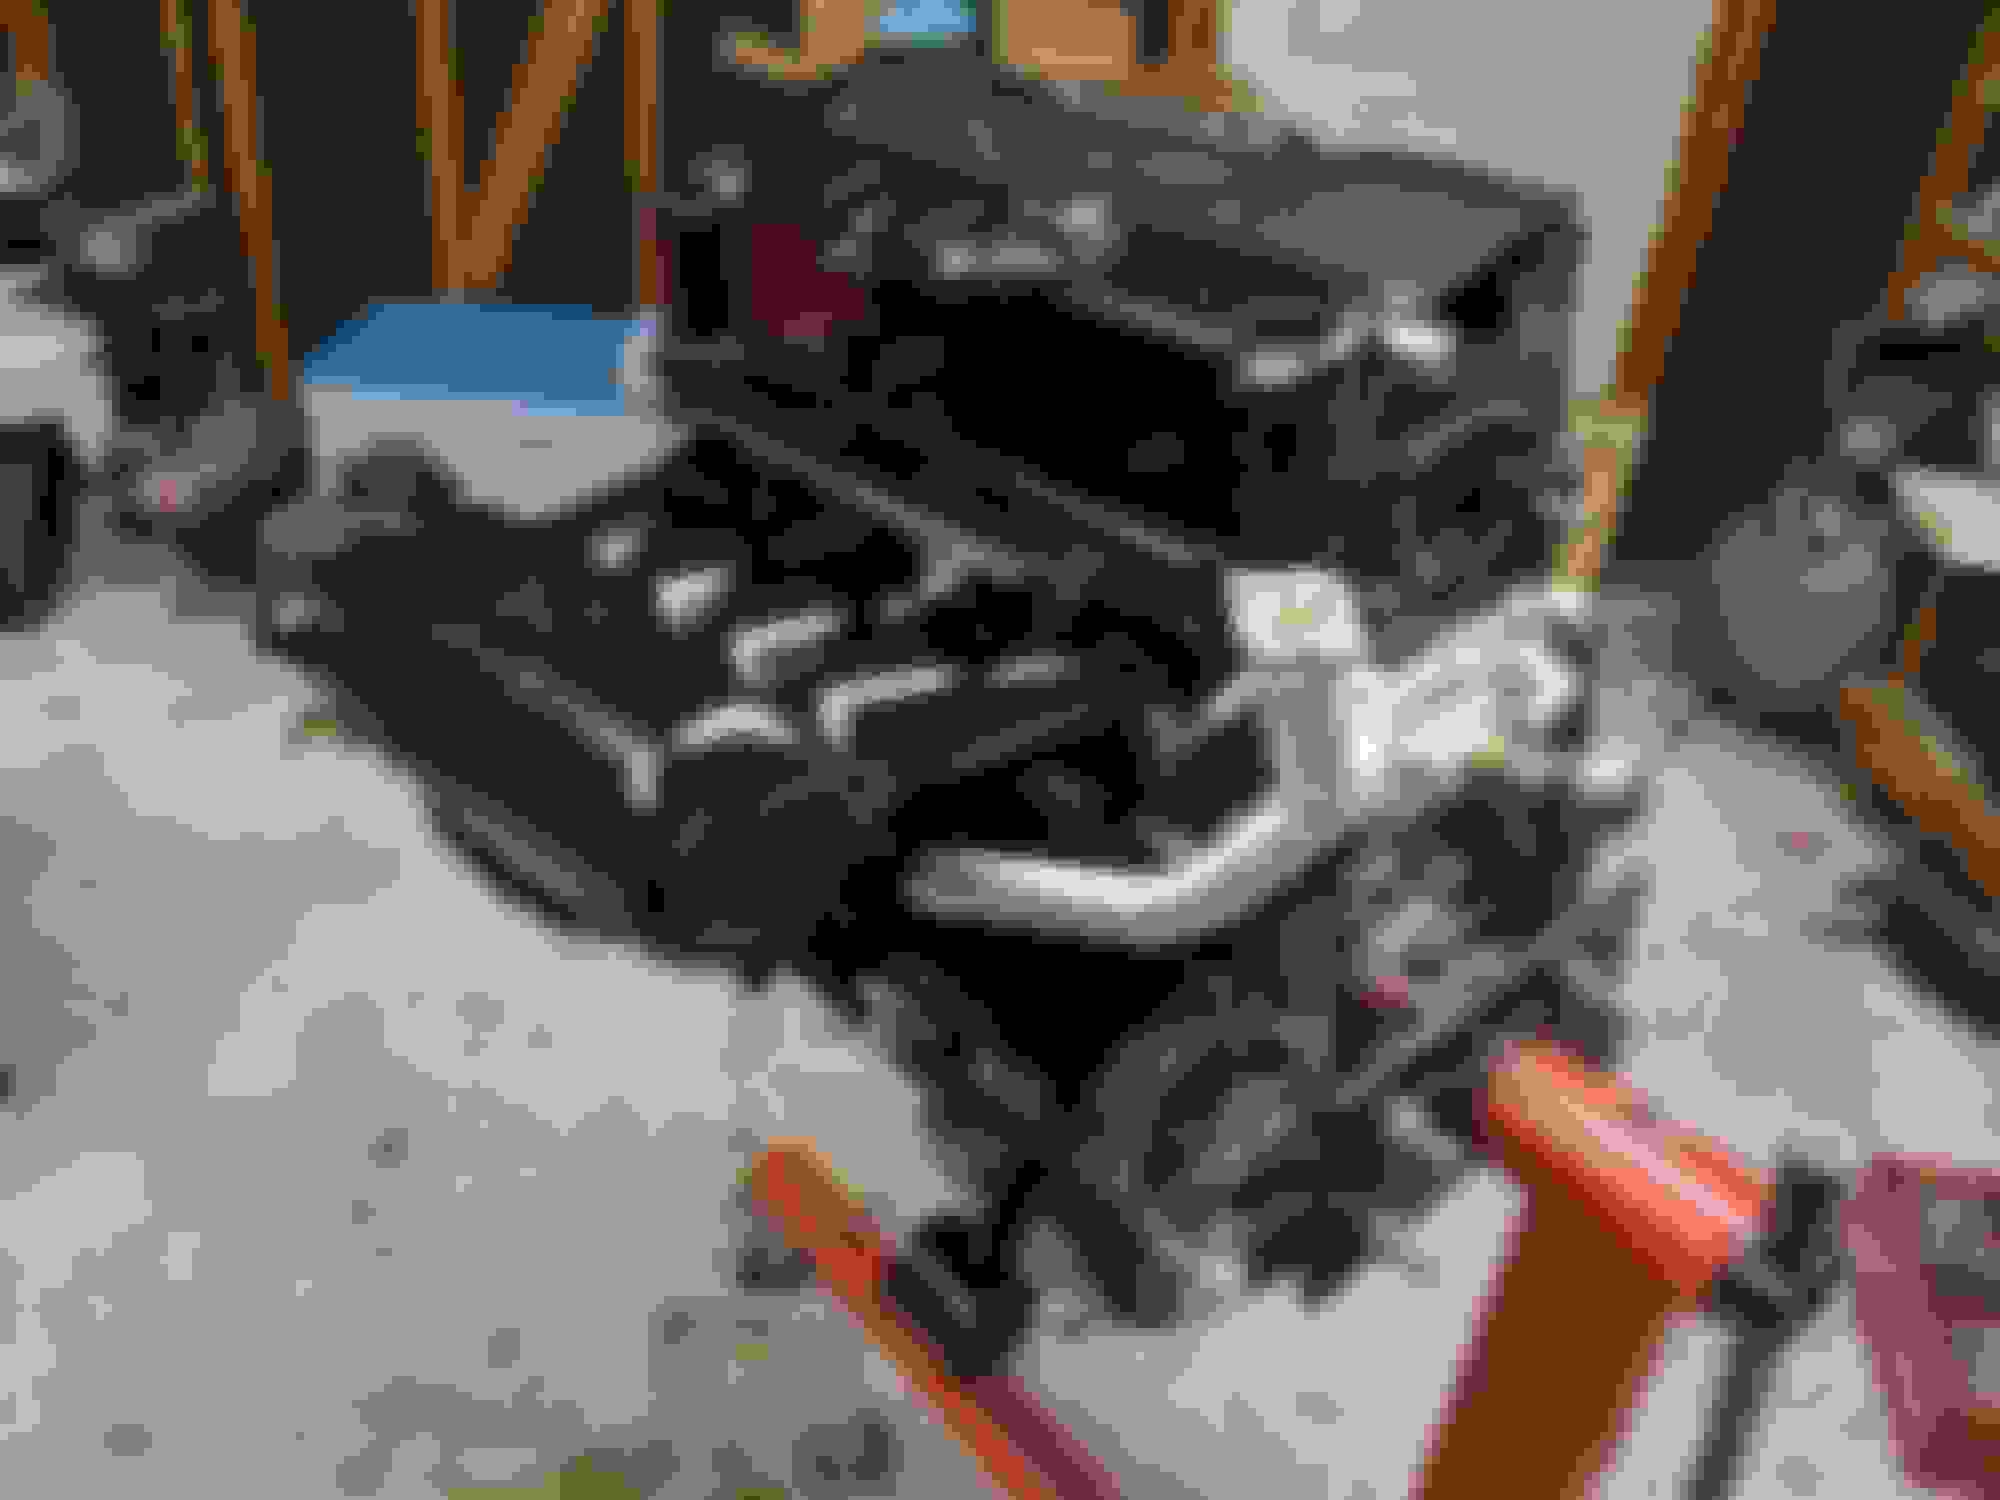
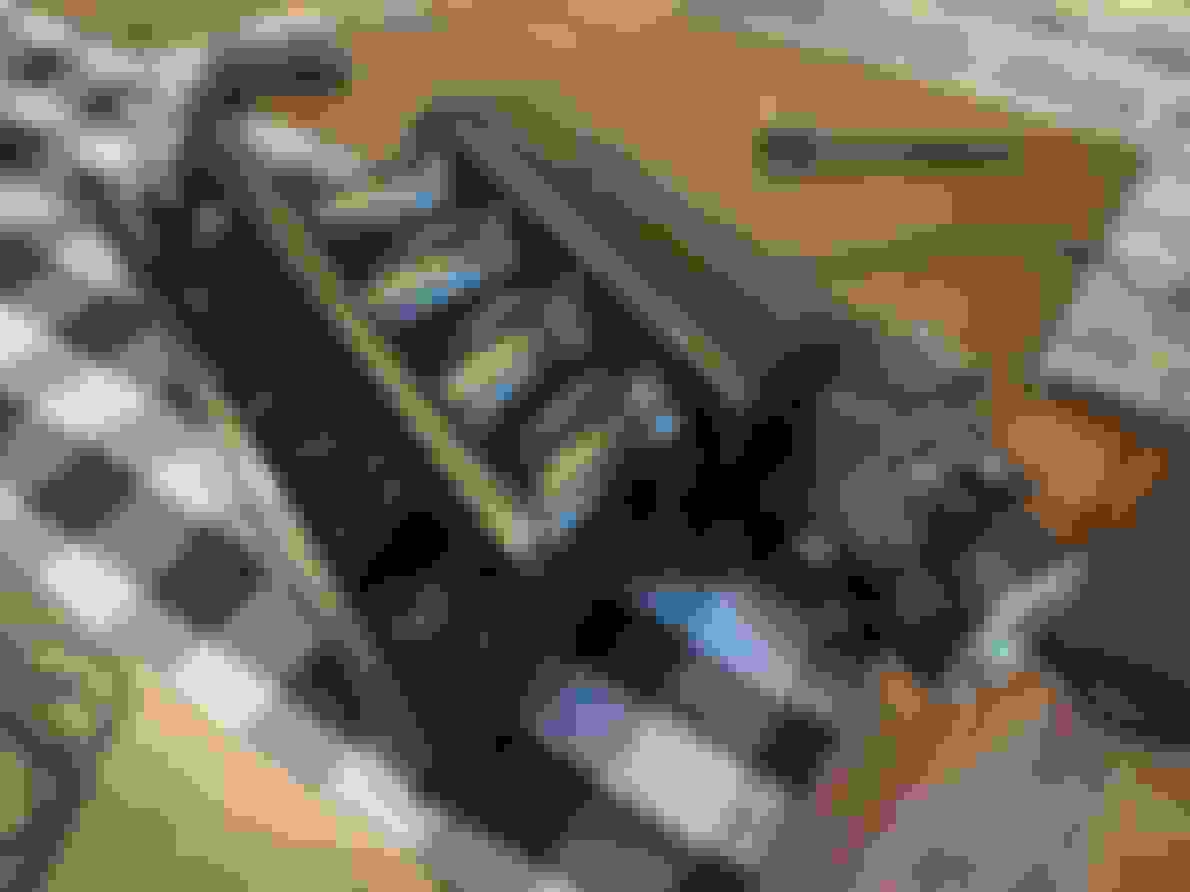
Photos of the timing that was set to make sure I'm not going to smash parts together on the first startup
Finally assembly
Need to get adapter plate and flywheel ordered next, then I should have almost everything needed to drop it in the car!
No Honda build is complete without a super swaggy billet oil cap. Facebook comments told me that it makes it faster, so here we are.
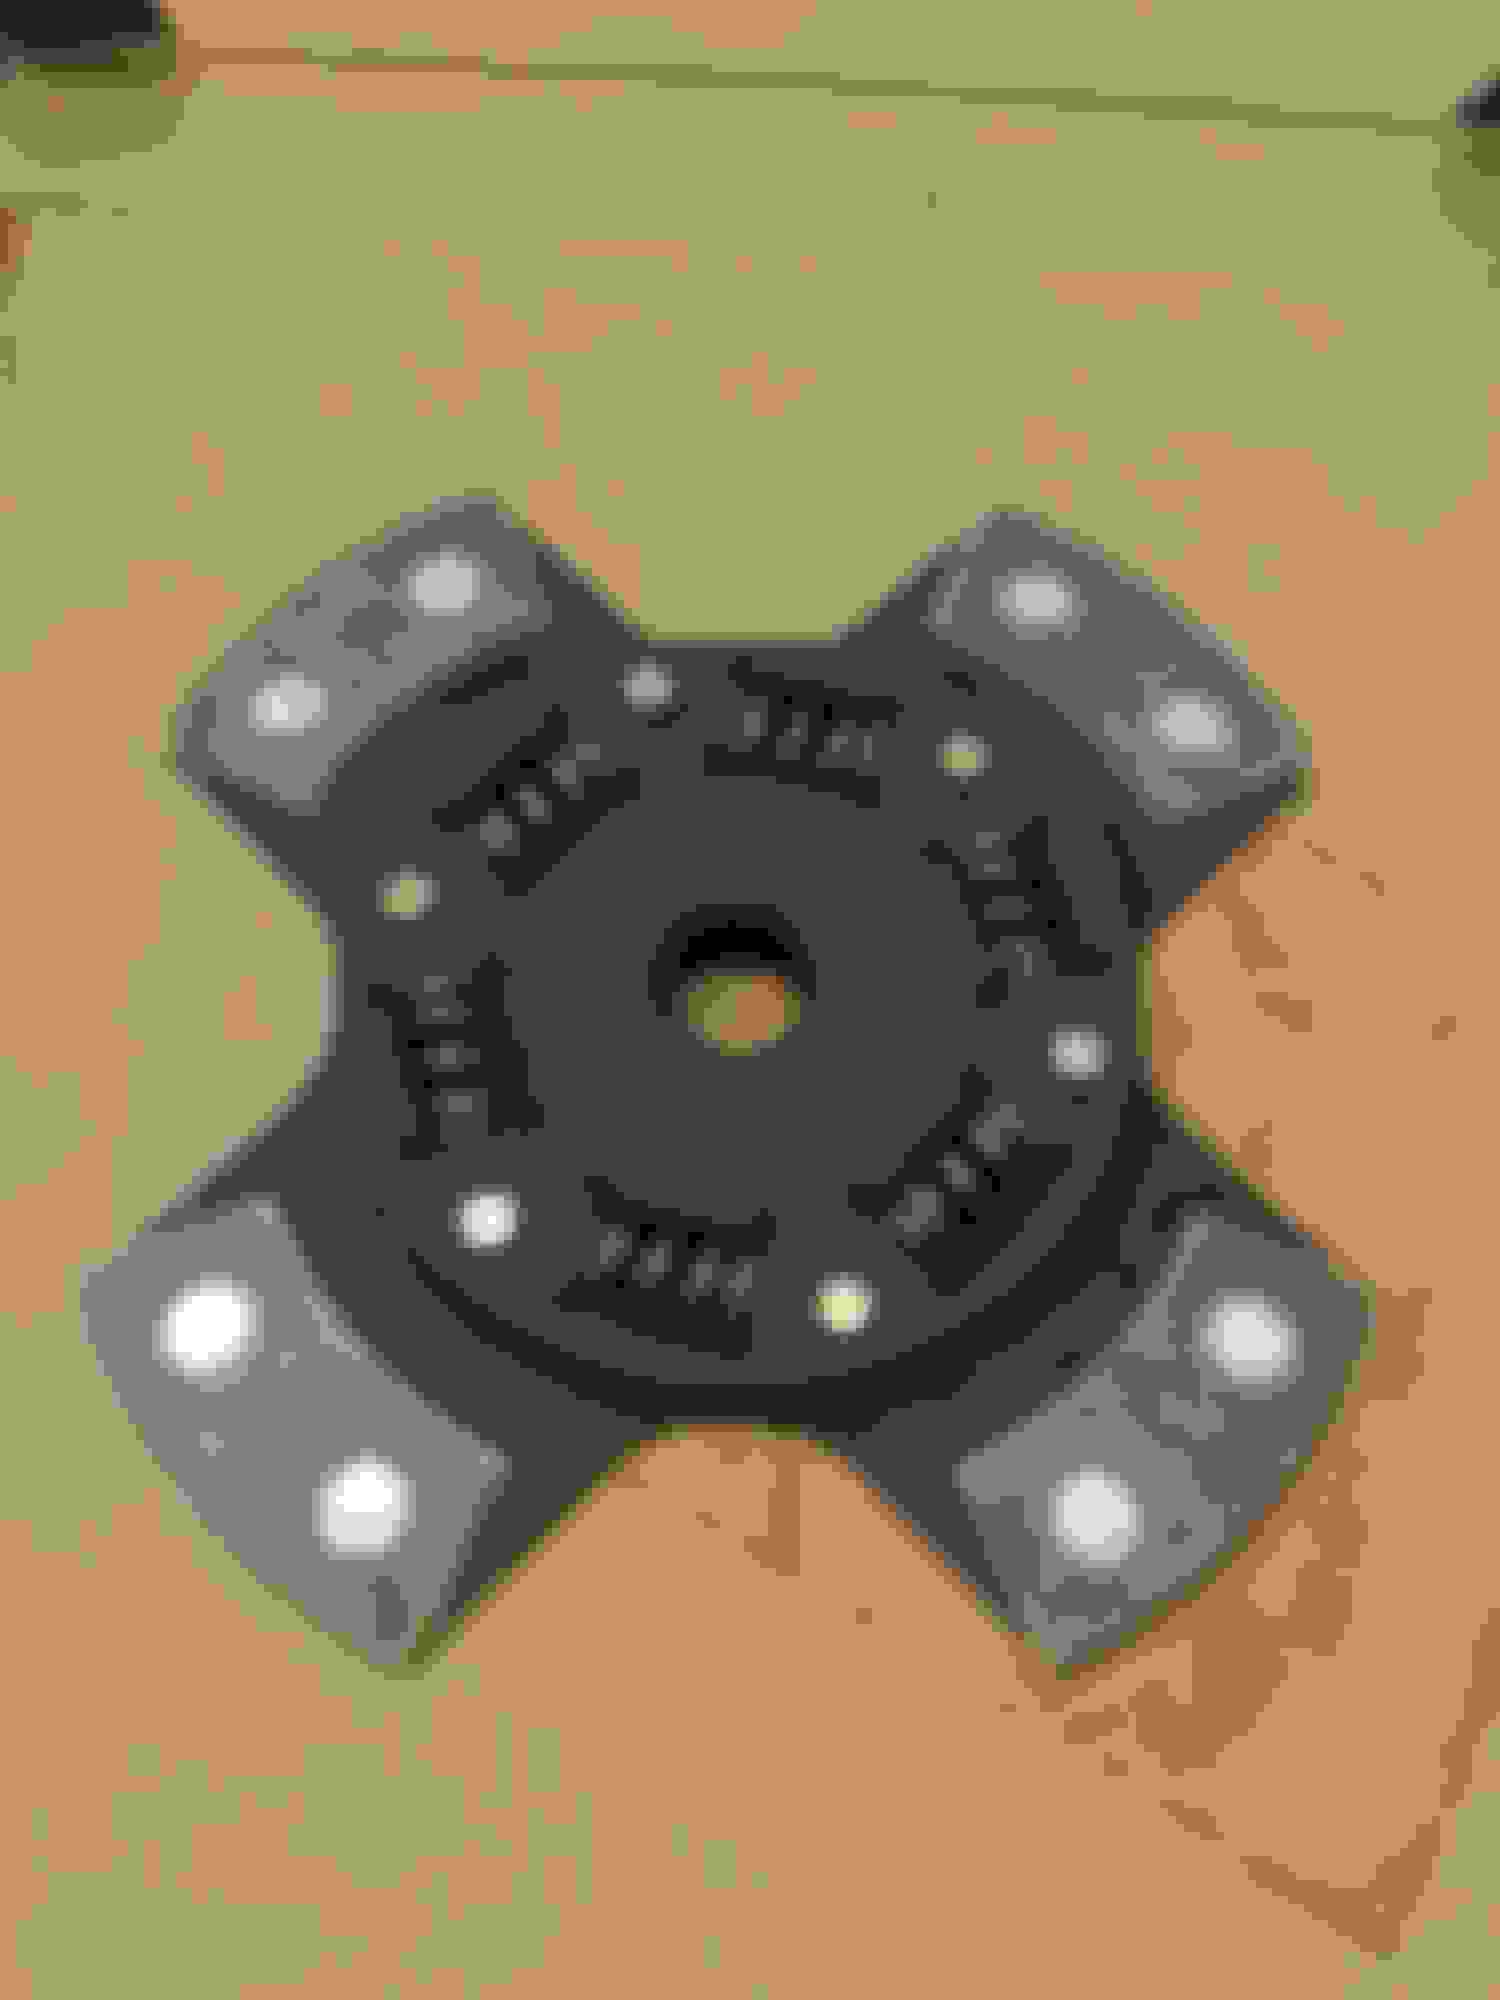
Also got a Supermiata clutch in the mail. It's cheaper than the ACT clutch option that Kmiata offers on their website, holds more torque (regardless of option chosen), and I guess I trust the guys at Supermiata for quality miata parts more than I do a generic clutch company. Went back and forth for quite a while on whether or not to get the full face or the 4 puck. If this is any indicator of what may be in the works, let's just say I "may" need the additional 50 ft-lbs of torque capacity that the puck offers (340 ft-lbs) over the full face (290 ft-lbs). For the extra $10, I bit the bullet and figured I'd sacrifice some smoothness for that extra capacity in the event that I need it in the future.
The dipstick is sort of a useless item on the engine with the Kmiata oil pan as it runs straight into highest part of the pan at OEM length. You can choose to keep your bright orange USDM OEM handle dipstick and trim off the bottom, get the black JDM OEM handle dipstick and trim off the bottom, spend allofit money and get the Ktuned flush dipstick that you can shorten, or spend someofit money and get a Ktuned knockoff that you can shorten. I chose the last option. The quality of the part was super nice given the $30 shipped cost. Even though it was more money I didn't need to spend, it sure looks a lot better. My OCD is pleased.
If it gives you some confidence my supermiata 4 puck is much smoother than my fm stage 1 ever was. It could be I just really like the ceramic/metallic material a lot but its a great piece.
This car is a never ending list of compromises. I've never had a great experience with a puck clutch (vs full face clutches) on other vehicles, but maybe this one will change my mind. Either way, it looks like a very nice piece and if it engages a little harsh, I'm okay with that for the additional tq capacity. I appreciate the feedback though, seems promising! Hopefully my results are the same.
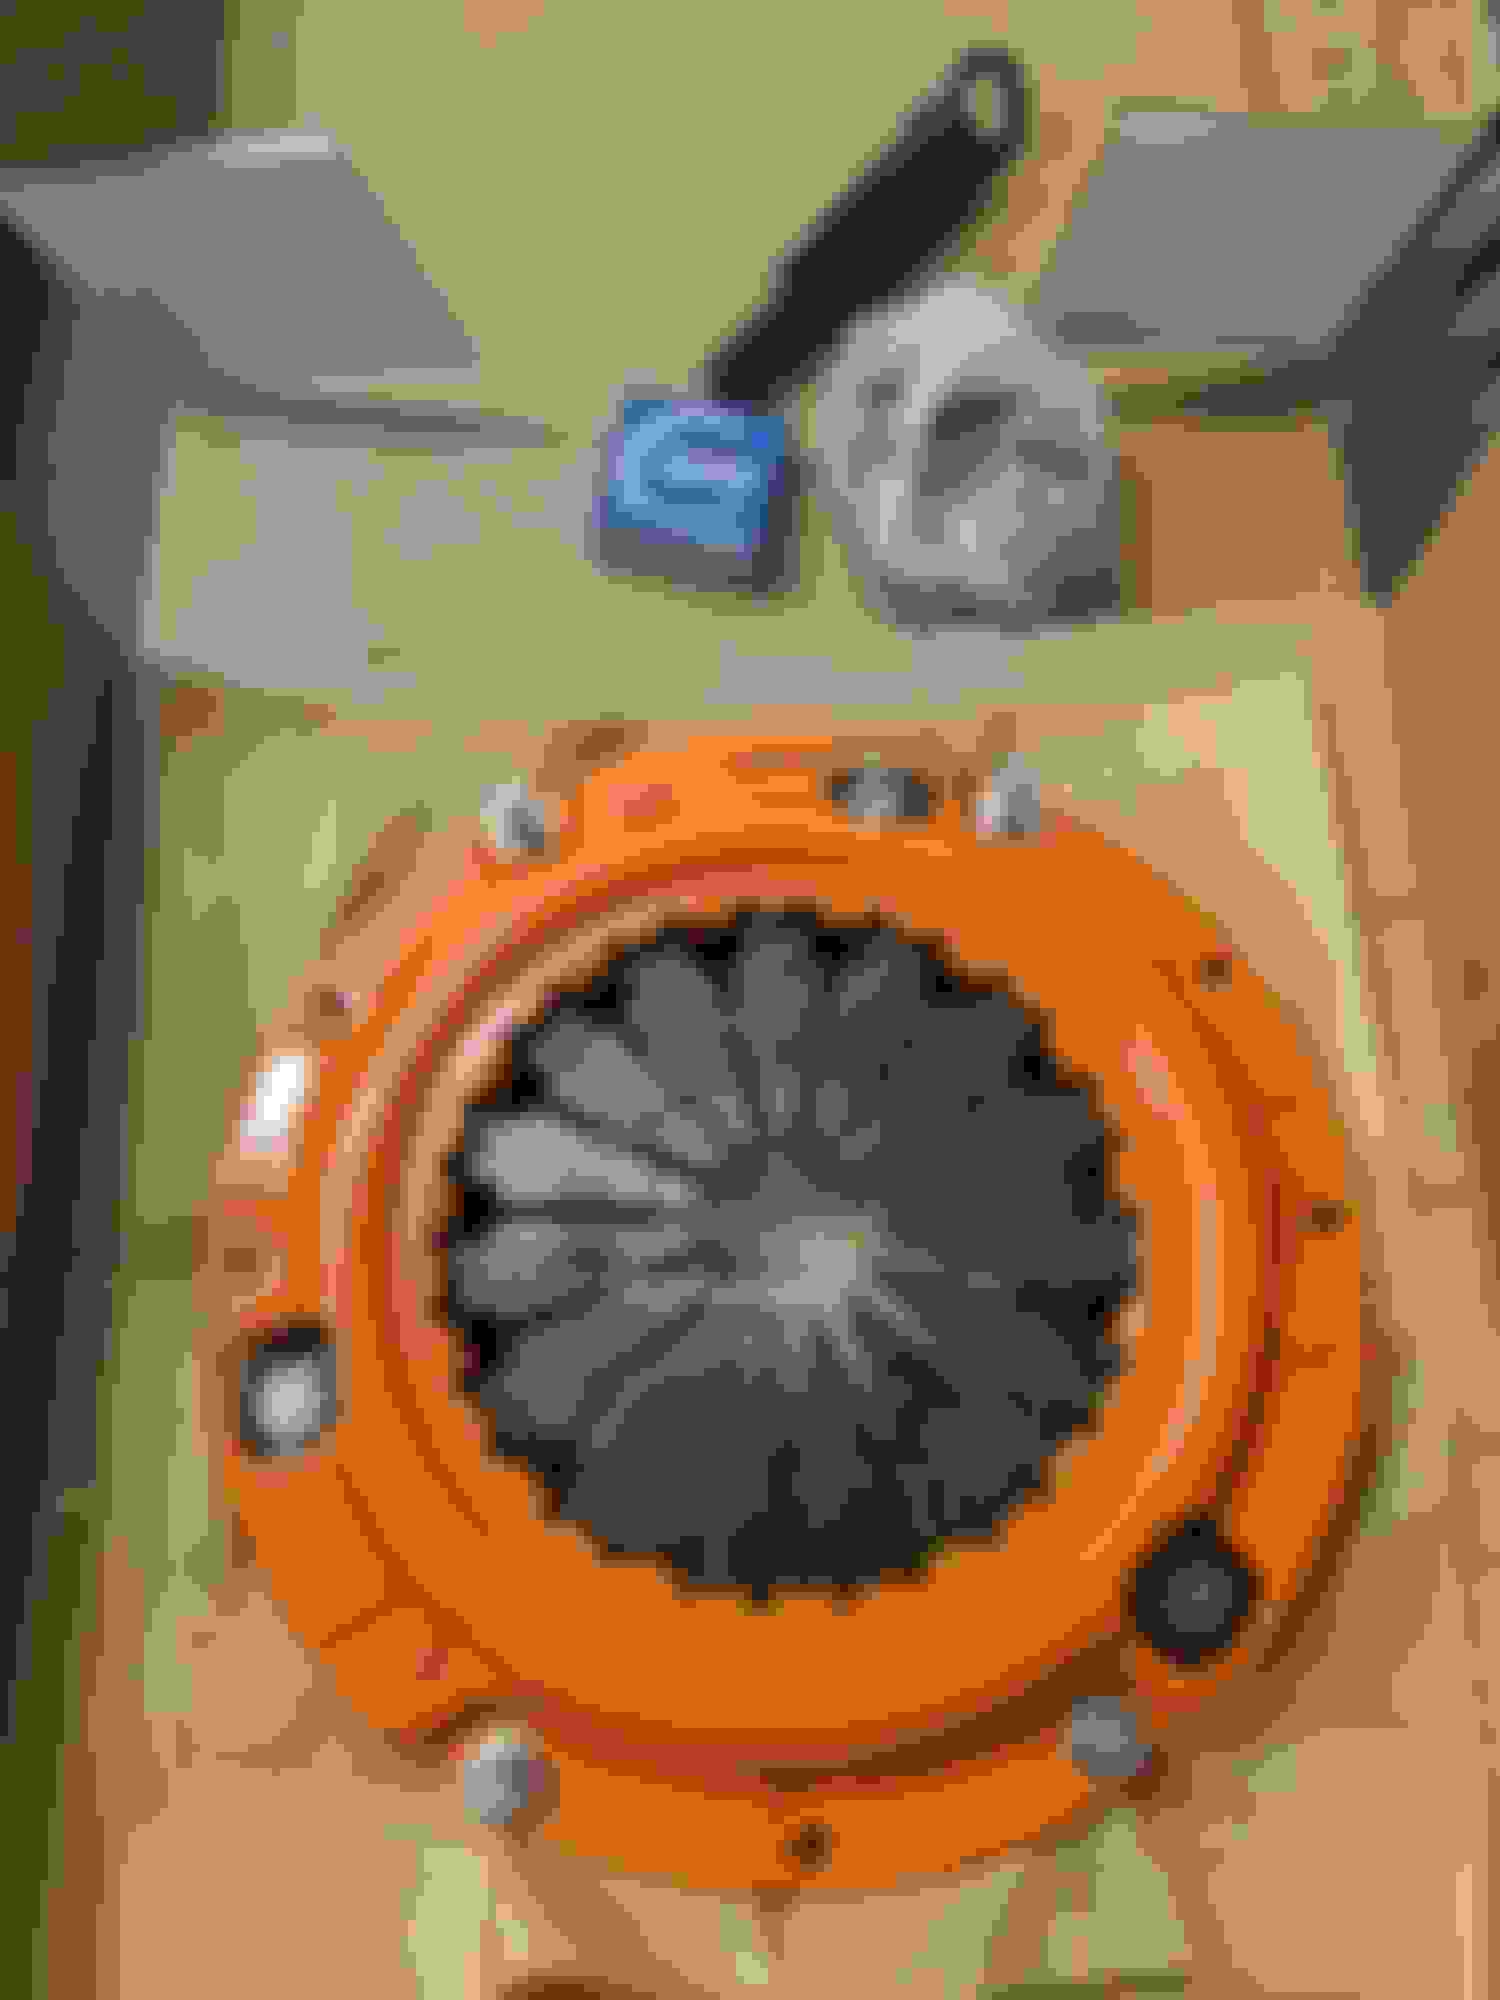
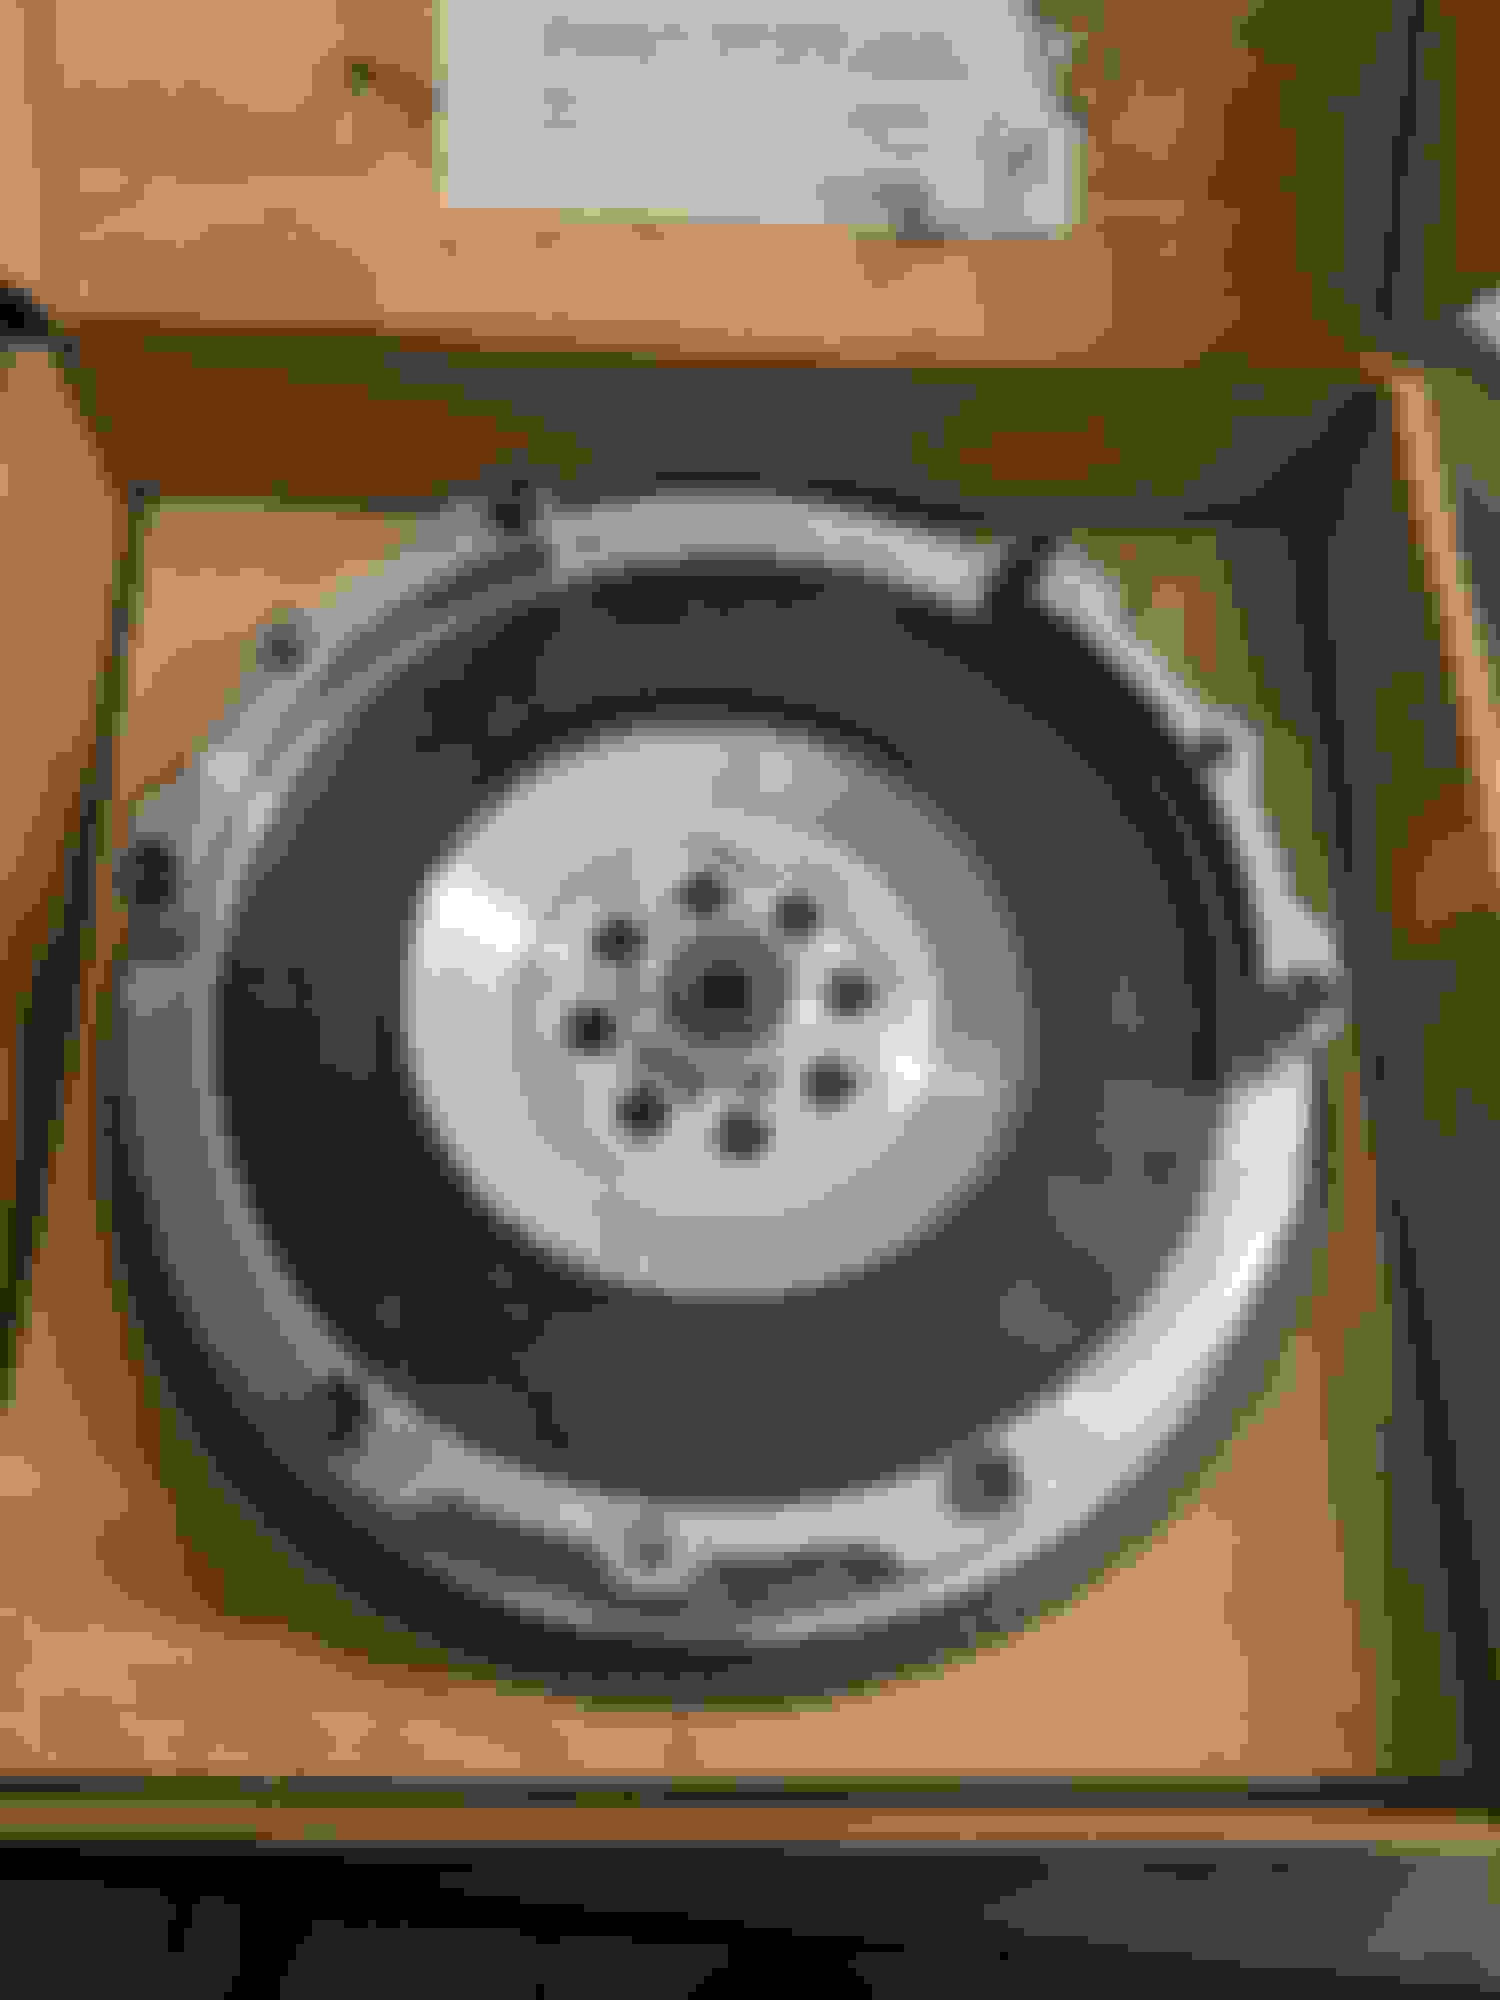
Sometimes you get lucky. I was just about to checkout a new order to Kmiata for the adapter plate and flywheel, when I found the exact thing for sale on the Kswap Facebook group. One man's loss is another's gain. Saved a couple hundred and everything showed up in good shape. It's a shame that the flywheel is going to be completely hidden as it's probably one of the nicest pieces of the swap kit.
So now it appears as though I have everything I need to mechanically bolt the engine into the car. It was mid-teens for temperature in the garage this last weekend so I didn't have the ambition to freeze myself for no reason. Did home improvement projects where it was 70 degrees inside instead. This coming weekend it is supposed to be in the 30's so that'll be a more bearable temp to work in. This really makes me question why I don't live further south...
Let's not get ahead of ourselves now. We just got 5" of snow this last weekend, so the road salt is in full force. Even if the car is running and on the ground in my garage, I'll probably be lucky if I can get it out on the road before the end of April. This sad reality makes the motivation rather low to get it done early.. its like college all over again, procrastination FTW.
Some of the last required bits are starting to roll their way into the door. Fuel adapter hose and fittings along with some intake couplers and piping (even though I haven't the slightest idea on how I want to run the intake yet. That's a topic of discussion in and of itself.
Then I mulled back and forth for a while on if I wanted to get fancy or not with the wiring. I decided to just say screw it and pulled the trigger on a nice 47 pin bulkhead fitting from Maven Performance. No more headaches with passing wiring through the firewall ever again. If a motor ever needs to get pulled for some reason, it will make it painlessly simple as well.
I debated that, but then after determining how many extra connection points that adds to a harness, I decided I'll just leave the harness attached to the car and keep a sub-harness or two on the motor.
 12-15-2019, 01:01 PM


 2
2