When you click on links to various merchants on this site and make a purchase, this can result in this site earning a commission. Affiliate programs and affiliations include, but are not limited to, the eBay Partner Network.
That means you need to have it running at least 2 months prior.
So schedule your dyno time, and set other milestones! I don't see you having any trouble getting this running by the end of march. Honestly, i think you could have it done by 3/10 and give you an extra time cushion.
In my case, the tuner was 4-6 weeks out for appointments. I almost didn't make MATG because of it.
I've got pretty extensive experience in MS and HPtuners, so I'm hoping that Kpro isn't anything too much different. The question will remain on whether or not I can get a "track ready" tune complete in what I'm guessing will be ~3weeks of street driving. Putting some feelers out there to local shops to see what their backlogs look like just in case I hit a crunch.
^if not me, I'm aware of quite a few Kmiata's that'll be powering their way around the track that'll gladly give rides. I went on a handful of rides at Miata Meetup last year, then drove a couple at MATG. Assuming my car is together, I can toss you the keys and we can go for a short drive on the street if you'd like. Riding and driving are two different experiences. To really appreciate the swap, you need to just drive it.
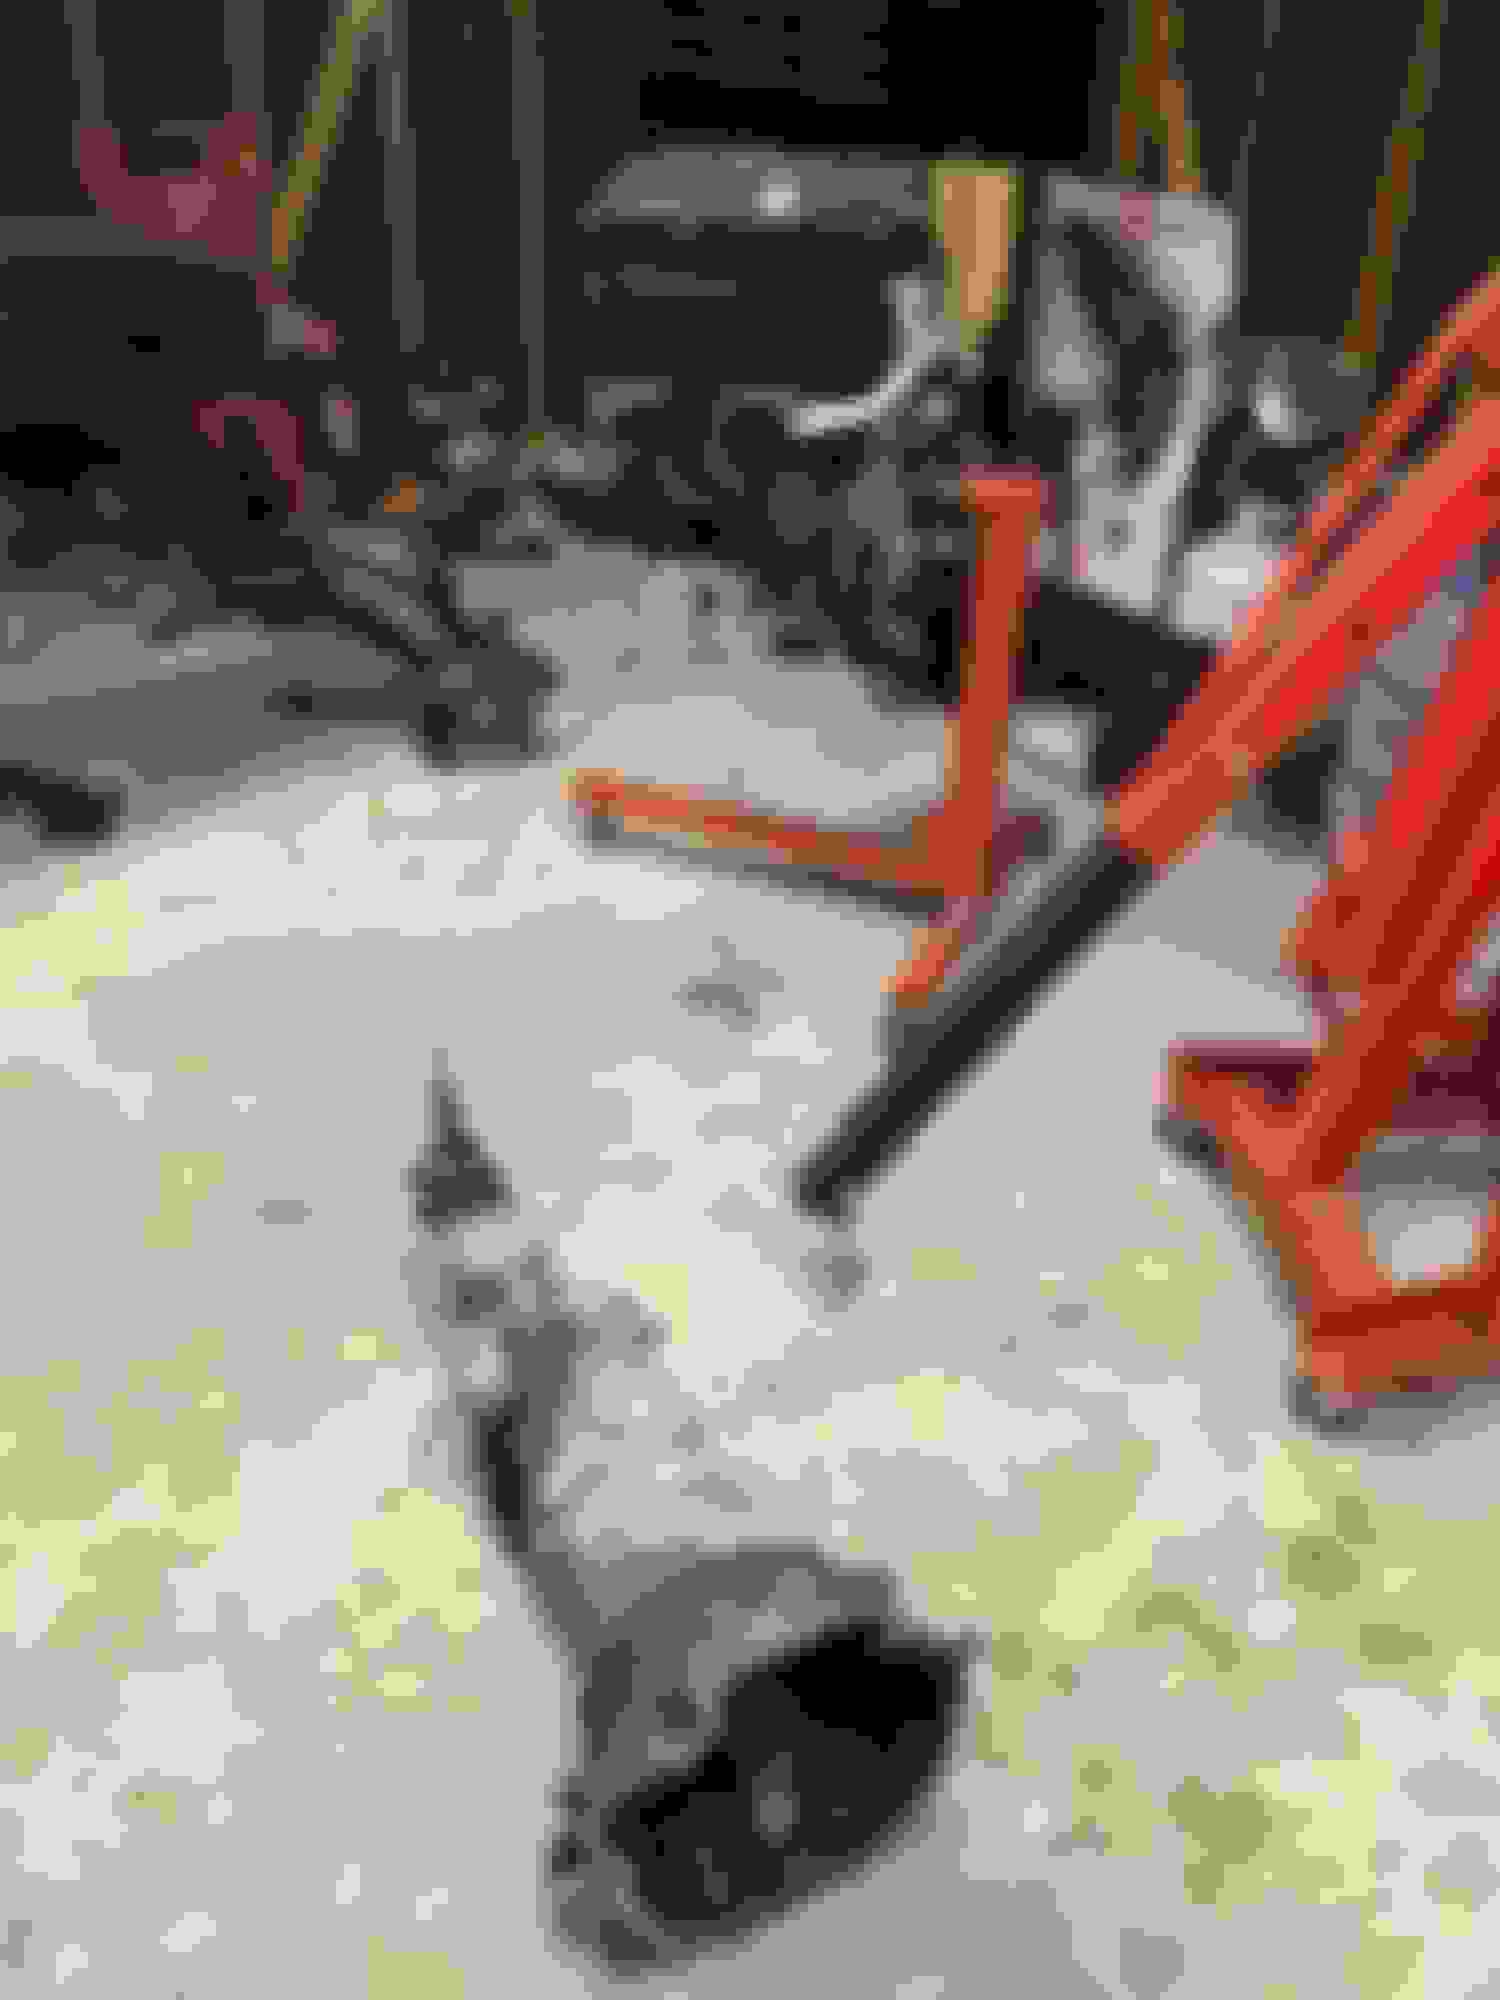
Finally had some decent "February garage work" weather yesterday. mid-40's outside meant an open garage door for the first time in a while. Here's how the morning started.. The rear main on the BP was starting to go as could be made evident by the coating of oil on the internal side of the bell housing.
Spent the first couple hours with a wire brush and degreaser. While not perfect, it's a hell of a lot better than before.
The upper and lower boots on the shifter were shot, so I got the 5X Racing bronze shifter rebuild kit installed. All the parts got cleaned up as well. Ran the shifter lever across the wire wheel quite a while to get a nice finish on it as it is visible in my interior with the minimalist console that I run
Got the subframe mounted up. Had to take the die grinder to the second most rearward bolt hole on the passenger side mount to get it to fit. This is a common thing from what I gather on these subframes, so just make note of it. If you loosely bolt it up first, it'll be quite obvious if your subframe needs it or not. Also gave the engine bay a quick spray wax to rid it of the sawdust that was covering it.
Ground the threaded bosses from the steering rack off and plugged/wrapped the holes.
Said goodbye to a few pounds of evap system that I will no longer use/need. Yay, free weight reduction.
Taking note from Just_Dan's K24 swap thread, I shaved this corner of the engine bay down to avoid potential interference with the engine-to-trans adapter plate. Not sure if this is absolutely required or not, but I figured I'd save any potential future swearing by just taking care of it when its easy to access.
Took far longer to get to this point than I had hoped. I ran into a few issues on my adapter plate, mostly due to buying it secondhand. While the plate was new and never used, there was some threads on it that got messed up a bit and a couple missing bolts, which caused a lot of frustration initially when trying to fit it up. 3 trips to the hardware store later, I had appropriate taps and bought missing hardware. Chased the threads down and was back in business. Massive props to David at Kmiata for responding immediately to some Sunday afternoon questions so that I could keep progressing forward.
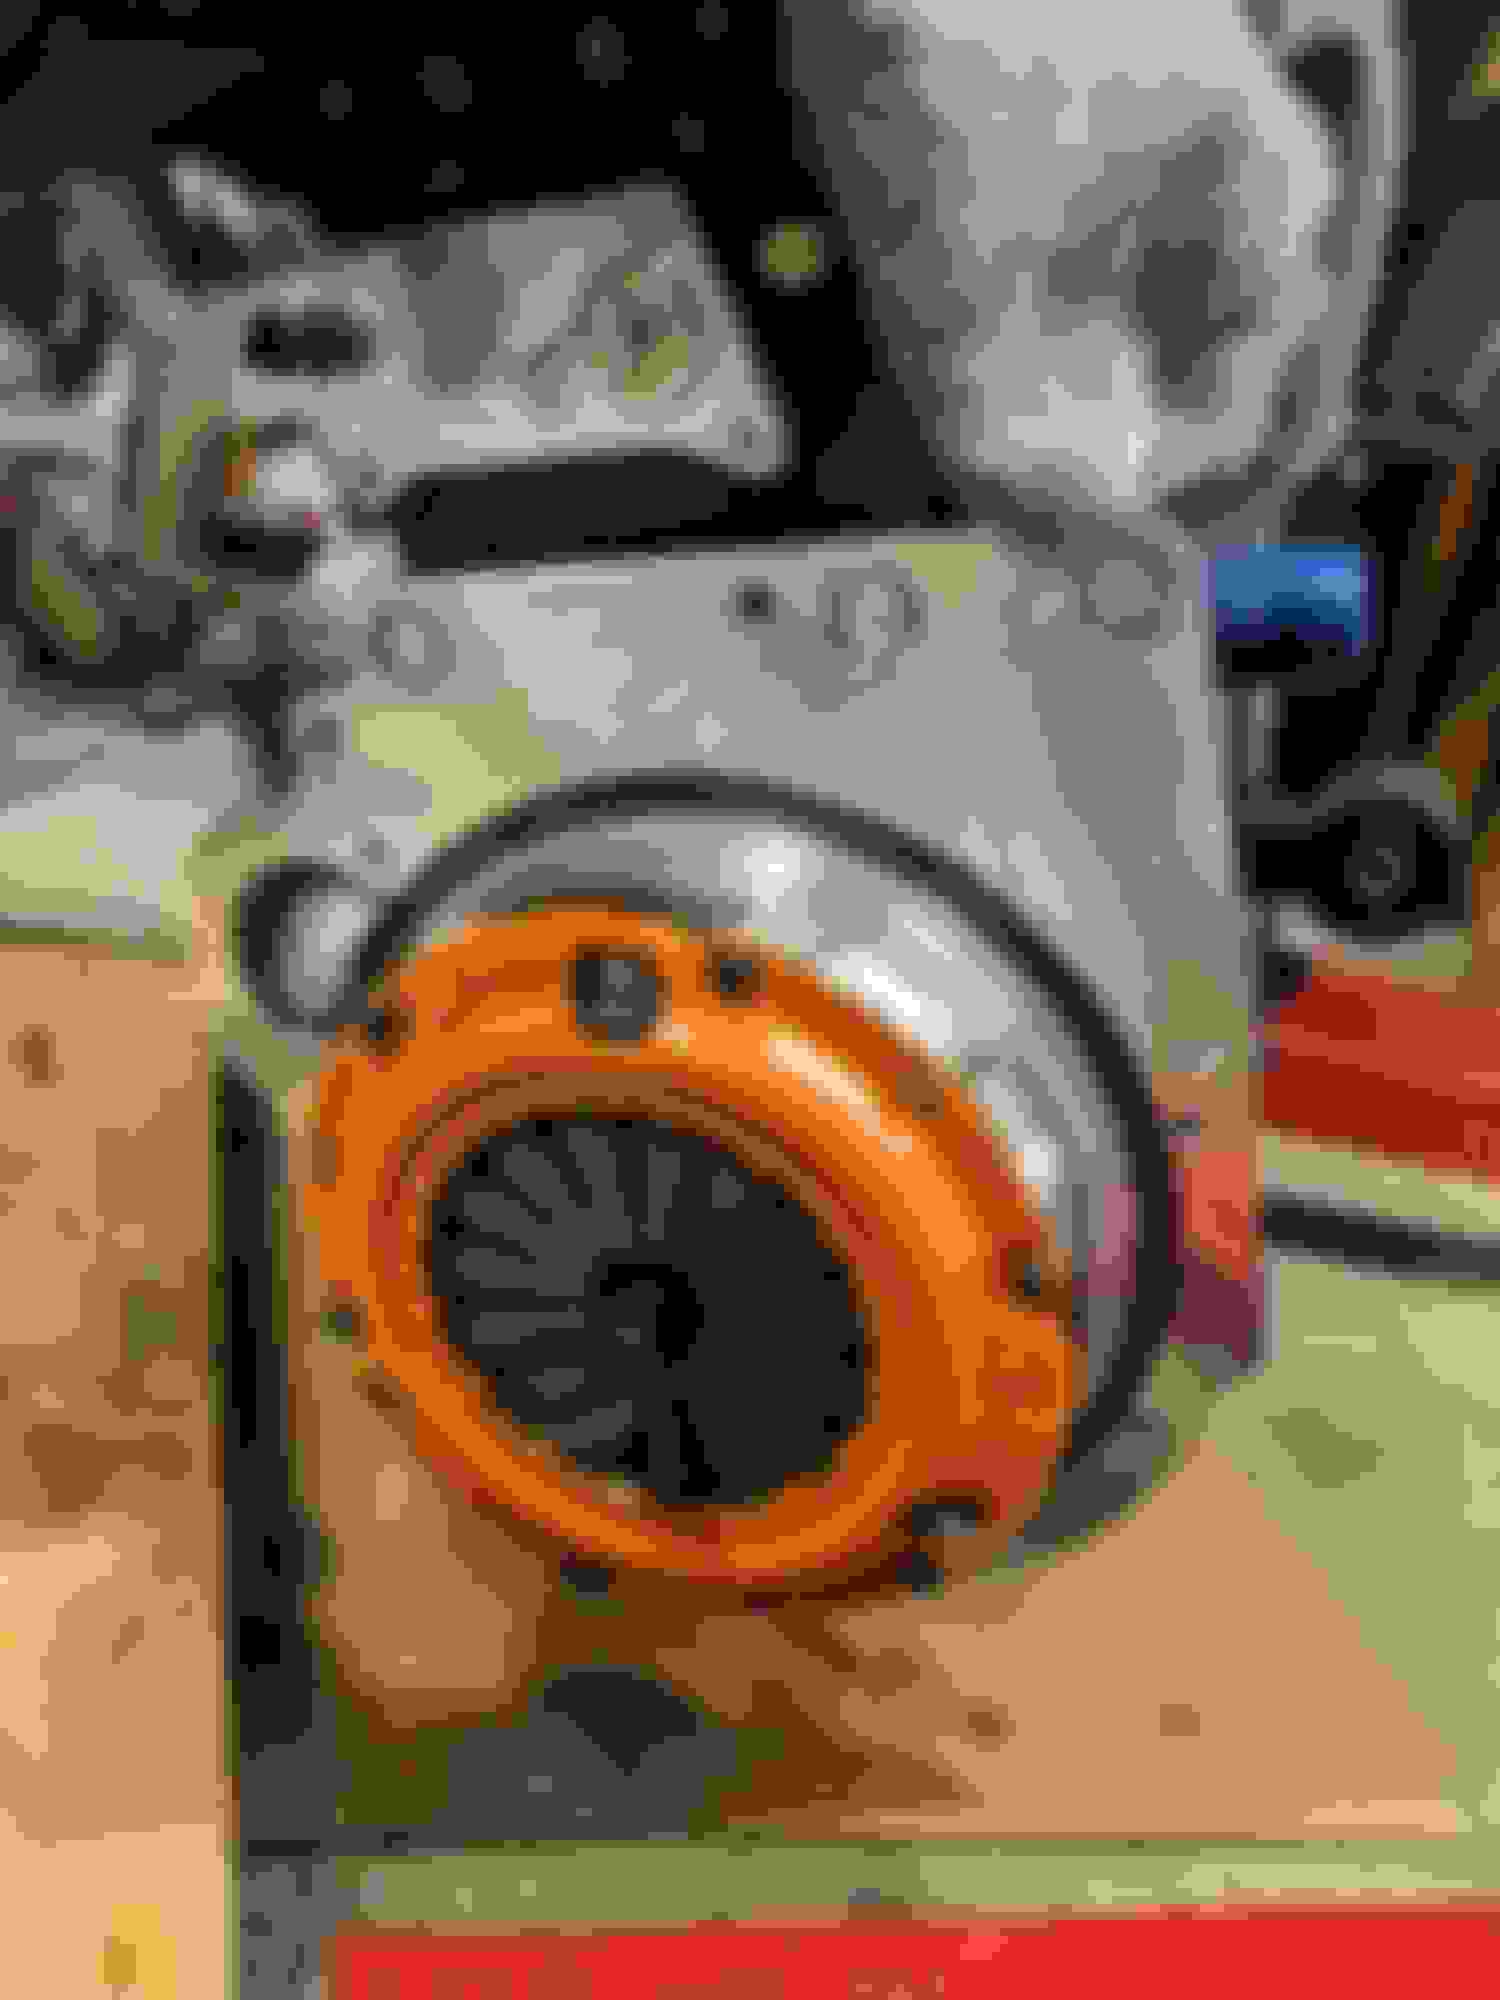
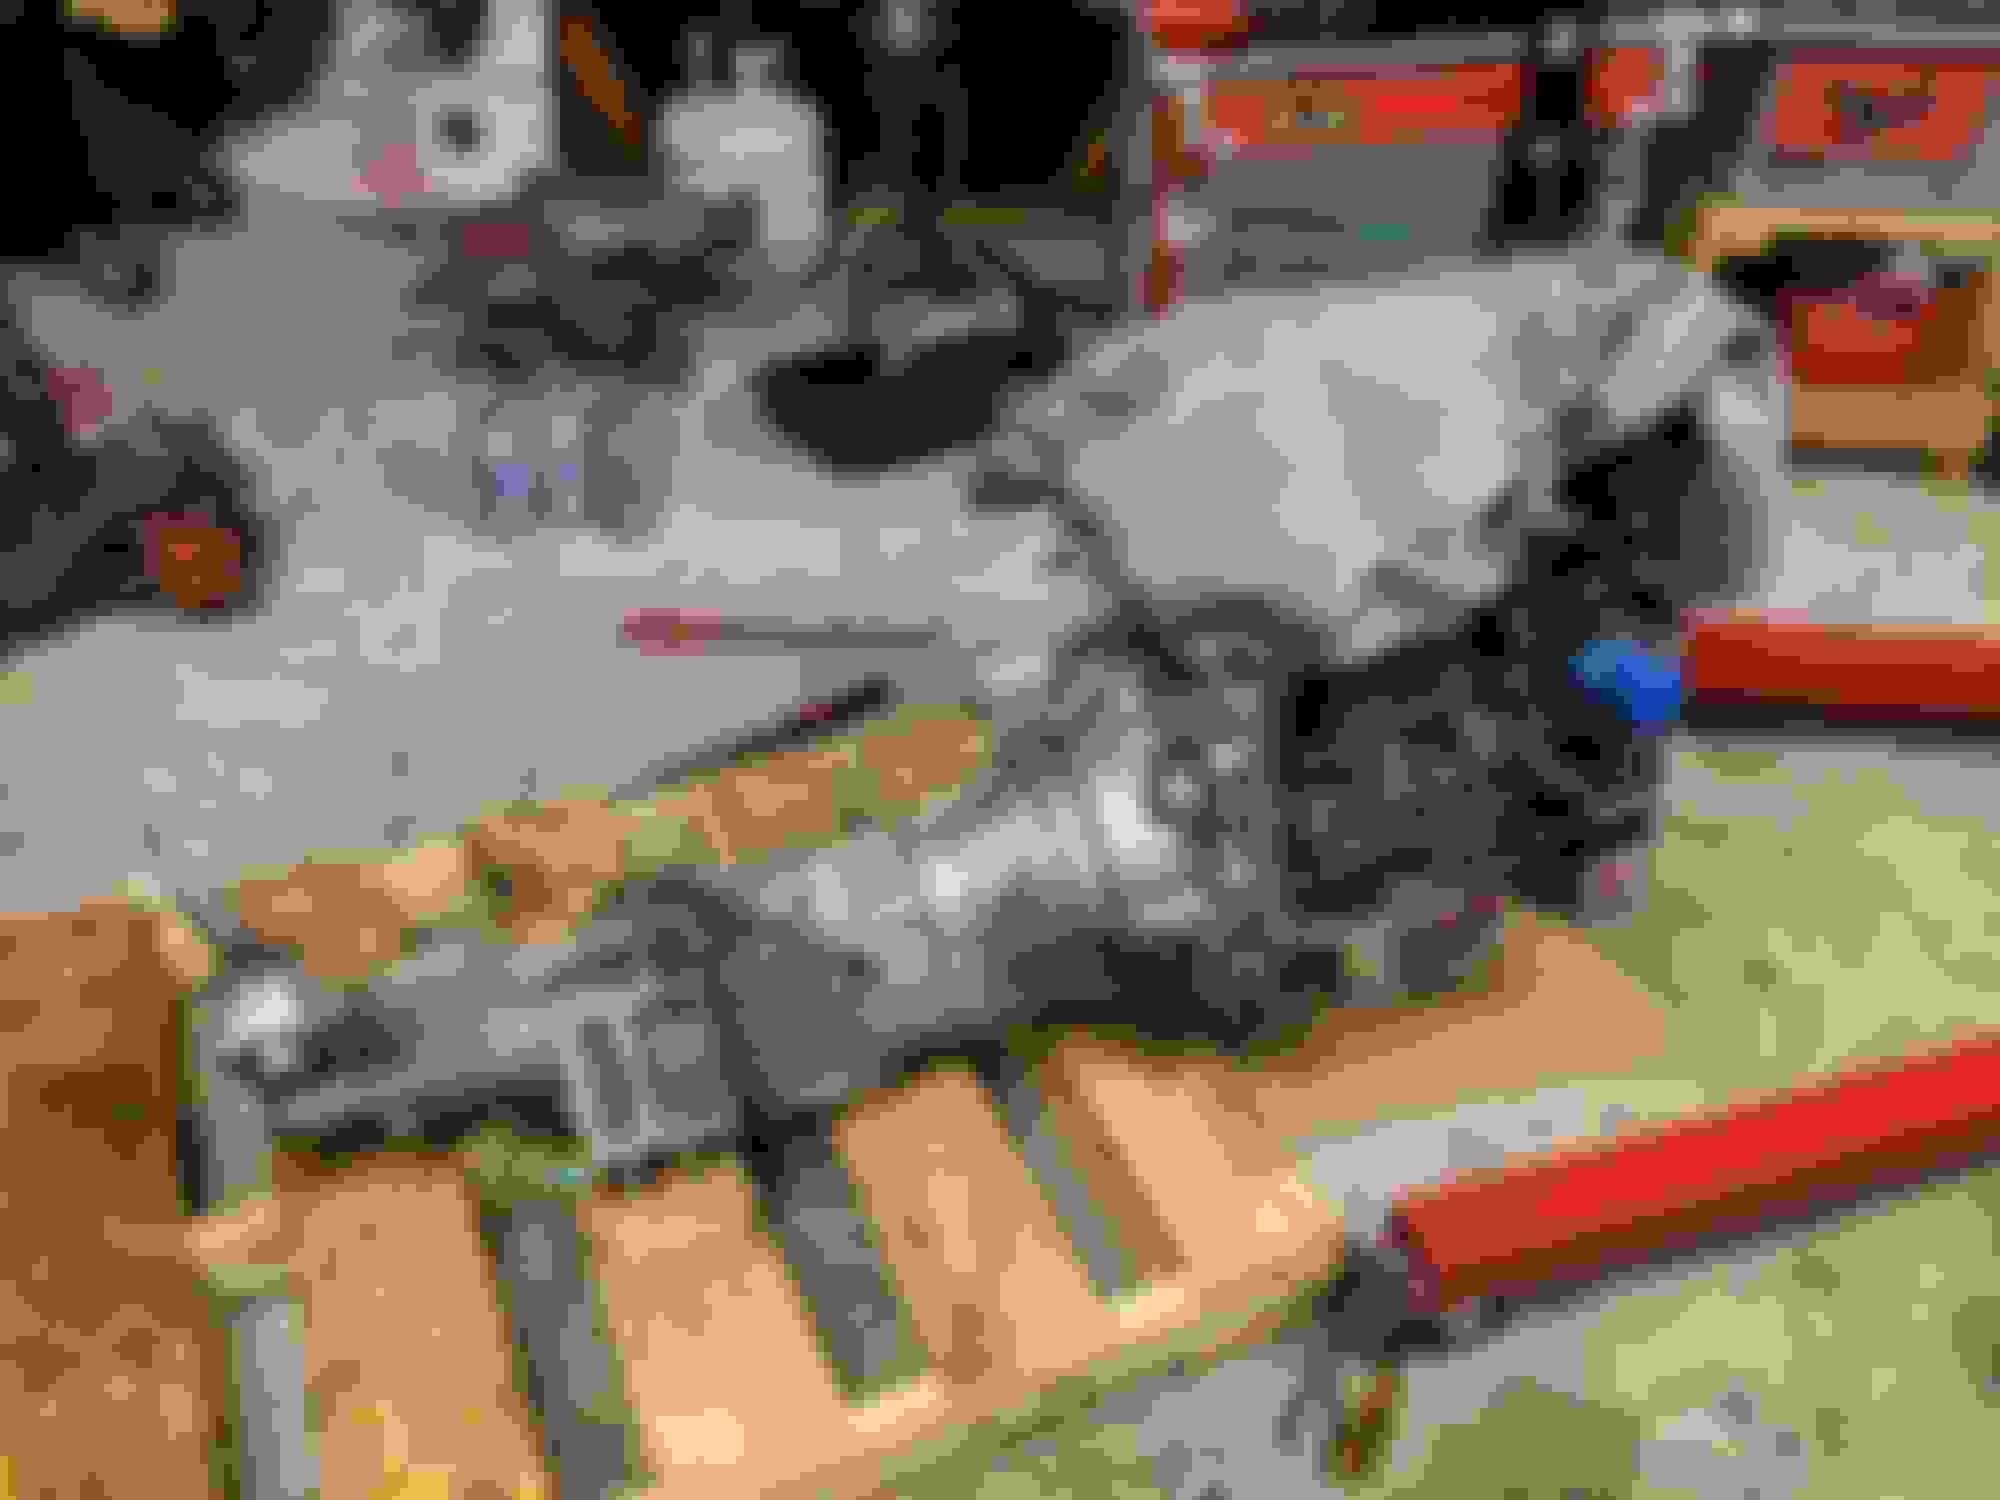
From there, gave the flywheel a quick spray down to make sure it was clean and the Supermiata clutch bolted right up without issue
Then finally, cut out the section of bell housing for starter clearance, cleaned up the inside of the bell housing one last time, and the engine and trans became one. Hoping to drop it in the car soon so that the tedious process of wiring can begin.
Not miata swap related, but the great white buffalo got new shoes last night. After keeping my eyes peeled for months, I found a set of 22" OEM rally wheels with TPMS sensors and new tires for sale locally on craigslist for basically the cost of just what the tires were worth. The catch? the wheels were pretty chipped, corroded, and downright ugly. The fix? Got them powder coated Cadillac Gray High Gloss Metallic from Prismatic Powders. Pops a bit a more than standard factory gloss black would while still giving a sporty look. Should be a sharp looking rig for towing the NB this year. Some custom Left Lane touches are also in the works when I have the free time.
I'll start out this week with annoying news. Almost a year to the date of getting tagged in the truck in a parking lot, I was tagged again by a 16 y/o who wasn't paying attention. The Silverado clearly won the battle, but its definitely something I didn't need to deal with right now. Pushed my bumper into the quarter panel and the body gap between the fender and tailgate got pushed together so I can't open my tailgate until its repaired... Fun times, but at least he had insurance
Working on another set of Morimoto HB retrofits for a member on here. Should be shipping out this week. Love how a simple projector update looks so clean in the OEM housings
Last but not least, finally got the engine dropped into the car this weekend. The custom water bypass neck I had made gets VERY close to the firewall when dropping the motor in (so close that I actually thought I'd have to remove it), but then I figured out a few tricks. The notch I trimmed out for adapter plate clearance (listed above in previous post) was helpful. I removed the bolts for the steering rack, which allowed it to wiggle around and more easily clear the pan on the driver side. I also kept all of the engine mounts loose on the block. Once all 3 of those items were complete, the whole thing dropped in without too much of a fuss. To think its almost been 2 years since buying the engine... nice to finally see it in!
Once it's in, it's pretty wild how much space there is to work on things in the engine bay. The simplicity of it all is one of the main reasons I love this swap.
I need to complete some starter/alternator wiring as well as do some plumbing before officially bolting the intake manifold on, but I was too impatient so I had to rest it in place and see what it would look like. Much excites
Have a pile of parts coming in this week again. Wiring will be coming up soon.
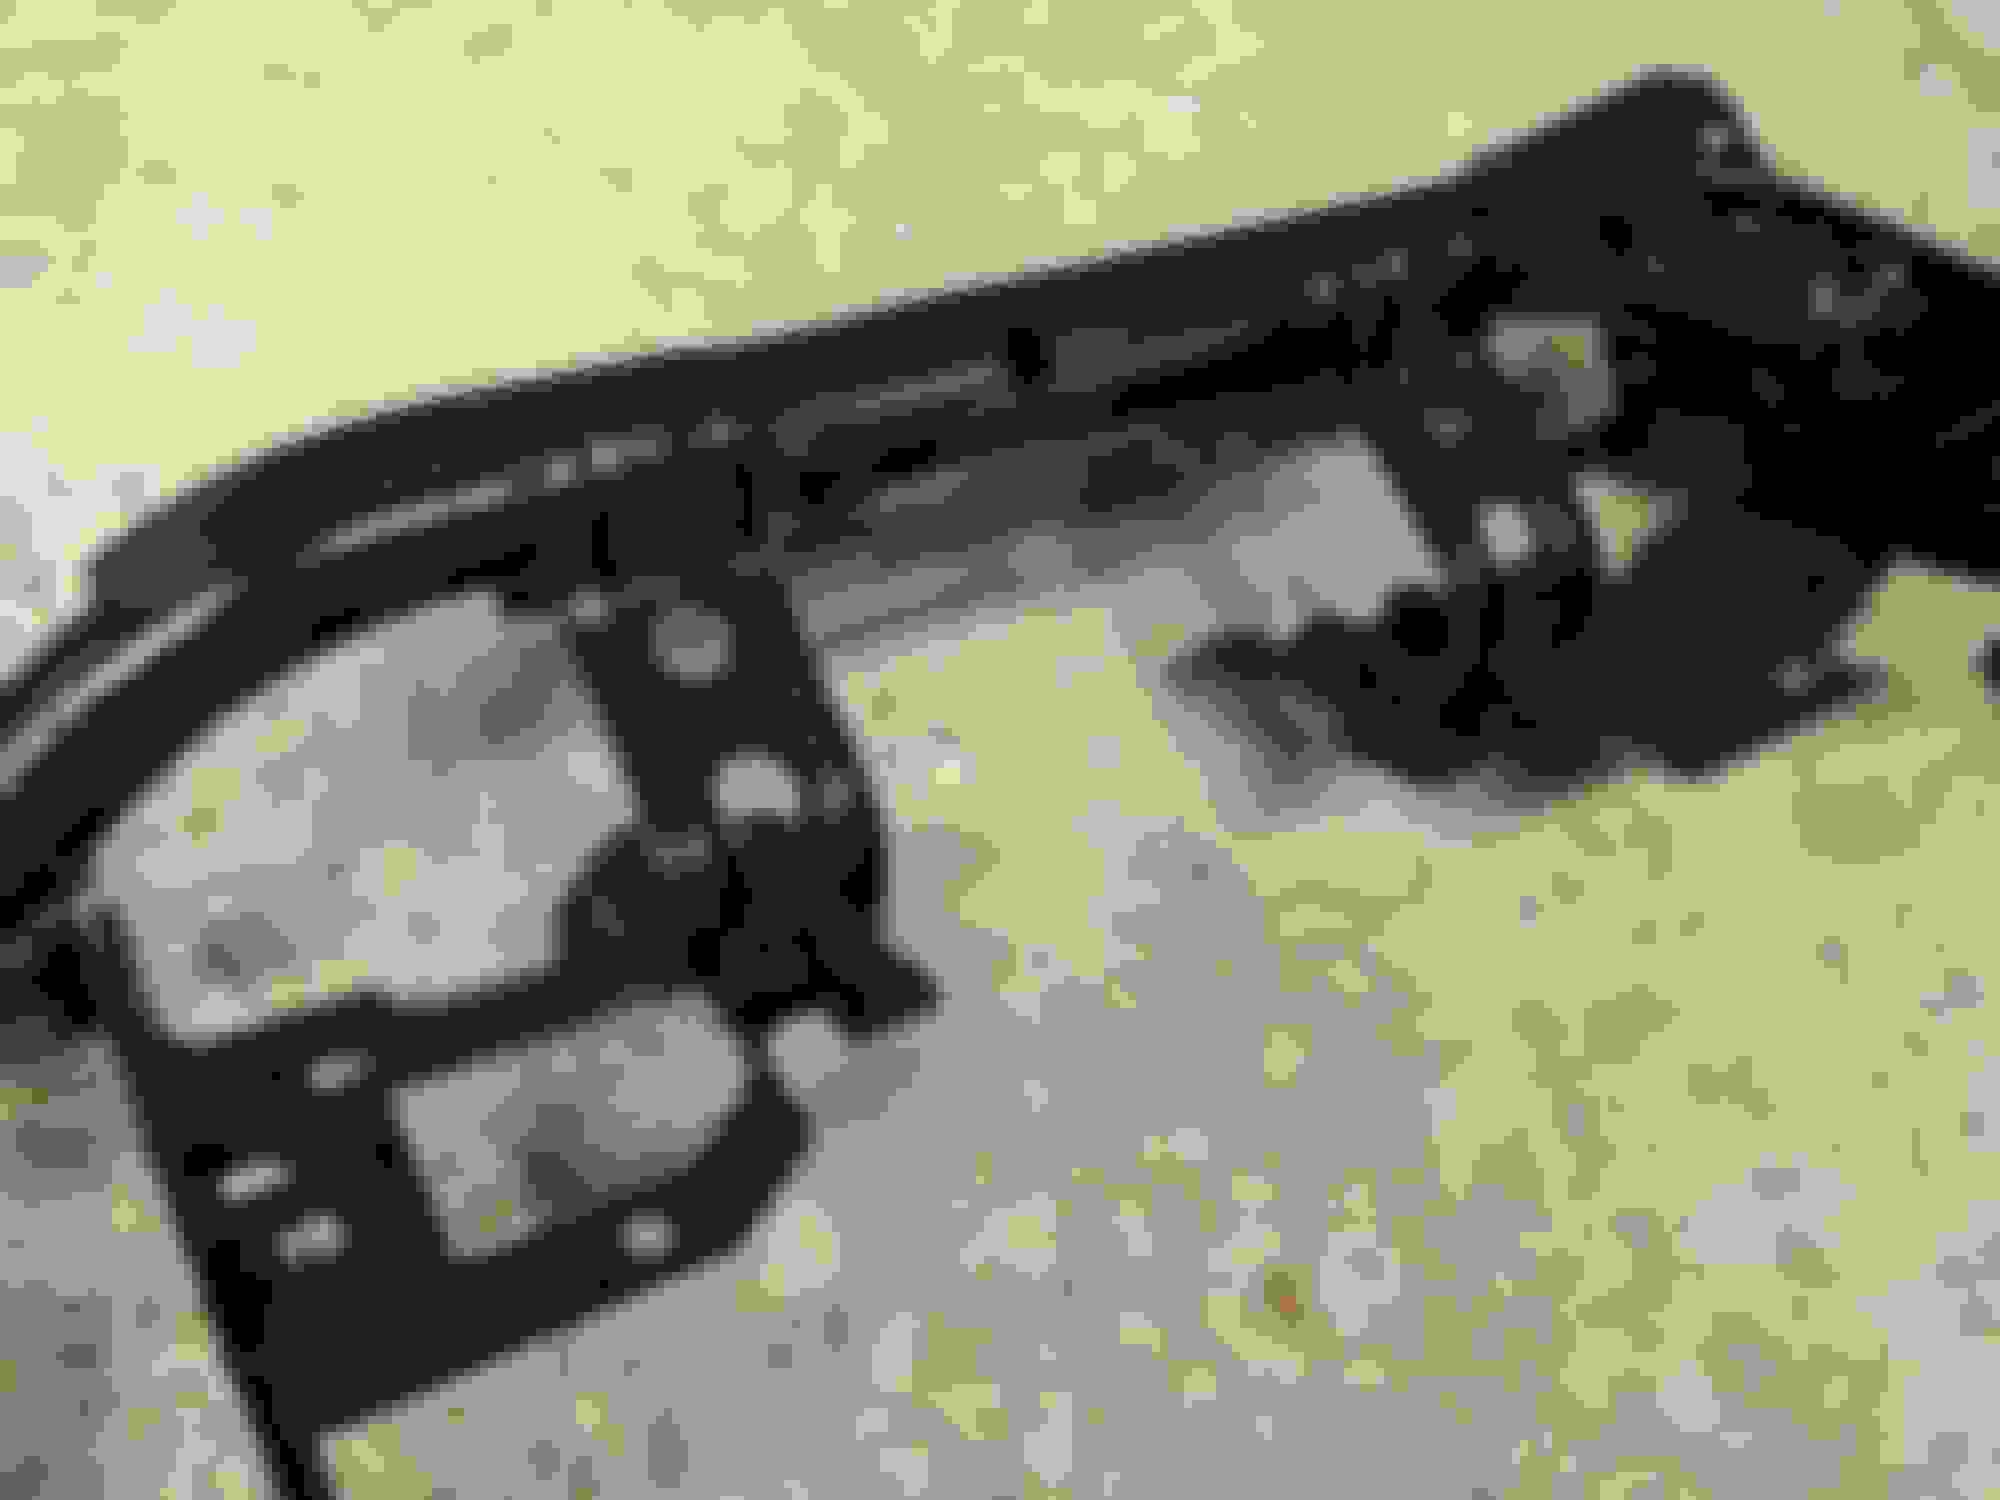
Decided to dig my teeth into the dash side of the electrical first. During the NA6 dash swap portion of this thread, I told myself that I'd sort through the harness at a later time as I didn't want to potentially have an electrical issue to diagnose right before MATG. Well, now is that later time. Here's approximately where I started.
Quickly realized that there's a fair amount of weight in the dash that doesn't necessarily need to be there. Best way to get it trimmed off is to completely separate the dash bar from the outer dash skin. Trimming to be complete in a later post. The ground screws in the metal dash bar were also seized in place, so removing the bar made access to get those broke free a lot easier.
Had an issue pop up at MATG 2019 where all of the back lighting to my gauges and interior lights went out, which made for fun night driving. Found out the culprit is likely this ground wire that was pinched between the dash bar and the unibody of the car. This wire feeds directly into the dash light circuit, so I'll get this repaired and hope that was the reason.
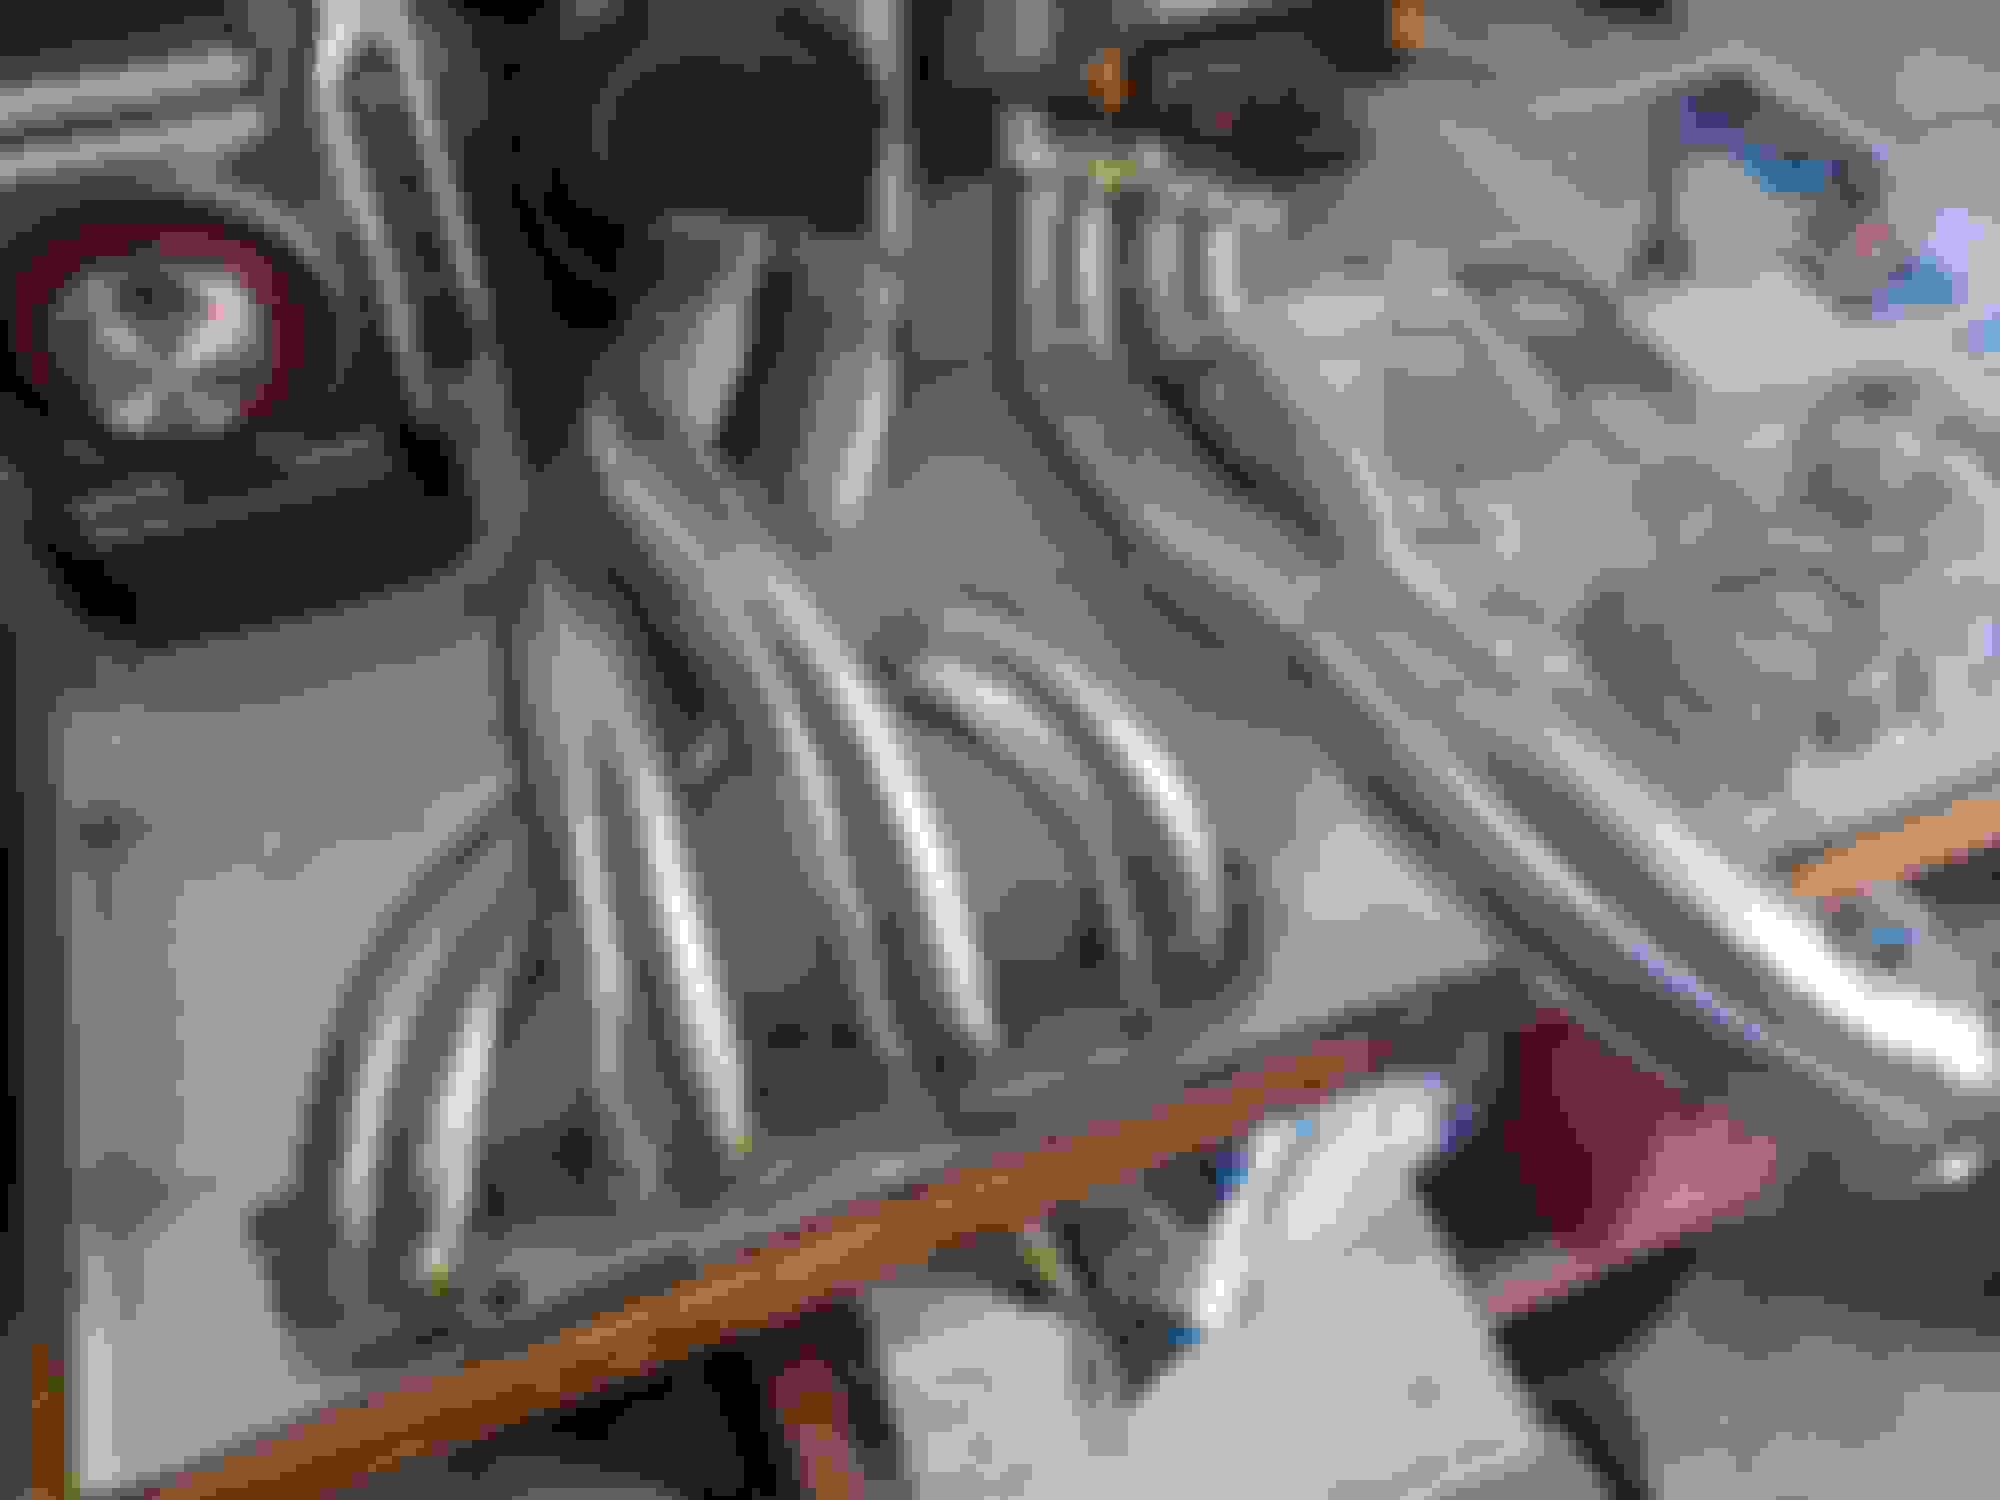
I've deleted quite a few mechanical components in the car over the last few years, so the harness needed a nice pruning to simplify things down to what is actually used. This of course required de-looming the entire harness. Off the top of my head, the wiring that I removed from the harness was:
Bose system wiring (I now just run a simplified headunit that sounds better anyways)
Airbag system including passenger cutoff switch
OEM OBD2 diagnostics port
Power mirrors
Rear defrost
AC switch
Cruise control
Items Retained:
Gauge Cluster Dimmer
Radio
Hazard Switch
12v Acc Plug
Blower Motor Plugs
Made for a pretty satisfying before and after
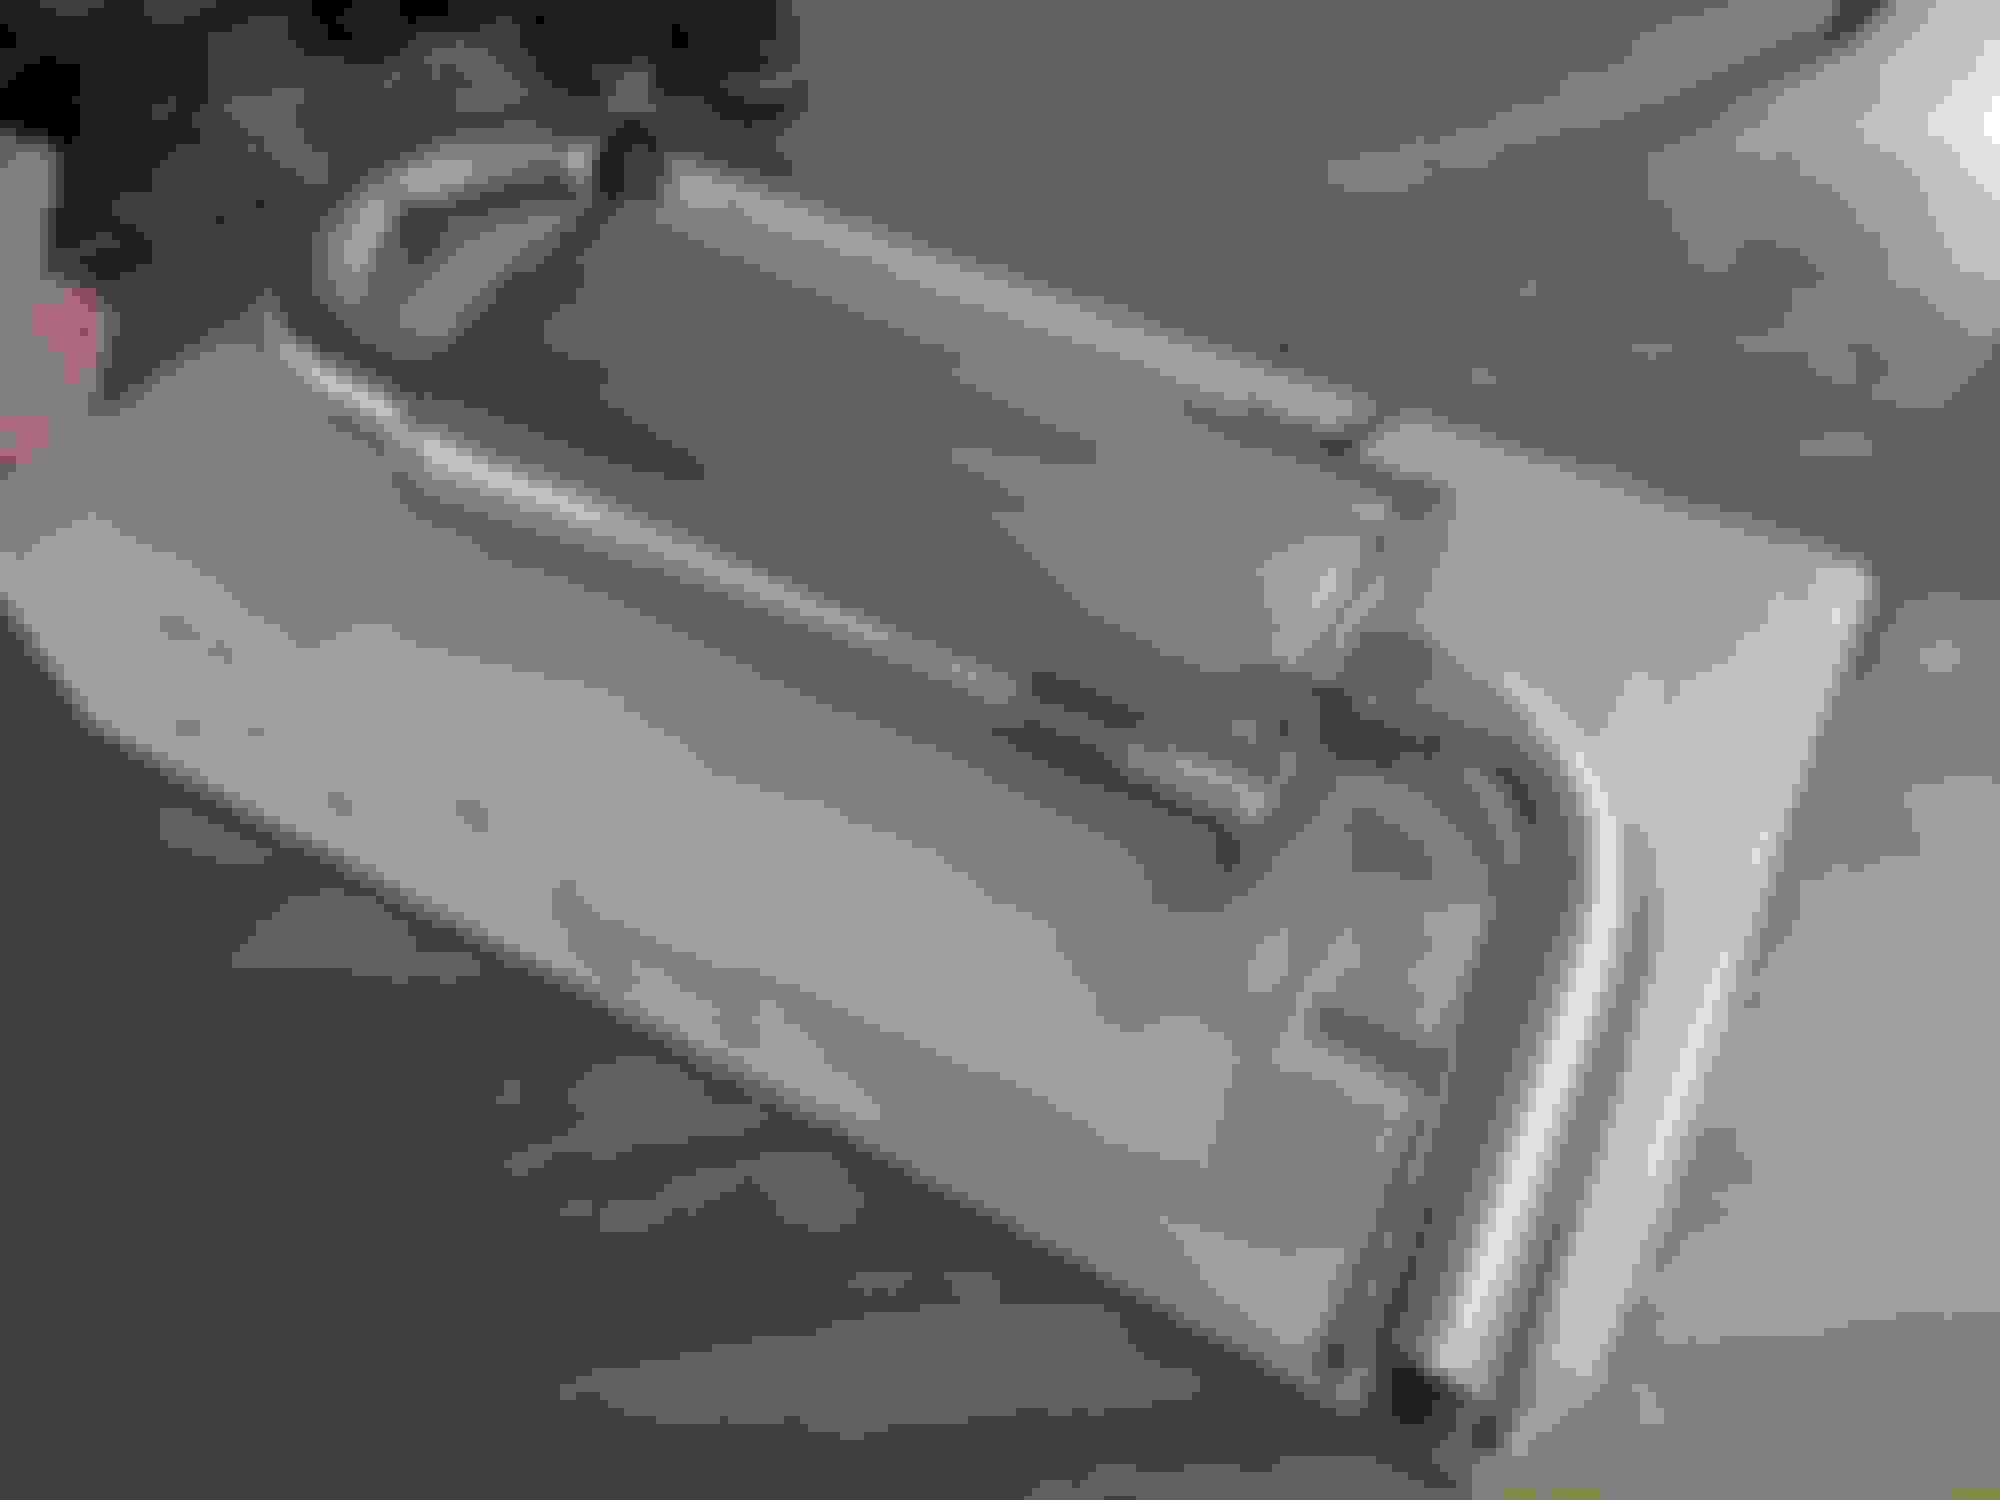
In addition to the harness pruning, I'm removing the HVAC ducting for the eyeball vents. I will be filling 3 of the 4 eyeball vents with gauges to monitor the engine, so given that, there's not a lot of reason to keep the ducting for them in place. I will still retain the defrost ducting. 99% of the time I only use the defrost/foot setting anyways, so there wont be much missed here for my purposes. After removing the eyeball vent ducting, here's what I've got piled up for the garbage bin. Not a lot in terms of mass (maybe 1-2 lbs at most), but it opened up a lot of room under the dash which is always nice!
Jumping around a little bit of everywhere here, but still focusing on the interior bits. I picked up a lighter, more compact radio head unit. This particular model is a JVC KD-X370BTS. This was low hanging fruit in terms of easy weight to trim off the car for not a lot of money. This one has USB and Bluetooth input which will be nice for commuting and cruising around. The size/weight difference is substantial.
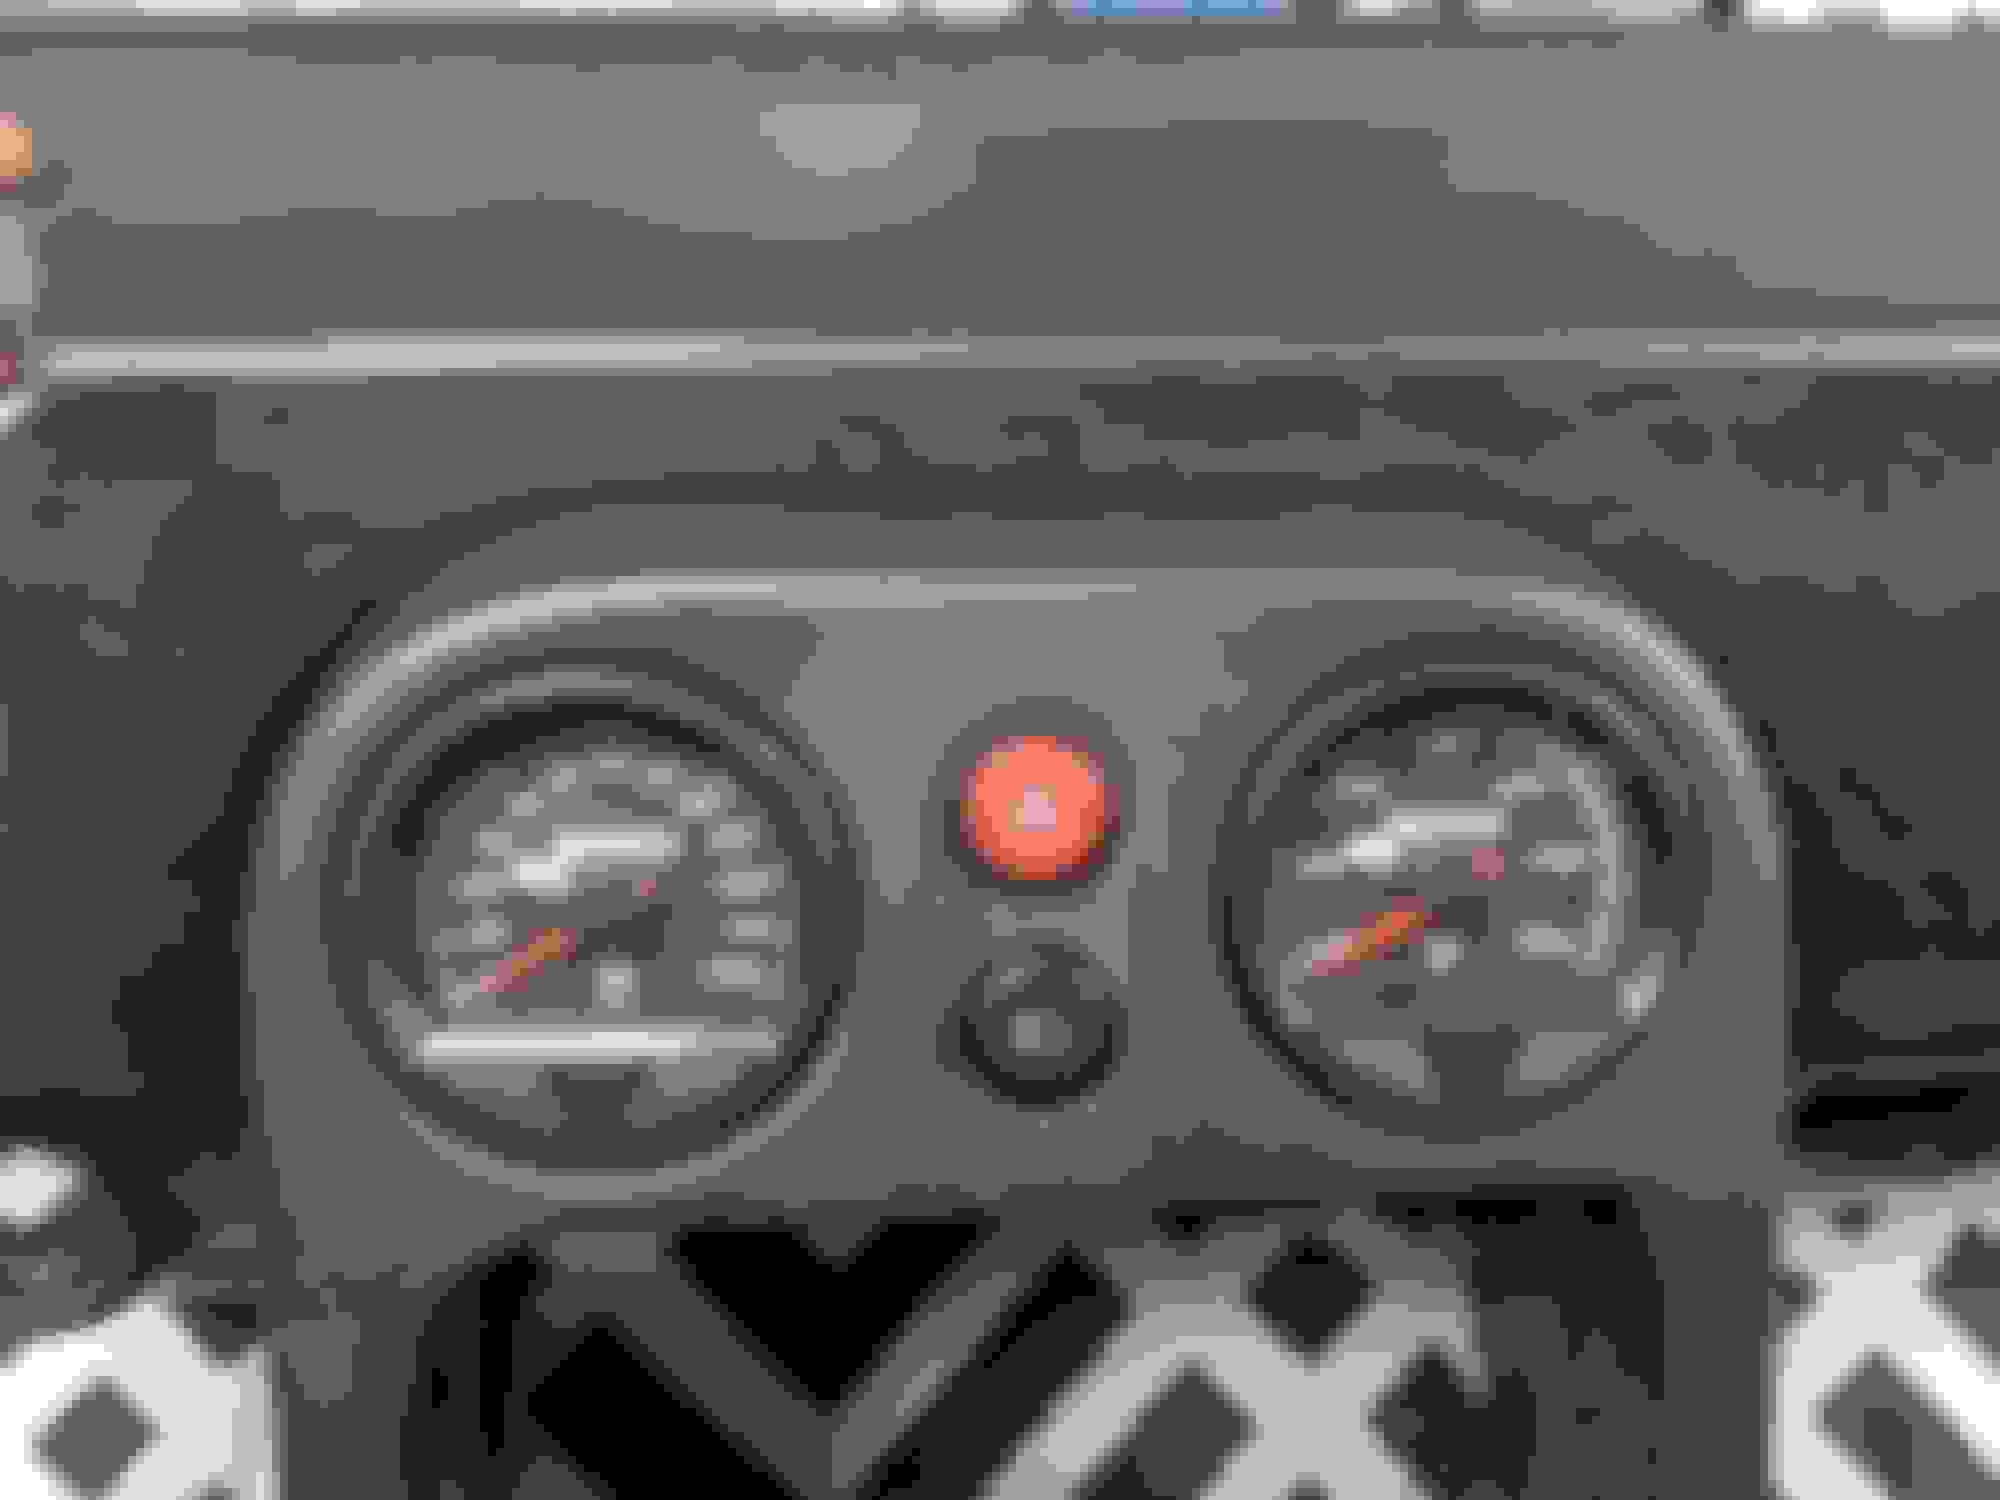
Also knew that I was going to want some sort of gauges to monitor engine health while on track. Everyone has opinions on what they like the best, but I leaned on some of my buddies who run in spec miata for the gauge they like/trust the most. Surprising to me, it was pretty unanimous that Longacre 60mm SMI gauges were the go-to. After receiving them and installing, I can see why. The analog gauge with programmable warning presets will make these super easy to see while on track. The fitment into the OEM eyeball vent locations is also nothing short of perfect. They quite literally press fit into the tombstone vent slots a perfect amount with no need for hardware to retain them in place. It was a bit of a toss-up on which gauges to run, but I ended up opting for Oil Pressure and Coolant Temp. I will have AFR in another location (will post that update later)
Continuing with the dash. I have zero use for a true cigarette lighter anymore. Seeing as everything I charge utilizes a USB, I found this slick little piece on eBay for $15 shipped. Has a voltage readout to boot which is a nice little touch. Just took a little trimming to the dash plastic, then it squeezed right in.
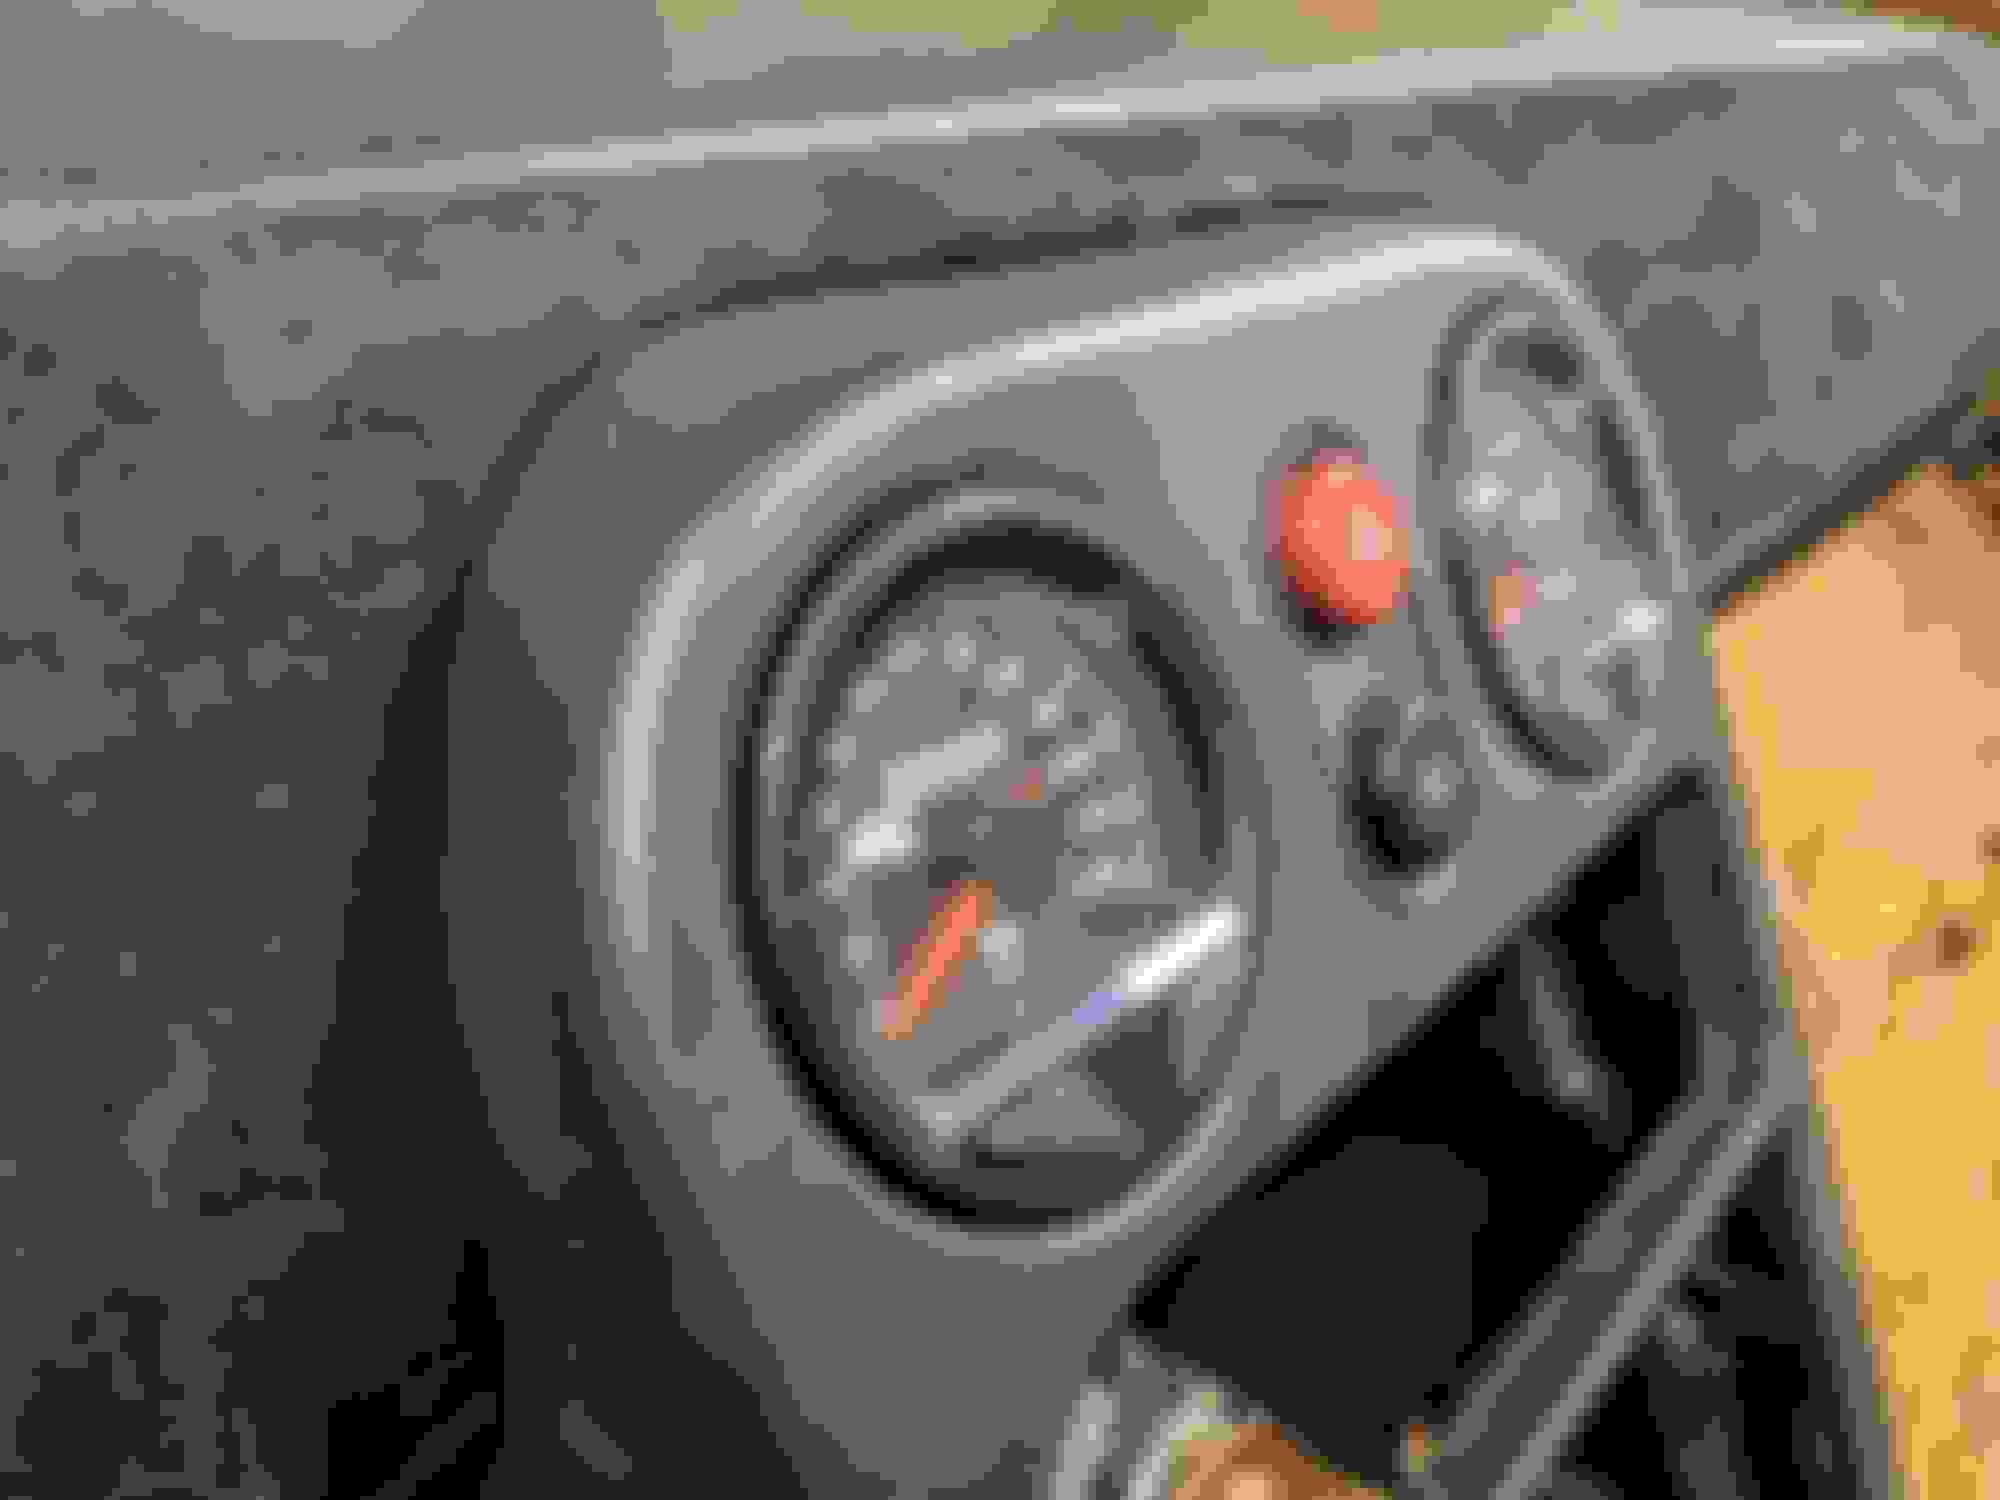
Dash is coming together from a gauge standpoint. Had an AEM wideband from the CTSV (RIP) that I kept to use for this project. Put that gauge in the left pod.
To continue with the dropping weight theme, another piece of low hanging fruit was the Optima yellowtop battery in the car. No idea on what it actually weighs, but its safe to say its at least 20lbs (probably more). Reviewed cost effective options with a few friends and found this. 380CCA and 3.5lb total weight for $90 should do the trick just fine! A few miata peeps have been running it for a couple years now without issues. Will just need to make a bracket to hold it in place and put new wiring terminals on my charge harness to mate up to it. Its so light it nearly feels fake!
Tucking all the headlight wiring into the fenders meant I had open 70mm holes in the firewall. Its surprisingly difficult to find plugs that work for this, but Amazon came to the rescue.
Needed a place to get oil pressure signal from. Got the a Perrin sandwich plate to fix that. As an added bonus, it matches.
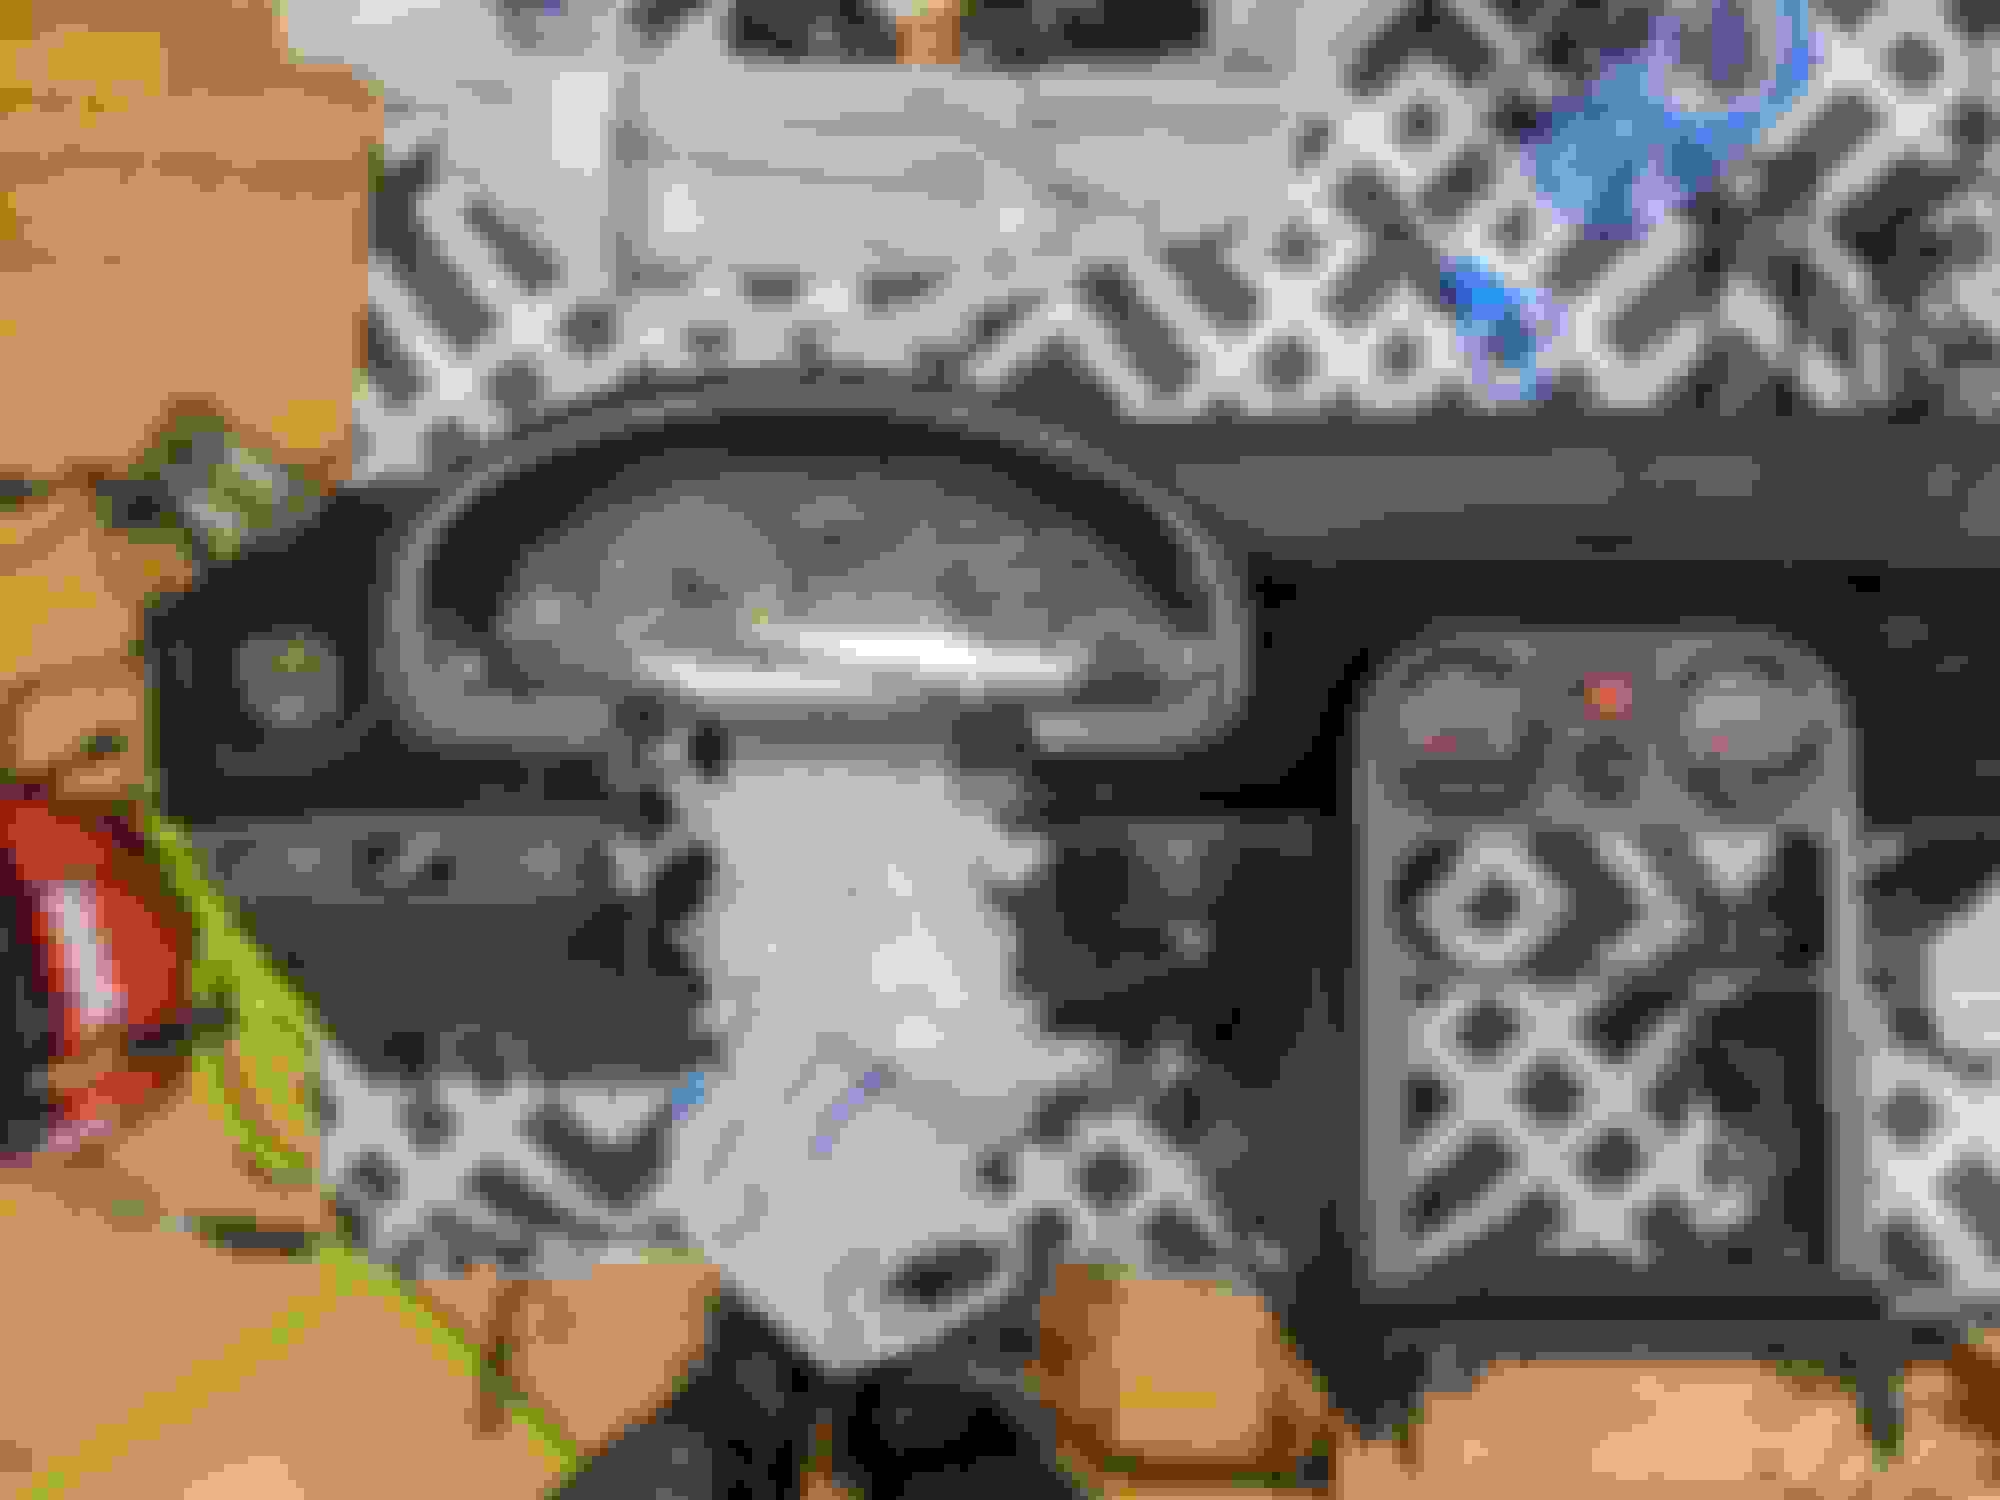
Back from a much needed cruise vacation... came home to a new part so I was able to get the tombstone sorted out.
DDM works single DIN radio adapter fits and looks perfect for the job. Will need to relocate the power window switches to the blank portion of the panel under the headunit, but not sure I'll get to that before the car is running/driving.
Almost 60 degrees out yesterday made for a productive time.
Started out by painting the dash bar so its ready to go back into the dash. If you look closely, you'll notice some extra steps taken which the gram strategy gods would appreciate.
A solid chunk of the wiring that I still had left to modify ran along the driver side rocker and under the package shelf. Now was as good of time as ever to remove the weight of the OEM seat belt retractors that I no longer use. Unfortunately, removing them should (in theory) require rollbar removal, unless you have a grinder handy that you aren't afraid to use. Would be awesome to cut out the towers entirely, but I'll leave that for some other day in the future so project creep doesn't bite me. For now, this will have to do with a modest few pounds pulled out between the belt assemblies and the cut out sheet metal.
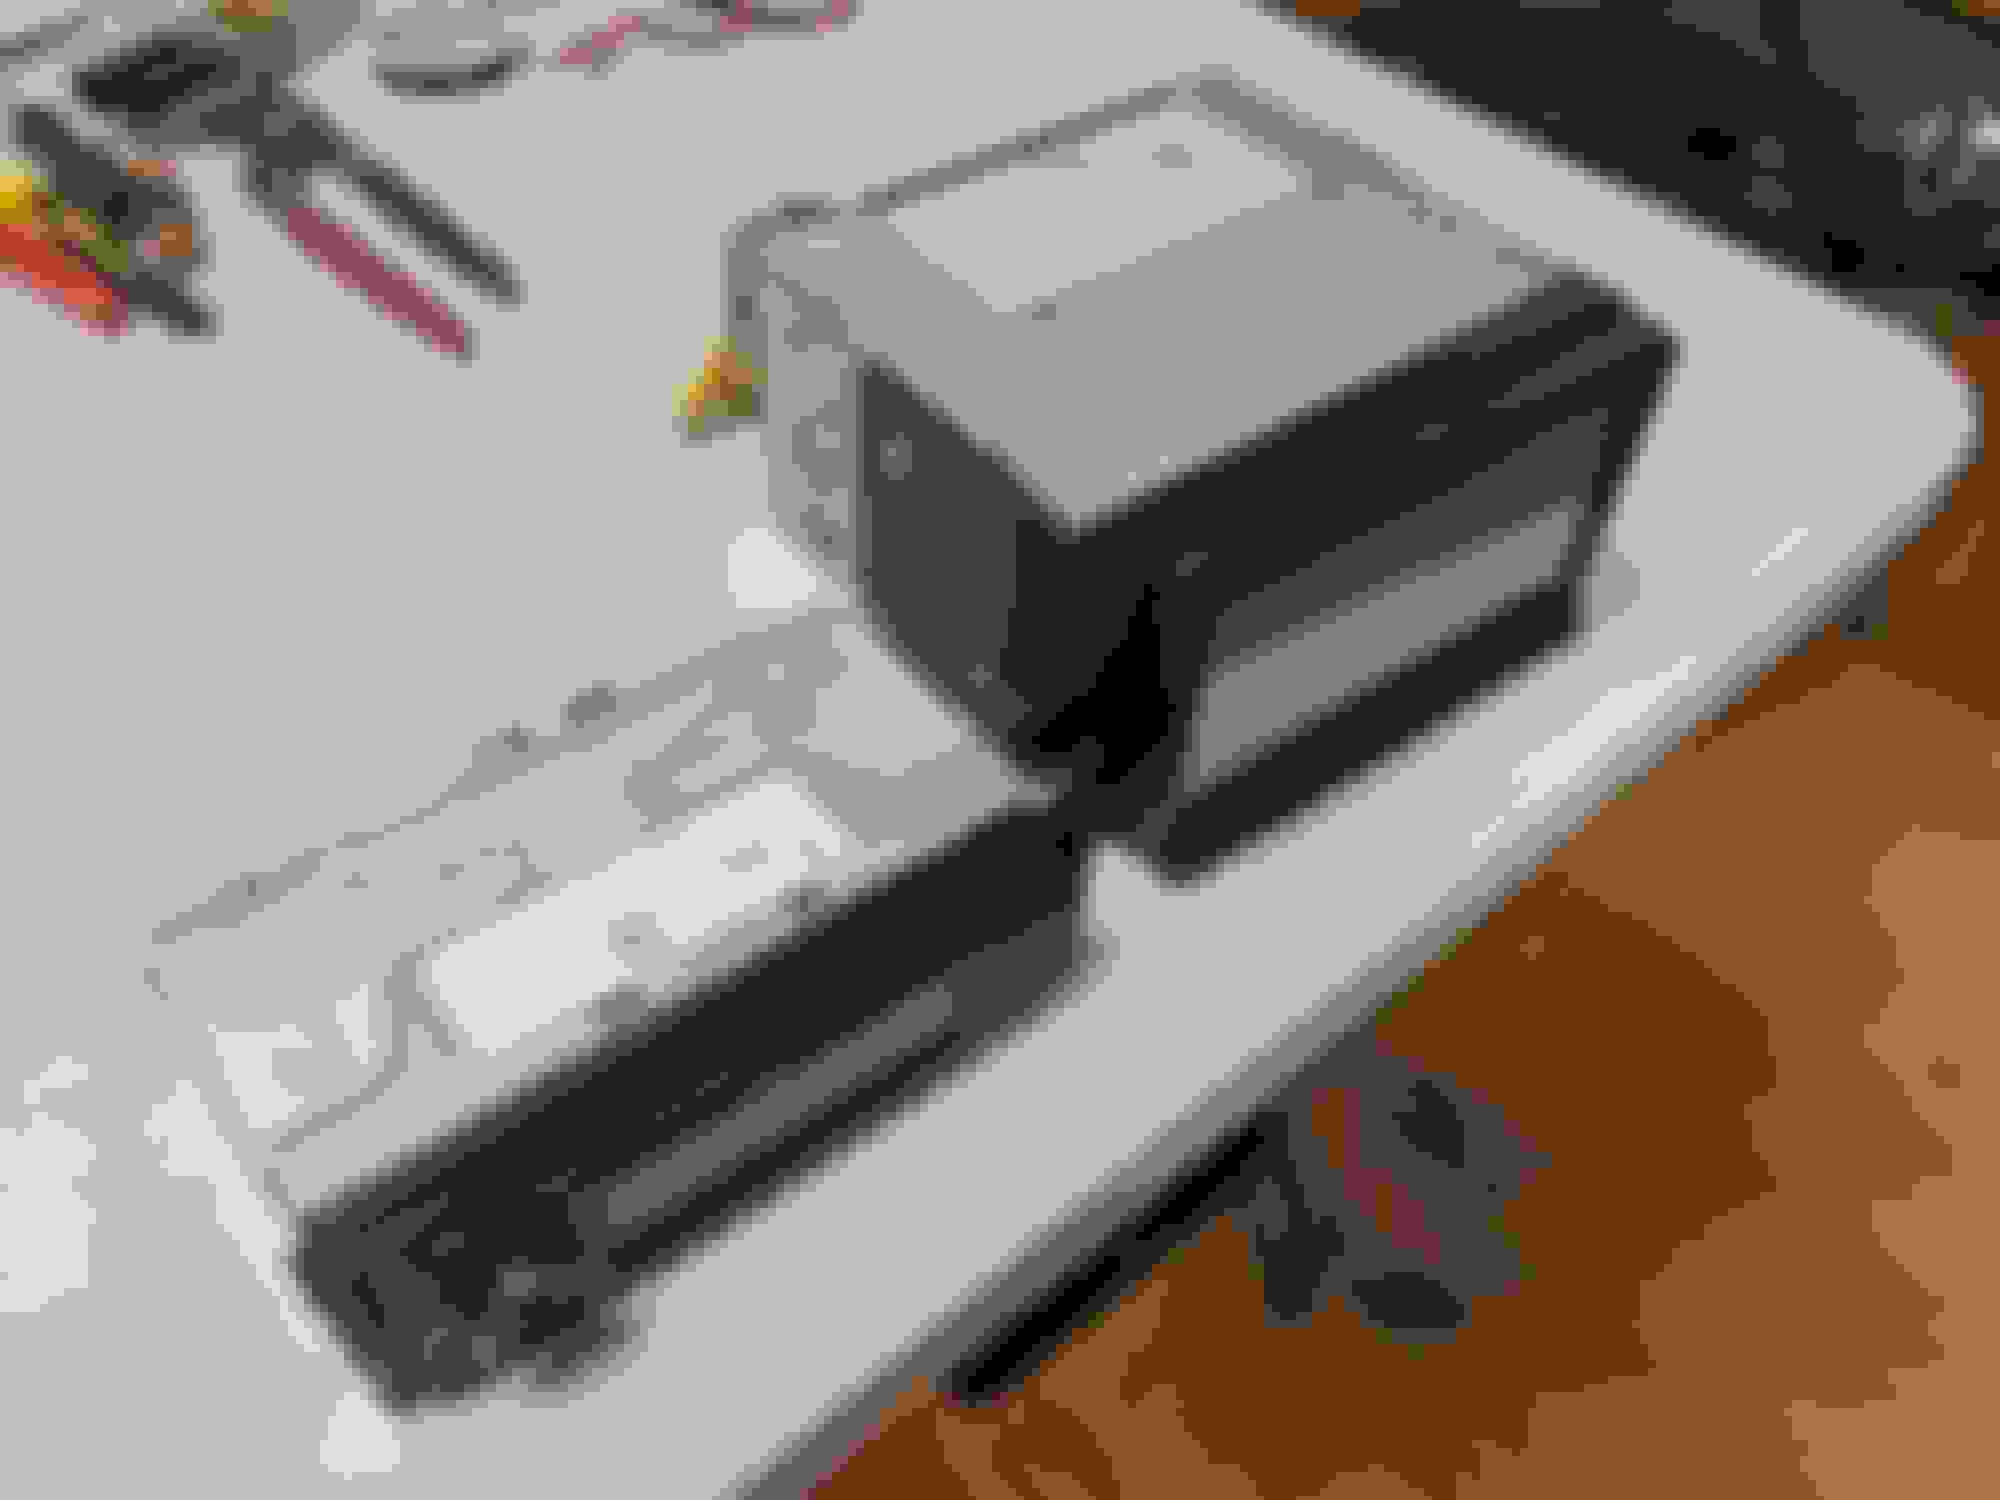
As a bit of an open question to anyone. I'm doing a complete EVAP delete as all the sensors are "dead" without signals anyways once kswapped. The TPCV (tank pressure control valve) and FTP (fuel tank pressure) sensor are shown below left to right here. I'm under the assumption these are normally open valves? Any reason I can't just run a new vent line direct from the top fitting and remove the sensors completely?
Current status of the interior harness. Have a few more segments of the harness to get through before I'm considering it completely thinned out.
the above seems like a complete chaotic mess, until you realize this is what I've pulled out of it already. There are a TON of unused wires on the common kswap...
I only cut part of it because (at least for the time being) I still use the trim pieces (suede wrapped) that fit over the towers for a nice fit/finish when the interior is all together. To completely cut these out the way that I'd want to, I'd likely need to remove the rollbar then figure out a way to make it look finished afterwards. This was a quick and easy way to pull a few pounds for not much effort without exposing a huge hole in my package shelf.
well... I didn't die from the COVID-19 yet, so I've got that going for me. Mandated to work from home until further notice per my companies recommendations now however.
Received the Kmiata header and catback this week. Beautiful pieces.
This section includes converting to referenced FPR, which you may be doing as well, or have done. But the rest is relevant to you question in post #496.
 01-27-2020, 02:38 PM


 0
0