When you click on links to various merchants on this site and make a purchase, this can result in this site earning a commission. Affiliate programs and affiliations include, but are not limited to, the eBay Partner Network.
There's always more events.. I'm just hoping that MATG isn't affected at this point.
Originally Posted by Efini~FC3S
What size intake tube? Most of the k-powered cars I�ve played with did best with a 3.5� diameter intake, even at ~200whp.
Your intake manifold is designed for all the top-ends...so maybe a longer tube (and increased torque) would be the best balance?
I'm using 3" piping as it matches to the TB diameter. After reviewing with a few kswapped guys, it seems like the best first swing at this will be to route it over to the passenger side to keep that mid-range torque and then build some heat shielding around it to keep IAT's down. The shielding should second as a mount to hold the filter in its appropriate location as well. Will need to break out the cardboard to get some templates made!
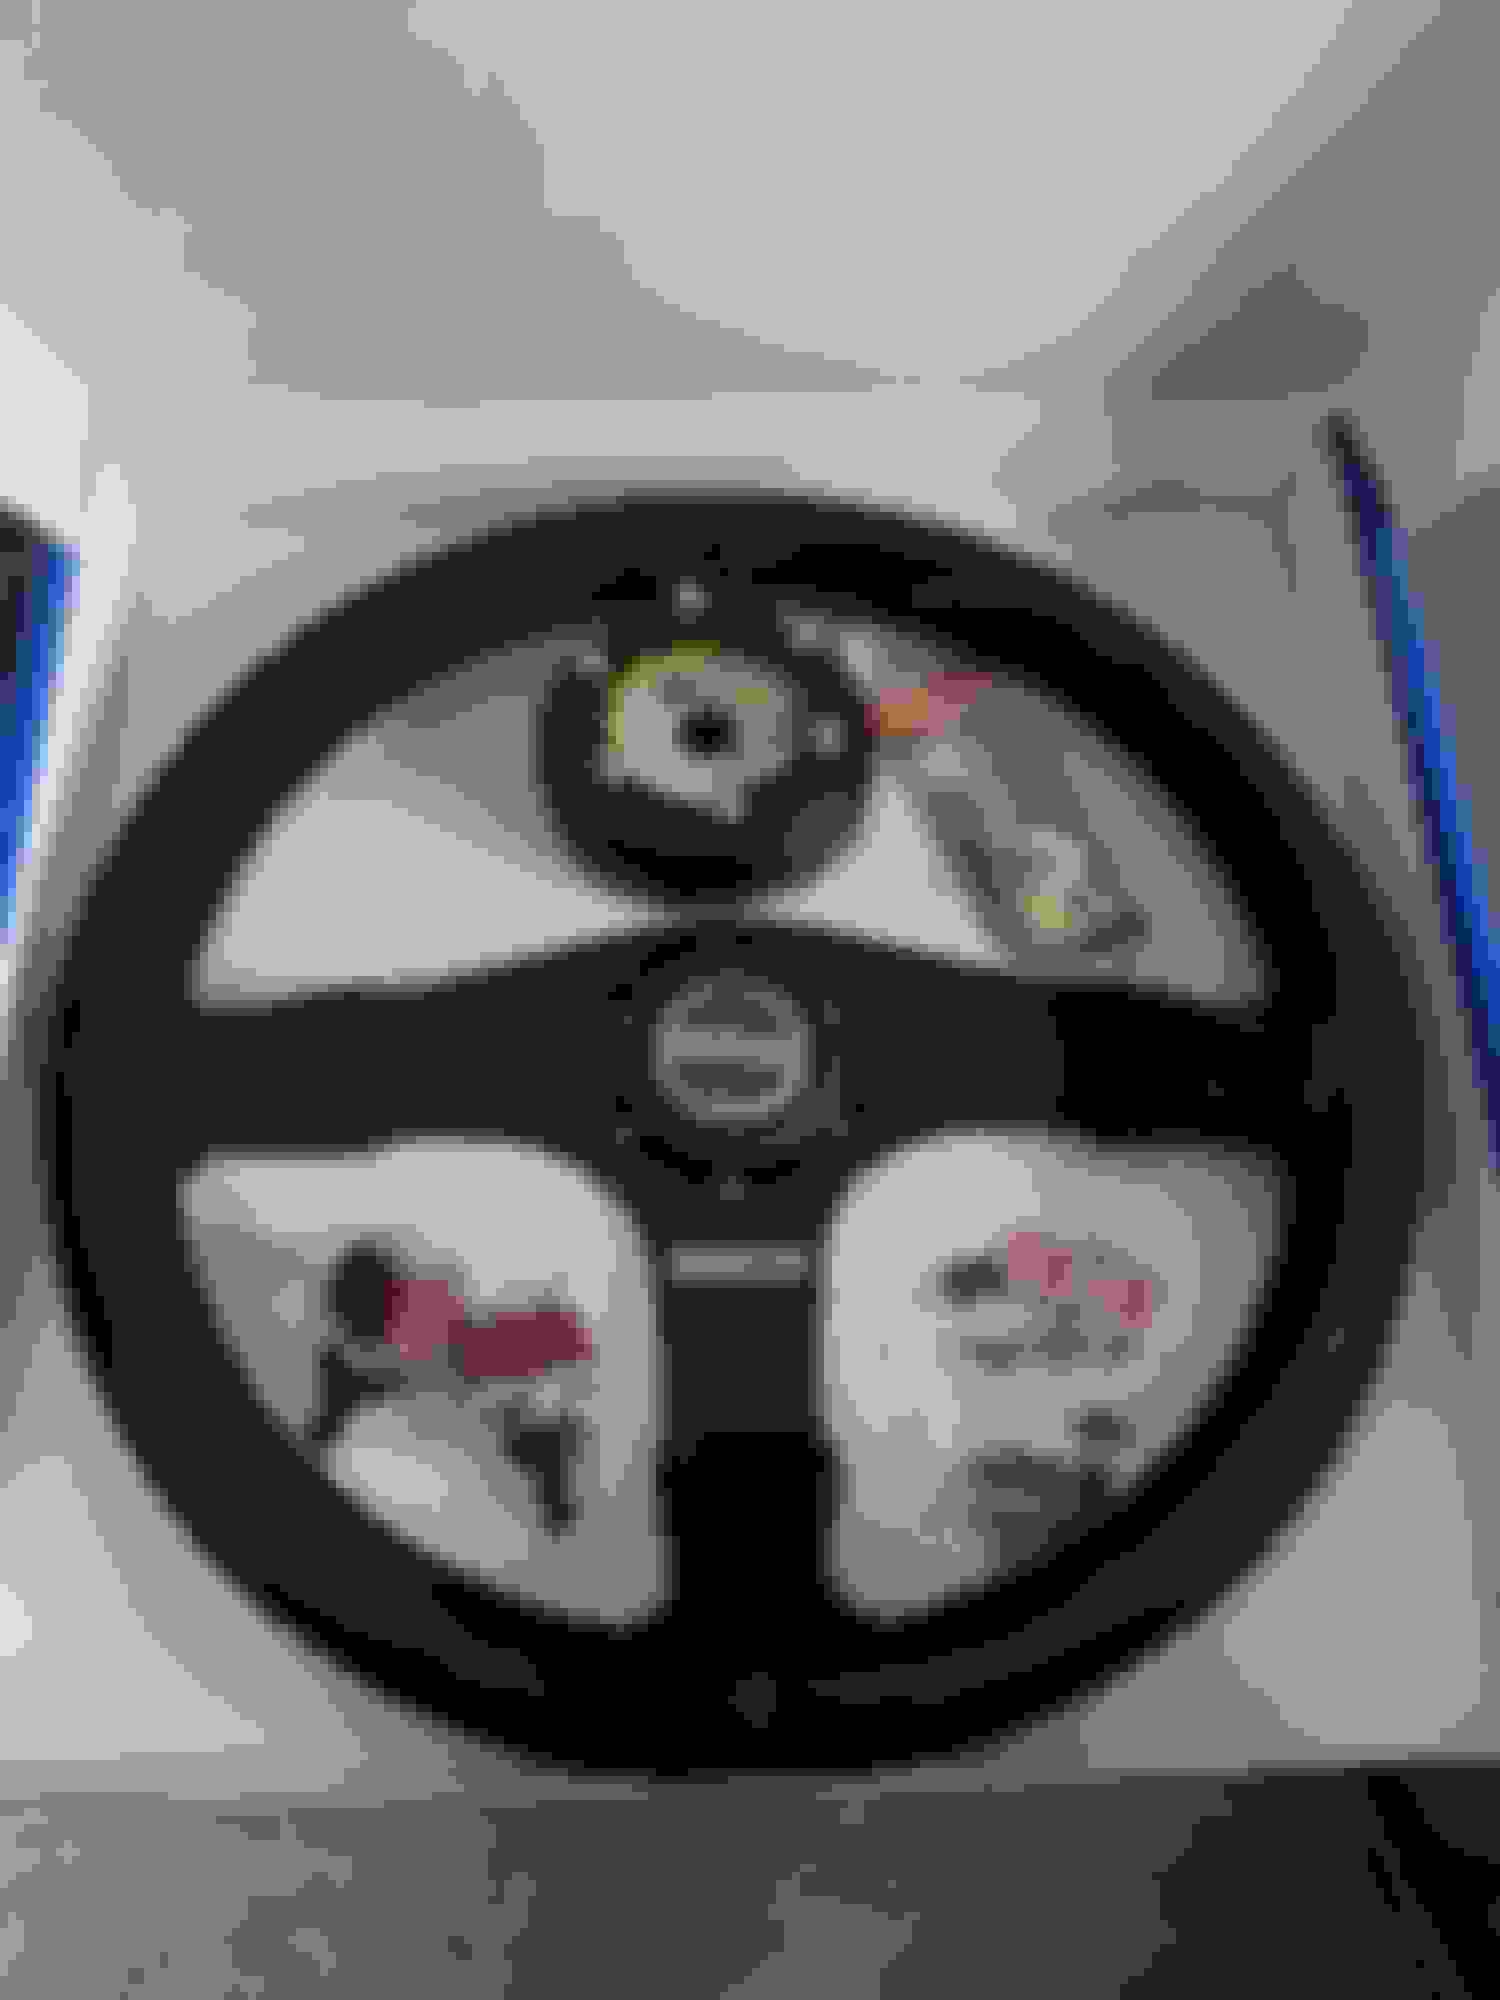
Most of my spending spree from last week showed up today. I have wanted an aftermarket wheel for some time now to improve driving feel, drop weight, and improve aesthetics. Given I have Sparco harnesses and seats, the only way to keep my OCD happy was to match with a Sparco wheel. I ended up selecting the Sparco R375. It's a 350mm wheel with the classic 3 spoke design and wrapped in suede. Ideally, I wanted a perforated leather wheel of the exact same size/design, but that doesn't exist so the suede will do. In addition, in the below photo you can see the Dorman 03336 cable stop kit (so I can shorten my OEM throttle cable), new DPDT switches for my power windows, K24 starter solenoid pigtail, and NRG shorty hub adapter.
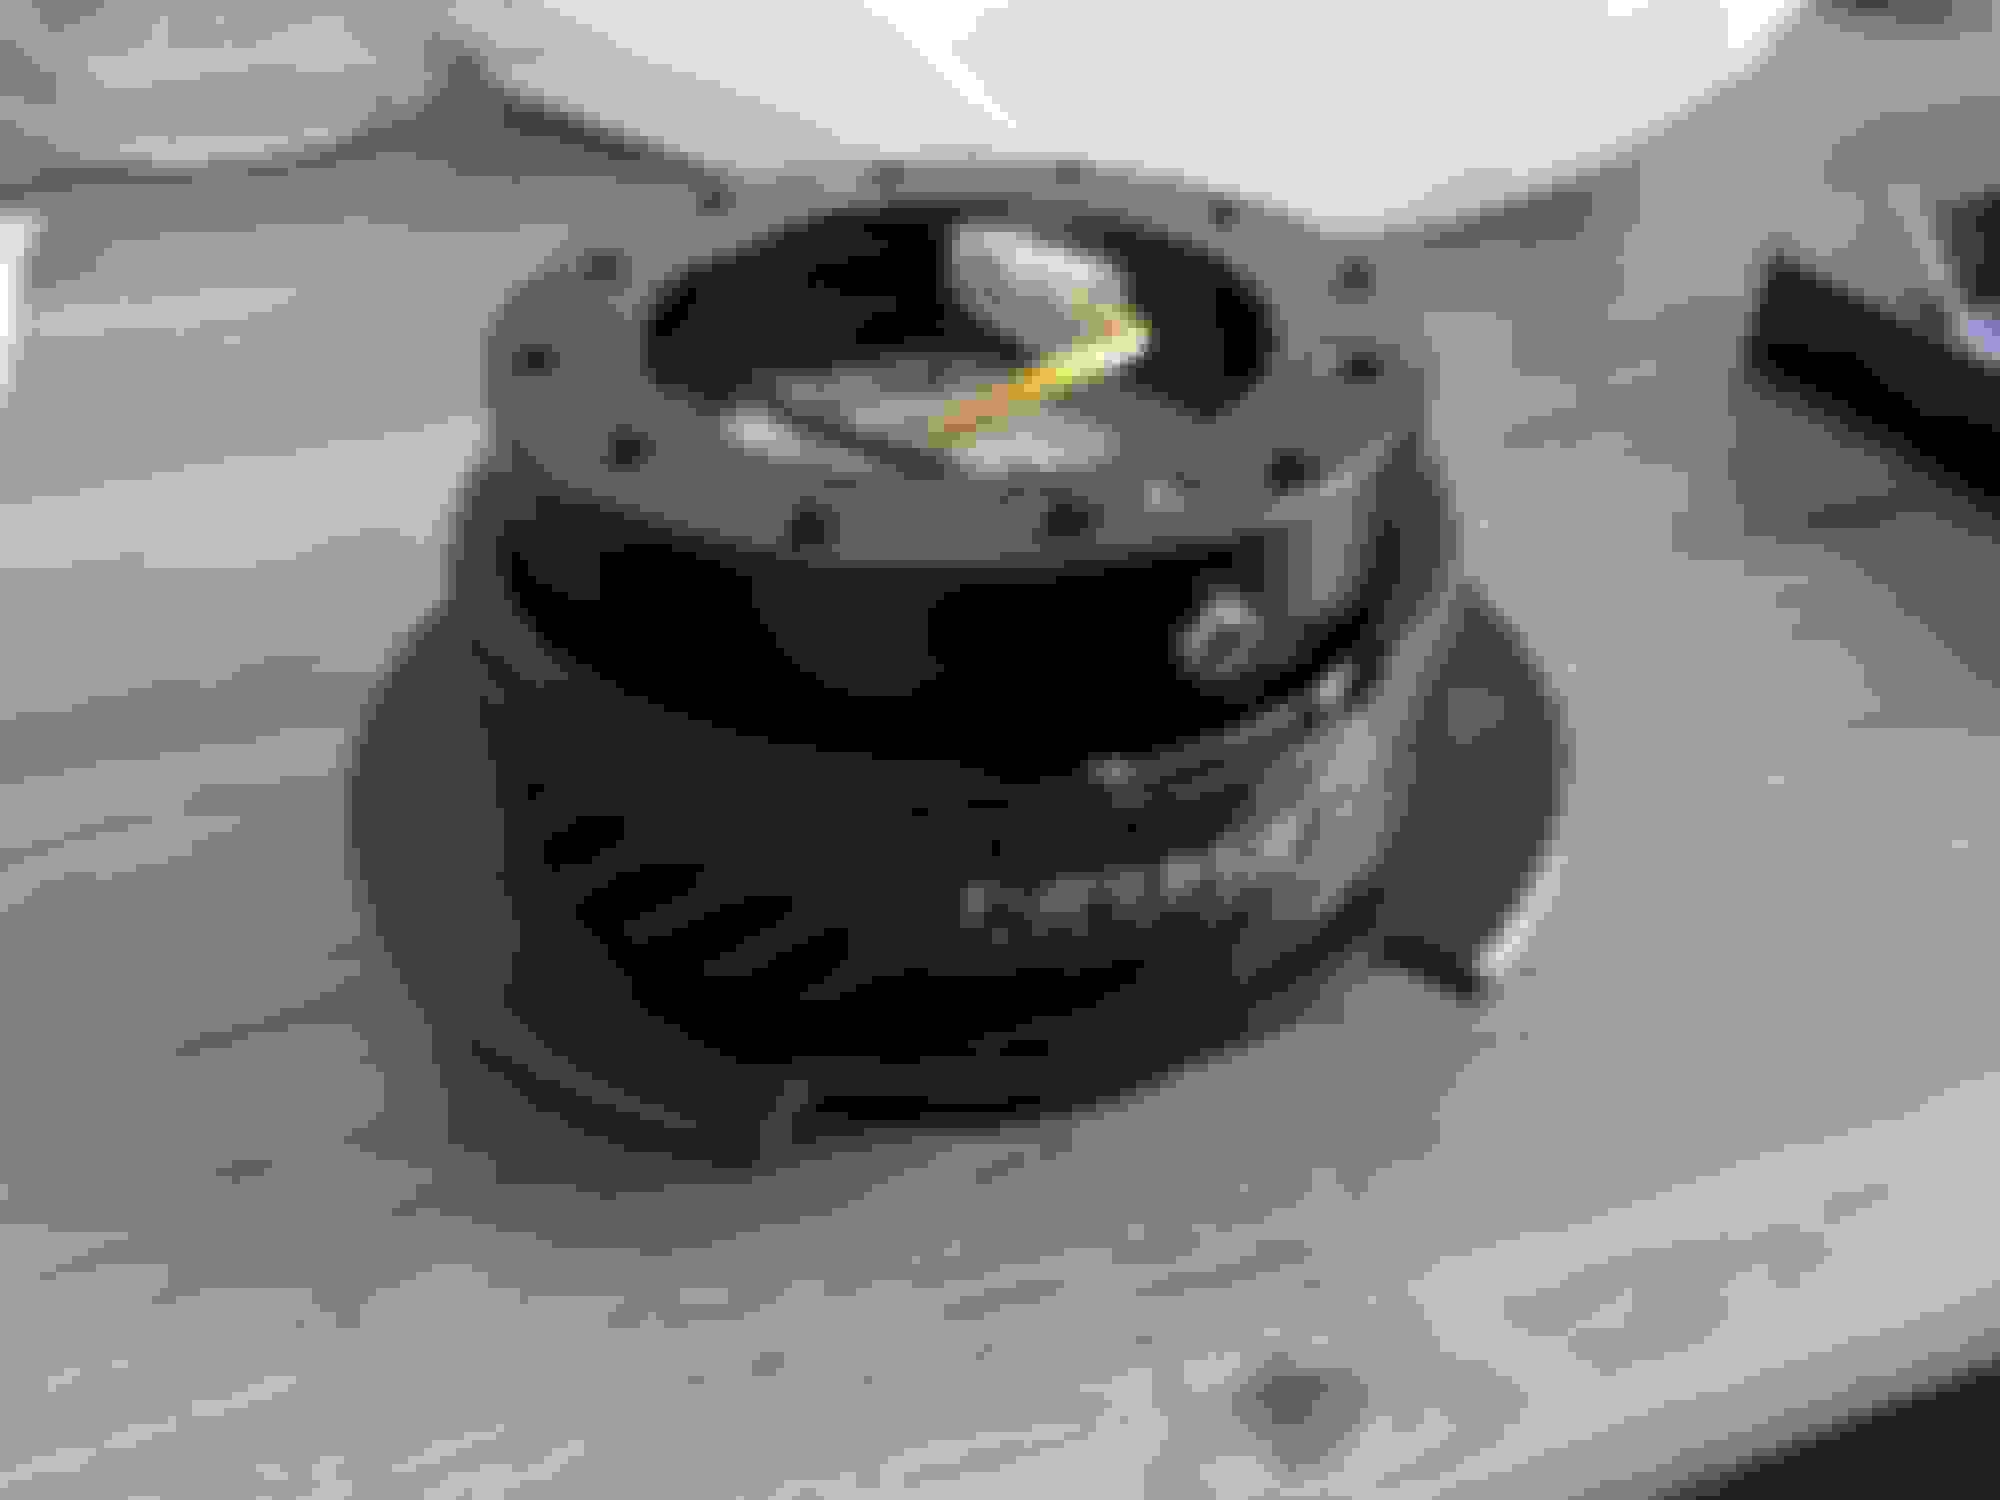
Spent the big boy dollars (a whole $5 more) and got the super swaggy CF ring on the NRG 2.5 quick release adapter.
Upon working through interior wiring, I realized that the only circuit I hadn't touched was the power antenna circuit. Not to be left feeling alone, I decided to modify that as well. Picked up a TDR amplified shorty antenna to replace the power one. Saves a marginal amount of weight and let's me yank out the unneeded wiring as long as I have everything deloomed.
This last piece is more of a cosmetic thing than anything, but snagged a Garagestar cowl cover to conceal some of what will be going on in that region of the engine bay. More to come on that soon.
Maybe add a velocity stack into the intake as well? Just get the air nice and smooth into the intake?
There isn't any marvelous way of filtering air when using a velocity stack given space constraints I have. I just plan on keeping the tried and true AEM filter for the time being
I'm sure most of you have already heard, but MATG is officially cancelled due to circumstances completely out of the organizers' control. I'm still planning on making it down there during the same timeframe whether there is an official event or not, so the build must go on! A miata friend of mine stopped over to lend a hand last night and discuss lodging options. I had a lot of "well this should only take 15-30 mins to do" type of projects, so the extra hand was very helpful.
The pedal assemblies were all surface rusted like all miata pedal assemblies get thanks to them being bare metal. I figured as long as the parts were out of the car, giving them a quick sand and spray of paint wouldn't hurt even though literally nobody will notice. That was the first thing accomplished.
Second up was the intake. I received my Vibrant coupler yesterday. It was expensive as far as 90 degree 3" couplers go, but it was the only one I could find with long enough leg lengths (4") after the bend to make the 18" pipe and filter reach all the way across to the passenger headlight area where I wanted it. I had to trim down the one leg of the vibrant coupler that connects to the throttle body and slightly trim the radiator hose so that the two of them weren't interfering with one another. Unprofessional tip: a miter saw works fairly well for making clean cuts on multi-ply couplers. Just go really slow with it. Anyway, those tweaks got the intake setup looking like this for now.
The hood is always something that is nice to get off the garage floor and back onto the car. Extra hands made this easy. One of the few items being added to the car for sheer convenience was a set of FM hood struts. I didn't want the ugly prop rod to work around anymore, so I figured now was as good of time as ever to remove it. Install was as straight forward as it gets and this mod may be one of my favorite sub-$100 mods I have done to this car (seriously).
From there it was just a bunch of busy work not worthy of much for photos
Master and slave cylinder installed
Brake booster installed
OEM steering wheel removed
OEM fuel pump assembly replaced with DW200 pump assembly
Hole drilled into trans tunnel for fuse box wiring / grommet
Tightened down all of the exhaust clamps and torqued down header with new OEM header bolts.
Torqued driveshaft / diff bolts.
Shortened power wire from fuse box to radiator fan relay
More wire harness organization as I've started to sort out where everything will officially be located
I'm shooting to have the car on the ground ready to fire by the end of the month so that I have a month of "shakedown" prior to driving it a couple thousand miles round trip to the gap.
IIRC The column and pedal assembly has a ground on it? Something like that. I had a friend powdercoat his dash frame, column and pedal assembly and had a no-start issue for a while until he realized nothing was grounded.
IIRC The column and pedal assembly has a ground on it? Something like that. I had a friend powdercoat his dash frame, column and pedal assembly and had a no-start issue for a while until he realized nothing was grounded.
Good points. I haven't forgotten that. The pedal assemblies themselves don't have any grounds on them to warrant worrying about. The clutch has two trigger switches and the brake as the brake light switch. The dash and column do need to ground through to the chassis though, so I'll need to sand off the points where they bolt up to ensure grounds are still making good contact.
David includes an NPT hose barb fitting with the intake manifold for the IAC breather, but then it requires you to run a hose over to your intake to get filtered air. In the name of trying to keep the engine bay functional (yet clean) I started digging into alternate solutions to this random hose. It didn't take long before I found an NPT breather/muffler that is commonly used on compressed air systems. It has a 90 micron filter integrated to it, was cheap, and should do the job just fine.
Miata friend came over and we started the super fun task of looming all of the OEM wiring back together. We mulled back and forth on if we wanted to integrate the Kmiata adapter harness into the main loom for a cleaner look, but settled on keeping it separate in order to make a clear distinction on what is OEM mazda wiring, Kmiata wiring, and Honda wiring in the event I run across a wiring hiccup. I got the remainder of the power antenna wiring removed and in process found out that I had missed the removal of the power lock control module plug, so I removed that as well prior to looming most of everything up. Ended the night with tossing the blower motor and heater core assy back in to verify wiring routing. Time runs away from you on tedious stuff like this. It took the two of us 6 hours to complete this just to give you an idea.
Also ran to the parts store and grabbed the short piece of line needed to feed vacuum to the booster. Not a great way of cleanly routing this, which bothers me a bit, but it'll do for now. You can also see the OEM throttle cable shortened with the Dorman 03336 kit. I cut the cable on the pedal side for a cleaner look on the engine bay thanks to the tip of another MT member.
Matt I suggest using a catch-can filled with activated charcoal at the breather side of your vent system to really cut down on fumes and smells. My EVAP setup is very similar, and with only the stock charcoal can (even with fresh charcoal) it smelled, after adding the second there is zero fumes.
Haven't updated the thread in a while so I figured I'm a little overdue...
Life took the reigns for a bit lately and the kswap was tossed on the back burner for some time. Decided in the midst of the COVID nonsense to do a full bathroom remodel. It initially started as a quick "hey, lets replace some fixtures and paint", but then before you know it I was down to the studs redoing plumbing and adding electrical. The results were worth it at least.
Then Left Lane projects took some priority... Developed my first set of NA 7" round retrofits. They utilize a MH1 projector and nice quality HID kit and harness with new housings. This specific set I added some passive color matched demon eyes. External appearances are always subjective, but the performance of them is not.
Then I turned some MSM headlight trash into Left Lane treasure
Then I built a set of more budget friendly NB1 retrofits that mimic my own cars setup
Then I was working with a customer out in Poland and figured out that NB fender vents work on ND's quite well
Or if you fancy NA vents on the ND, that works too.. although the body line curve doesn't match up quite as well in my opinion.
The woman needed a new SUV as her old one was on its last leg, so we snagged a 2015 Ford Explorer Sport with every option Ford had available at that time.
....so in super random side news, that about covers my last couple months. Next post I'll try to keep a bit more on track with the thread
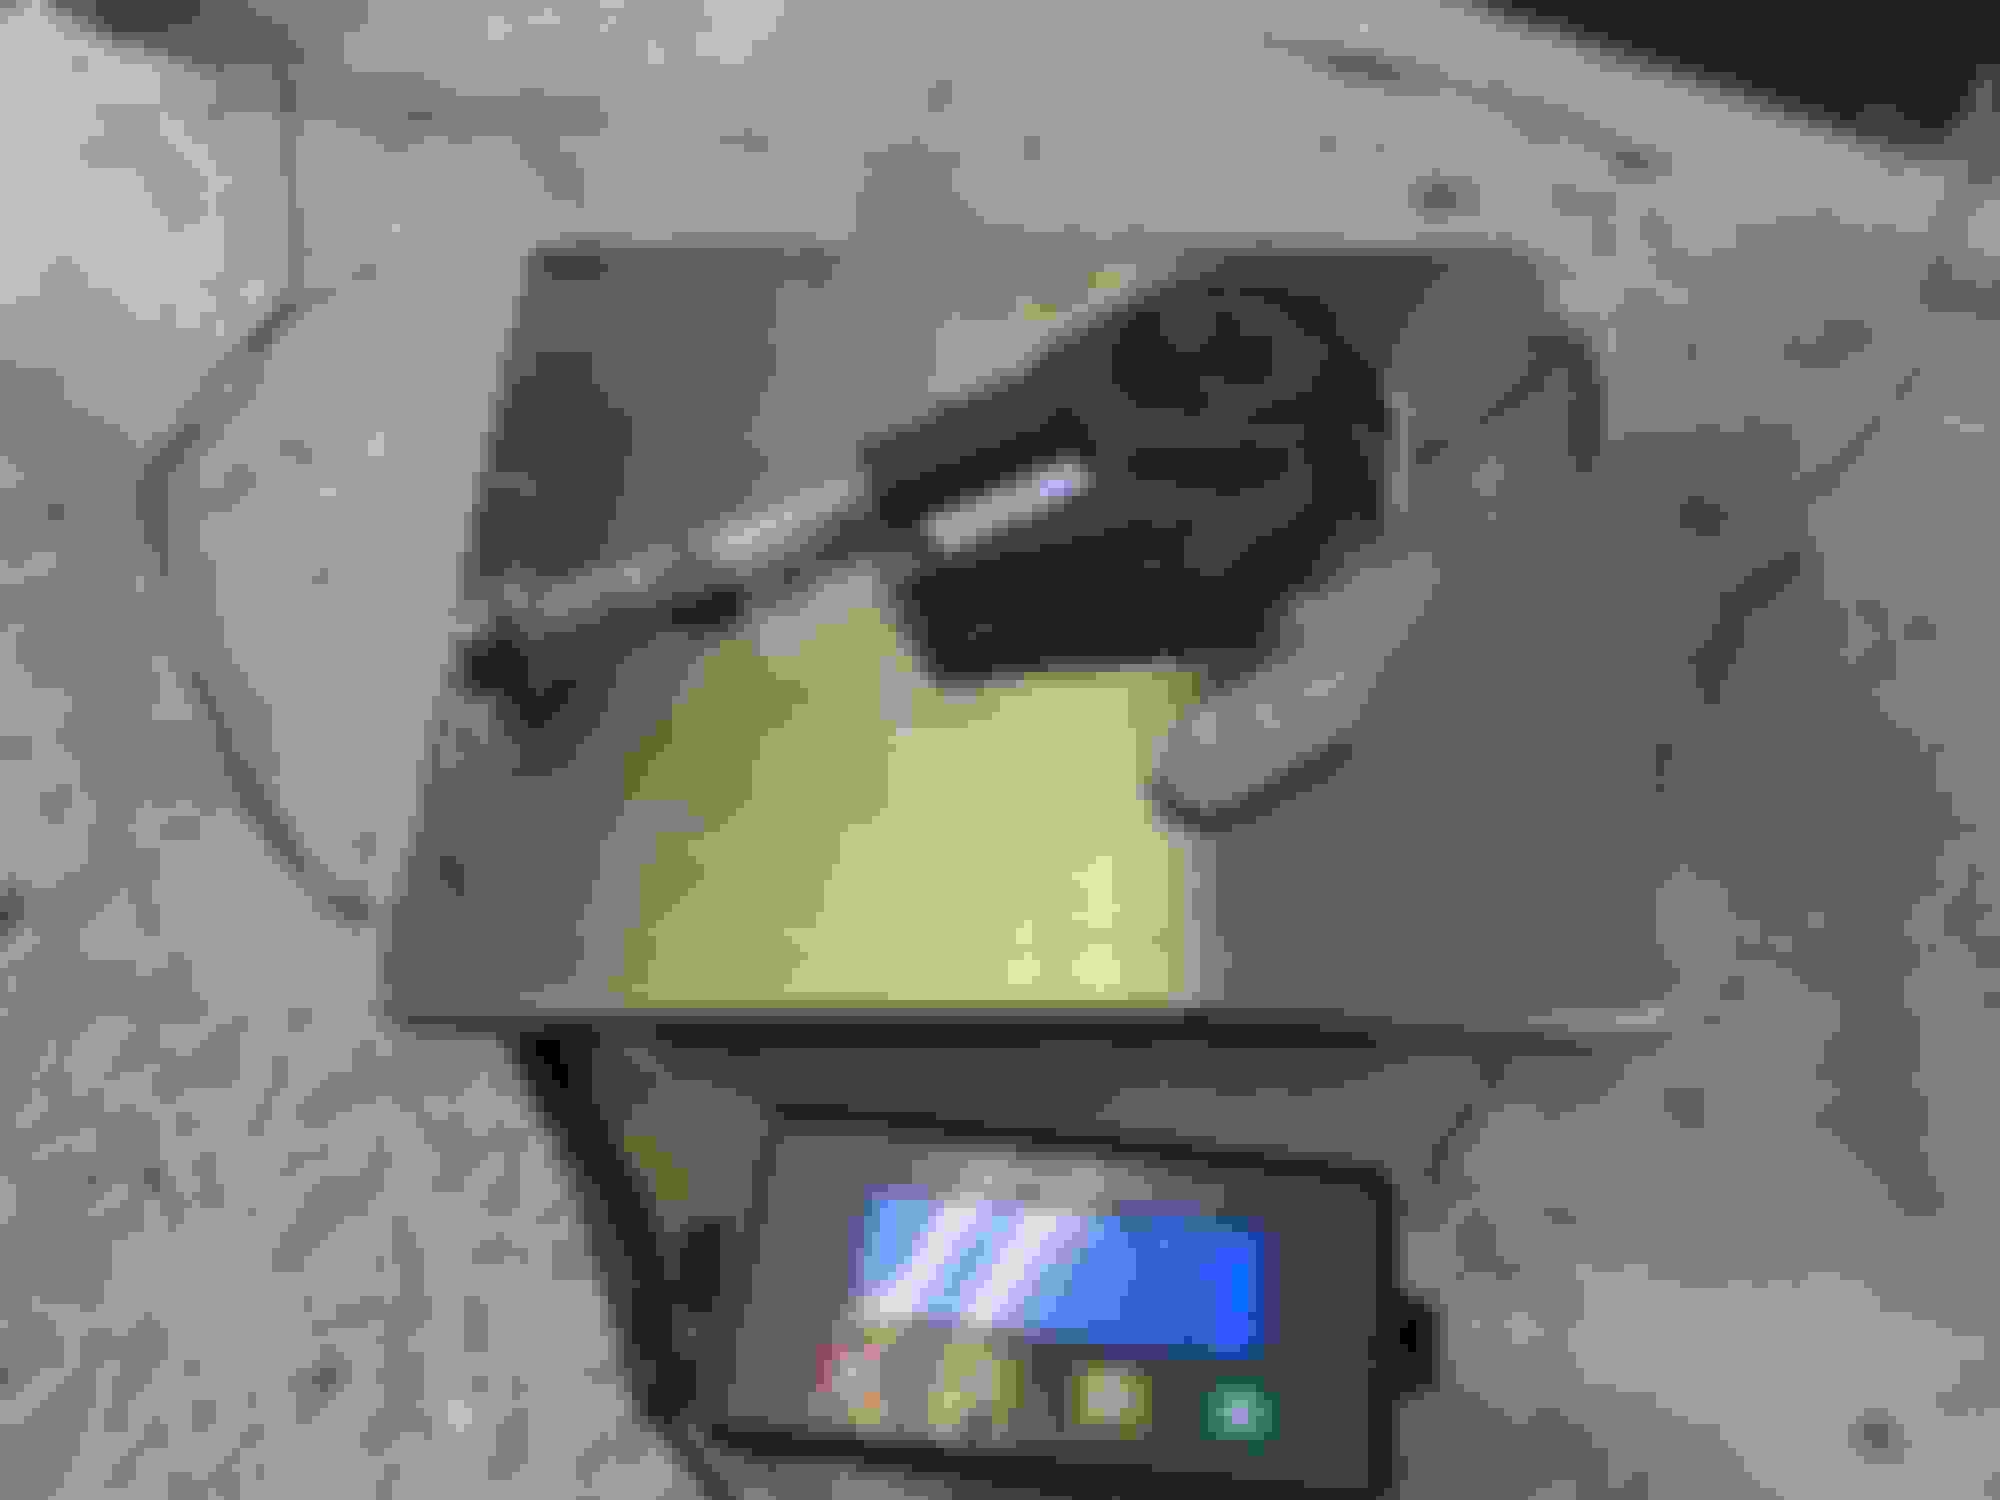
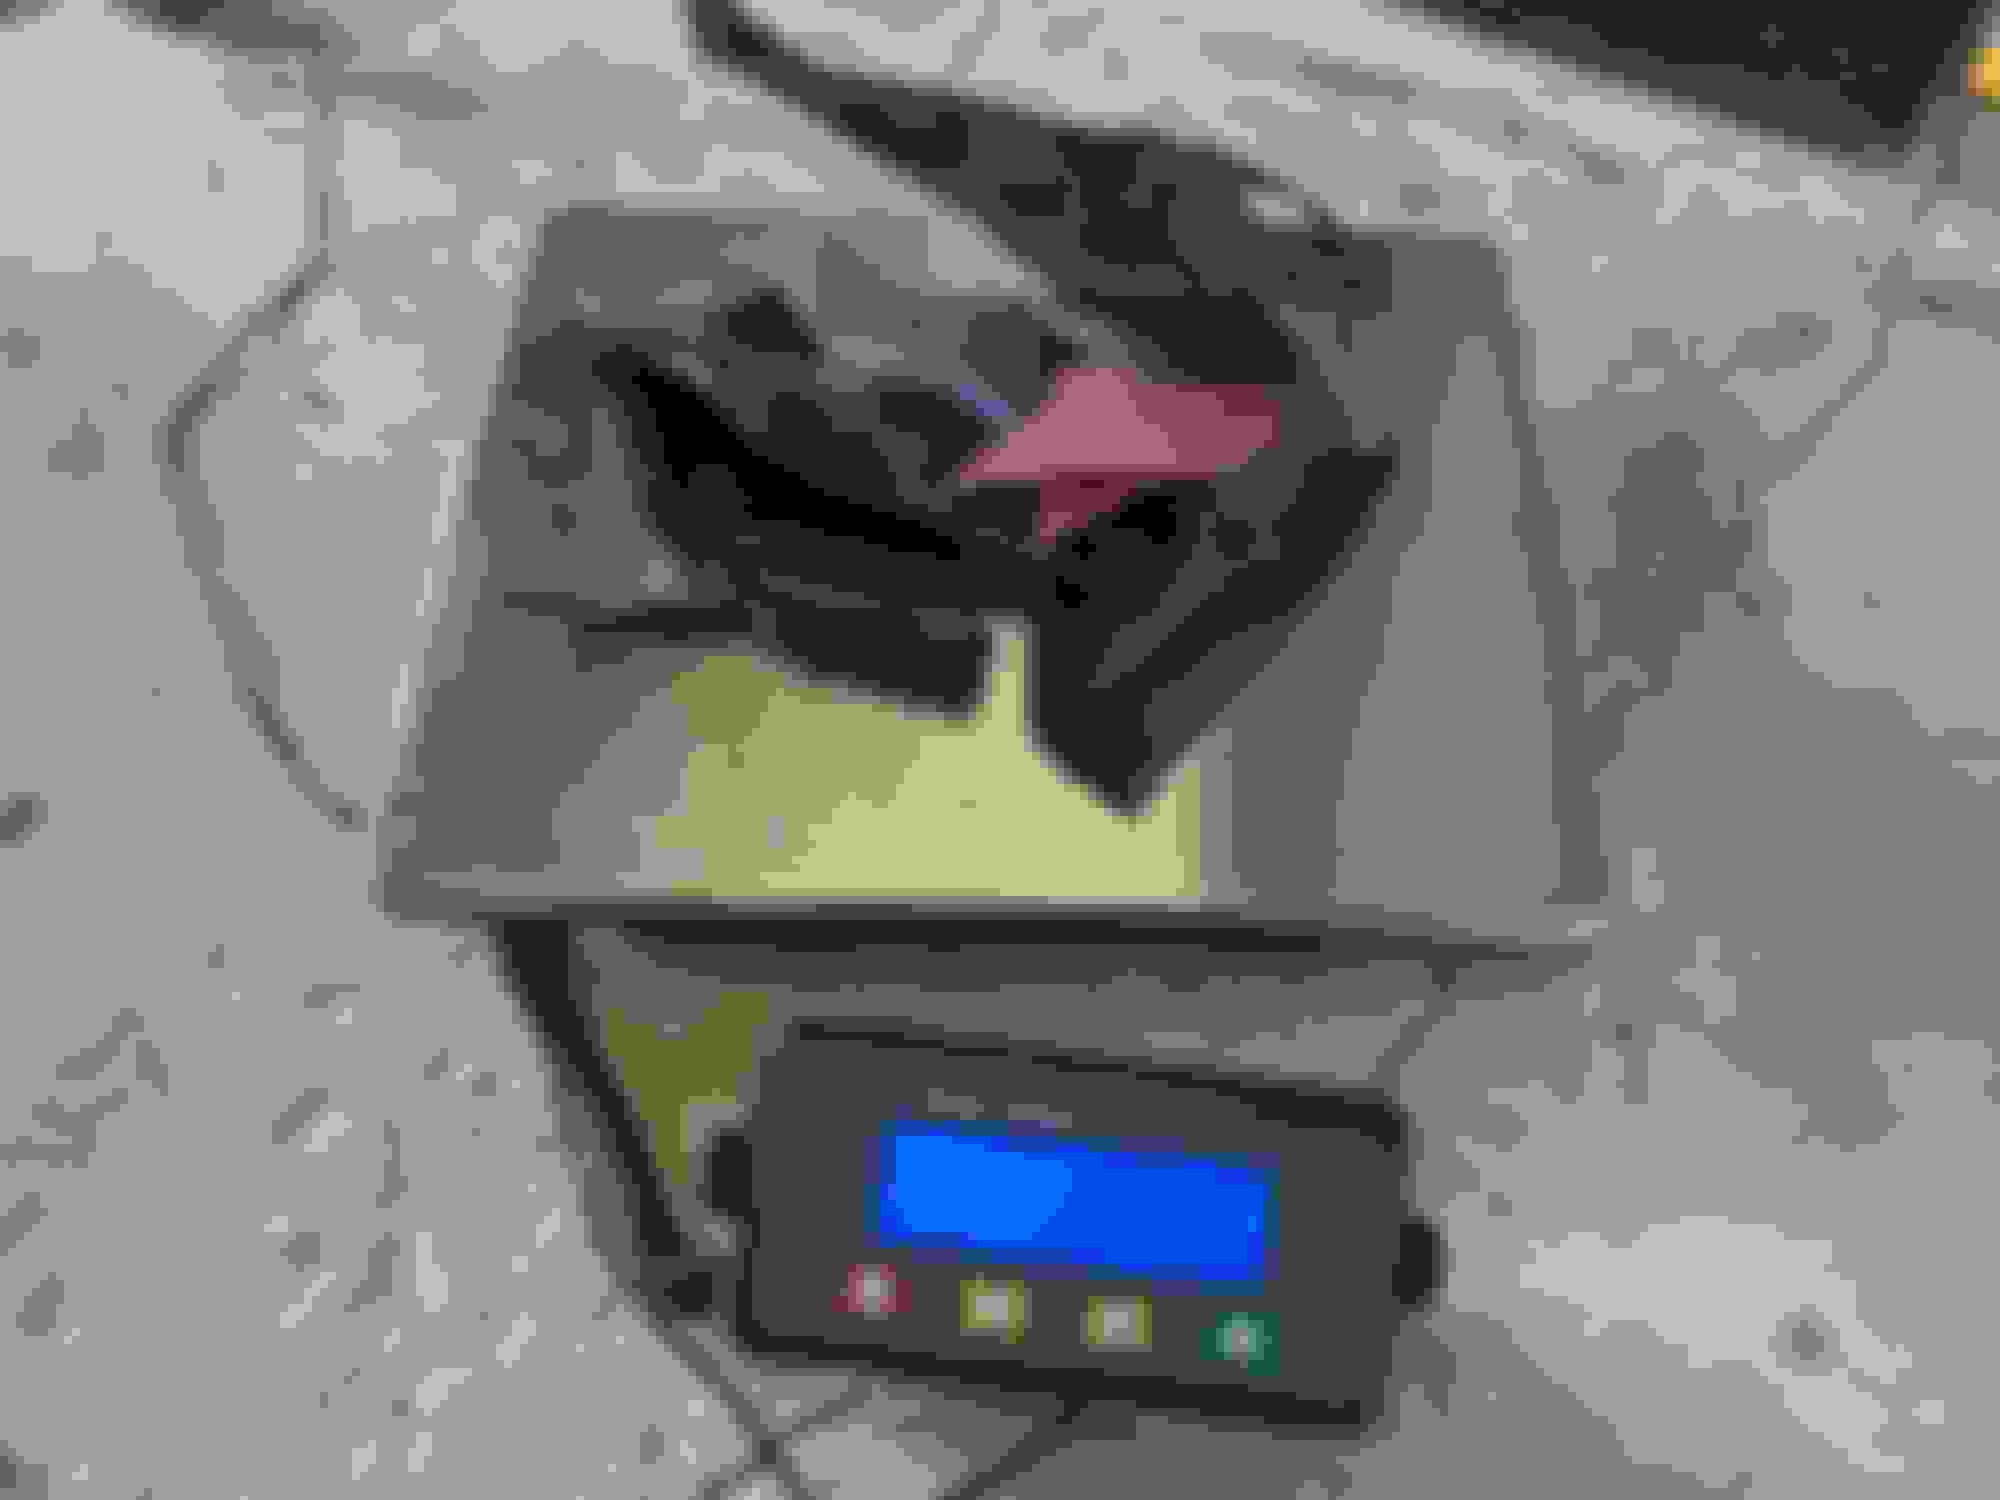
In more kswap specific news... I've picked up a really nice digital scale to help expedite some of the process in my Left Lane shipments. As a secondary benefit, it is super nice to see what I've pulled off and added to the car in terms of weight. For all of you weight snobs like me. You'll like this post.
NB Power Antenna
NB OEM seat belt retractors
The random assorted bits I've cut off the bumper bar and underneath the headlights
The wiring I've painfully pulled out of the OEM looms (the container is already tared out of the measurement)
The OEM NB charcoal canister and assorted evap components
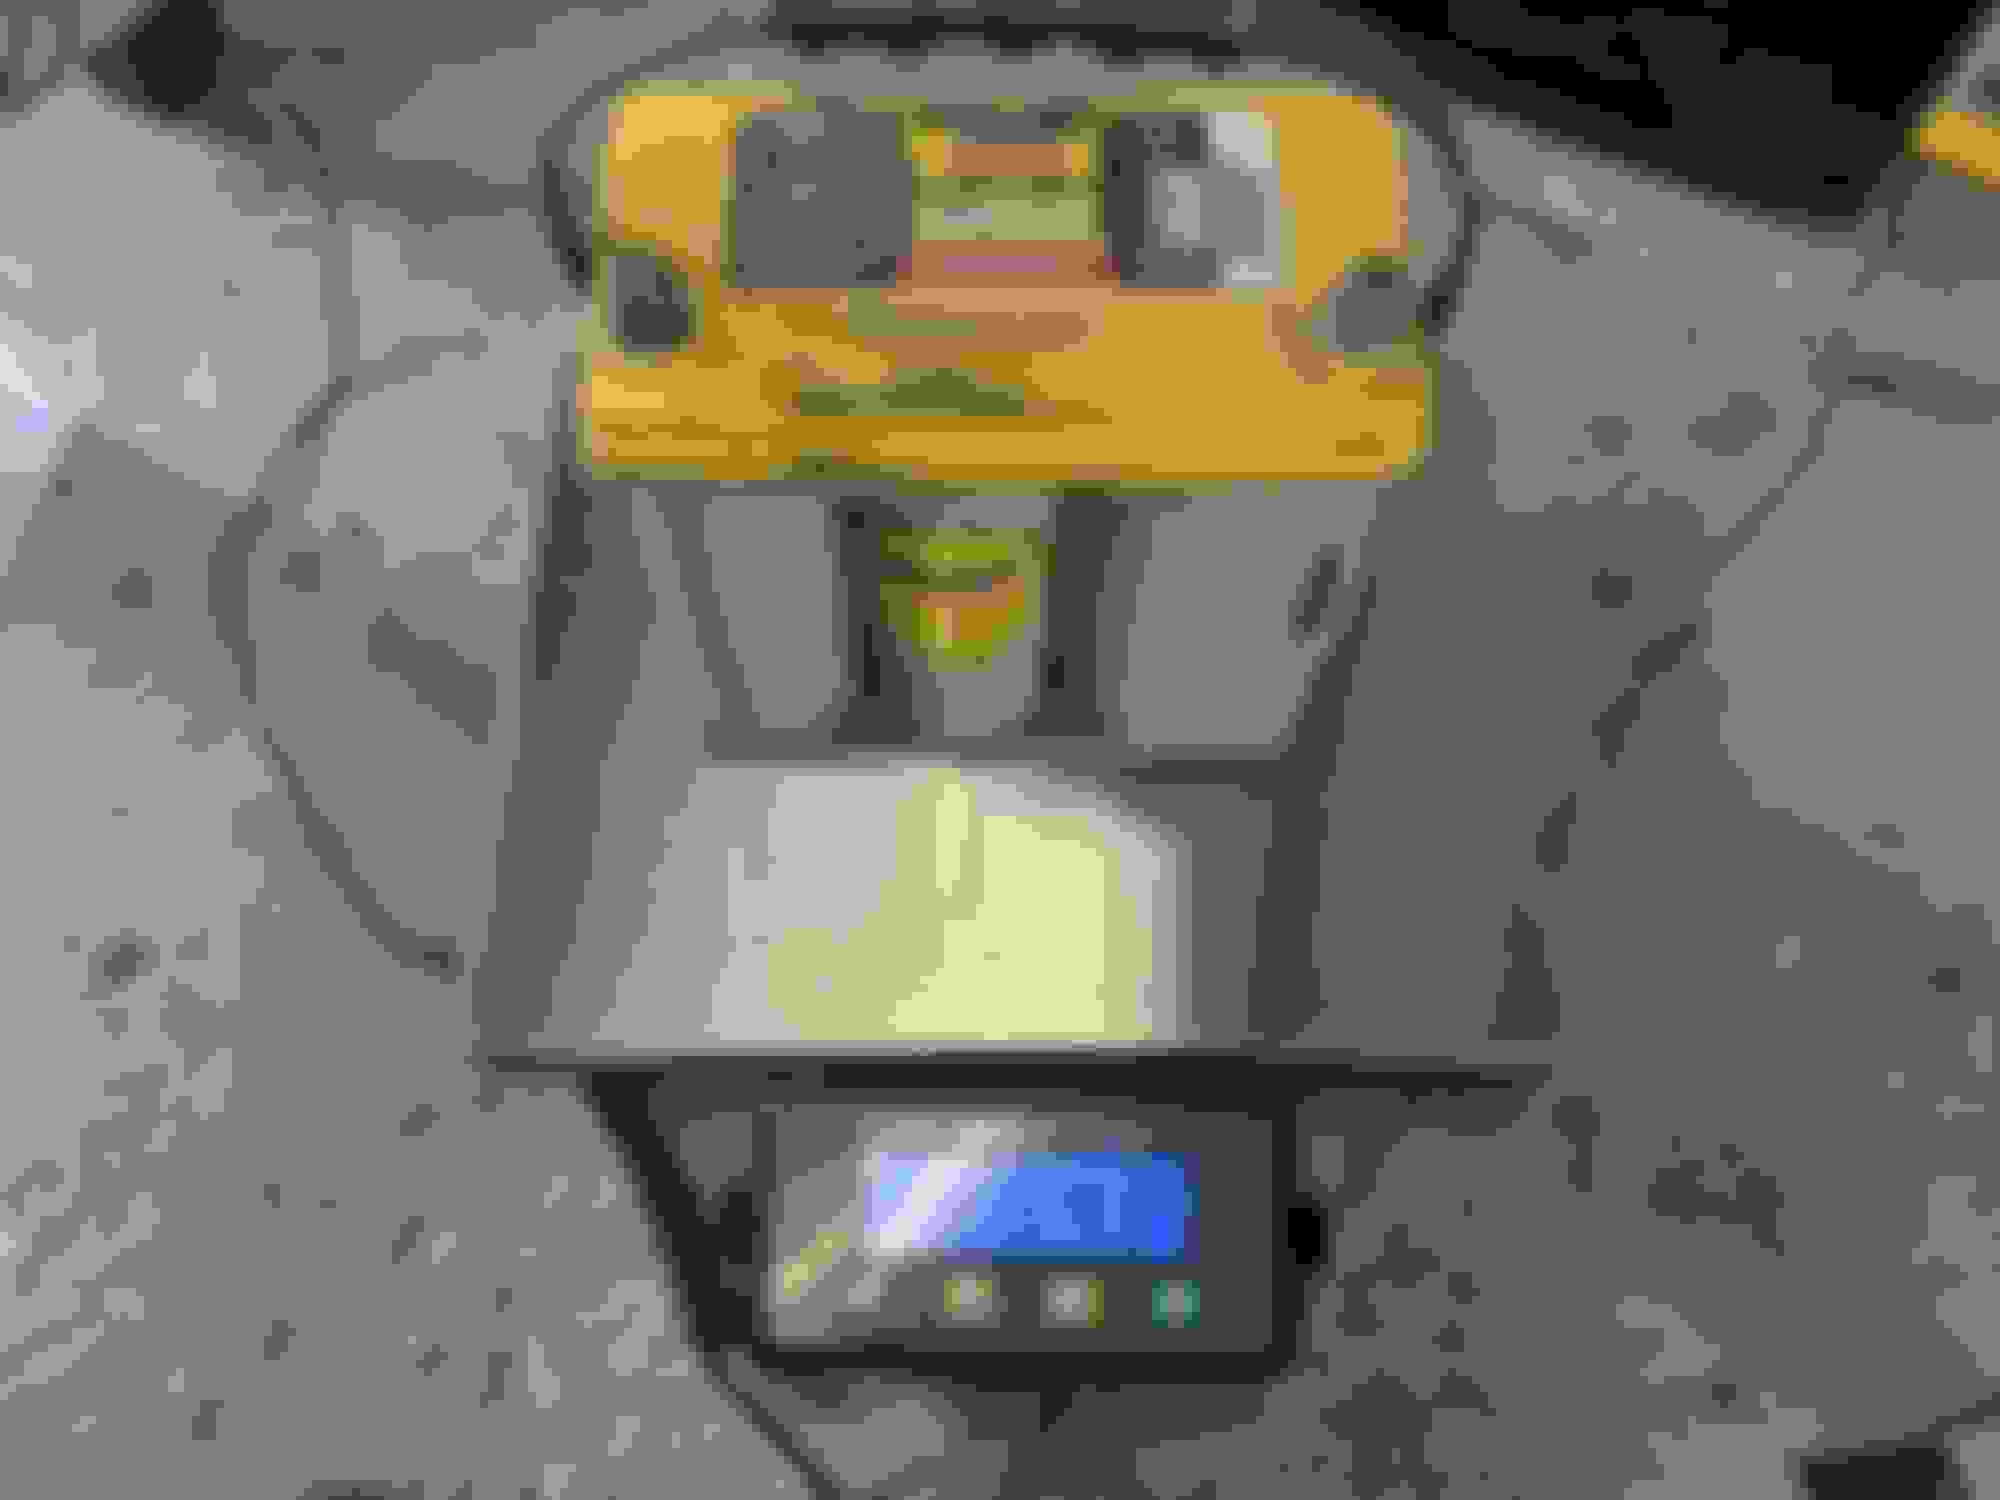
The battery that my car came with (Optima Yellow Top) vs my new LFP-7 Lithium
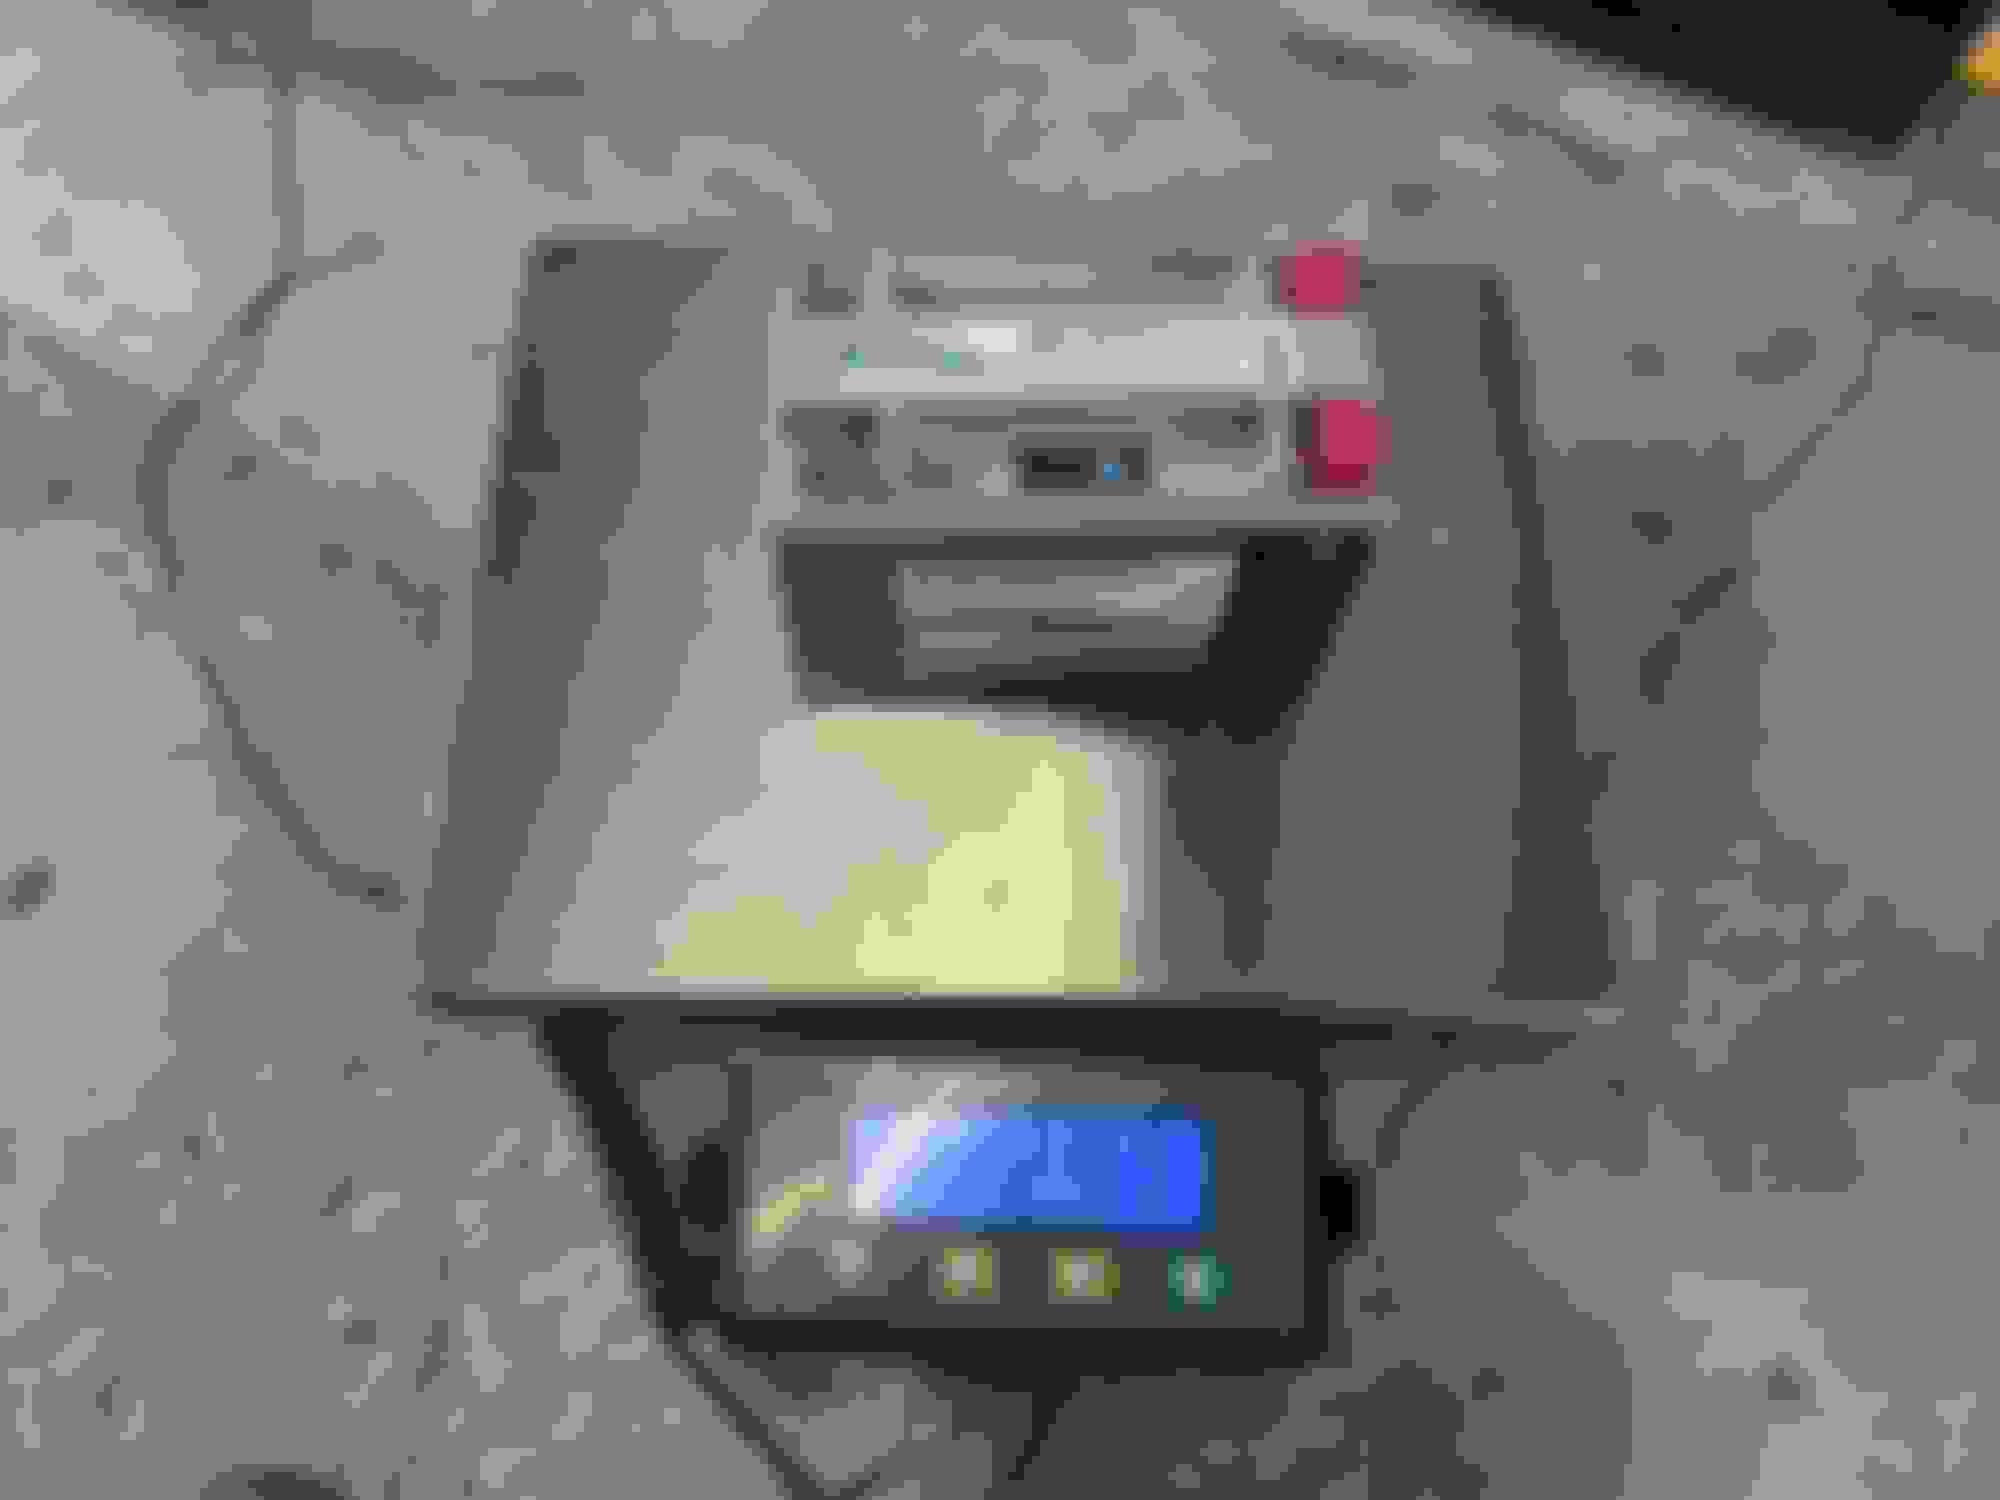
OEM NB Nardi wheel vs Sparco R373 w/ NRG QR
Just as a fun to know.. I tossed my Sparco Sprint with PCI bracket (and 2pc Sparco sub belts attached).. Knowing I have one of these on each side, it pains me to think that I have 60lbs in the car in just seats.. May reevaluate that in the future to get some lighter fiberglass seats, but budgets don't allow for that swap at the moment. I like how the sprints fit in the car and feel when sitting in them, but just wish they weren't as heavy as they are
So with all of this assorted stuff being removed/replaced, I should be saving about 50 lbs over last years setup without even getting into what the Kswap parts, radio headunit replacement, front bumper bar replacement, and sound deadening removal is worth.. Goal is to get the car under 2200lbs with full tank, full interior, heater core w/ fan, radio, and full aero setup. It's going to be close.
Also, just got back from the unofficial MATG.... Miata was up on jack stands, so the great white buffalo had its turn to make the trip again (this time without a trailer).
Necessary dragon photo
Seeing as Fontana was closed up, we took up a deal on an Airbnb. It was an awesome setup, but definitely not car friendly to get to. I had the angle readout on the truck get up to 17 degrees on the gravel driveway. There's not a chance that my miata would make it even half way up to this location, but the truck had zero problems. Buddy of mine that came with had a coil pack go out on his S2000 on the first day there, but we had it up and running the next day after some next day parts came into the Robbinsville parts store. Fairly uneventful week down there from that point on and great trip per usual.
Also had some super swaggy T-shirts made for the trip for me and a couple dozen others.... Anyone who knows a BP knows
God dammit right after I get a set of GE Nighthawks you dabble in an NA projector conversion.
Hope you had a blast at MATG, I think I remember seeing the white chevy at the robbinsville shell. I was in a red NA with #23 on the side if you saw me.
The new sparco evo QRT seats are very comfortable. I learned the hard way that the larger variants don't clear the B pillar so I can't get them back far enough for my seating position.
Don't feel too bad about it. GE Nighthawks are vastly cheaper than proper NA projector conversions are.
MATG was fun, but nothing can replace actually having your own miata there. It was nice checking out everyone else's cars regardless of what I was driving though.
I had a sparco evo that I had bought prior to my sprints and ran into the same B pillar issue. Very few seats seem to fit without that problem until you get into seats well over twice the sprint price point, so for now the weight of the sprints will be my compromise in order to have nice fitting FIA approved fixed backs
Another nearly 2 month bump... TLDR: life has been busy!
After knowing I was going to miss MATG with the car thanks to life and other awesome projects just getting in the way of things, the motivation to finish the car up for any 2020 season just hasn't been there. From September through October there realistically was only 3 events I'd be able to attend, so instead of quickly tossing my car together to hit maybe 2 of the events at best, I decided to just plan hammering it out over the coming fall months and take my time to get exactly what I want. The problem with this logic is, it gets pretty cold here as we get closer to winter and my garage wasn't insulated... Instead of working on the car when its warm, the only logical solution is to insulate the garage when its warm.. so the garage renovation project has began. Insulated all the walls with a R-15 faced insulation then tossed a vapor barrier over the top to be extra. You can see the pile of OSB on the floor which will cover everything (walls & ceiling) and then be painted. Its amazing how much of a temperature impact having just the walls insulated has been already!
Current status is putting 2x4 cross members on the rafters as the builders decided that 32" on center was okay for my hip roof (instead of 16" on center like you can see on the roof). I may be hanging potentially heavy things from the ceiling at some point so I don't want to risk the OSB sagging between those large 32" gaps. These cross members will give me something to screw the OSB into between those gaps, prevent sagging, and keep the ceiling joints looking flush. They'll also give strong anchor points for anything potentially heavier than I'd want to screw into the OSB only.
Also, as car guys you can respect how a good toolbox is a game changer for a garage. My 52" Husky upper and lower box (shown above) has been awesome the 5 years I owned it, but its pretty obvious that its overflowing. With the pile of additional house project tools added to the collection, it only made things worse. The solution? I tore down the existing clunky cabinets in the corner of the garage and snagged a 72" Husky work bench fitted with a power strip and USB outlets. Finally a spot to organize things that have unfortunately been living on the floor the last couple months! It even matches my old box so the OCD is very pleased.
Left Lane Designs things have been going well. Its been very busy, and now I'm happy to say I've got a website live to check out. Having a FAQ page may very well change my life...
Now in kswap related news. This week a local kswap member to me decided to part ways with his 6spd / 4.1 combo to go down the proven BMW / Getrag path while in his quest for big power on a Merc Racing supercharger. His 4.1 didn't have much interest to me but the 6spd did, so this happened. The trans bell housing already being notched for starter clearance is a nice touch.
Over the winter, I plan to swap out my 5spd for the 6spd so that I can take advantage of the Lord's gearing ratios (6spd / 4.3). Below is the gearing comparison based on an 8200 RPM rev limit. For AutoX, the 6spd swap may or may not prove beneficial (this will be dependent on course layout I'm sure). I shouldn't have any issues with smacking rev limiter while in 3rd gear on the 6spd for the faster pace layouts, and on slower pace layouts I may be able to get away with keeping it in 2nd. I expect the 6spd will be nice to have for HPDE events on larger tracks like Blackhawk Farms or Road America. Regardless of gearing, having the extra strength of the 6spd in my back pocket will be a great benefit if I ever choose to be stupid and add a little positive pressure into the intake manifold of the K once its operational. The ~300wtq danger zone of the 4th gear in the 6spd takes about 400whp for a Kseries to make, so if I stay comfortably under that I have some level of confidence that keeping the miata powertrain will manage the torque well. After co-driving a 240whp miata at the last event I attended, I'm quite certain that poo could come out with another 100hp more, but we'll see how I like n/a life first


 05-29-2020, 04:14 PM


 0
0