When you click on links to various merchants on this site and make a purchase, this can result in this site earning a commission. Affiliate programs and affiliations include, but are not limited to, the eBay Partner Network.
I've been thinking about making a build thread for a while now to track my own progress and since I'm just about done with everything I might as well start now.
My original goal was to just have a turbo Miata, maybe around 250hp. Goals change. As the build went on I kept hearing stories from friends and from reading forum posts to just do it right the first time. So my budget pretty much went out the window and now I am targeting around 350hp for mostly street use. May do some more autocross once it is all complete and definitely would like to get out for some track days at some point. This is my first real build that I have been able to afford. I am in no way an expert and I've almost surely done something someone would say is wrong
2023 edit - plans changed were gonna run allofit
2023-2024 winter - rebuilt head and bottom end. New rings and bearings
2025 - Motor blew turn 10 on Main, bought a 0 mile build. Tuned Summer 2025, 385hp/315tq in attempt to keep transmissions alive
Now onto the interesting parts
Current Parts List:
Motor - Built 97 short block
Eagle forged H-beam rods
Supertech forged pistons, 83.5mm bore, 8.8:1
Wiseco rings
ARP Head/Mains
ACL Race bearings .25mm
Boundary oil pump w/ 1 shim - replaced front crank seal with OEM - ~60psi at WOT
Gates water pump
OEM head gasket
Fluidamper crank damper w/ OEM trigger wheel
Injector Dynamics 1050x injectors - Cleaned/inspected 02/2023
FlowForce LS Coils
DW300 Fuel Pump
FuelLab Mini FPR
Radium Fuel Rail
Baffled Oil Pan
Turbo
Borg Warner EFR6258 T25 0.64 A/R
Turbosmart Internal dual port wastegate
MAC 4-port Solenoid
Kraken low mount manifold - Cerakoted
Kraken 3" exhaust w/ Kraken muffler - Cerakoted downpipe
Fab9 Stage 1 intercooler, modified FM 2" hot side lines and 2.5" cold side
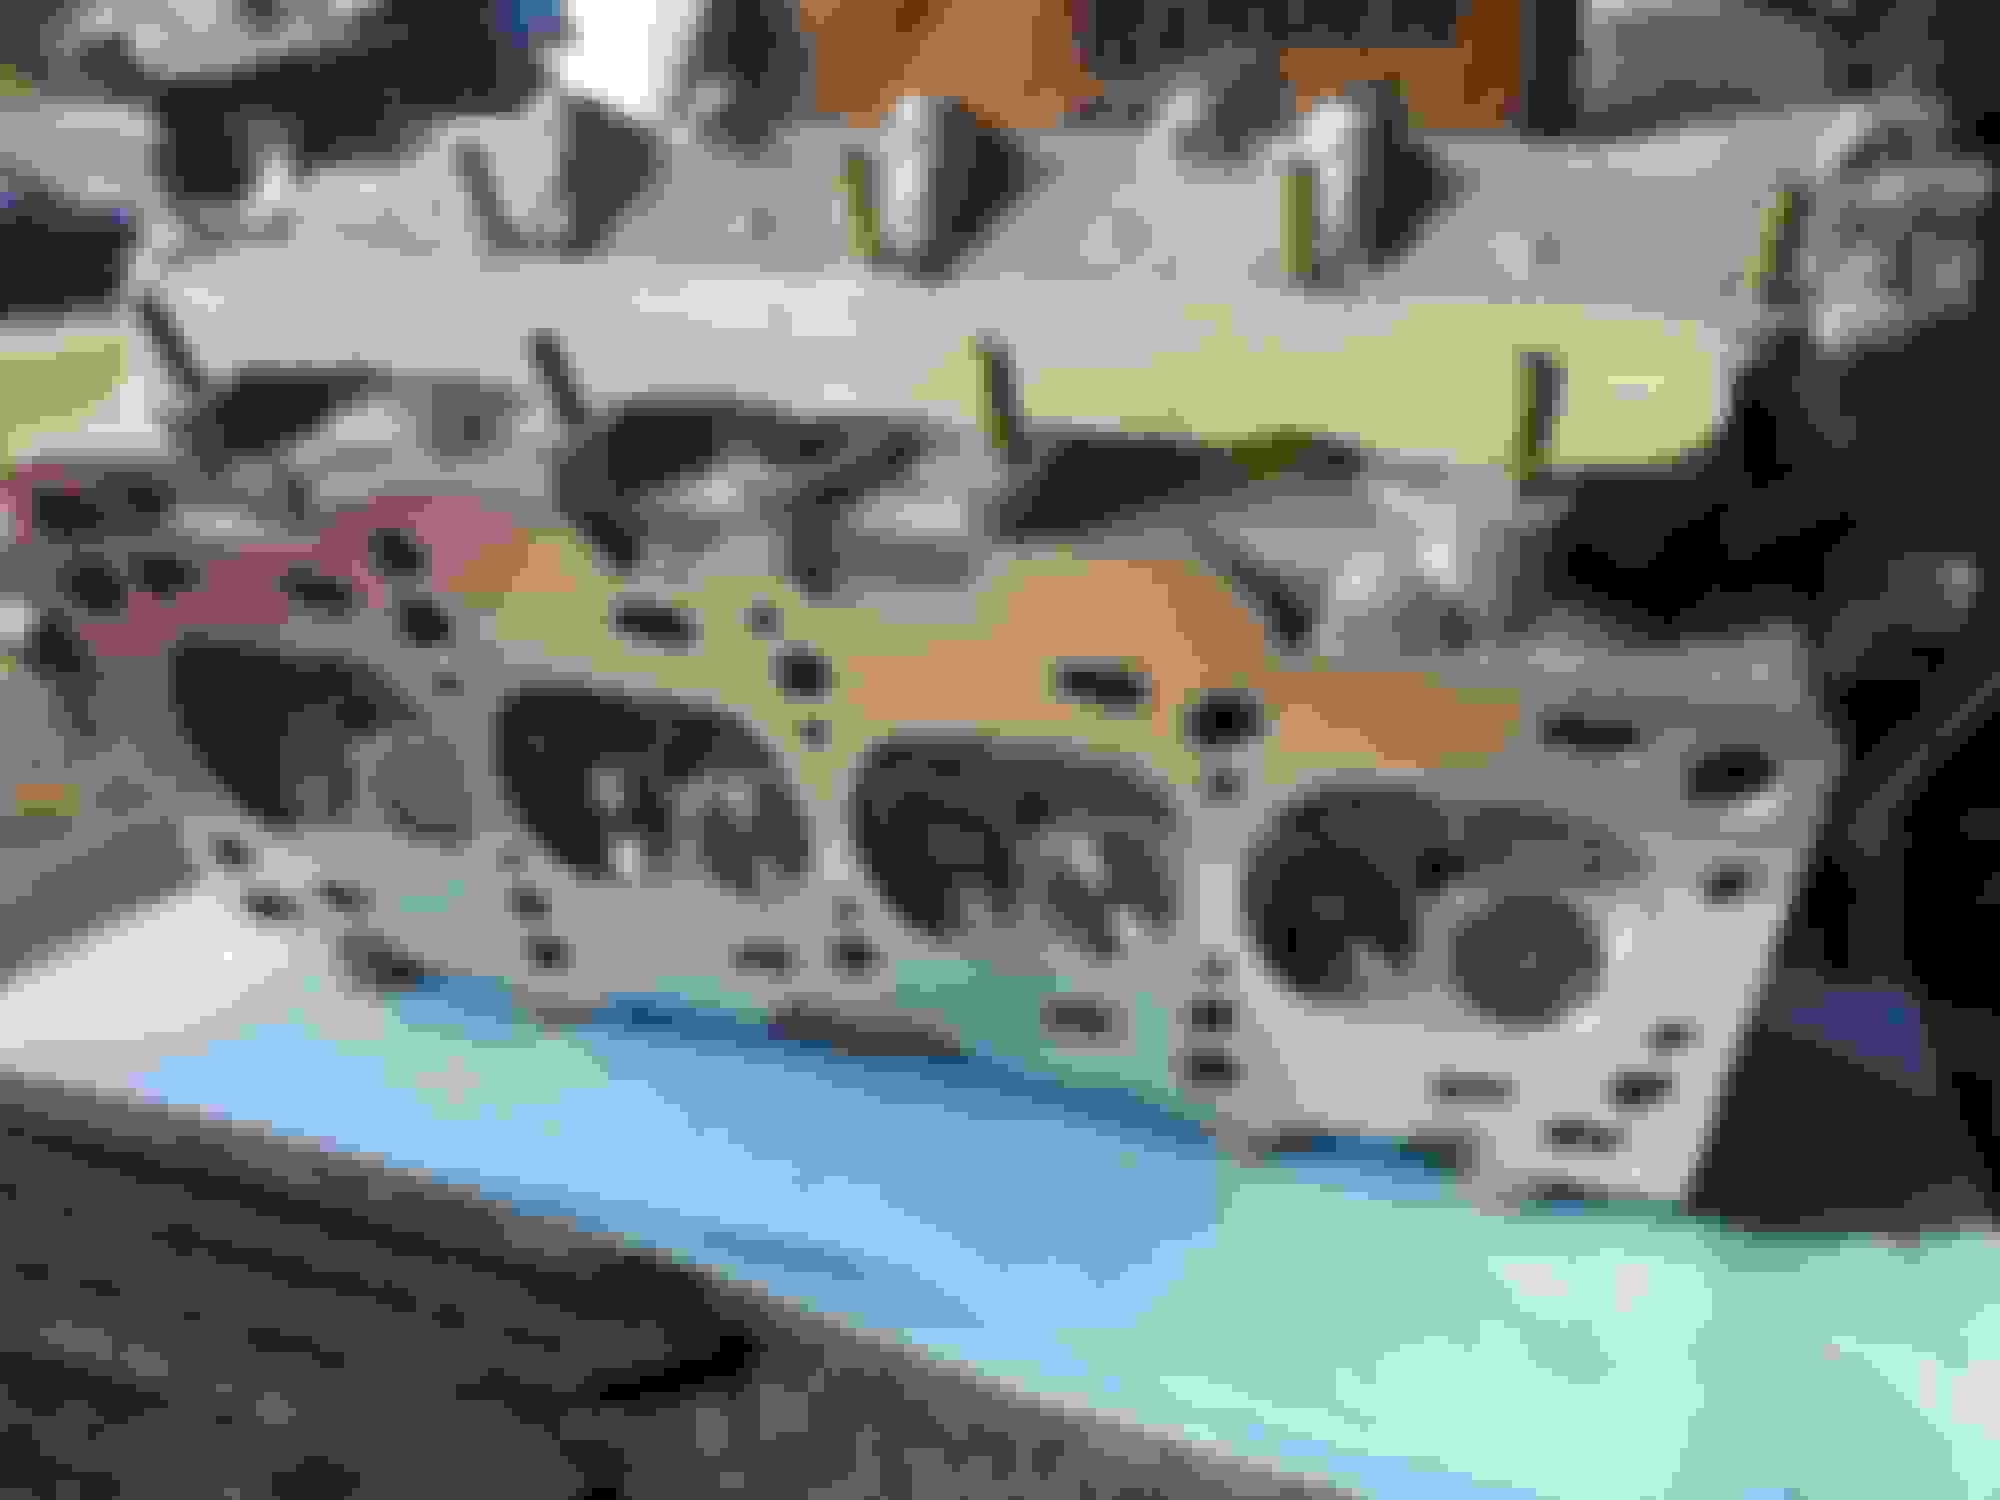
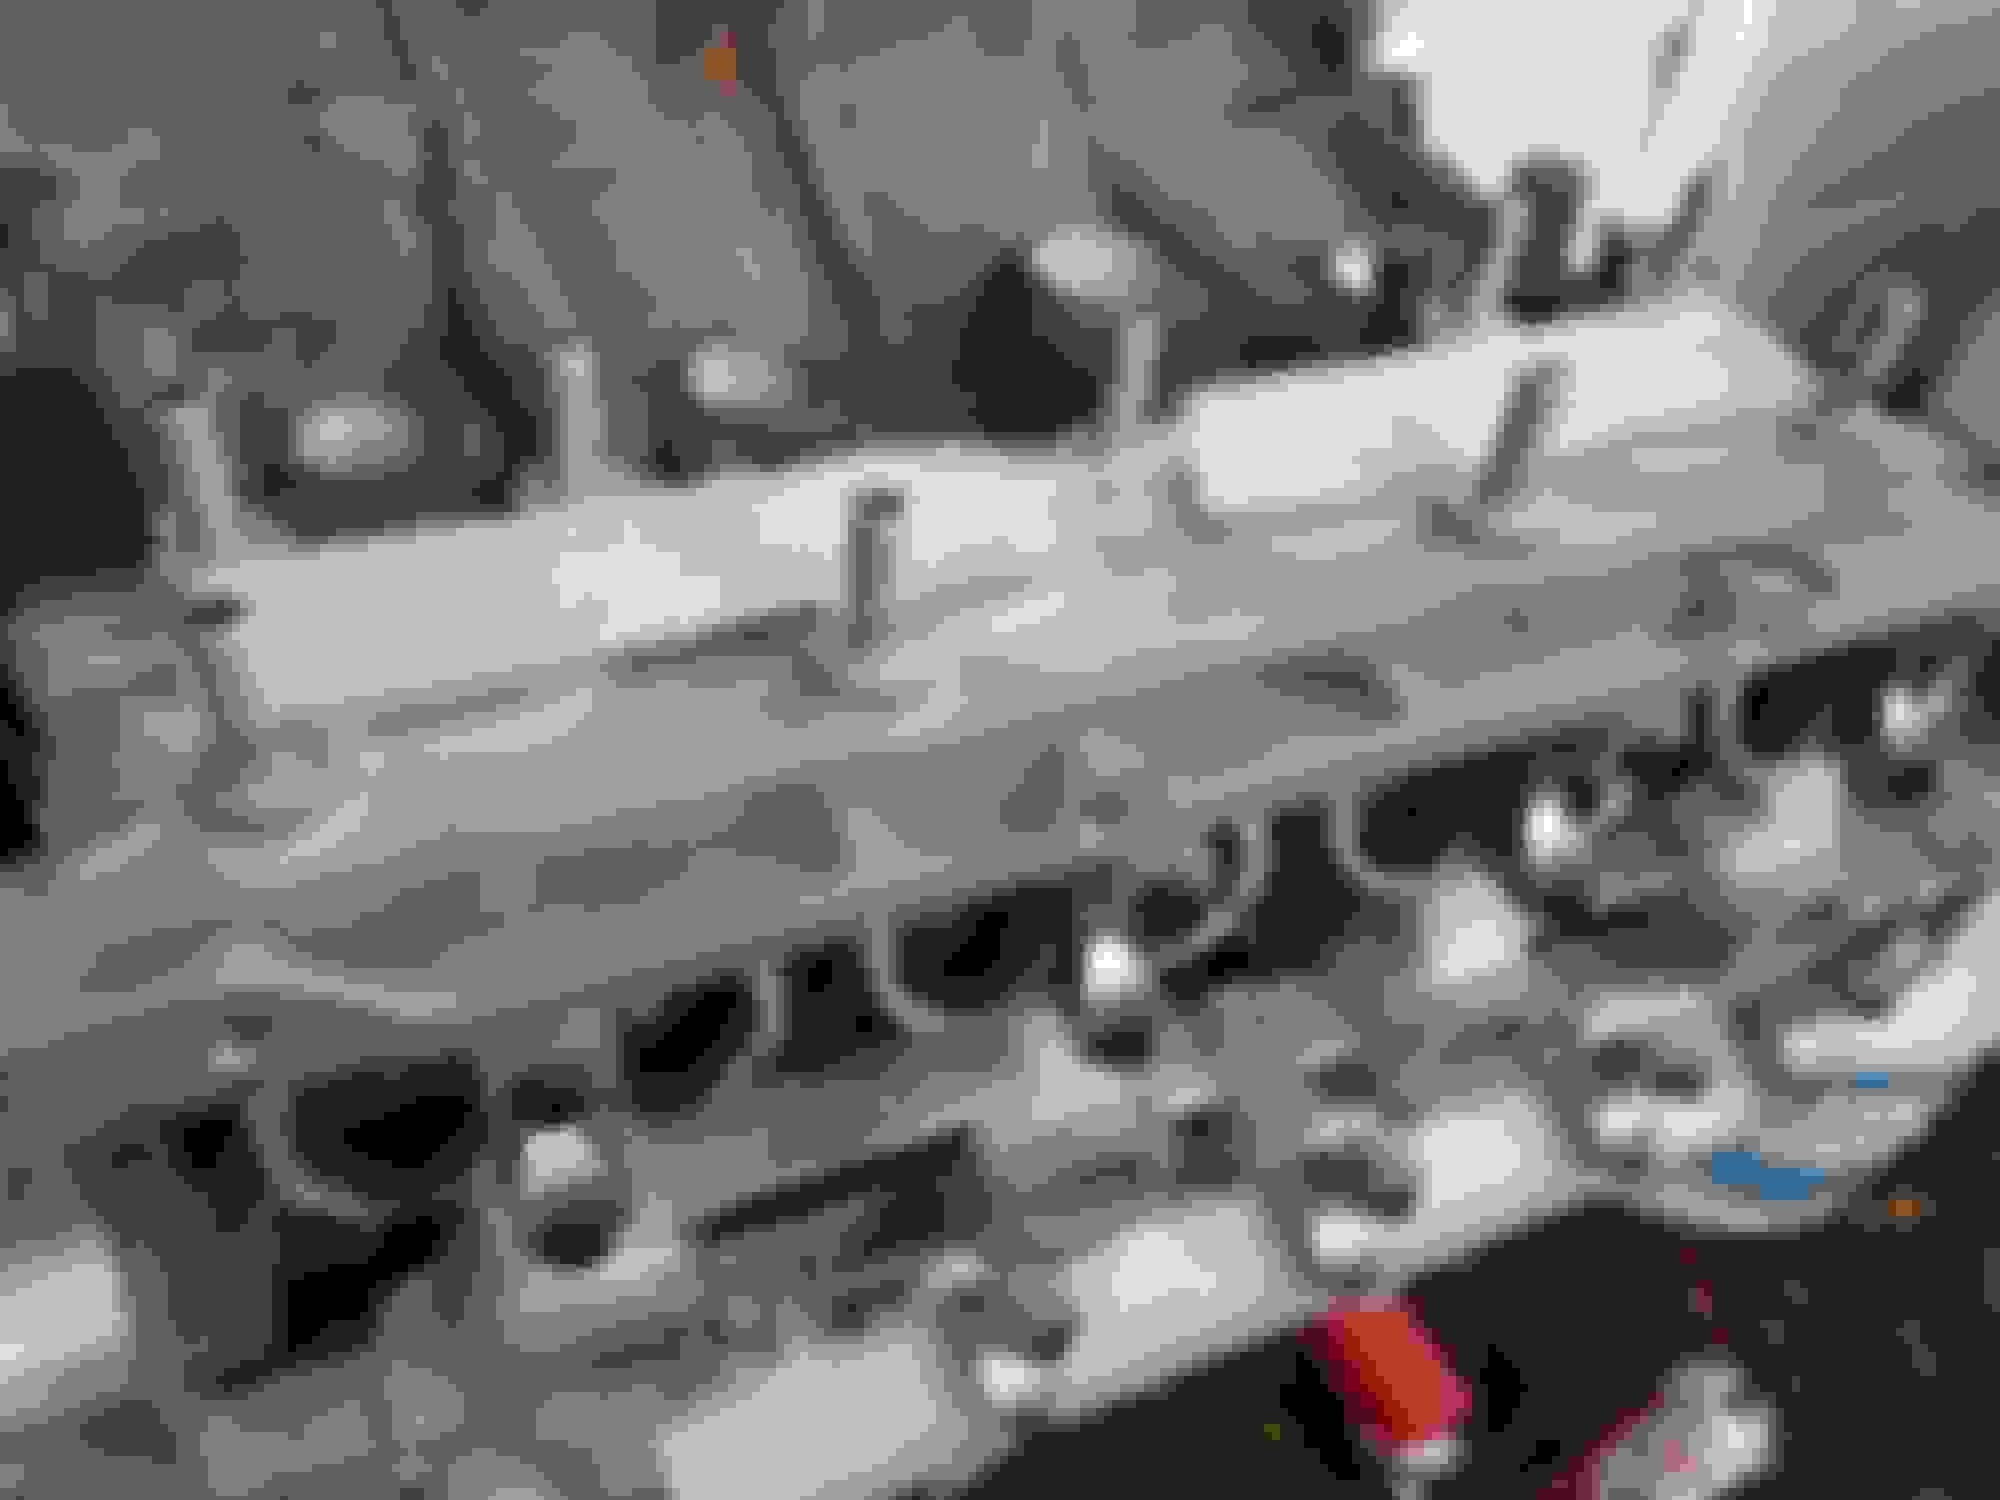
Head - BP4W
Supermiata valve seals
+1 Stainless Intake and +1 Inconel Exhaust Valves
Casting flashed removed
SuperMiata coolant reroute
OEM cams and SOB
ARP intake/exhaust studs
Suspension/Handling
BC BR Series Coilovers - XIDAs incoming (22k/11k)
NA de-powered steering rack
FM frame rails
Energy Suspension Bushings with SuperMiata 863 Bronze Bushing Kit
SuperMiata Afco F88 kit, Stock rears, Wilwood proportioning valve, 3" ducting to Singular Brake ducts
Nine Lives Racing 64" wing, 3" front splitter and air dam
Eibach front/rear sway bars
SuperMiata competition poly motor mounts
15x10 konig dekagrams
Singular Hood Vents + meh ducting
Transmission/Diff
3.63 OSGiken, welded diff carrier, poly bushings
Walter Motorsports Stage 3 NB 5 speed
SuperMiata Sport Clutch
OEM Flywheel
Safety/Misc
OEM hardtop
Hard dog roll bar
Sparco QRT-Rs w/ Sparco 6 point harnesses
NRG quick release and generic NRG steering wheel
8" aliexpress tablet for digital dash/monitoring
LRB aluminum door cards w/ black faux leather
--------------------------------------- Old/Retired Parts
Toyota COPs
DW200 (255lph) fuel pump
Competition Clutch Lightweight Flywheel
Competition Clutch Stage 3 Ceramic Clutch Kit RIP, sorry for putting trans fluid on you
4.1 Torsen Type I Diff - Saving this for when the Fuji starts spitting out clutch material. Honestly always thought it was open, but decided to pop open the half-shafts. To my surprise it was a Torsen
FM butterfly brace - currently disconnected cause its a pain in the *** to get around
OEM MazdaSpeed competition motor mounts and tie rod ends
Wilwood 11" front brake kit, any soft lines in car replaced with stainless
Front/Rear ARP wheel studs
Advanti Storm 15x9
Enkei RPF1s 15x8 w/ Hankook RS4s 225/45/15
Clutch Masters FX350
Clutch Masters Aluminum Lightweight Flywheel
3.6 Tochigi-Fuji Diff with MazdaSpeed comp bushings
I'll get some pics up once I am off work and have a chance to upload them all
Broken Transmission Counter (7)
5spd - Synchro's weren't liking the hard pulls
6 speed - broke at Dominion Raceway ~400hp/350tq (June 2023)
6 speed - broke at Summit Point - Shenandoah ~330hp/300tq (Sept 2023)
6 speed - broke on street pull (Nov. 2023)
5 speed (Walter Motorsports) - bearing noise, sent to WMS, they said it was "destroyed" (June 2024)
5 speed (Walter Motorsports) - broke at Dominion Raceway, 3rd gear hotel corner ~400hp/350tq (July 2024)
6 speed - broke at Jefferson ~ 300hp/260tq (May 2026)
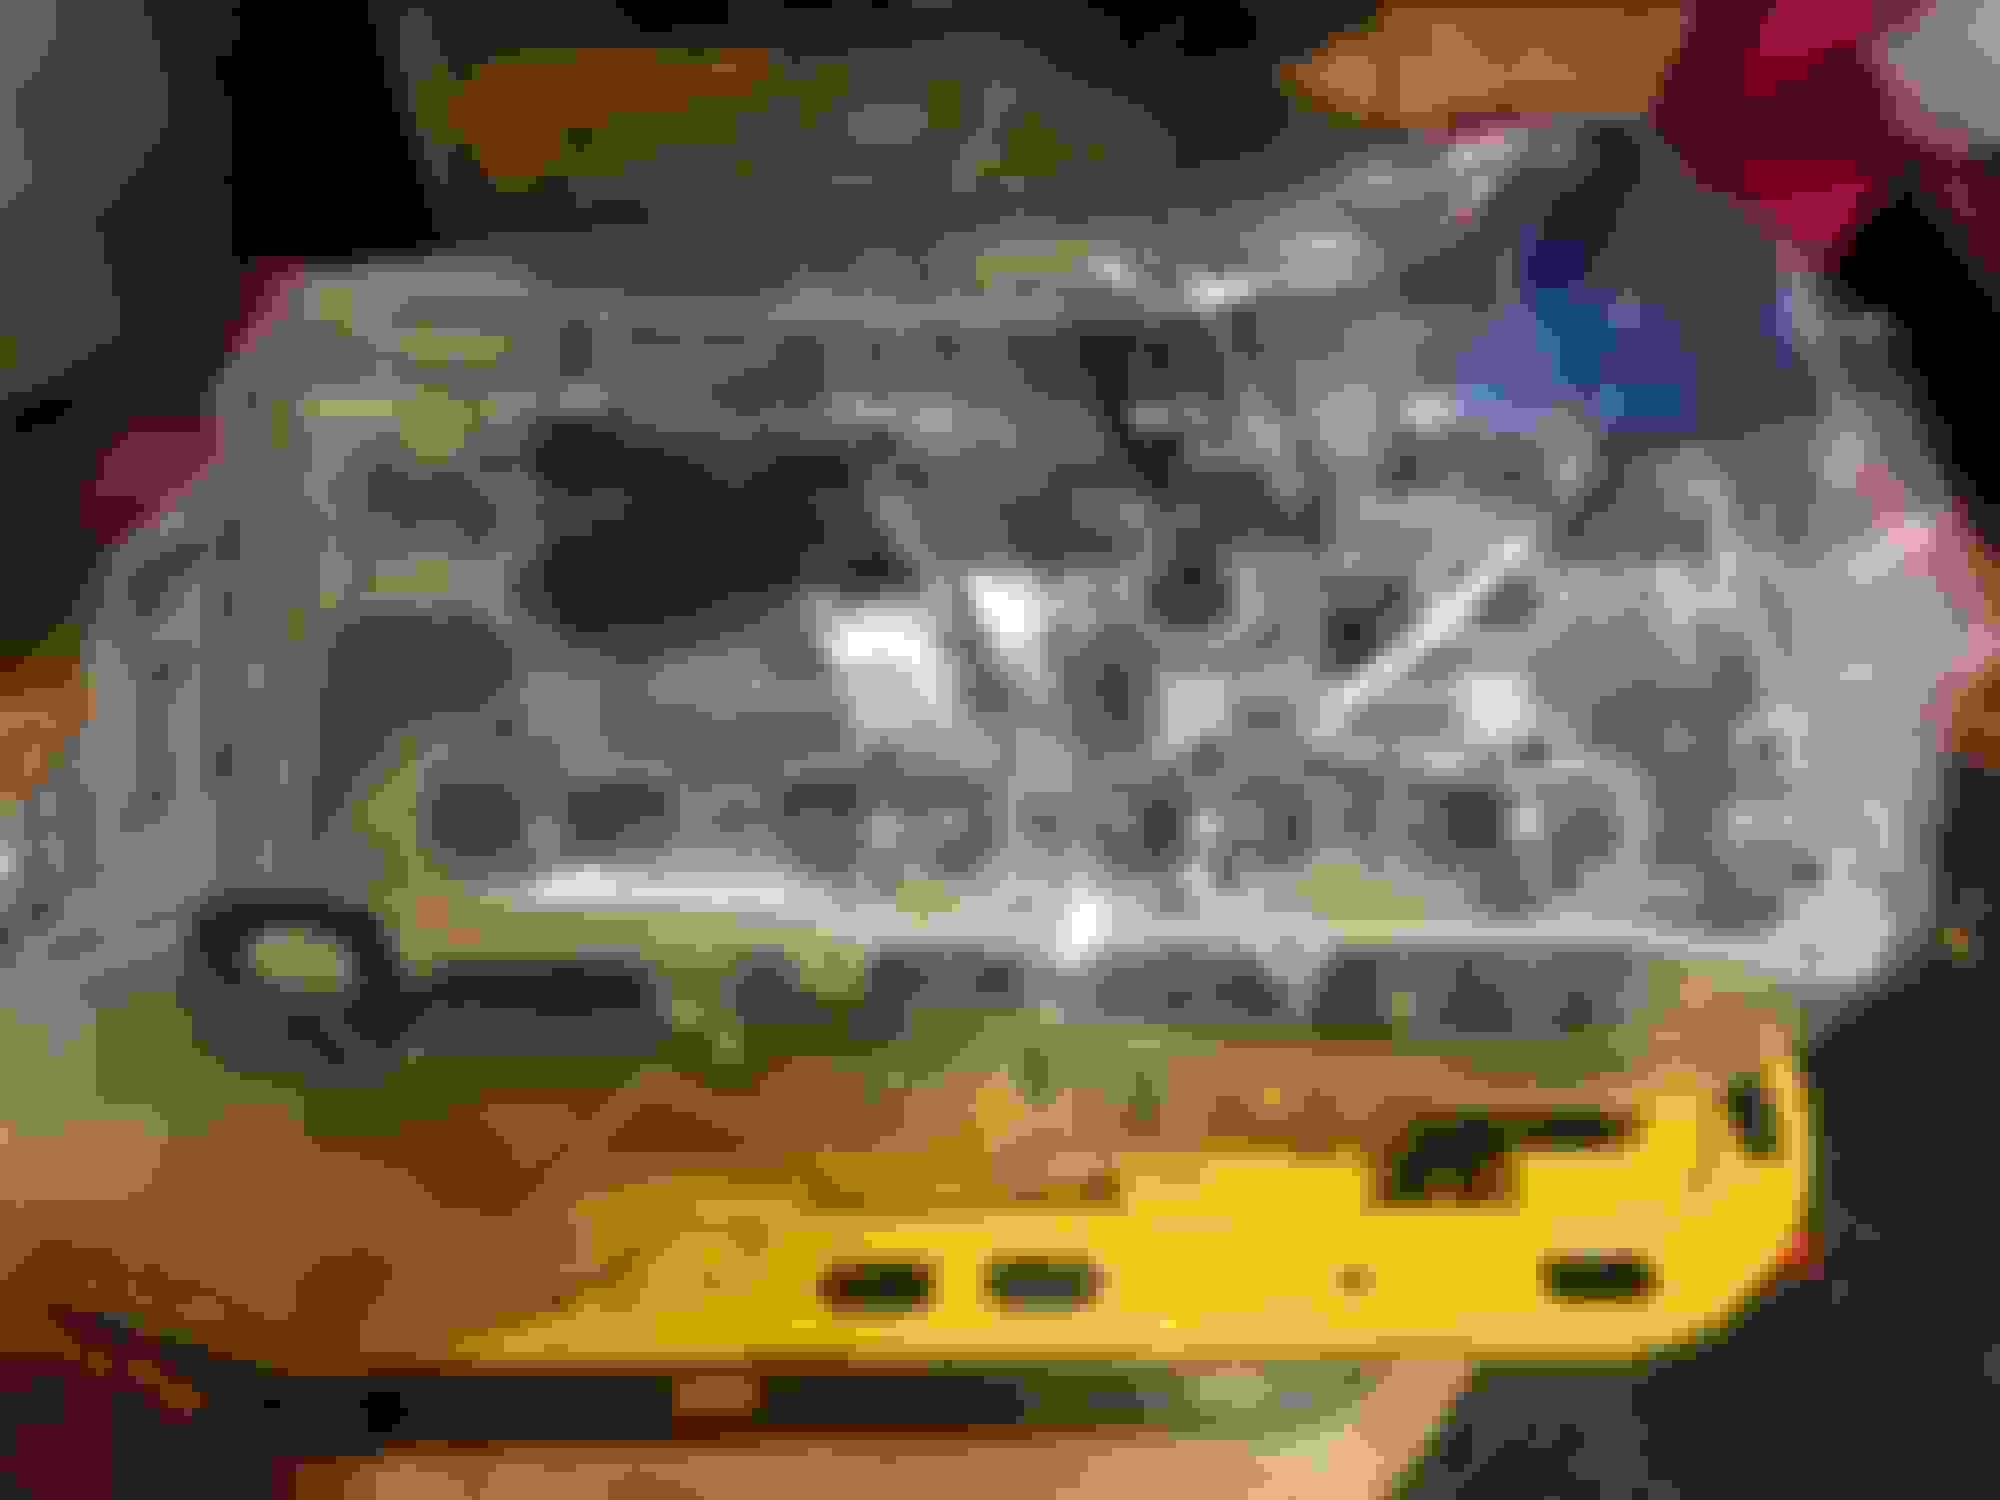
Old Head - Rebuilt 97
New OEM valve seals
Replaced any bad valves and guides
SuperMiata coolant reroute
OEM cams and hydraulic lifters
ARP intake/exhaust studs
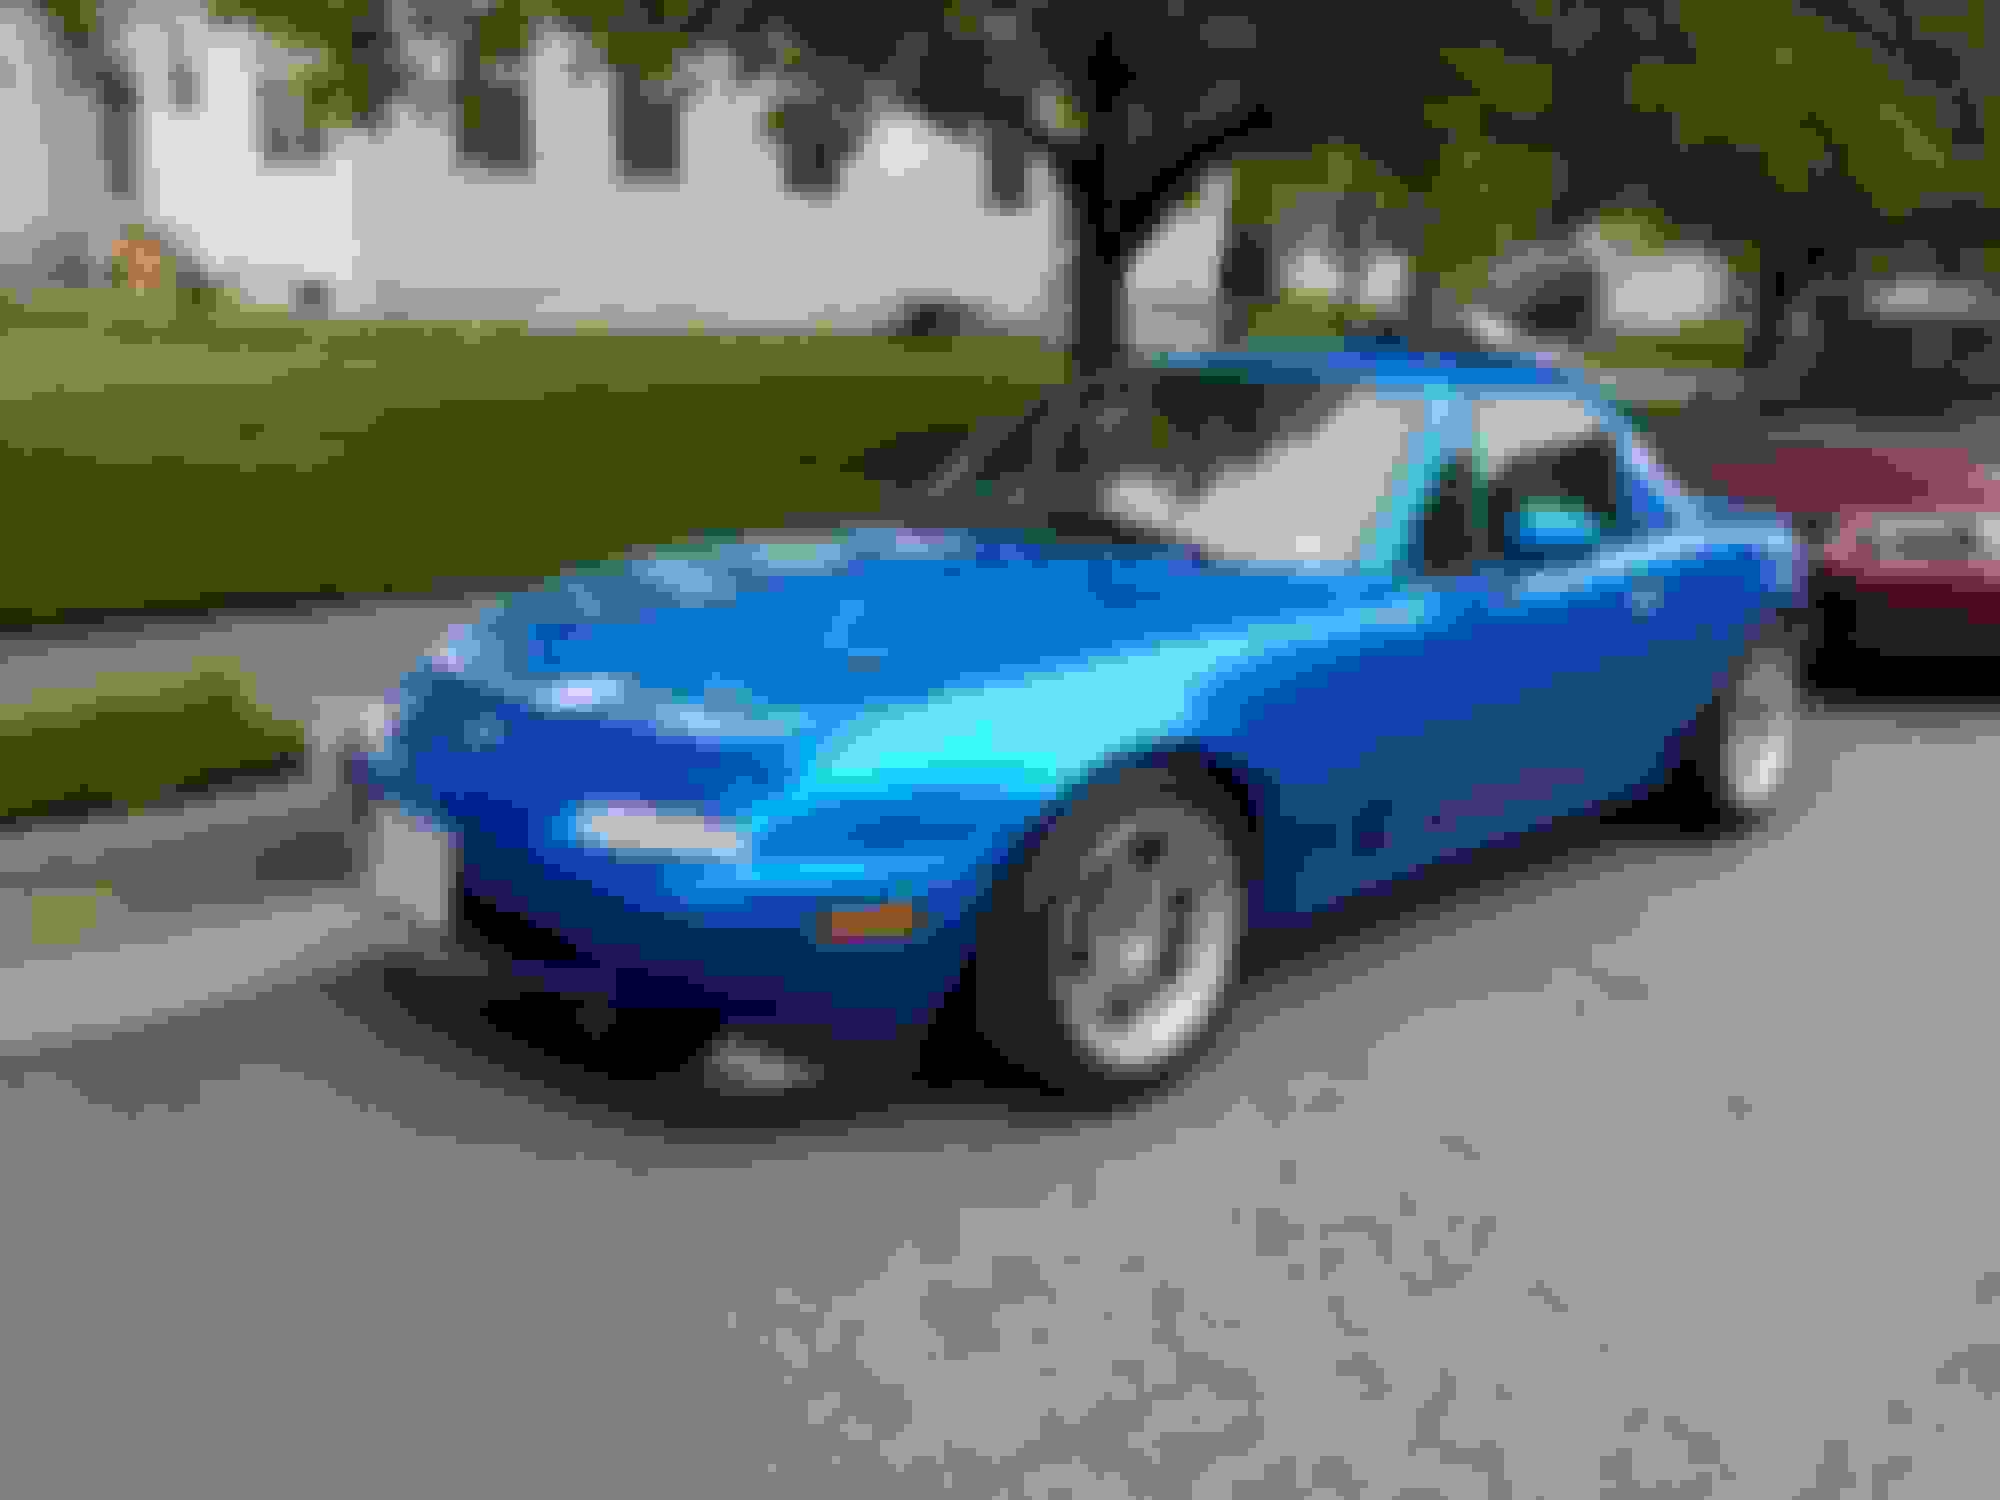
Here is the car after its very first wash soon after I got it.
and how it looks today
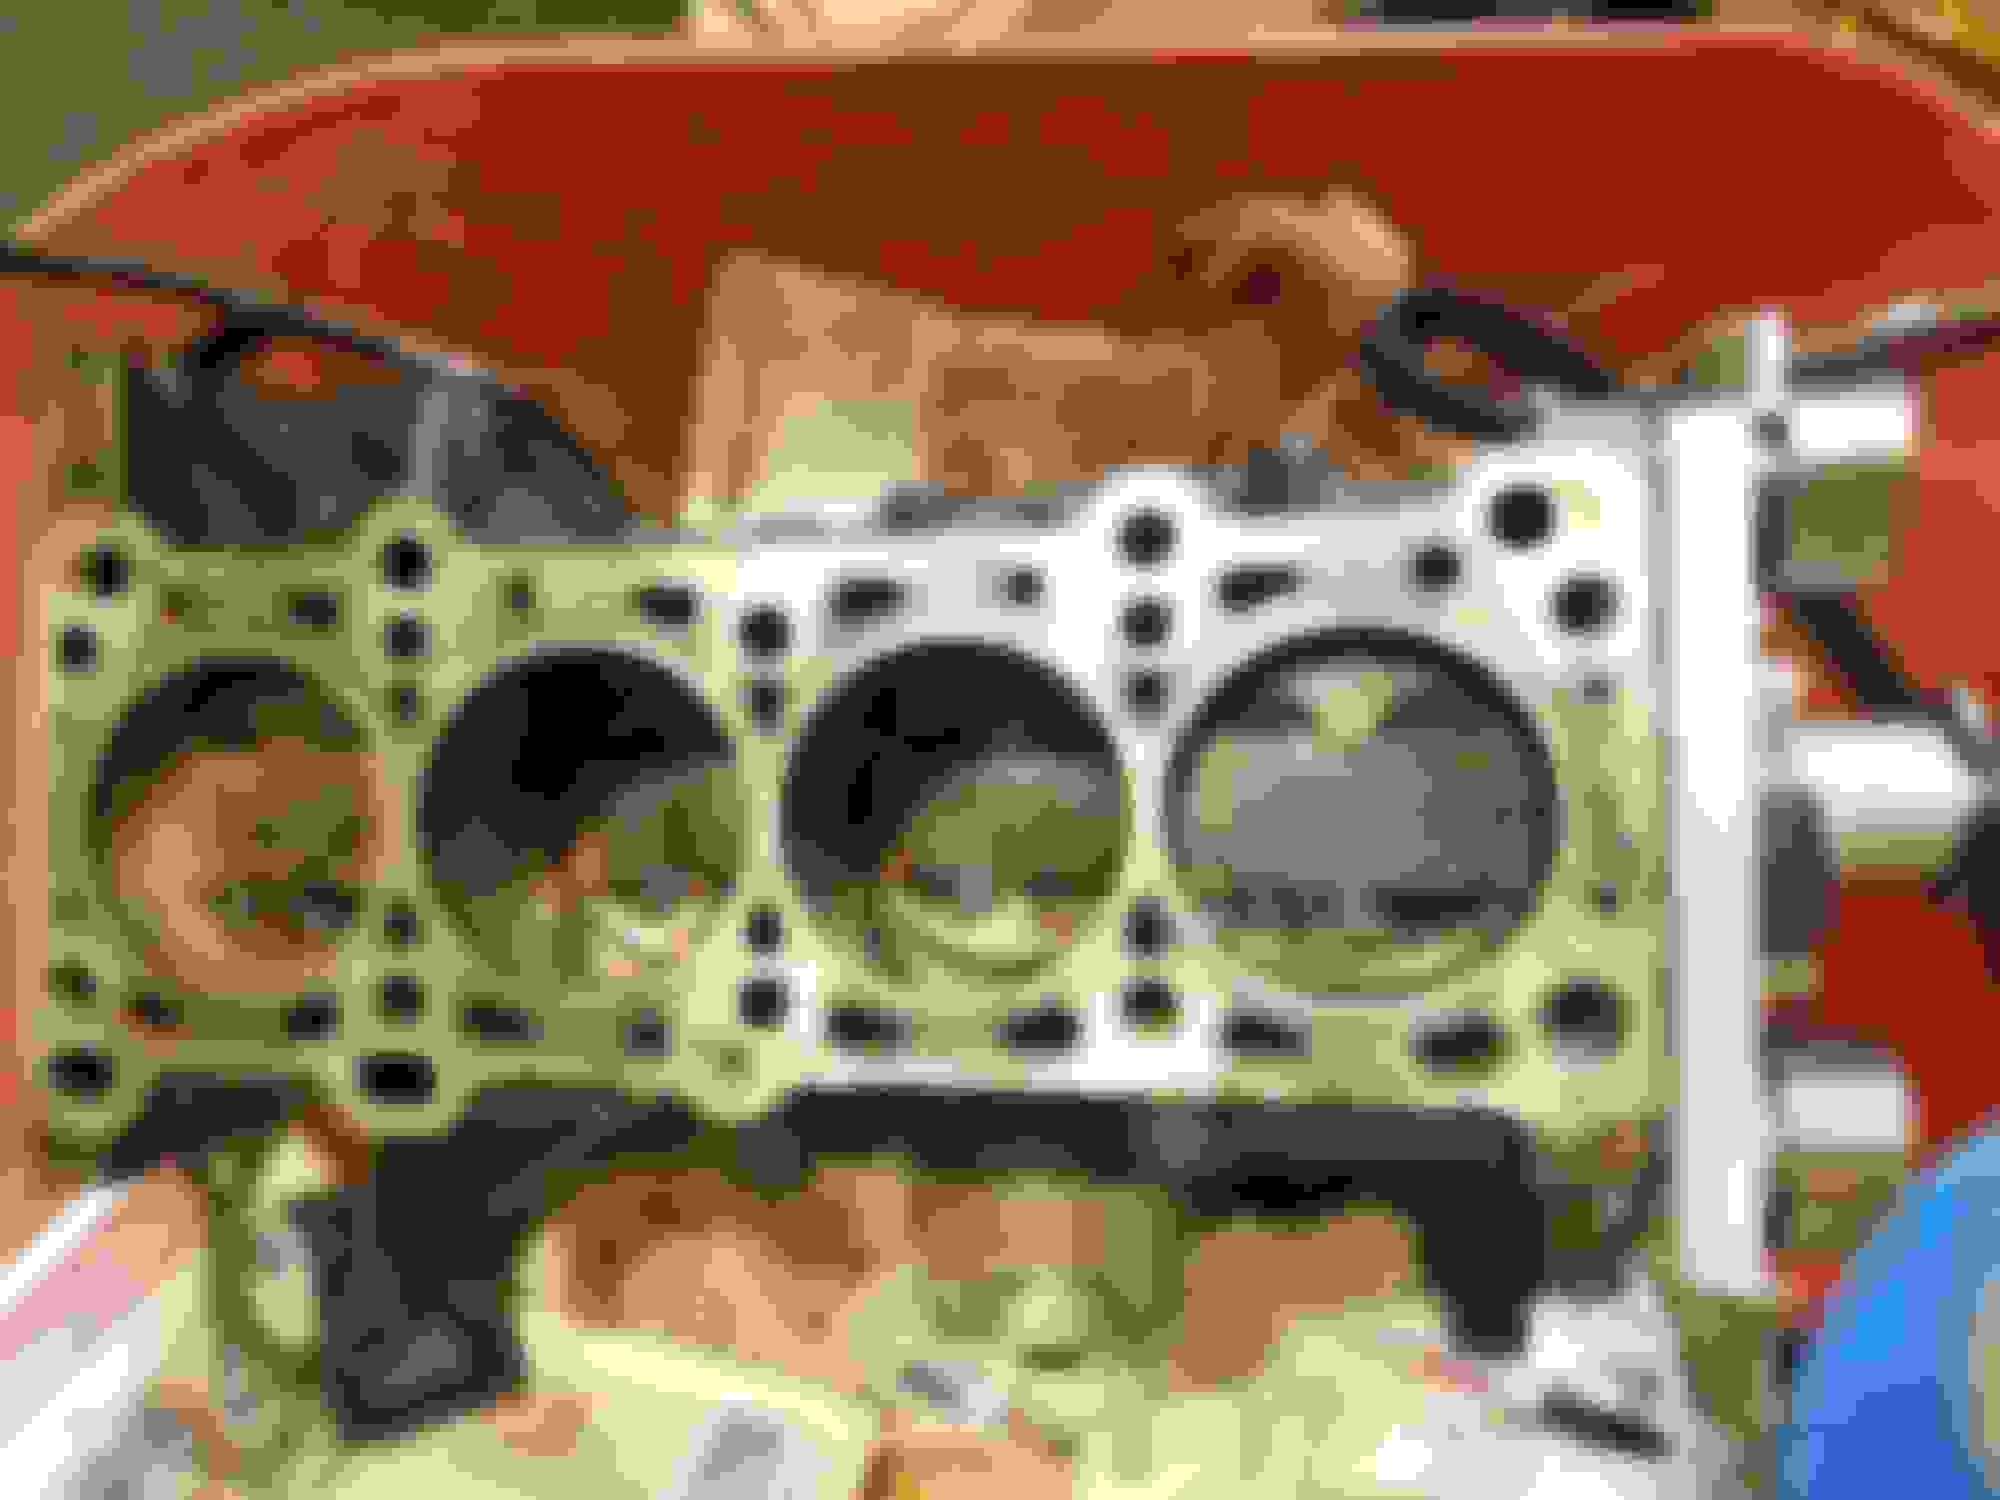
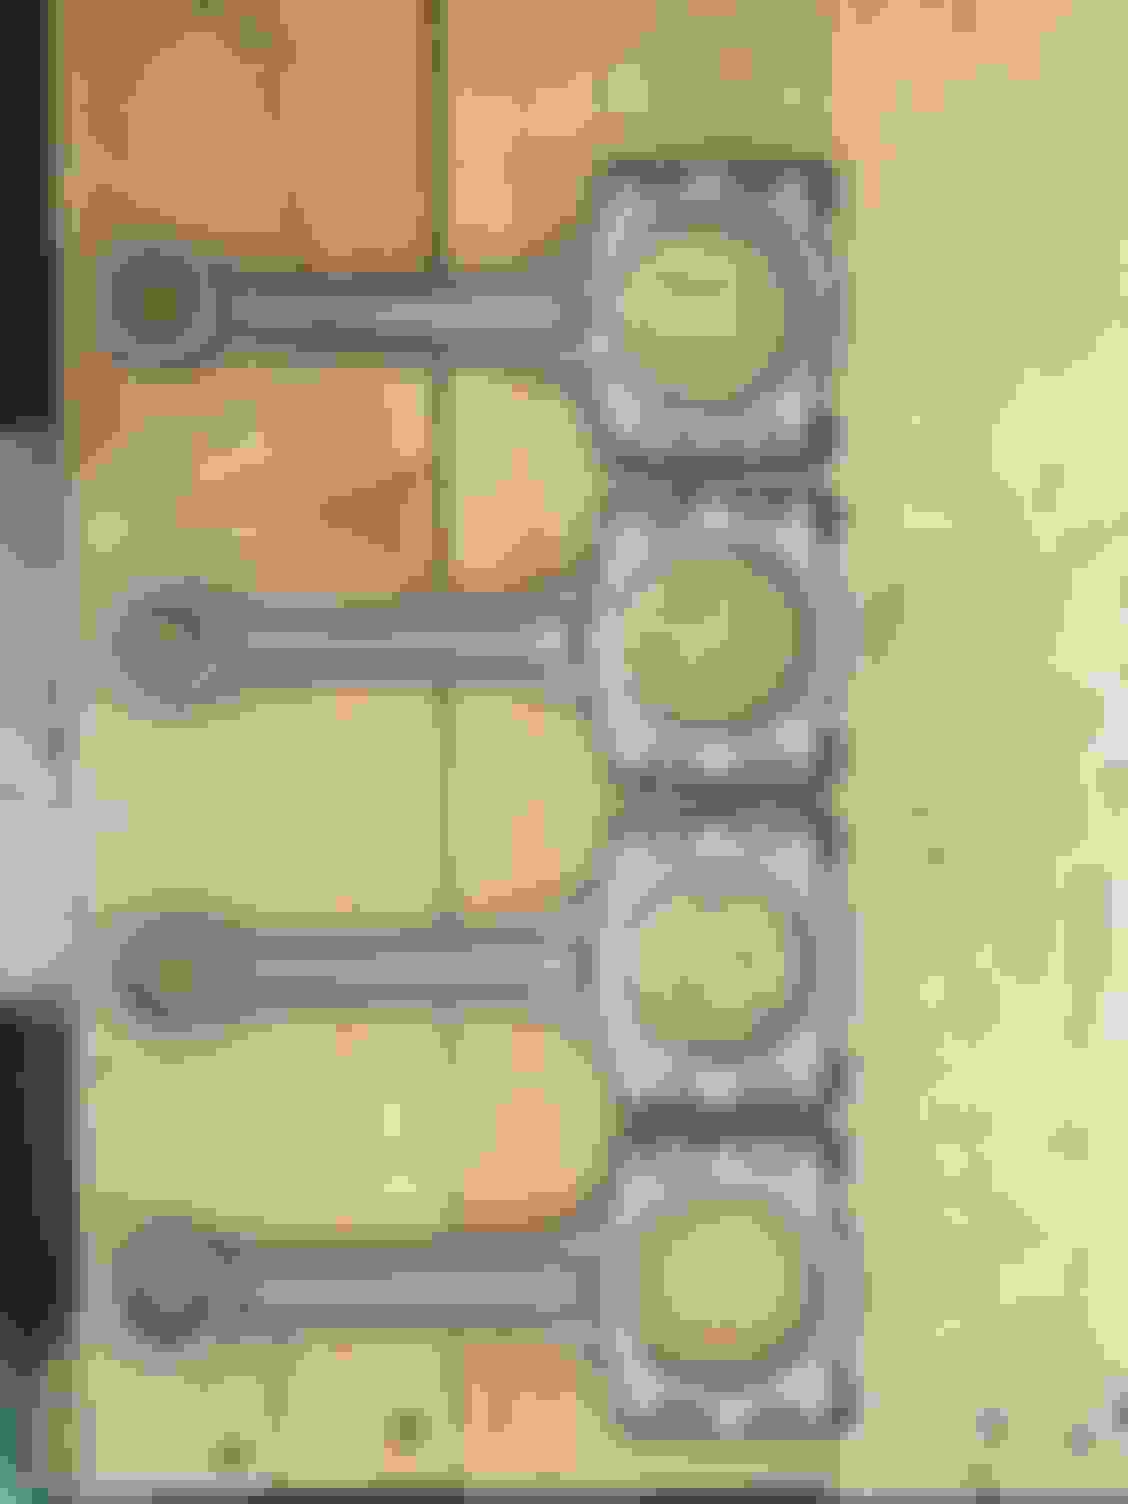
Update - 05/2024, I've ruined it
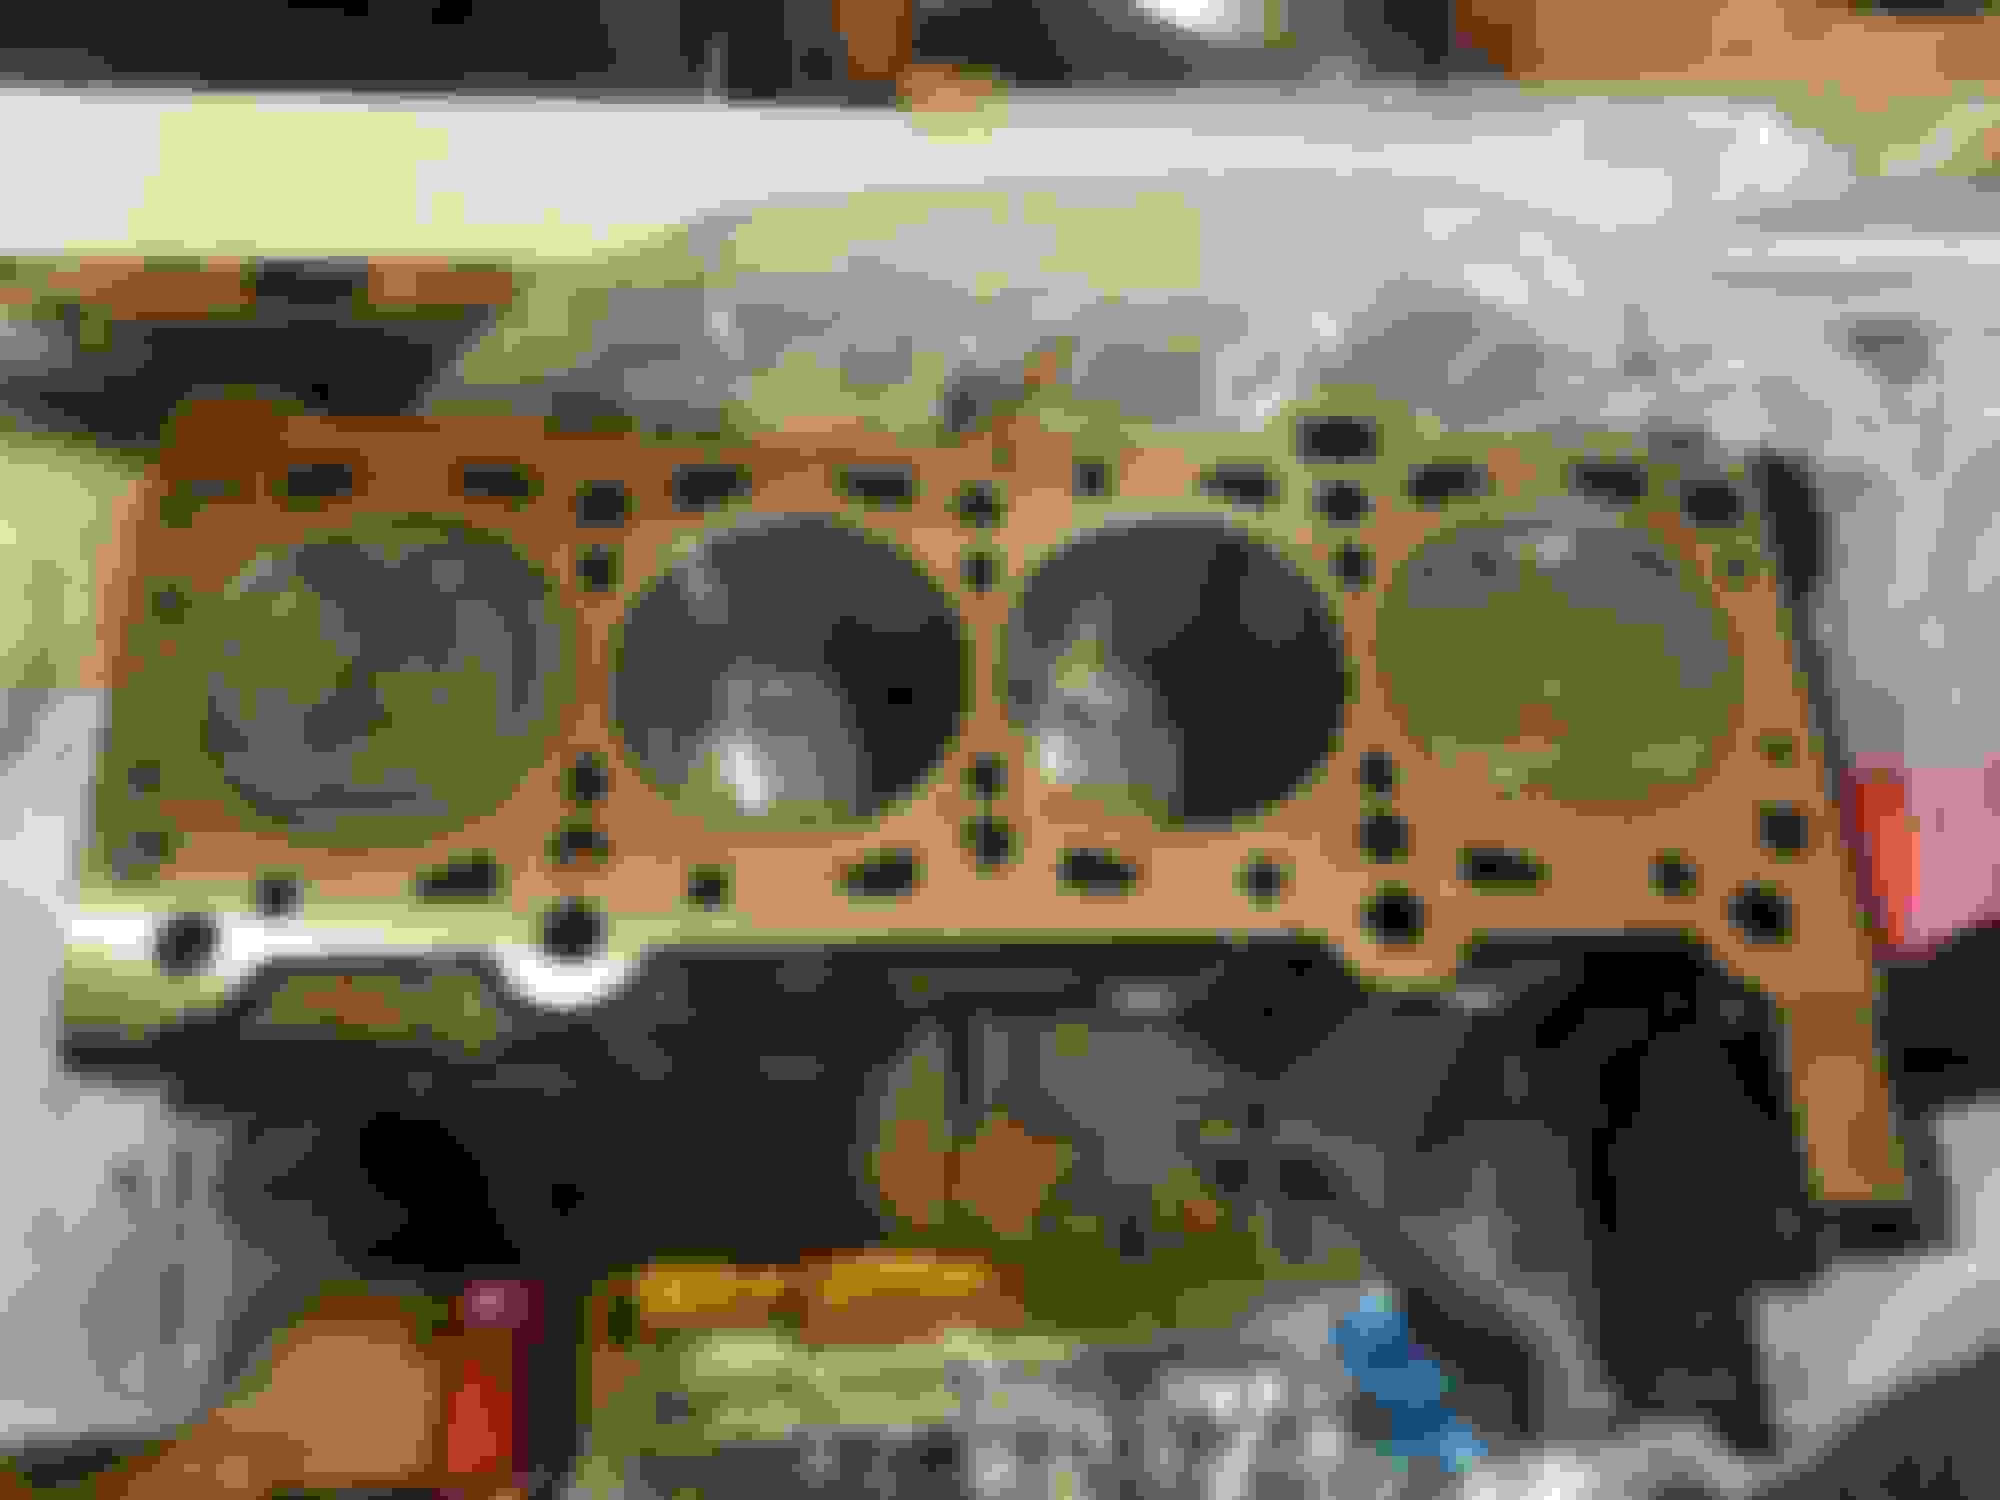
Original motor before rebuilld
and some carnage pics of why it was forcefully retired
Can you tell which rod didn't like added boost?
Much better. Block and head took around 8 months at the machine shop. It was hard to keep motivation going with the build just waiting. I was also waiting on the Kraken kit at this time which took 3-4 months itself.
Cleaned up the head as well as had them check for warping/cracks. Valve seals were all replaced with OEM along with any other parts that needed attention
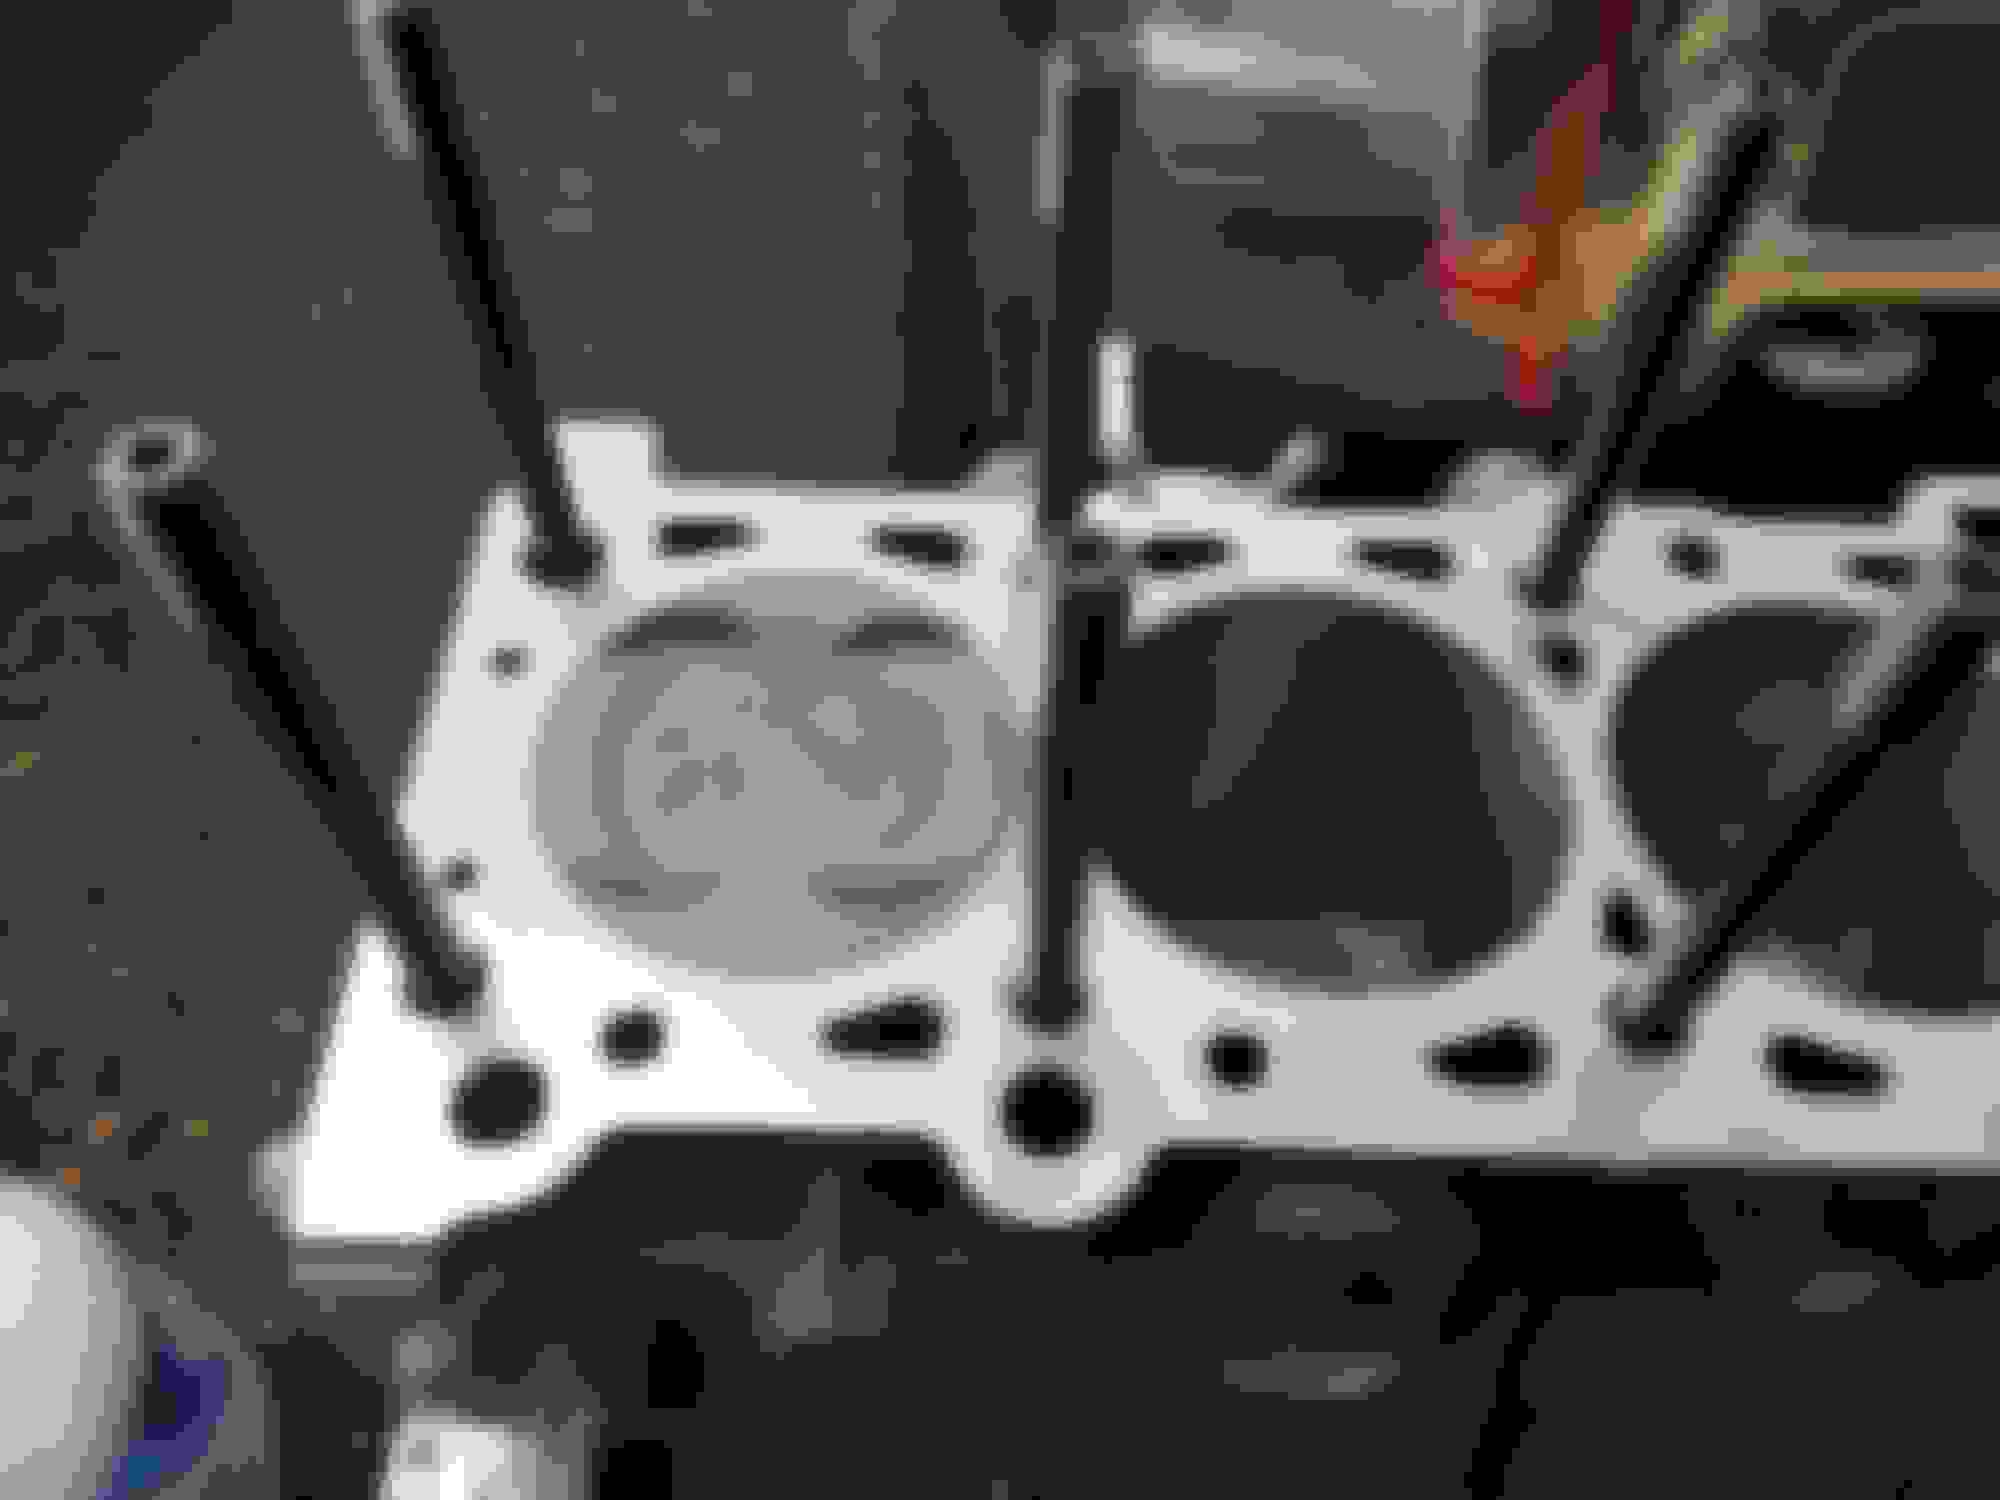
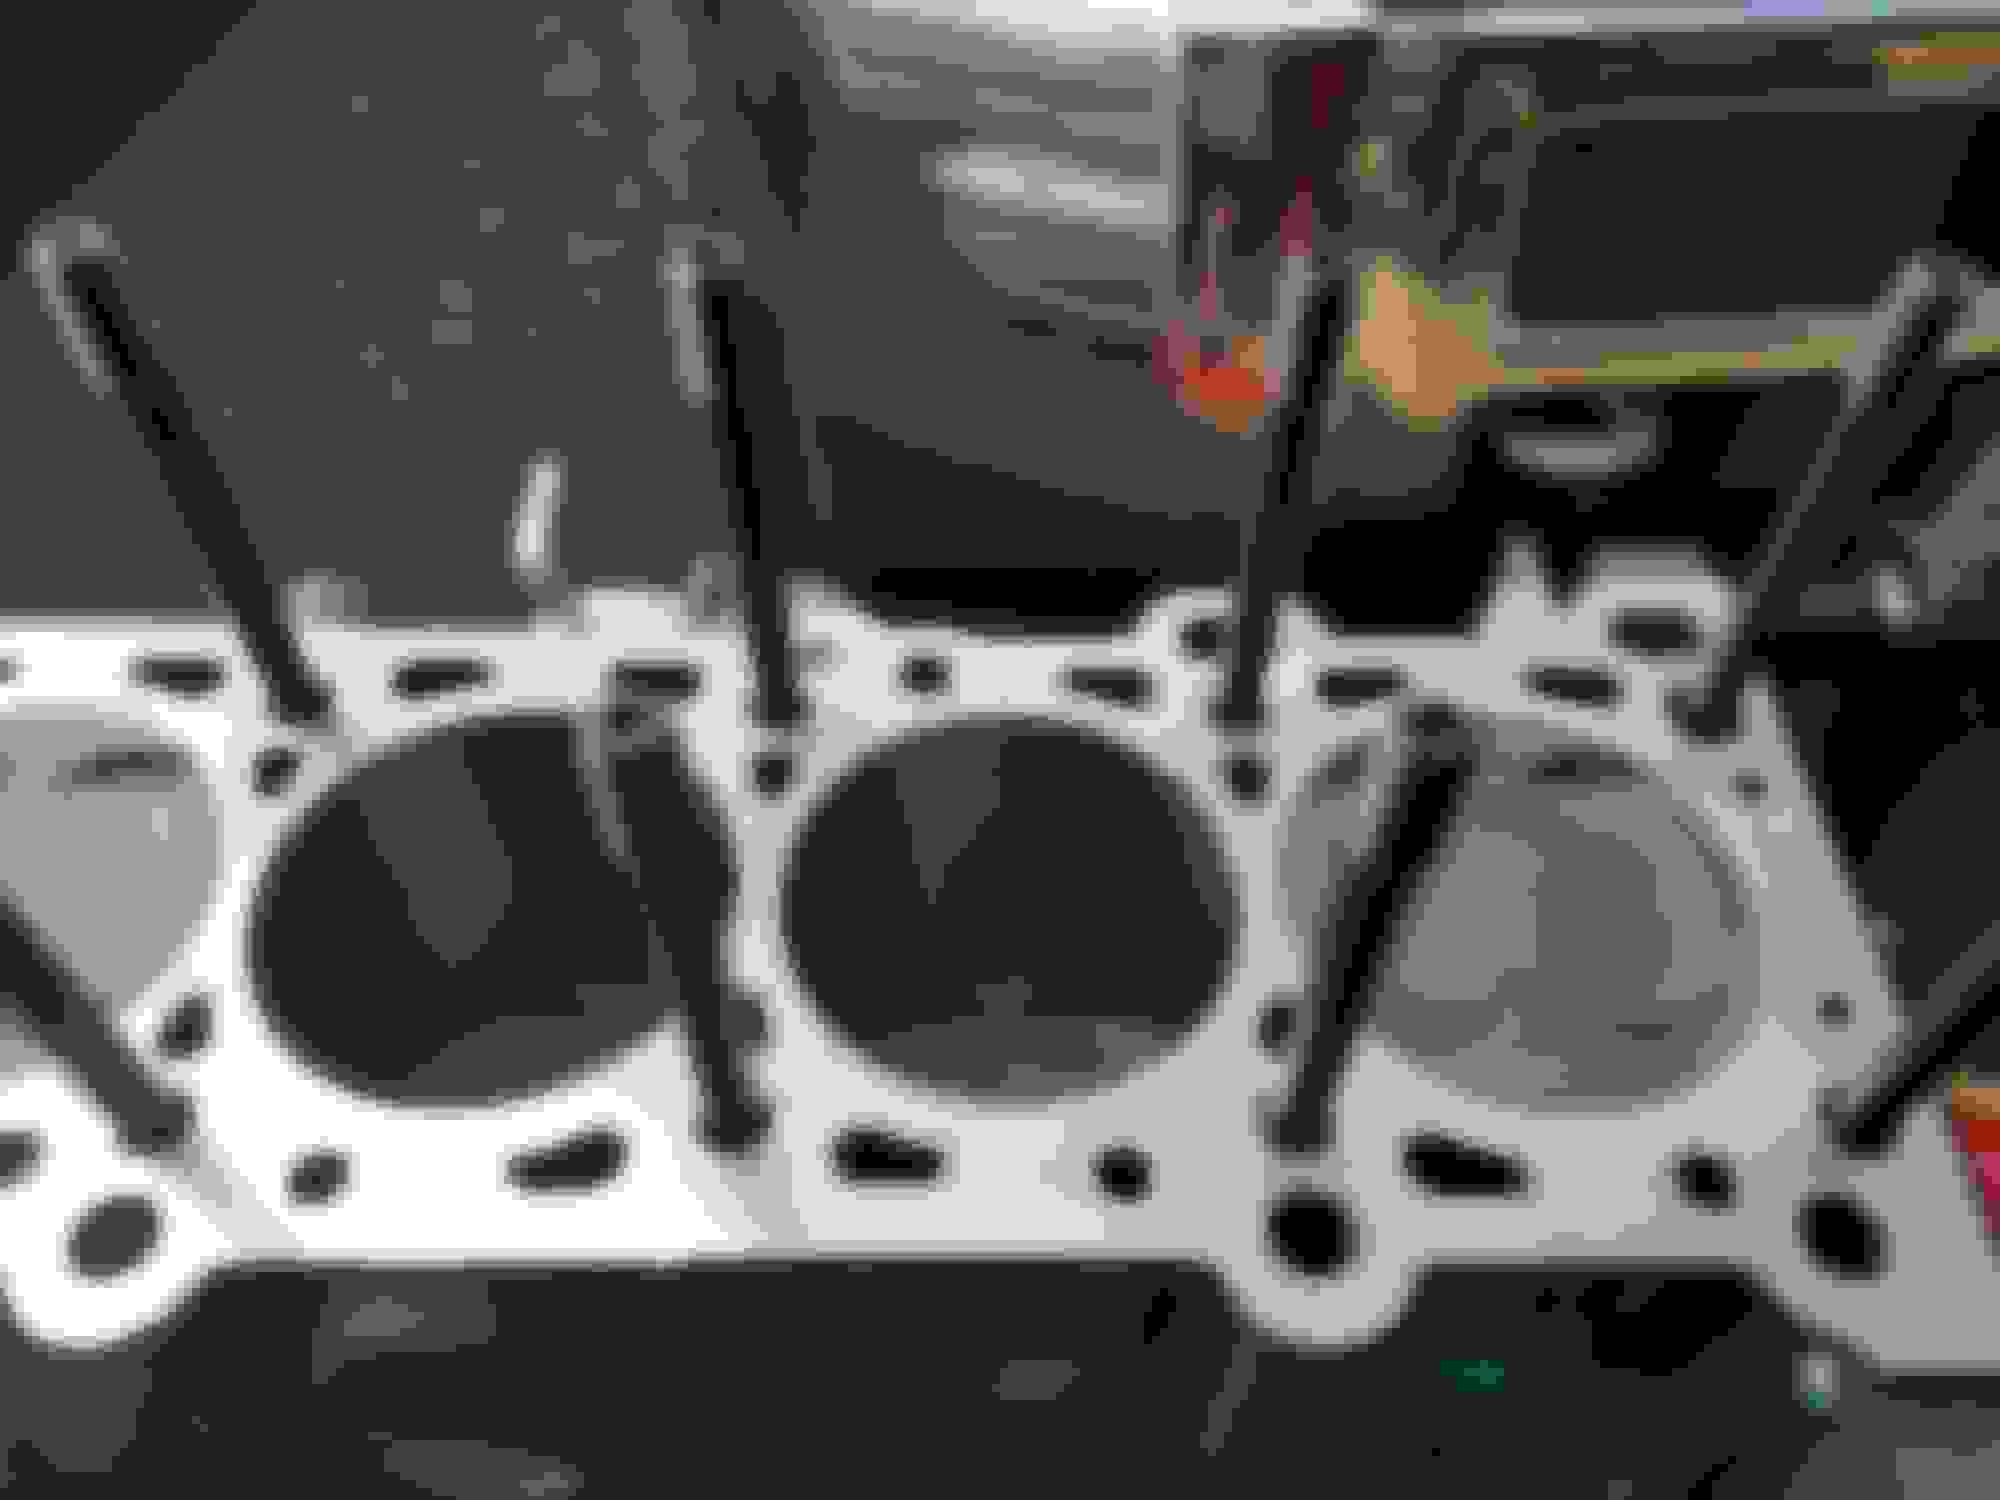
First step with the new block was to clean the block threads and install ARP head studs
Didn't feel good about the original intake/exhaust studs so I picked up some ARP studs from @psyber_0ptix . Thanks again man!
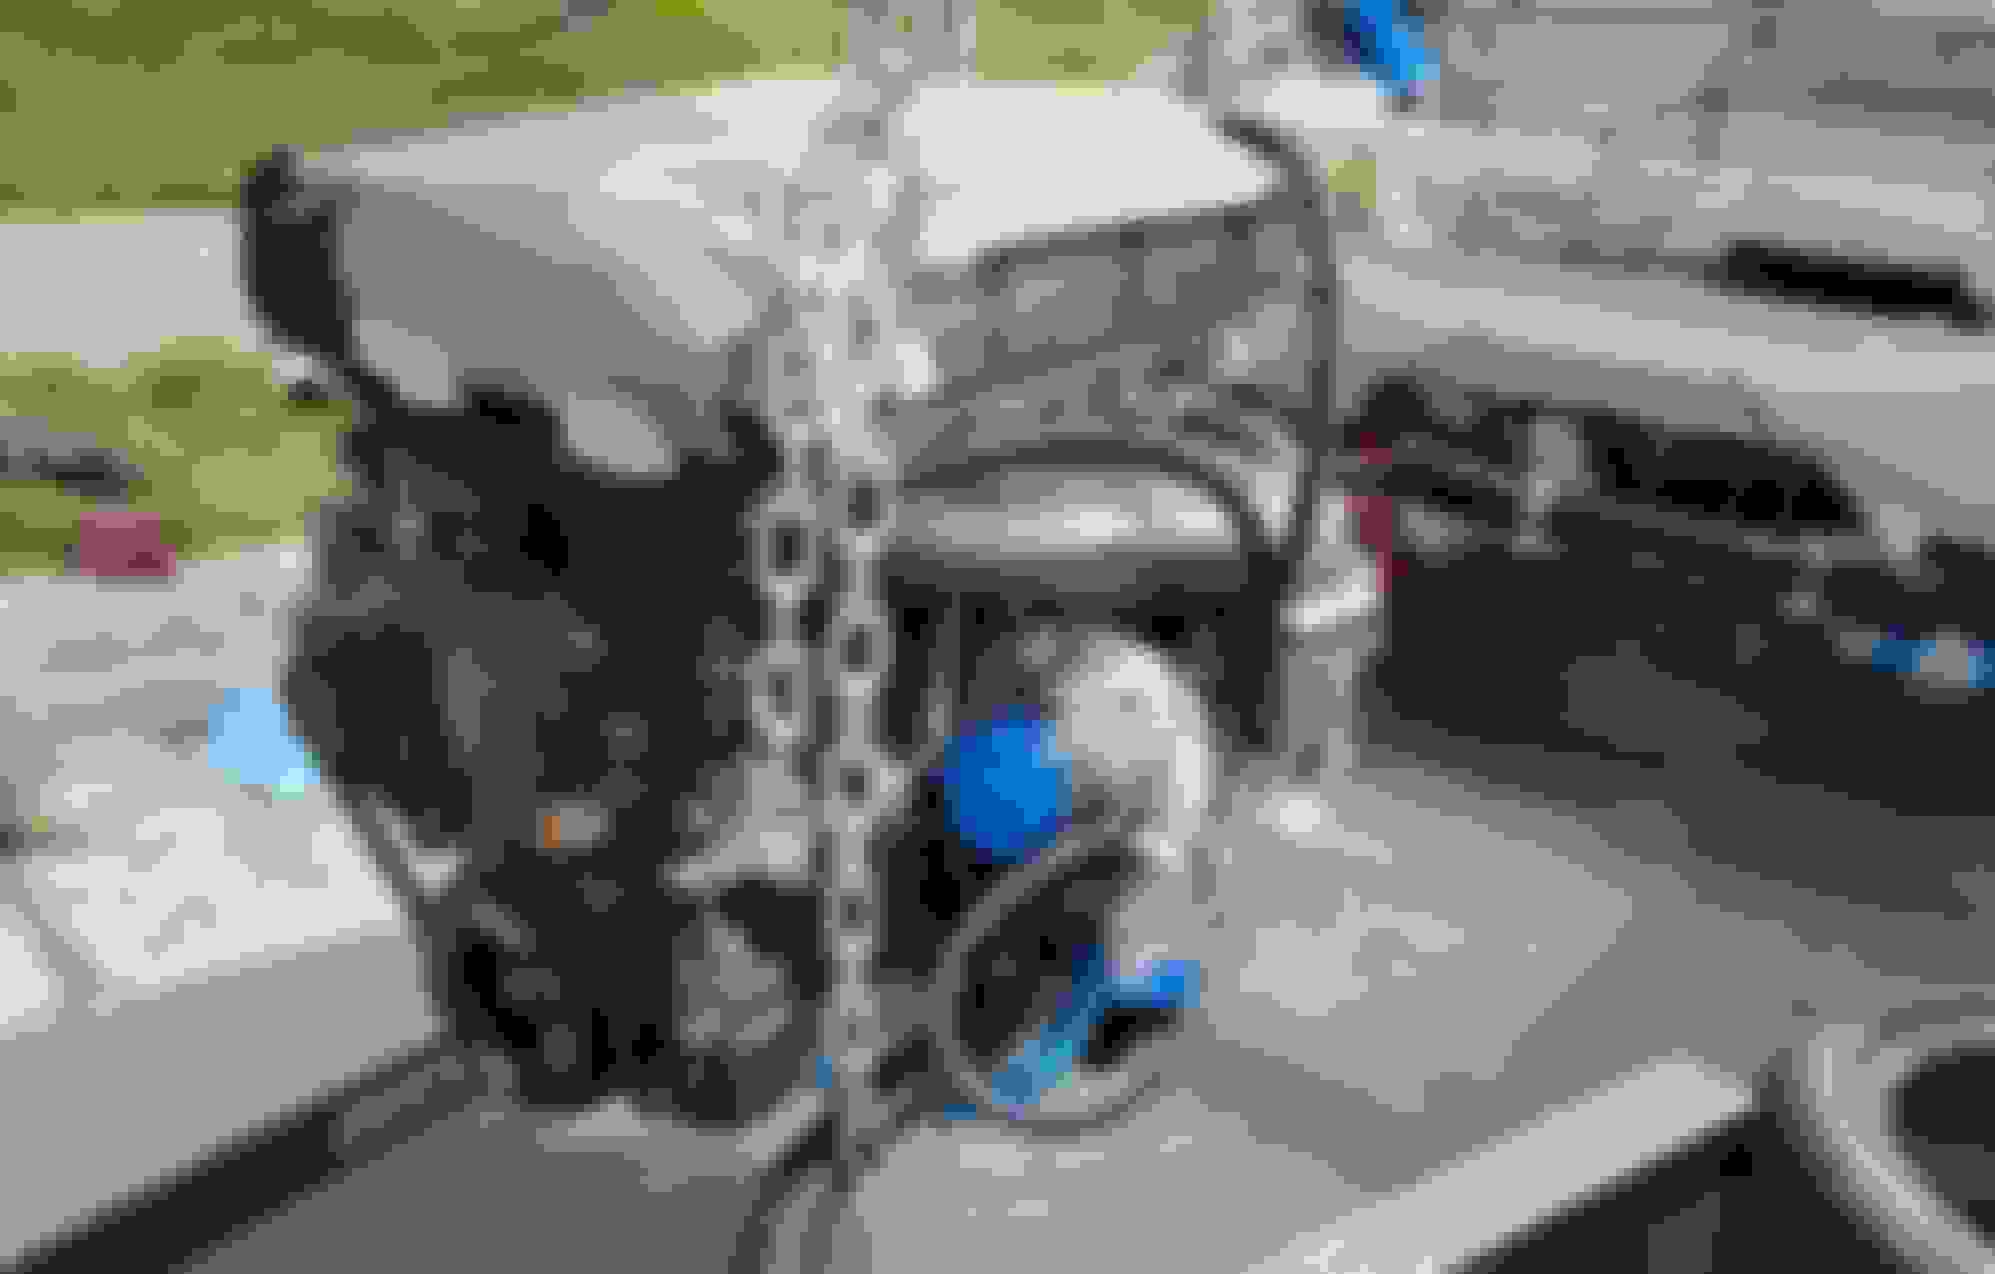
Had to mock up the turbo to see how it was going to look and keep up with the ever growing list of things I needed to get done
Had the same issue as many others with low mount setups. I ended up just cutting off the 90 degree elbow and using the molded line that Kraken supplied in his kit. Tight fit but works perfect
Decided to spend some time painting the valve cover for cool points. Looks amazing, but I should have used a better flat coat. It gets ruined in the oil/grease under the hood very quickly
Mocked up the intercooler lines after installing quite a bit of parts onto the block
Picked up a de-powered steering rack from MiataSource. Well worth it. No experience as a welder and couldn't be bothered to try doing it myself
Last edited by ryansmig; May 10, 2024 at 04:44 PM.
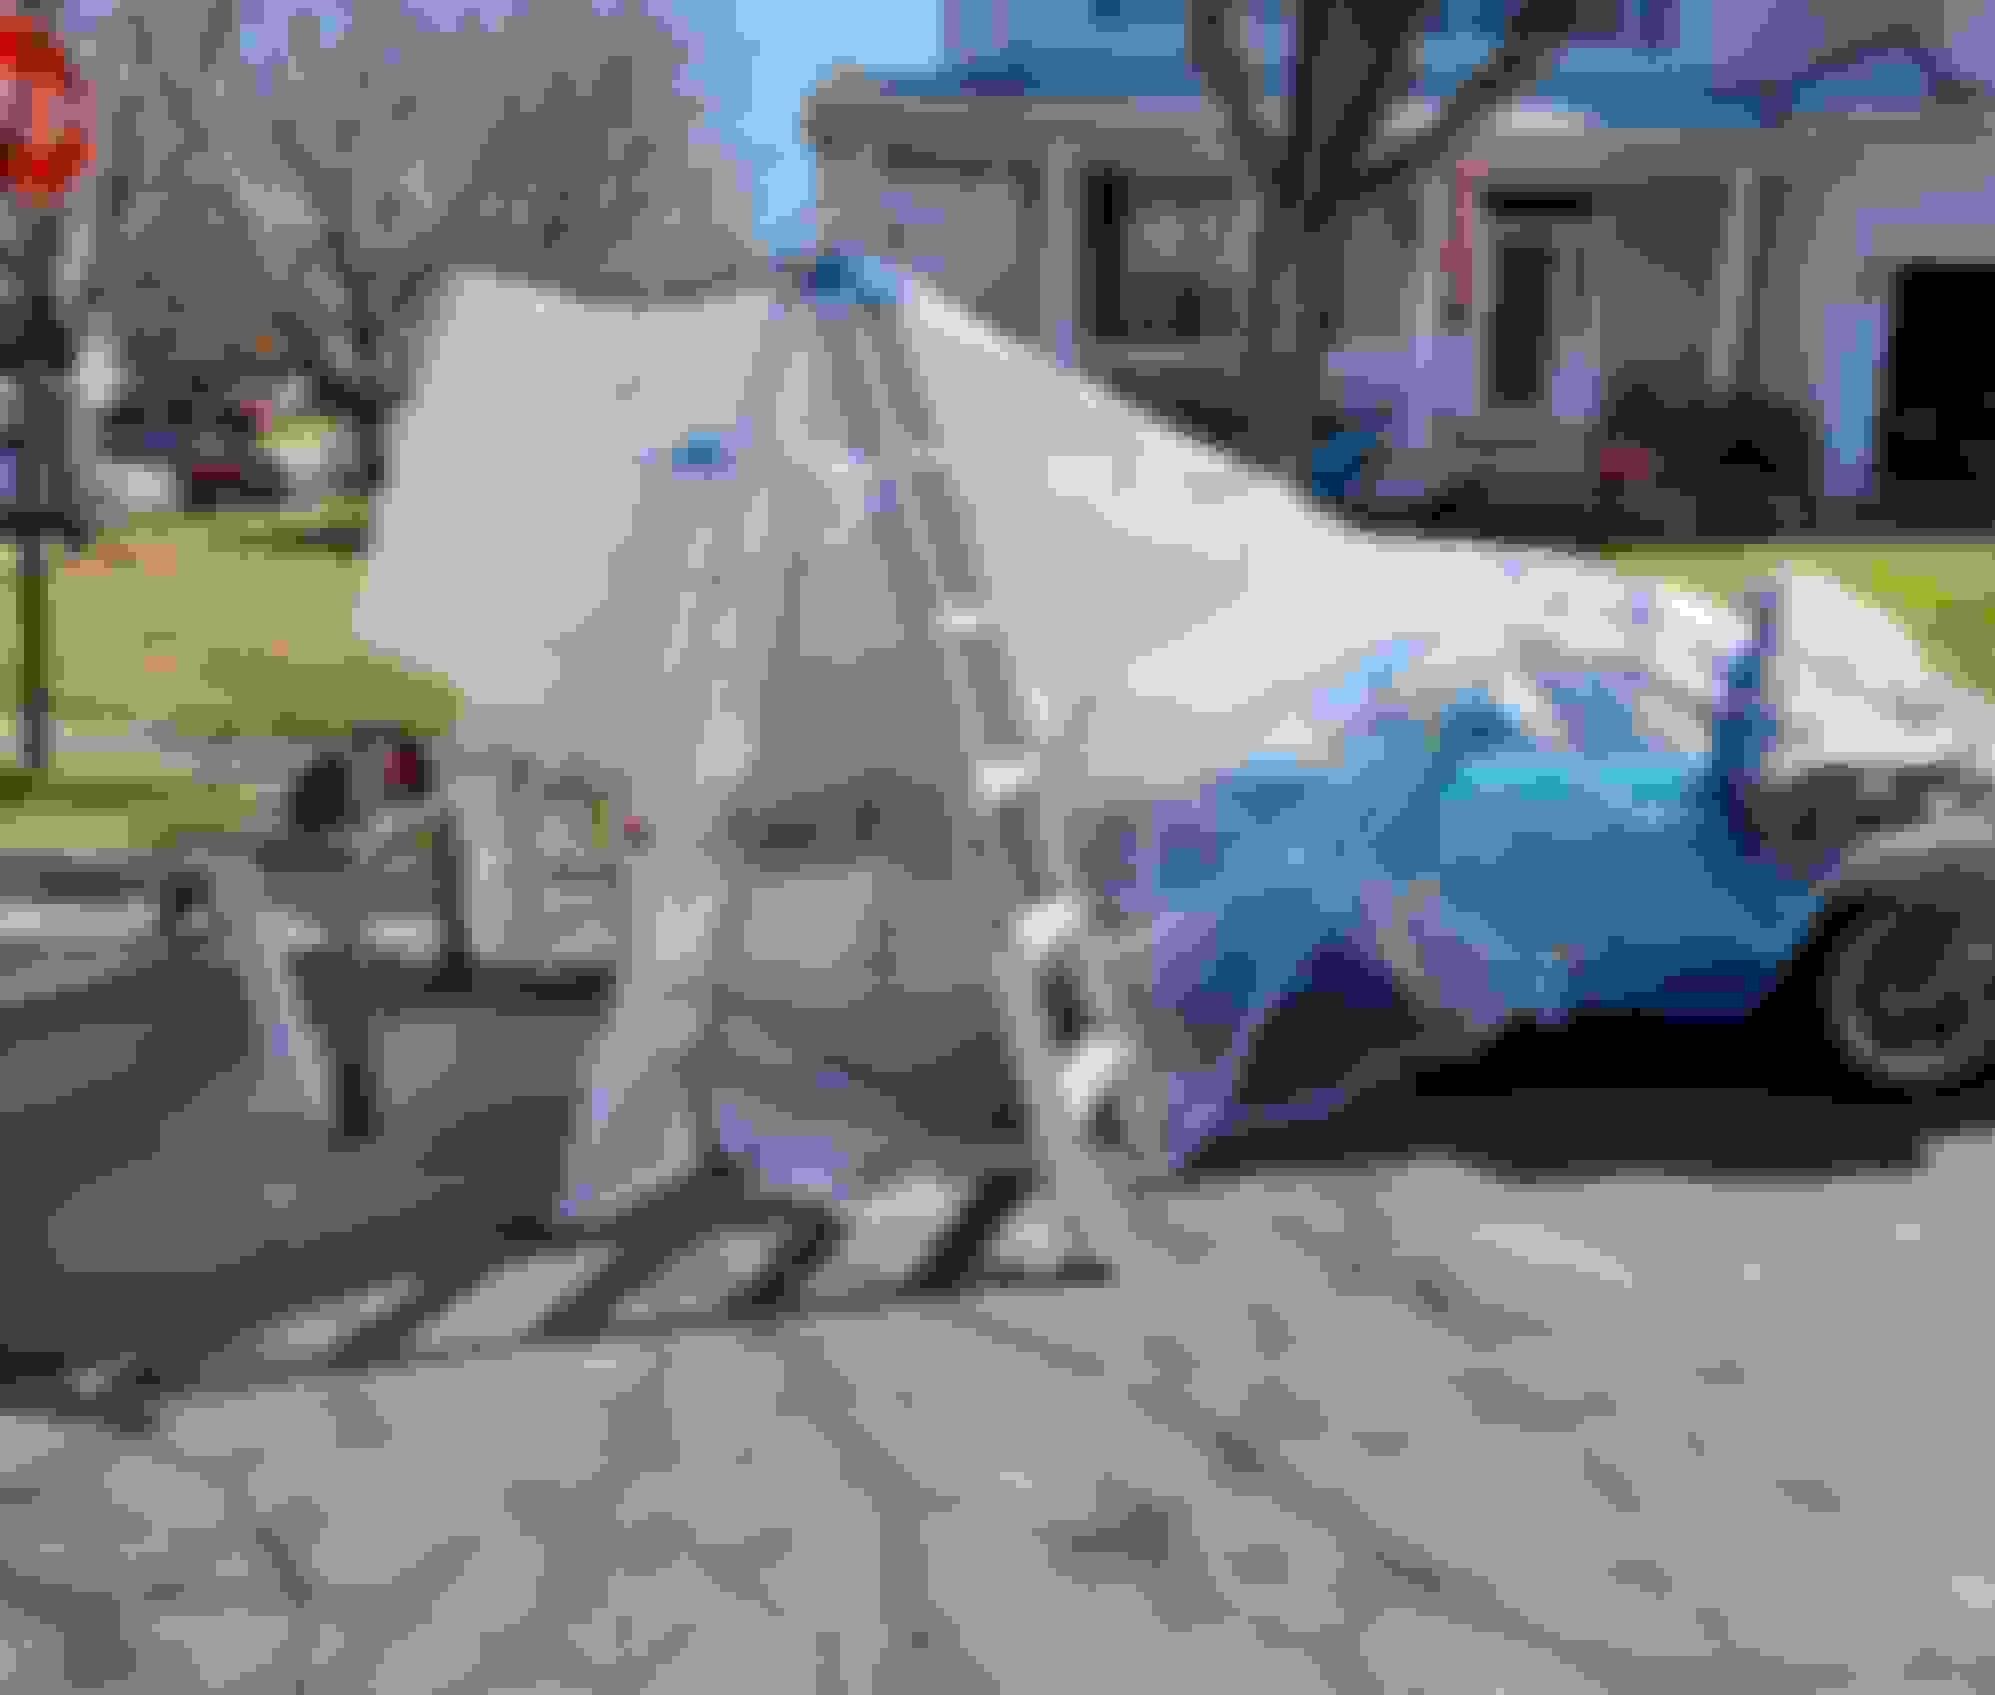
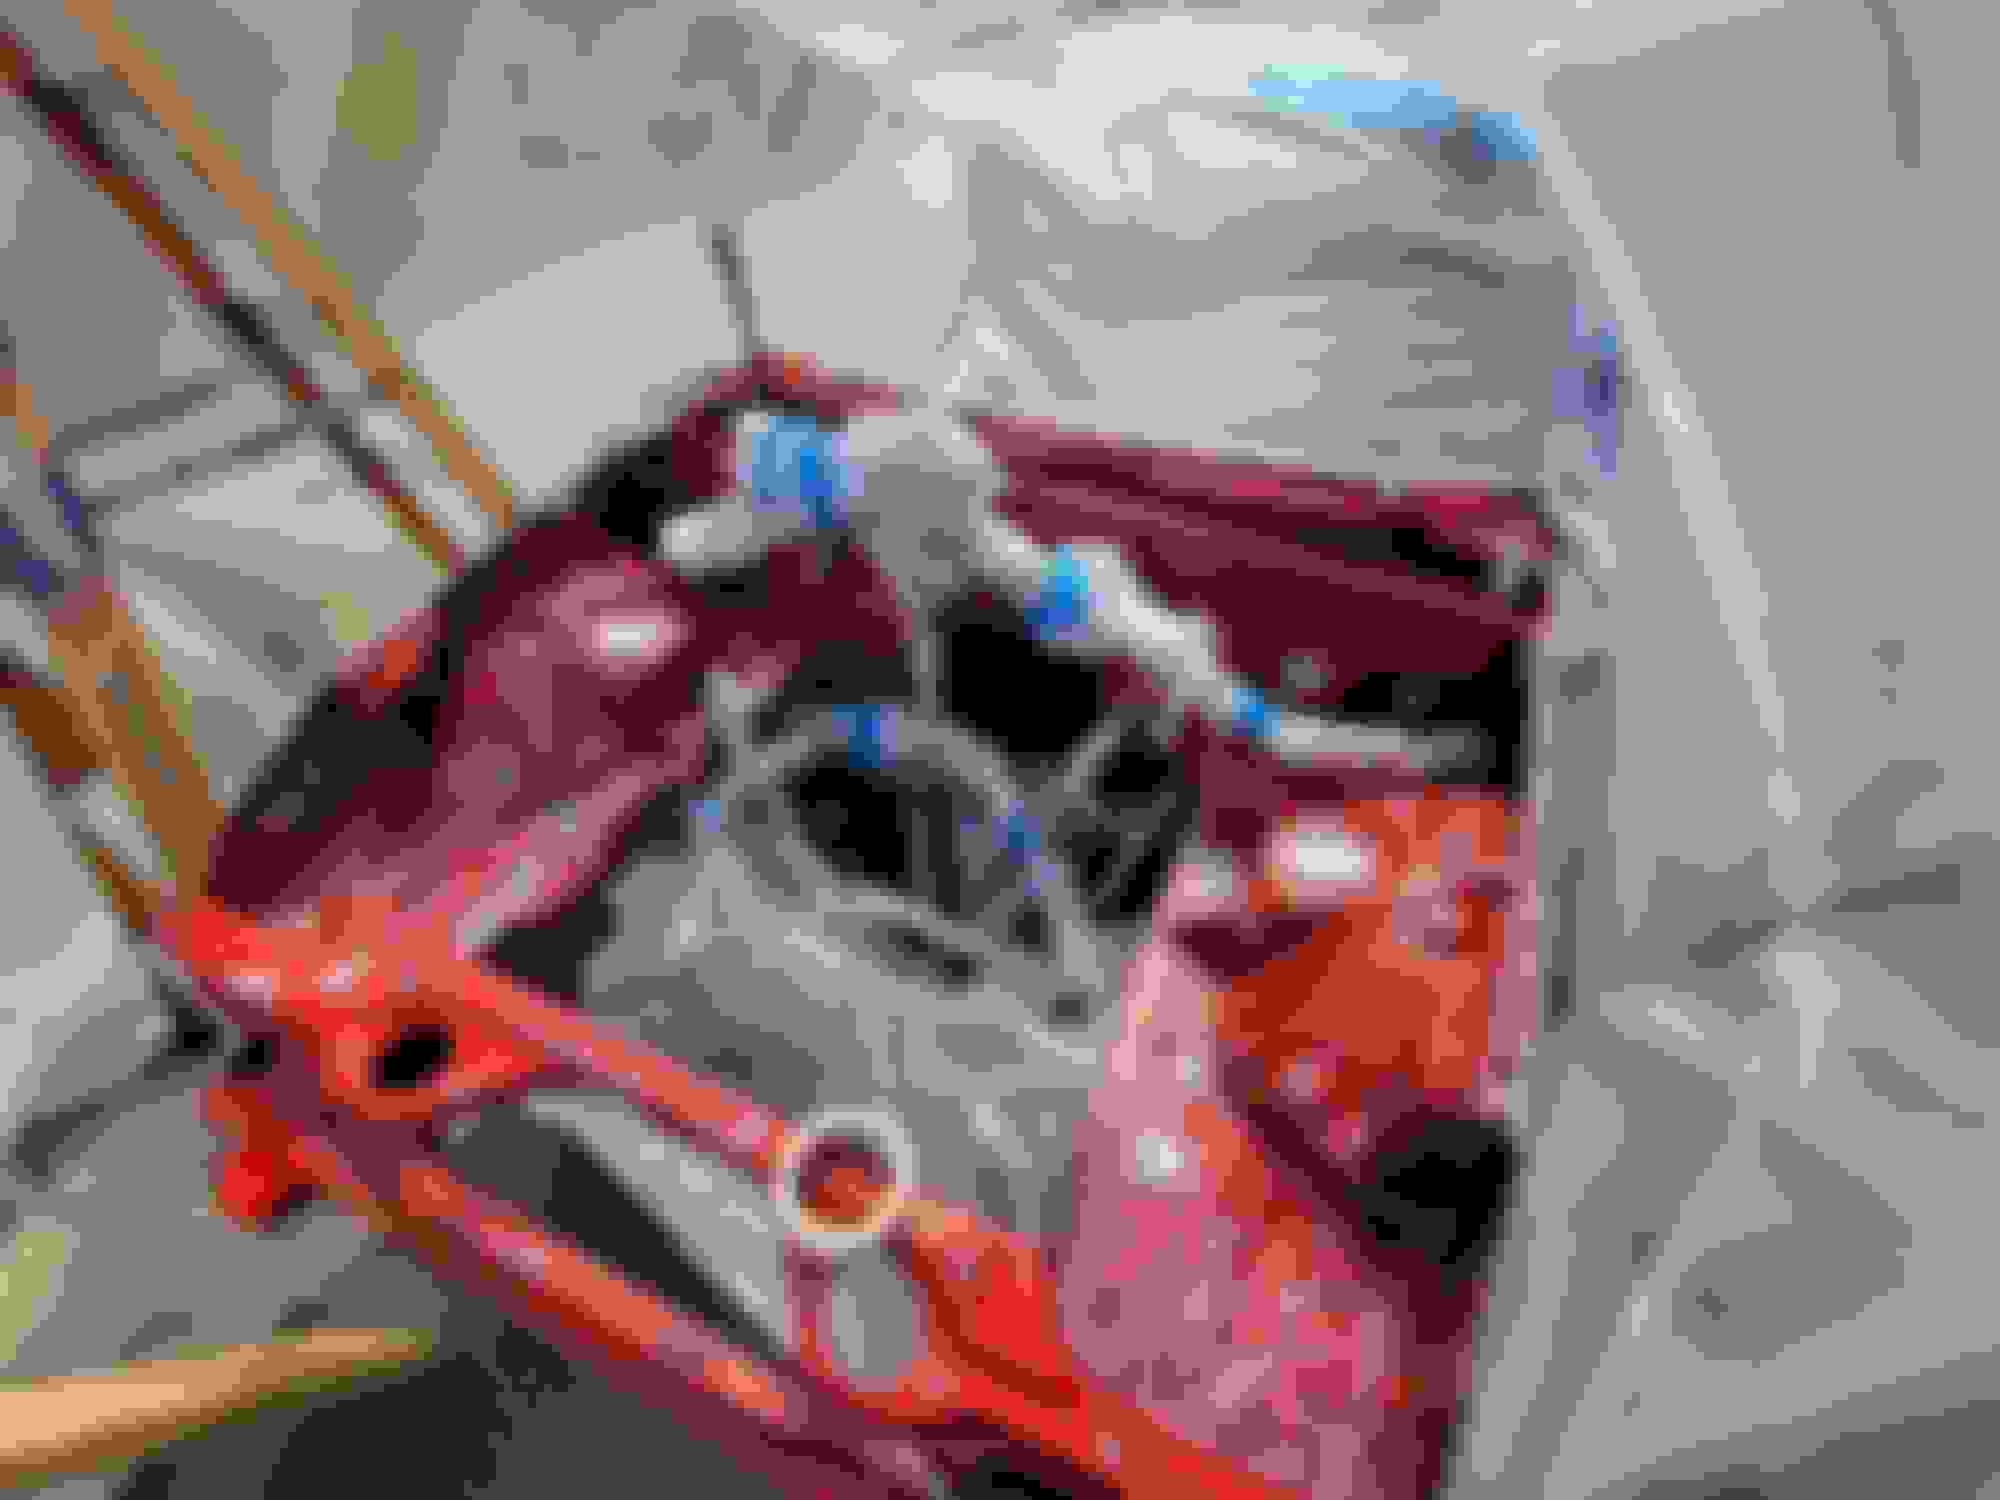
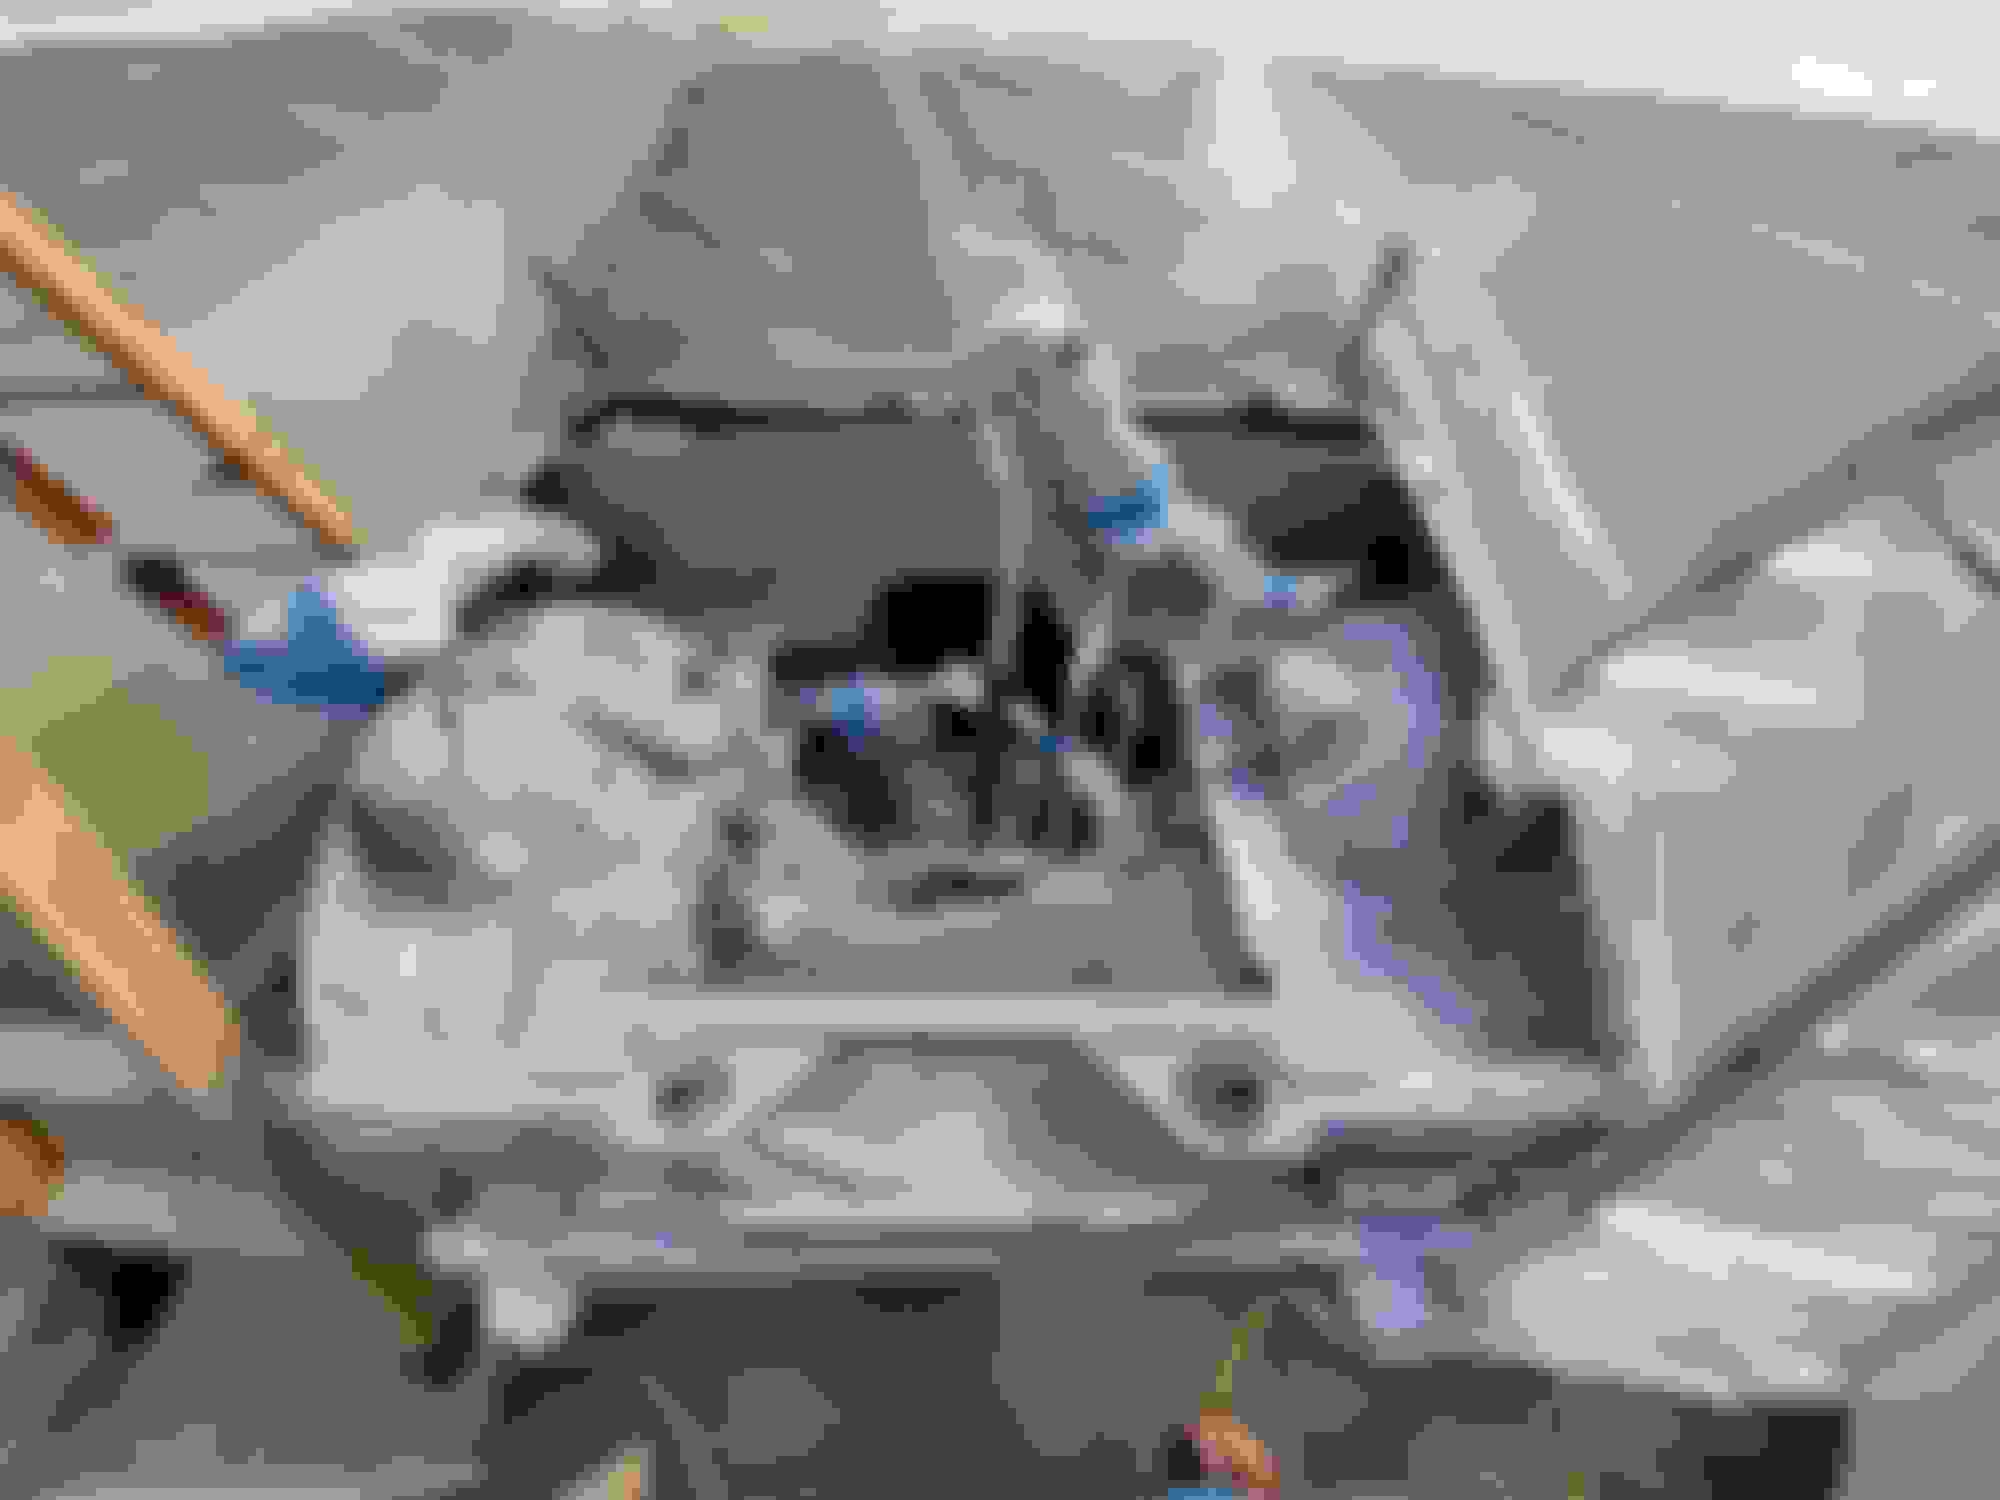
Last owner painted the exterior of the car, but not the bay. I couldn't stand the red and decided to bite the bullet and remove everything to prep it for paint. Mind you, I have zero experience painting with anything other than a rattle can. Decided to build the most ghetto paint booth and give it a go. This was in late winter so I really had to try and time things right so that I wasn't trying to paint in 40 degree VA weather
It came out MUCH better than I could have expected. It is very far from perfect though. Either way, I'm glad I tried
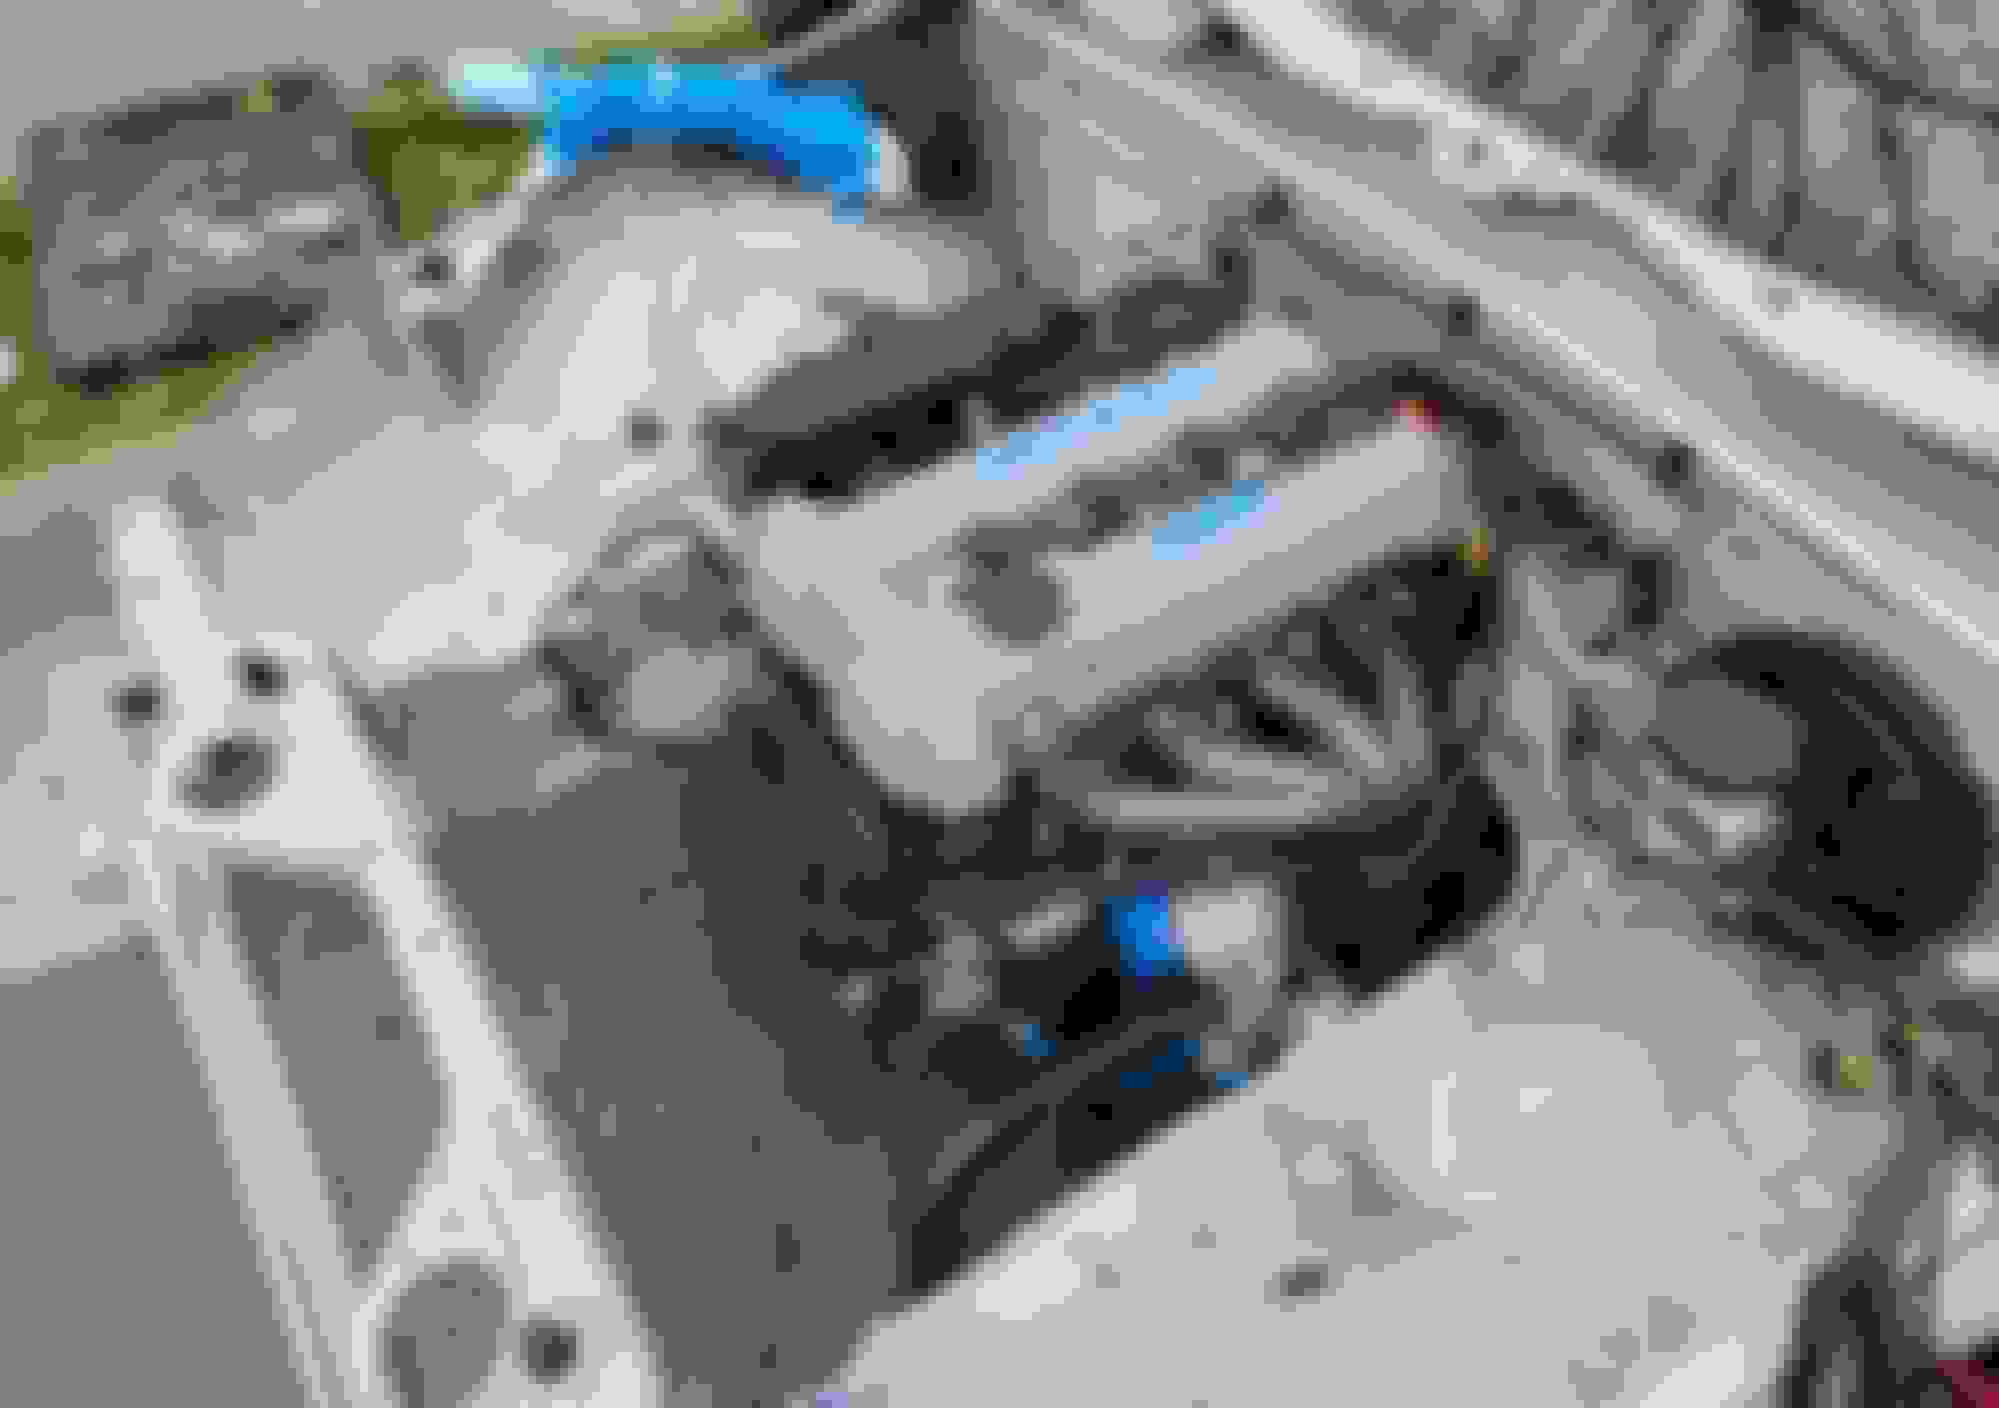
Motor basically done at this point. Just need to get it up in the air off of the stand to install the clutch and flywheel
The motor right before going in. Thankfully I had a buddy to help me and all I needed to do was get him chick fil a
She is in! Only took a few hours.
First start went way better than expected. Made sure to prime the oil pump and have enough gas in the car to keep it going for a bit. No leaks whatsoever.
Until I started driving it. At the first stop sign I got out to check and saw oil on the bottom of the front of the pan. Boundary front crank seal. Even though I read all the threads and knew of this issue, I overlooked it. Easy fix and the car was ready to drive after a few hours of easy work.
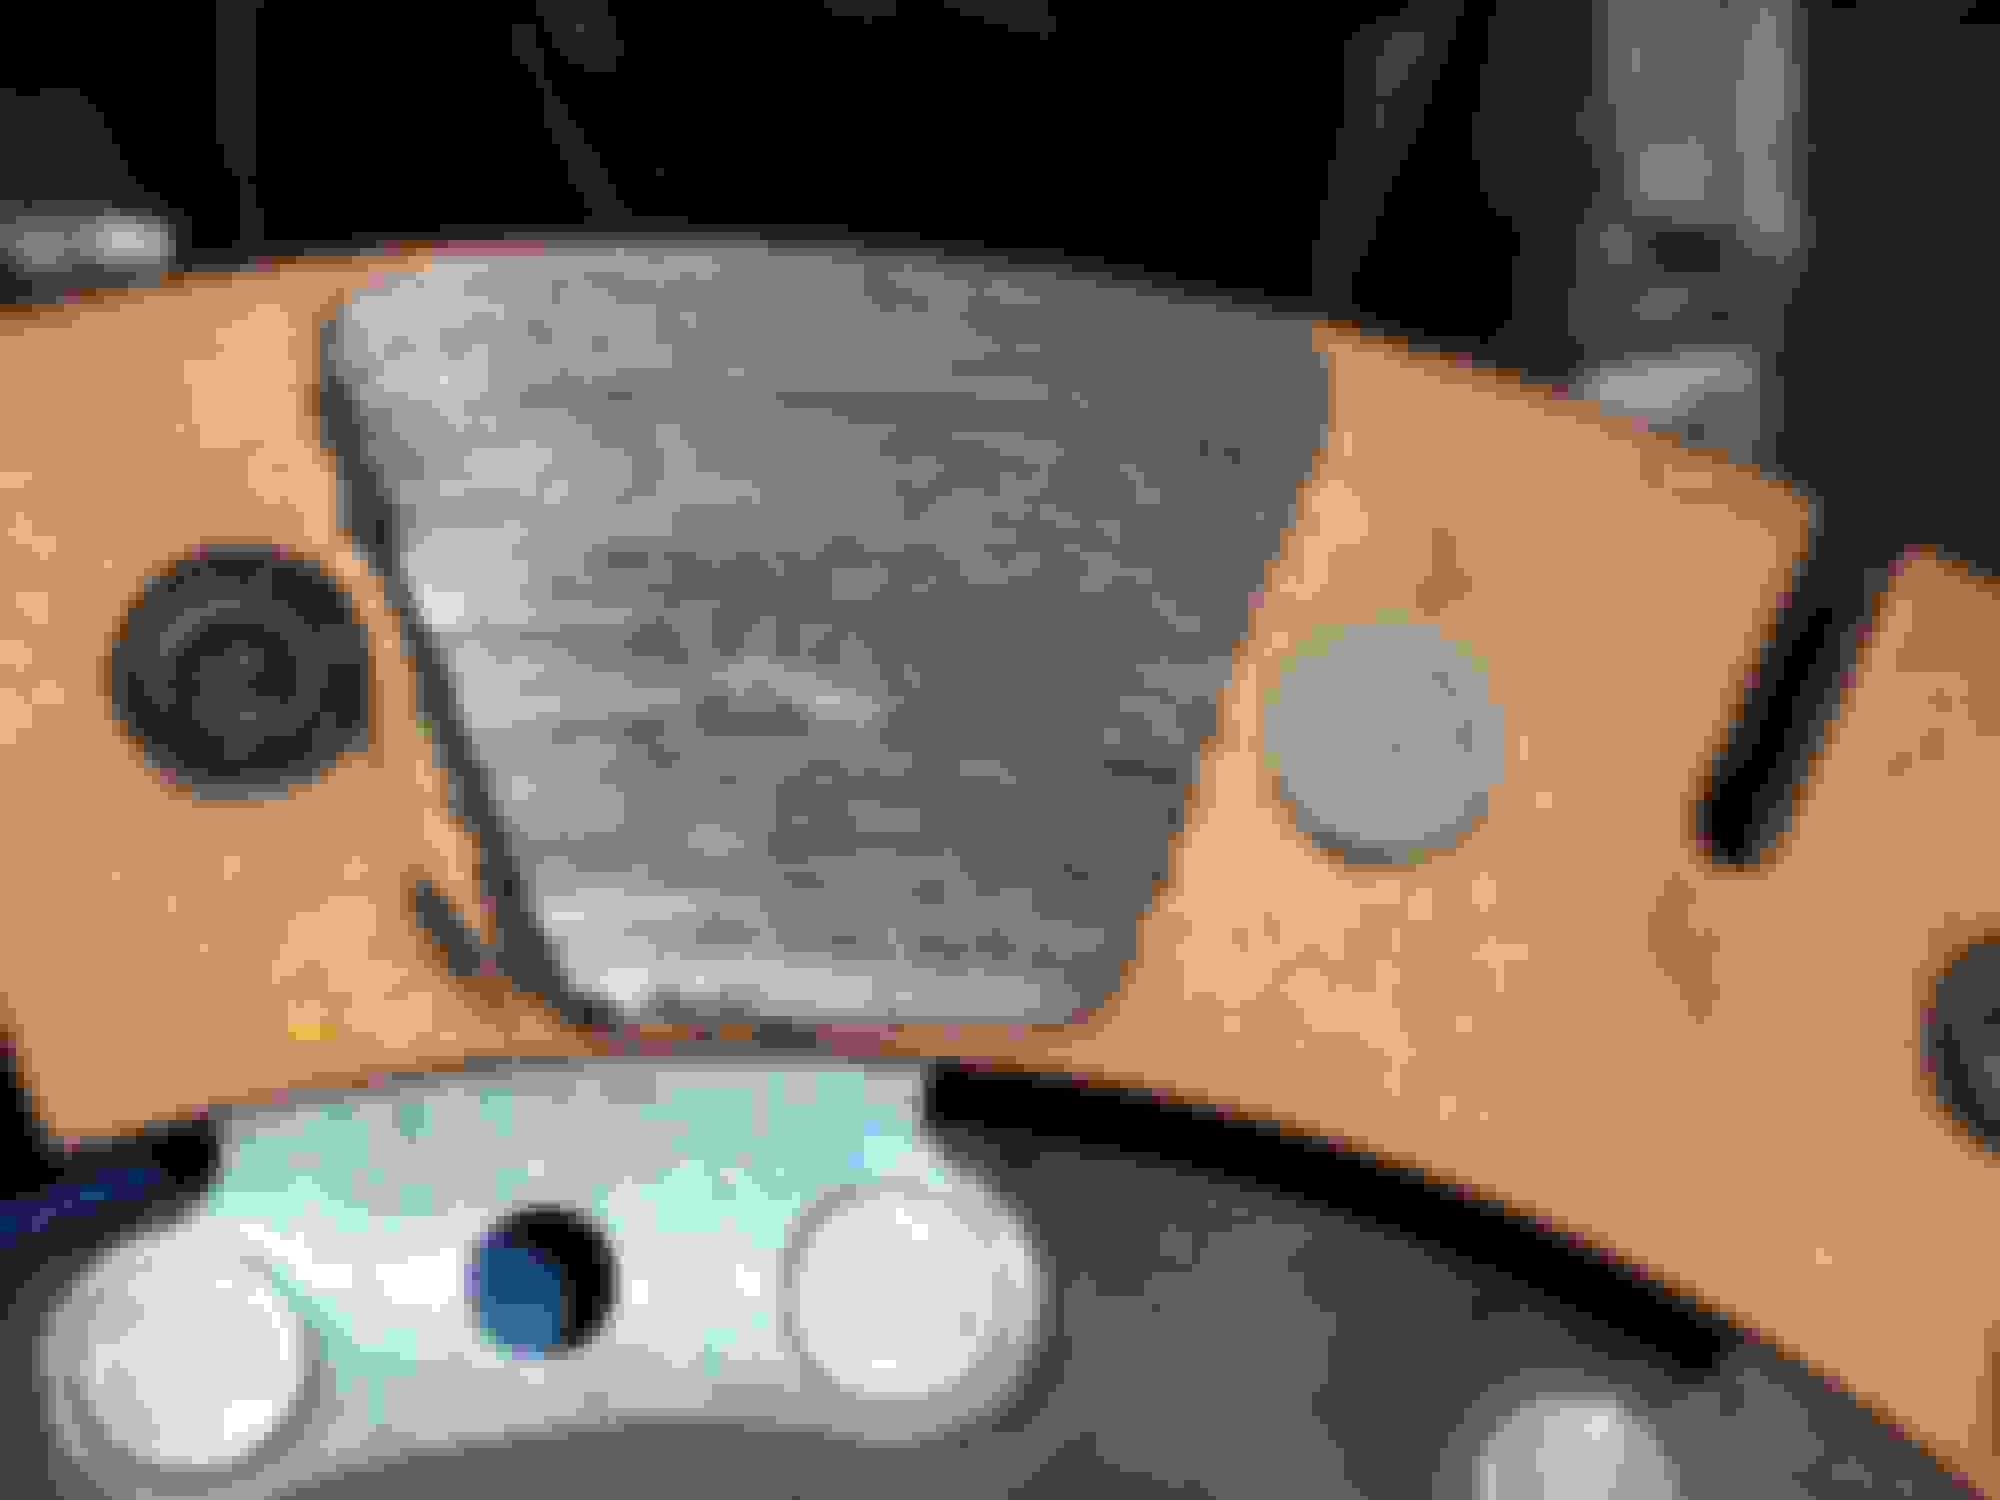
You can see the comparison of the two seals. Top is an OEM we busted and bottom was the one that came with the Boundary. Very different looking seals. Pump was purchased mid-May of 2020 from Fab9. If you have a Boundary pump in your build, I'd just recommend swapping it out with OEM regardless. OEM was $5.88 from PriorityMazda. Cheap insurance to not have to basically do a timing belt job
At this point things left to do are:
Knock sensor and EBC wiring terminations
Clean up some non-critical parts and get them installed (things like front roll bar and most interior pieces)
Continue working with @18psi to get the tune dialed in
Looks good, good recipe, right the first time isn't... normal.
Nothing against 18psi, but learn how to tune. First of all you become independent. Second of all you can make changes and evaluate the results quickly, and revert if things don't work out. 3rd, you learn way more about ICE by learning how to tune.
I personally now enjoy tuning more than fabbing and wrenching, which I also enjoy quite a bit.
I learned how to do a lot of megasquirt stuff on the original motor and ran with it for about 10 months before parking the car and using its parts for this motor. Went through all of the normal woes with thinking you've got something right and then realizing you need to do more reading. I ended up with a pretty stable naturally aspirated tune, but tip in was never perfect.
That being said, this is the first turbo setup I've thought of tuning myself and after such a large investment I'm scared to break something. I know my way around tuner studio, but I'm unsure of the things I don't know.
Looks good, good recipe, right the first time isn't... normal.
Nothing against 18psi, but learn how to tune. First of all you become independent. Second of all you can make changes and evaluate the results quickly, and revert if things don't work out. 3rd, you learn way more about ICE by learning how to tune.
I personally now enjoy tuning more than fabbing and wrenching, which I also enjoy quite a bit.
Nothing wrong with that at all, bottom line: time/effort/risk vs money. I basically share the entire process and explain everything I do as I go, so I bet that he will probably learn more from watching me tune his car and what I'm doing and why I'm doing it than reading hundreds of threads of conflicting, incorrect, and incomplete info. And then he can take it from there, having a solid, reliable, consistent base/backup to revert to
No big updates, but got the front sway back installed and it made a big difference in steering feel with the depowered rack.
Also got the wiring terminations done for the EBC and knock sensor. I had originally ran shielded belden cable for the EBC as I did for wideband and knock, but then realized that the trubokitty guide pulls the boost signal off the original MAF. That seemed easier than cutting wires off the breakout board I made and I figured it doesn't need the protection. I still need to install the sensor side of the knock. I've heard a lot of conflicting info on whether it will be helpful or not, but I already bought it so I might as well find out for myself.
Also got some of the interior panels reinstalled. Need to find a block off plate or a radio that actually works to cover the big hole. If anyone is trying to get rid of an old shift **** WITH the rod that goes into the trans turret I'm interested. The previous owner glued the two things together.
Started getting a high pitched metallic sound on the front of the motor. I'm thinking it is an alternator bearing going as it is the only thing that is old on the front of the motor. Voltages in logs seem a little lower than before the noise started, but that could be coincidence. Going to try getting a reman alternator and see if it fixes it.
Hm. Replaced the alternator and still getting the sound. It's not the rad fan either. I'm wondering if it has always been there and I'm just now noticing it. I'm thinking maybe the water pump but that is brand new too
Can anyone give this short video a listen and tell me if they can point out what may be causing the high pitched metallic sound?
Car was running well for the last month and a half or so, but the 5spd was making some clunks and clangs on harder pulls. Starting making a horrendous noise around July 4th weekend http://imgur.com/a/00APz6o
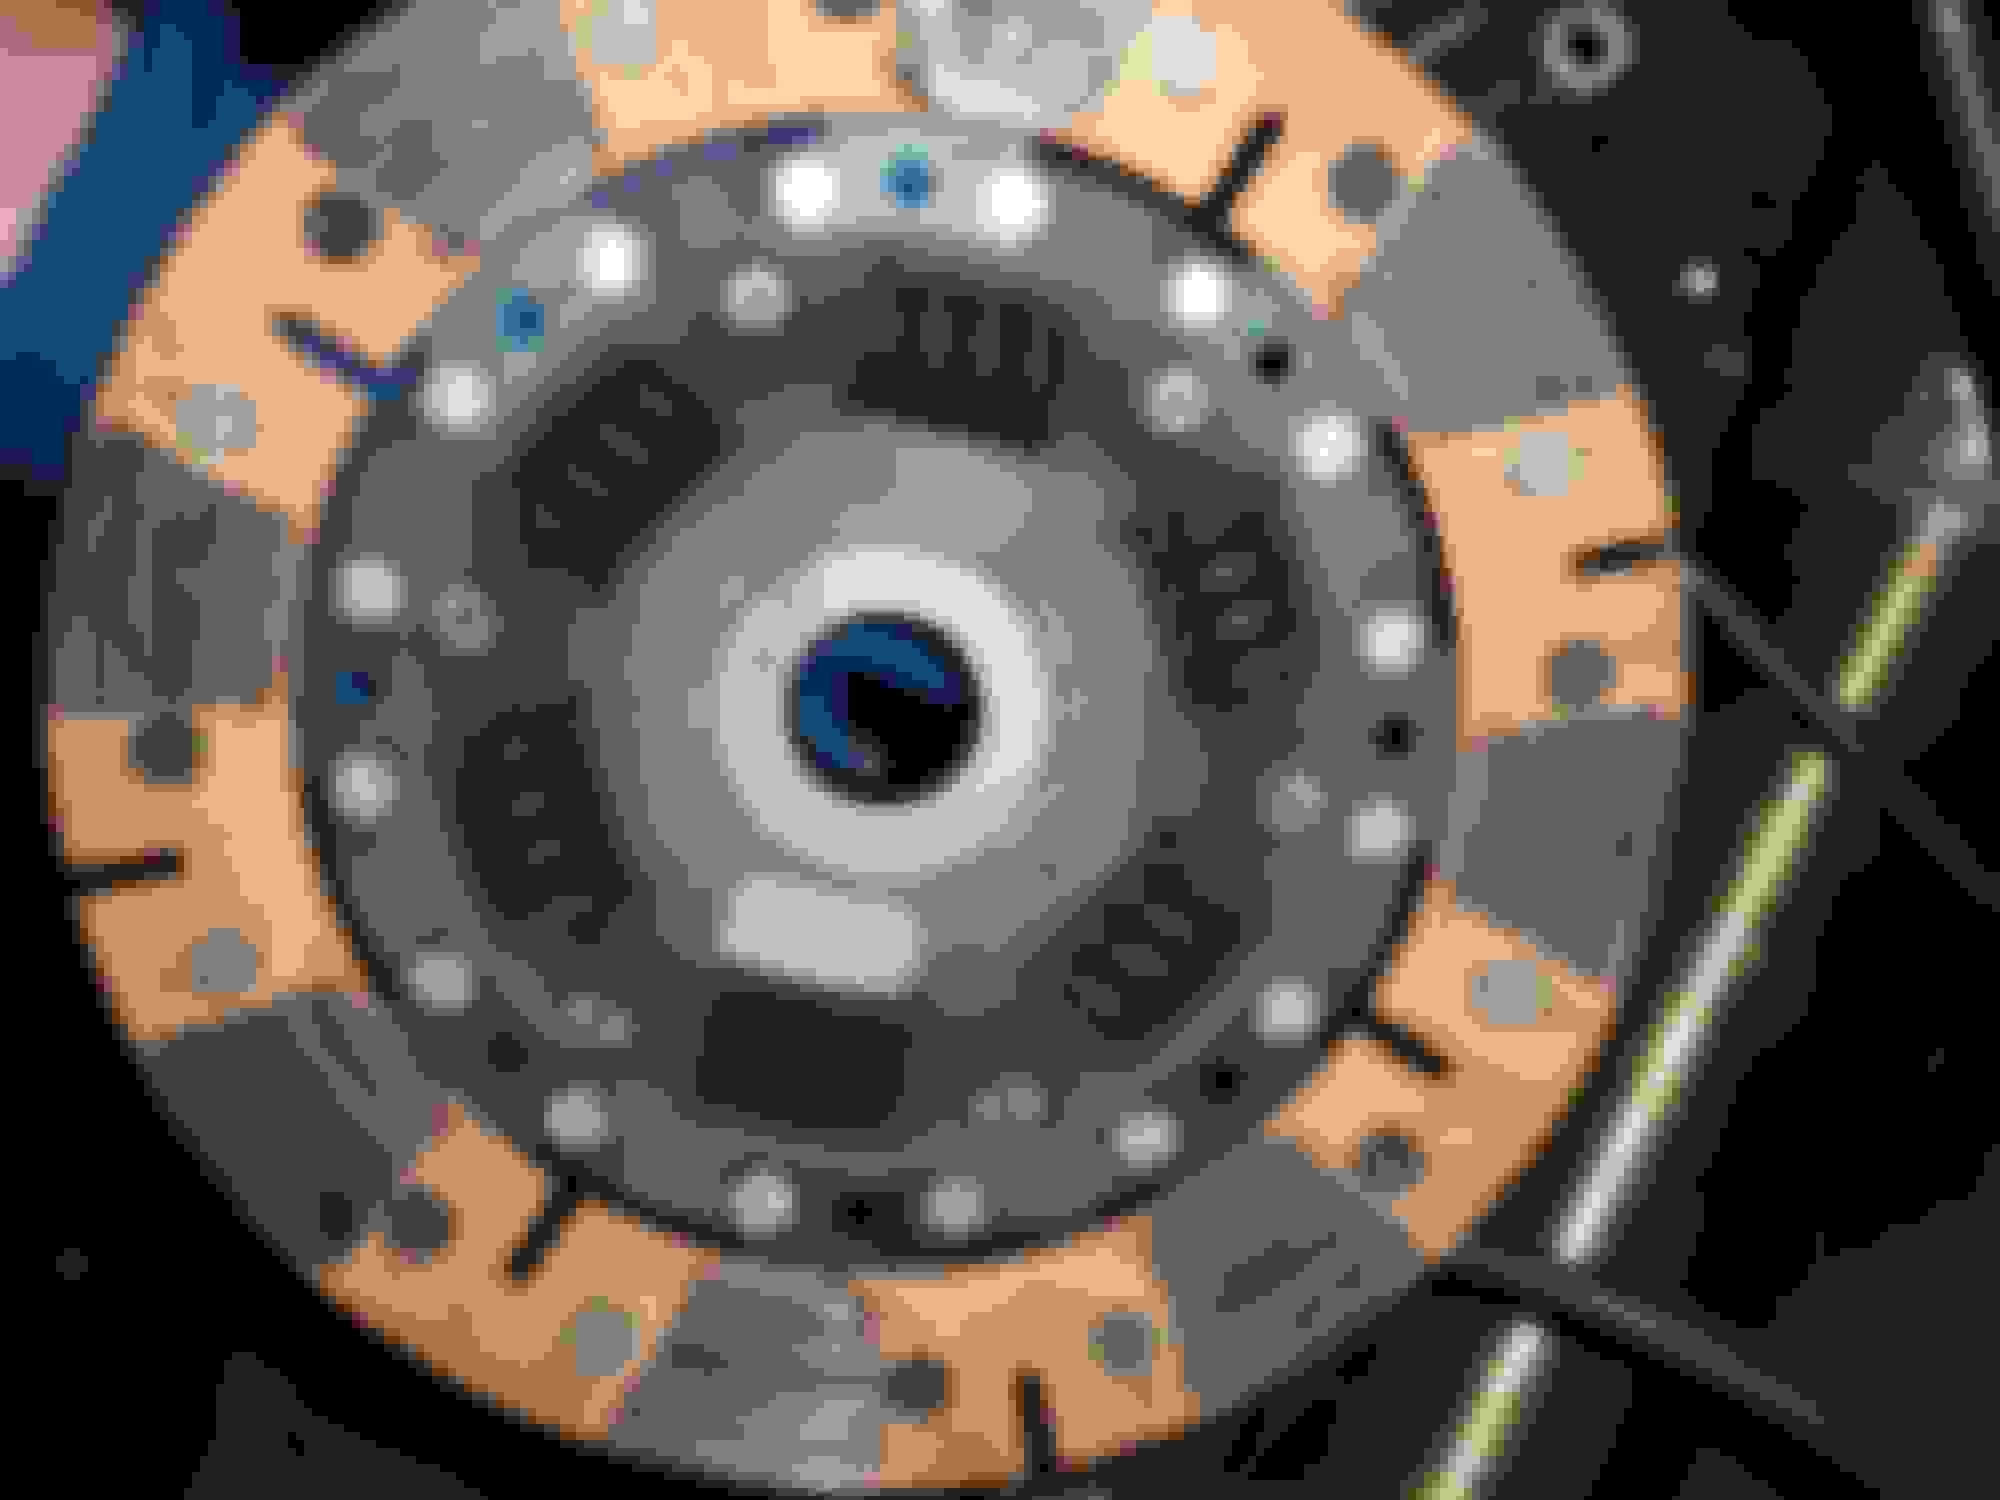
Pulled the motor, found the issue. Looks like when I replaced 5spd transmission seals I didn't seat the metal ring correctly. This caused a leak and ultimately looks like it's ruined the clutch. Flywheel and pressure plate would need to be turned too if I'm going to reuse them.
It did feel like it was slipping in 1st, but I thought it may have been wheelspin.


 RIP, sorry for putting trans fluid on you
 1
1