When you click on links to various merchants on this site and make a purchase, this can result in this site earning a commission. Affiliate programs and affiliations include, but are not limited to, the eBay Partner Network.
HEY! I had a piston break exactly like yours did and it was the same kind of deal. I had planned to build an engine while I enjoy low boost but then updated firmware on speeduino and missed the secondary spark table and blew my piston to smithereens with 76* timing in cruise and 34* in peak boost ON PUMP GAS!
HEY! I had a piston break exactly like yours did and it was the same kind of deal. I had planned to build an engine while I enjoy low boost but then updated firmware on speeduino and missed the secondary spark table and blew my piston to smithereens with 76* timing in cruise and 34* in peak boost ON PUMP GAS!
Cool build, good luck with everything!,
That is SO MUCH timing. I can't speak for what my buddy was running when he initially destroyed that piston, but I'm at like 10* in boost. I had the unfortunate benefit of not being able to run boosted on the stock motor due Kraken's stuff taking 6 months to arrive. One of these days I want to grab some race gas from the local Sunoco and just crank the timing up a bit to see what it's like
I went ahead and ordered a replacement clutch kit with flywheel. Don't know what would be salvageable from the existing kit as I'm sure it all got soaked with transmission fluid.
Decided to go with Clutch Masters FX350 and their aluminum flywheel due to availability. Sales guy on the phone said that it should be able to do ~400-450 torque
On another note, I'm not sure the Competition Clutch stage 3 was right for the power output. Their website advertises "up to 150% increase at the wheels, depending on application." Which to me says 110 + (110*1.5) = 275 wheel torque
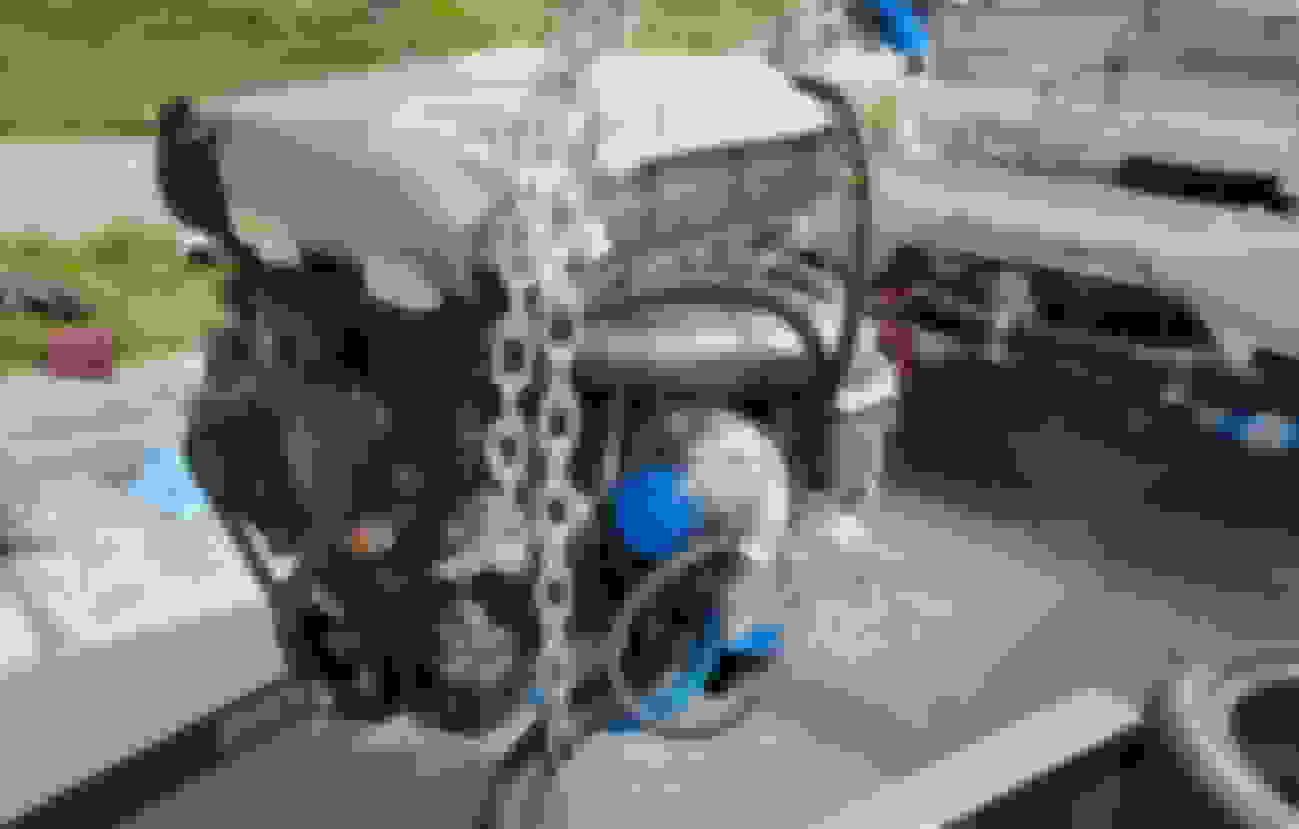
Turns out the last guy did some shoddy work on the diff. Driver side nut was welded onto the stud... No threads left when it snapped off. Need a new subframe. Probably explains the weird sound I was getting that I couldn't pinpoint. At least now I can make it all nice and pretty and get rid of the surface rust.
Clutch/flywheel parts were supposed to be here Friday from Fedex, but never showed. Hopefully show up early next week and I can put the motor/trans in next weekend. New subframe should be here in a week or so and then I can mount the fuij 3.6 diff.
Super awesome build thread, and a great inspiration. I want to do the Kraken low mount + efr 6258 + FM intercooler, so seeing your mock up is a terrific reference! Very excited to see your progress, and see how you like the 3.6 diff.
Super awesome build thread, and a great inspiration. I want to do the Kraken low mount + efr 6258 + FM intercooler, so seeing your mock up is a terrific reference! Very excited to see your progress, and see how you like the 3.6 diff.
Thanks! It has been a lot of fun and I have learned a lot. When I had the car running it was an absolute blast so I'm curious how it will feel with the new diff. I wonder if the old diff was affecting traction with how it was attached to the subframe
A little out of order but I figured I'd put some more detailed info in for future readers.
Oil/Water Lines
After a lot of reading through forum posts on what is recommended and what isn't, I settled with the following:
|
Oil Feed and Return Lines
Steel T at the oil pressure sender with 6AN line. Borg Warner recommends stepping up to a 6AN supply line if you live in cold climates or if the line is longer than 18". My line came out to something like 42" so I figured this was the way. Some threads that I read mentioned that brass T's can break off under hard driving, so I found the steel alternative. I liked the look of AN lines with the nylon braided hose and it fit my budget with the AN fittings.
Oil pressure sender adapter | 1/8 BPST to 3x 1/8 NPT T -
I ran my feed line off of the oil heater line and removed the throttle in/out lines. I contemplated running off of the heater core lines or off of the reroute but ended with this. The return line runs from the turbo to the mixing manifold.
If you have a EFR turbo, BW says that it does not matter which side of the bearing housing is inlet/outlet but that the flow must be diagonal across the housing. It is also required that the inlet port is on the bottom and outlet on the top. "This is to encourage evacuation of air bubbles as well as to encourage auto-siphoning (flow movement though natural convection) during the shut down's heat soak"
I chose to put my inlet on the bottom on the block side of the housing and my outlet out of the top outside.
Pic for reference. I don't have a pic of underneath the manifold right now, but I'll see if I can get one.
Got the new 6 speed, clutch/flywheel, diff and subframe in back in August/September. The new diff feels SO good compared to open I had. The 6 speed gearbox feels good, but I think I liked the 5 better overall. Less gear changes.
Diagnosing a newer issue with boost falloff. For the same amount (or more in this case) boost duty, I'm getting a fair amount less boosty boost as I approach redline. I'm at max boost duty and can even hold 20PSI, something isn't right. Checked the WG and it seems okay. Pressure test showed the same leak at the TB spring area. I'm thinking that the leak has gotten bigger over time. Going to try a Skunk2 TB to see if it helps. Not too optimistic.
I feel the same about the 5 vs 6 speed but you don't have much of a choice unfortunately. Good luck with the skink...not worth just trying another tb?
I figure the S2 is probably worth the reliability so I don't ingest the stock TB. I probably would have given another stock one a try if I had it on hand
100% boost duty? am I seeing that right?
(sorry I totally forgot to respond to your email)
Yeup. Just emailed you back too.
We had some cold air come through and ambient was in the low 50s yesterday. Did a 5th gear pull and it was spot on 20psi with your last tune. I don't understand how that last graph happened with +15 ambient and max duty
So its been a really long time since I've updated this thread. So to follow up from November.. the throttle body was leaking at the screw pretty badly. Swapped in a Skunk2 and boost leak tested with no leaks at all. Sits at 20 psi all day.
For now, the pan has been seeping for a long time so I've decided to just pull it out and fix that. It's sitting on the stand and I'm in the process of cleaning up the pan
Got the pan out and spent about 2 hours cleaning it and the windage tray. Windage tray isn't perfect and its a little bent up, but I think it'll be okay. I used a razor blade and patience to get as much RTV from the block, pan and tray. For the indents on the pan, I cut down a small nylon brush (to stiffen up the bristles) and used acetone. The acetone seemed to do a good job at weakening the RTV enough to let the brush really get through it. I think it all turned out pretty okay!
Spent the weekend putting the motor back together and back into the car. Added in a sammich plate for oil pressure and temp.. need to wire these to the ECU still. Swapped out all the engine bay fuel hoses with some new Gates E85 hoses. Picked up a Continental Flex sensor and pigtail. In the next few days I'll probably wire those and start swapping out all of the other factory hoses.
After getting the air out of the coolant system I did some light driving and didnt see any leaks. Awesome!
..........but after some hard pulls I noticed weeping on the front of the pan.. damnit.
From the pics it looks like the front main, because the oil pan seal looks great to me. It was a short drive and I dont think the front oil pan would kick it up under the front main area. I really hope it's the front main..
In other news, when I had the motor out I noticed the turbo feed looked like it was leaking. I went to replace the crush washer and I found that one of the exhaust housing clamp bolts had fallen off and it seemed like the turbo may not have been seated right? I dunno, but the turbine wheel still spun freely. I decided to take it all apart, clean it and replace the clamp. The bolts are A2-70 stainless and can be found at most hardware stores. The clamp itself is a different kind of stainless. So I just got a stainless washer and cut it down to size. I think it will be sufficient
Update because it's been a bit. Replaced the front main with another OEM and it's sealed nicely. No more leak! I did use some grey RTV on the outer surface, but I think the main help was from using a 3D printed install tool.
My SuperMiata bronze bushing kit came in and I went ahead and prepped all of the spare arms that I bought and then swapped everything out over a few days. Was still more work than I thought it'd be, but the car drives so much better now. NVH is hardly any different and the car feels planted at any speed which is a huge win.
Also put in my first tank of e85 (e80 really) 2 weekends ago. Been slowly tuning that, trying to get the ethanol content up as high as possible. Been able to get it to e75. Not sure if my Target AFR table is good or not, but I've essentially leaned it out a bit everywhere based off of multiple threads I've read here. Essentially cruise is 15.7 (gasoline calibrated) and WOT is 12.
Would like to make 375 to the wheels, but I think the 6258 tops out around 24psi which may be the limiting factor
Oh, also just started designing a 3D printed airbox. I've read through some threads arguing whether the colder ambient air makes a big enough difference or not, so I figured I log some real-time temperature measurements to understand the full effect. Temp probes should be here in the next few days and I'll just have to find/modify some Arduino code to log temperatures in the bay vs. right at the filter inlet. Then compare this with having an airbox. Stay tuned.
Until then, here is the first prototype as well as the stray that helps me work on the car
Love the thread!
Great decision to paint the bay, the red really clashed with the blue.
Amazing that you set up a paint booth at the side of the road
Originally Posted by ryansmig
I've read through some threads arguing whether the colder ambient air makes a big enough difference or not, so I figured I log some real-time temperature measurements to understand the full effect.
FWIW on my miata I see little to no difference. And i'm comparing between an open filter sucking hot air off the back of the rad under the hood, and taking the hood completely off the car for maximum airflow and cooling.
For a naturally aspirated application, air filter location makes a huge difference as I found out on my E30. But with a big front mount intercooler pulling the heat out, I don't think you'll see any difference.
Love the thread!
Great decision to paint the bay, the red really clashed with the blue.
Amazing that you set up a paint booth at the side of the road
haha I appreciate it. I'm quite proud of how well the paint booth worked out
Originally Posted by Panici
FWIW on my miata I see little to no difference. And i'm comparing between an open filter sucking hot air off the back of the rad under the hood, and taking the hood completely off the car for maximum airflow and cooling.
For a naturally aspirated application, air filter location makes a huge difference as I found out on my E30. But with a big front mount intercooler pulling the heat out, I don't think you'll see any difference.
My guess is that the biggest impact will be when sitting in traffic on a hot summer day. I've noticed the car won't feel as good but once I get moving it will improve. This only happens on very hot and humid days when everything gets heat soaked. The intake is only about 2 feet from the manifold and I'd imagine under hood air temps to be ~200 �F. I can only see improvements by reducing that as much as possible. I think it will be interesting to see the actual data
 07-28-2021, 10:10 PM


 0
0