

Post your DIY aero pics


Junior Member
Joined: Jun 2011
Posts: 409
Total Cats: 20
From: Houston
Handy Man - quick questions for you or anyone else who built an air dam like yours:
Do you just rivet it on over the OEM bumper or do you cut the lower part of the bumper cover out? Do you put any material to back the rivets or is the skin strong enough? I've seen Crusher in person and Emilio left the bumper cover underneath but Crusher is in a more constant state of evolution. I'm going to replicate something similar to what you did when I can scrape the cash together to get a wing. I don't see much point until then since my a** would just beat me to the corner exit on a regular basis... Thanks!
Do you just rivet it on over the OEM bumper or do you cut the lower part of the bumper cover out? Do you put any material to back the rivets or is the skin strong enough? I've seen Crusher in person and Emilio left the bumper cover underneath but Crusher is in a more constant state of evolution. I'm going to replicate something similar to what you did when I can scrape the cash together to get a wing. I don't see much point until then since my a** would just beat me to the corner exit on a regular basis...
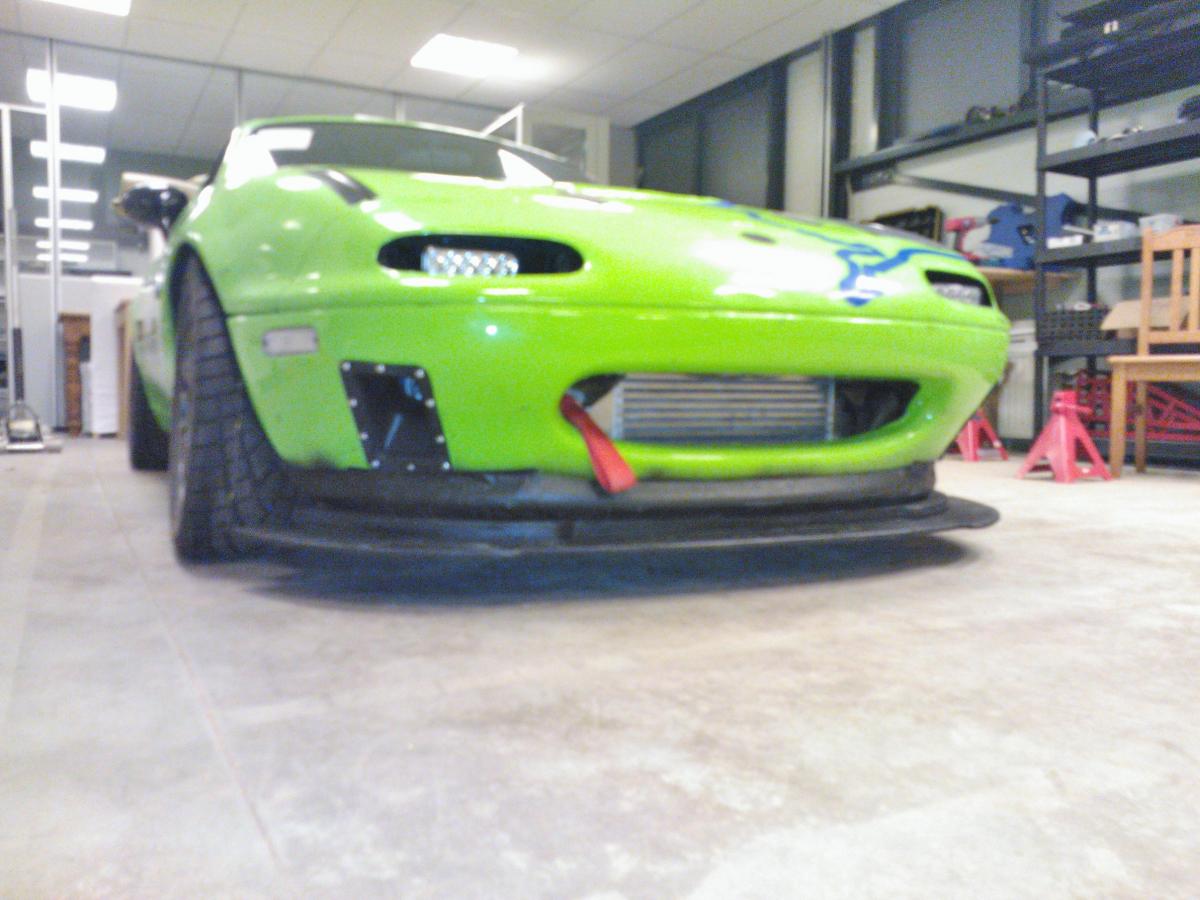
Thanks!It is riveted to the bumper skin, and then the lower part of the skin was cut off. This gives me a lot more room in there for brake and radiator ducting and saves a bit of weight. The rivets don't have any backing but they aren't quite strong enough, a couple of the more stressed rivets pop out occasionally. I'd recommend backing them with rivet washers. I'm gonna add some washers myself next time they pop out.
The hardest part is getting the air dam cut right. It looks like its a perfect rectangle, but its not. I used the recessed line in the bumper skin as a guide and cut the dam to follow it. I found that a jig-saw worked well for cutting the ABS, a sawzall would probably work too. The hard part is to keep it from melting as you cut it, keep your cutting speeds low and be patient. Of course, a cardboard mock up is crucial.
Good luck, and feel free to ask here or shoot me a PM with any other questions.
Reply
 0
0

0


Gotta get a right angle and everything cut before you put it on assuming you want it perfectly straight, if u want an angle, then it would have to be an arc kind of a shape.
Reply
0
0

It is riveted to the bumper skin, and then the lower part of the skin was cut off. This gives me a lot more room in there for brake and radiator ducting and saves a bit of weight. The rivets don't have any backing but they aren't quite strong enough, a couple of the more stressed rivets pop out occasionally. I'd recommend backing them with rivet washers. I'm gonna add some washers myself next time they pop out.
The hardest part is getting the air dam cut right. It looks like its a perfect rectangle, but its not. I used the recessed line in the bumper skin as a guide and cut the dam to follow it. I found that a jig-saw worked well for cutting the ABS, a sawzall would probably work too. The hard part is to keep it from melting as you cut it, keep your cutting speeds low and be patient. Of course, a cardboard mock up is crucial.
The hardest part is getting the air dam cut right. It looks like its a perfect rectangle, but its not. I used the recessed line in the bumper skin as a guide and cut the dam to follow it. I found that a jig-saw worked well for cutting the ABS, a sawzall would probably work too. The hard part is to keep it from melting as you cut it, keep your cutting speeds low and be patient. Of course, a cardboard mock up is crucial.
http://www.harborfreight.com/heavy-d...tle-66422.html

Reply
0
0

Senior Member
Joined: Aug 2009
Posts: 515
Total Cats: 93
From: melbourne aus
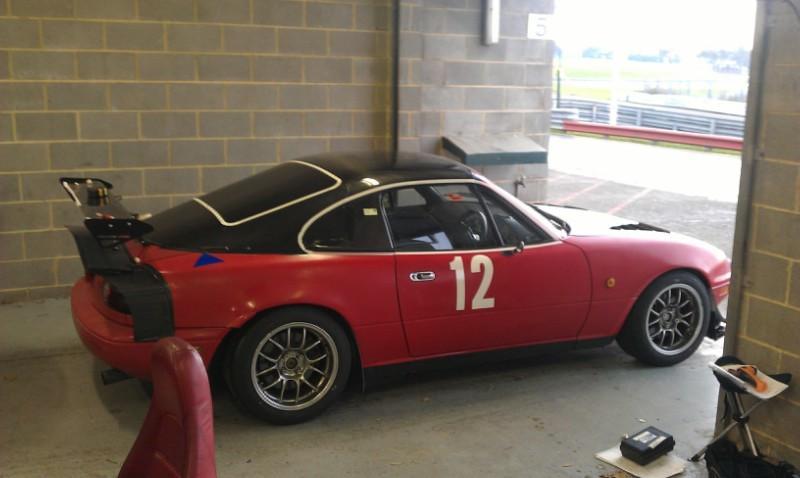
I went to sandown raceway with the fastback on, and it was raining on and off all day, so i didn't get any consisitant data. My top speed was 186km/h, best previous on a full dry track was 180km/h. There are 3 changes i made, pod filter, vented hood and fastback. I was going to remove things to see where the speed came from. But the weather was crap.
This is a mock up of the windows. Should be starting on the full fastback soon.
This is a mock up of the windows. Should be starting on the full fastback soon.

Reply
0
0


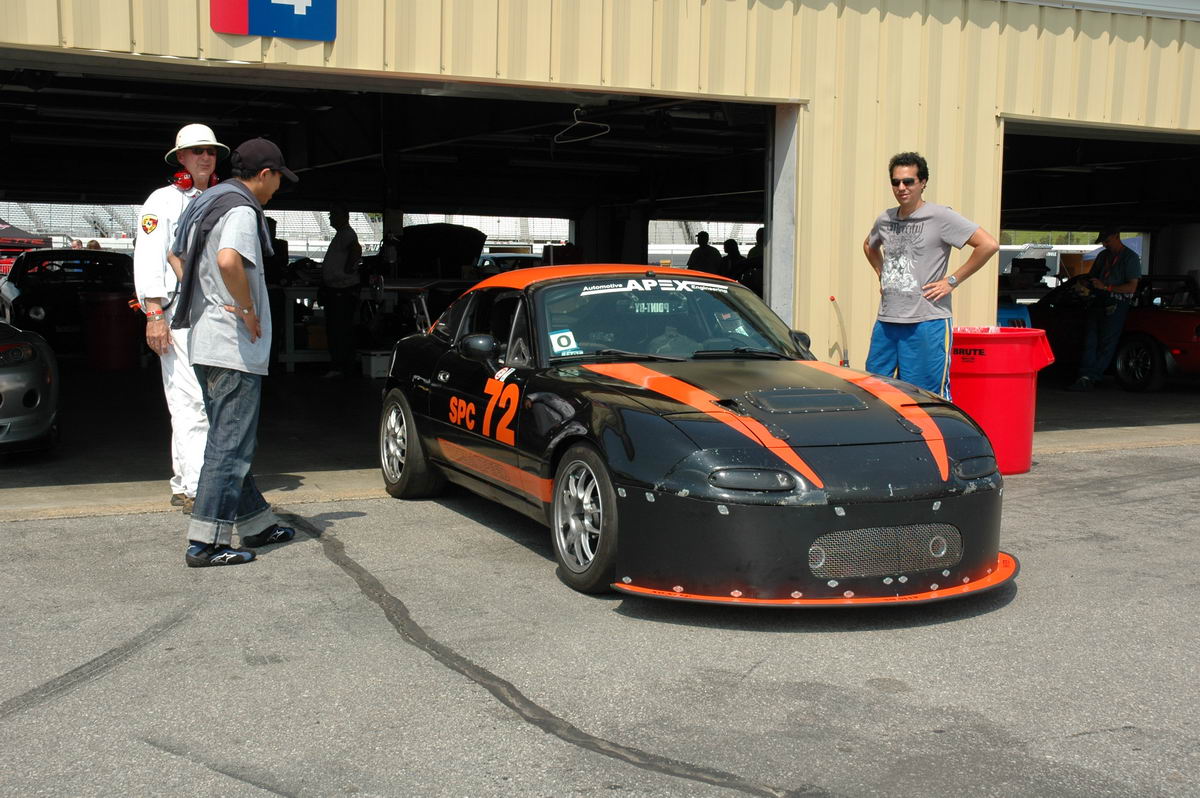
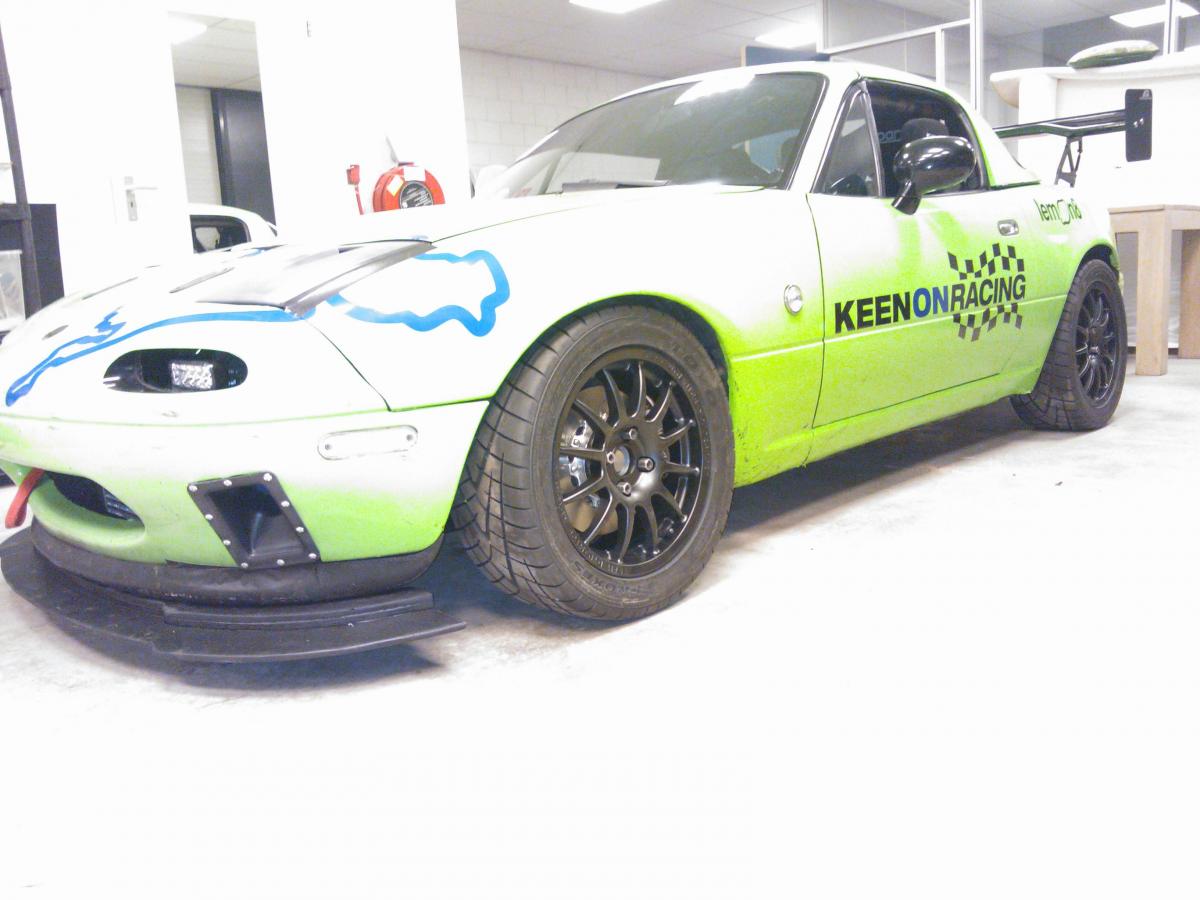
Dollars spent: Material, ~$100, labor ~300
Hours spent: Many
How effective: 2 compared to previous composite (ISC Racing) airdam
0=slower, 1, no improvement, 2 =slightly better,3= big improvement
Materials used:
Econolite 2-piece splitter, PVC air dam, Dzus 1/4 turn fasteners, aluminum sheet supports, pop rivets
Size/thickness of materials:
Race/TT class built for: COMSCC SPC
Result: 1:12.511, class record
No, that is not me in the pic.
Hours spent: Many
How effective: 2 compared to previous composite (ISC Racing) airdam
0=slower, 1, no improvement, 2 =slightly better,3= big improvement
Materials used:
Econolite 2-piece splitter, PVC air dam, Dzus 1/4 turn fasteners, aluminum sheet supports, pop rivets
Size/thickness of materials:
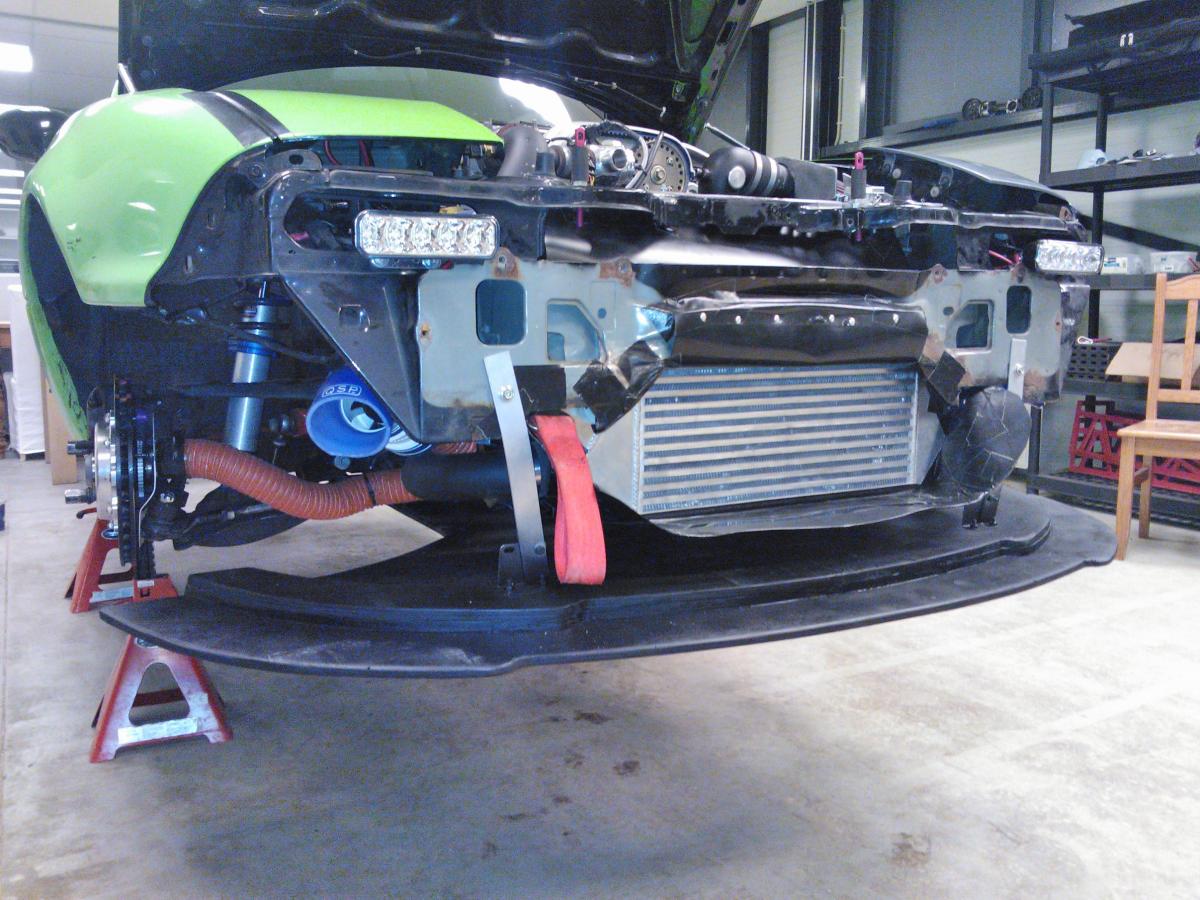
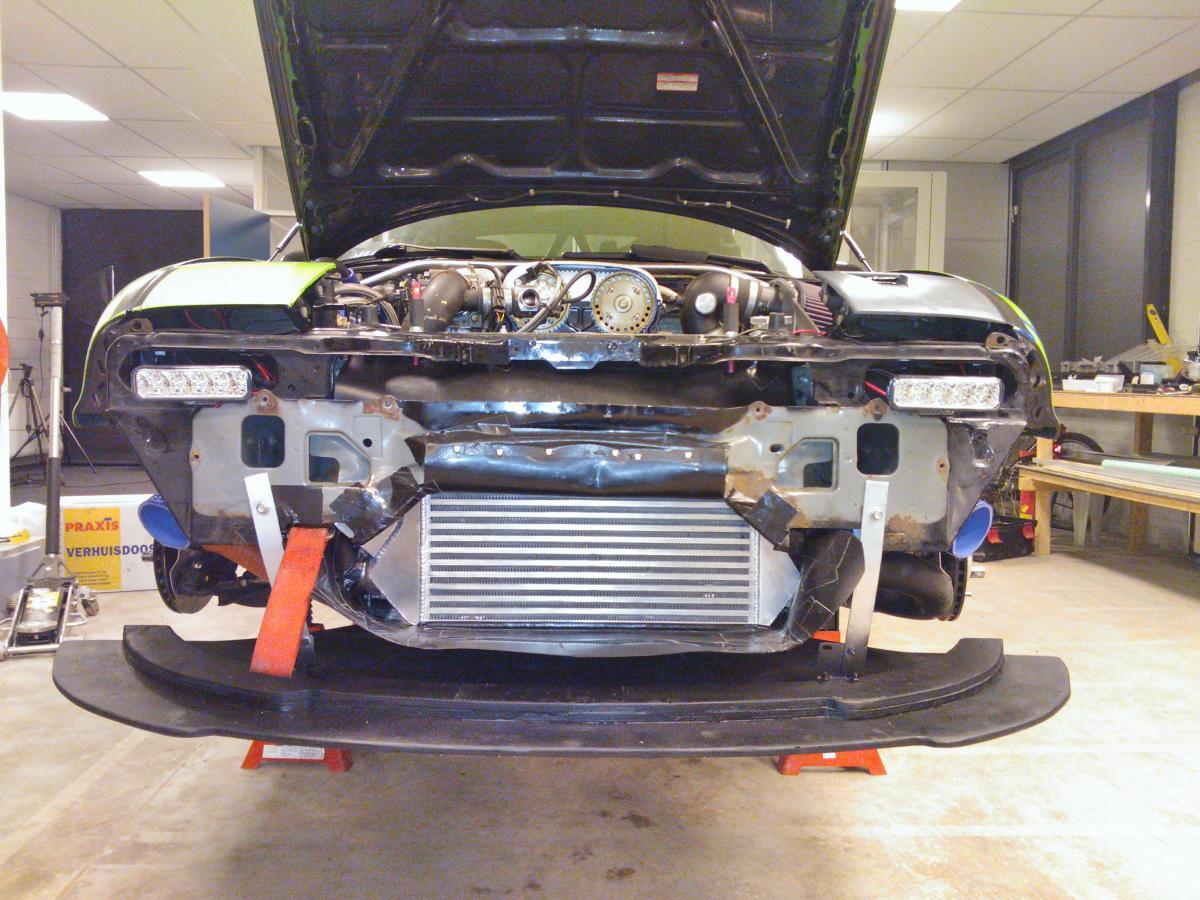
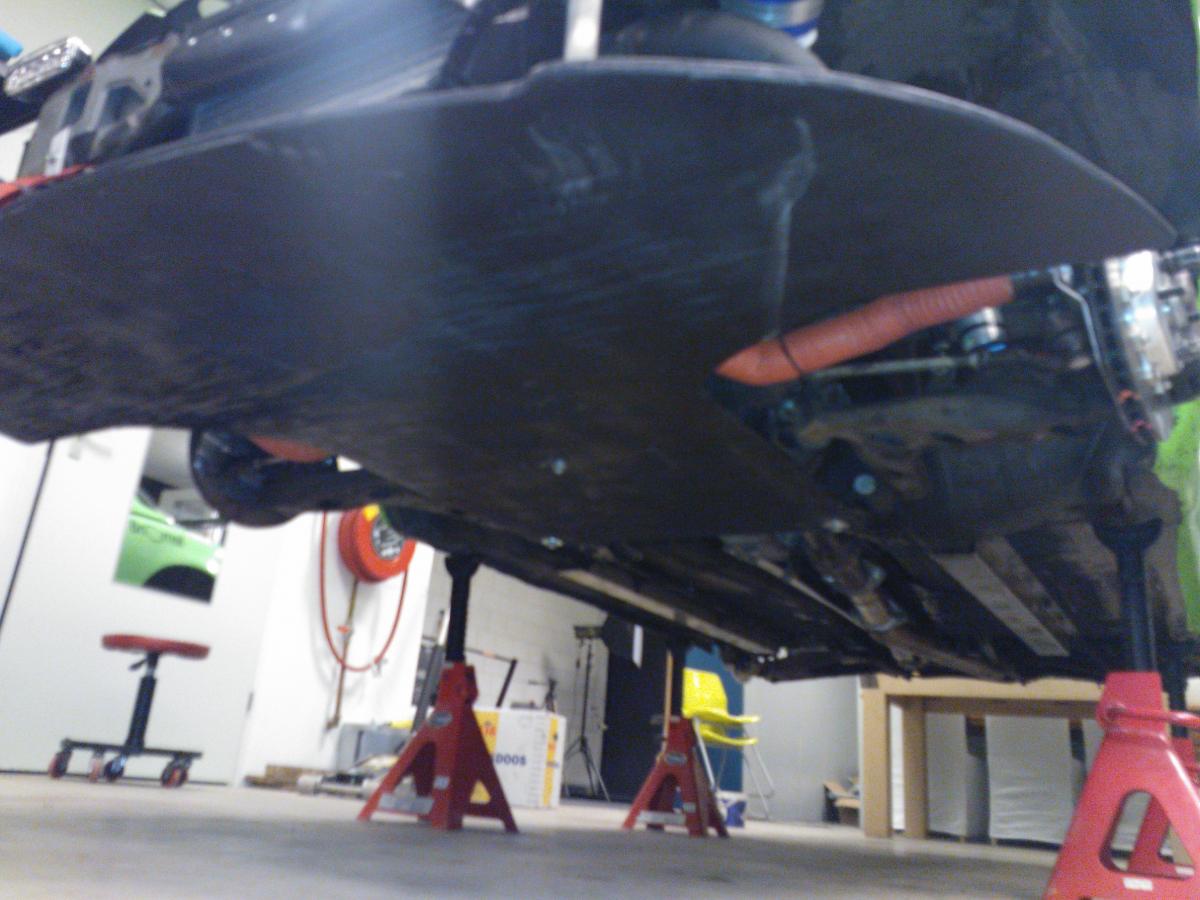
- 1/4" 2-piece splitter extends to rear of front sub frame.
- Splitter is split along center line of vehicle and held together with bracket & 1/4 turn fastners. Allows easy transport and easy(ier) repair.
- Held to front bumper with 1/4 turn fastners, supported in the rear with 2 aluminum hooks which slide over pins/brackets welded to the subframe.
- Top of air dam is attached to oem bumper cover with 1/4 turn fasteners.
- Front center of air dam is attached to aluminum flange/grill which houses grill and brake ducts and which is solidly mounted to the bumper structure.
- Bottom of air dam is attached to splitter via 1/4 turn fasteners through aluminum L-shaped bracket attached to the splitter.
Race/TT class built for: COMSCC SPC
Result: 1:12.511, class record
No, that is not me in the pic.
Reply
0
0
Most of the bottom 1/2 of my bumper was removed by a gravel trap at Summit Point raceway.
 But to answer your question, yes, the remaining part of the bumper was trimmed about 4" below the body crease.
Reply
0
0

I went to sandown raceway with the fastback on, and it was raining on and off all day, so i didn't get any consisitant data. My top speed was 186km/h, best previous on a full dry track was 180km/h. There are 3 changes i made, pod filter, vented hood and fastback. I was going to remove things to see where the speed came from. But the weather was crap.
This is a mock up of the windows. Should be starting on the full fastback soon.
This is a mock up of the windows. Should be starting on the full fastback soon.
Reply
0
0


Junior Member
Joined: Jun 2011
Posts: 409
Total Cats: 20
From: Houston
Wildo, could you post some pics or just a more detailed description of the rear bracket/pin mounting setup you're using? That sounds like a good idea, as my current "long bolts going into the subframe" method is a PIA to remove/install.
Also, how reliable are those Dzus fasteners for you? Do you use any particular type that are better than others? I remember them being extremely unreliable when I used to road race motorcycles... we always had to put duct-tape over them to keep them from coming undone.
Also, how reliable are those Dzus fasteners for you? Do you use any particular type that are better than others? I remember them being extremely unreliable when I used to road race motorcycles... we always had to put duct-tape over them to keep them from coming undone.
Reply
0
0
What do you guys do about the sides? Just let it open or what?
I'm referring to the area behind the wheel... the stock plastic panel covers the sides too (around the antisway bar)
If you replace that do u fill it with anything or do u just leave it open?
I'm referring to the area behind the wheel... the stock plastic panel covers the sides too (around the antisway bar)
If you replace that do u fill it with anything or do u just leave it open?
Reply
0
0

i would block it off.
Reply
0
0
Reply
0
0


