
Aidan's loose oily bunghole actually runs a track lap


Thread Starter
Joined: Apr 2014
Posts: 18,643
Total Cats: 1,870
From: Beaverton, USA
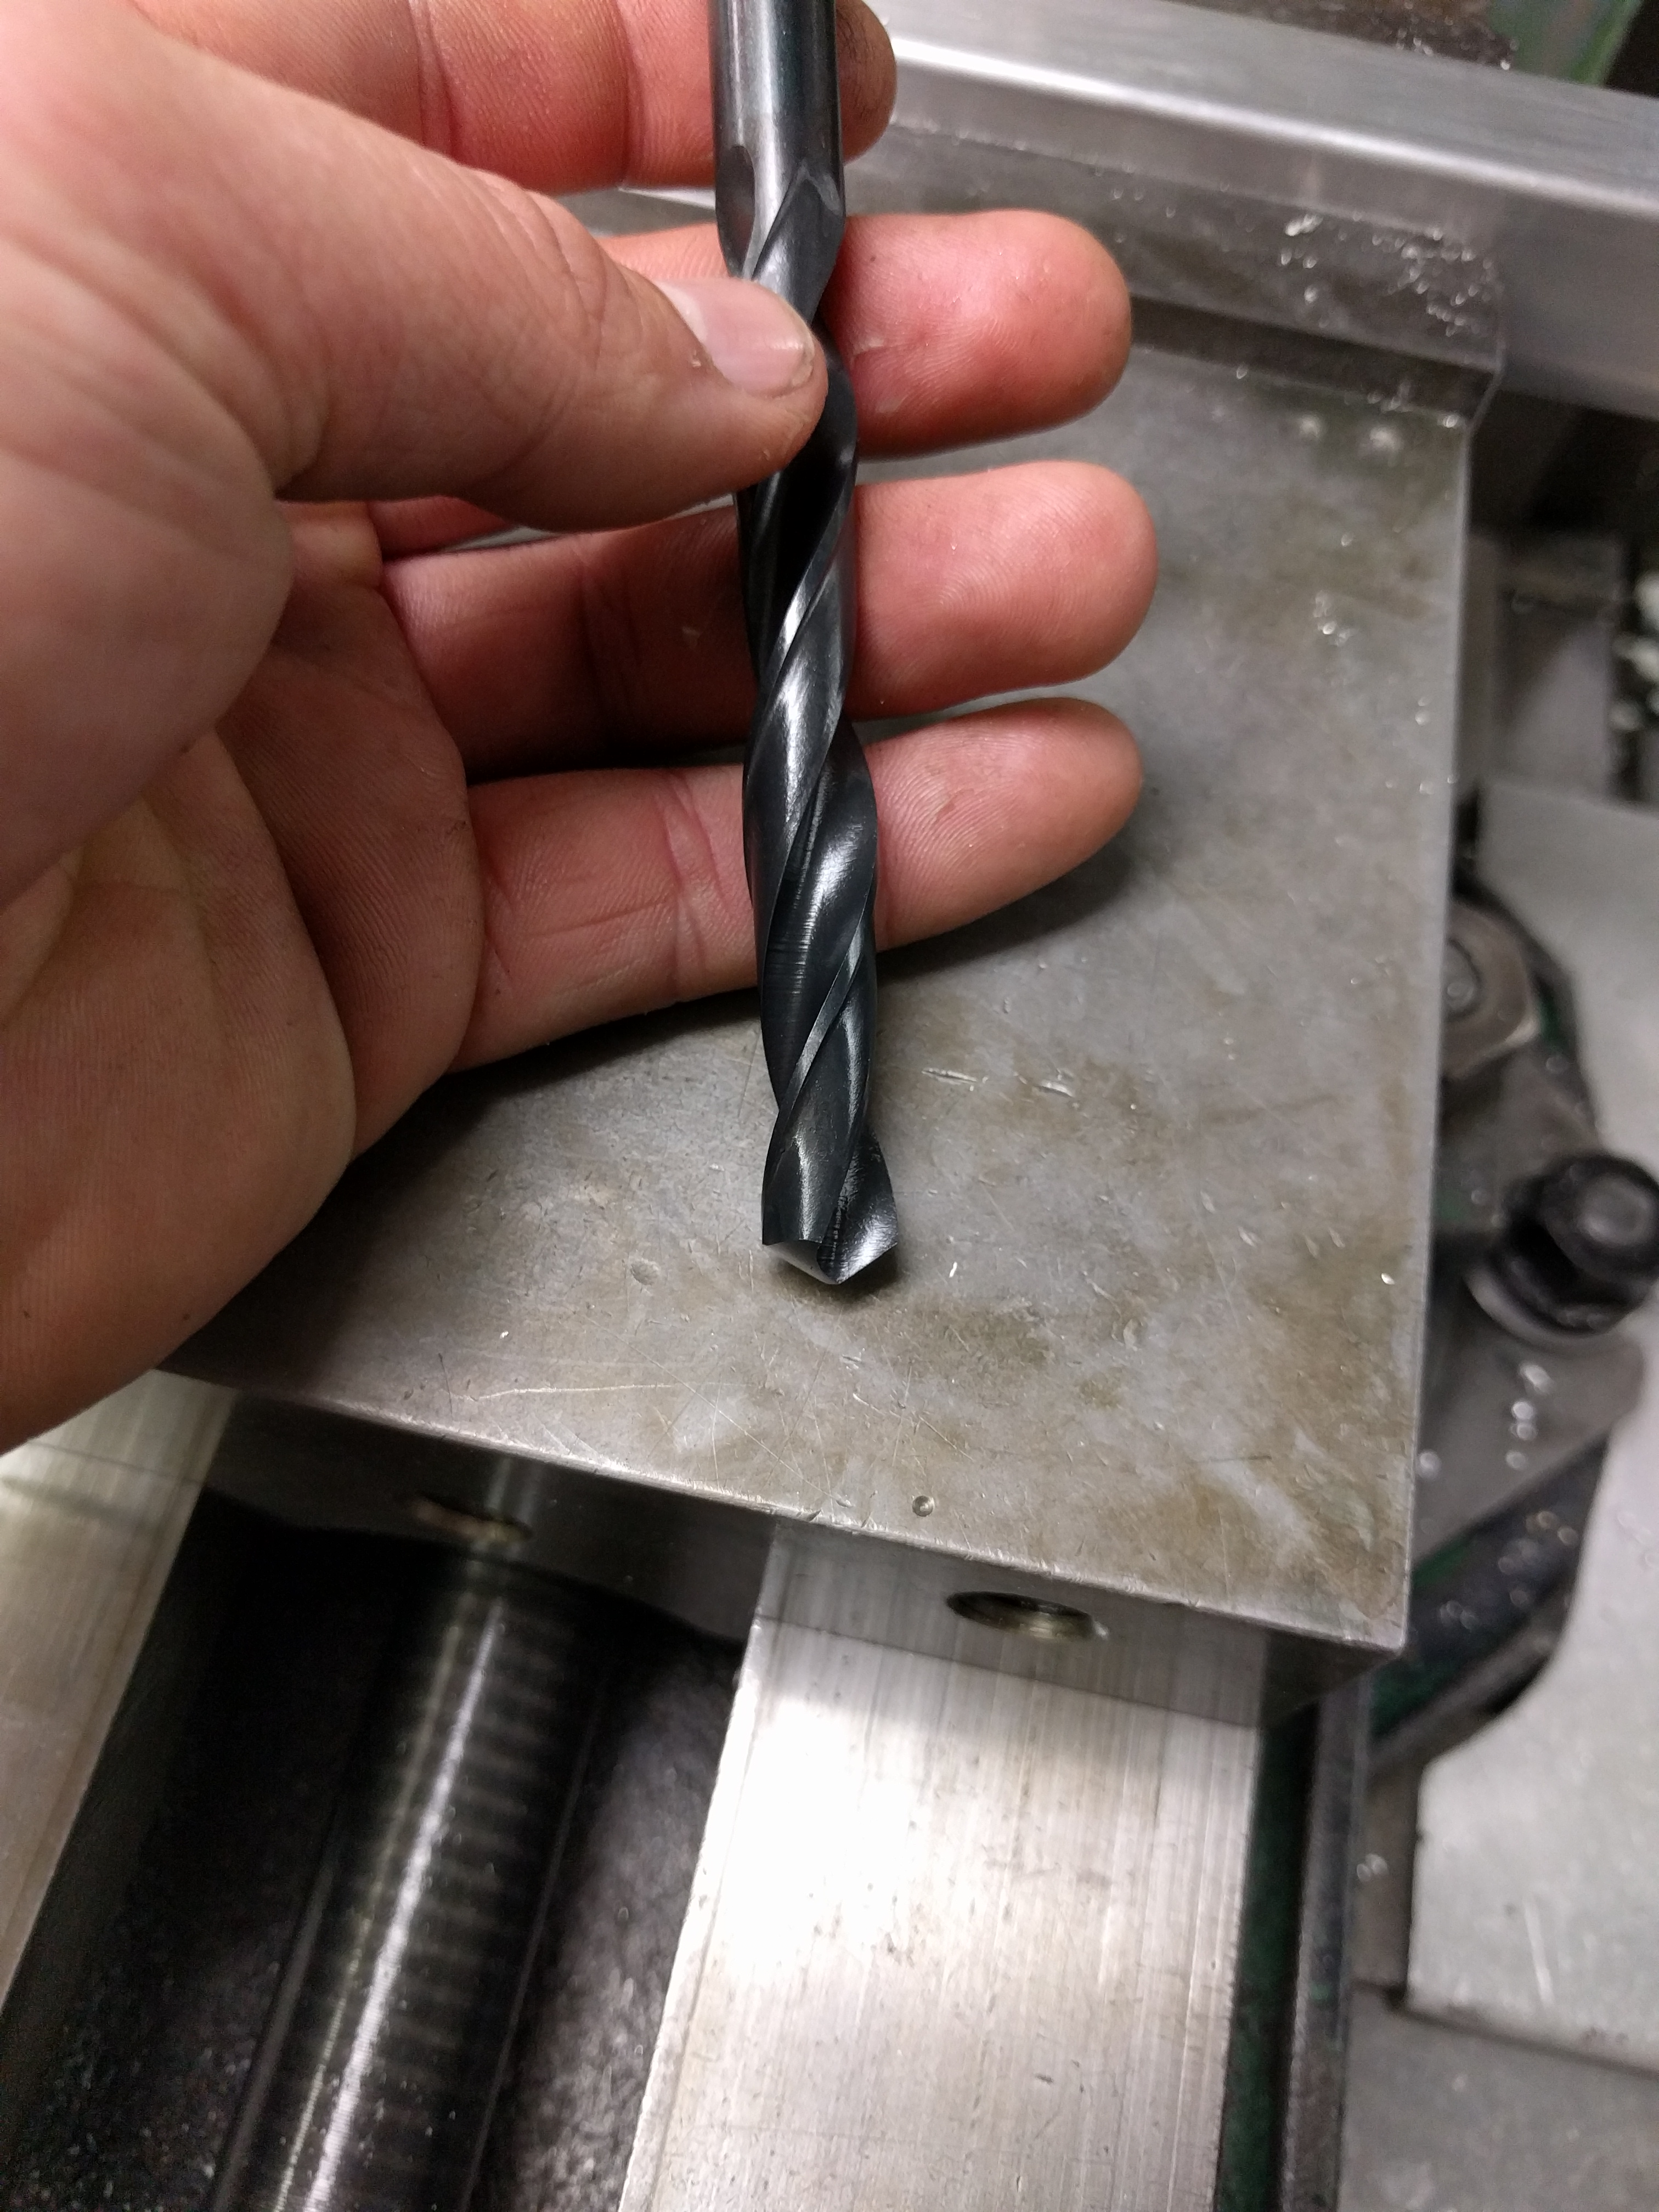
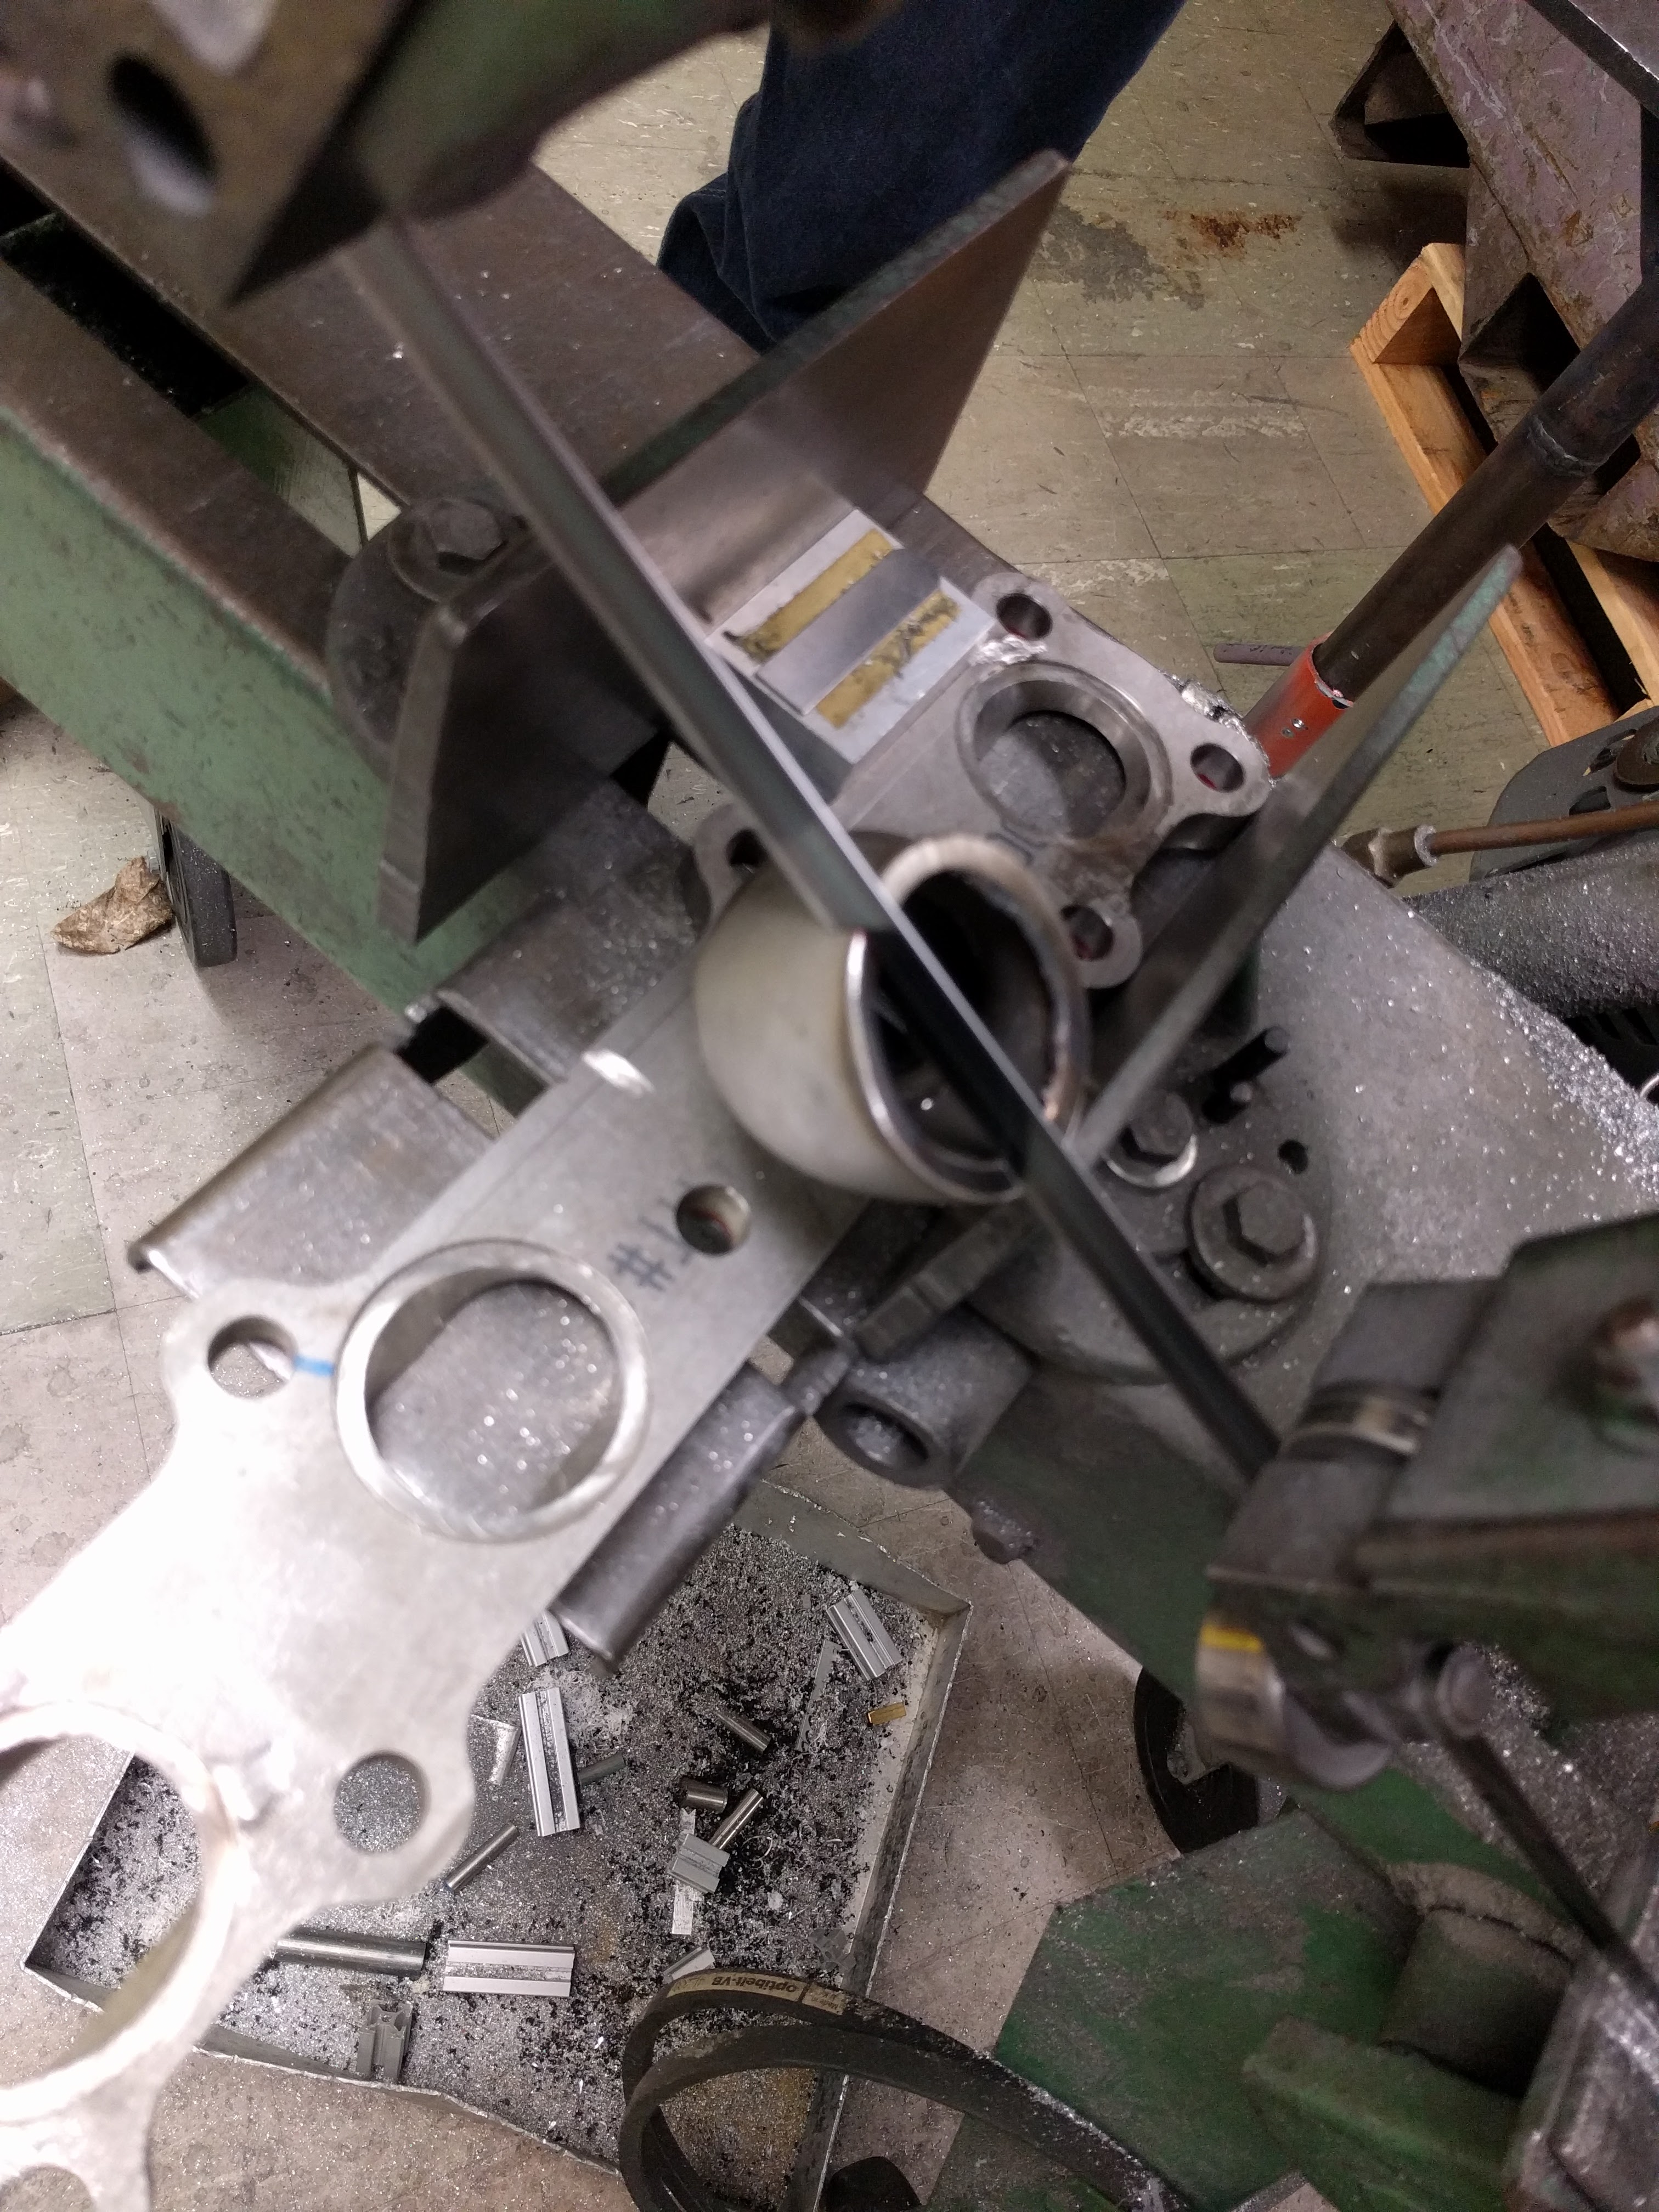
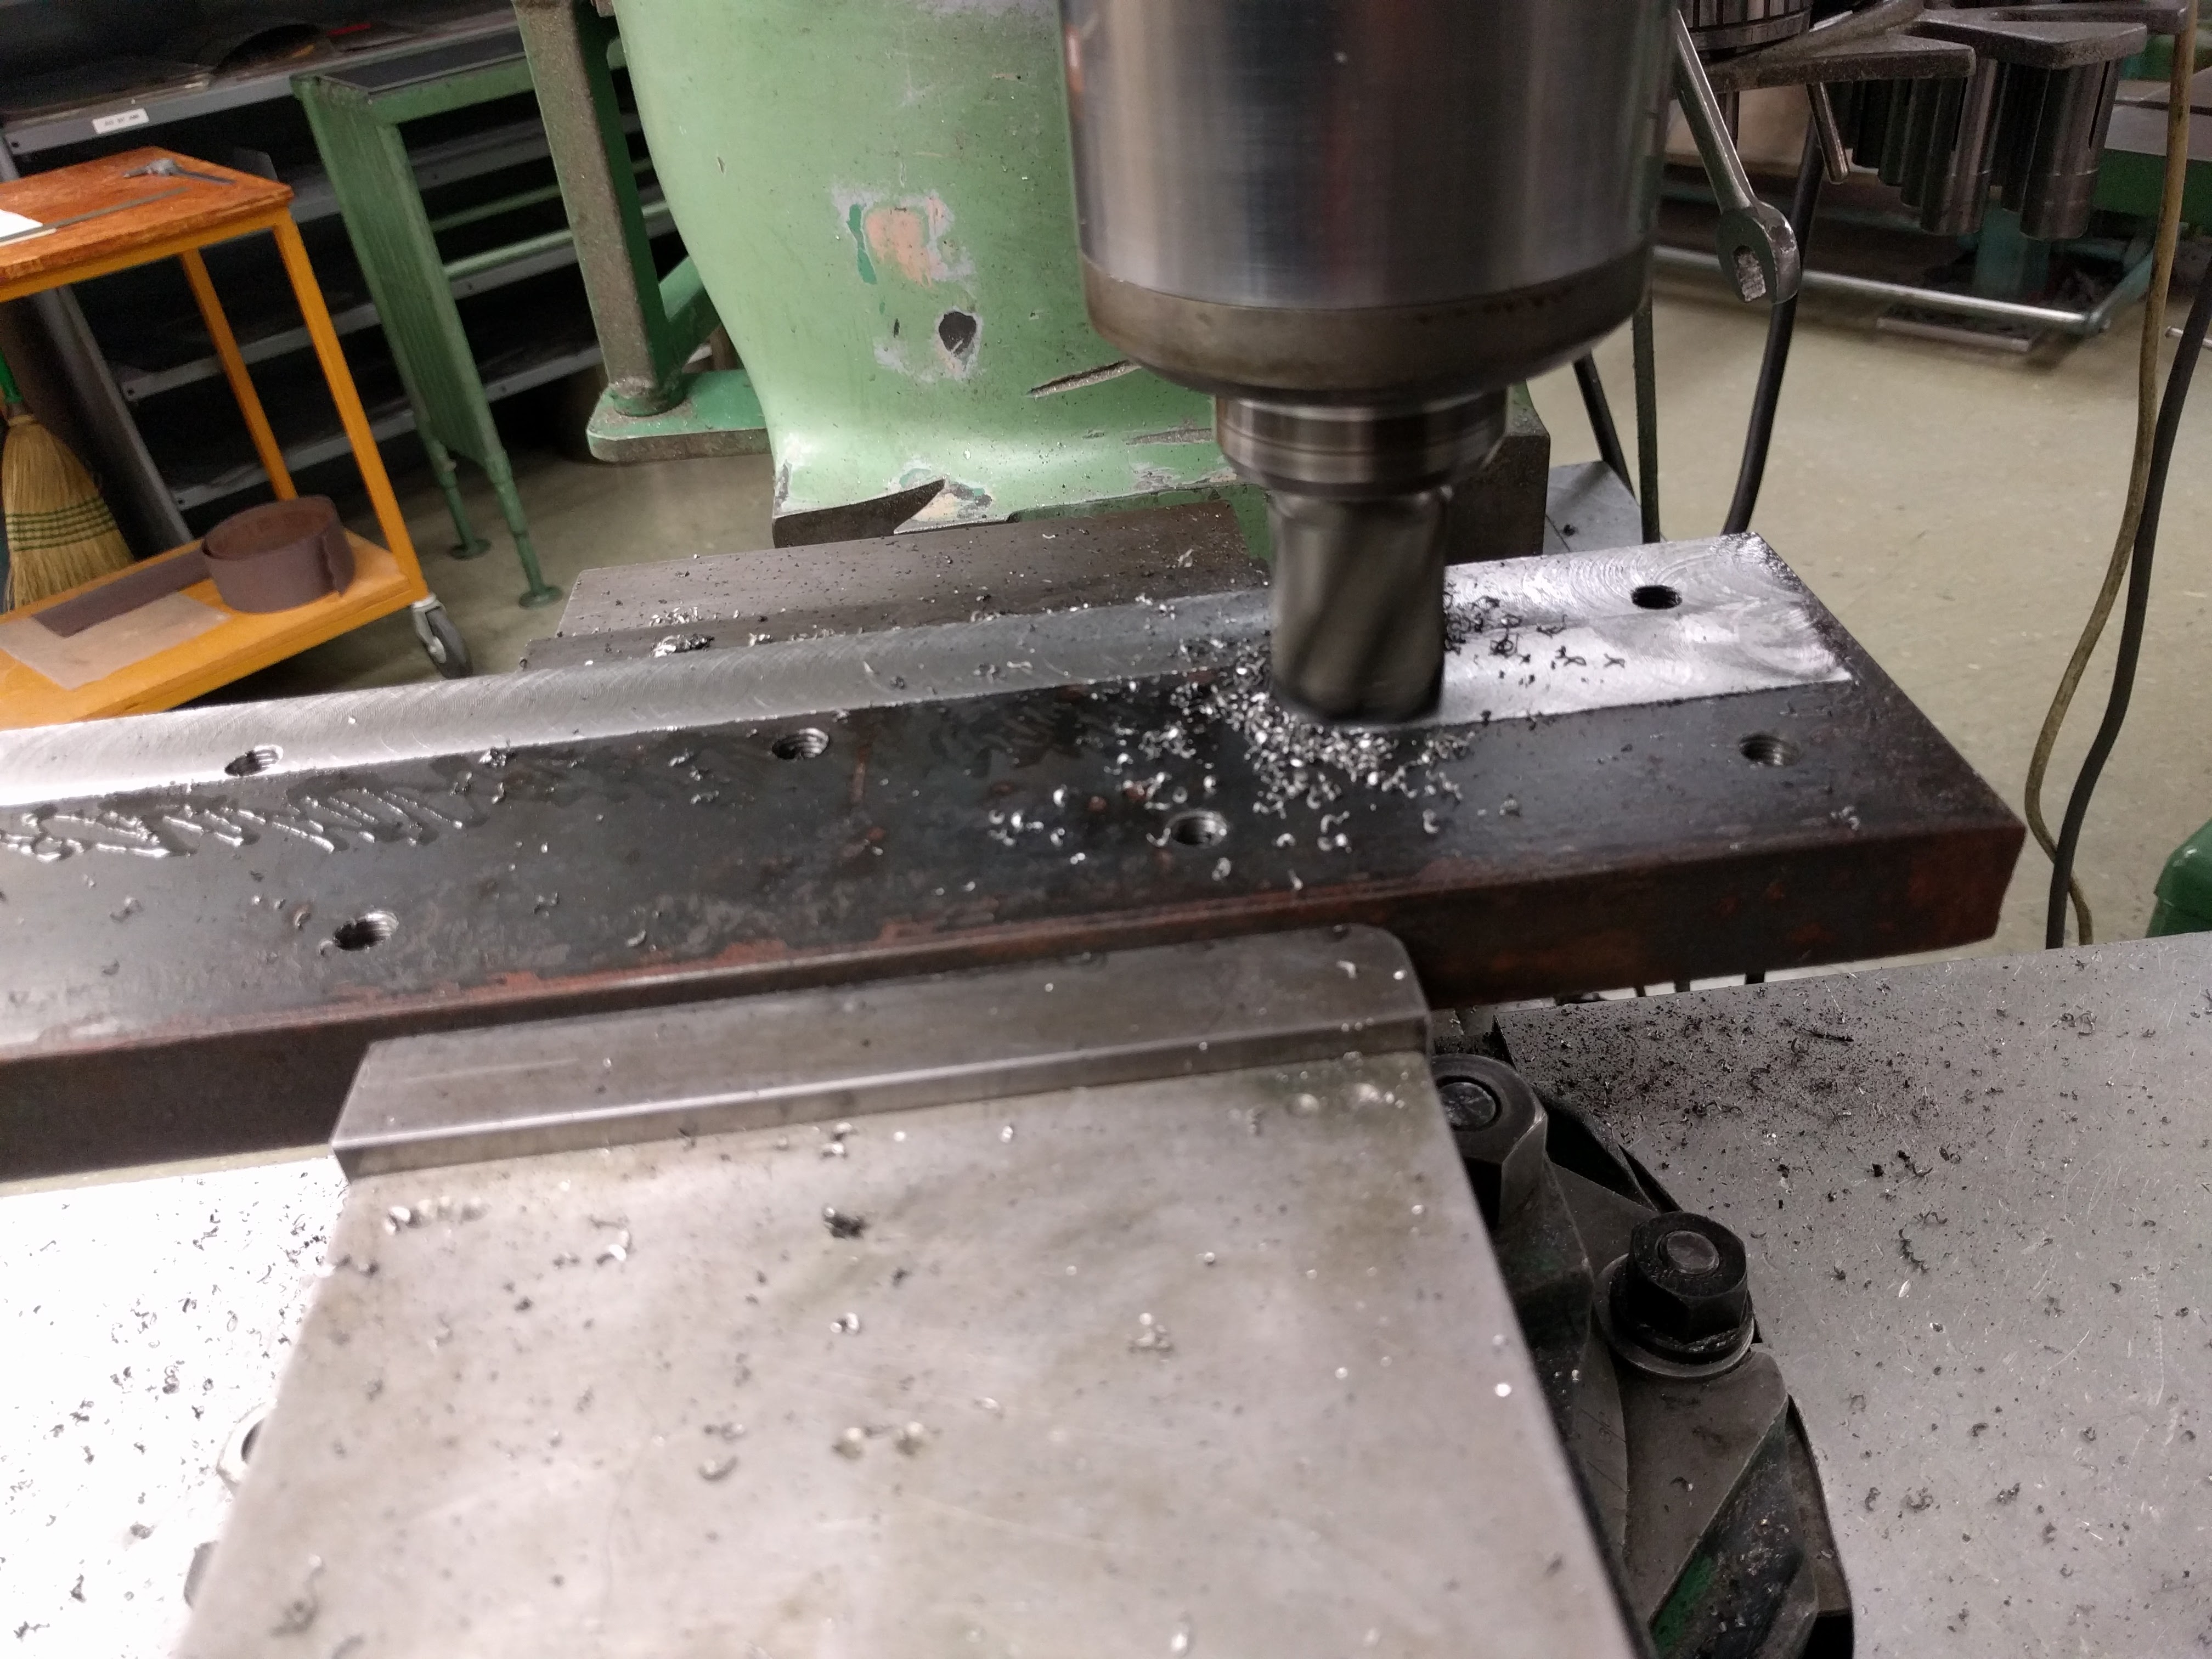
No it was reamed. So drilled to 10.8mm then reamed to 11mm. I went at the specified speed for an 11mm reamer in aluminum. Which was quite slow.
Reply
 0
0

0
Thread Starter
Joined: Apr 2014
Posts: 18,643
Total Cats: 1,870
From: Beaverton, USA
Didn't like the default LED indicator options for SD card data logging. So I sent it over CAN to the IQ3s. This warning light will be shared with low fuel.
Reply
1
1

FYI, the Racepak has a brightness setting that you'll want to tweak for a car that gets driven at night. Default is set to either 6 or 10, but you can set it to 1 and it's perfectly visible during the day and perfect at night.
Reply
0
0
Thread Starter
Joined: Apr 2014
Posts: 18,643
Total Cats: 1,870
From: Beaverton, USA
The IQ3 Street actually has a bright and a dim setting that is triggered off the tail lights. I have day set to max bright, and night is down at 1. Warnings are always max bright, and shift lights have some other setting I can't remember.
Reply
0
0

Joined: Sep 2010
Posts: 8,157
Total Cats: 1,095
From: Lake Forest, CA
Love the thread title change, and the progress. Great work Aidan.
Reply
0
0

Thread Starter
Joined: Apr 2014
Posts: 18,643
Total Cats: 1,870
From: Beaverton, USA
Yeah, i need to do that too. Forgot to bring it in today
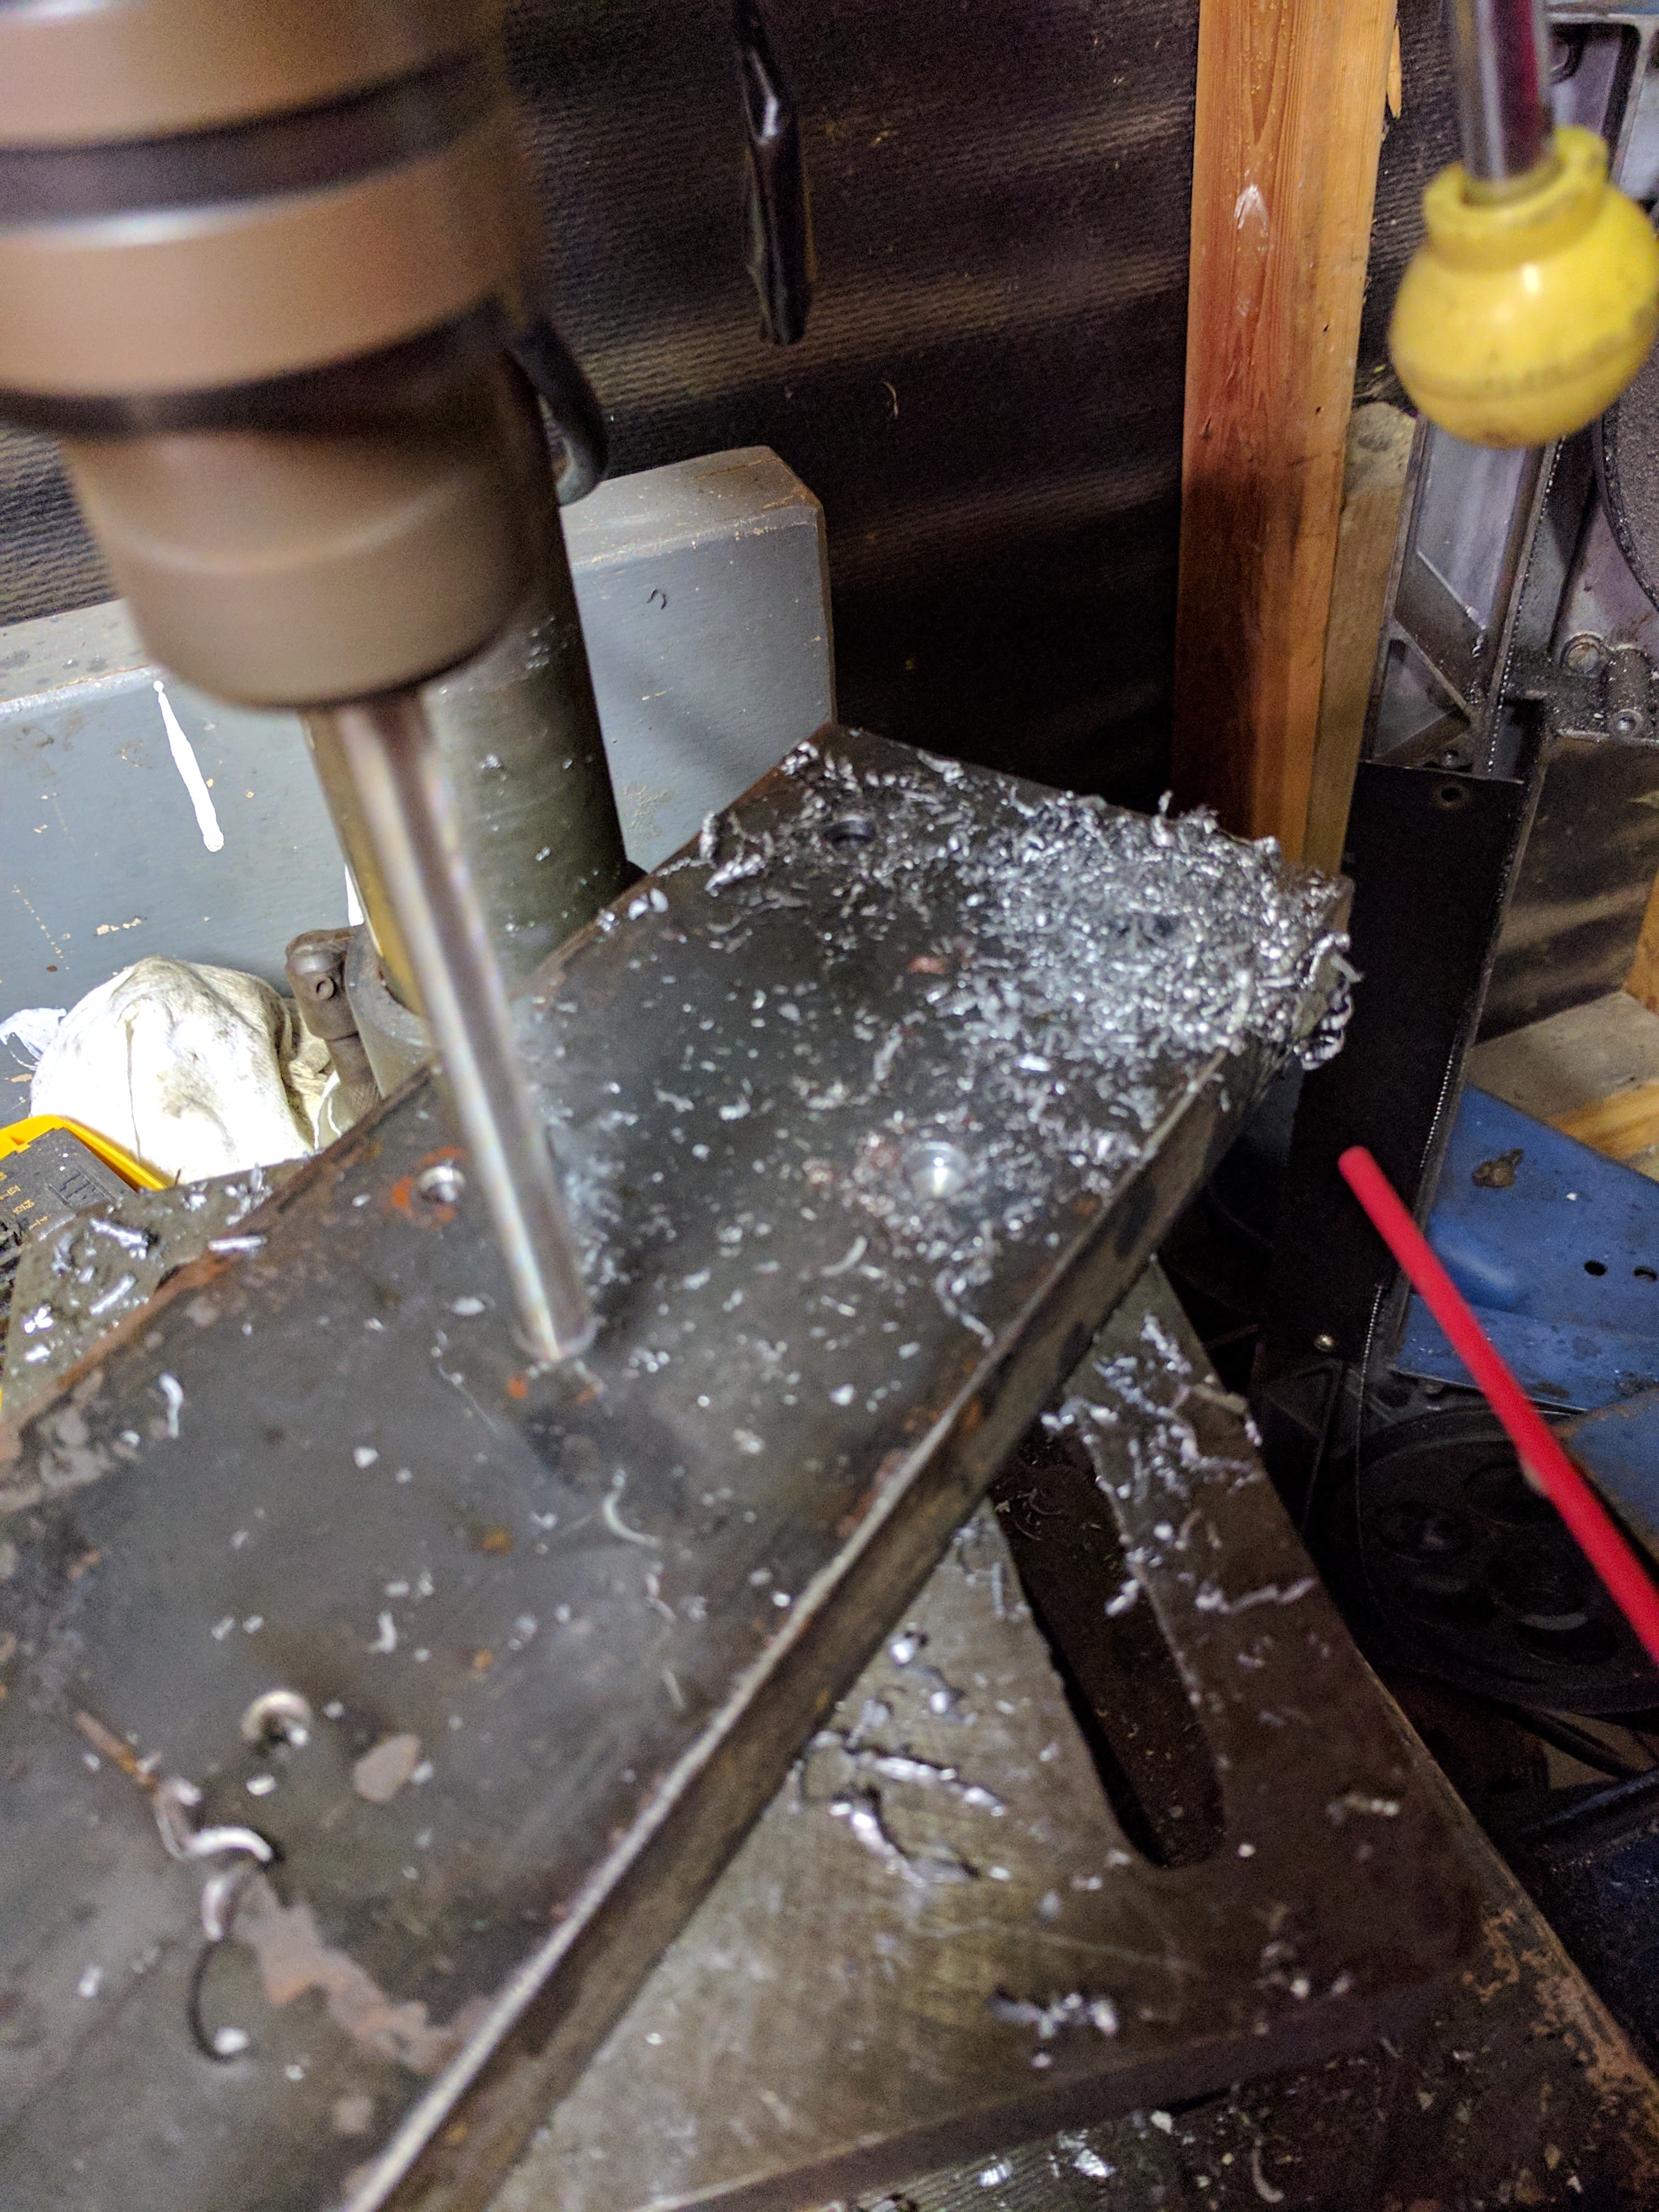
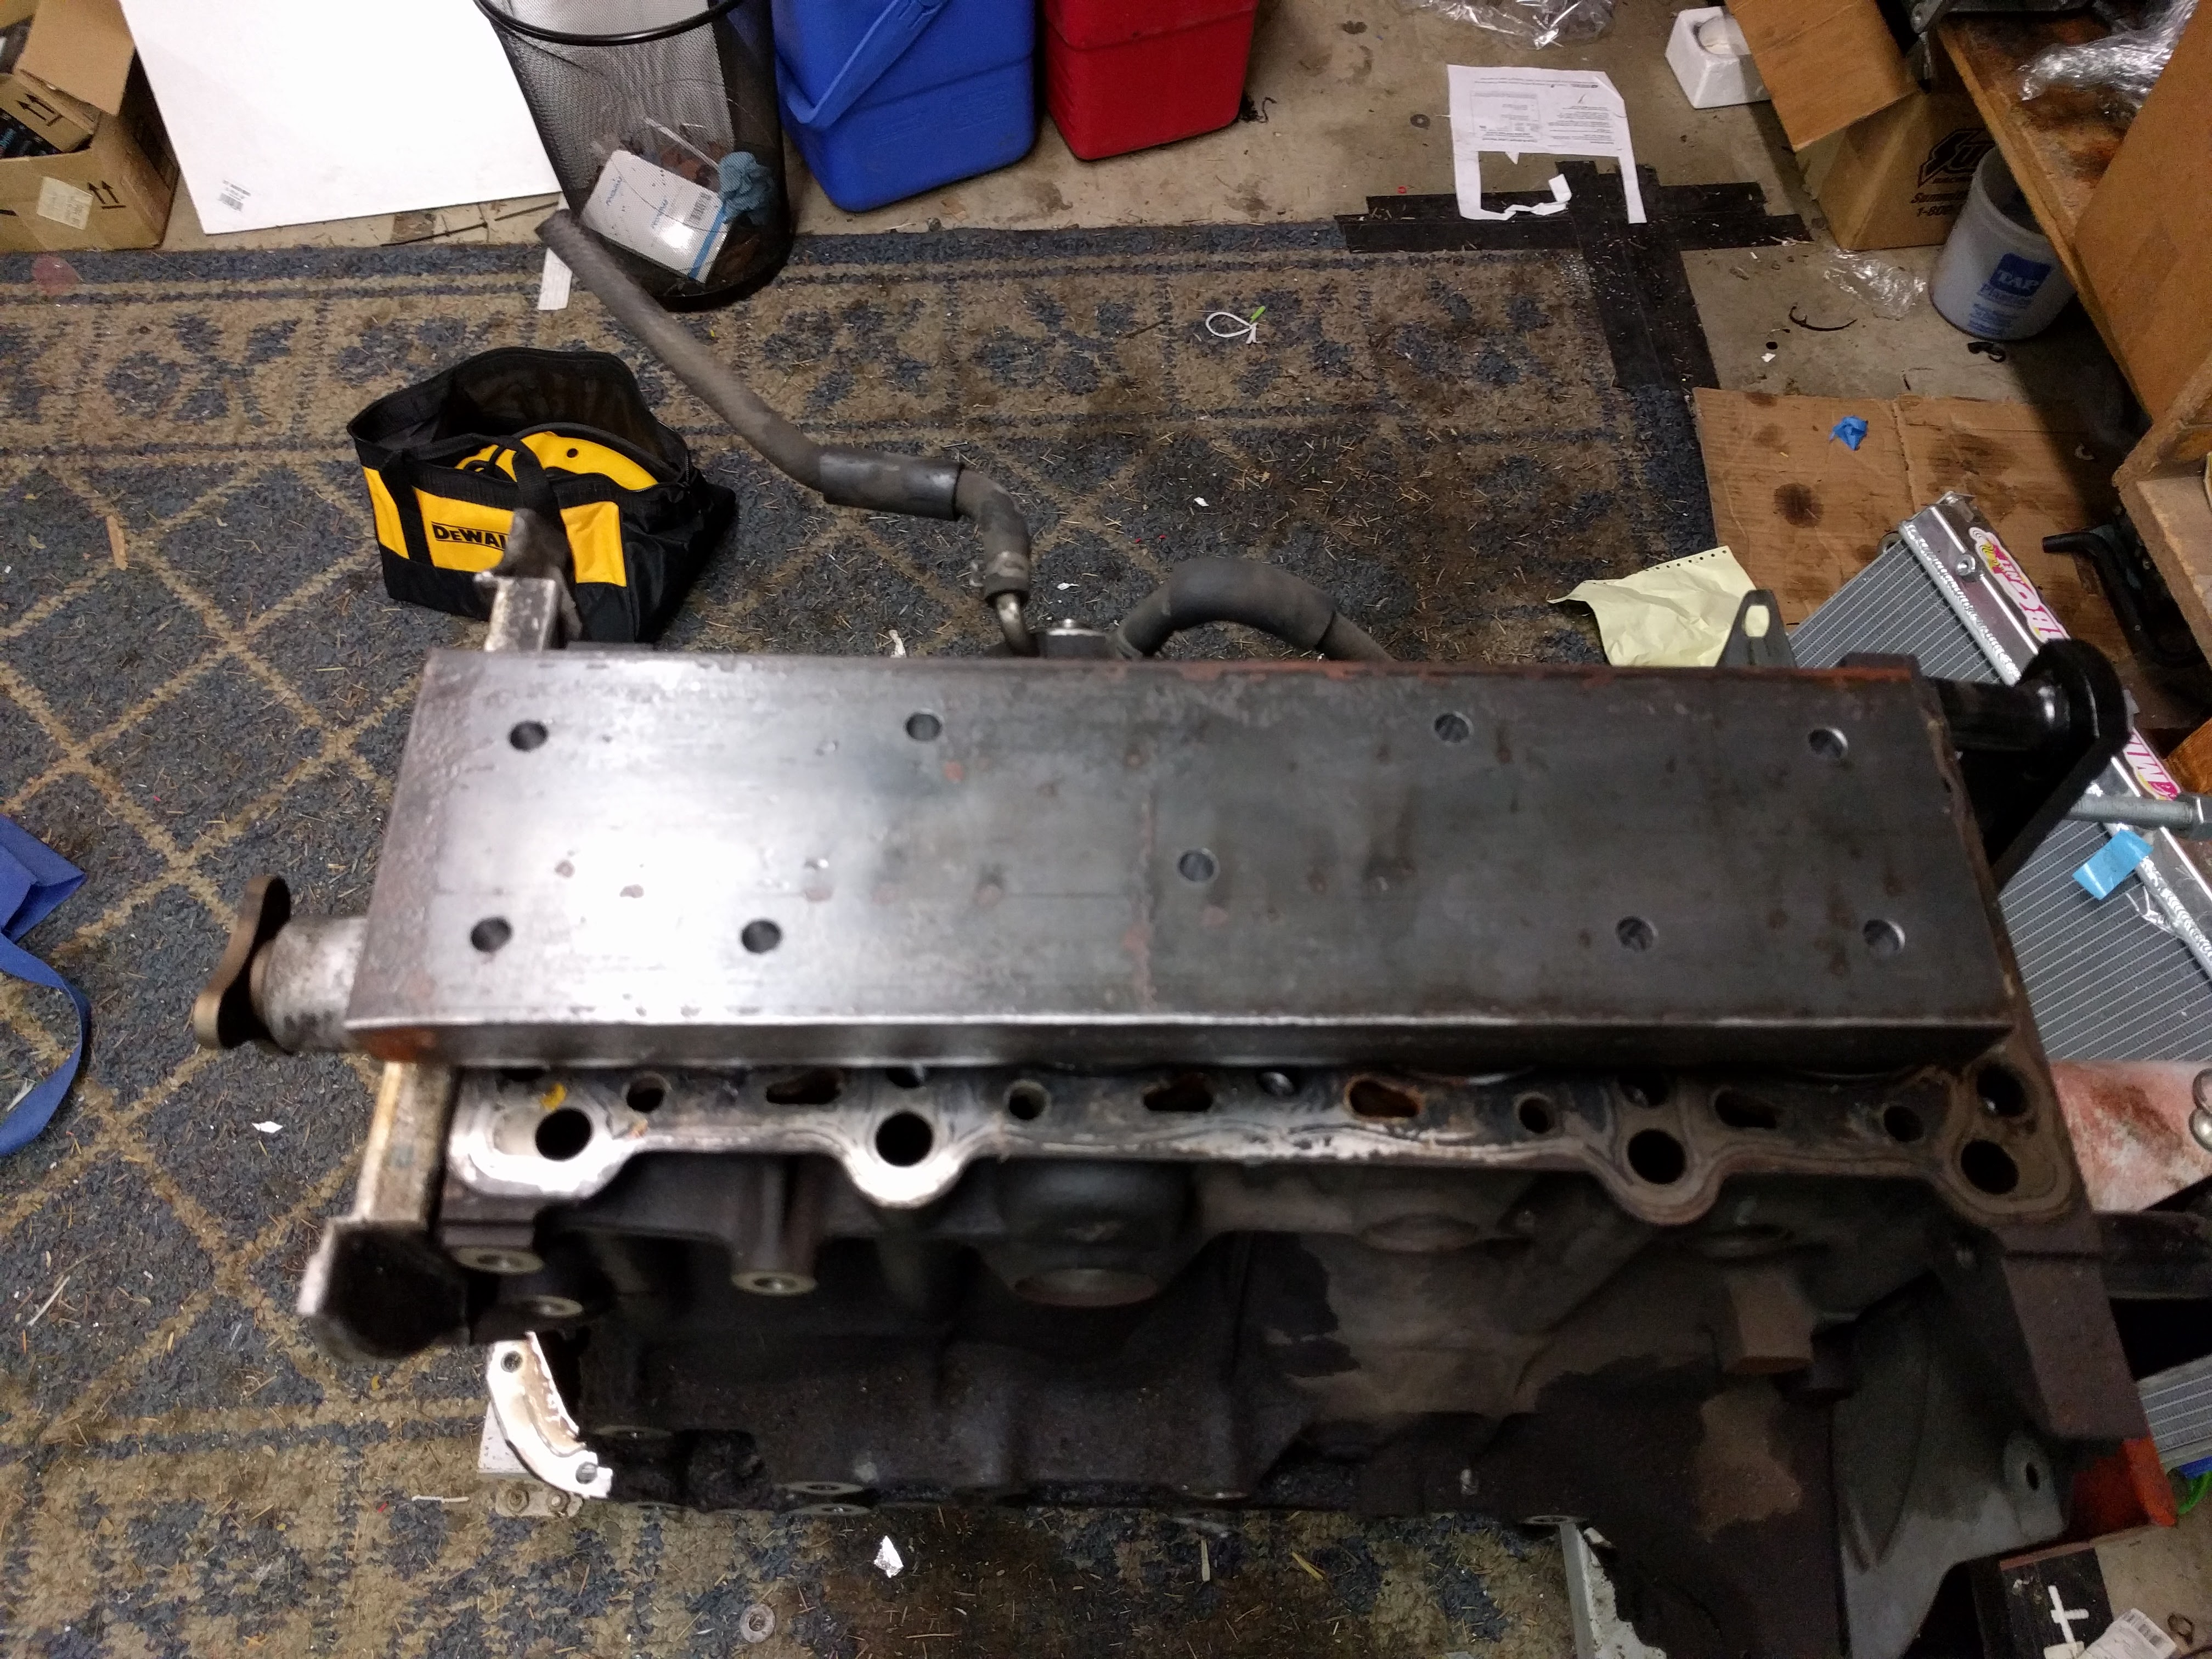
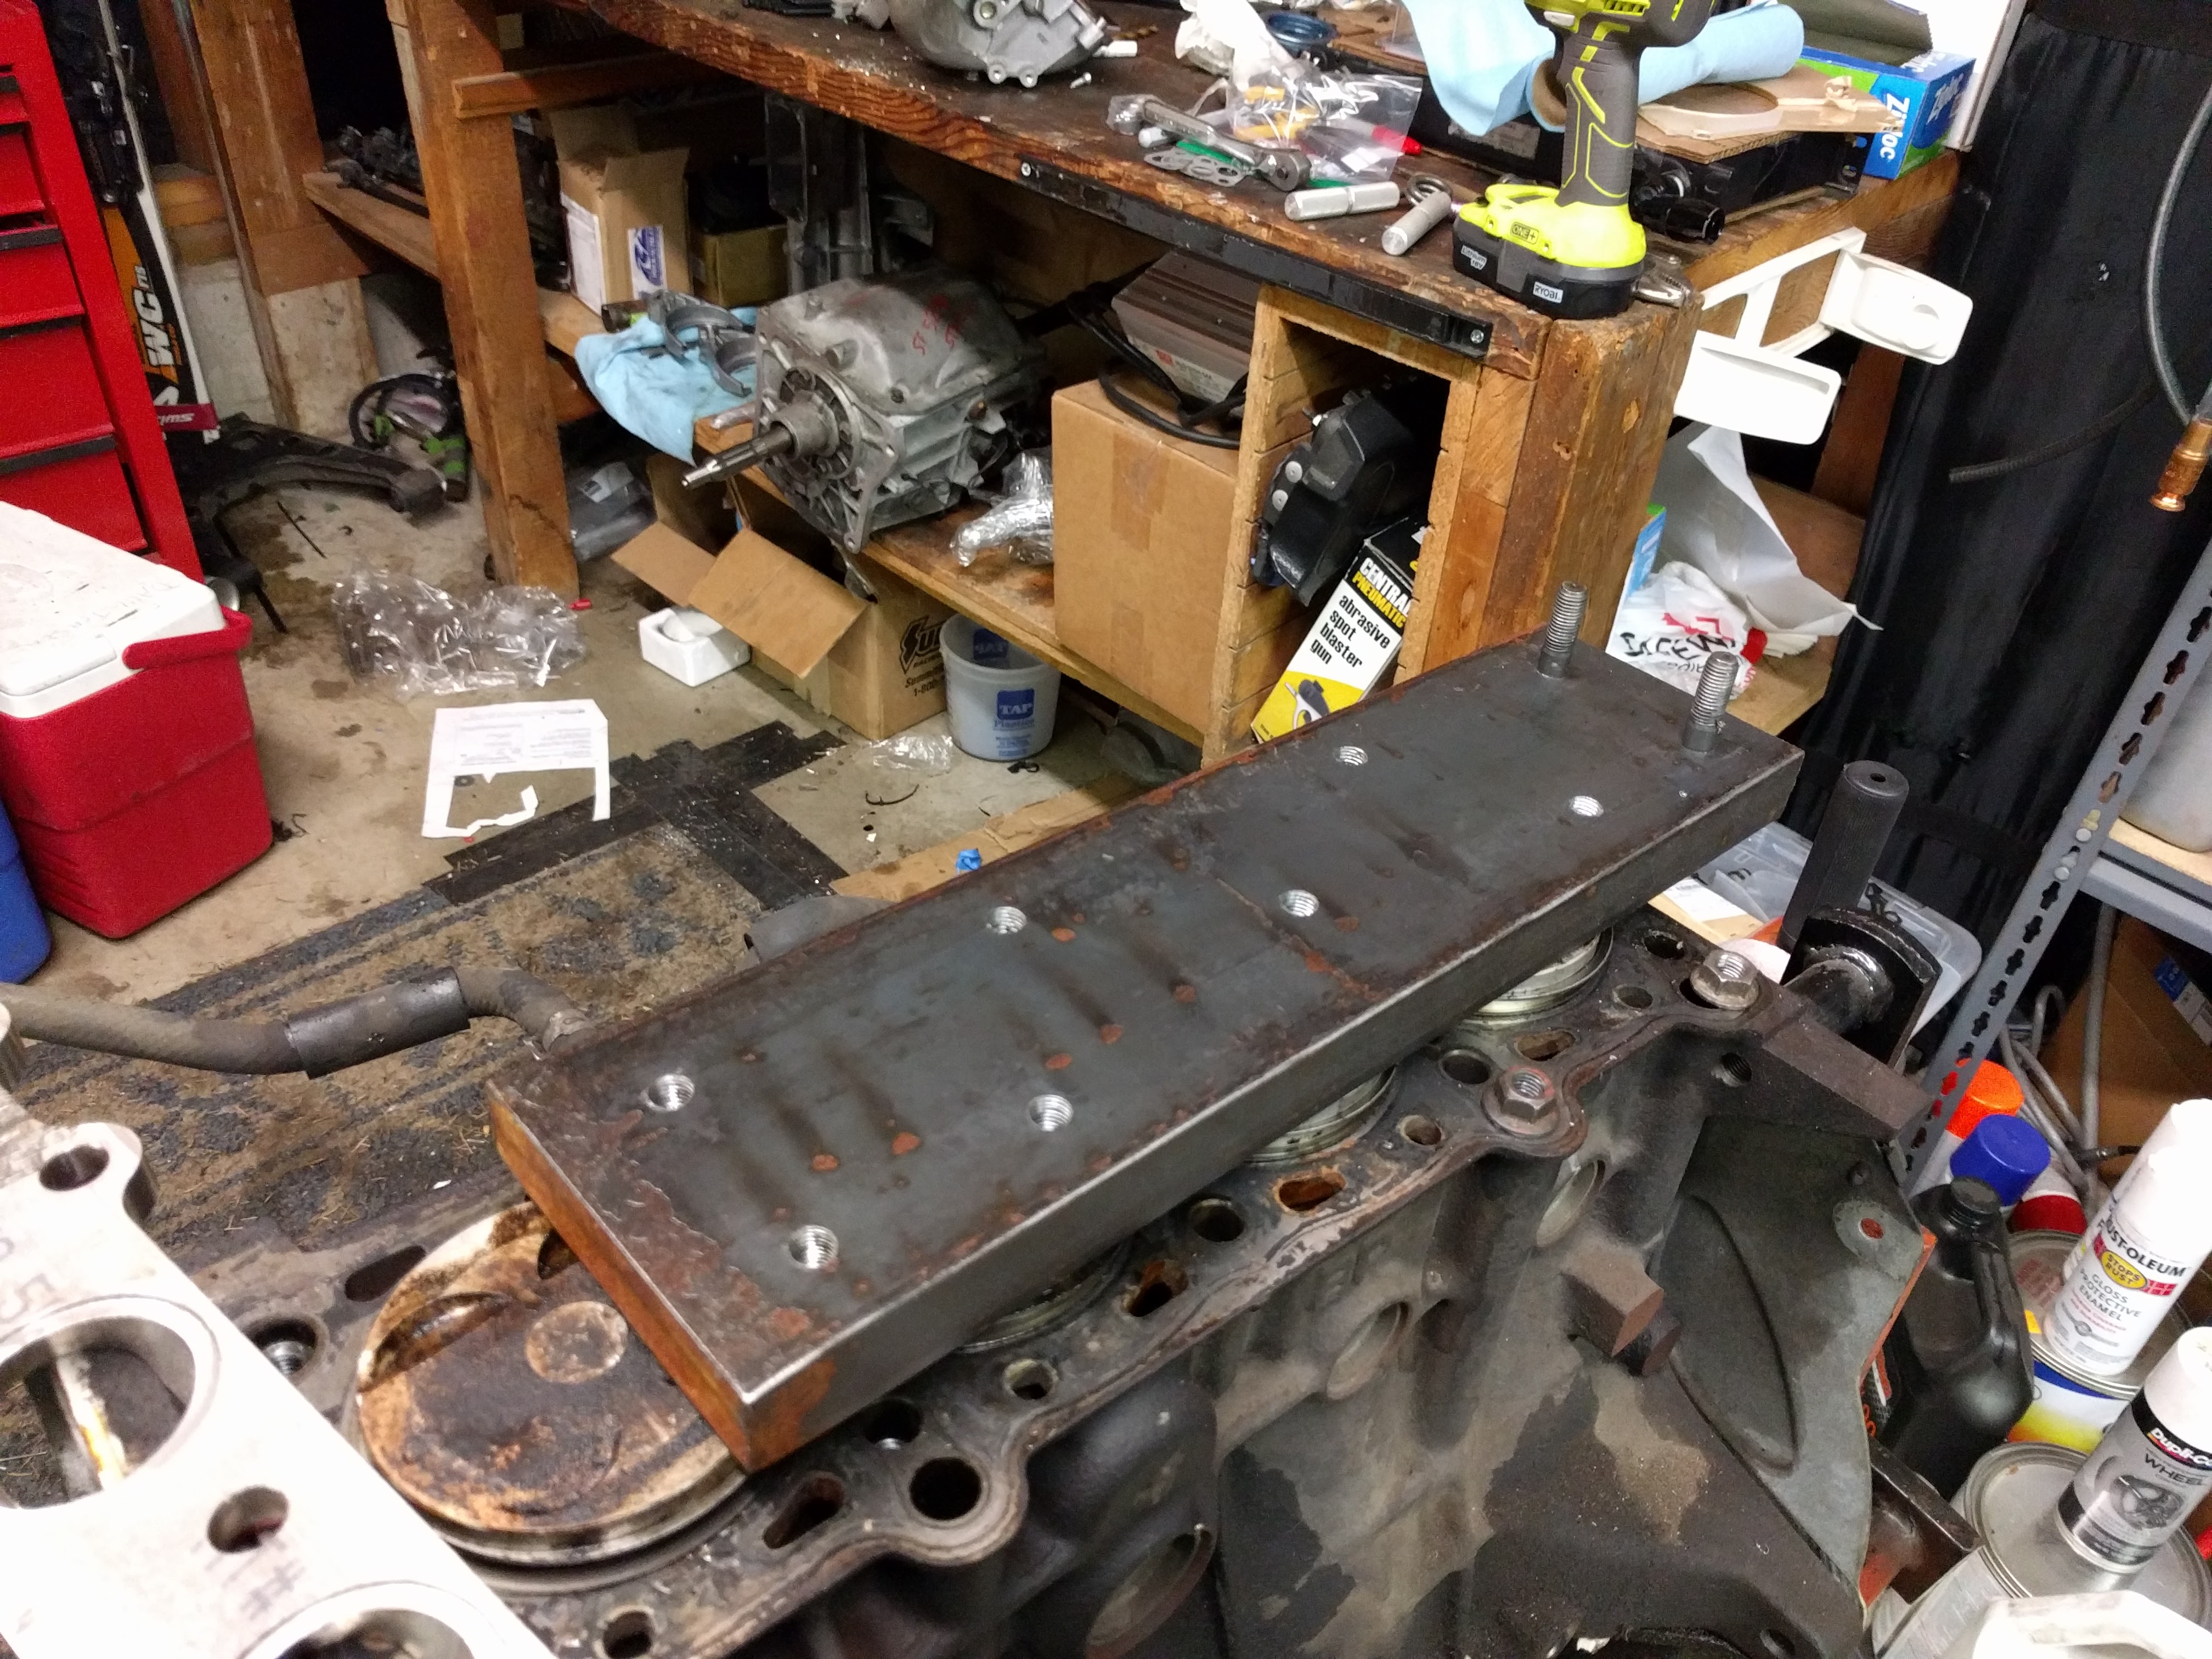
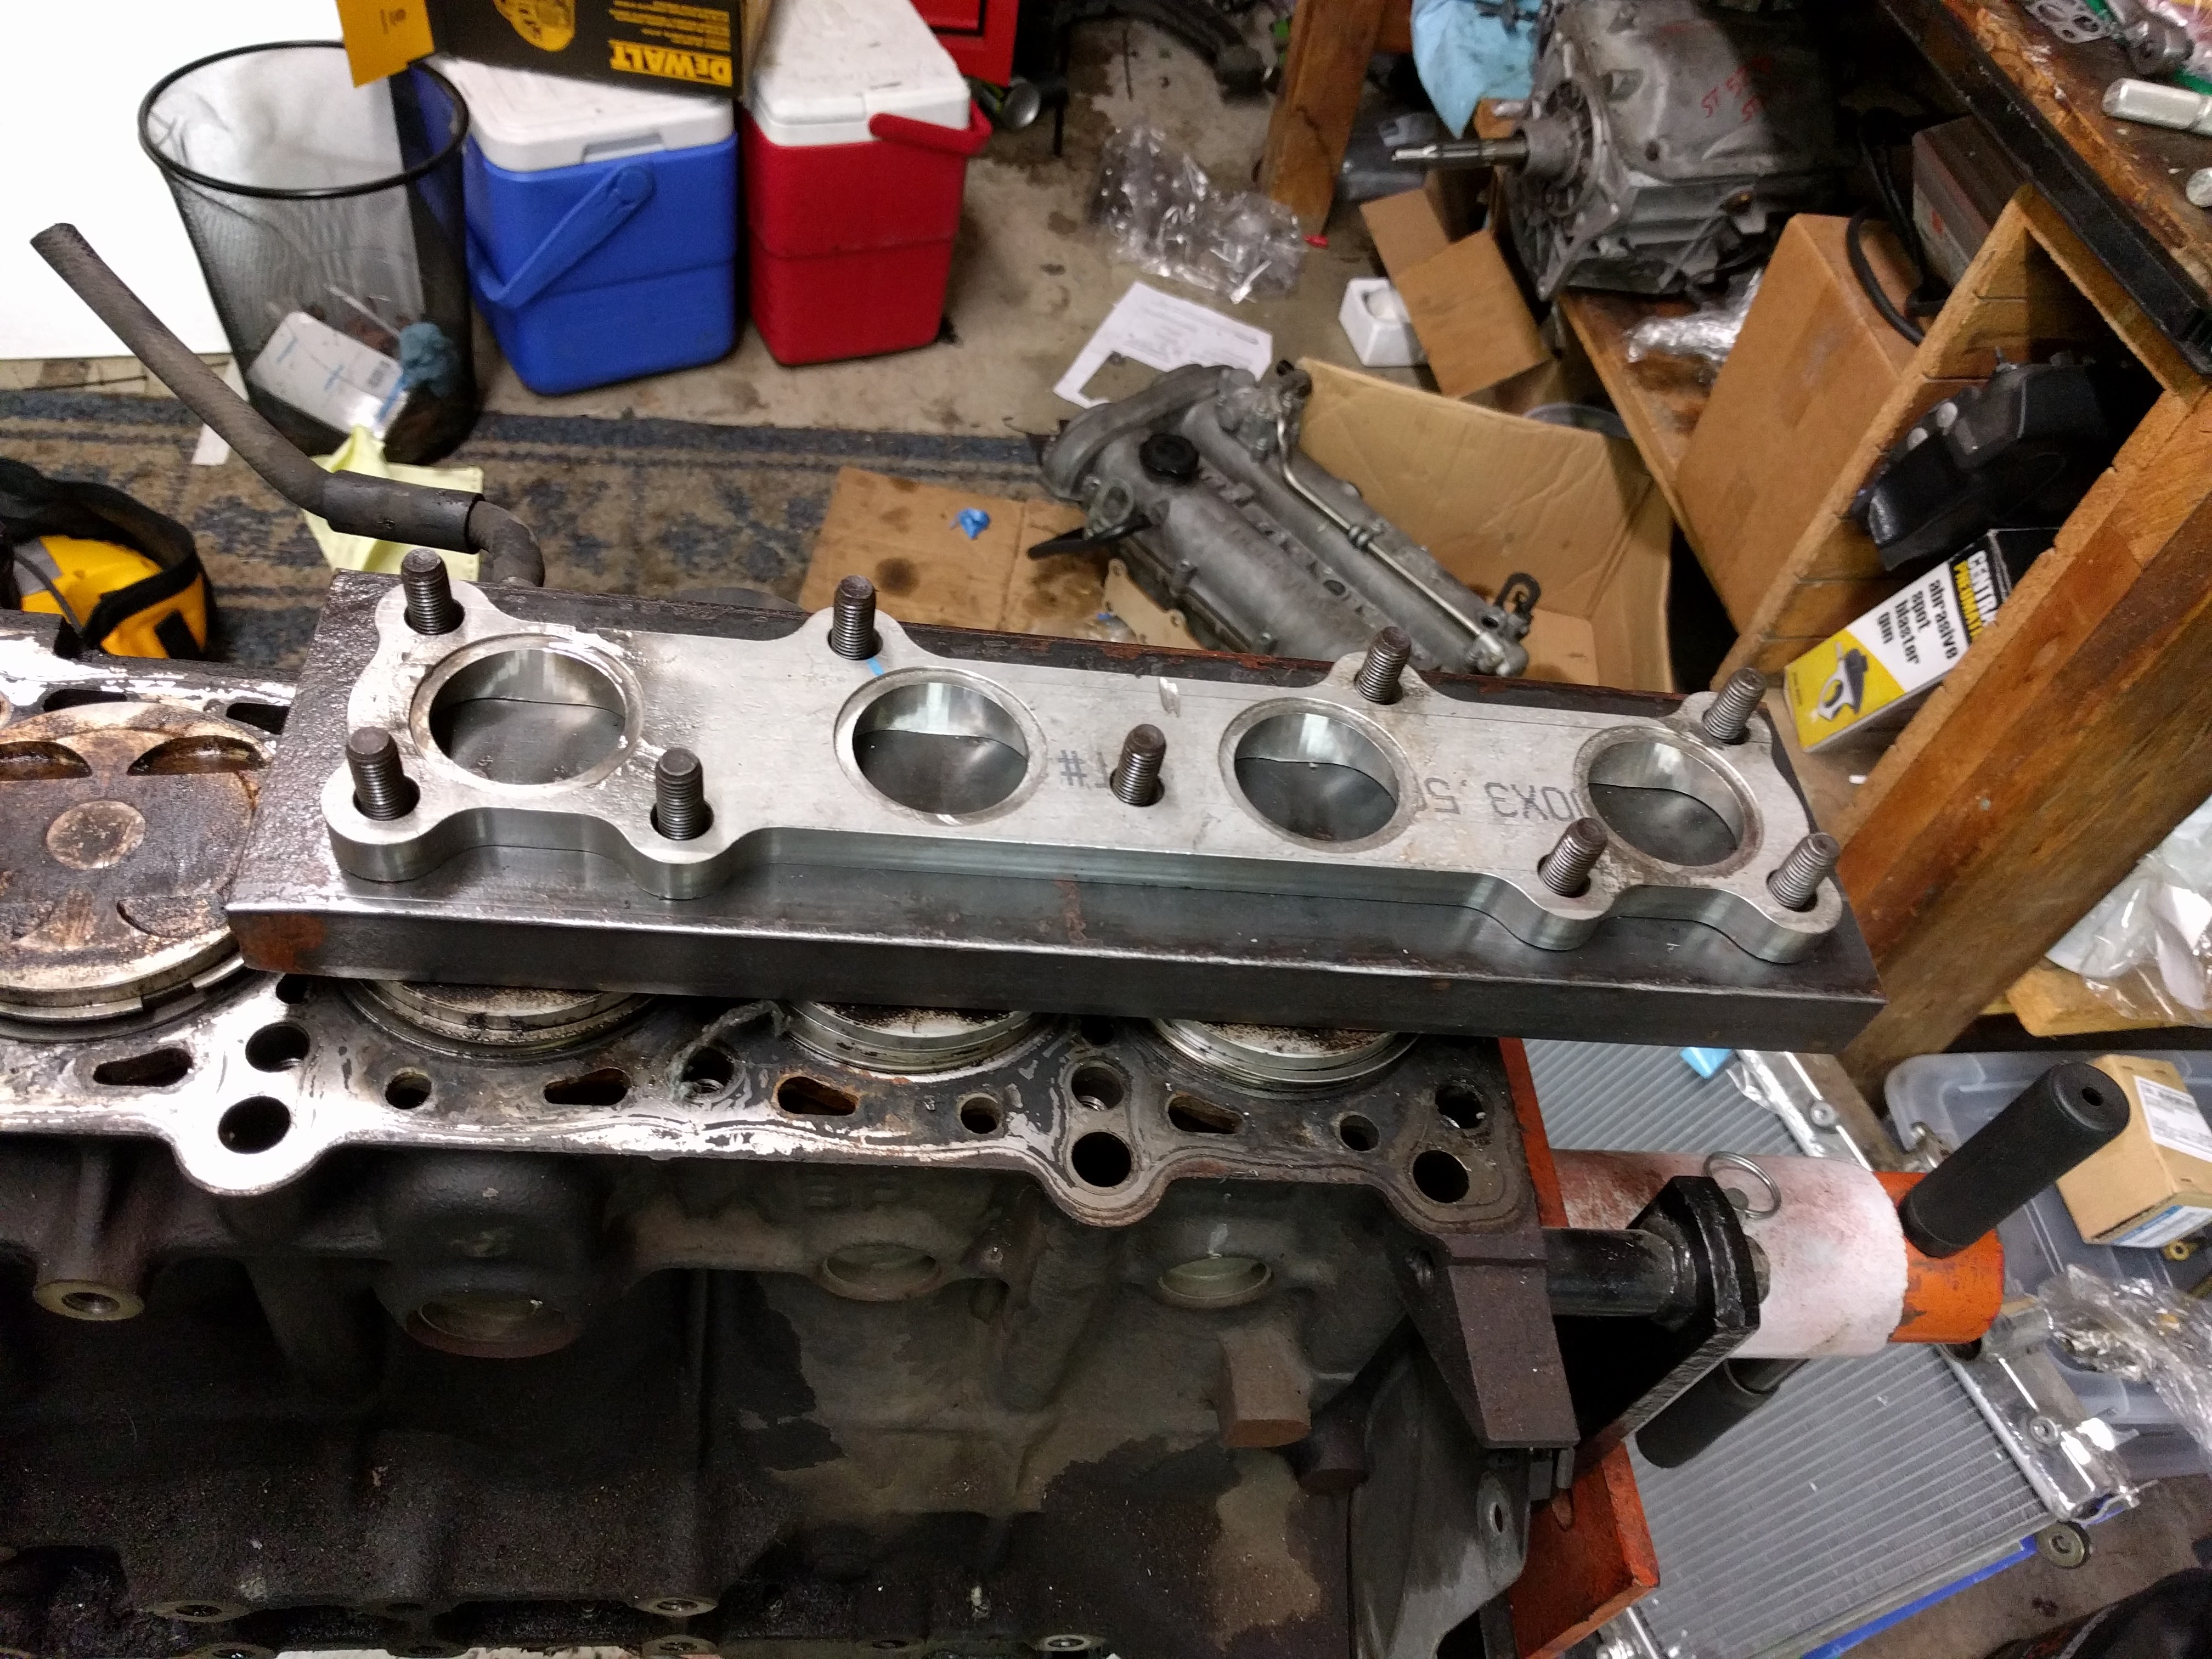
Also, the flange wont ever stay perfectly flat. Welding will cause it to warp some, so I will be surfacing the flange anyways.
Also, the flange wont ever stay perfectly flat. Welding will cause it to warp some, so I will be surfacing the flange anyways.
Reply
0
0
Thread Starter
Joined: Apr 2014
Posts: 18,643
Total Cats: 1,870
From: Beaverton, USA
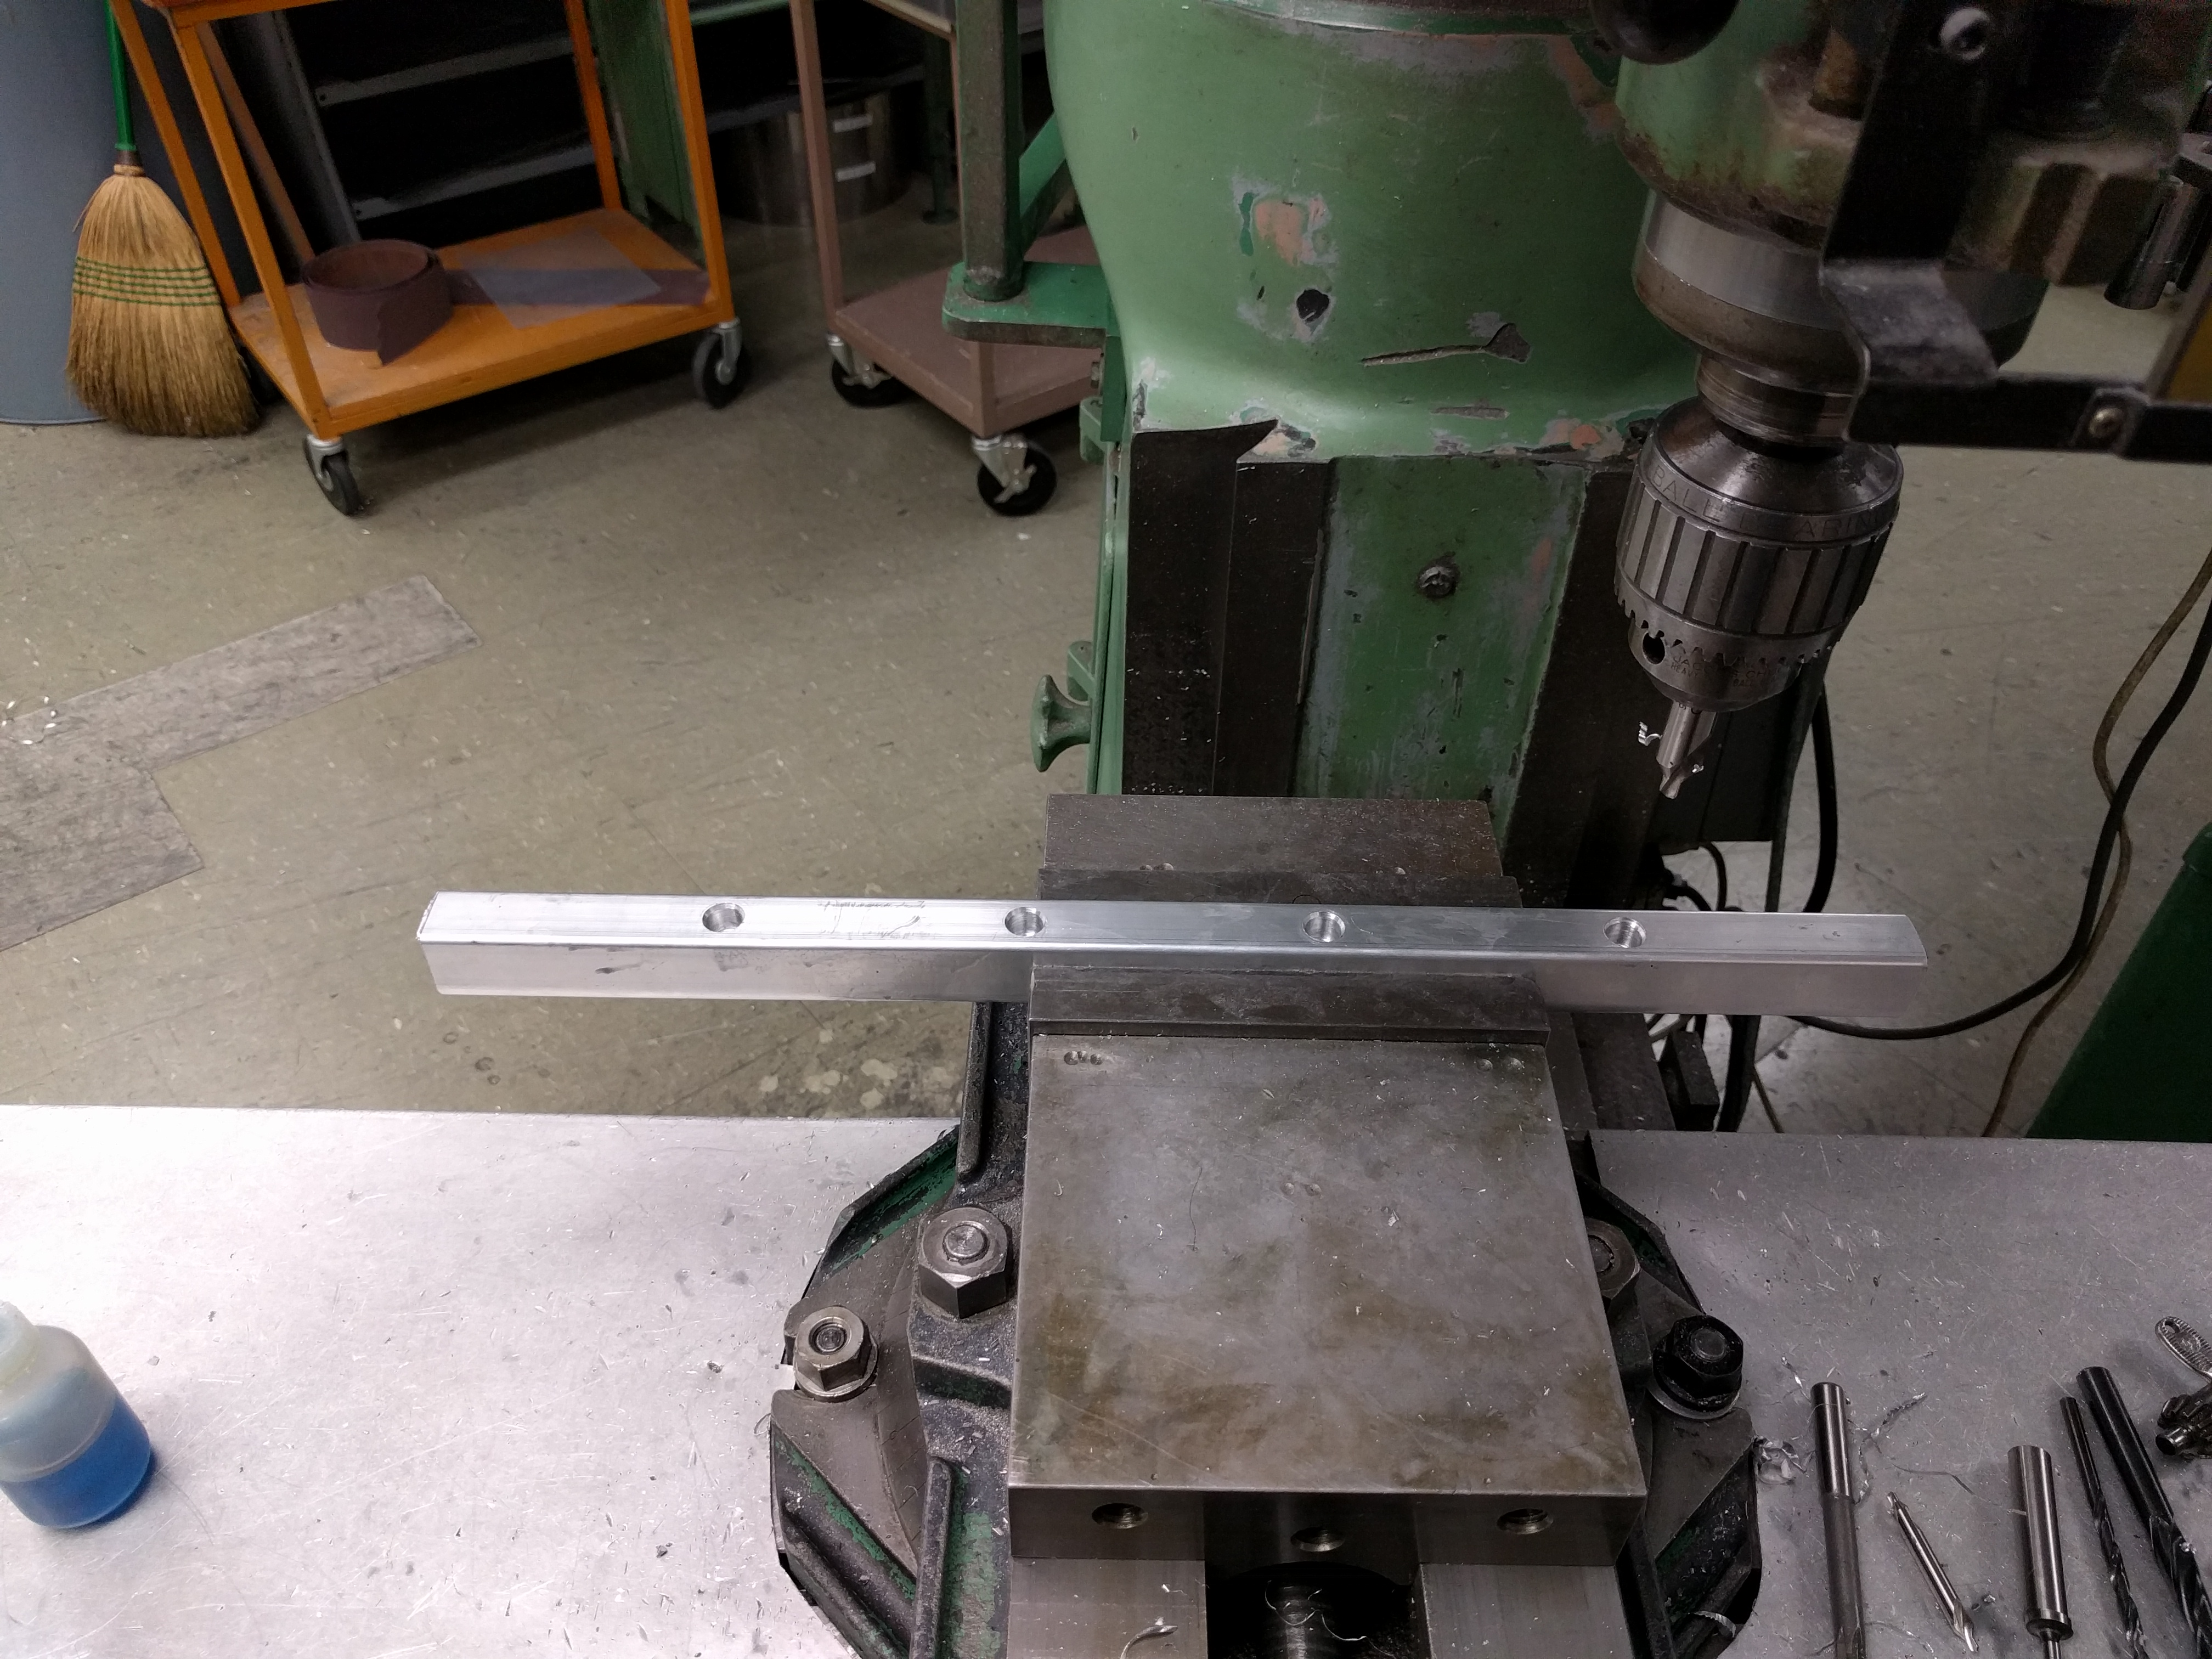
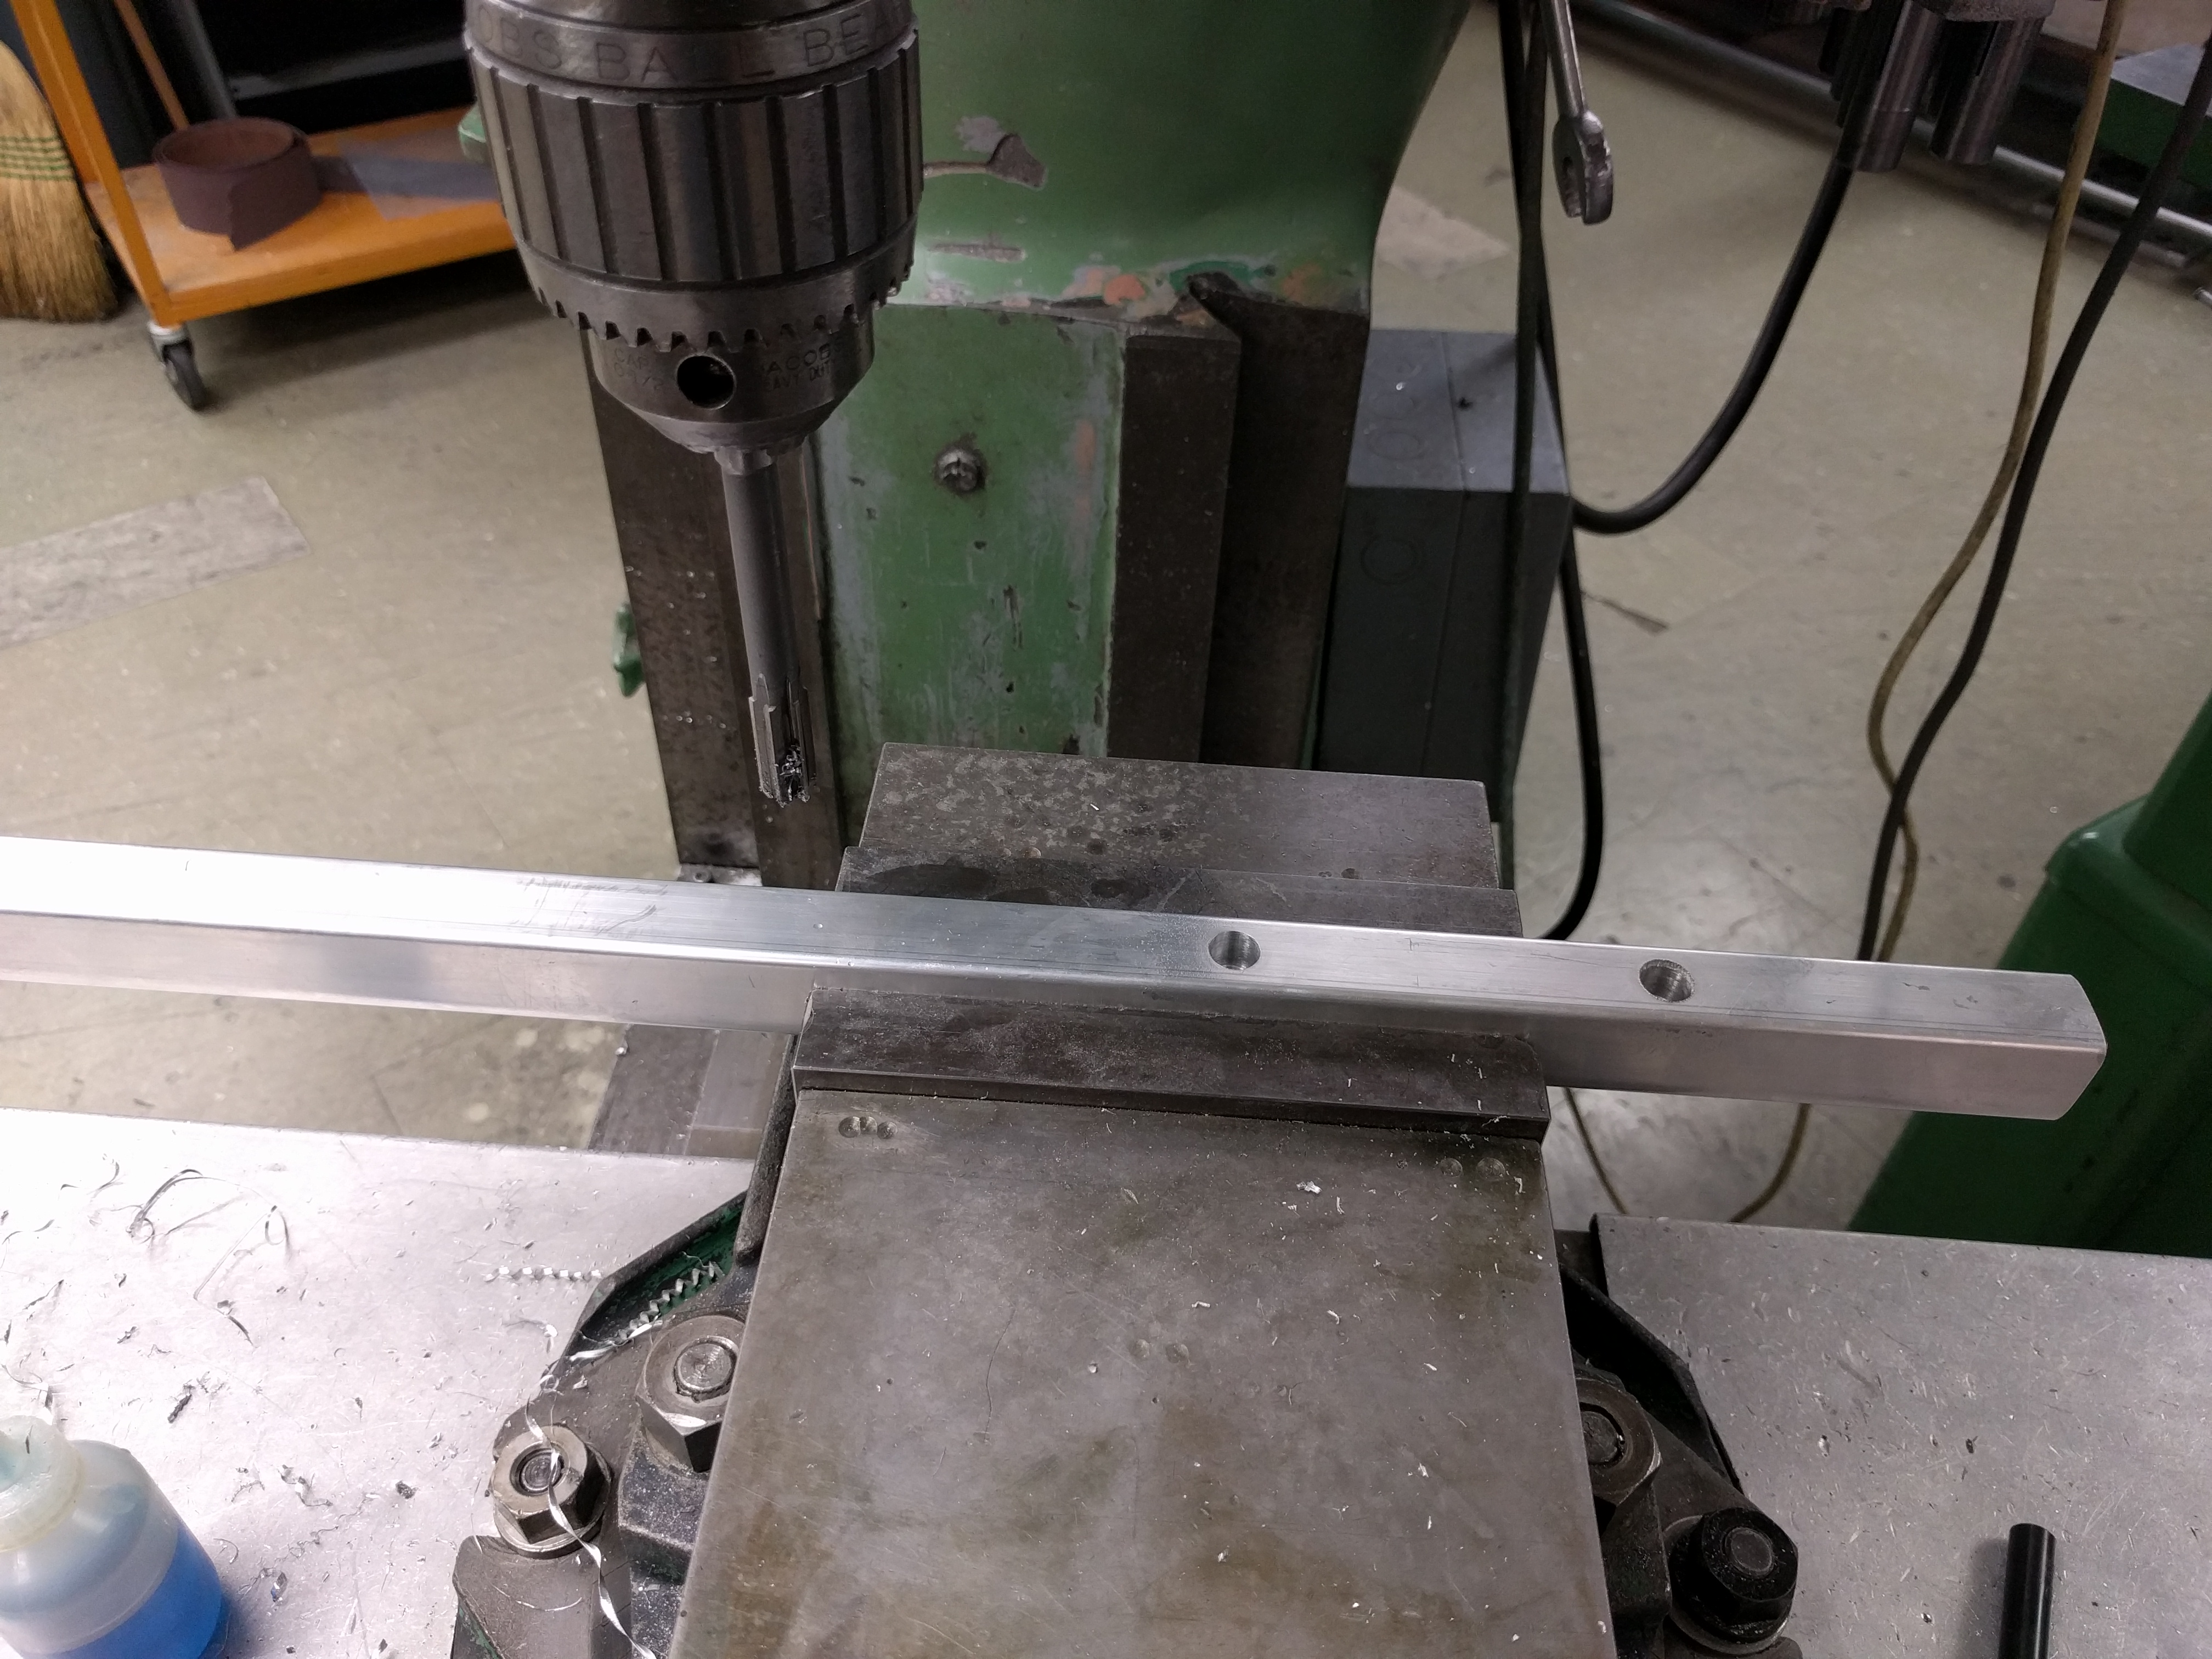
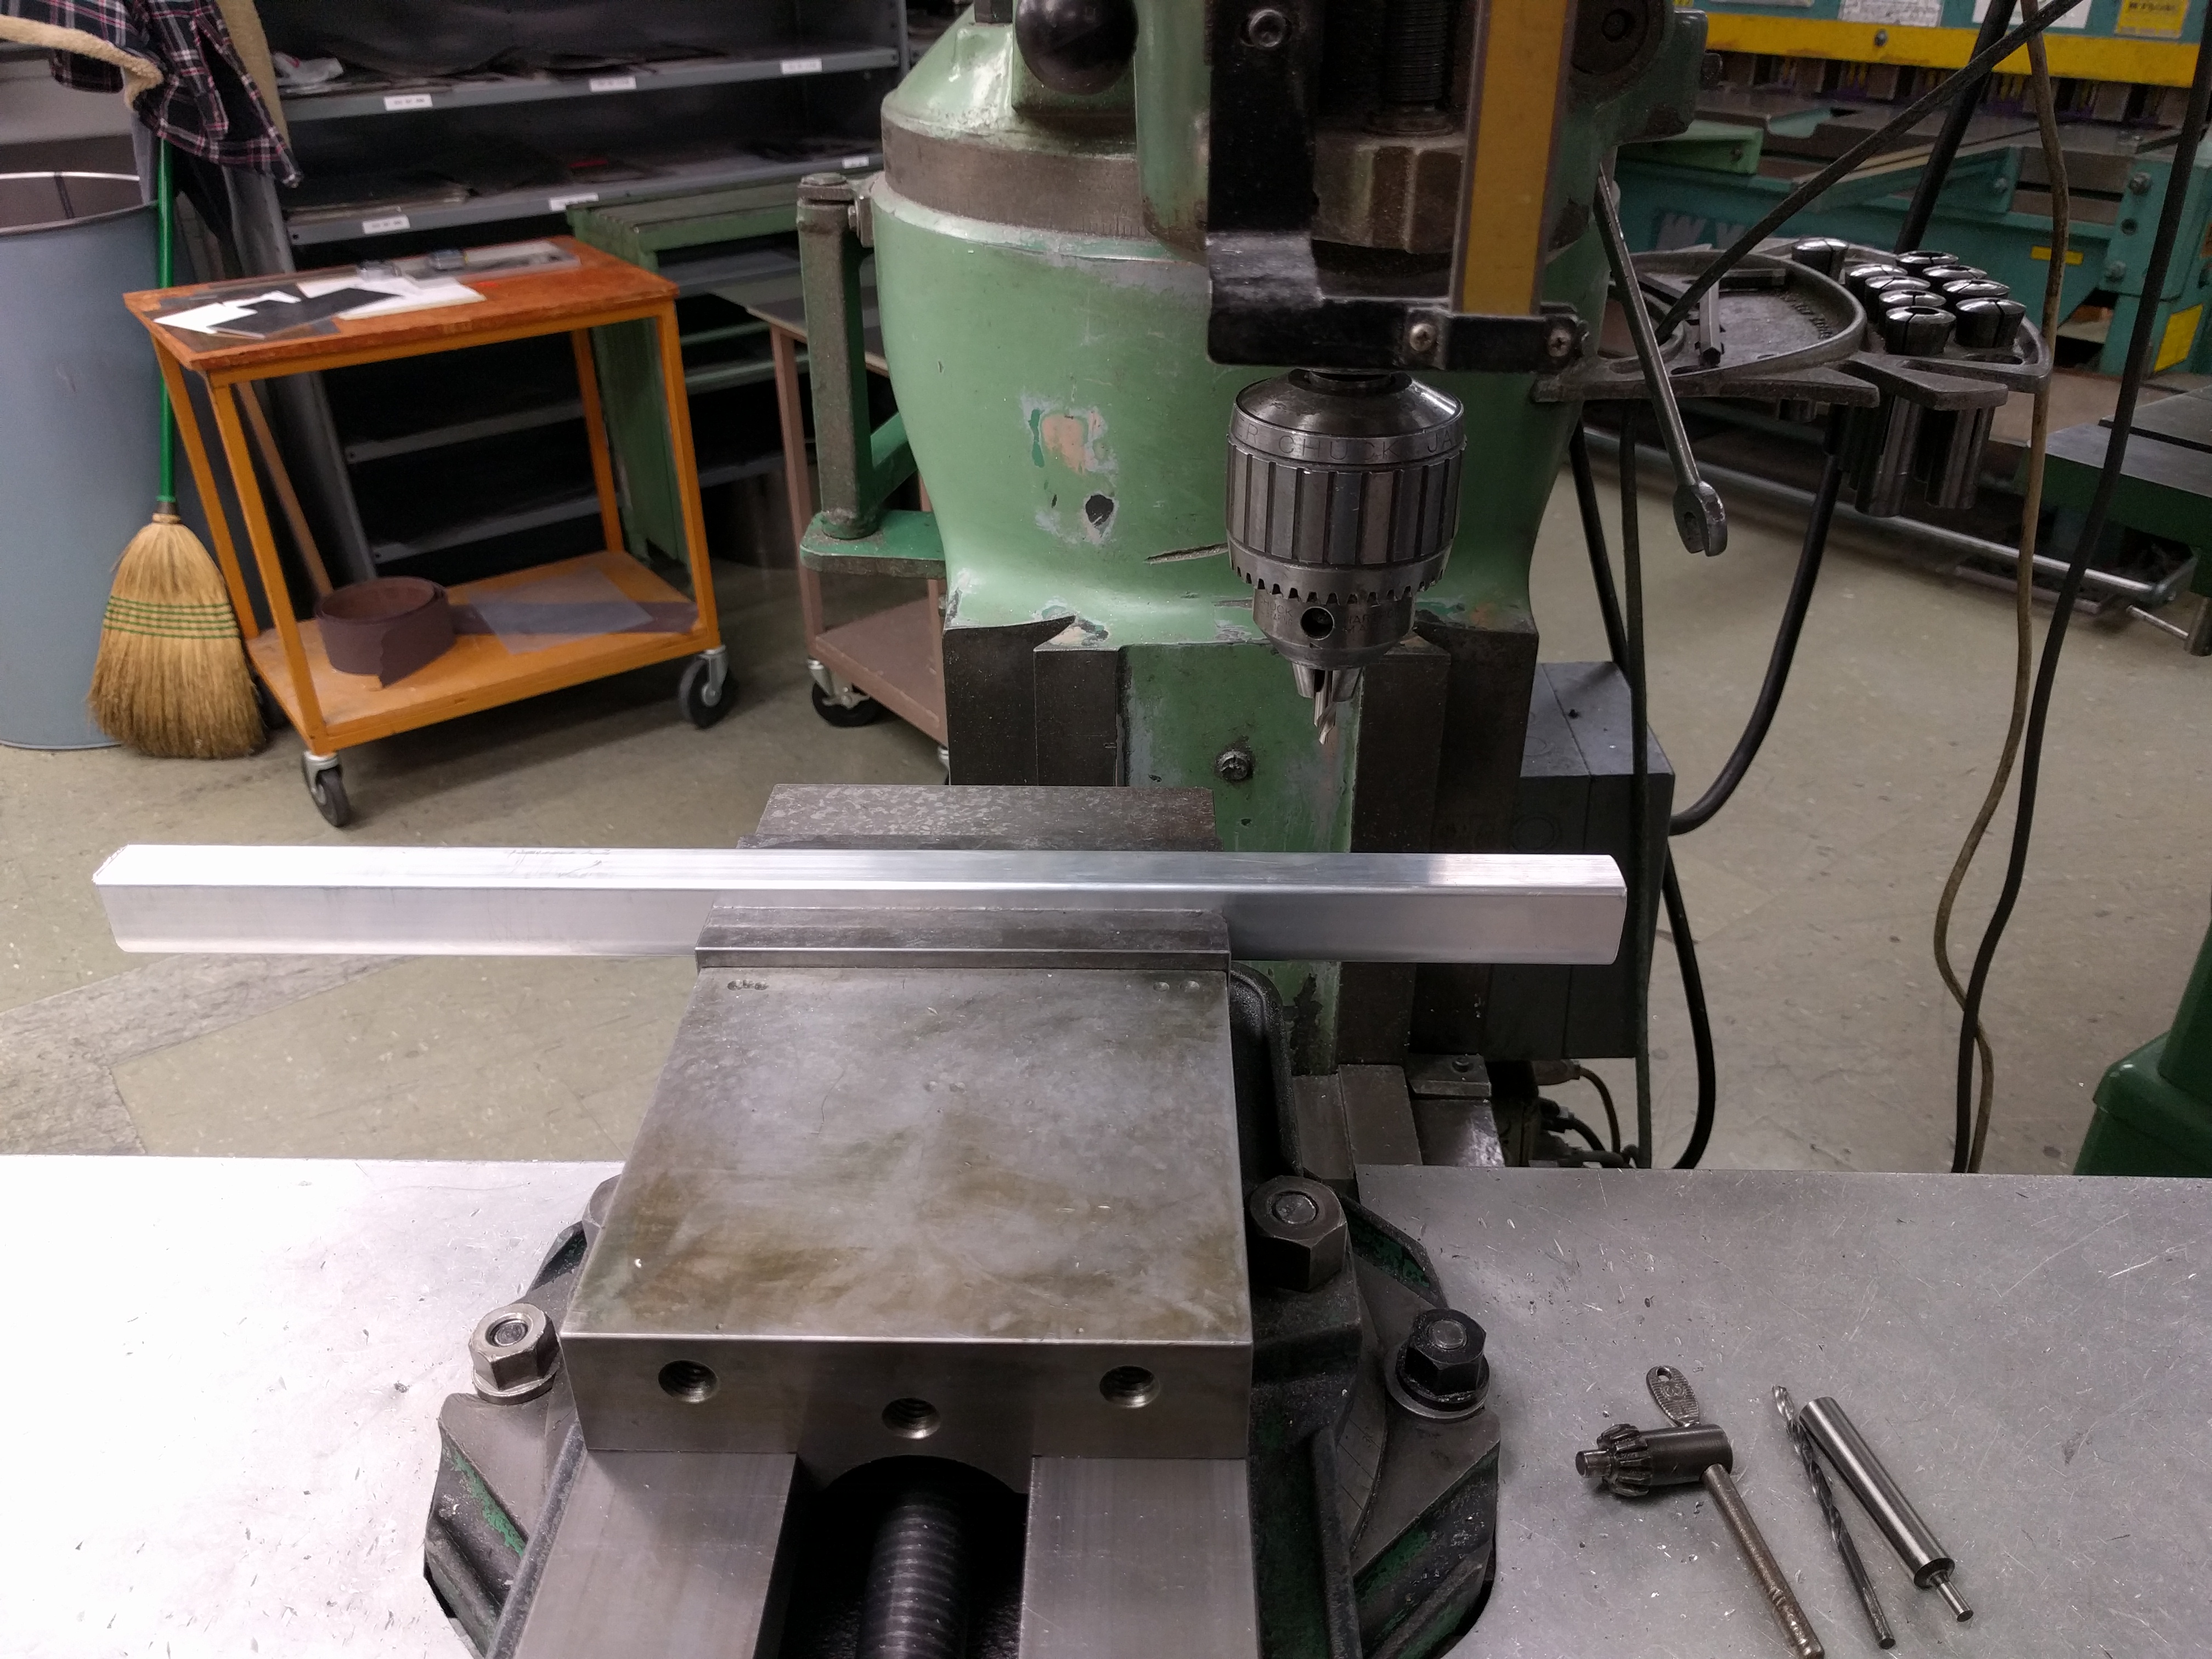
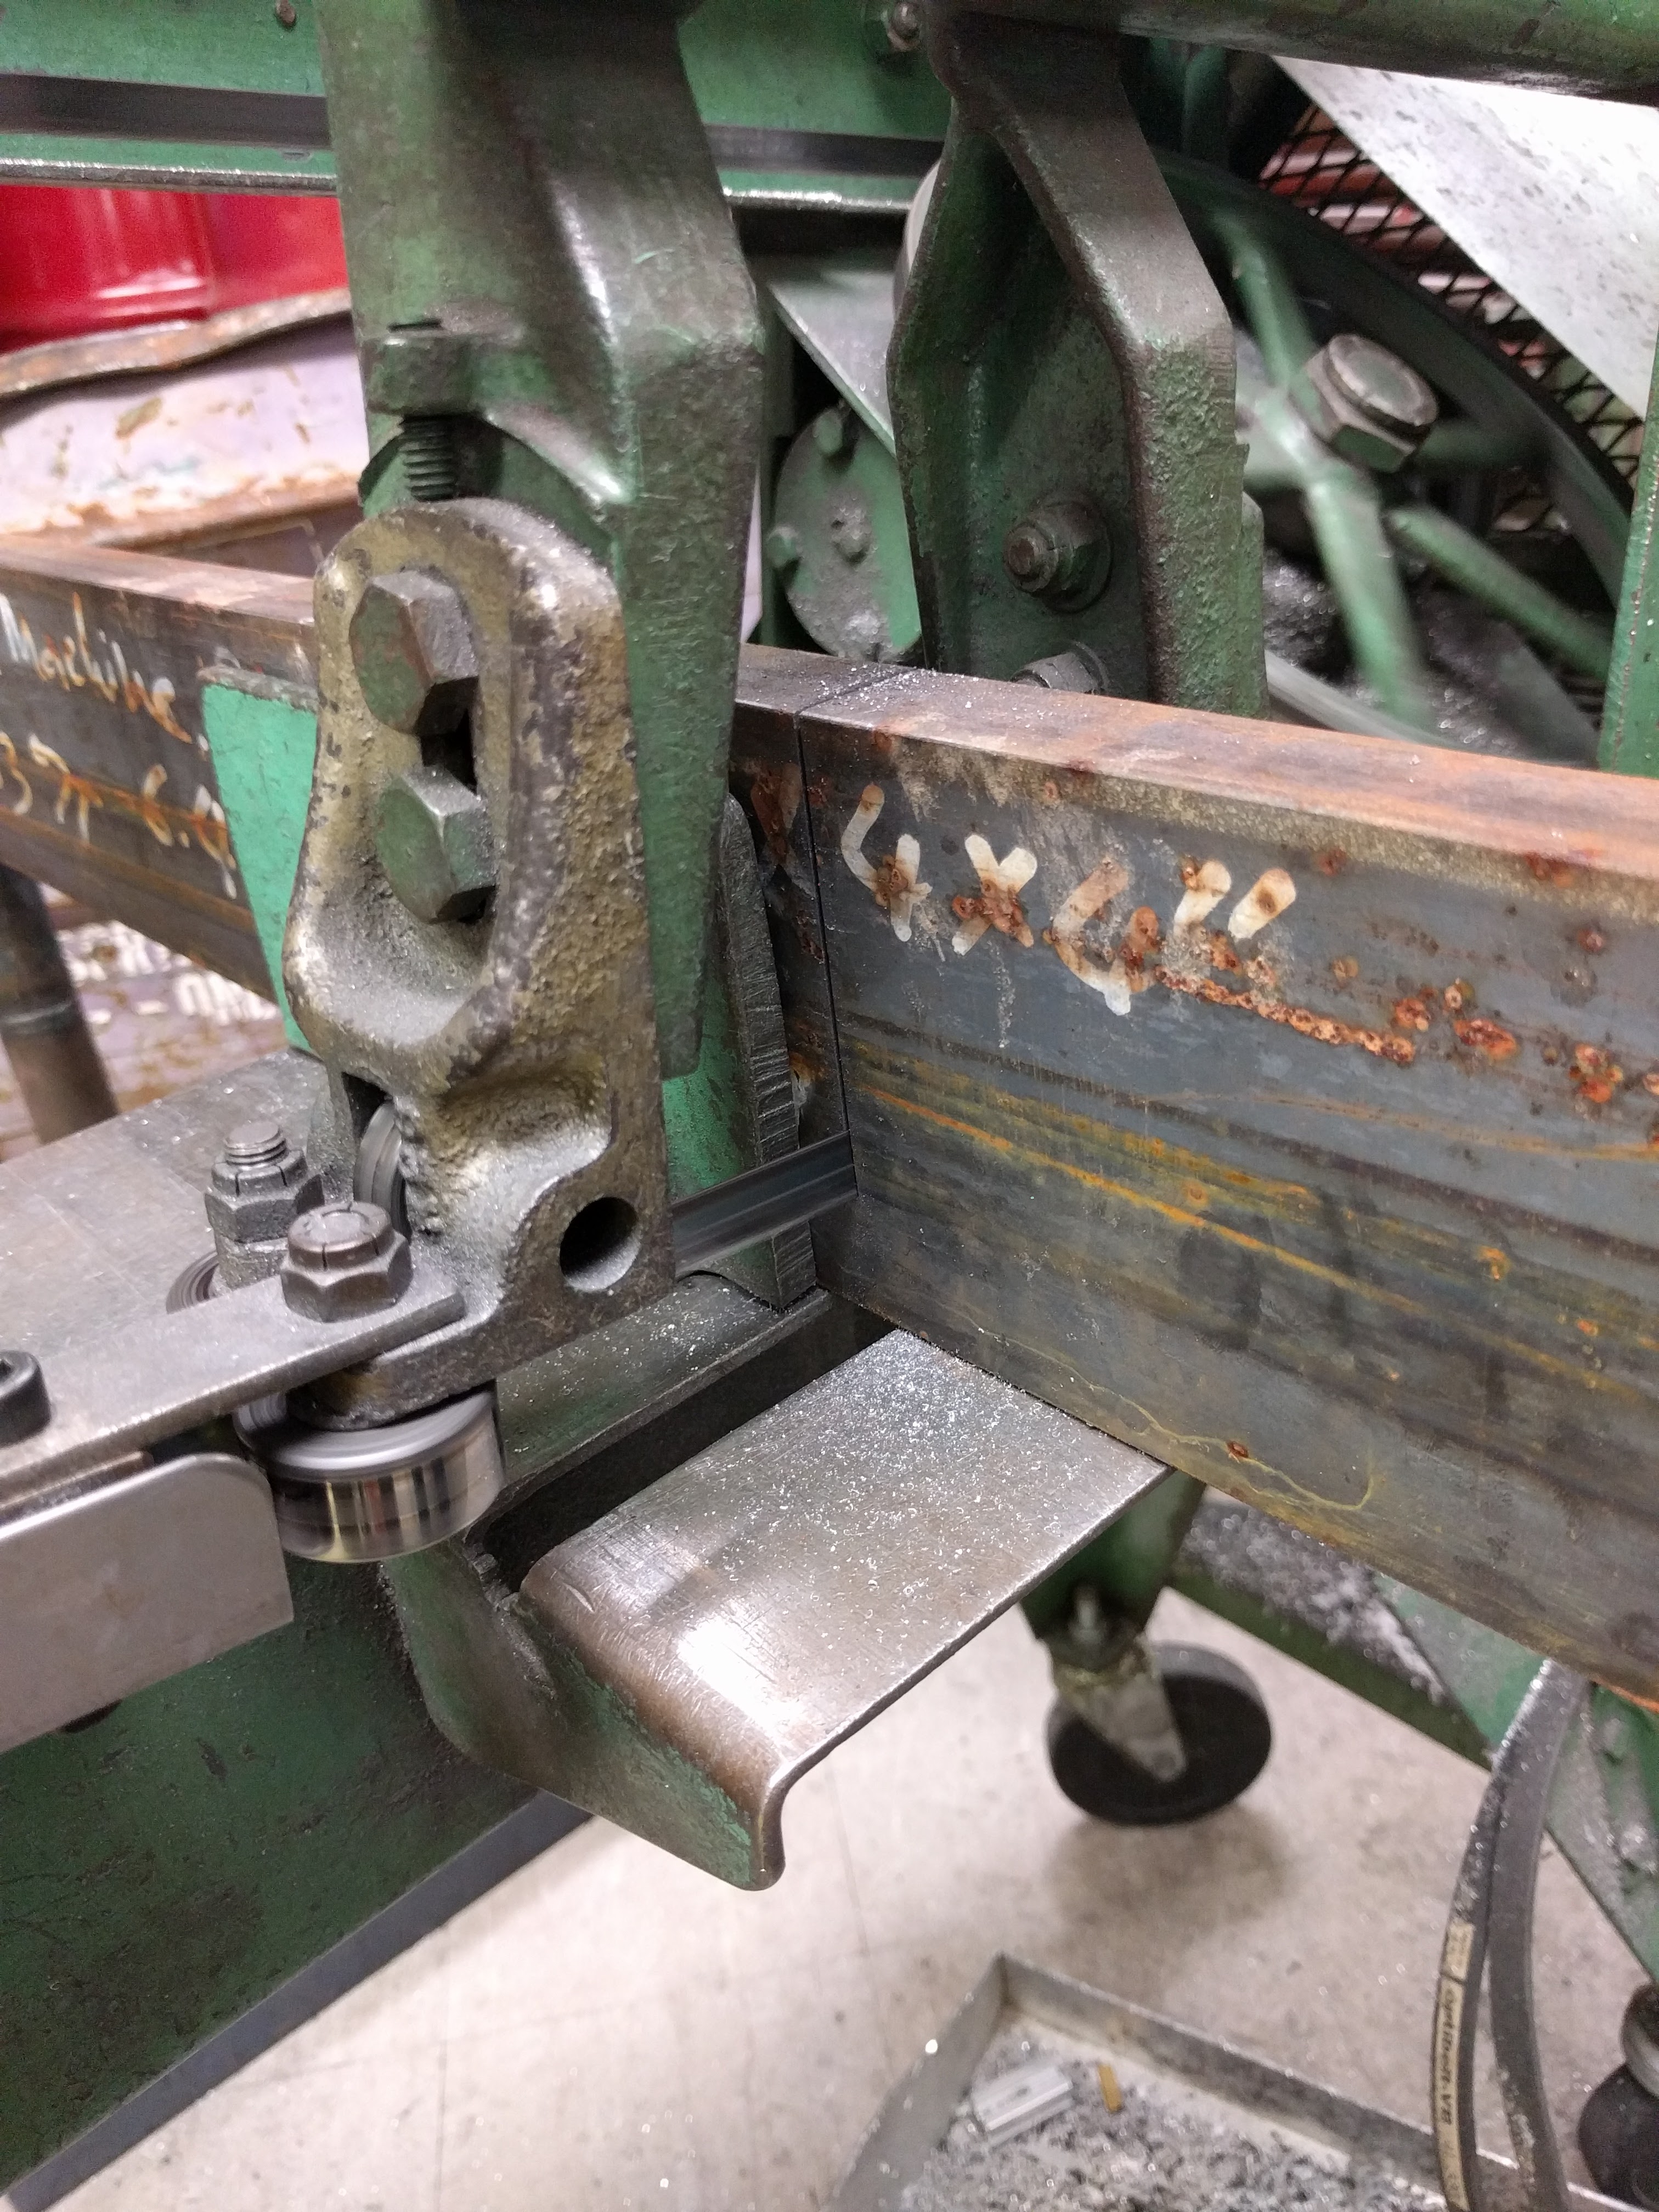
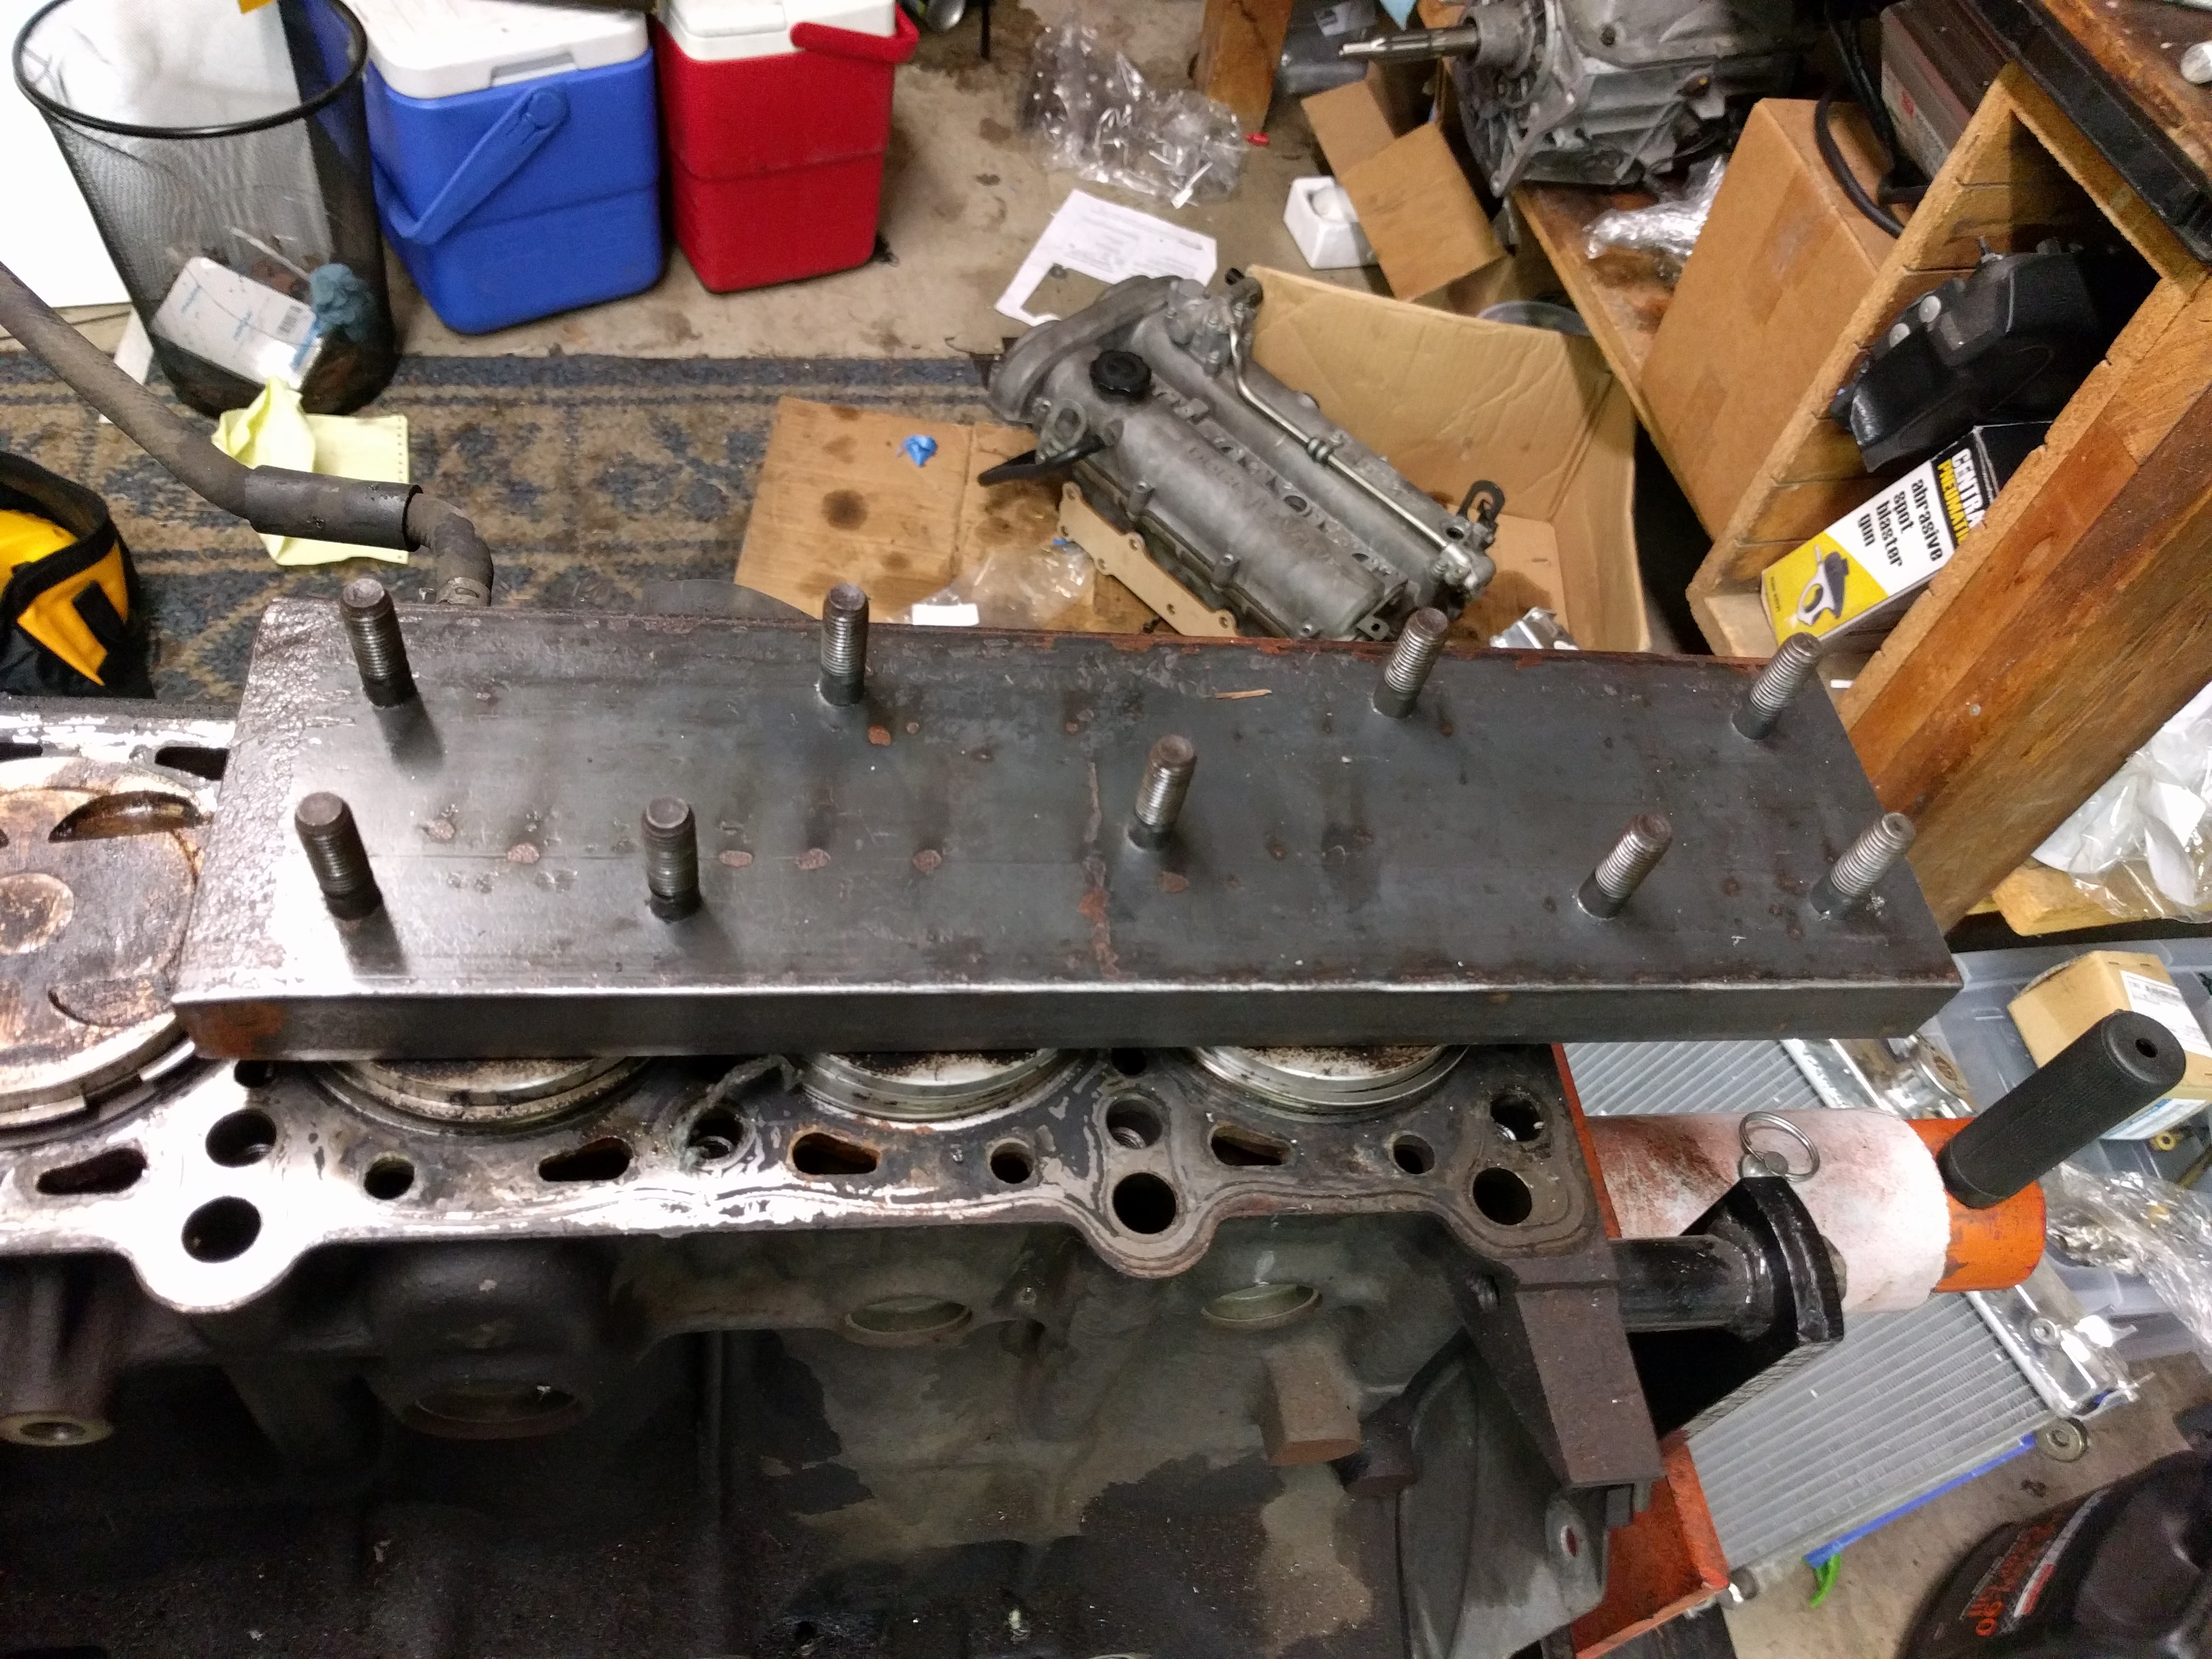
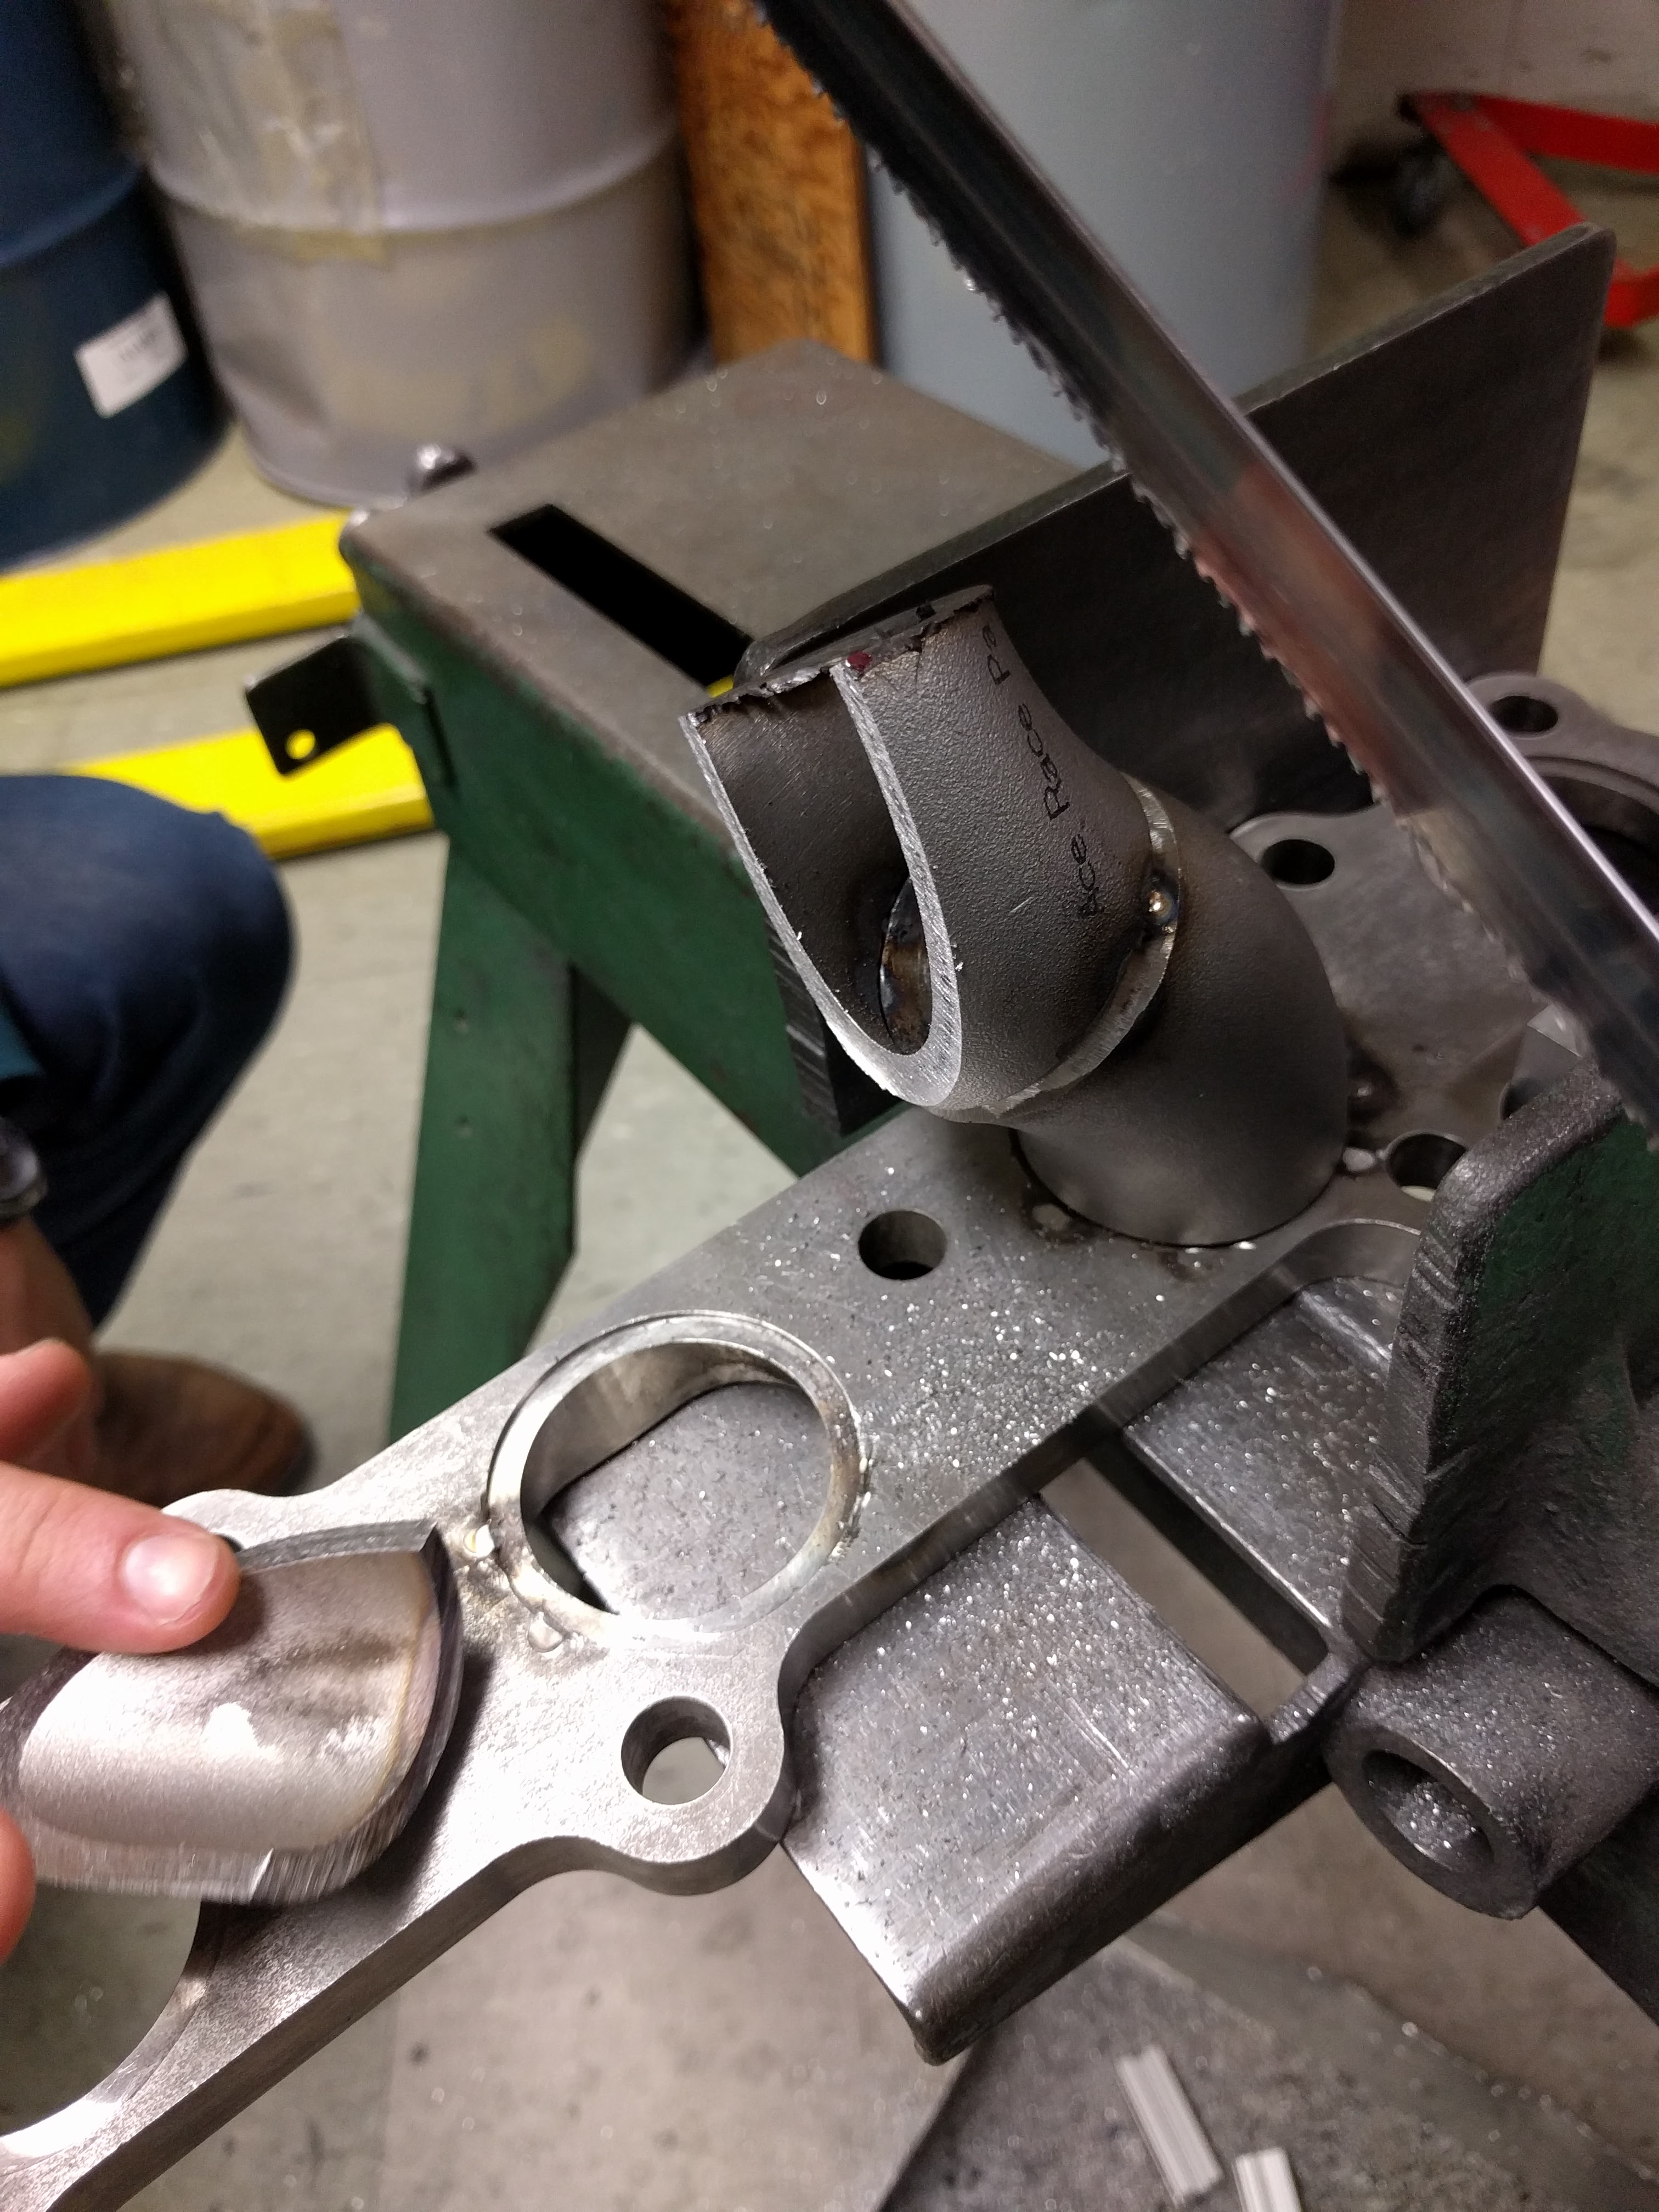
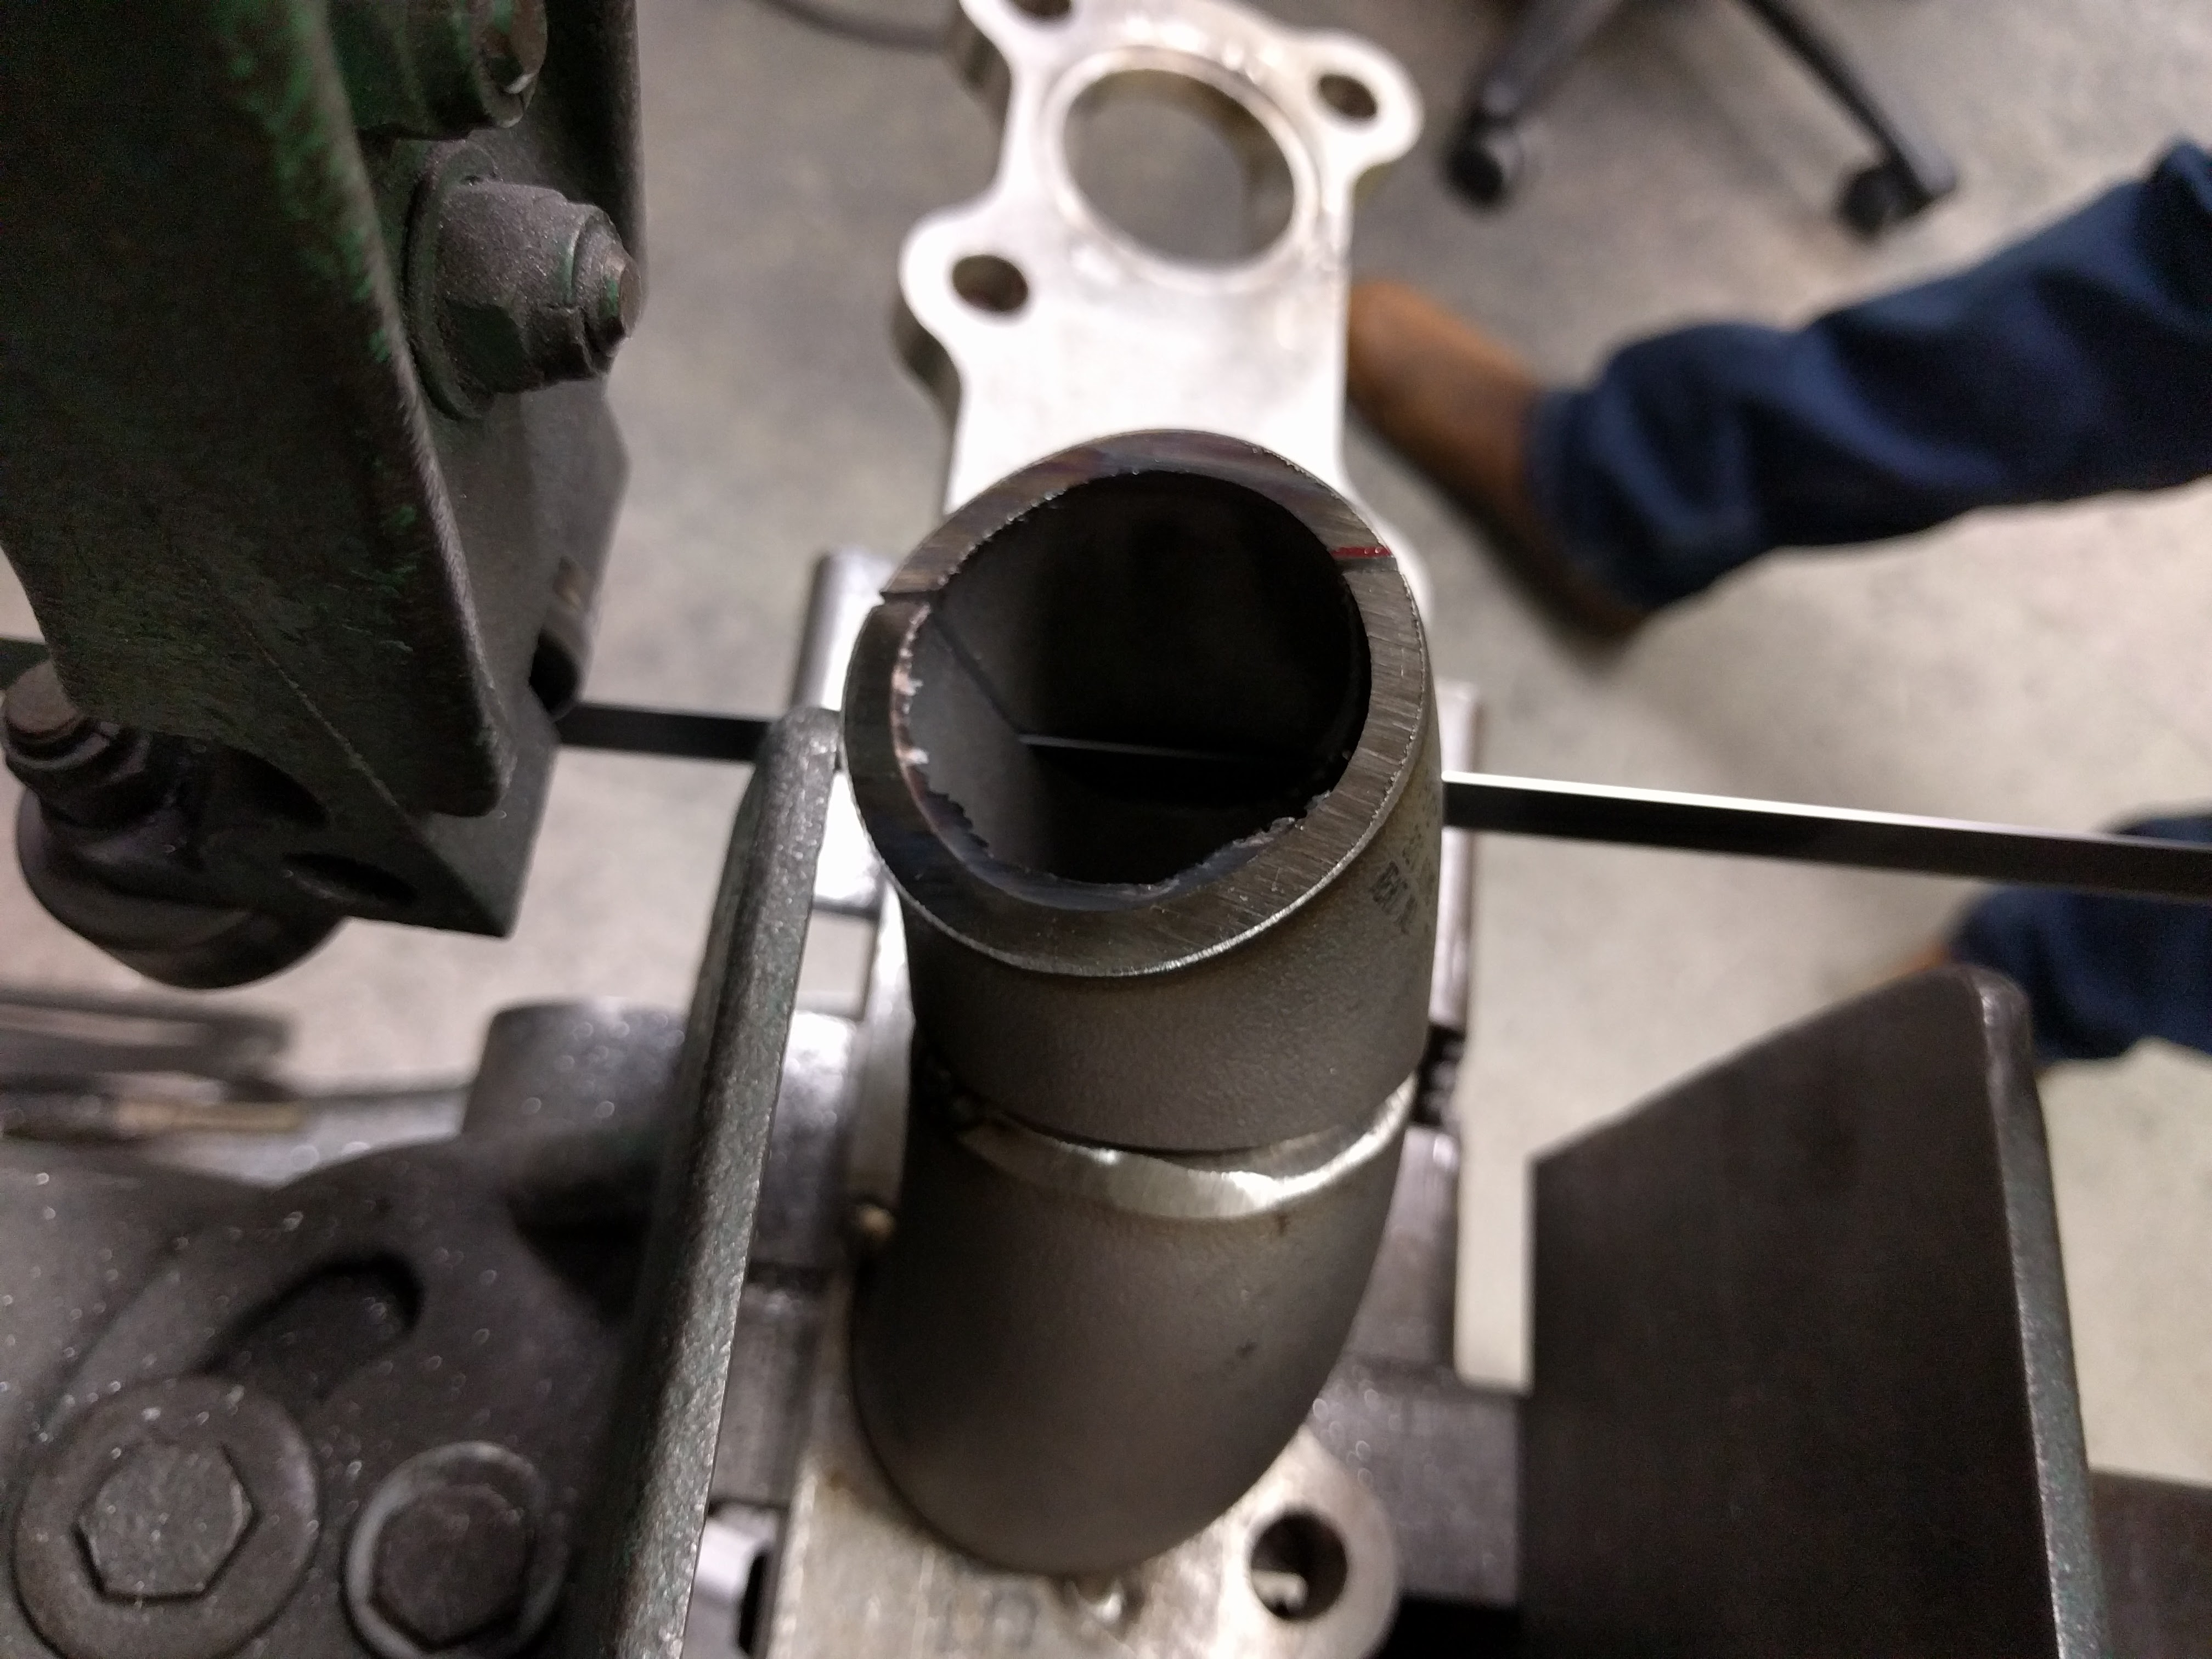
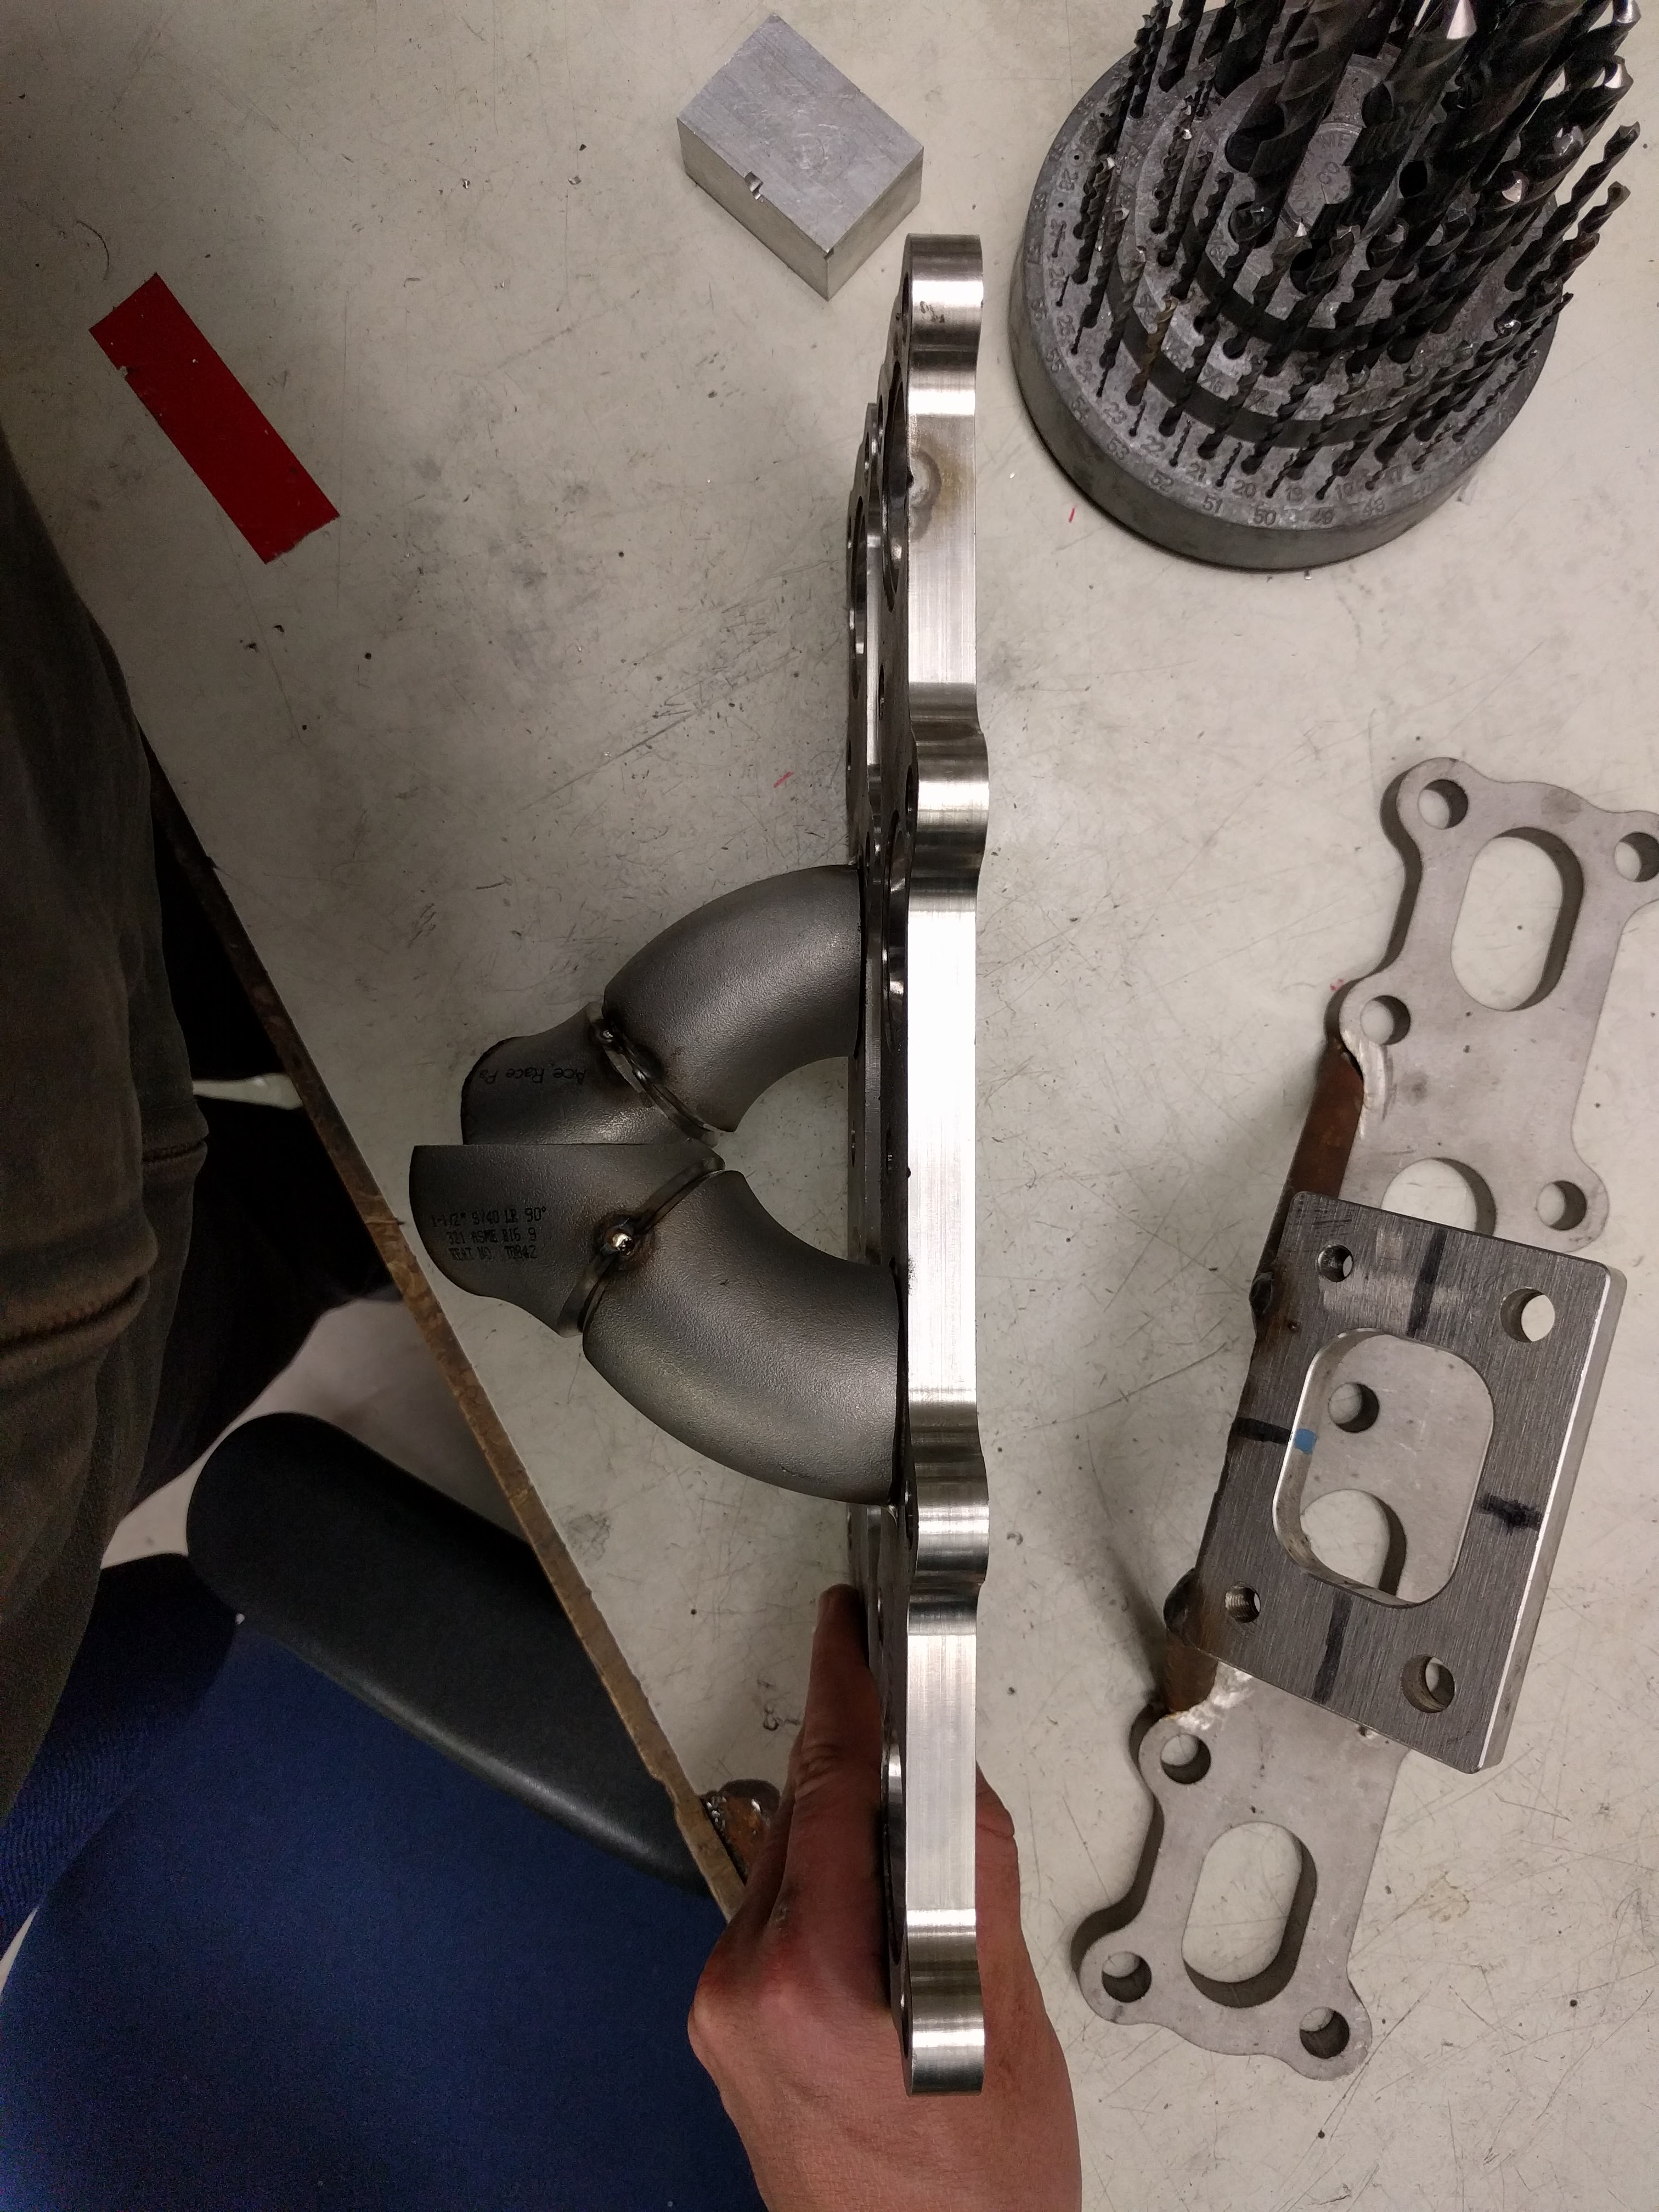
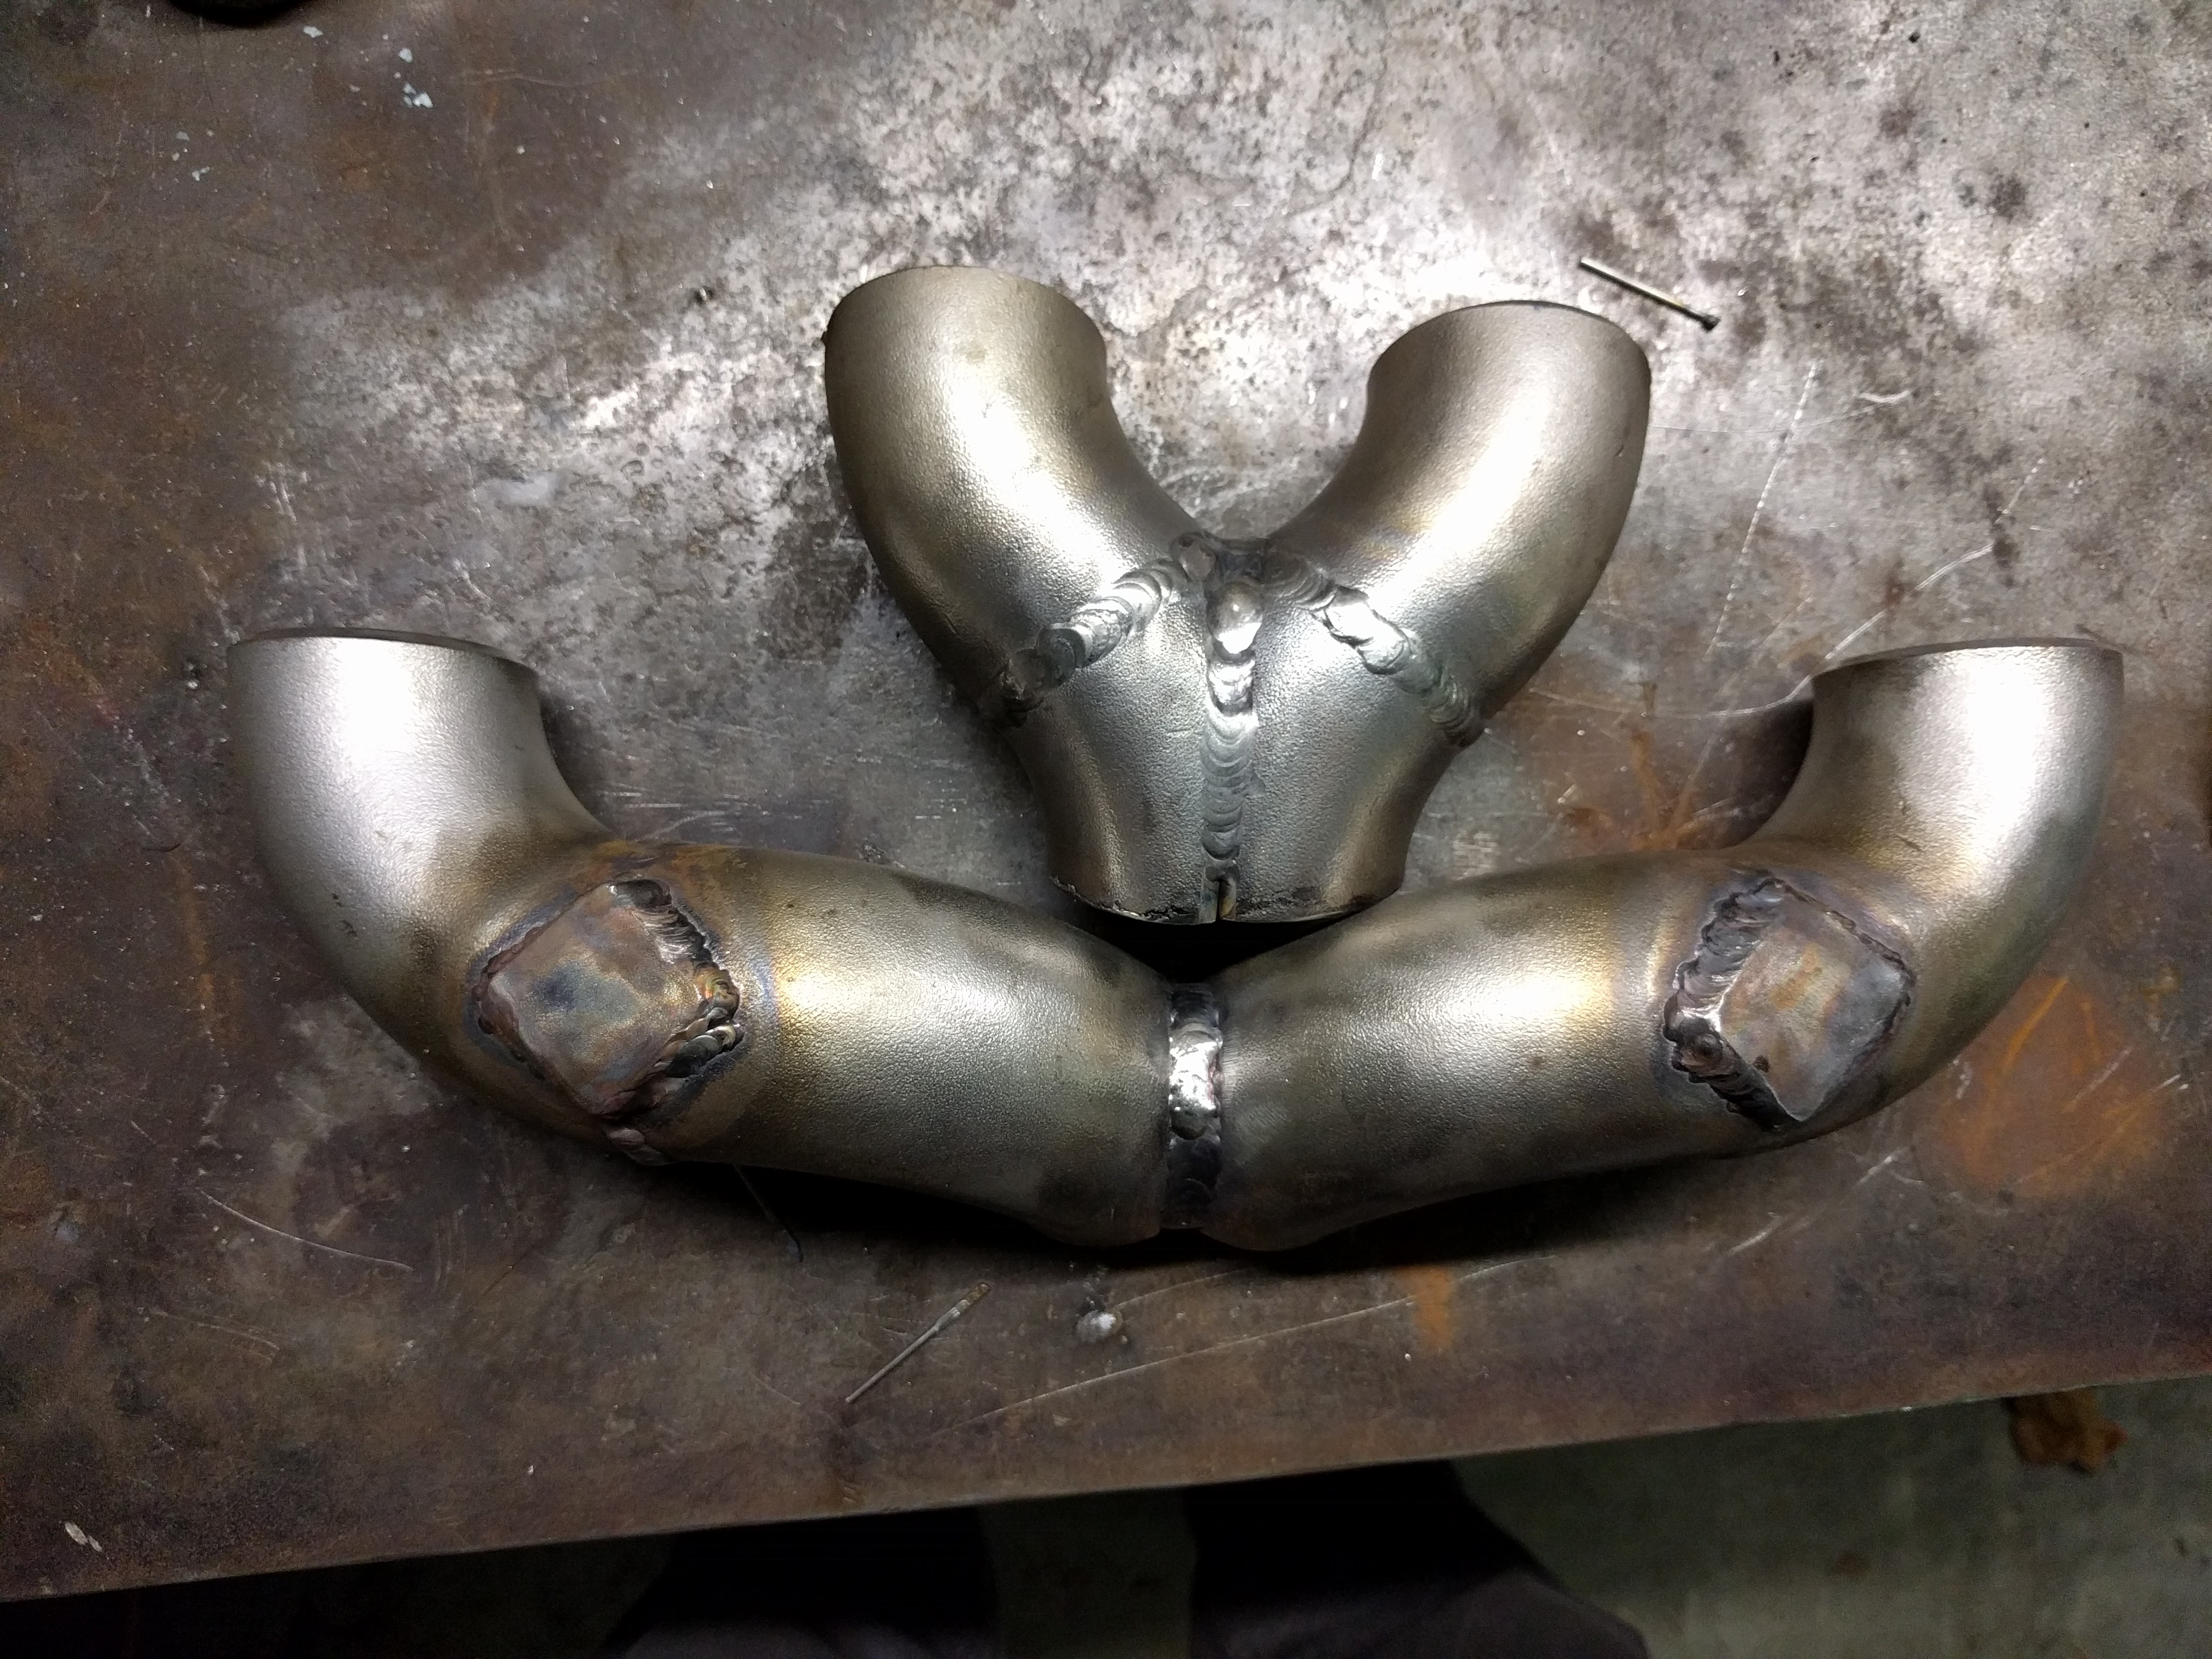
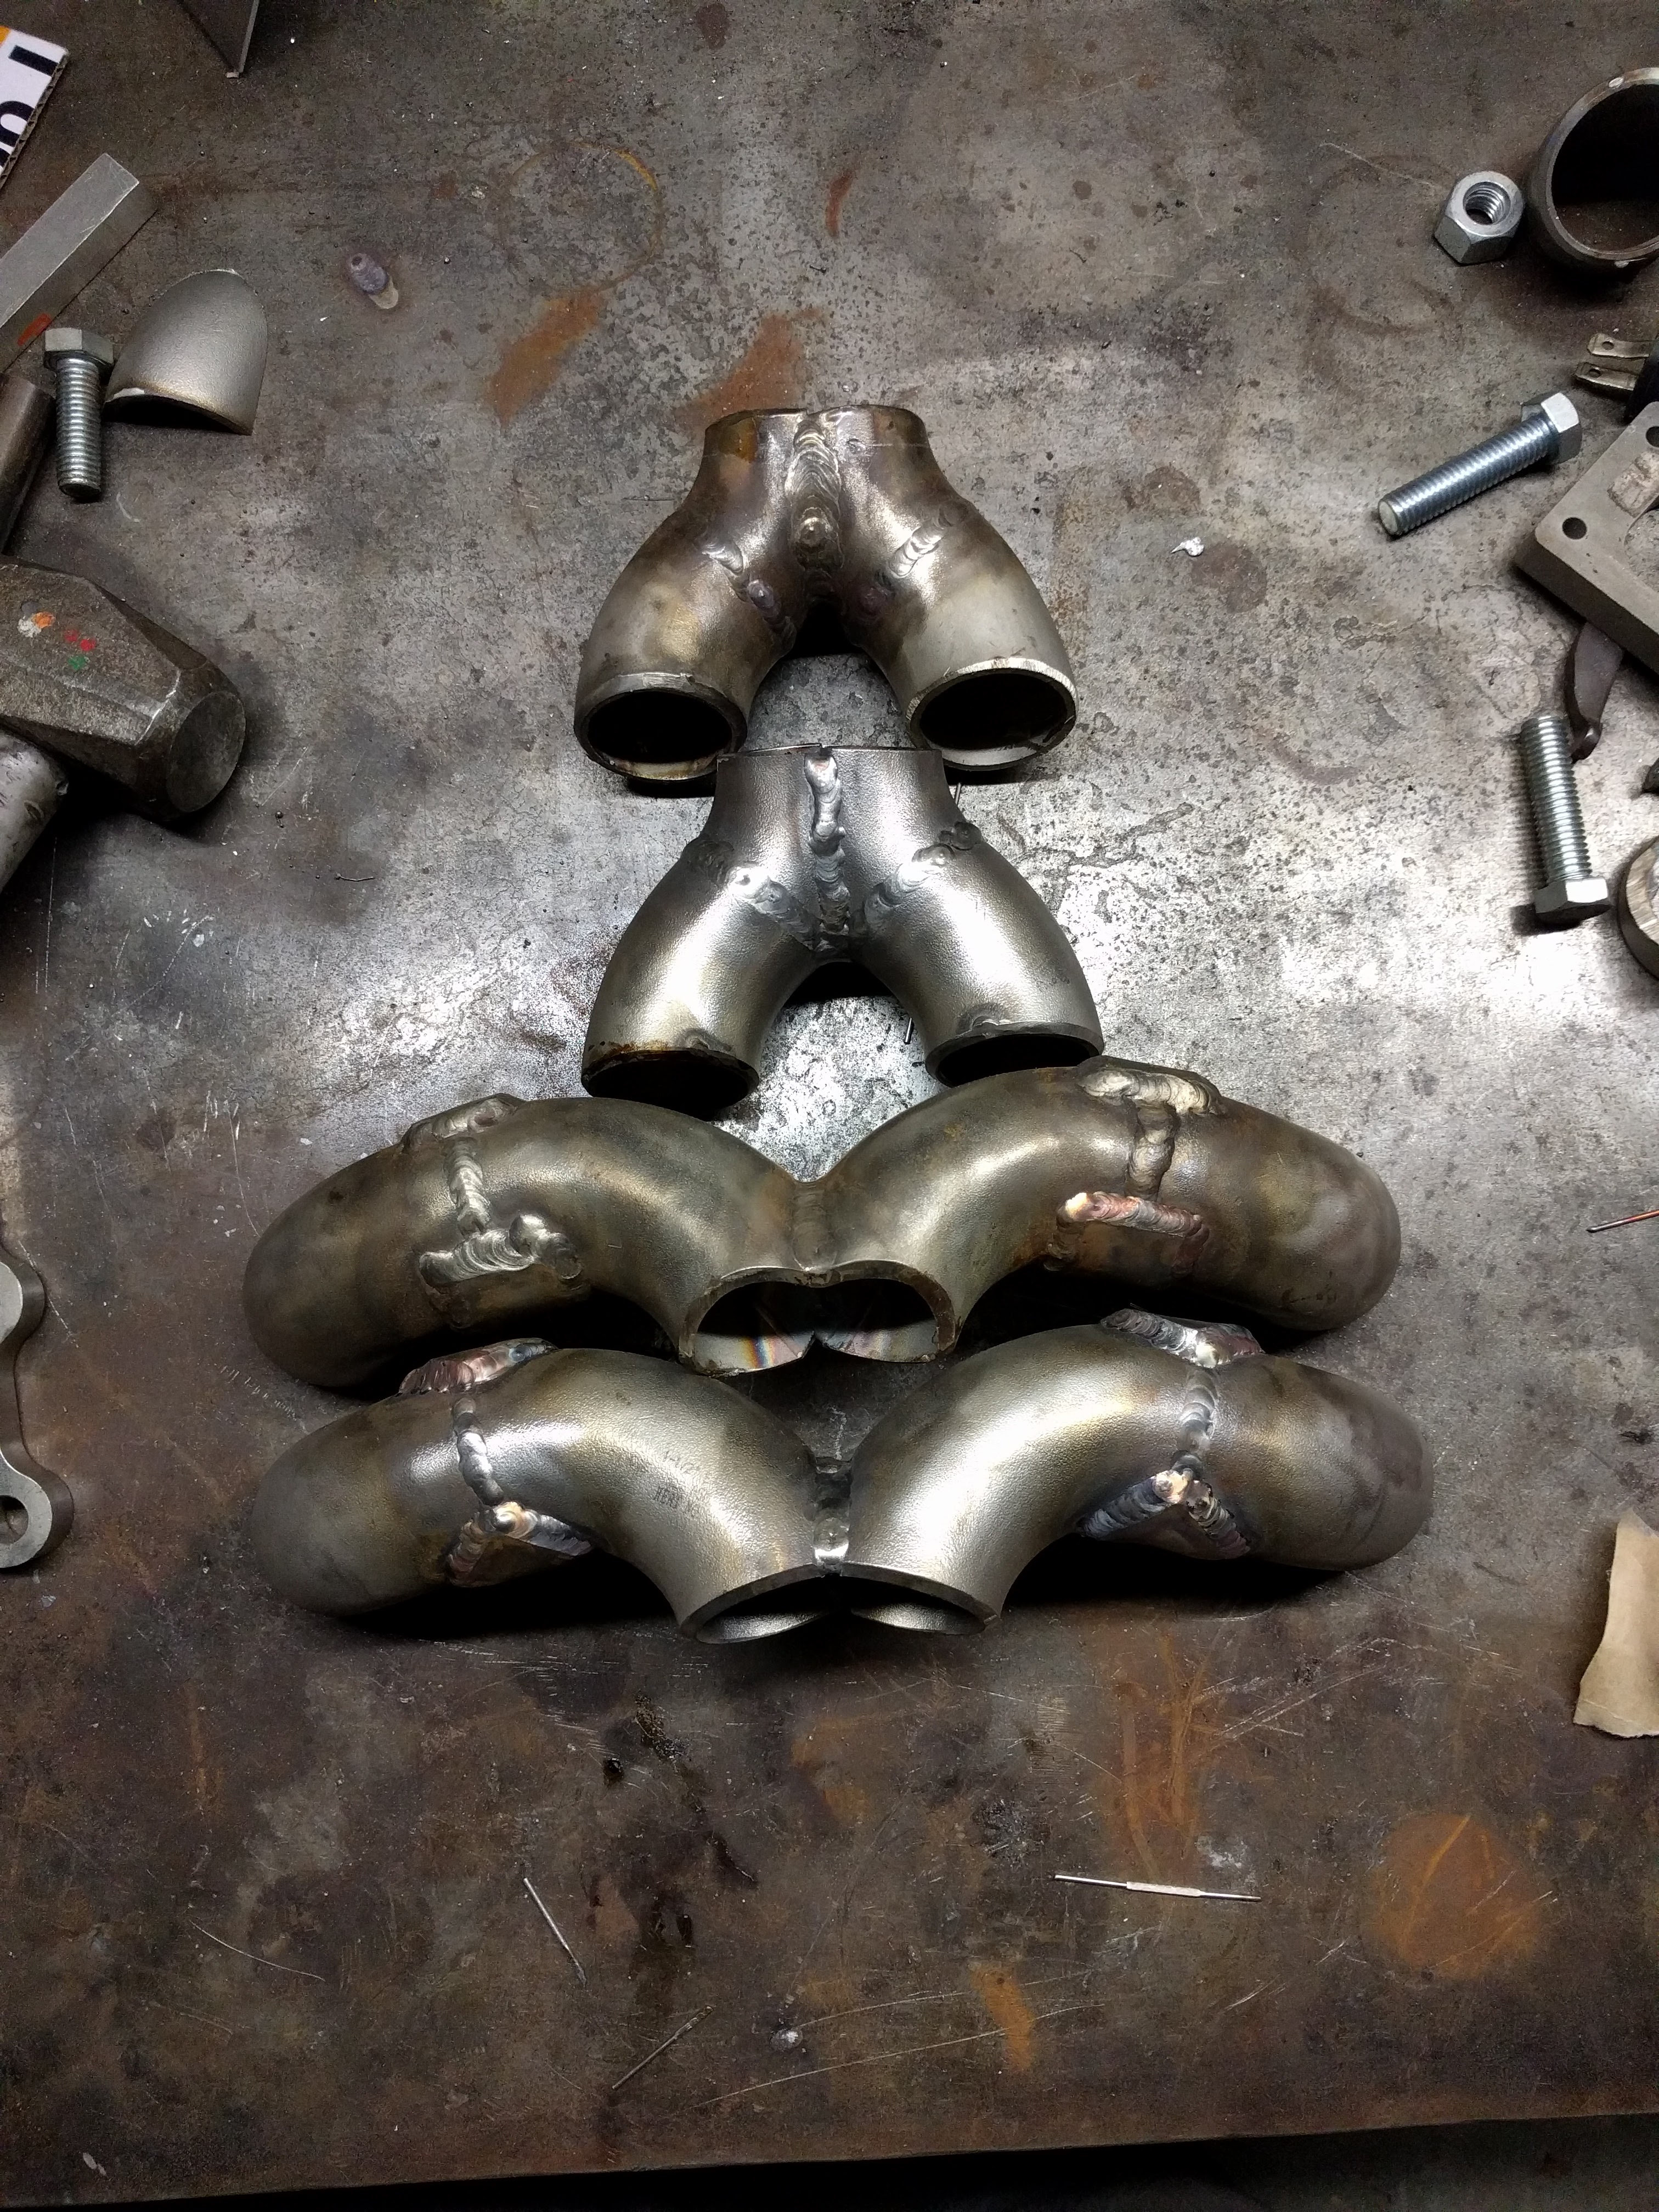
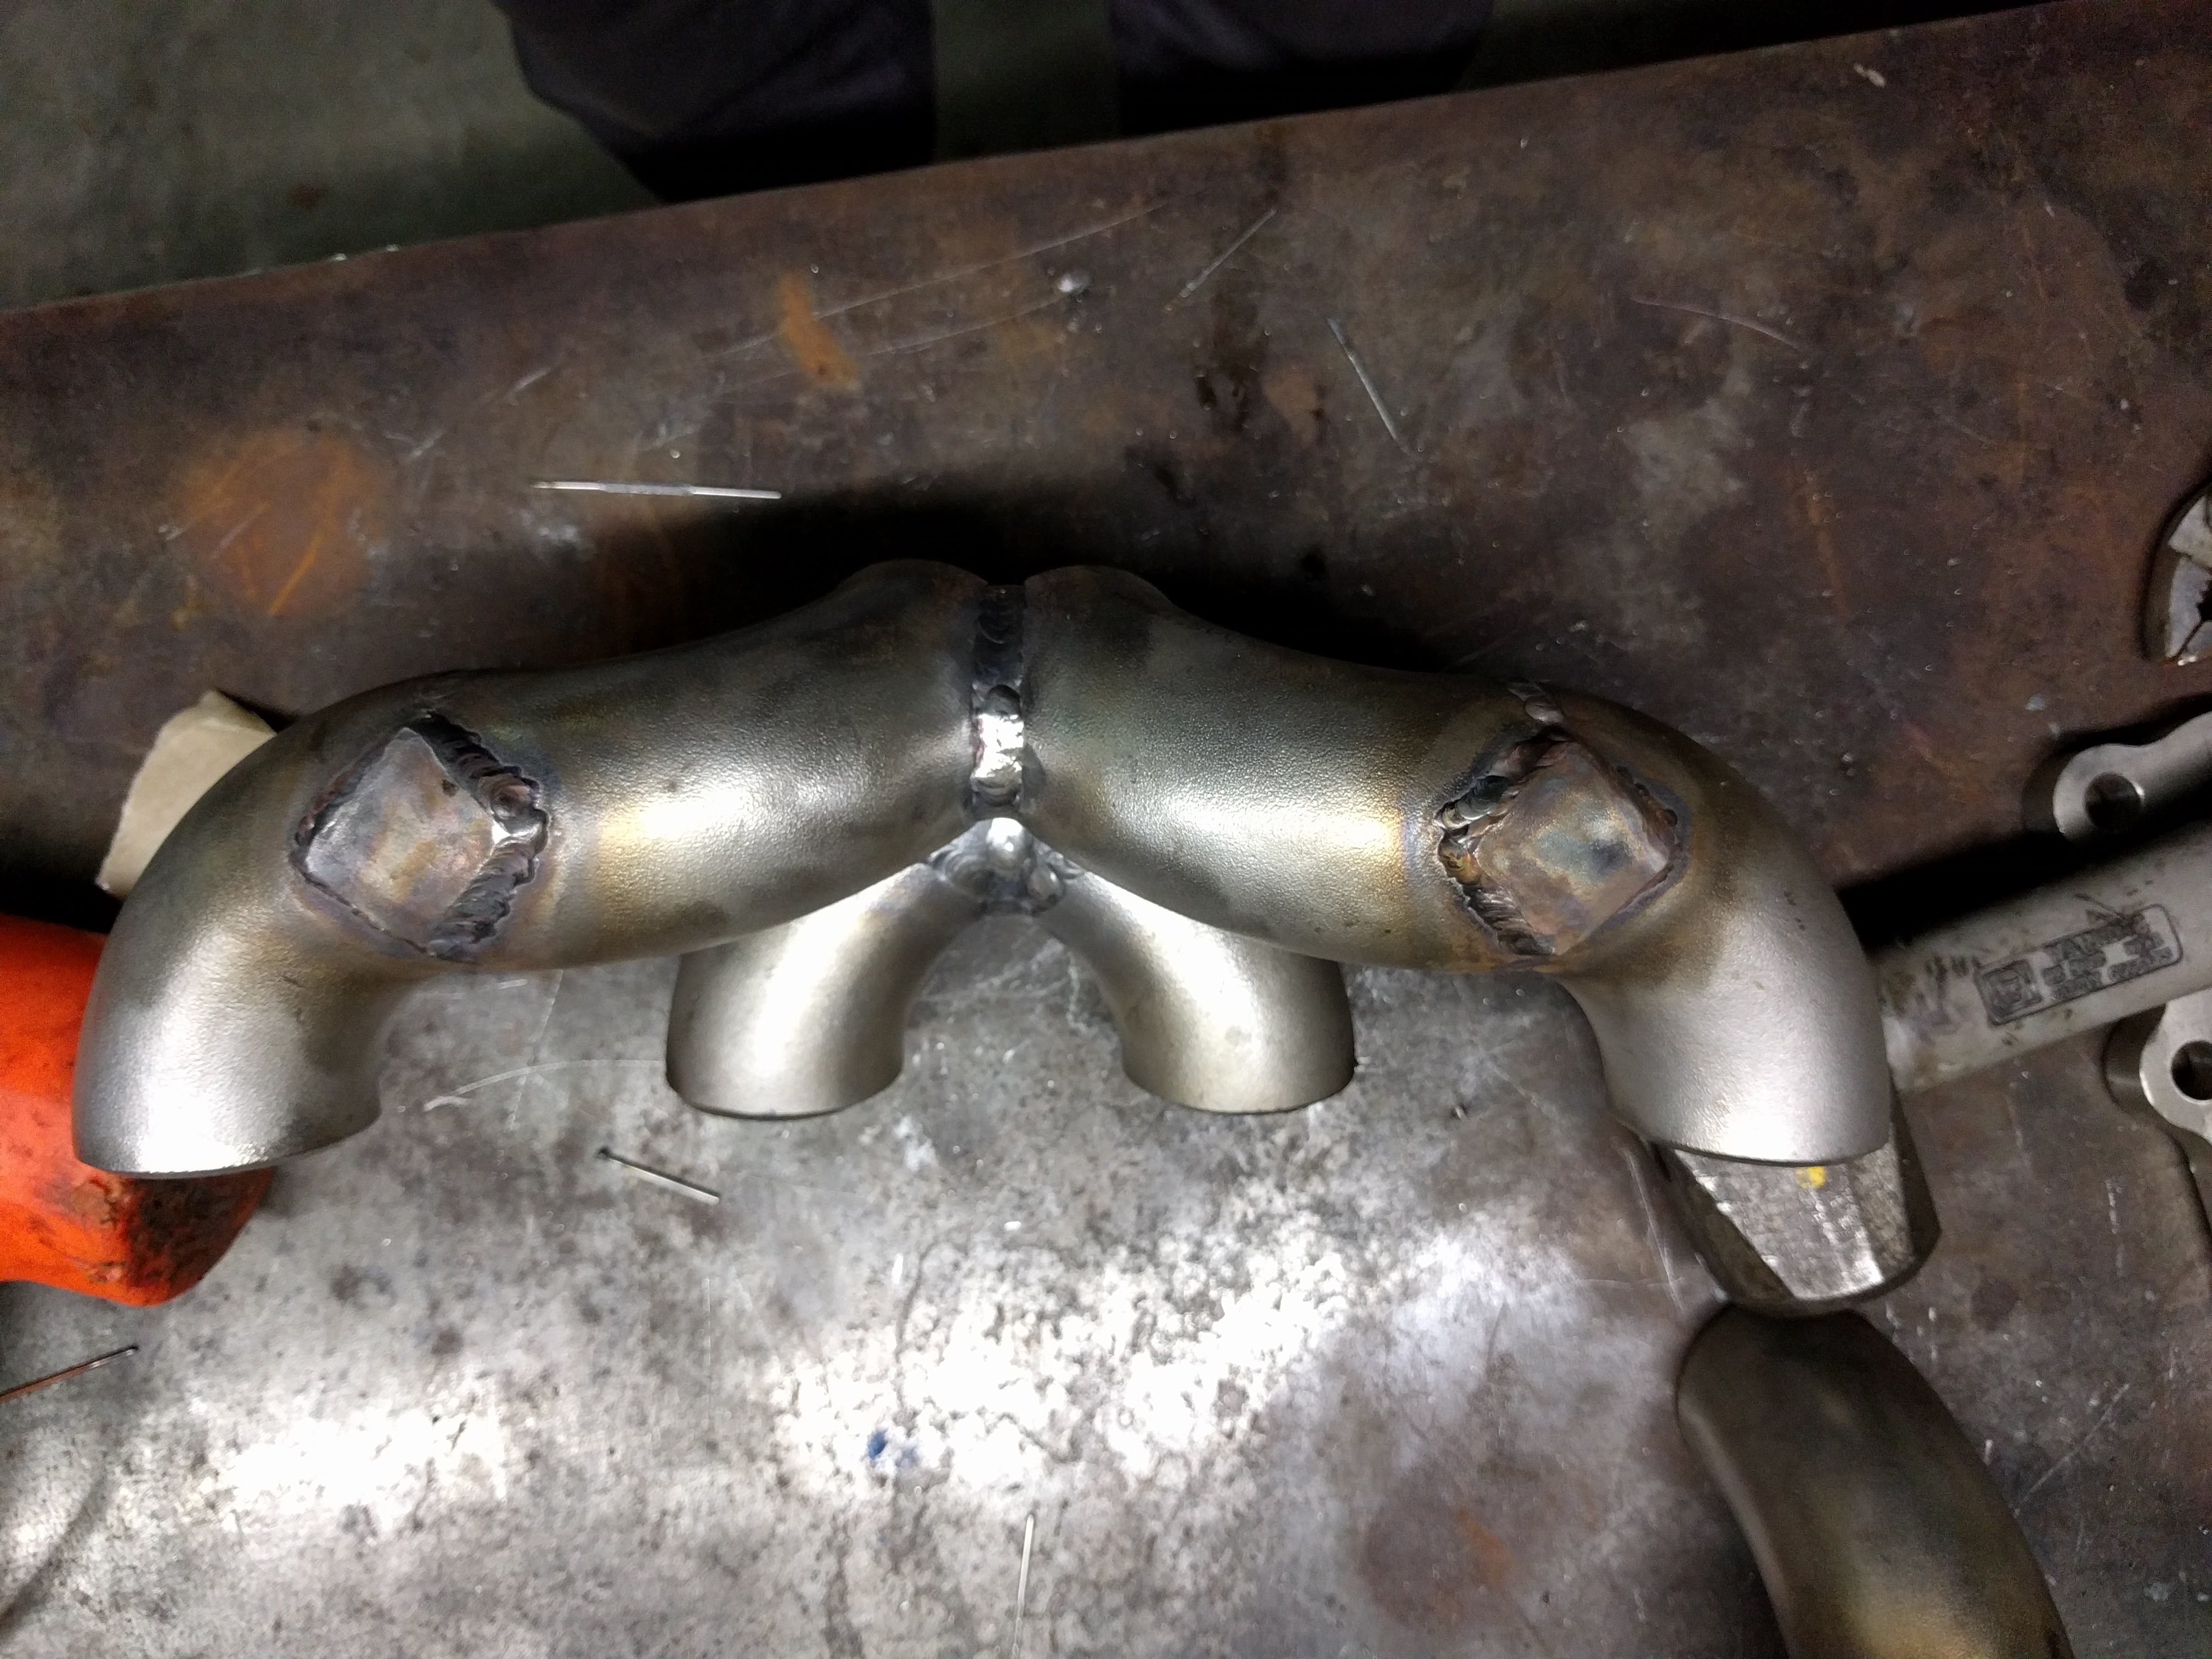
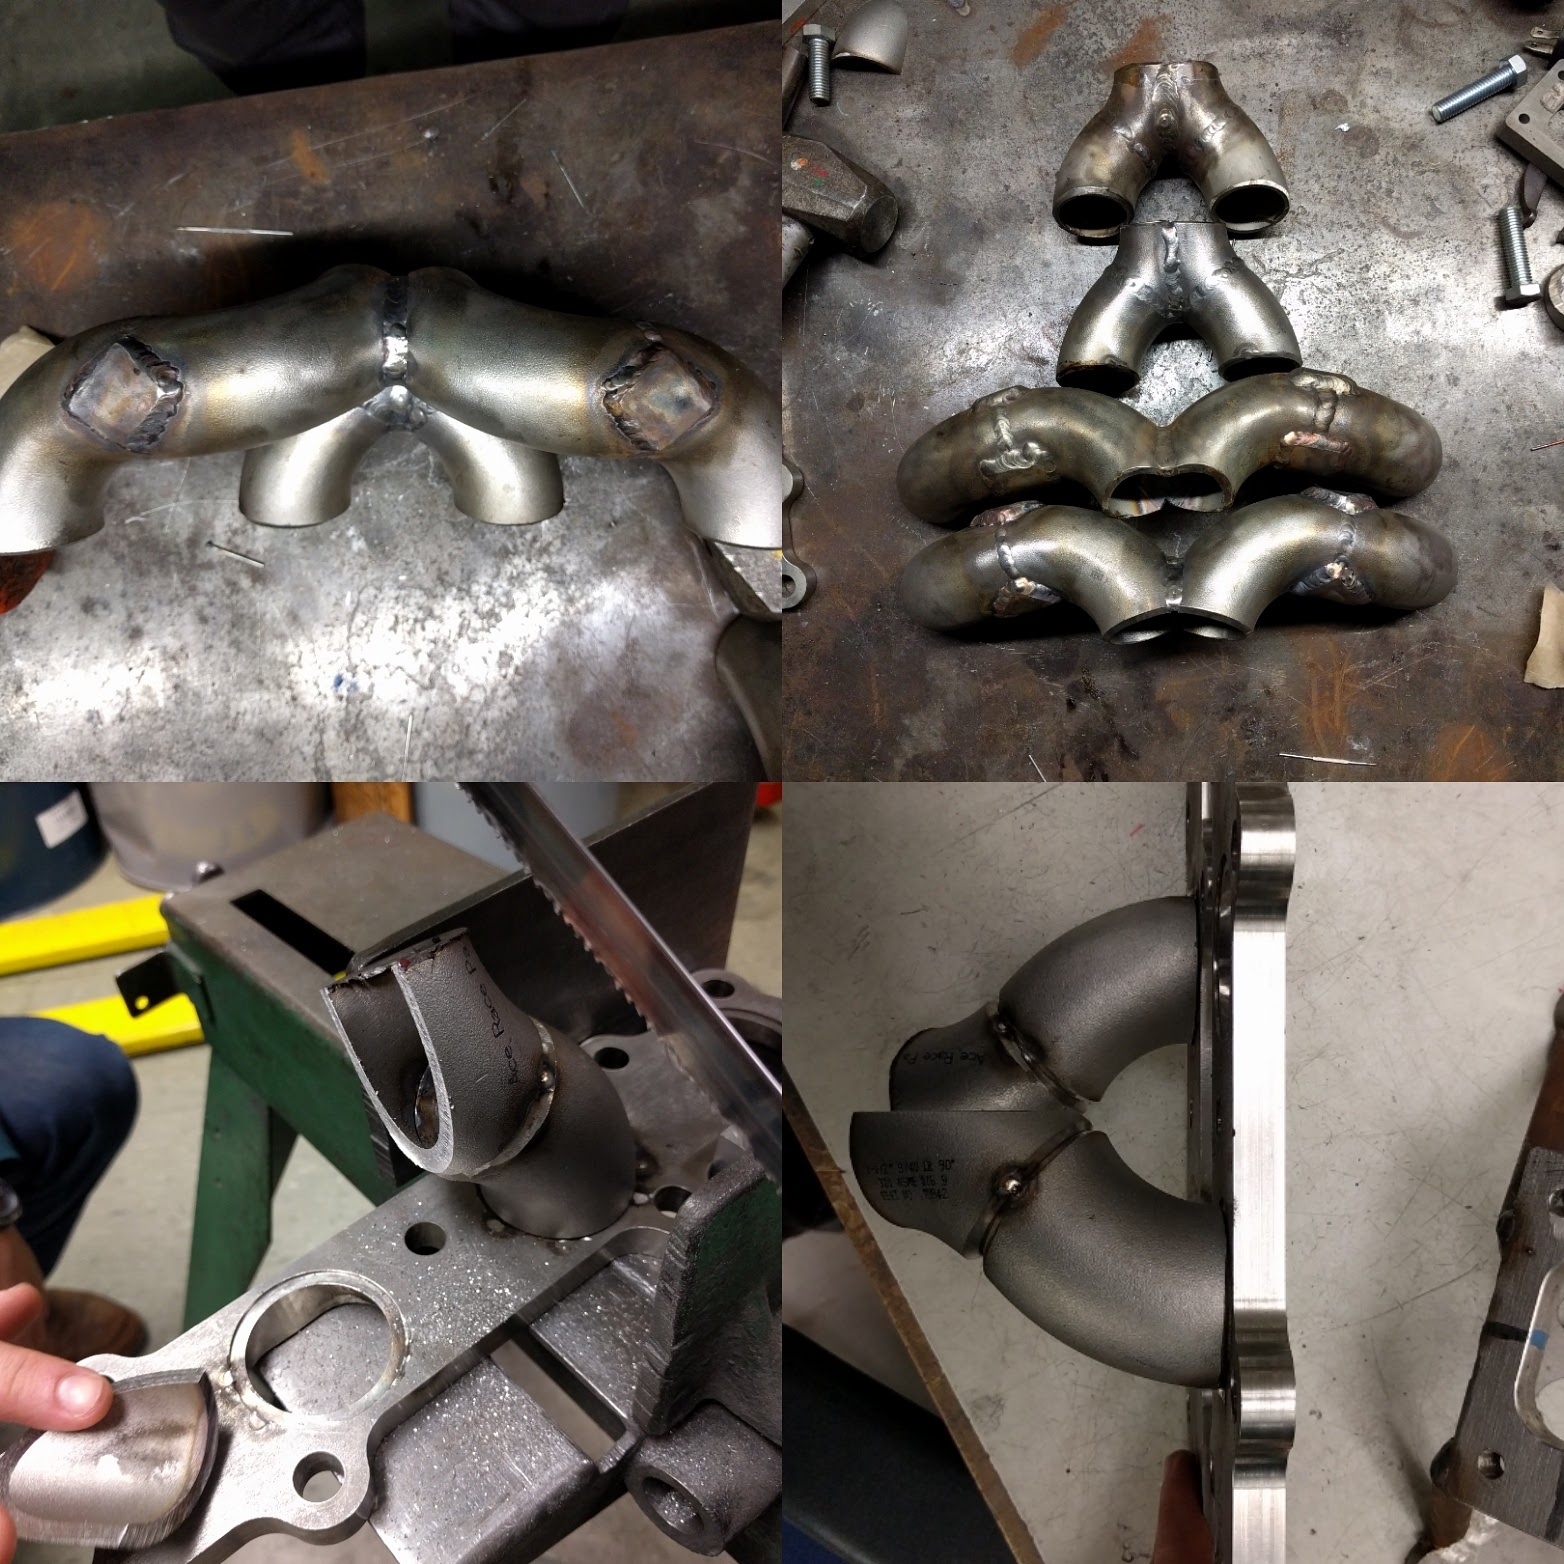
Moar manifold work.

Anyone interested in a walkthrough of the Racepak features/settings or whatnot? I just like playing with the thing.
Anyone interested in a walkthrough of the Racepak features/settings or whatnot? I just like playing with the thing.
Reply
1
1

 and time consuming. lol
Thread Starter
Joined: Apr 2014
Posts: 18,643
Total Cats: 1,870
From: Beaverton, USA
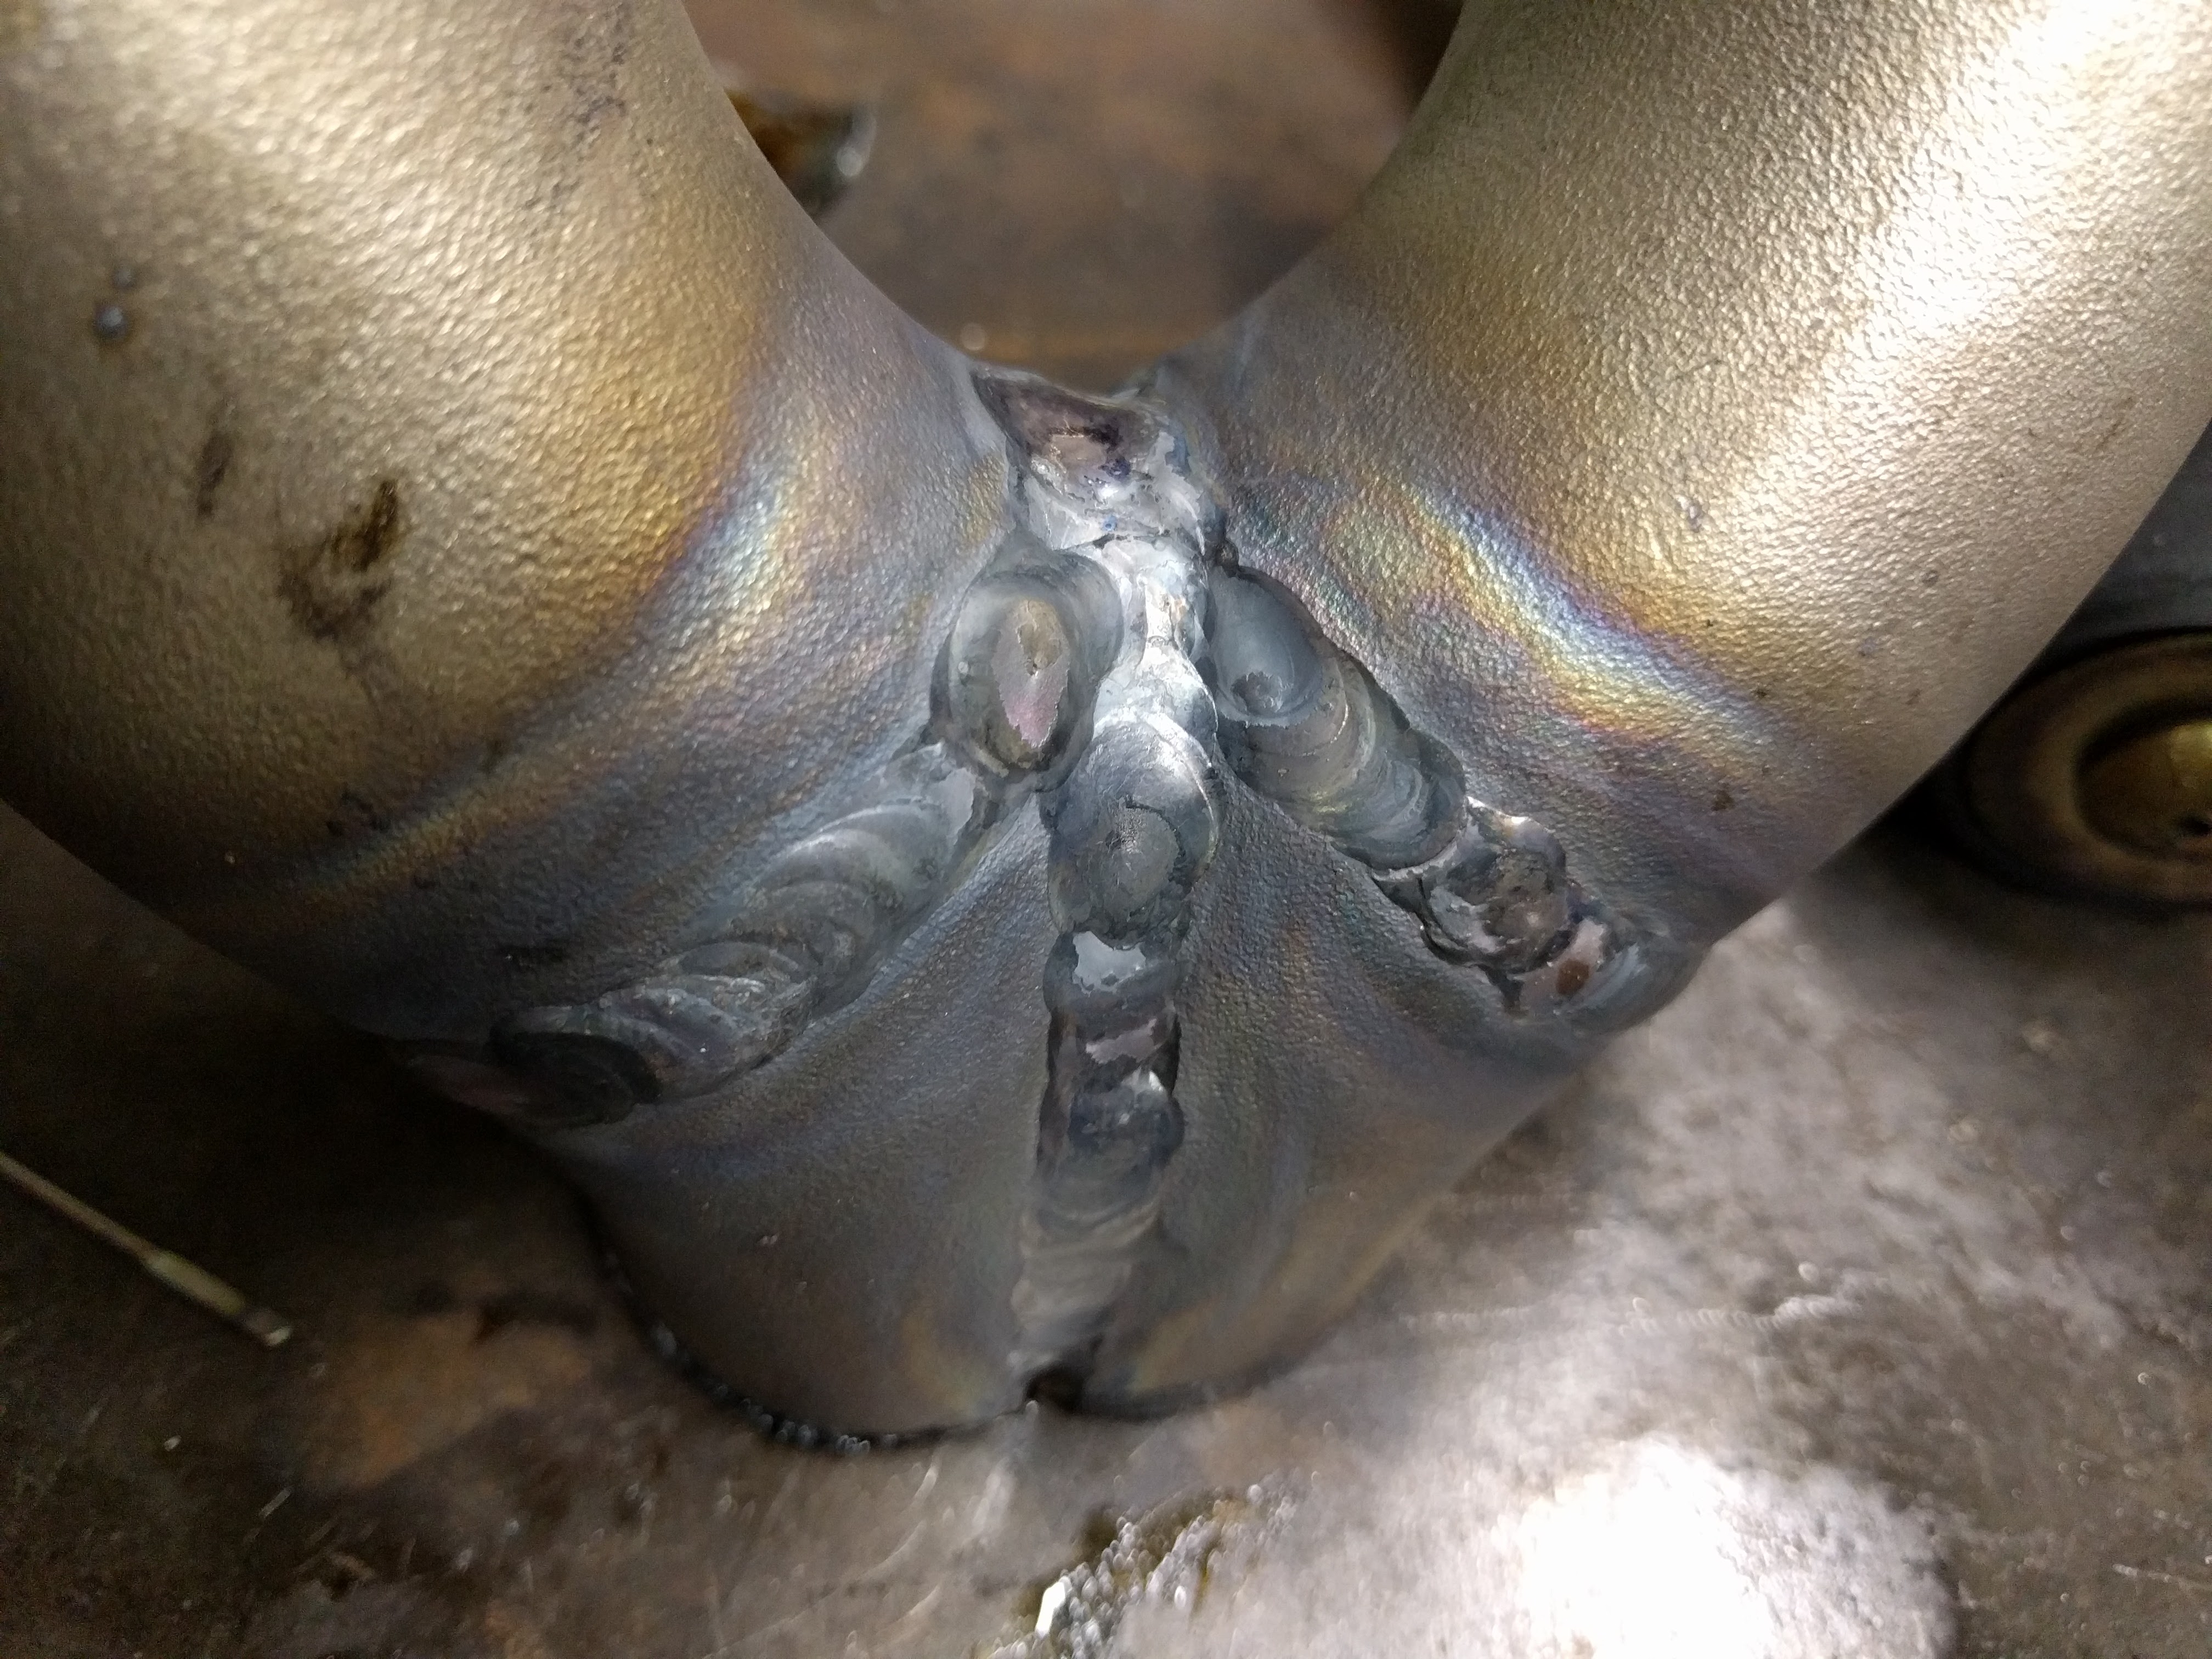
Always learning. I've been putting too much heat into them. Part of it is impatience, part of it is not perfect fitment. So I can't get the pretty colors I want. I need more practice.
Reply
0
0
Thread Starter
Joined: Apr 2014
Posts: 18,643
Total Cats: 1,870
From: Beaverton, USA
Just chipping away at stuff every day.
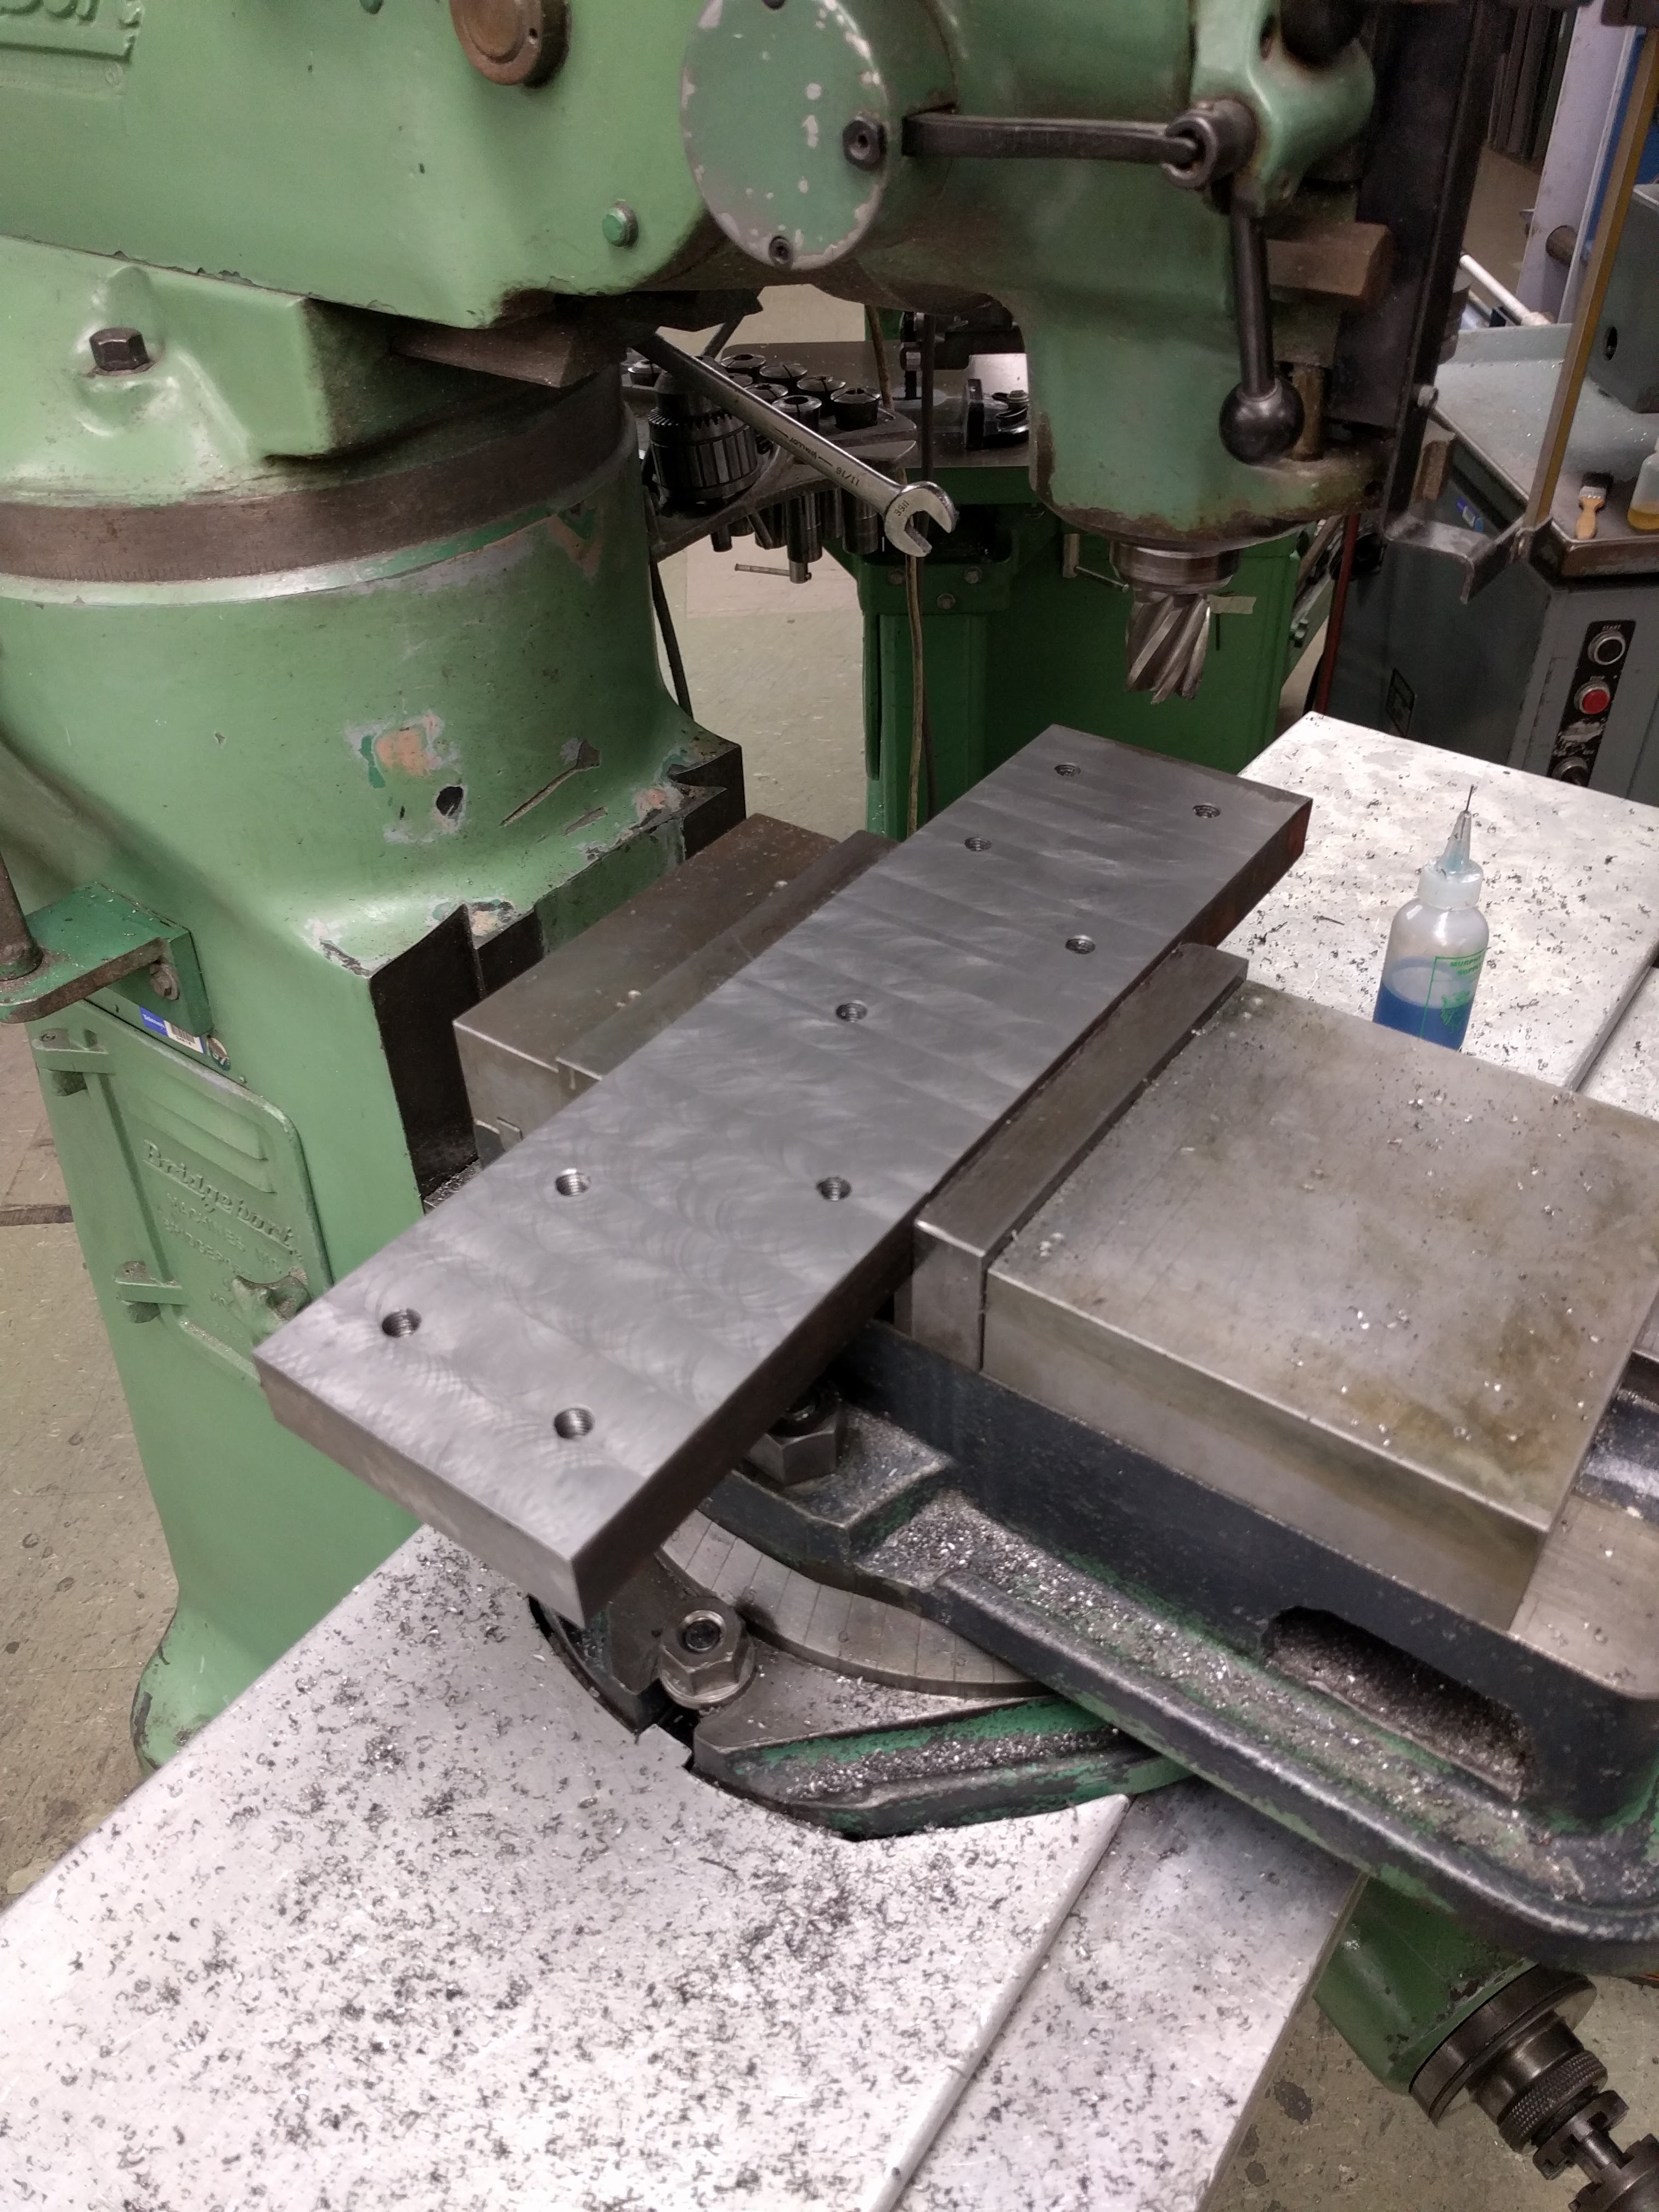
Surfaced the plate.
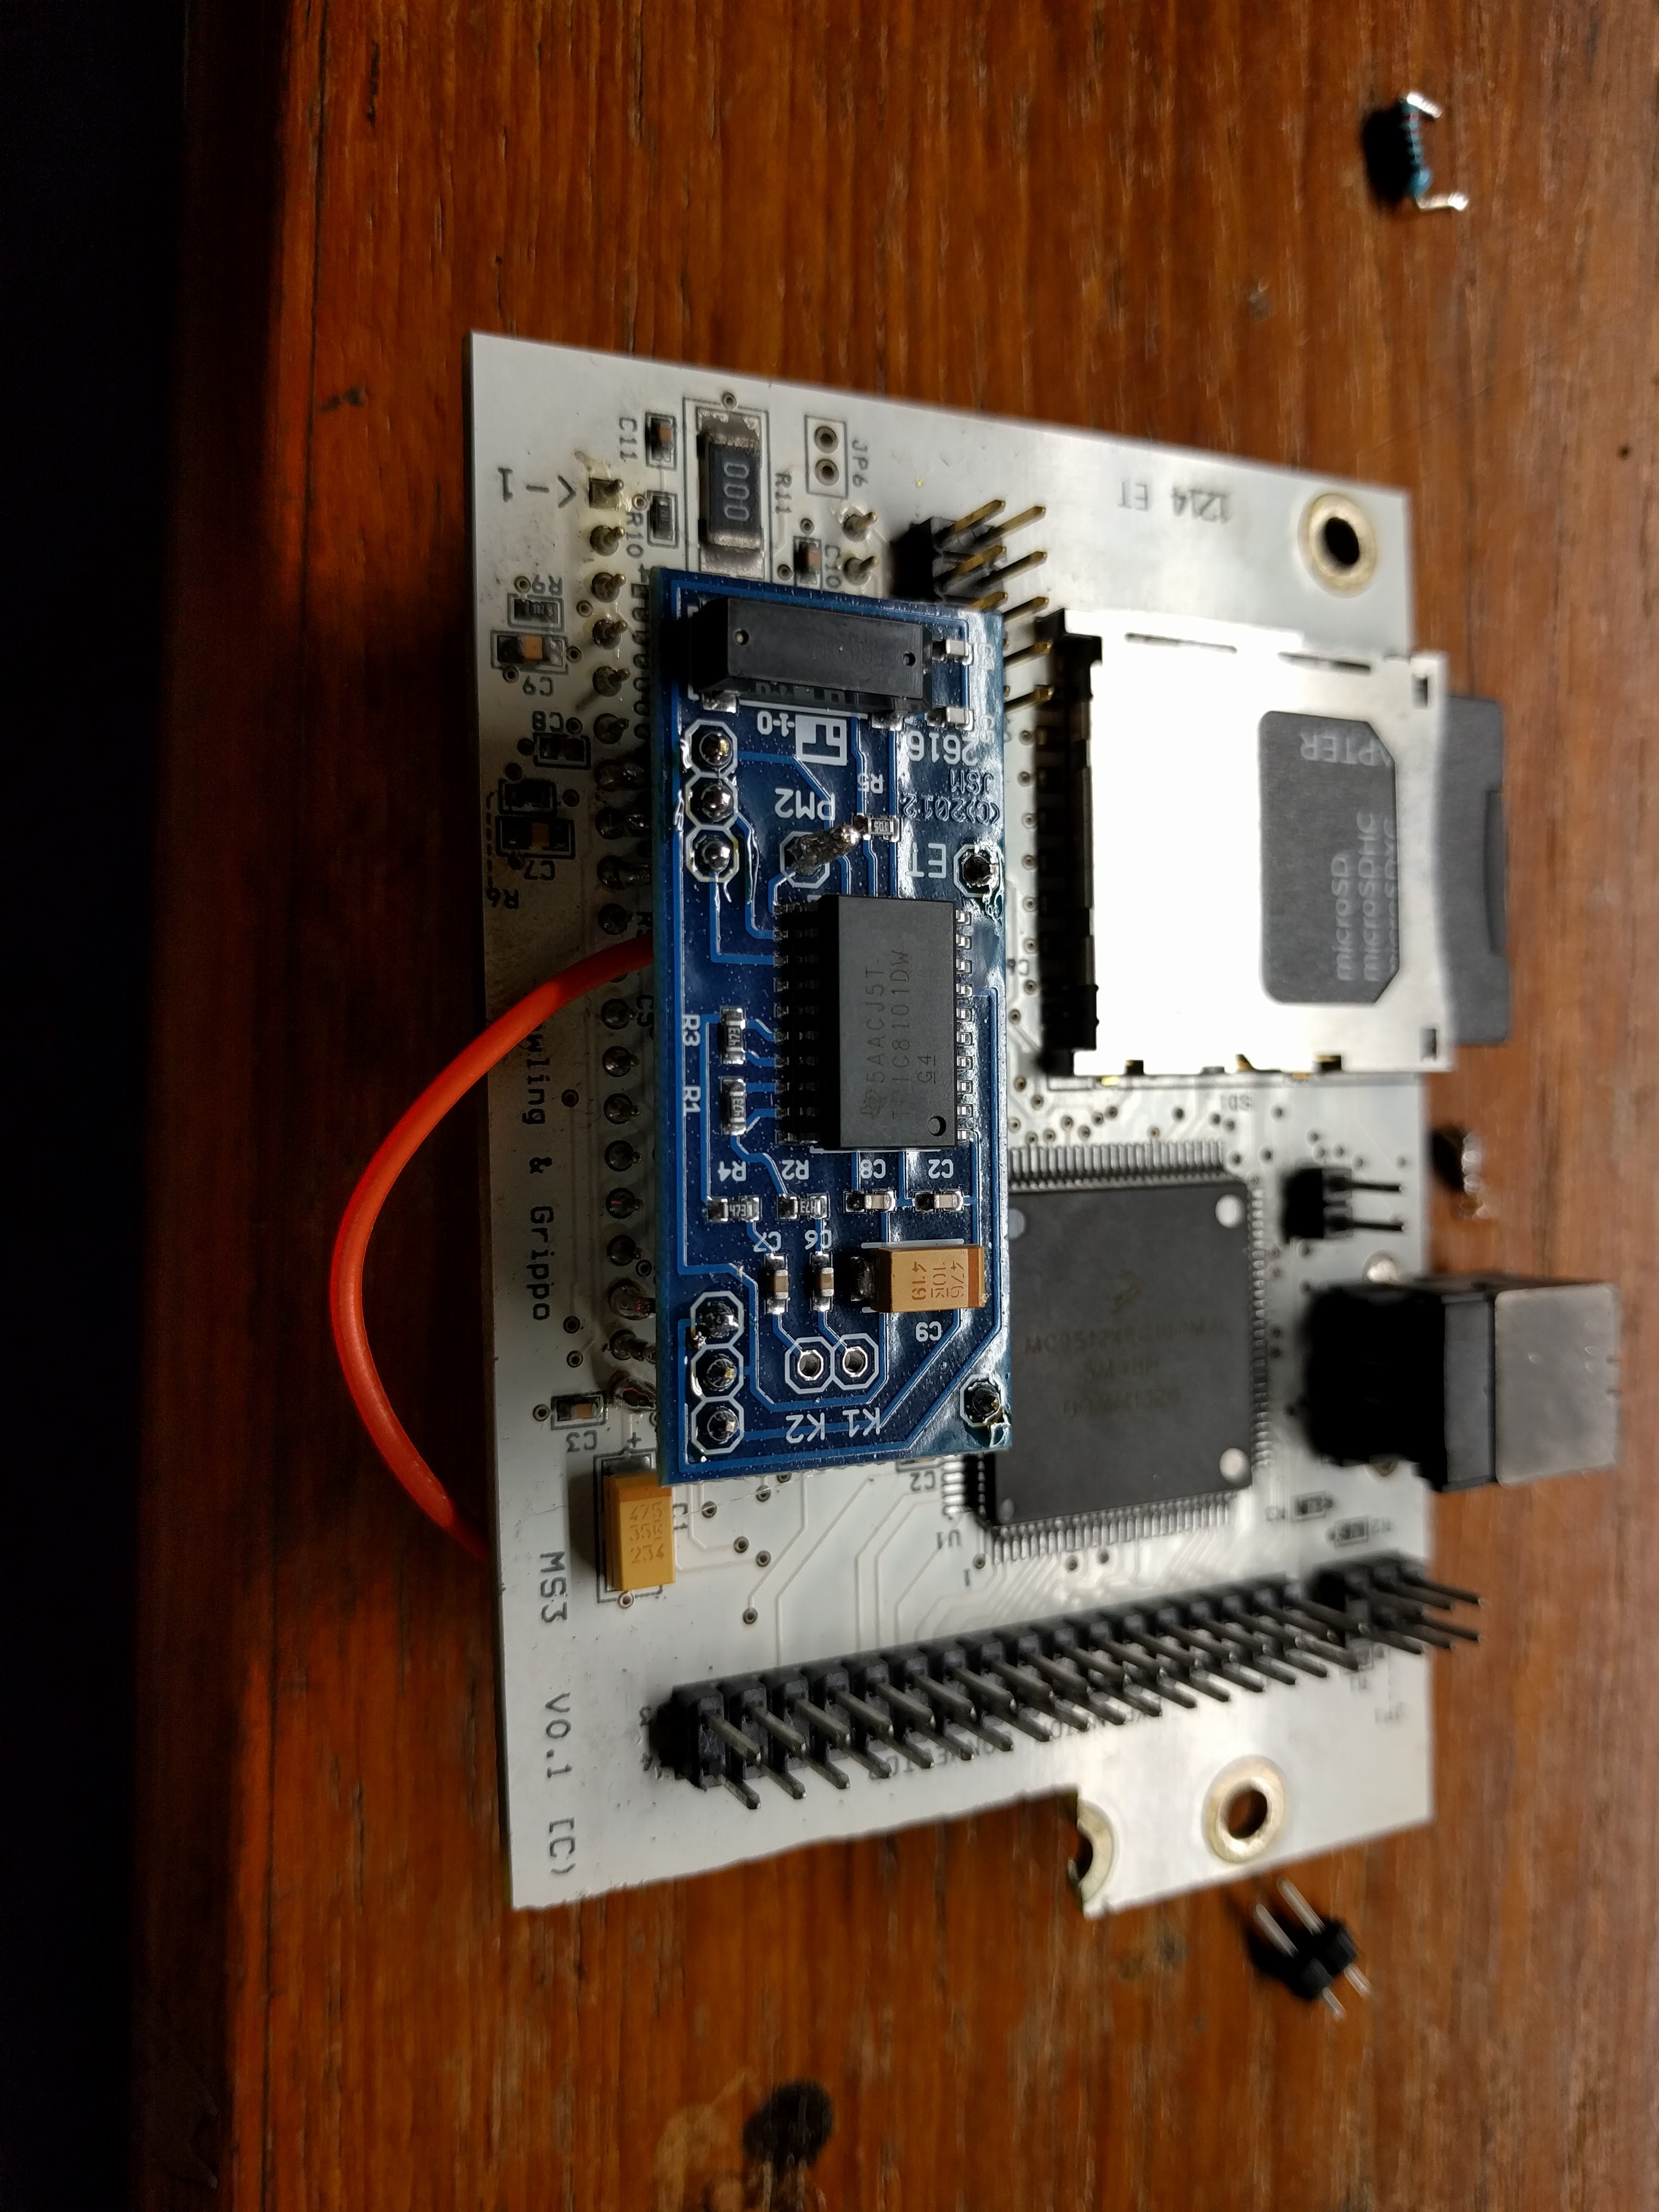
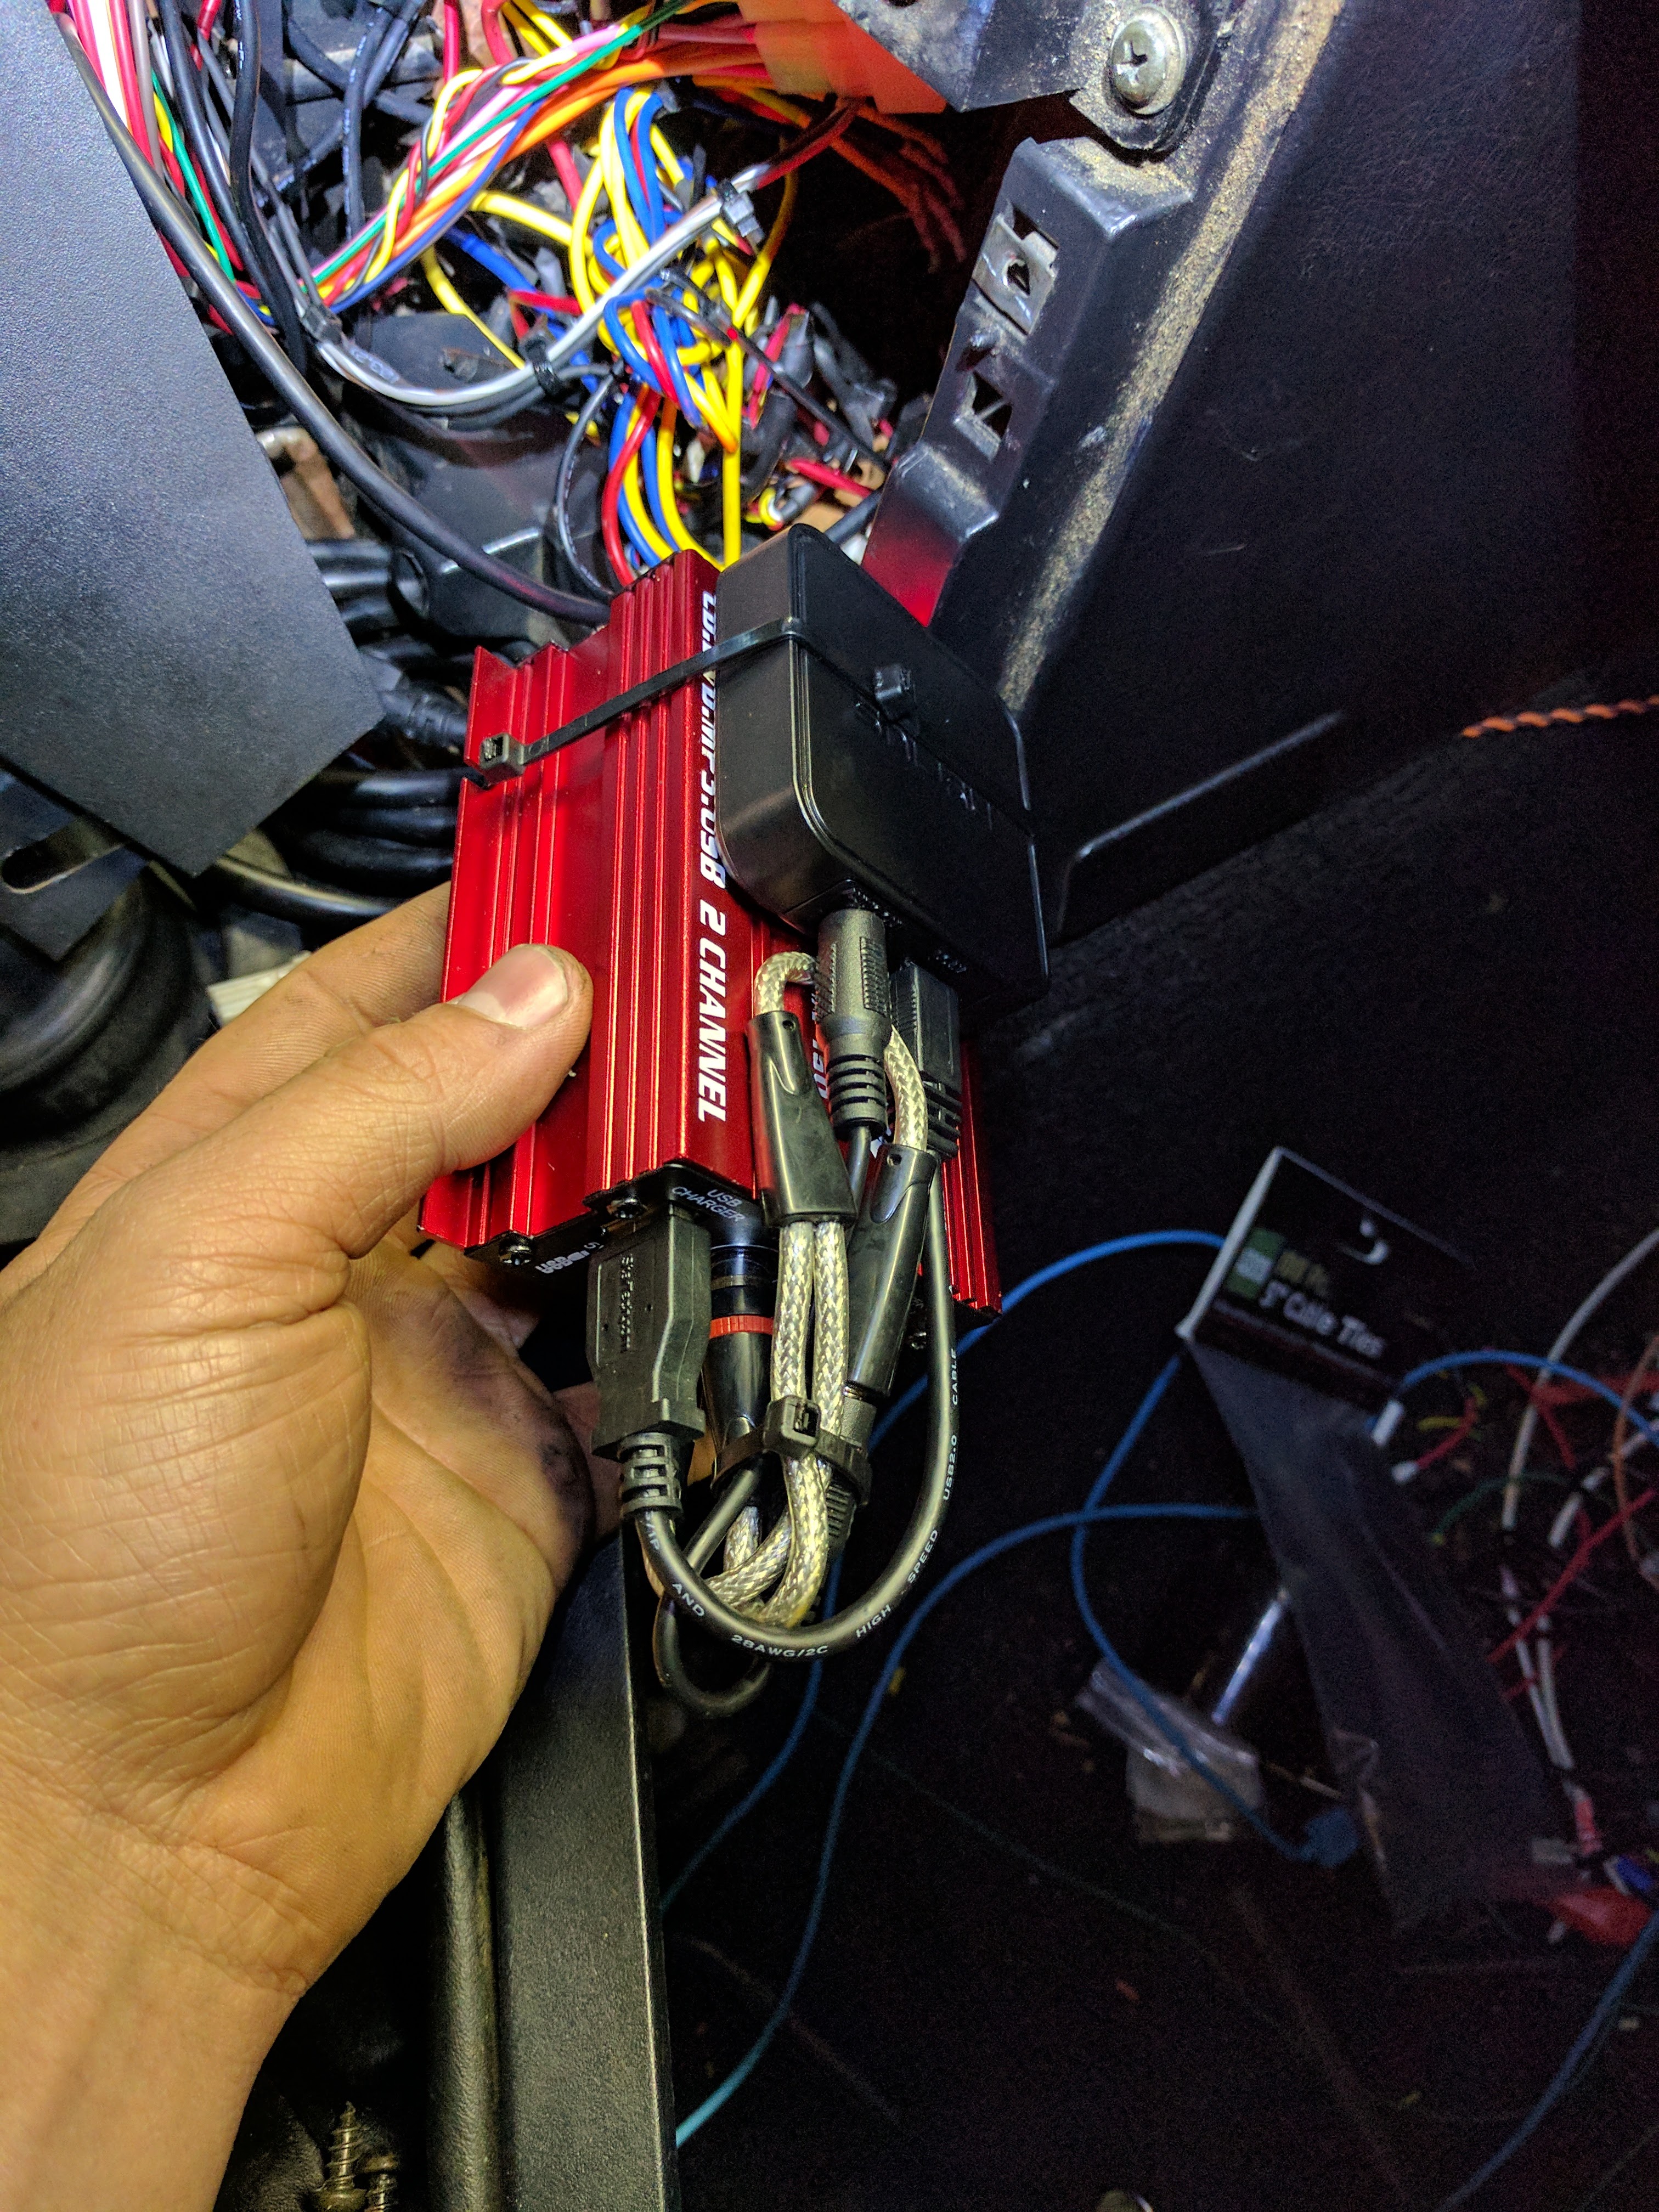
Got the realtime clock module and knock module installed today. Also wired up my audio setup and buttoned up the switch panel and dash.
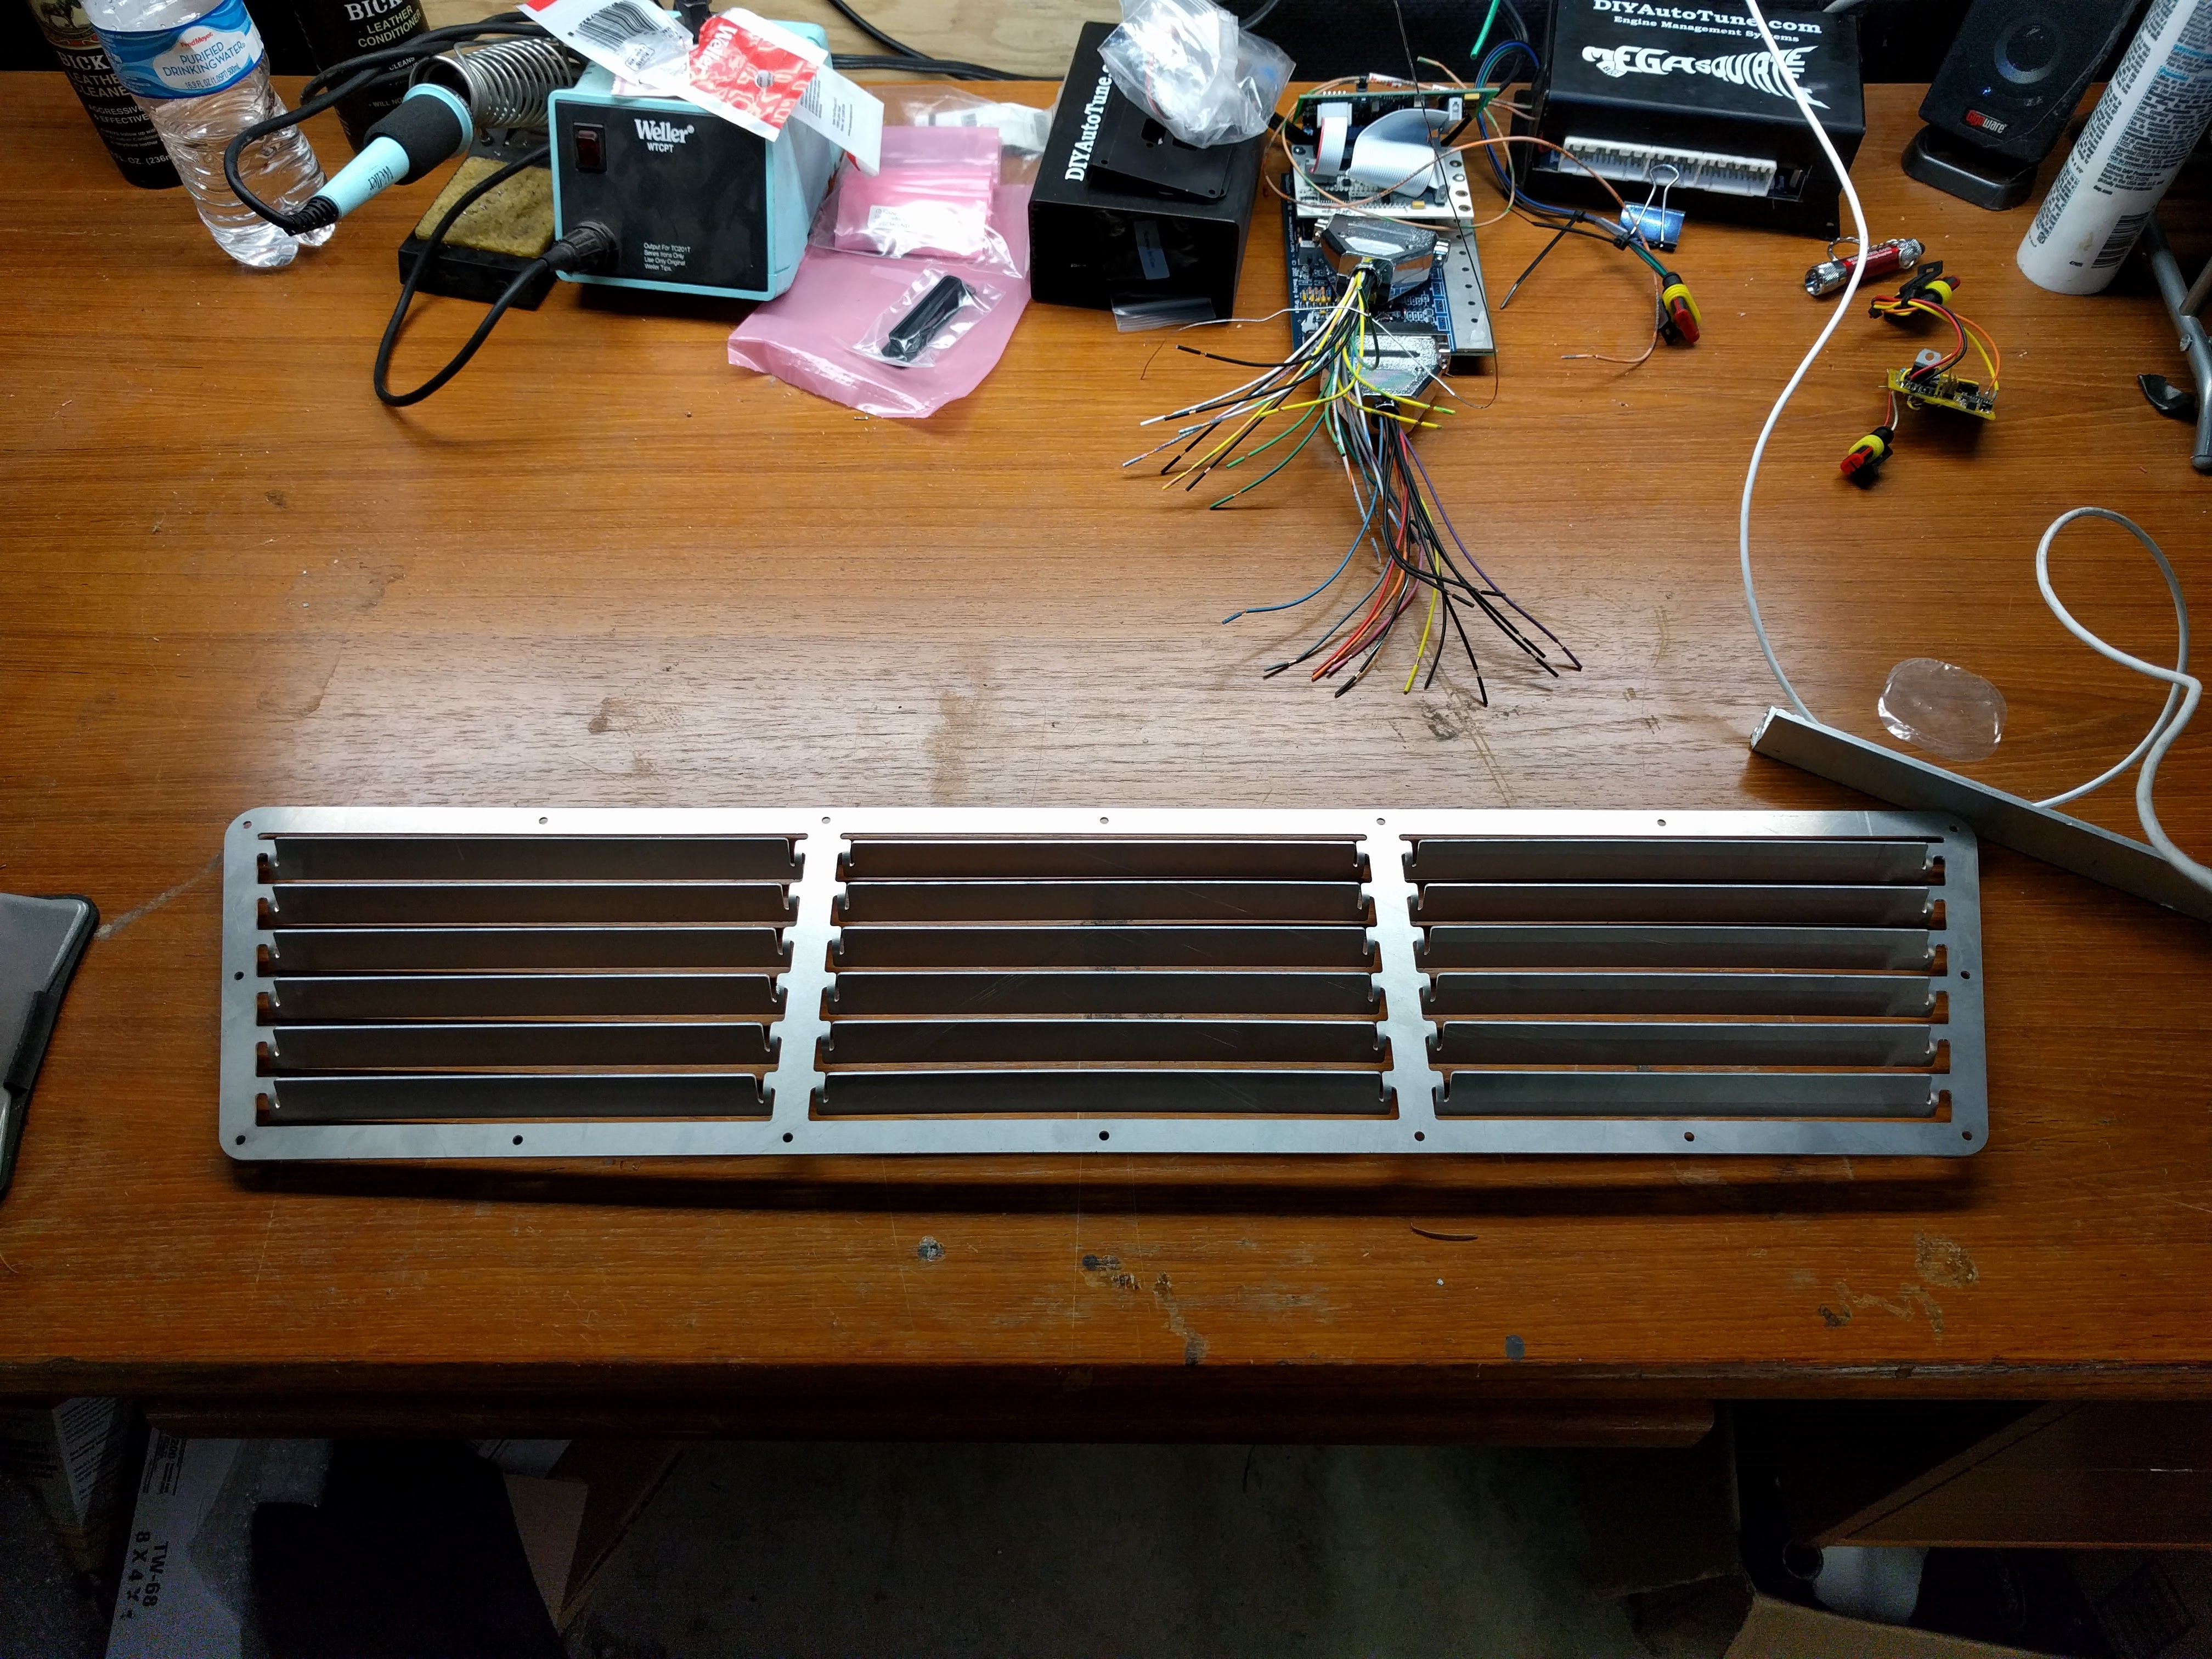
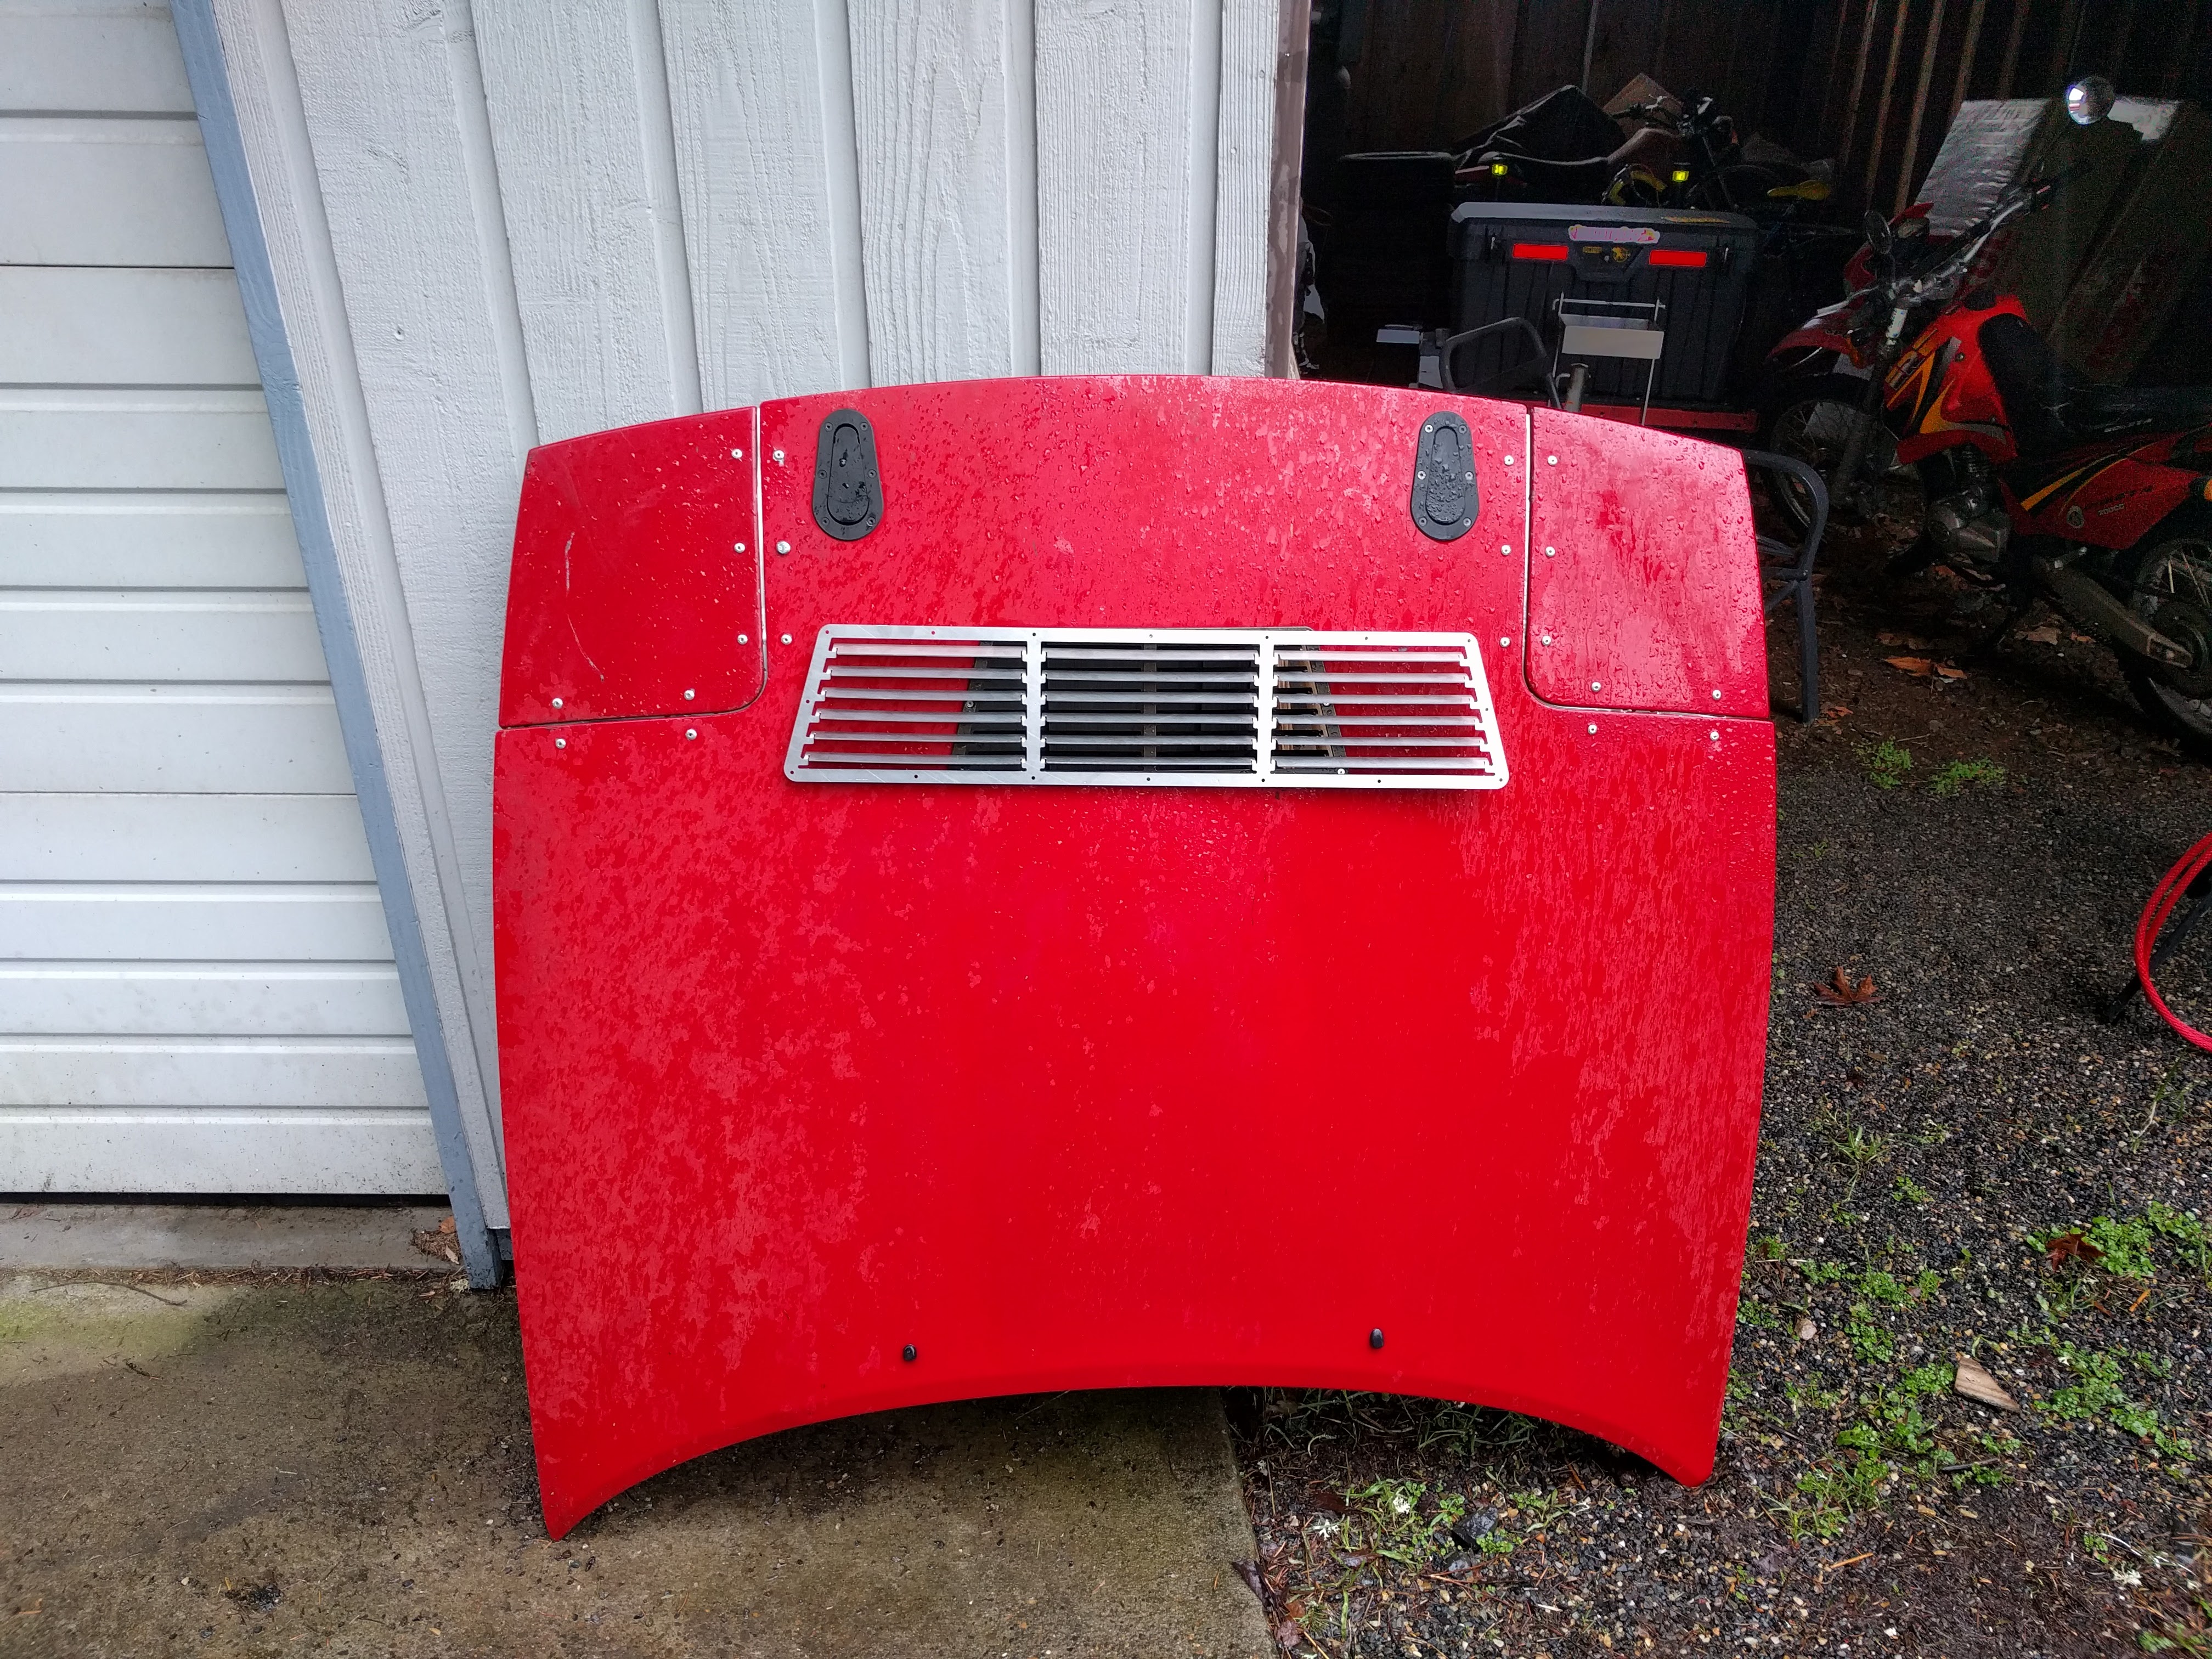
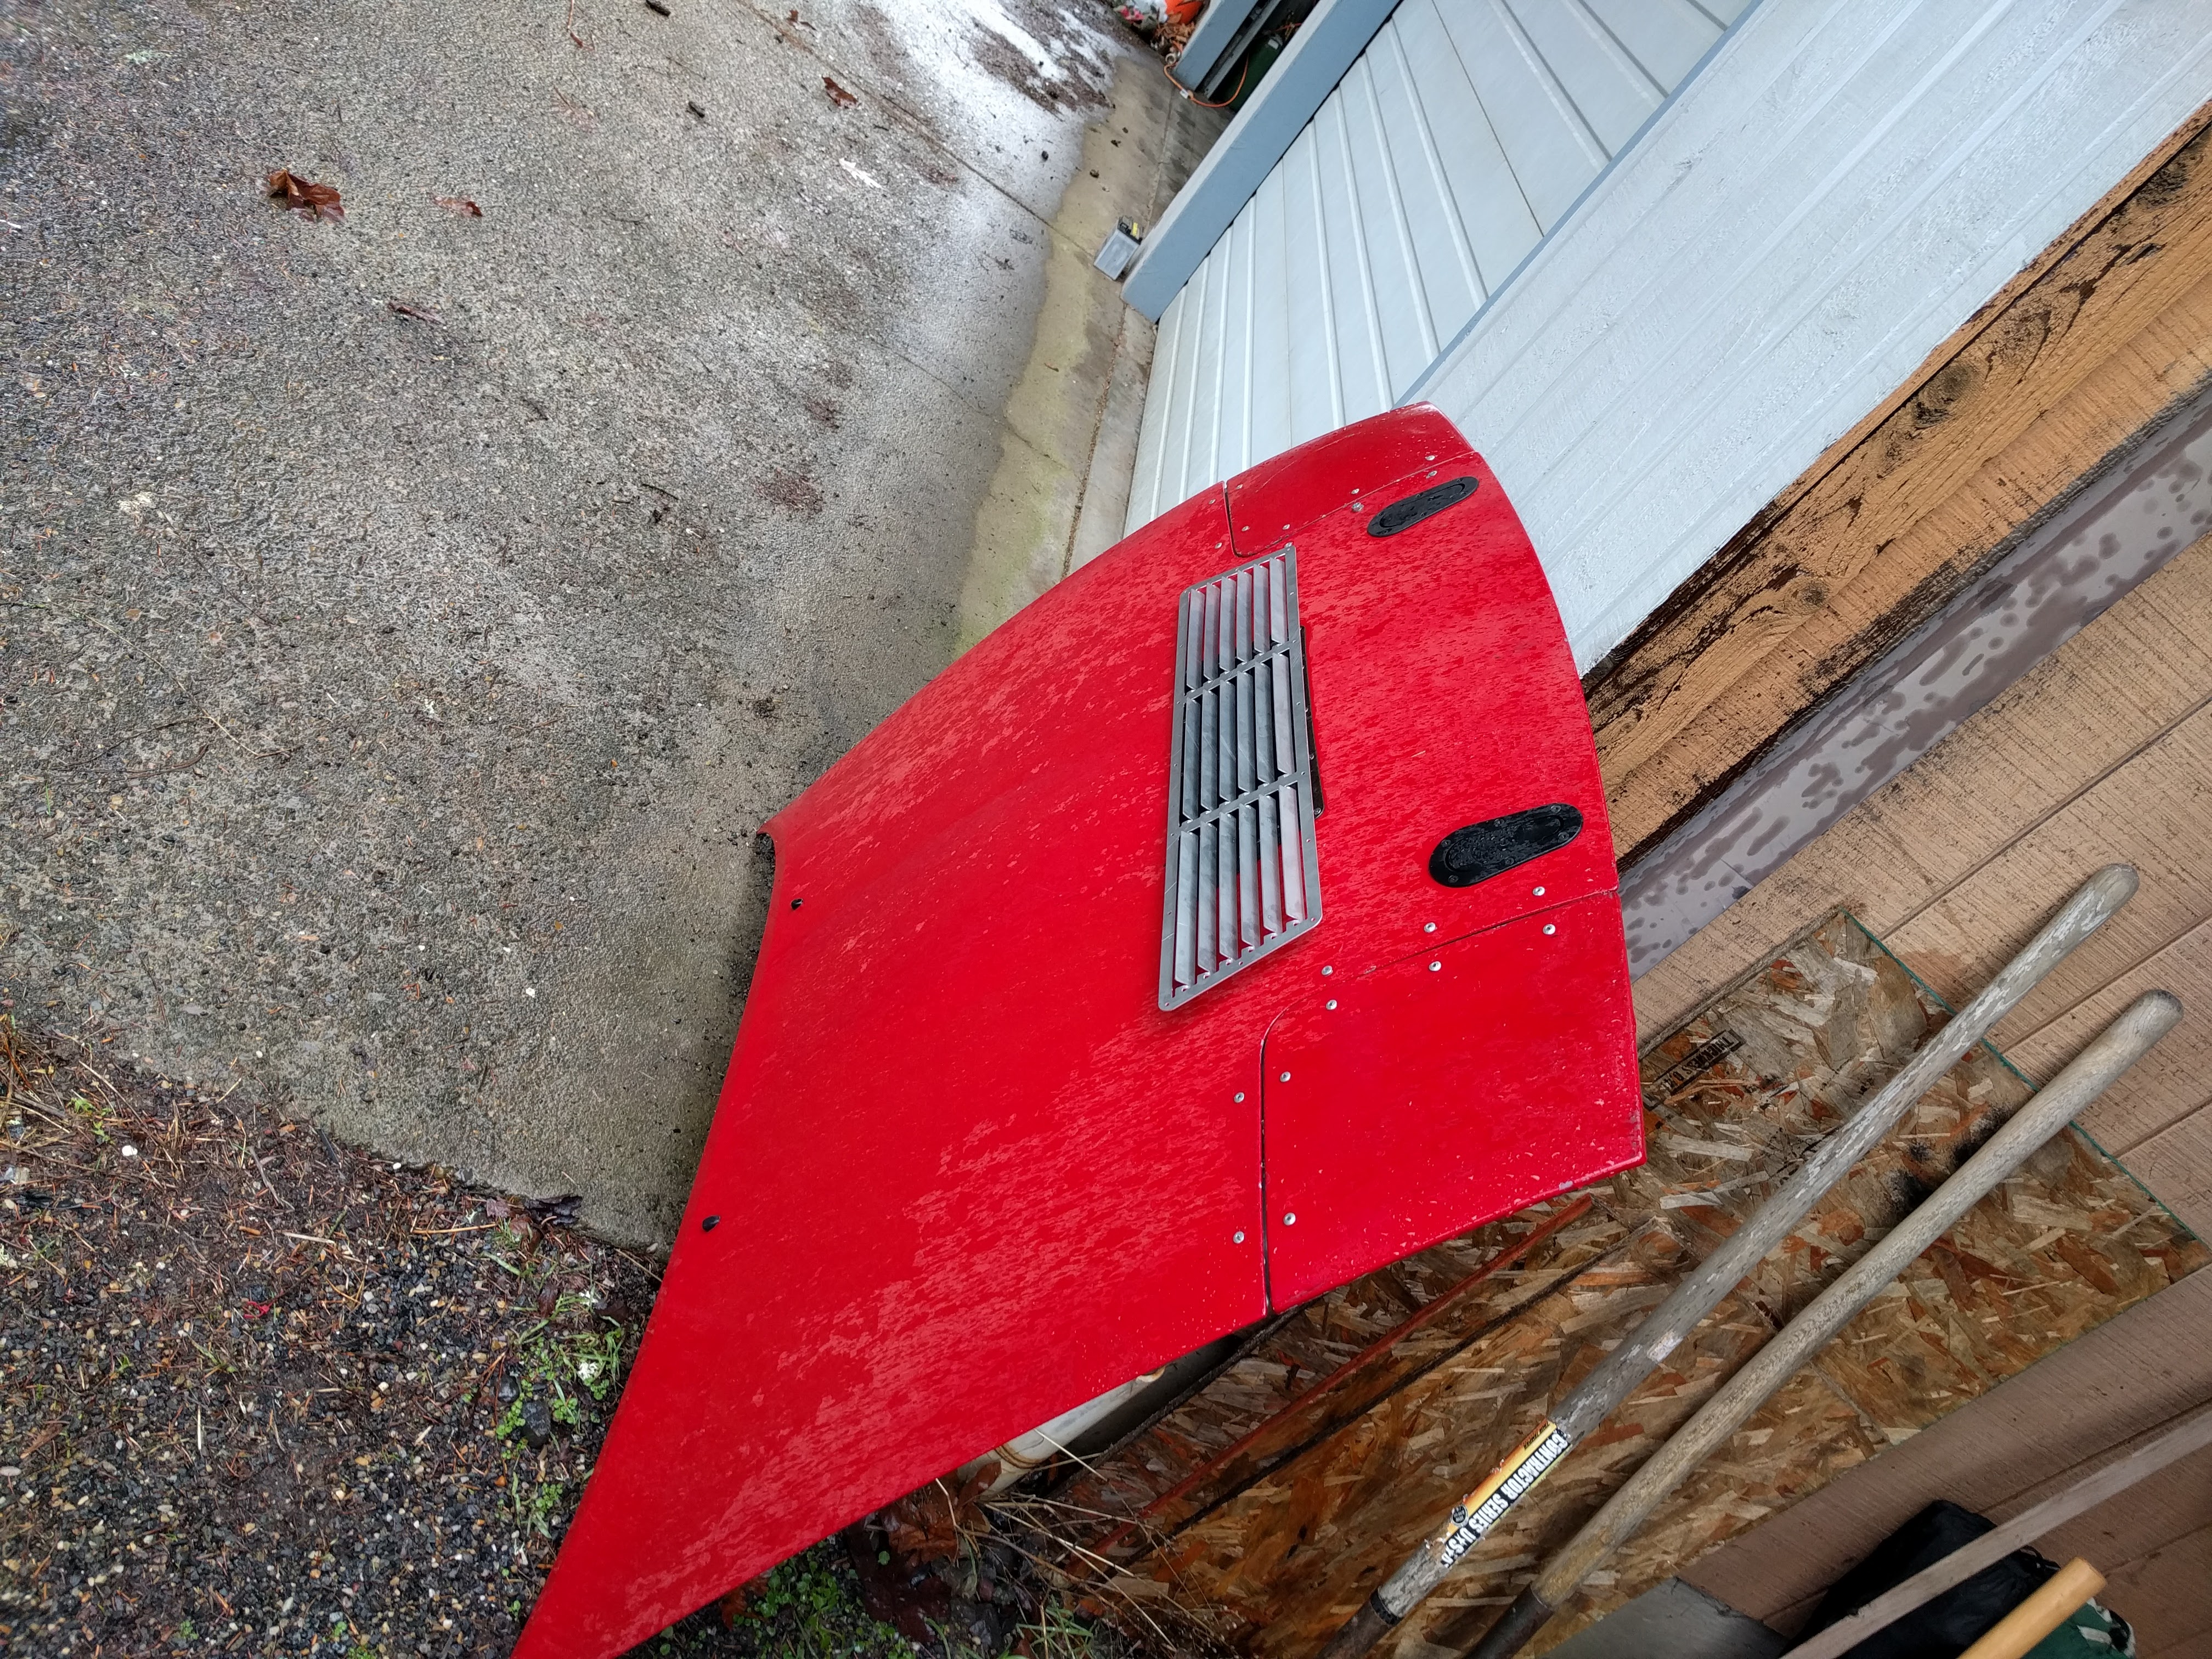
Some Humming Aero vents that I had cut (one is for sale btw)
And lastly there is this. Which will happen for at least one trip to the drag strip.
Surfaced the plate.
Got the realtime clock module and knock module installed today. Also wired up my audio setup and buttoned up the switch panel and dash.
Some Humming Aero vents that I had cut (one is for sale btw)
And lastly there is this. Which will happen for at least one trip to the drag strip.
Reply
3
3

I still can't get over the knock module install haha. Soldering pin headers to pin headers. That and soldering the flyback wire from the ms3 board to the surface mount pad on ms3x are some of the reasons I was very happy to upgrade to ms3pro.
Reply
0
0
Thread Starter
Joined: Apr 2014
Posts: 18,643
Total Cats: 1,870
From: Beaverton, USA
Right? Oh well. Gotta work with what you have. Probably should have saved my beta test credit and used it on an ms3pro instead of the knock module and RTC.
I'm going to redo the whole harness next winter with a jumper harness and some other changes.
I'm going to redo the whole harness next winter with a jumper harness and some other changes.
Reply
0
0


