When you click on links to various merchants on this site and make a purchase, this can result in this site earning a commission. Affiliate programs and affiliations include, but are not limited to, the eBay Partner Network.
MATG did a number on the car in terms of tire wear. Note right side. Before.
After. Quite positive my alignment is knocked out from street driving on pretty rough roads. Looks like it probably toed out on me. It's the end of the season, so I will be using up what's left of the tires this year and need to get new ones in the spring.
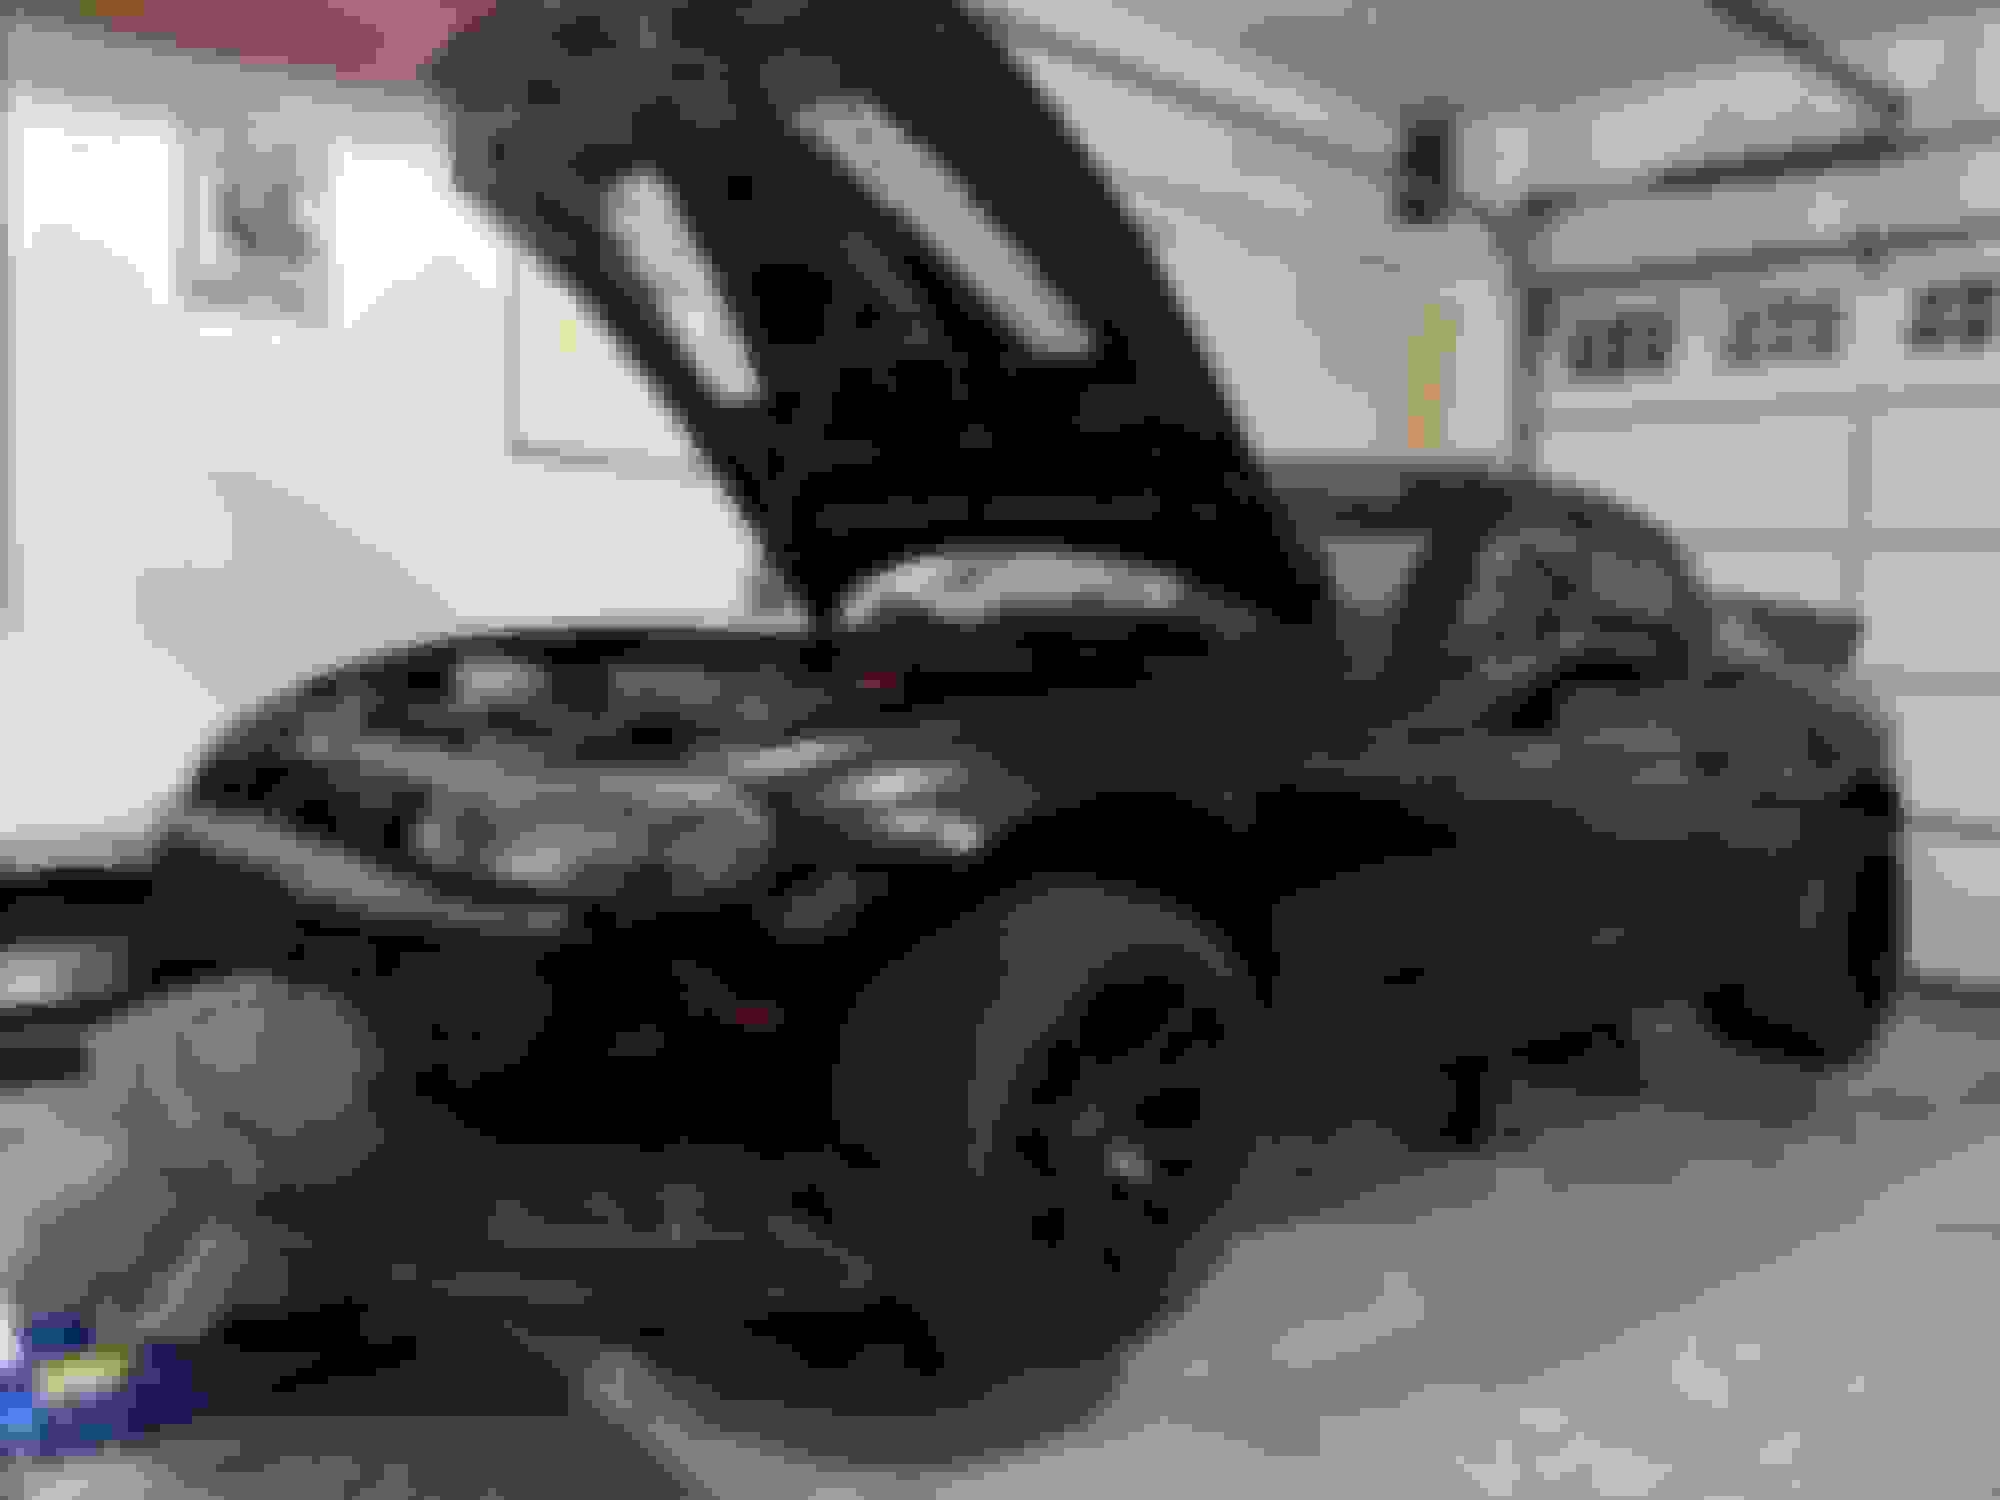
Went to a little cruise in last week after finally getting the alternator tossed back on and the car washed for the first time this year. UV Ray's killing the anodizing on the singular vents, so I need to get those painted. I was a bit of the odd ball out being the only tuner there, then getting hate on for lexan and plywood but I'm used to it by now and take the comments in pride haha
Clean car shots are rare
Realized I haven't posted much on how the lights look lit up. Gives the car a pretty nice look.
Got the engine ready for work on the stand
Currently in a decision dilemma. Car could use seats, harnesses, and some aero updates and I could use a helmet and necksgen for next season if I intend on making it to big track stuff at Blackhawk Farms, Road America, AutoBahn, or Gingerman. OR I could start the K swap (at least the engine build part of it) and keep the car as a street car in terms of safety for another season. I haven't decided which to pull the trigger on first yet. Saving for a house means I cant do both this year. Hmmmm
I had a few people make similar comments. A couple wanted me to paint them red even which would've been obnoxious. It would've been one thing if they were a consistent shade of decent color gold, but they were all over the spectrum and looked like poo in person. For now, they can stay blended in.
Rivets don't bother me enough to mess with seeing as the BFW wing and splitter have stainless hardware that isn't painted.
HT fix is a upcoming weekend project. It definitely looks like a pile of steaming poo as well, but still relatively better than the ancient soft top with scuffed plastic window that it replaced.
October 10th and the beginnings of the next round of revisions during the deep sleep of fall and winter in Wisconsin has begun. Poor weather and lack of late season events has provoked me to start a bit earlier than usual. Started with some basic disassembly. Going to improve upon some of the quick release methods I had designed on my v1.0 splitter. V1.0 splitter was made out of birch plywood and after a year and a half of daily driving 1.5" off the ground, it has finally met it's demise and started delaminating. RIP. The goal for v2.0 will be to be able to remove the whole splitter and bumper cover without tools. V1.0 currently requires (2) 7mm bolts and (6) 10mm bolts to be removed via tool for that removal to occur. Currently procuring materials to complete this.
Nearly a month from the last update so I figured it was time to show what's been going on.
Have had a fair number of inquiries in the last year or so from people asking where I got my tail lights from, or who did my retrofit headlights. I've been doing those sort of lighting projects on the side for friends and forum members on previous cars I owned since at least 2012. For reasons I can�t explain, I never decided to real make it an official side by advertising what I did on social media outlets. Finally decided that needed to change so I thought up a name, designed up a logo, got some decals made for the truck and miata, started posting content, and boom Left Lane Designs was born. The NB LED tail light post has already been a hit.
As the saying goes, anything worth doing is worth overdoing sooo�
In addition to custom lighting stuff, I�m hoping to market some miata specific aero goodies for very fair prices. As long as I'm designing it for my car, might as well make it easy to market to others. Work has been overly busy at my full-time job, but have been spending the little free time I have developing a barge board / flat floor design with the help from feedback on the thread on here dedicated to it in the aero section. Alumalite / aluminum construction for flat floor. I have an alumalite source and water jet source all set up along with packaging sources and plans. Without giving too much away on design until I prove it out, no welding required for install. It will be bolt on with standard tools and as flush mounted as can be done with off the shelf hardware. Other aero items will be released and designs are still in the works there.
Picked up my first load of alumalite. 2 sheets of 10mm 4'x8' and 1 sheet of 6mm 4'x8'
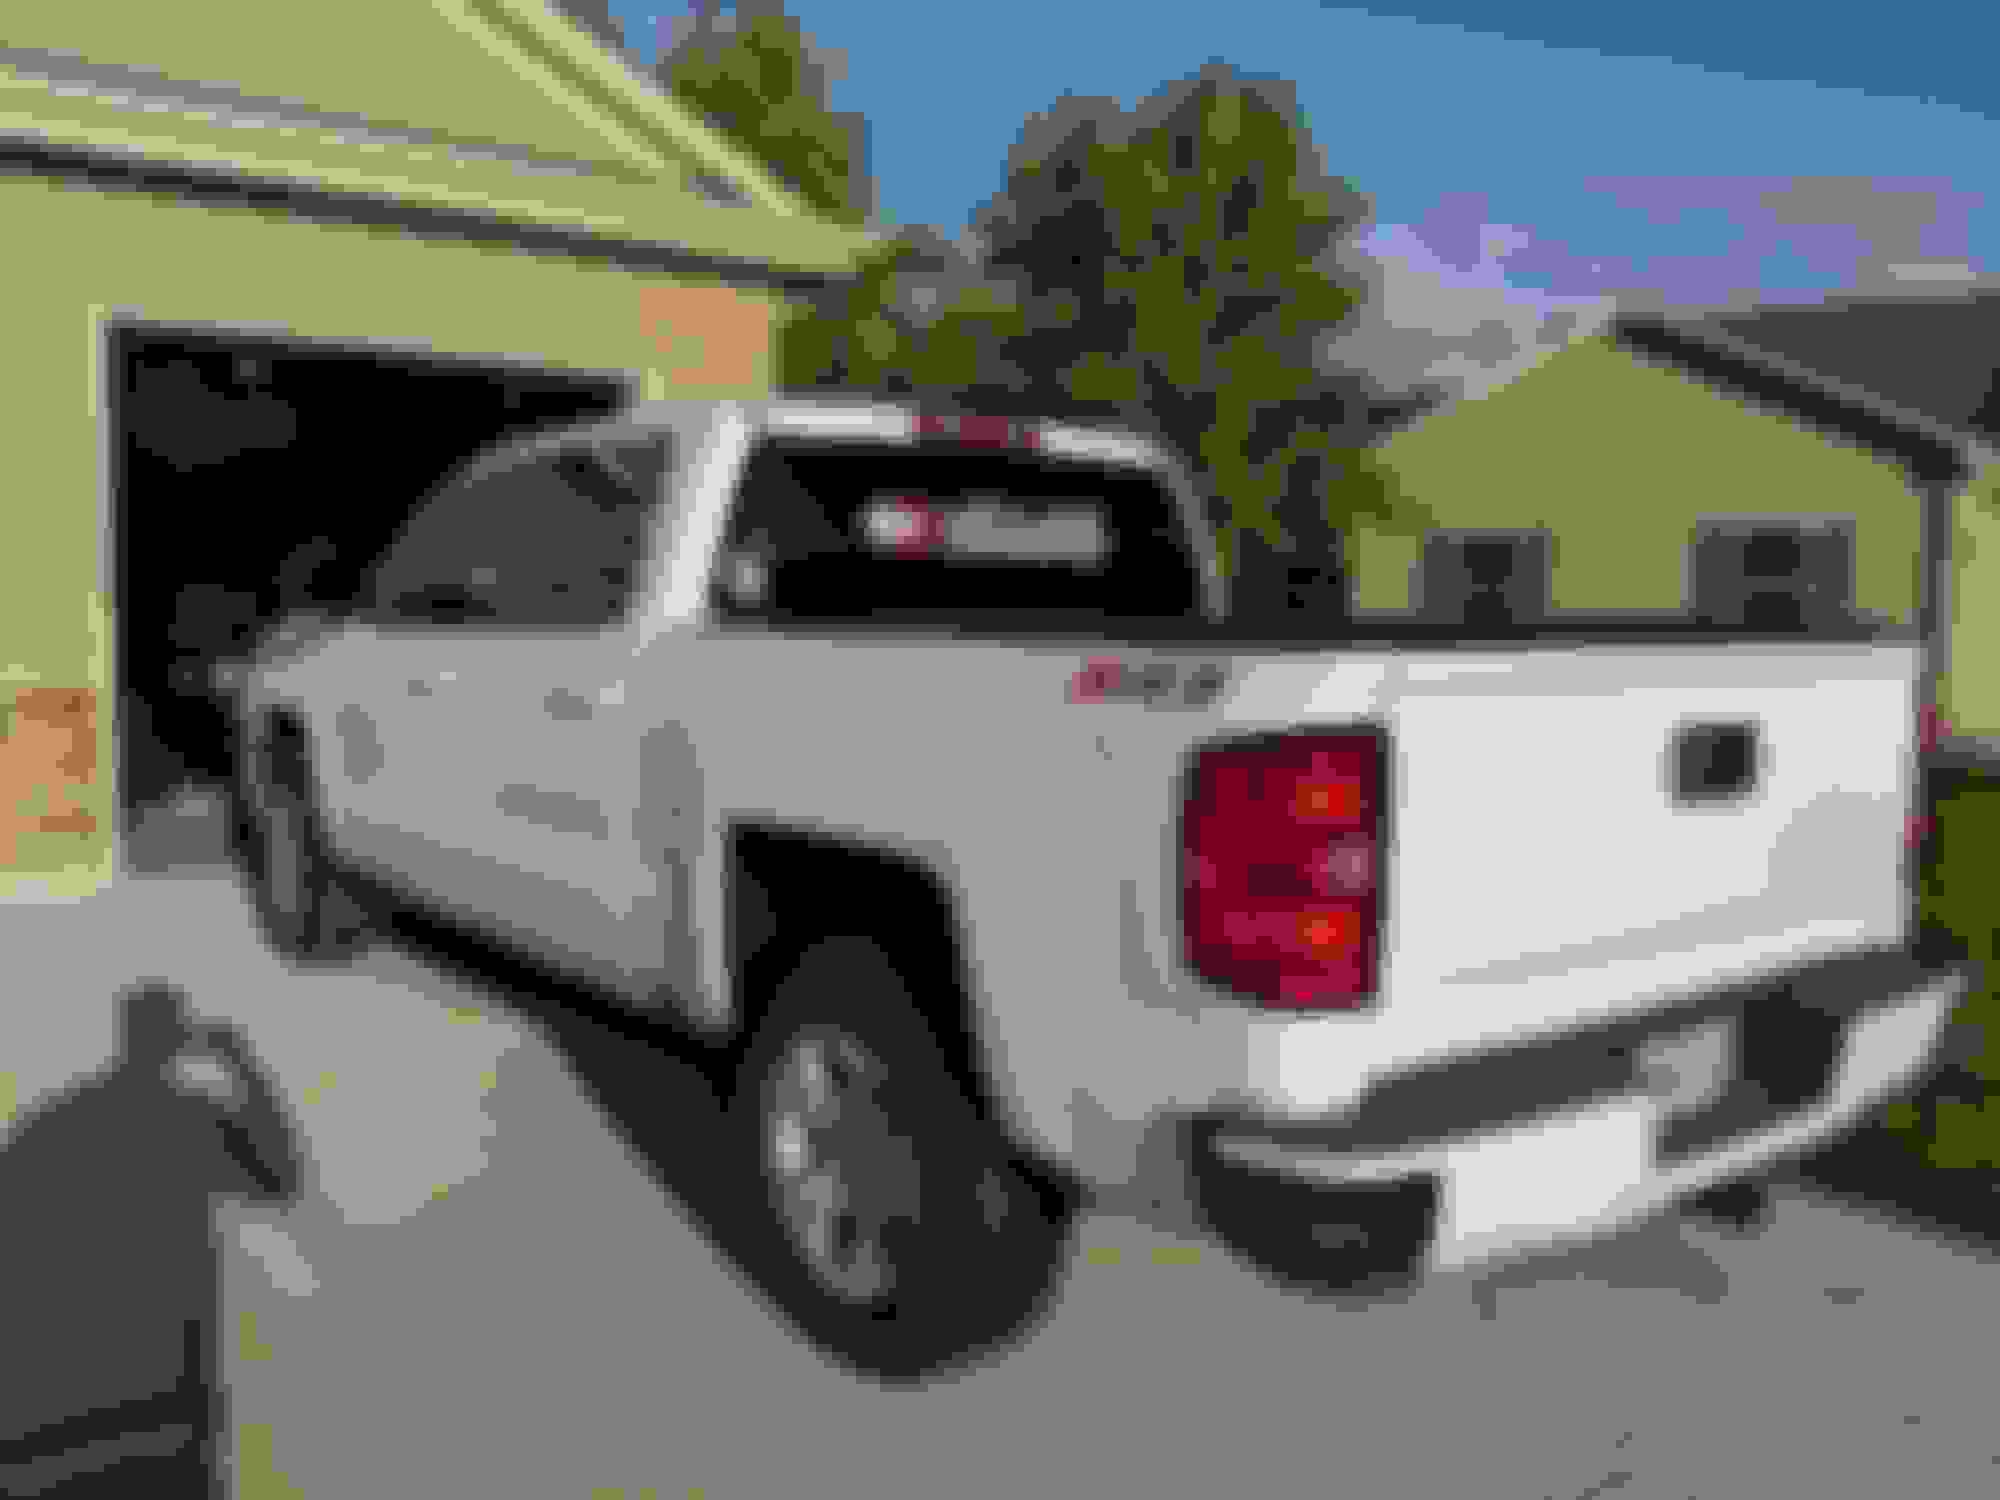
Got the decal on the truck because free advertising, why not?
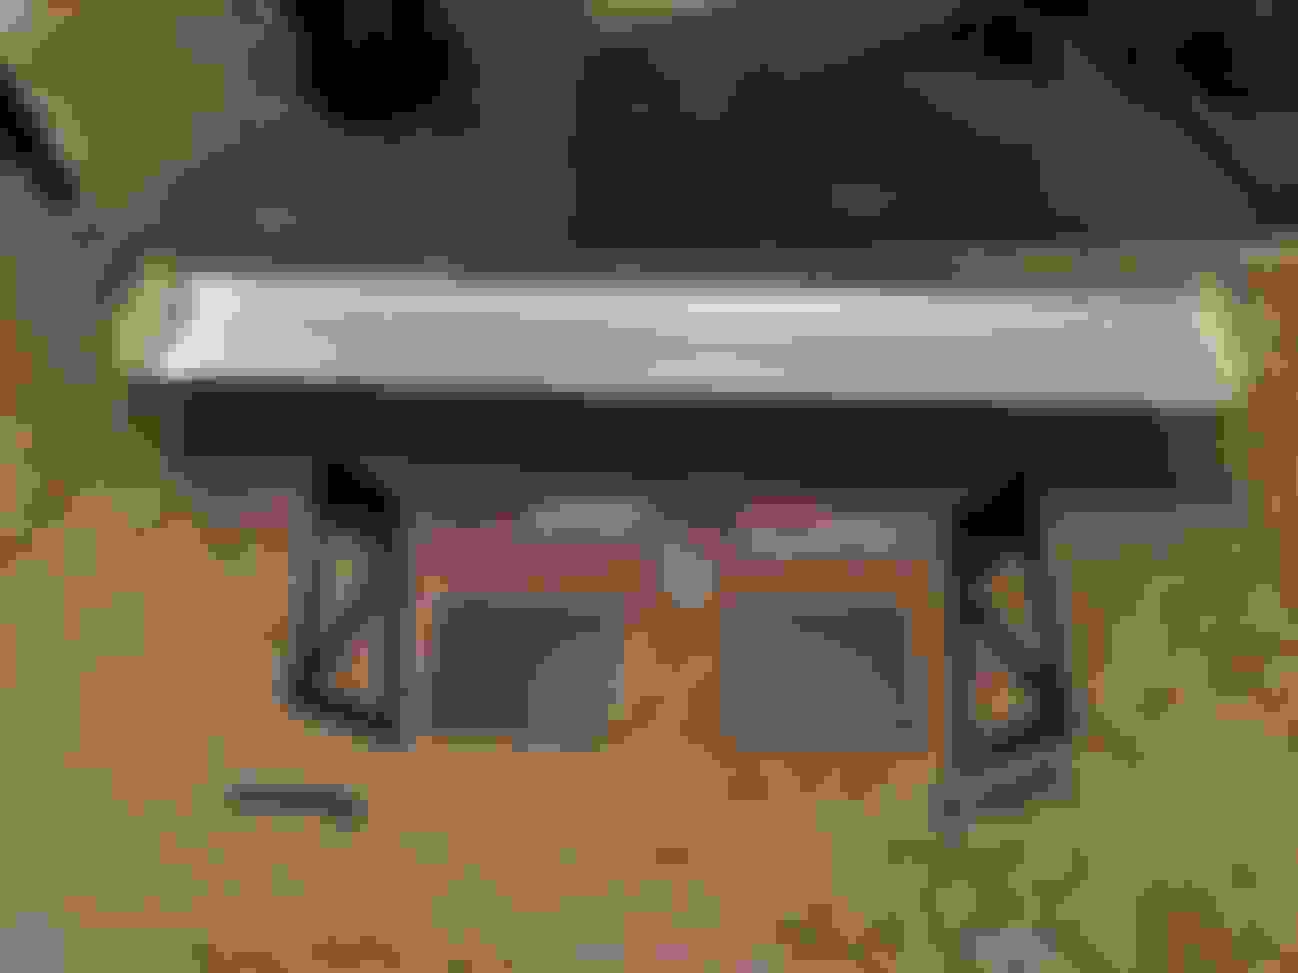
Got air dam material and these fancy little guys to help make the front bumper cover more of a quick release design
Then finally tonight I had a scrap piece of birch plywood laying around that I used to start proving out the mounting concept. Seems like it will work great and sticks out approximately 8� from the pinch weld which matches up to my splitter and aligns well with the 10" wheels. Will be making full plywood prototype prior to final design being waterjet out of alumalite
And just because white alumalite is going to look good with the otherwise all black car, of course I have a solution for that as well
So almost coming on a 3 month update here, so figured I best inform all you strangers what's going on so you didn't think this build lost all hope during the blissful winter depression (ahem, I mean season).
First things first, saving for a first house is literally the lamest, most boring thing I've ever done in my life to date. Money I typically have to spend on "fun things" or "miata projects" is just banked paycheck after paycheck after paycheck. I'm in the home stretch (pun intended) all pre-approved and currently working with a realtor. Long term I know this is the right move, but I'll be so happy when this is over with.
Now for some positivity!
My job has treated me well and given me with the ability to travel to places I'd otherwise probably never go to. Got the chance to go to Shanghai China for a week in early November. Saw some crazy ****, ate some silly stuff (all of it delicious btw), got to ride on the 180mph bullet trains, went into the Shanghai tower which has a 40mph elevator, saw the fake clothes markets, bartered with people that didn't speak a lick of English, went to the Shanghai People's Square, went to the Yu Garden, too much to list.. one of the coolest travel experiences I've had, so if you have the chance to go. Just go. (FYI, if you have a google phone like i do, you're pretty much screwed as the great firewall of China renders your phone practically useless). Very brief pictures of China randomness below
During the time between my Shanghai trip and Thanksgiving, Left Lane Designs started doing quite well given the effort put in. Slowly but steadily gaining followers on FB and IG and have sold multiple headlight sets as well as a handful of black LED NB miata tail lights like are on my car. We will see how things keep progressing as projects continue to develop.
Thanksgiving rolled around and I did family stuff, ate turkey, watched football, gained weight, bought some black friday stuff (details below), you know.. the Murican dream.
A week or so after that, the GF and I decided to go on a 6 day vacation. Got a banging deal on flights, so decided to ditch the sad cold midwestern air in exchange for warm southern CA / southwestern AZ air. Stopped at the dunes, was tempted to take the rental car on them. Went swimming in the ocean and got weird looks from the locals whom all were in dry suits. Stopped at most touristy locations we could readily find. It was a nice relaxing break from work.
Before you know it then Christmas was knocking at our door. Insert more family stuff, more gifts, more food, more american gluttony and fatness. No regrets. Got a full set of huskyliner floor mats and a DU-HA tool organizer for the truck, so I was happier than a pig in mud.
Started working on some barge board and rear spat designs for the car. Still need to do final hard parts, but the cardboard templates are all done. No welding or major body alteration required is the goal here. Still trying to nail down final detail on how to pull that off, but its feasible.
Bought some GarageStar frame rails. They were the cheapest stainless rails on the market by a large margin. I wanted stainless for the anti-corrosion properties over mild steel rails that V8R offers. For the money saved over the other stainless manufacturer options, I can somewhat justify all the extra work i had to do, but overall i'm quite unimpressed with them. Let me explain why.
With the rail pushed all the way forward, the rear most hole in the rail wasn't even close to having the holes that I'd drill go into the cabin. I verified per their website photos that I wasn't crazy and somehow put them on backwards. I'd have checked install instructions, but they don't provide those via hard copy or online, which was slightly lack luster on their part.
Only solution here was to drill new holes further forward to mount into
From there, one of the bolts is located underneath the OEM front seat hump. I don't understand the logic behind locating a bolt here when you could easily move it 3" forward or backward and avoid this inconvenience of trying to wiggle a closed end wrench in there, but alas I got it done.
Now that the GarageSh*t (ahem, **STAR) rails were on, my black friday purchase arrived at my door. Picked up an NLR 65" wing during the sales. Lead time was definitely a bit longer than expected, but no issues in regards to that seeing as I was in the off season anyways. Took off my BFW lexan setup, sold it to a local, and started bolting the NLR setup on.
Marked rain rail mount points and drilled
Started trimming the trunk lid to fit
Probably 1.5 hours of messing around later.. perfect fitment! excited to see how it pans out for this upcoming season. Was pleasantly surprised to see that Johnny updated his standard endplate size to a 8"x10" instead of what I believe was a 6"x10". Besides the functional improvement, the general size of the endplate just looks more proportional on the car.
...and so far that's all for updates
I've got a hookup on a "less than minty" NB1 bumper cover to cut apart for air dam activities, so I can pick that up sometime soon, then I can work to finalize splitter size and mounting methods. Its all coming together pretty well.
In the final stages of getting the barge board and rear spat design complete. Transferred all my cardboard templates over to 6mm plywood and hdpe material. I used the plywood as a temporary material so I didn't accidentally screw up a more expensive piece of alumalite. I should have the plywood design with all the final hole locations transferred to alumalite this week. Really liking how this is taking shape after completely overthinking it and reading into just about every aero thread I could find for ideas.
I've managed to hit a couple neat objectives so far with the design. It goes to the inside edge of the frame rail per Gridlife and GTA rulebooks. It extends to just a tickle outside the track width of the car with my 10" wide Jongbloeds. It will work with all aftermarket frame rail kits to the best of my knowledge. It bolts tightly onto the OEM floor without the need for a welder. It does not require you to drill into your quarter panel at all so far (pending my wheel spat mounting works out when i receive some ordered materials this week). Given the idea works, the barge board / spat setup should be able to be completely removed in maybe 2-3 minutes by undoing 6 easy-to-reach bolts per side.
In addition to the rear spat mounting materials, i've got some vinyl ordered to make it all cosmetically appealing. I also bought some locking aero catch latches to install on the hood because i'm not sick of putting holes in my street driven car yet. I've been looking into rad ducting and wanting to delete my OEM hood latch, so I guess these are the next logical step.
Last, and not least. I ended up selling my Morimoto MH1 retrofit headlights to a guy who was looking for a set. He traded me his stock lights for mine plus a fair amount of cash.. Just placed the order with TRS to update to their latest and greatest in LED automotive projectors. No relay wiring harnesses, no HID ballasts, no HID bulb warm up time, some newly released shrouds, and some fancy accents. Its gonna clean up some clutter in the engine bay a bit, drop a few pounds, be the cats meow, and really accent how the rest of the car will be looking!
Officially registered to go to the Kmiata Meetup at Gingerman May 11th, so now I have a hard deadline to get things done by. It'll be my first time as an official "track day bro", so I'm looking forward to experiencing the differences from AutoX first hand after nearly 2.5 years of owning the car.
One of the big items I need to look into is safety prior to the event. I've almost completely made it through the Race Seat thread, but still am struggling to decide the direction to go. I don't have the budget for the $700+ seats, but I'd like a fixed back name brand seat that I fit in and the shoulder bolsters don't interfere with the door panel. I had a Sparco EVO2 in the car with GarageStar rails if you go back a few pages in this build thread, but the shoulder bolsters on the seat were too wide to fit in the car even with pounding the trans tunnel in. It was a little narrow for me as well, so I sold it. Does anyone have a budget friendly (<$600) seat recommendation that fits in the car without this door card interference? That interference is not documented very well. I would like to stay away from Aluminum seats if possible as well due to the fact I will be daily driving this car in summer months as well as taking it on long trips to MATG (~10hrs). Swapping seats between street and track use is also unappealing.
The Sparco Sprints are an "easy button" if you want to stay away from aluminum seats, but they seem to be built for short torso folks, i.e. the seat backs aren't that high.
Disposable as well, since the covers aren't replaceable, but they are one solution.
Perhaps use one now for the driver's side and transition it over for passengers in the future?
I've looked at the sprints. They don't seem like a terrible option, but comfort is a concern there. I don't see a cheap steel framed seat being much more comfortable than an aluminum seat. At least with the aluminum seat, I save some weight. Still digging into the right option for me, but appreciate the recommendation.
I got the retrofit parts in the mail on Saturday, so work has started on v2.0 of the headlights. The shrouds just barely fit in the housings. Trimming them to fit took just over an hour alone. Got the demon eye led board mounted on the projector housing so the car should be looking pretty menacing on the track this season (for a slow Miata).
 09-26-2018, 10:22 AM


 0
0