
Inglar´s 2001 Sport


Thread Starter
Junior Member
Joined: Mar 2010
Posts: 189
Total Cats: 0
From: Norway
The shift **** is home made. machined out from a solid piece of metal. It slides on to the short shifter from I.L. and has a threaded part so i screw it on the last inch.
A better wiew of it here
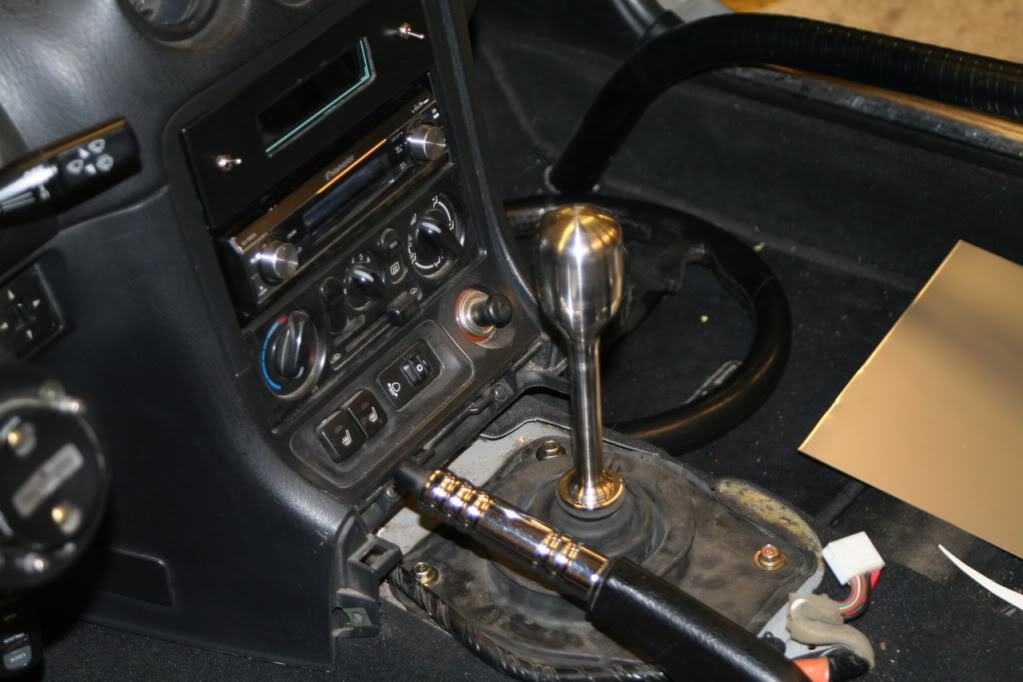
A better wiew of it here
Reply
 0
0

0
Thread Starter
Junior Member
Joined: Mar 2010
Posts: 189
Total Cats: 0
From: Norway
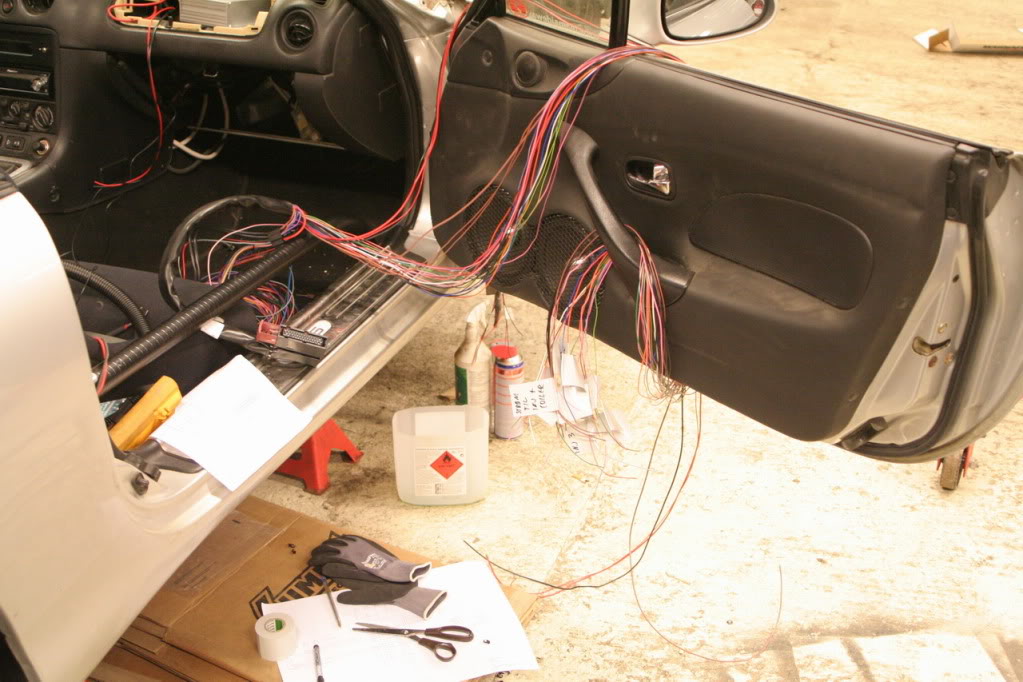
Thanks Tha manifold is the part that steals the most time. When that is done the intake manifold, ic and ic-piping will be done mutch faster. and after that there will be a lot of wiring. Have started to stip the wires. Allmost everything will be redone.
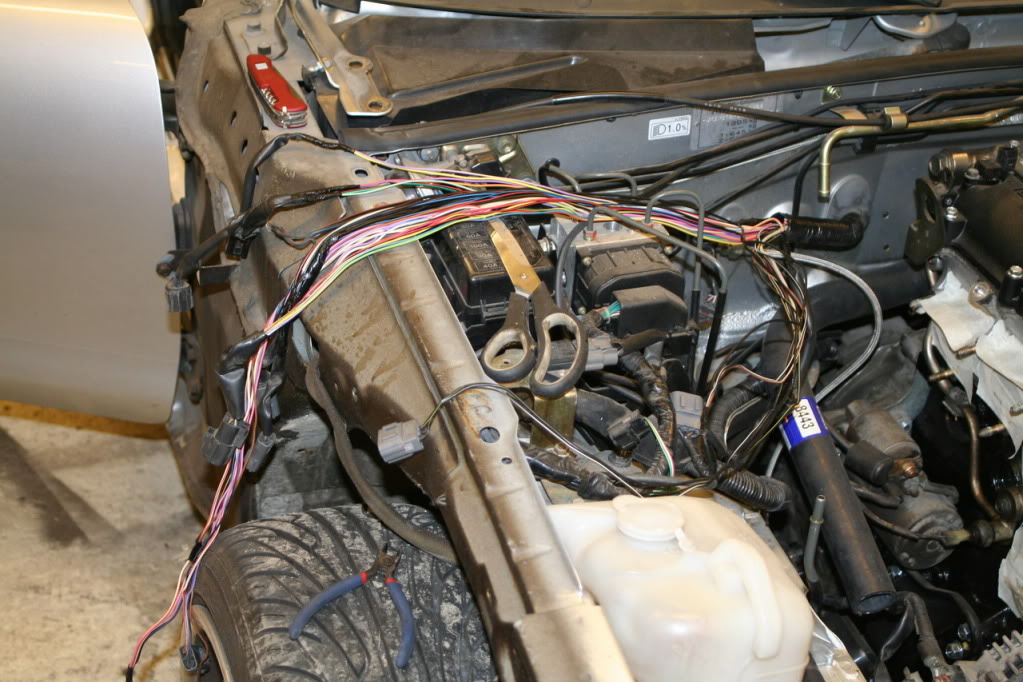
Tha manifold is the part that steals the most time. When that is done the intake manifold, ic and ic-piping will be done mutch faster. and after that there will be a lot of wiring. Have started to stip the wires. Allmost everything will be redone.
Reply
0
0


Thread Starter
Junior Member
Joined: Mar 2010
Posts: 189
Total Cats: 0
From: Norway
Reply
0
0
Thread Starter
Junior Member
Joined: Mar 2010
Posts: 189
Total Cats: 0
From: Norway
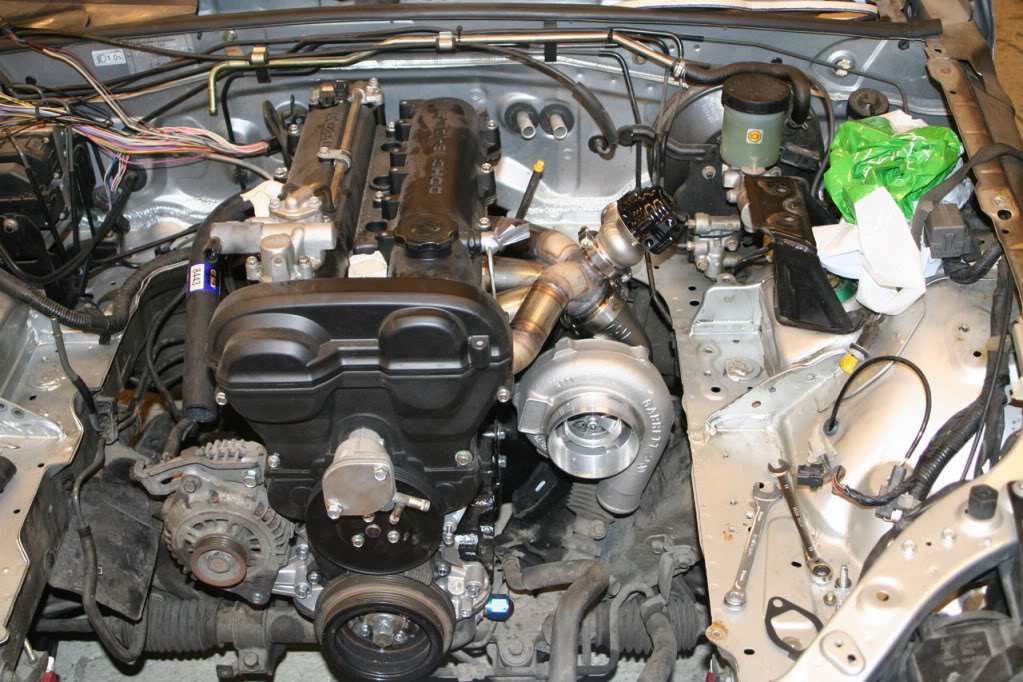
A few more thing has been done lately
The Zeitronix head unit, display and some of the sensors is hooked up.
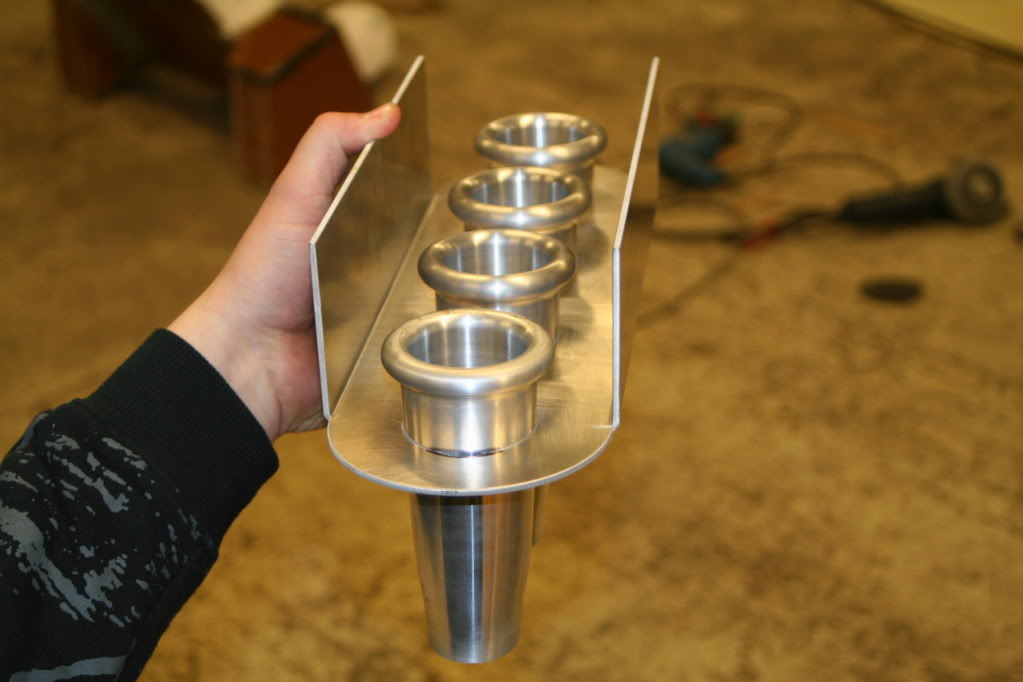
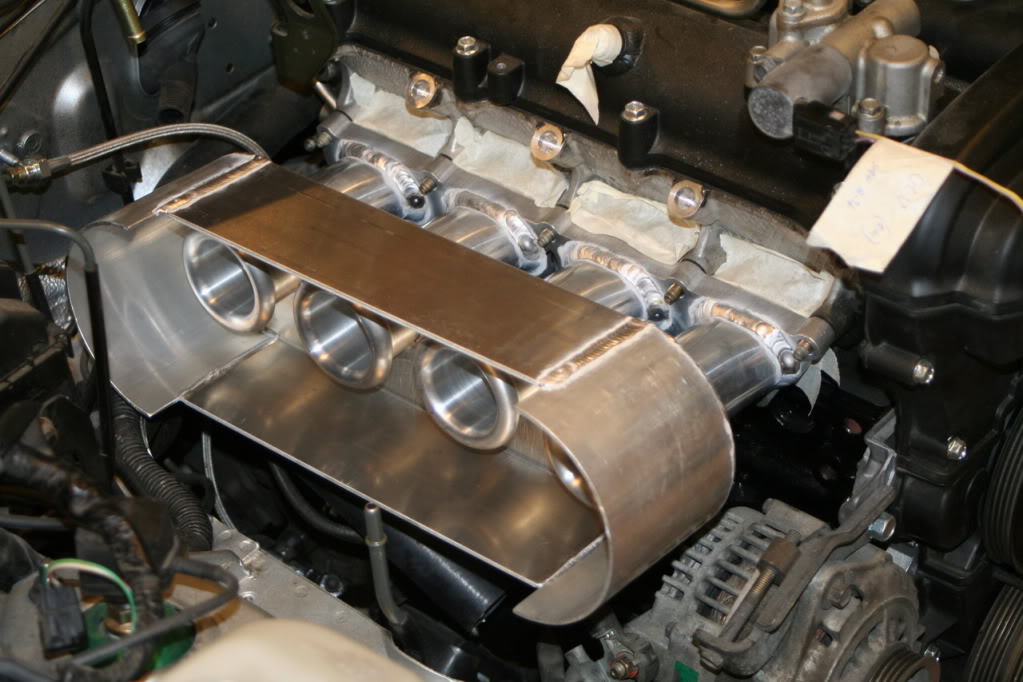
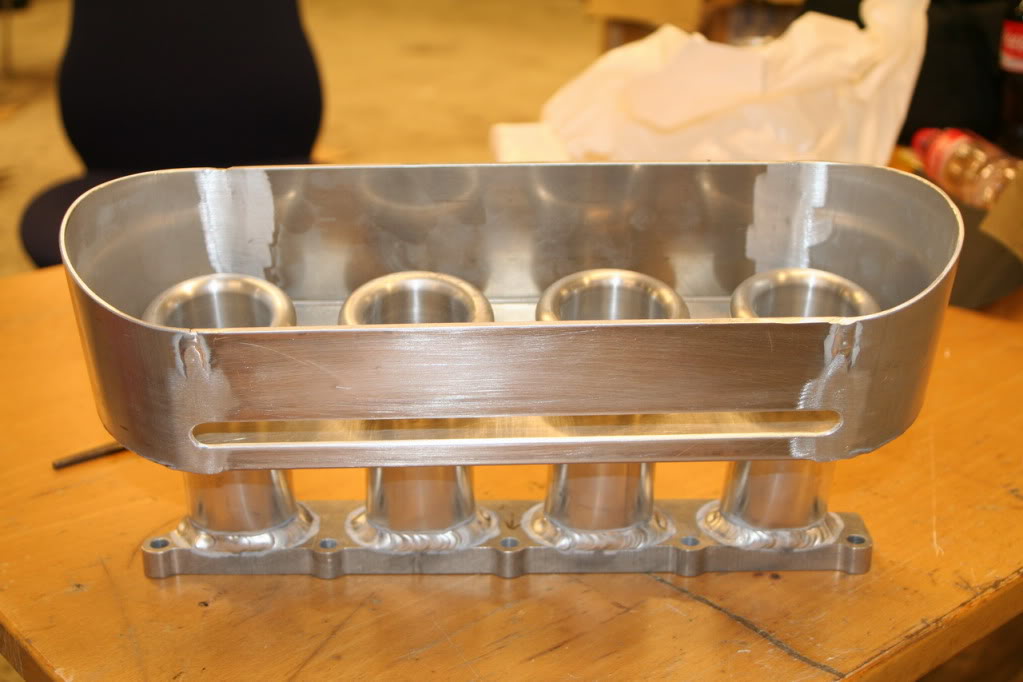
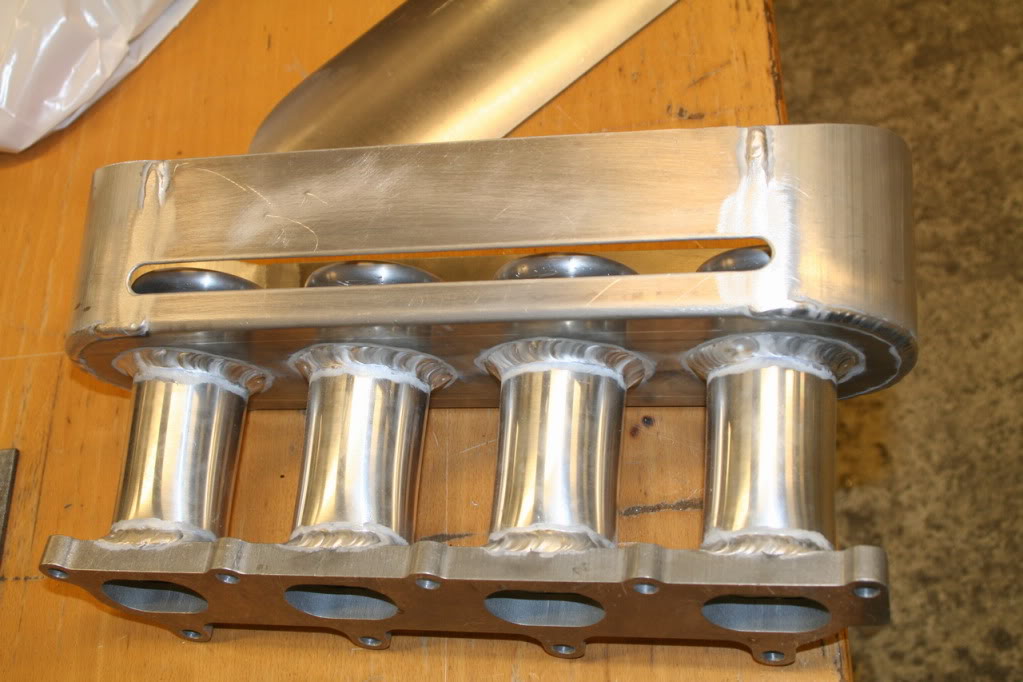
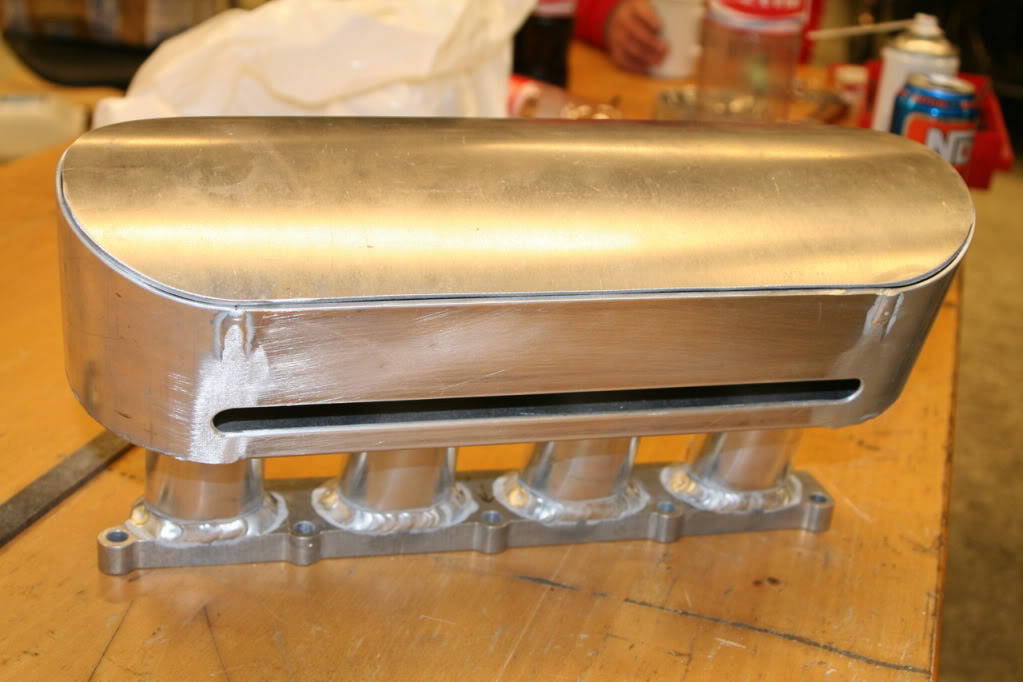
Started on the intake manifold.
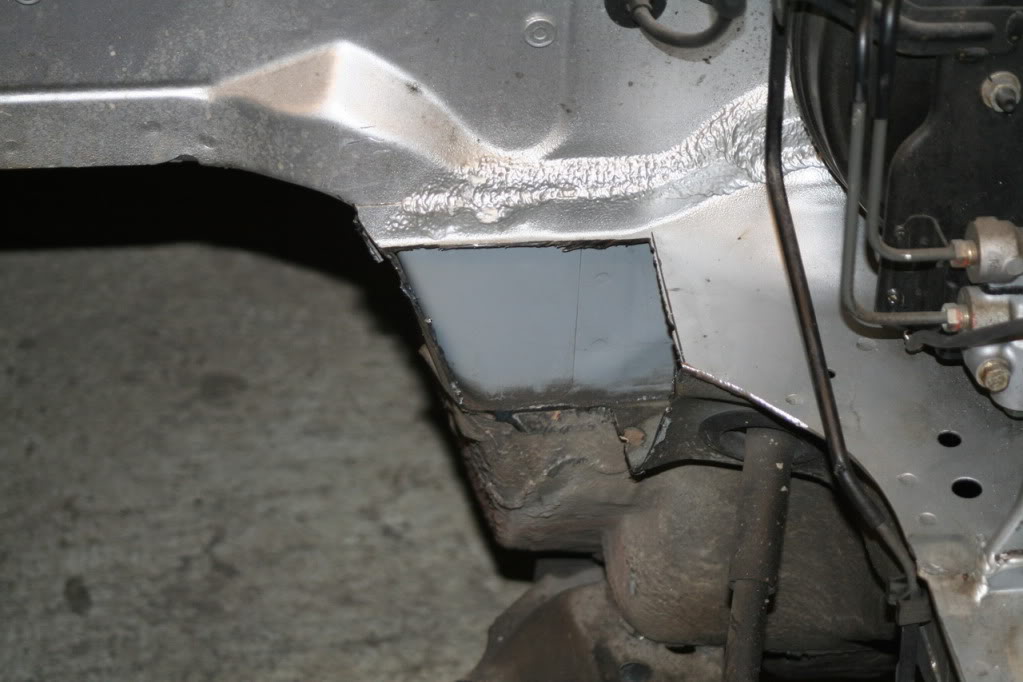
Done some cutting as well. More space for the wg outlet pipe. Will box it and paint it of course
The Zeitronix head unit, display and some of the sensors is hooked up.
Started on the intake manifold.
Done some cutting as well. More space for the wg outlet pipe. Will box it and paint it of course
Reply
0
0
Thread Starter
Junior Member
Joined: Mar 2010
Posts: 189
Total Cats: 0
From: Norway
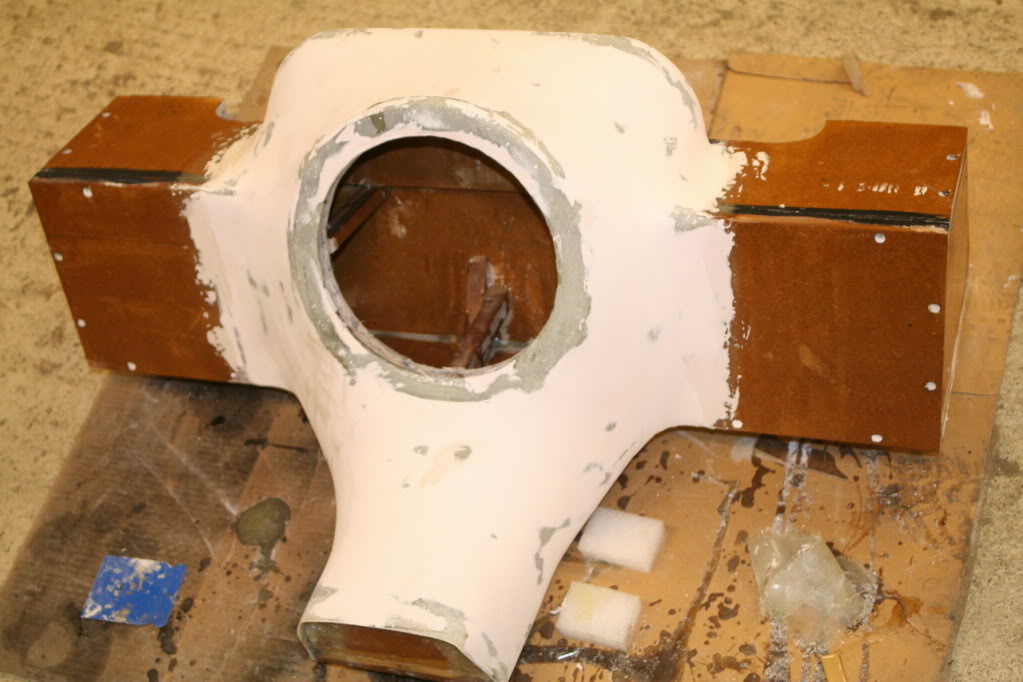
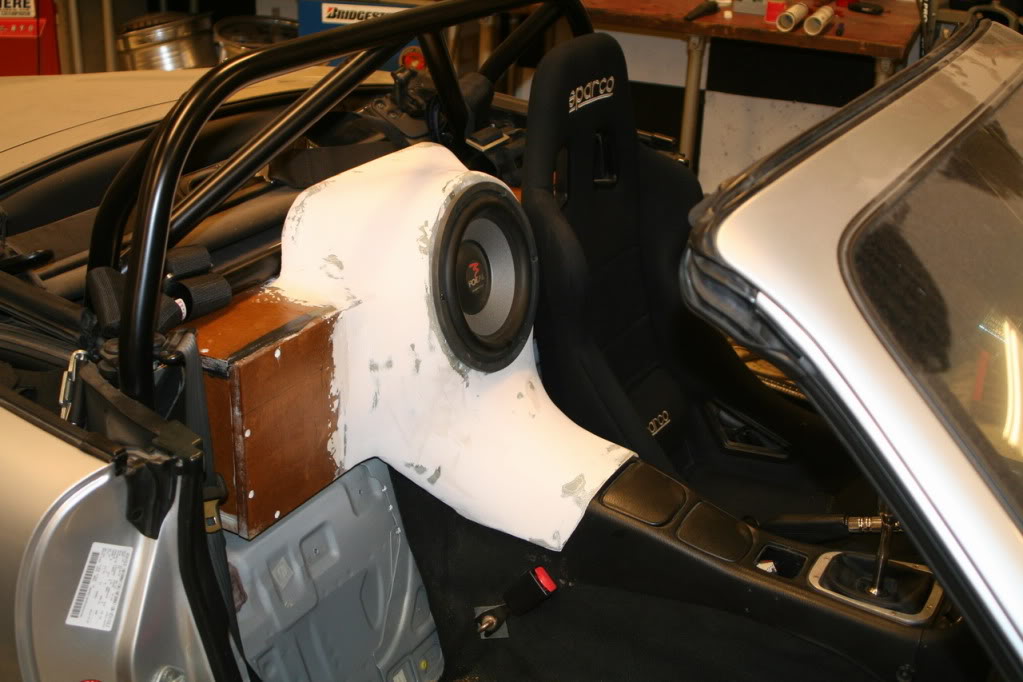
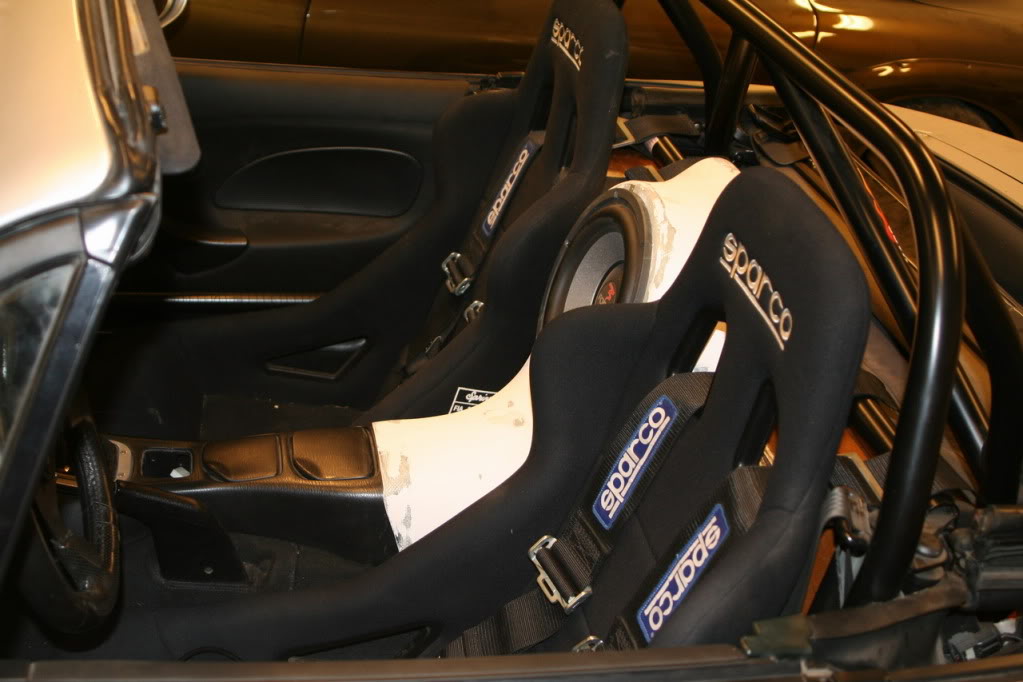
A bit more is done on the sub as well.
A couple of rounds of bondoe to get it smooth and a piece that makes it a bit smoother with the centre console. Only thing left now is to do some final trimming and cover it with vinyl or leather.
A couple of rounds of bondoe to get it smooth and a piece that makes it a bit smoother with the centre console. Only thing left now is to do some final trimming and cover it with vinyl or leather.
Reply
0
0

Thread Starter
Junior Member
Joined: Mar 2010
Posts: 189
Total Cats: 0
From: Norway
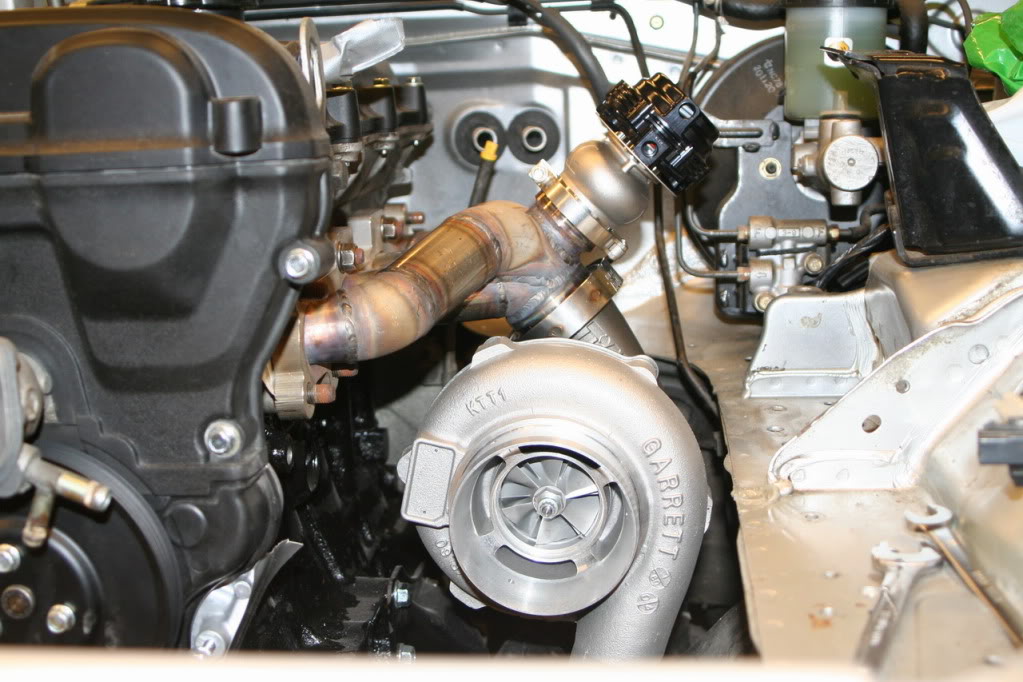
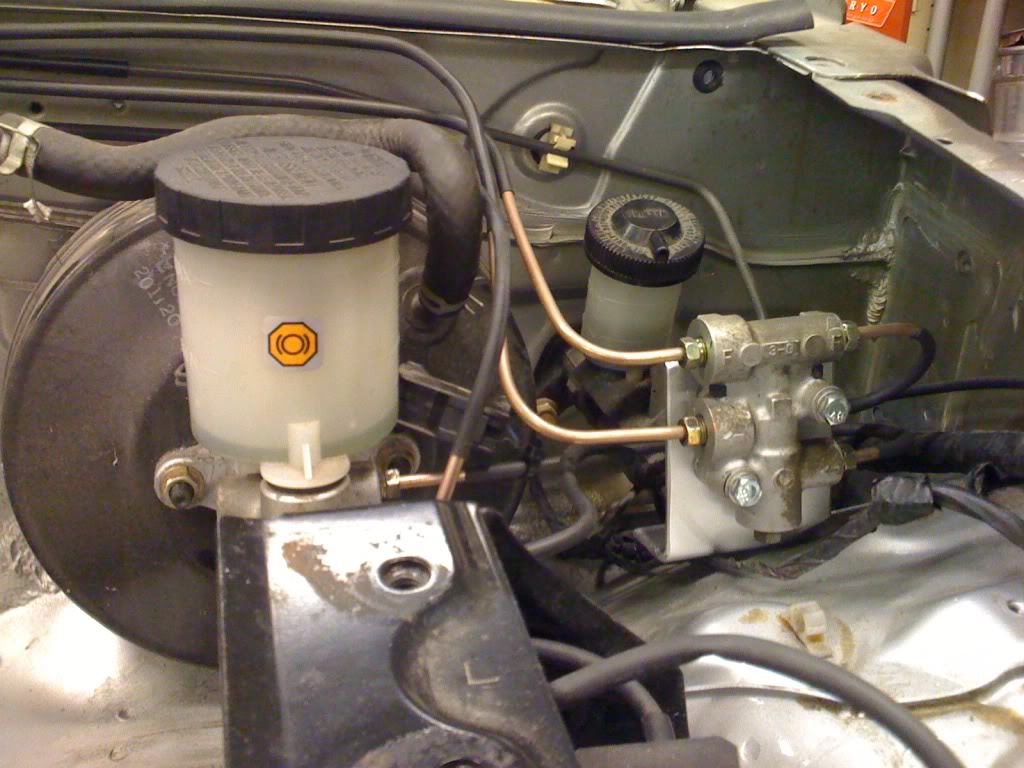
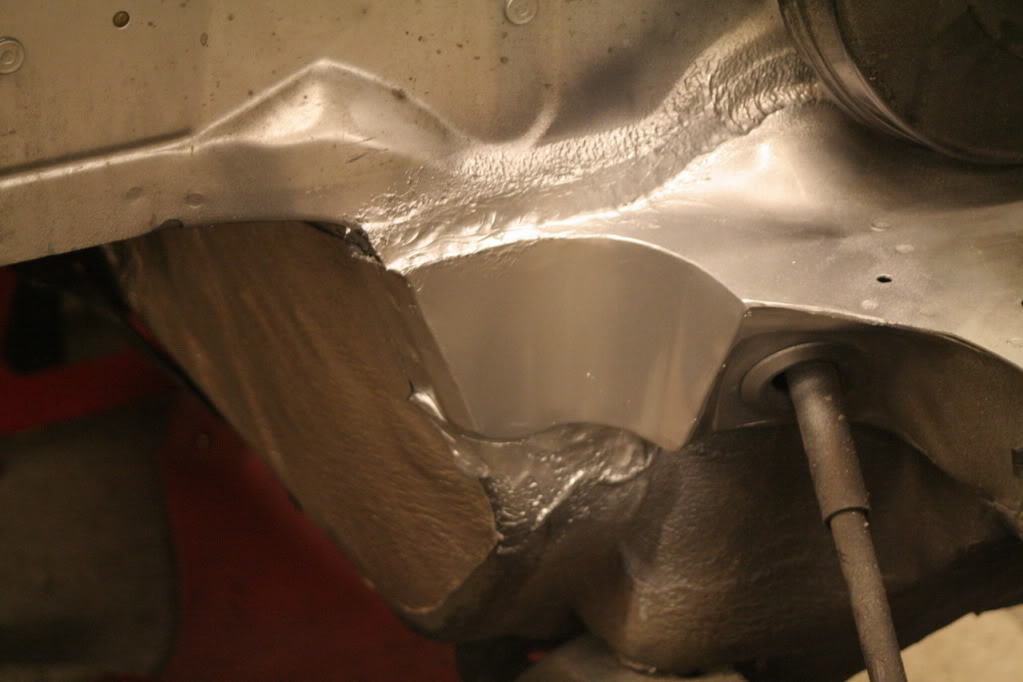
Moved the brake lines away from the turbo. This is my first time running new brake lines. Quite happy with the result

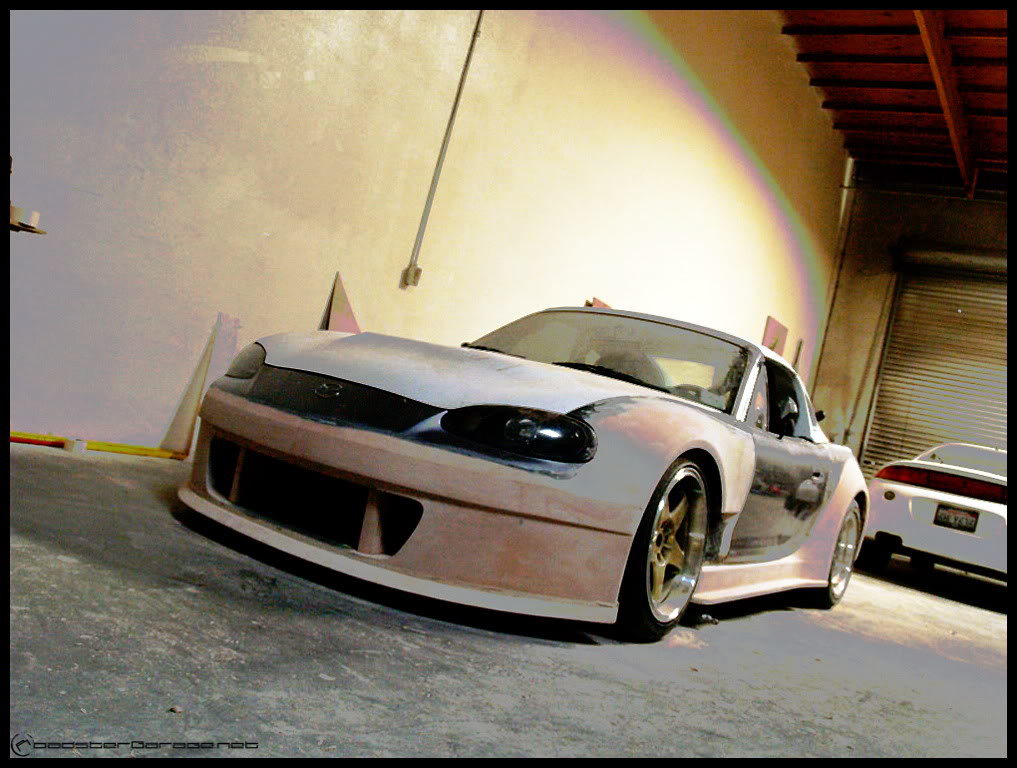
Hmmm. Maybe this will be next winters project Autokonexion wide body kit and APR GTC300 wing.
+

Hmmm. Maybe this will be next winters project
Autokonexion wide body kit and APR GTC300 wing.+
Reply
0
0
Thread Starter
Junior Member
Joined: Mar 2010
Posts: 189
Total Cats: 0
From: Norway
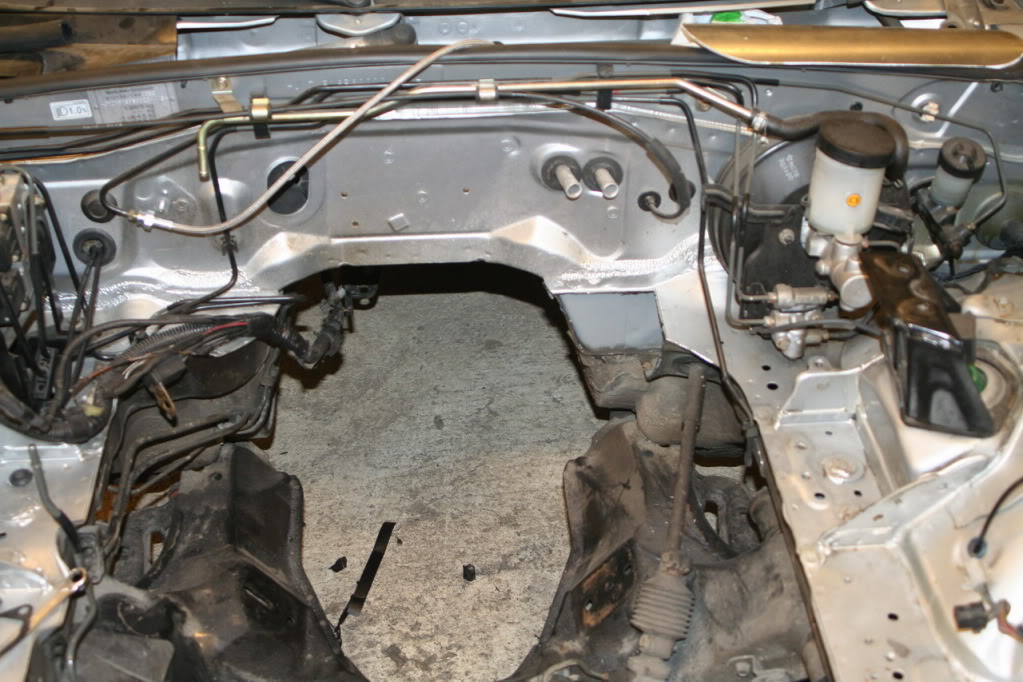
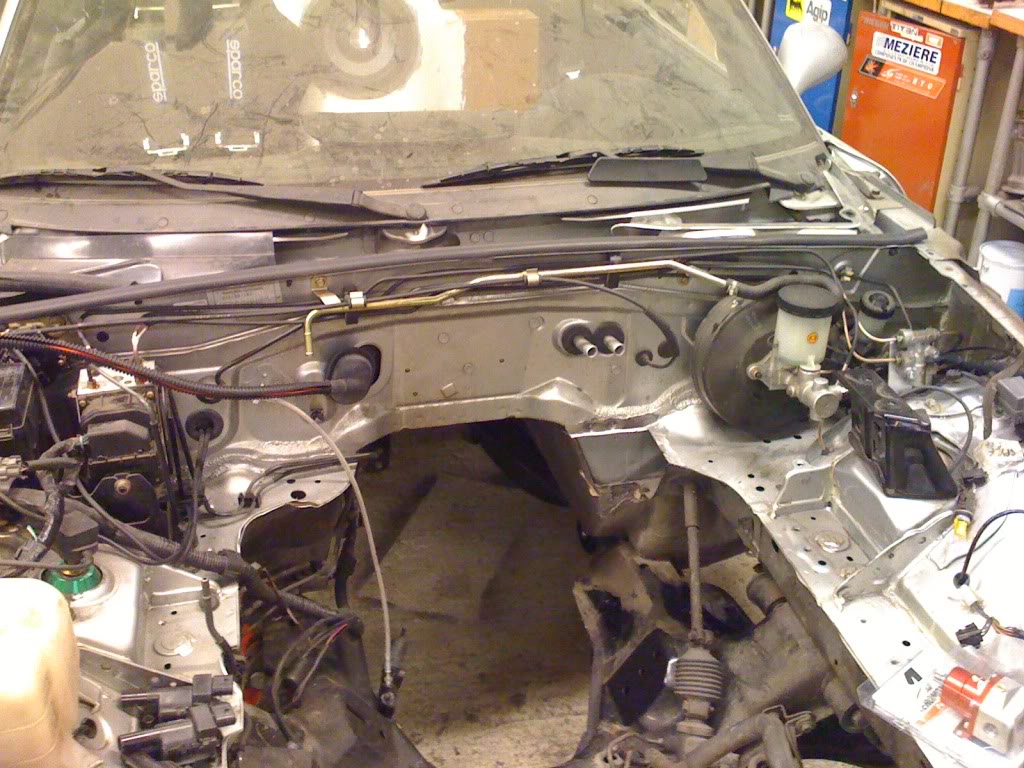
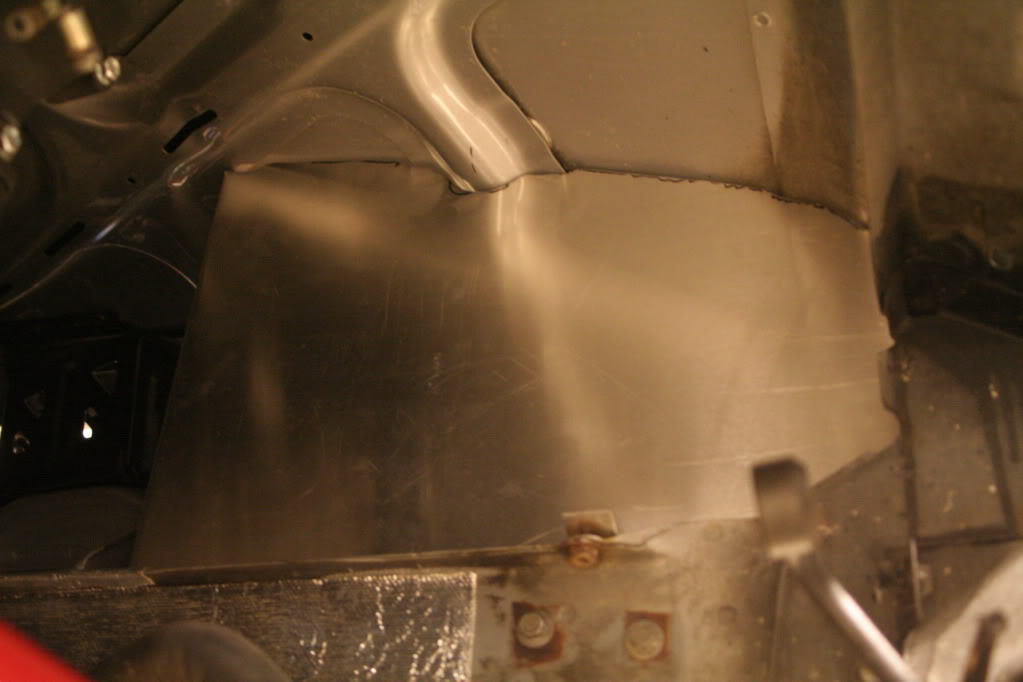
Finished the firewall so the engine is back in. Hopefully for the last time.
Started with the wiring og the engine management.
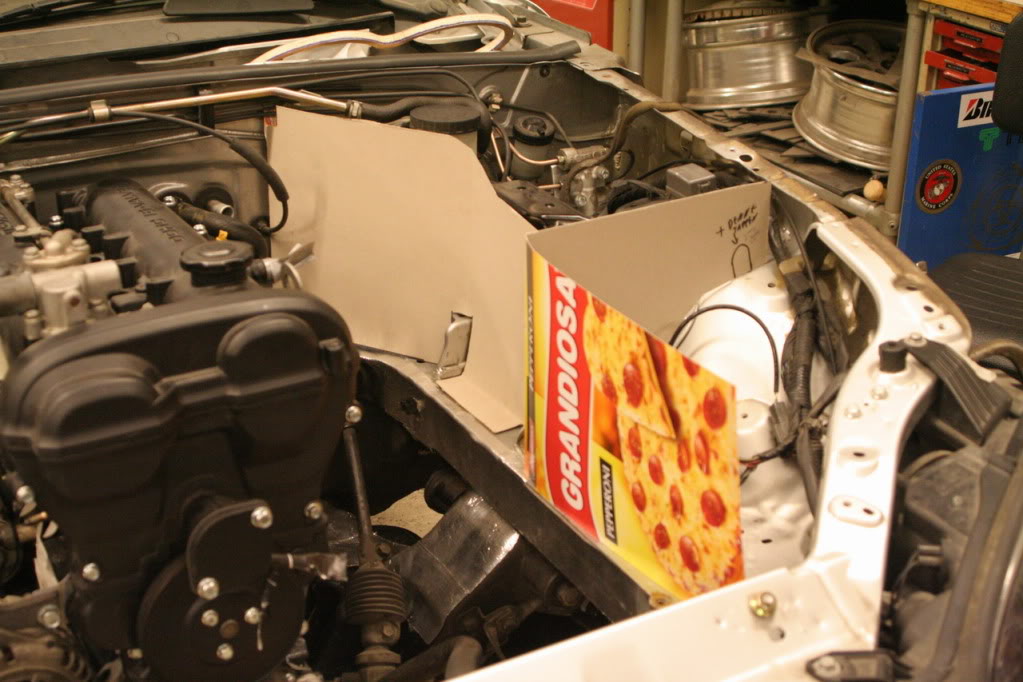
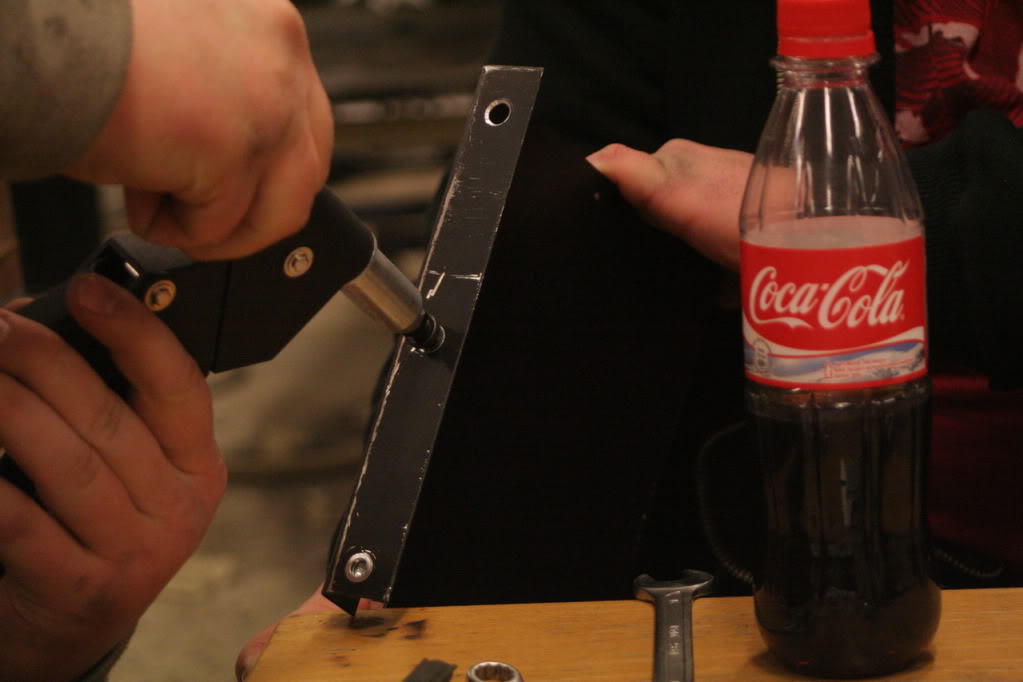
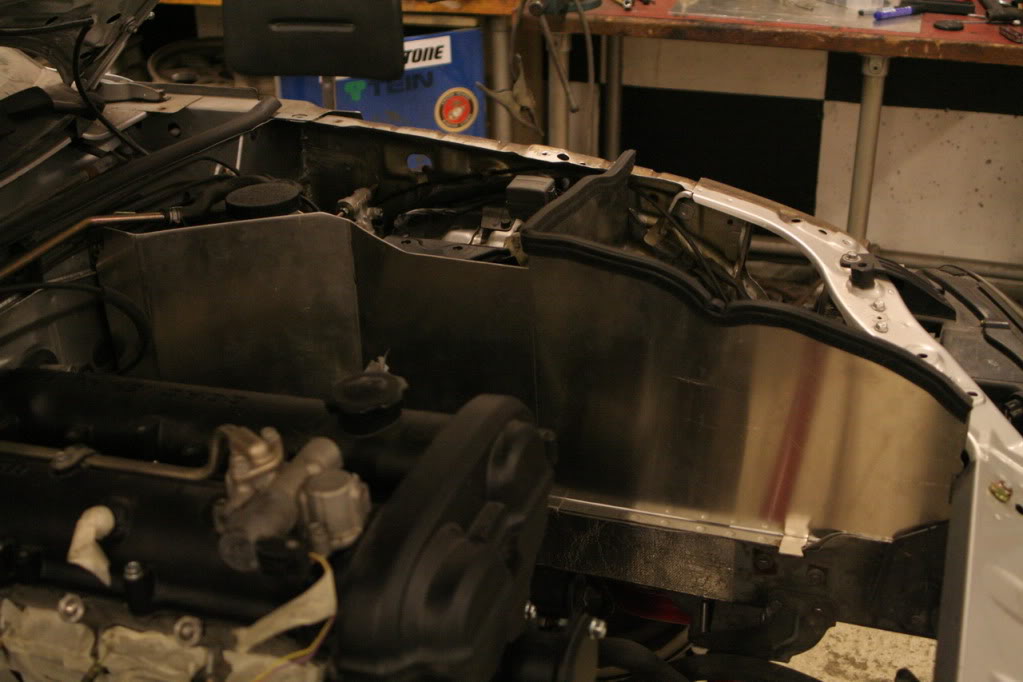
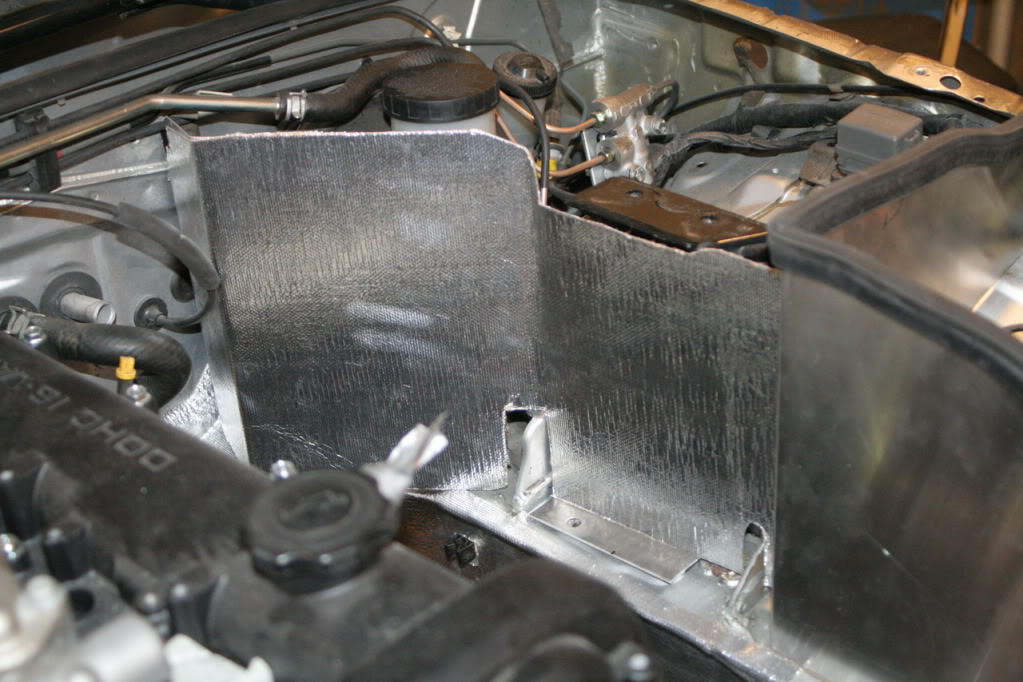
I do have a good reason for eating frozed pizza Making templates for heat shielding and a box for the air filter. The air filter box was a pain. Luckily there was no intercooler og radiator in the way, probably saved several hours.
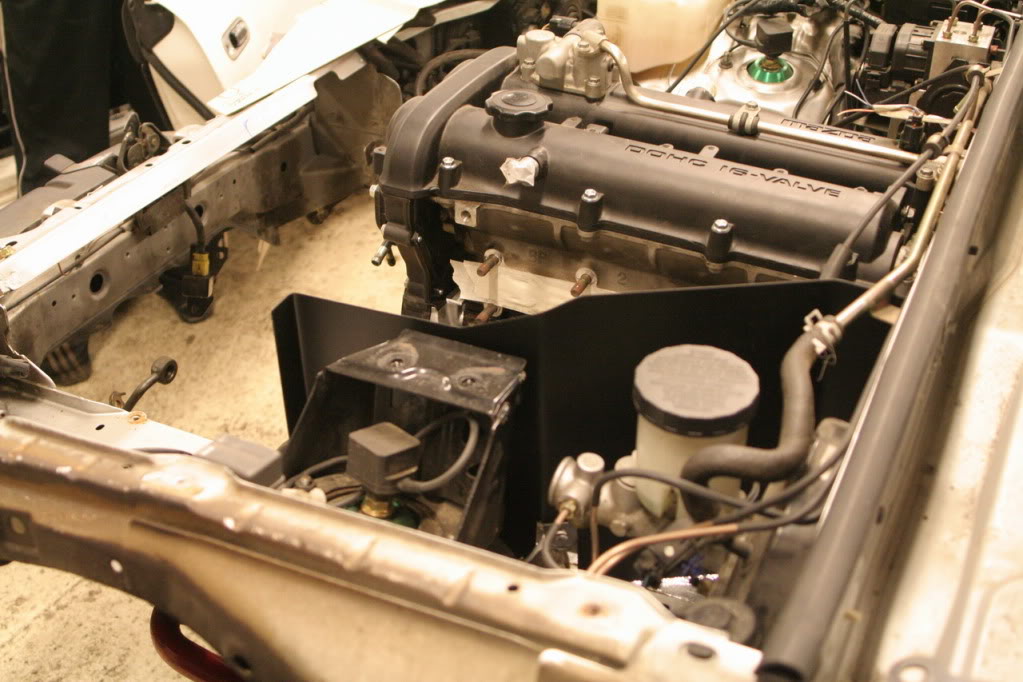
Started with the wiring og the engine management.
I do have a good reason for eating frozed pizza
Making templates for heat shielding and a box for the air filter. The air filter box was a pain. Luckily there was no intercooler og radiator in the way, probably saved several hours.
Reply
0
0

Thread Starter
Junior Member
Joined: Mar 2010
Posts: 189
Total Cats: 0
From: Norway
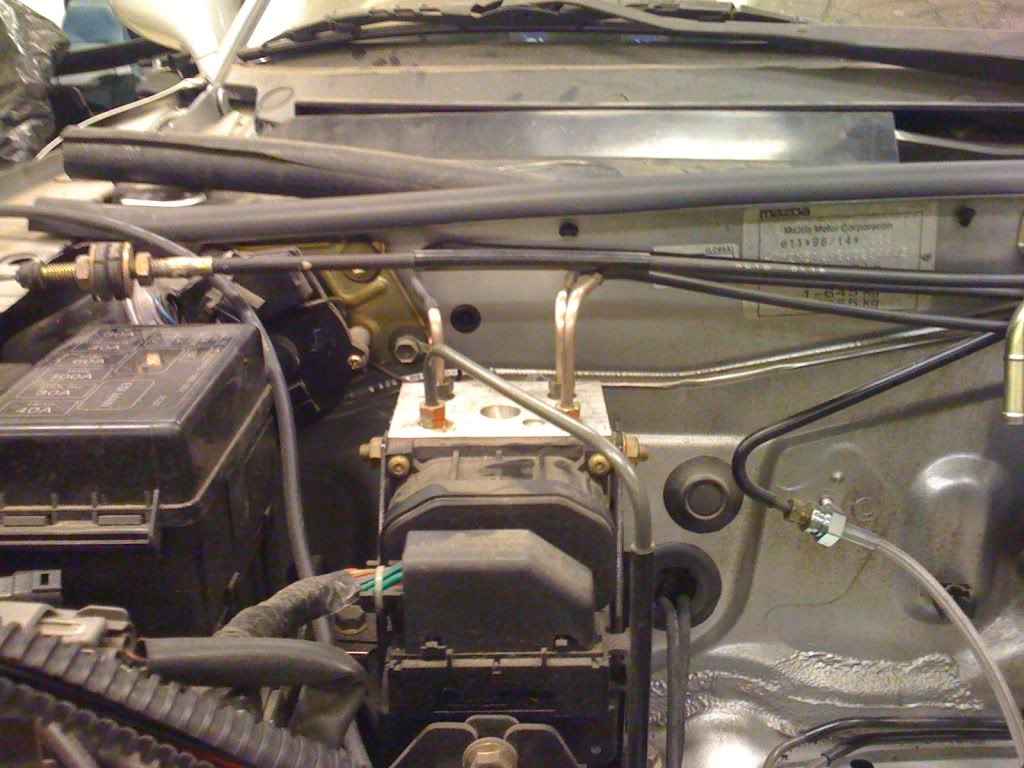
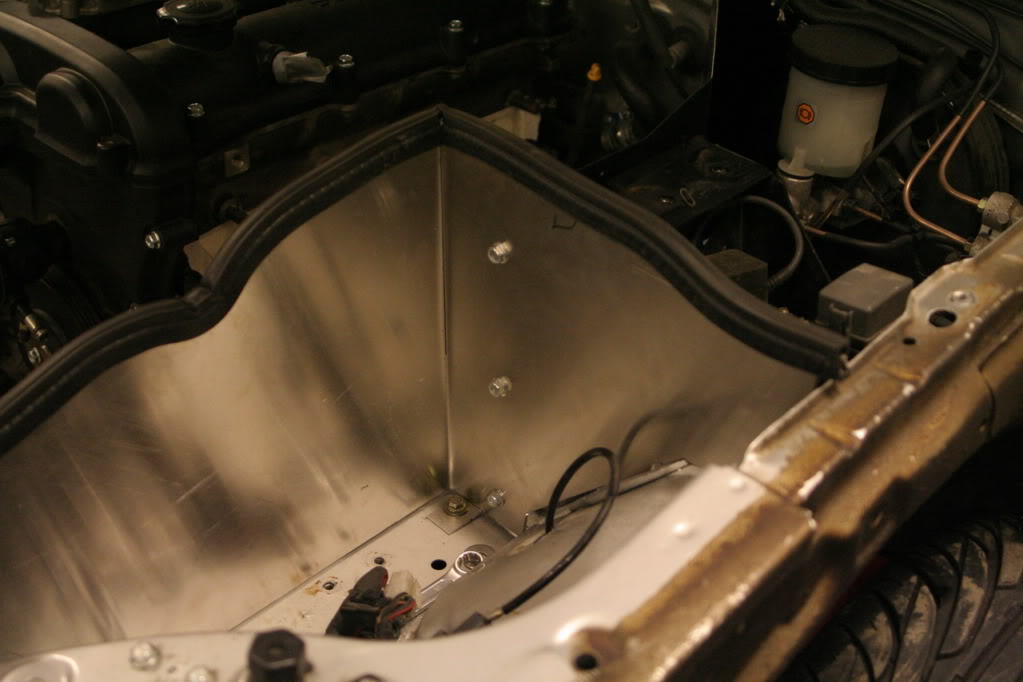
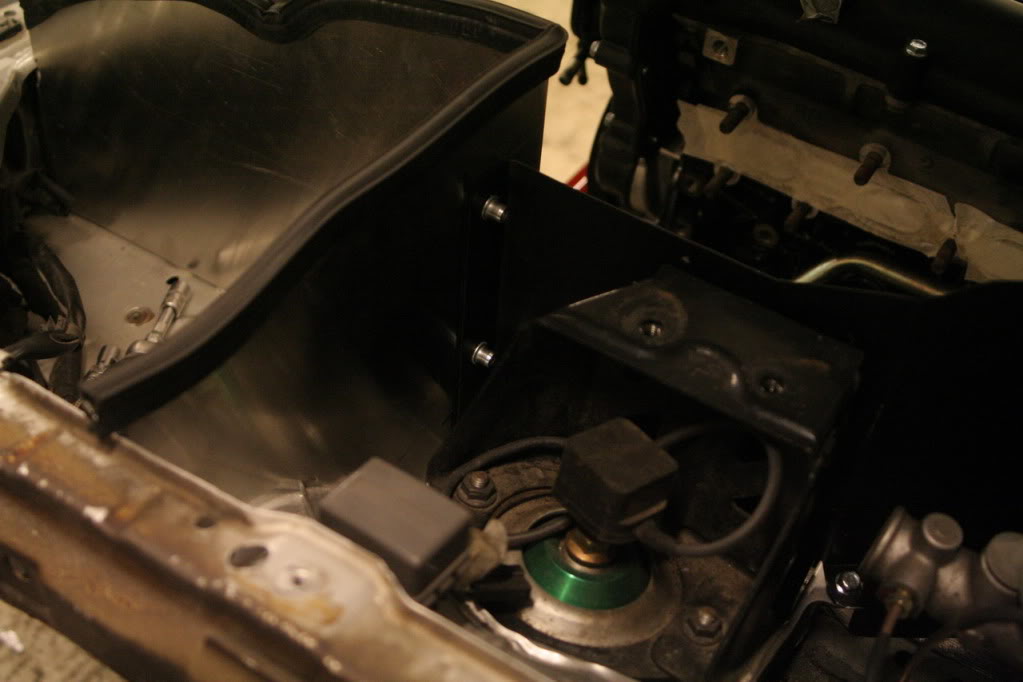
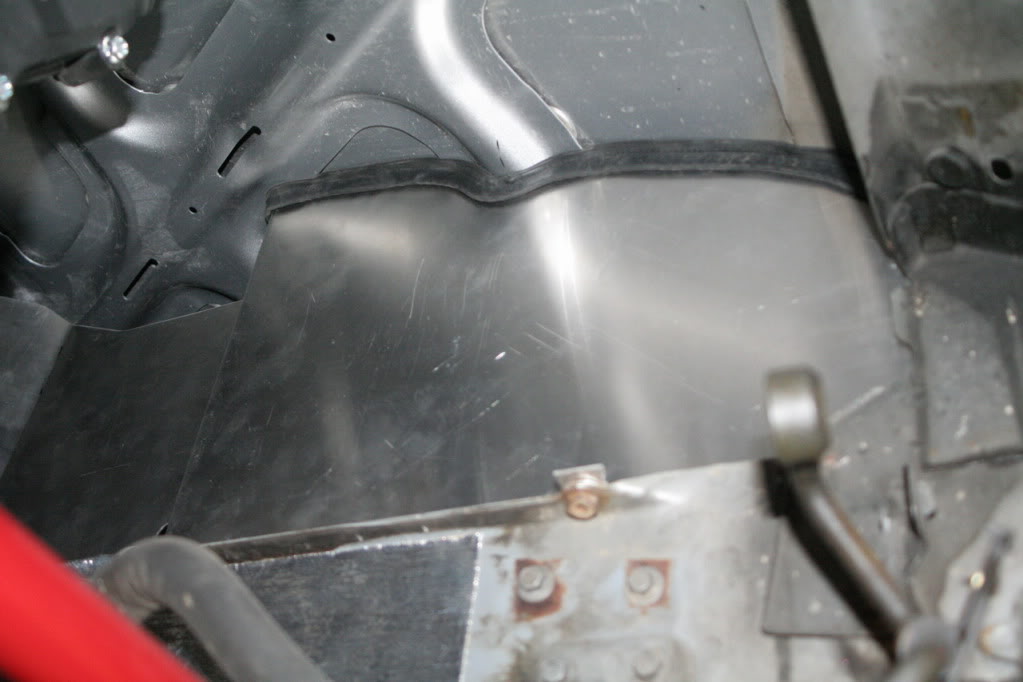
Some final trimming to the heat shield and now the Thermo Tec is on.
Oil coolers are in. Loving the threaded pop rivets Will have to make some ducting for the coolers and the air filter box from the side holes in the front bumper. And of cource paint the brackets black.

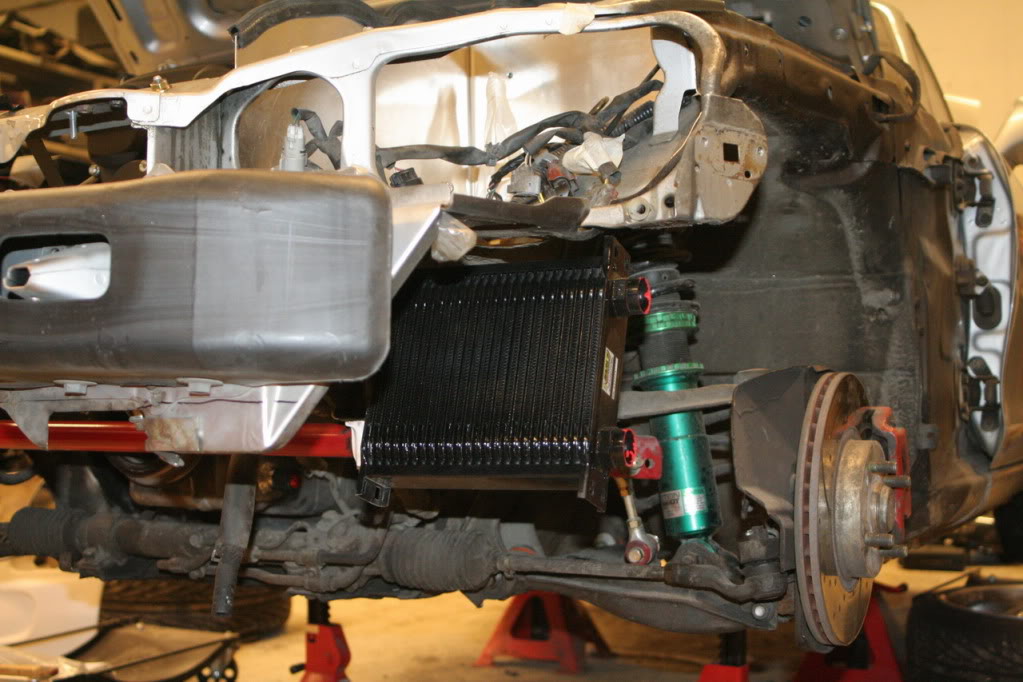
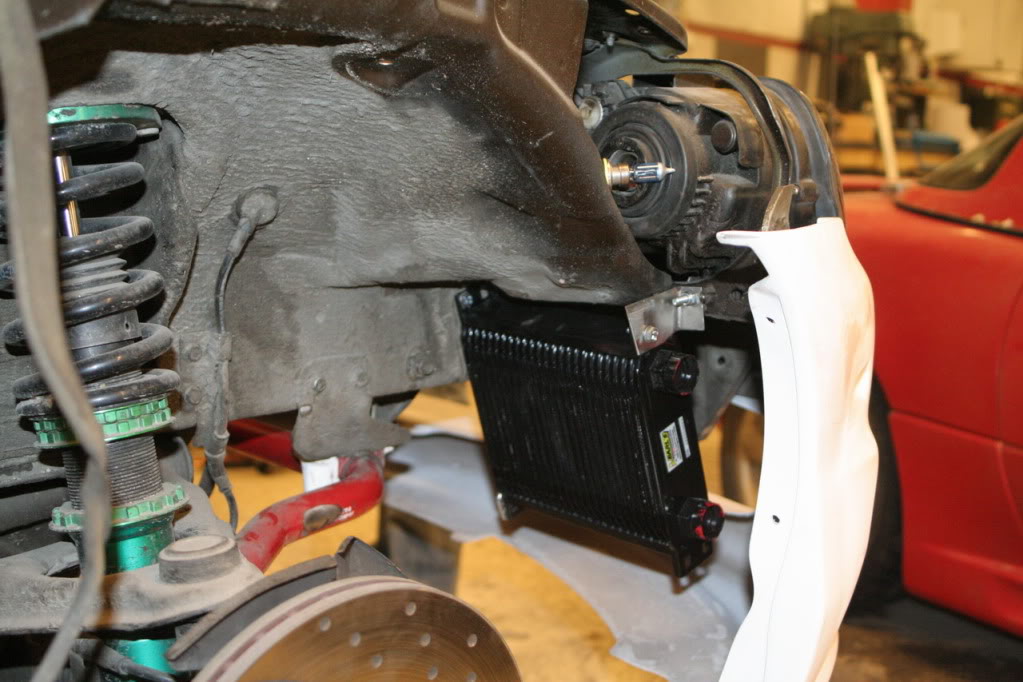
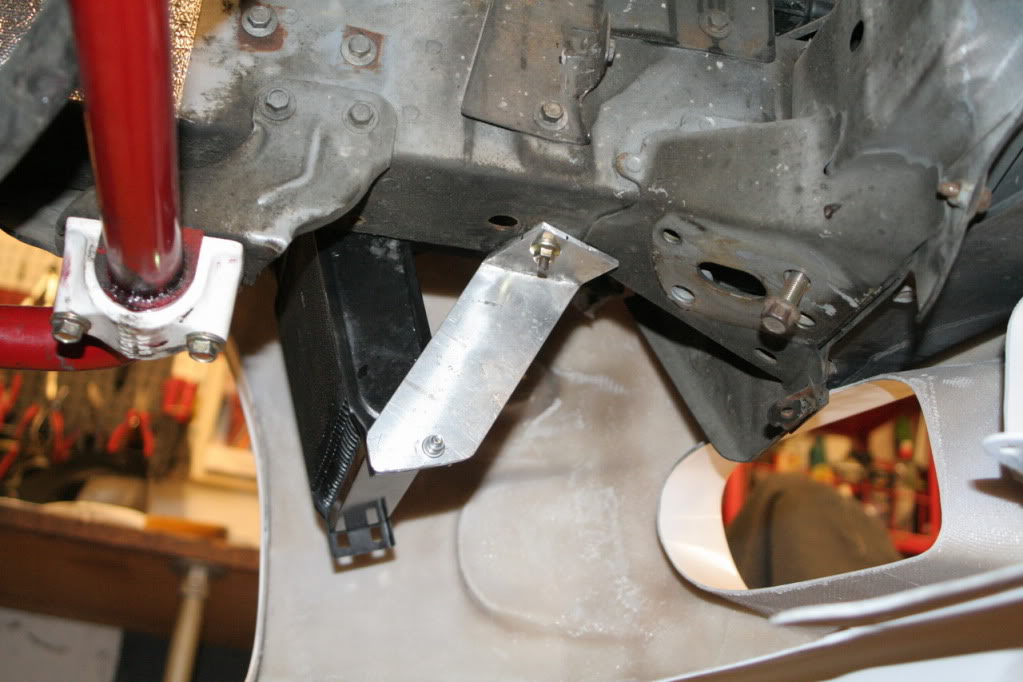
Oil coolers are in. Loving the threaded pop rivets
Will have to make some ducting for the coolers and the air filter box from the side holes in the front bumper. And of cource paint the brackets black.
Reply
0
0


