When you click on links to various merchants on this site and make a purchase, this can result in this site earning a commission. Affiliate programs and affiliations include, but are not limited to, the eBay Partner Network.
While I appreciate that some benevolent moderator has renamed my thread, I'm not sure exactly what its referencing. As the car is grafted together from an NA6 & an NA8 perhaps it could be "Dirty NA7 Edition" ?
I forgot how much I hate BP coil packs.
CAS is out, coil pack is out, heater hoses are out, wiring harness is out.
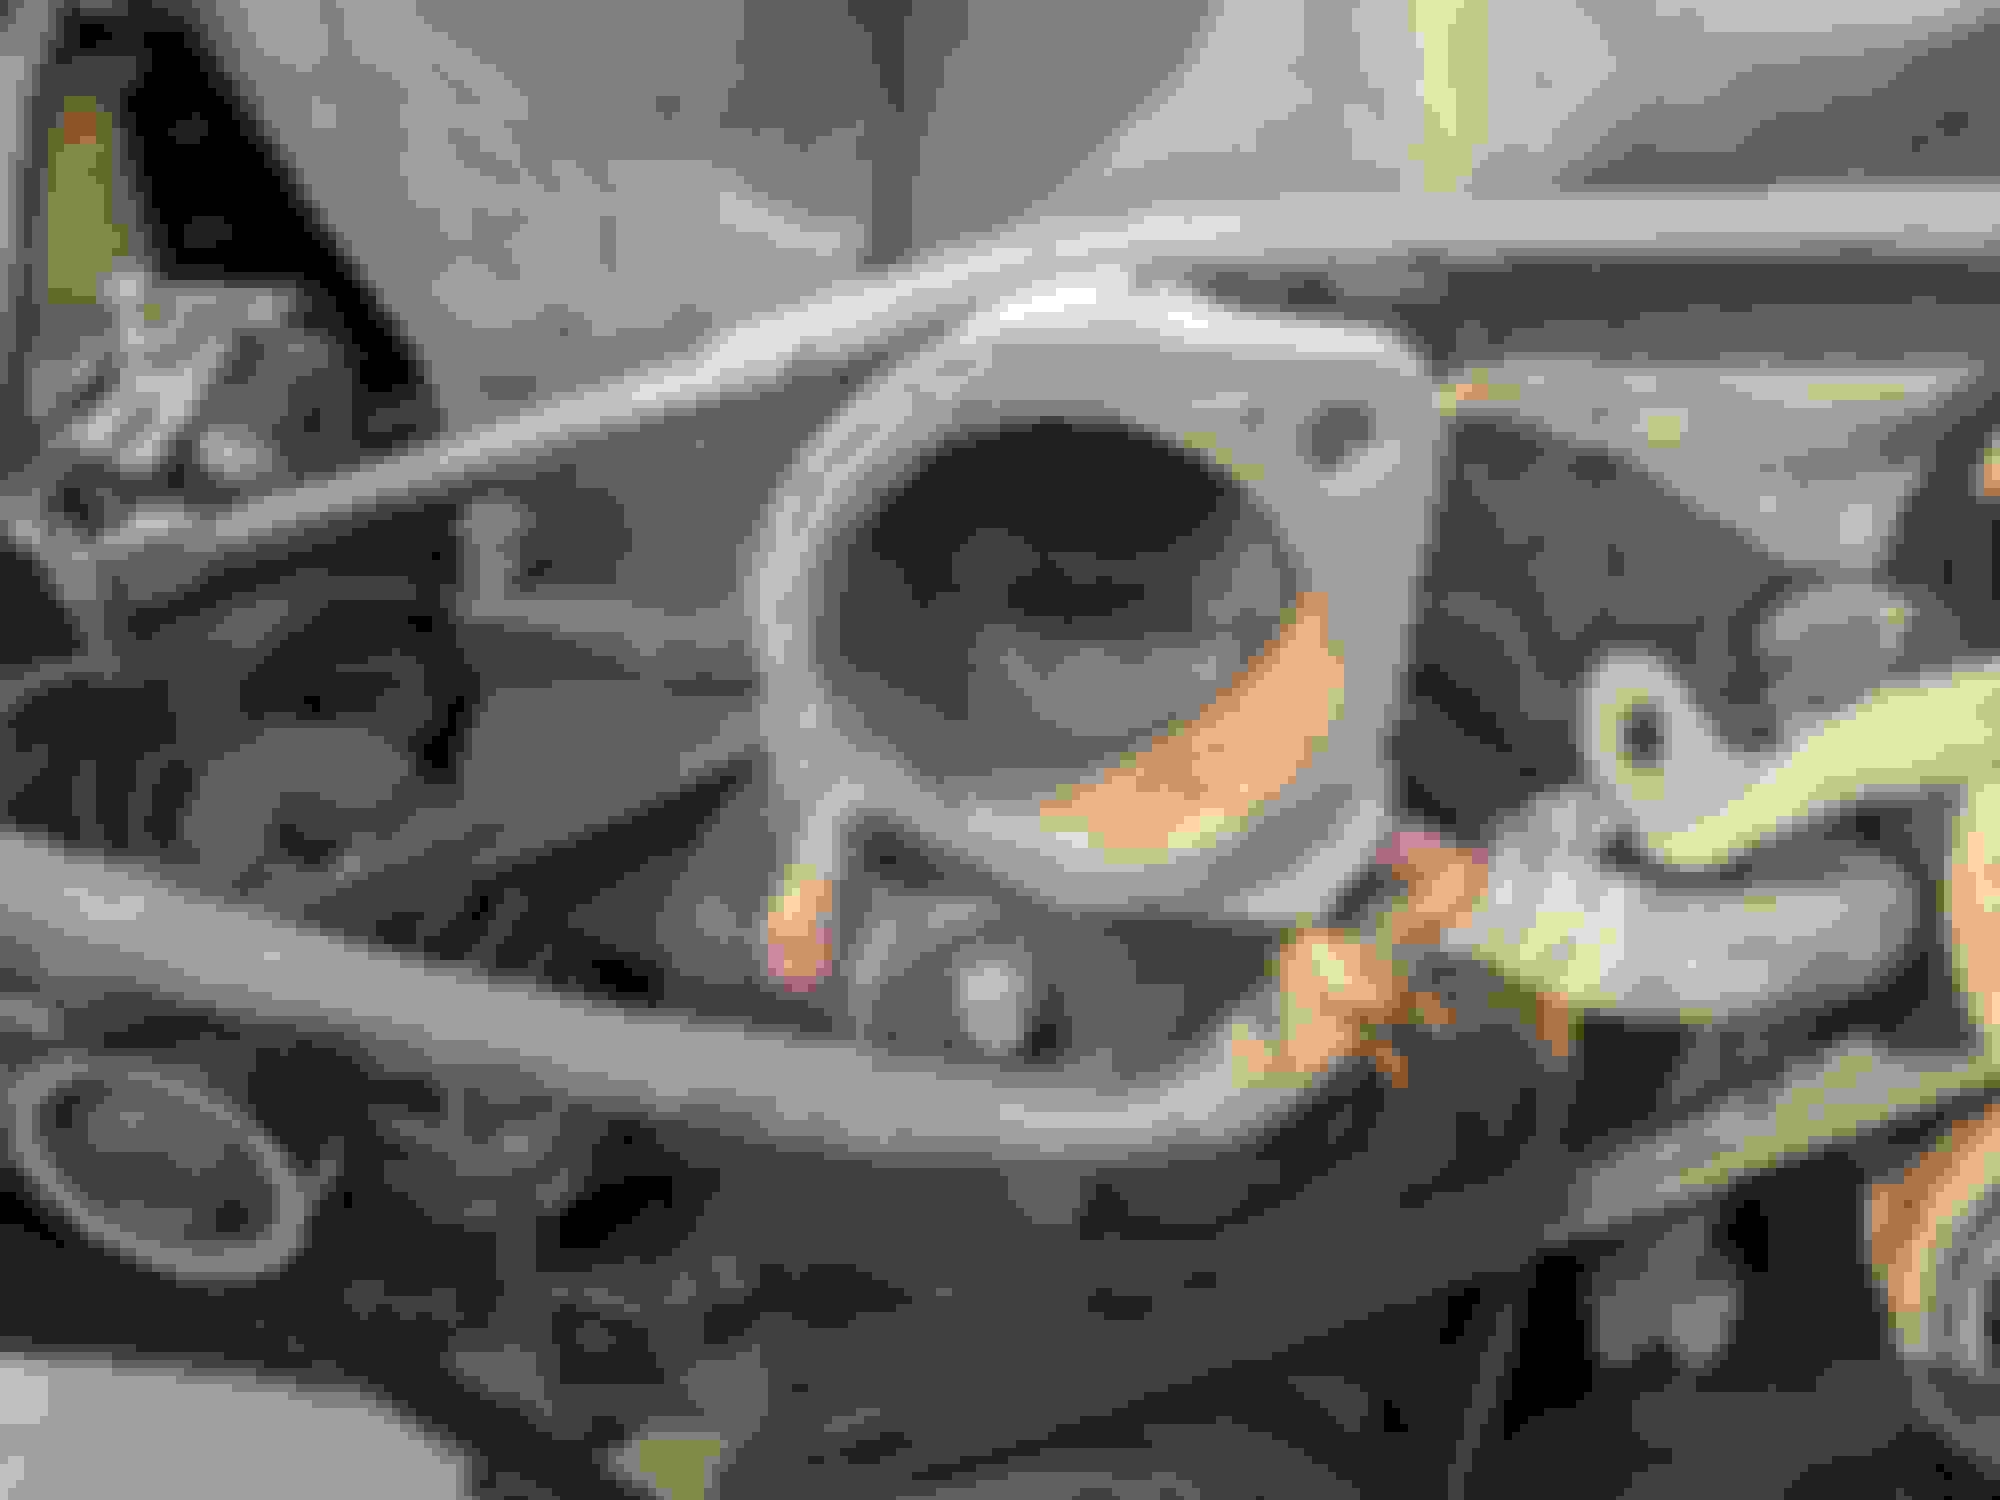
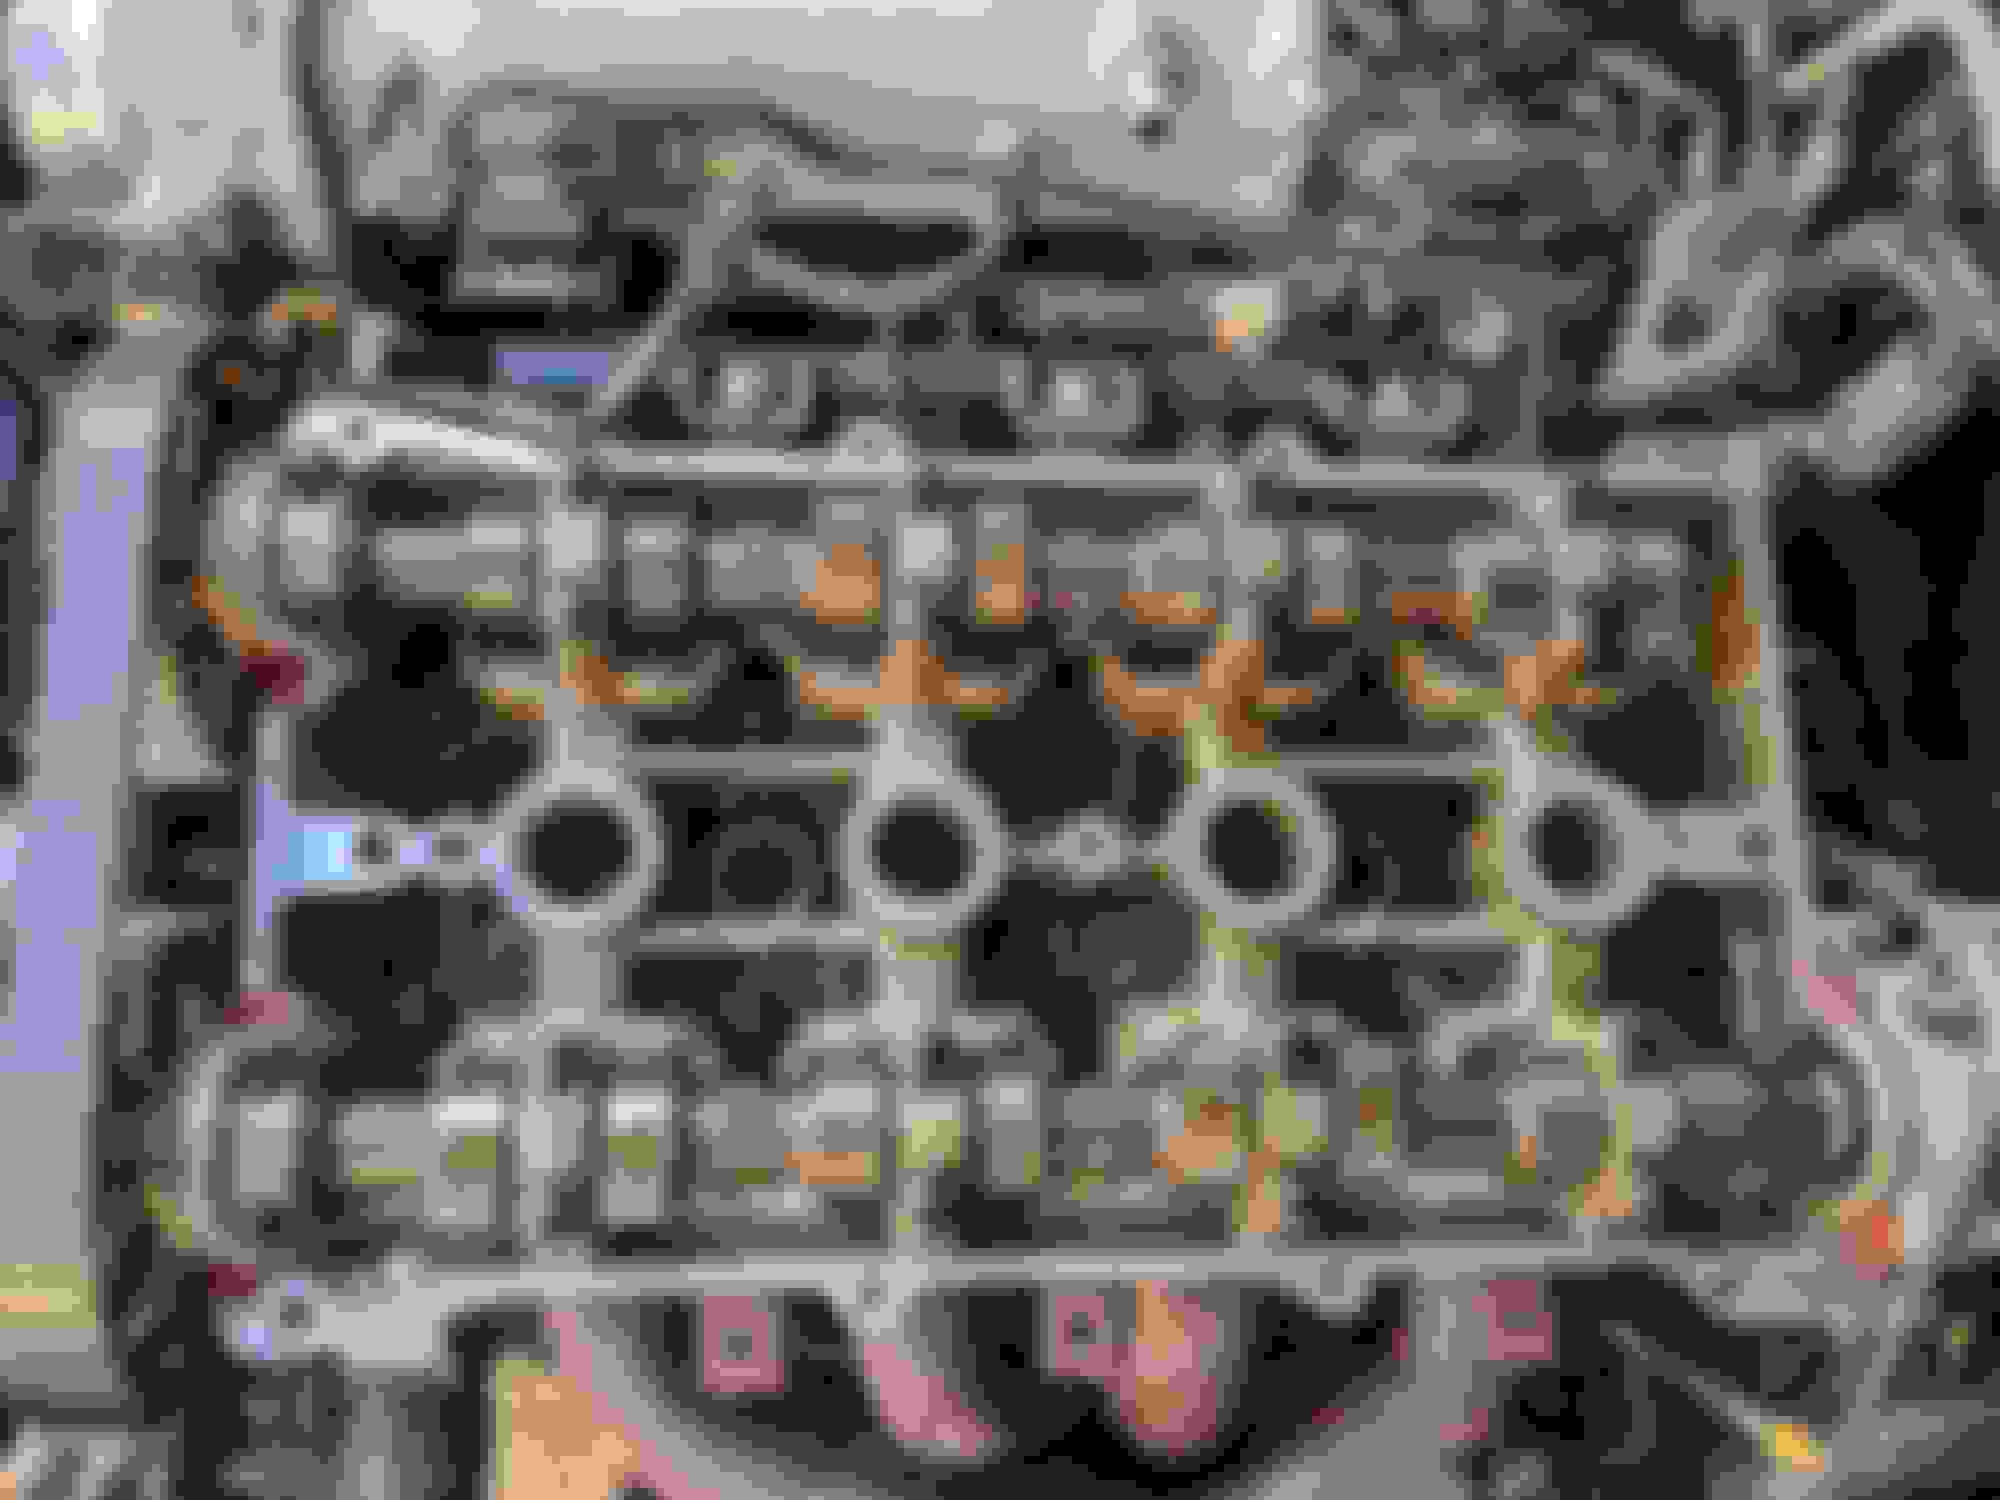
You know you are in trouble when you can SEE the hole in the gasket.
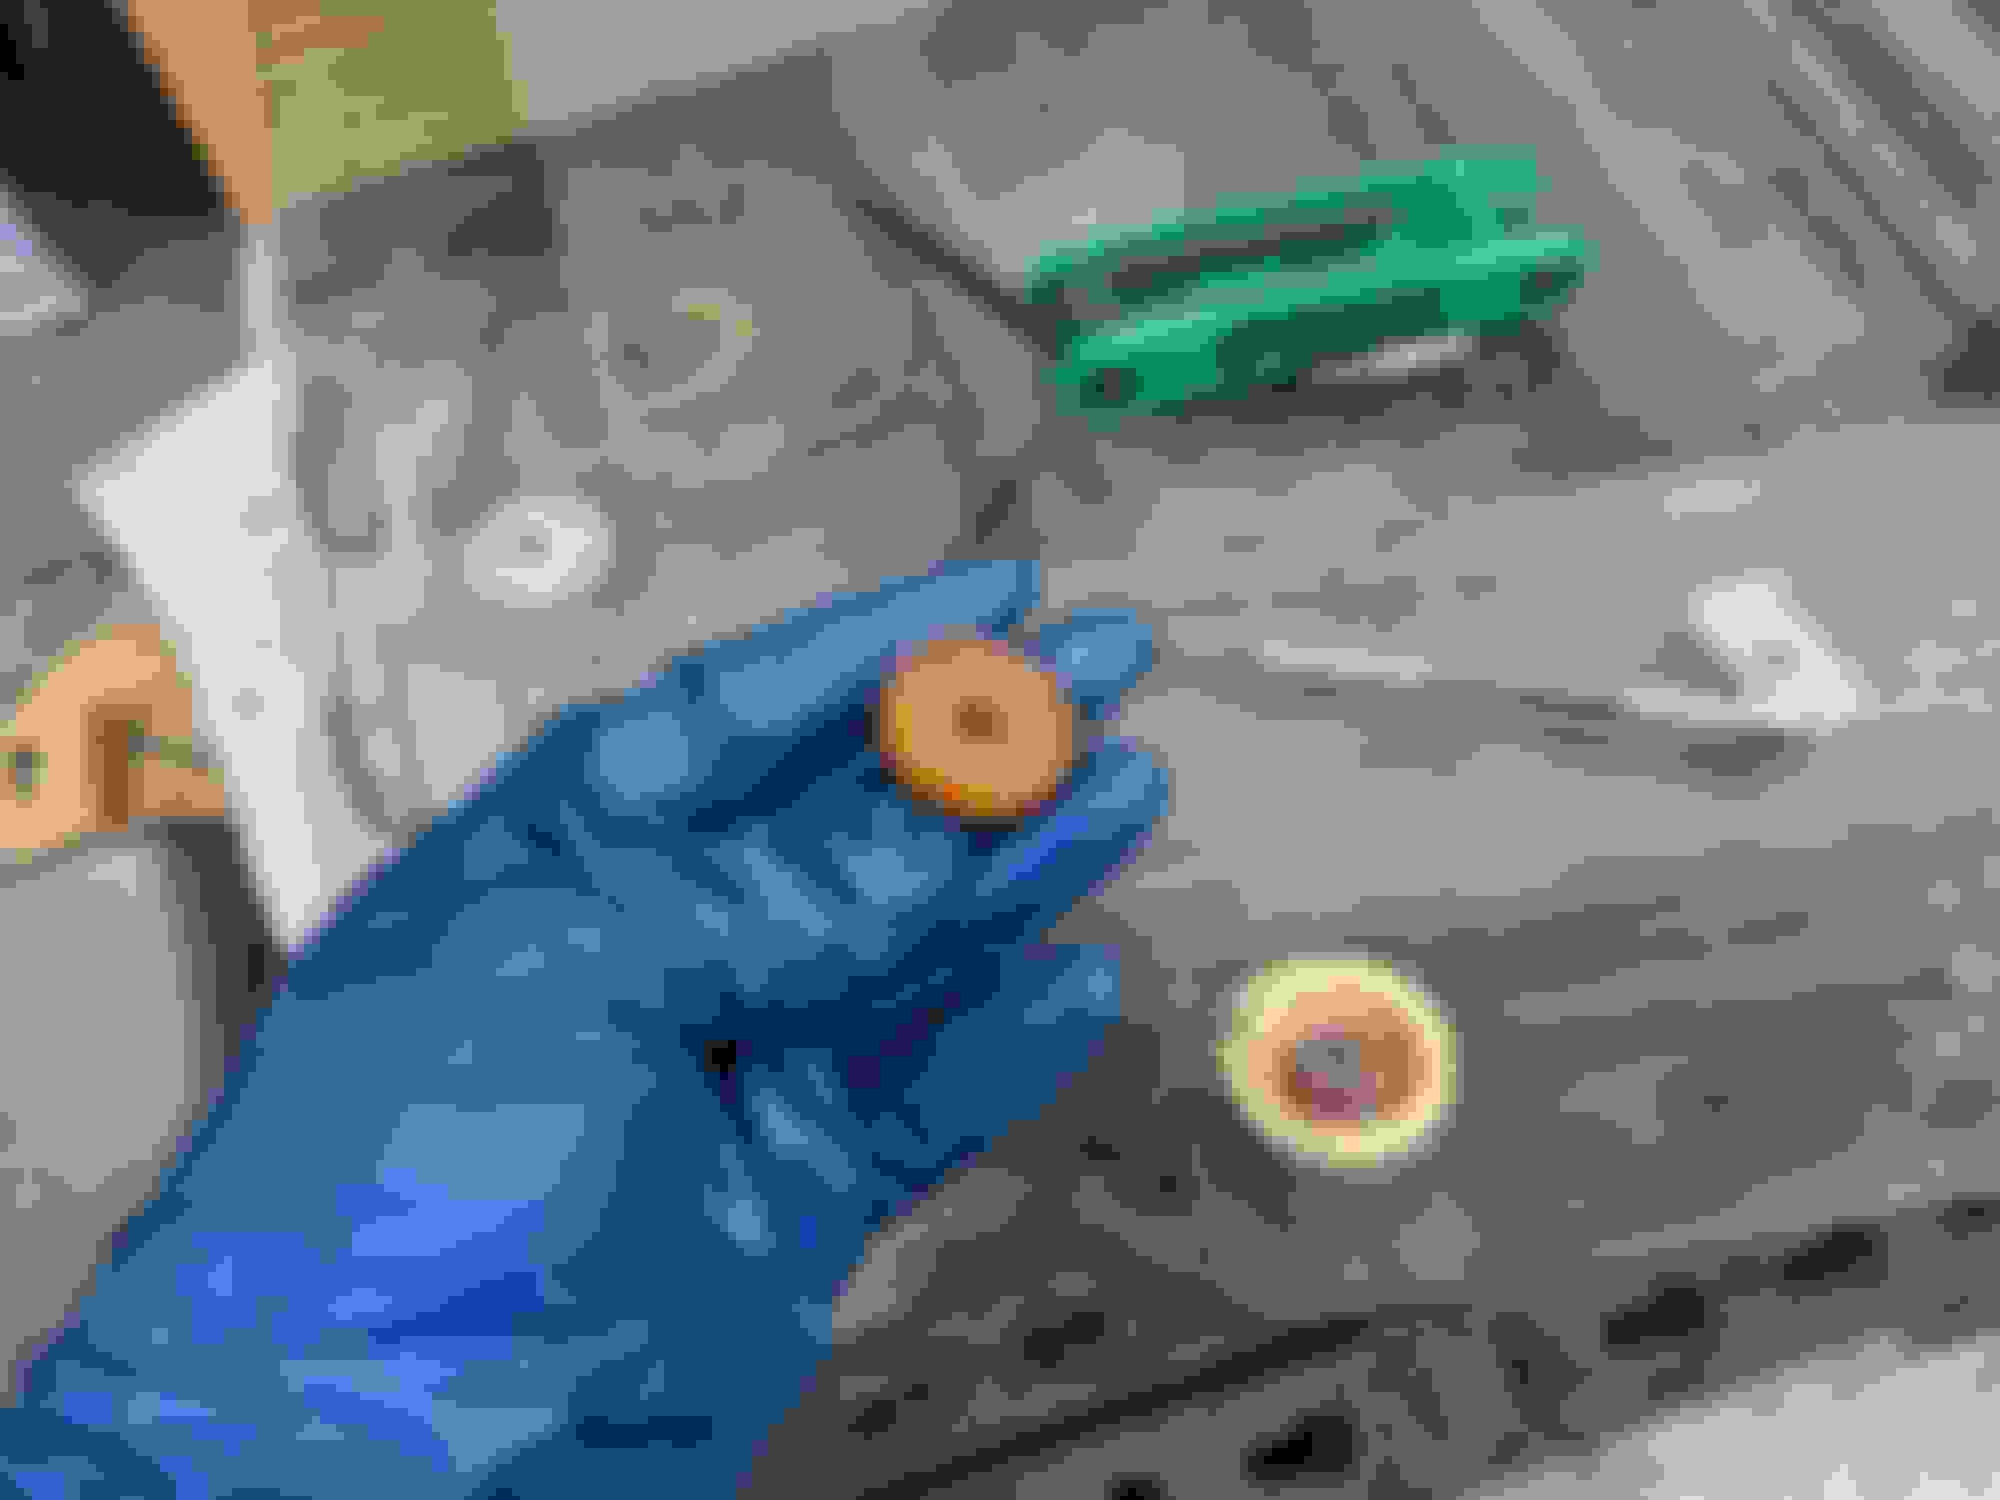
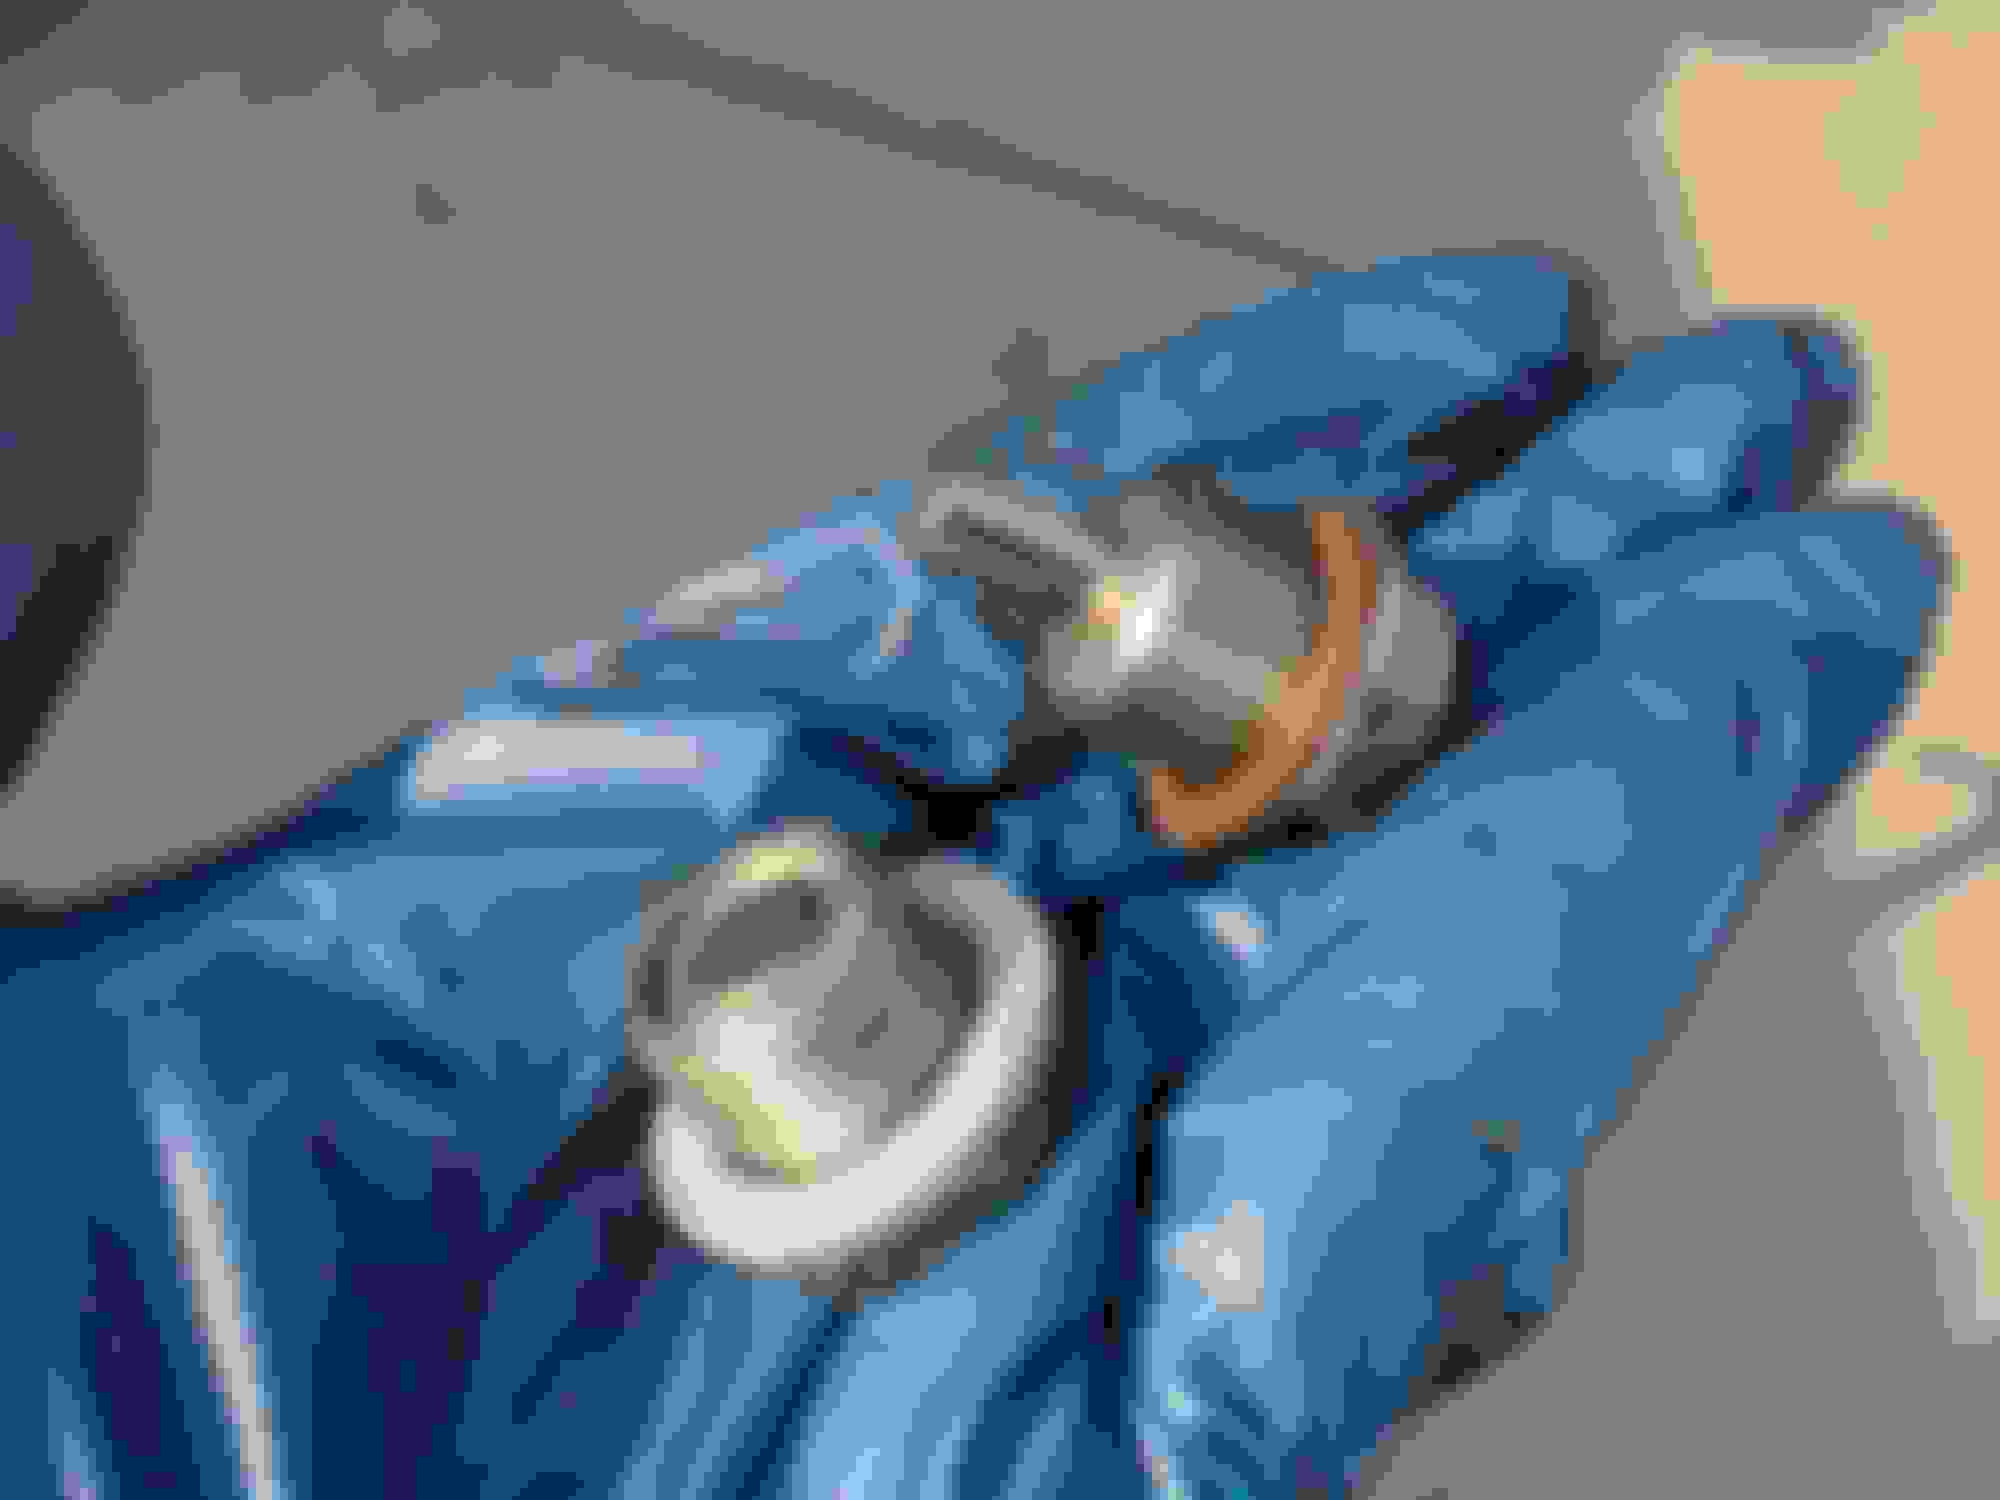
While the CAS is out I decided to replace the o-ring, because lol, as you can see it's been leaking for quite some time.
As soon as I poked it with an o-ring pick it came apart in pieces. Good thing I was prepared for this eventuality. https://www.mcmaster.com/6540K162/
McMaster-Carr Chemical-Resistant Viton Fluoroelastomer O-Ring, X-Profile Dash Number 222. Pack of 5 for $17. MR eat your heart out.
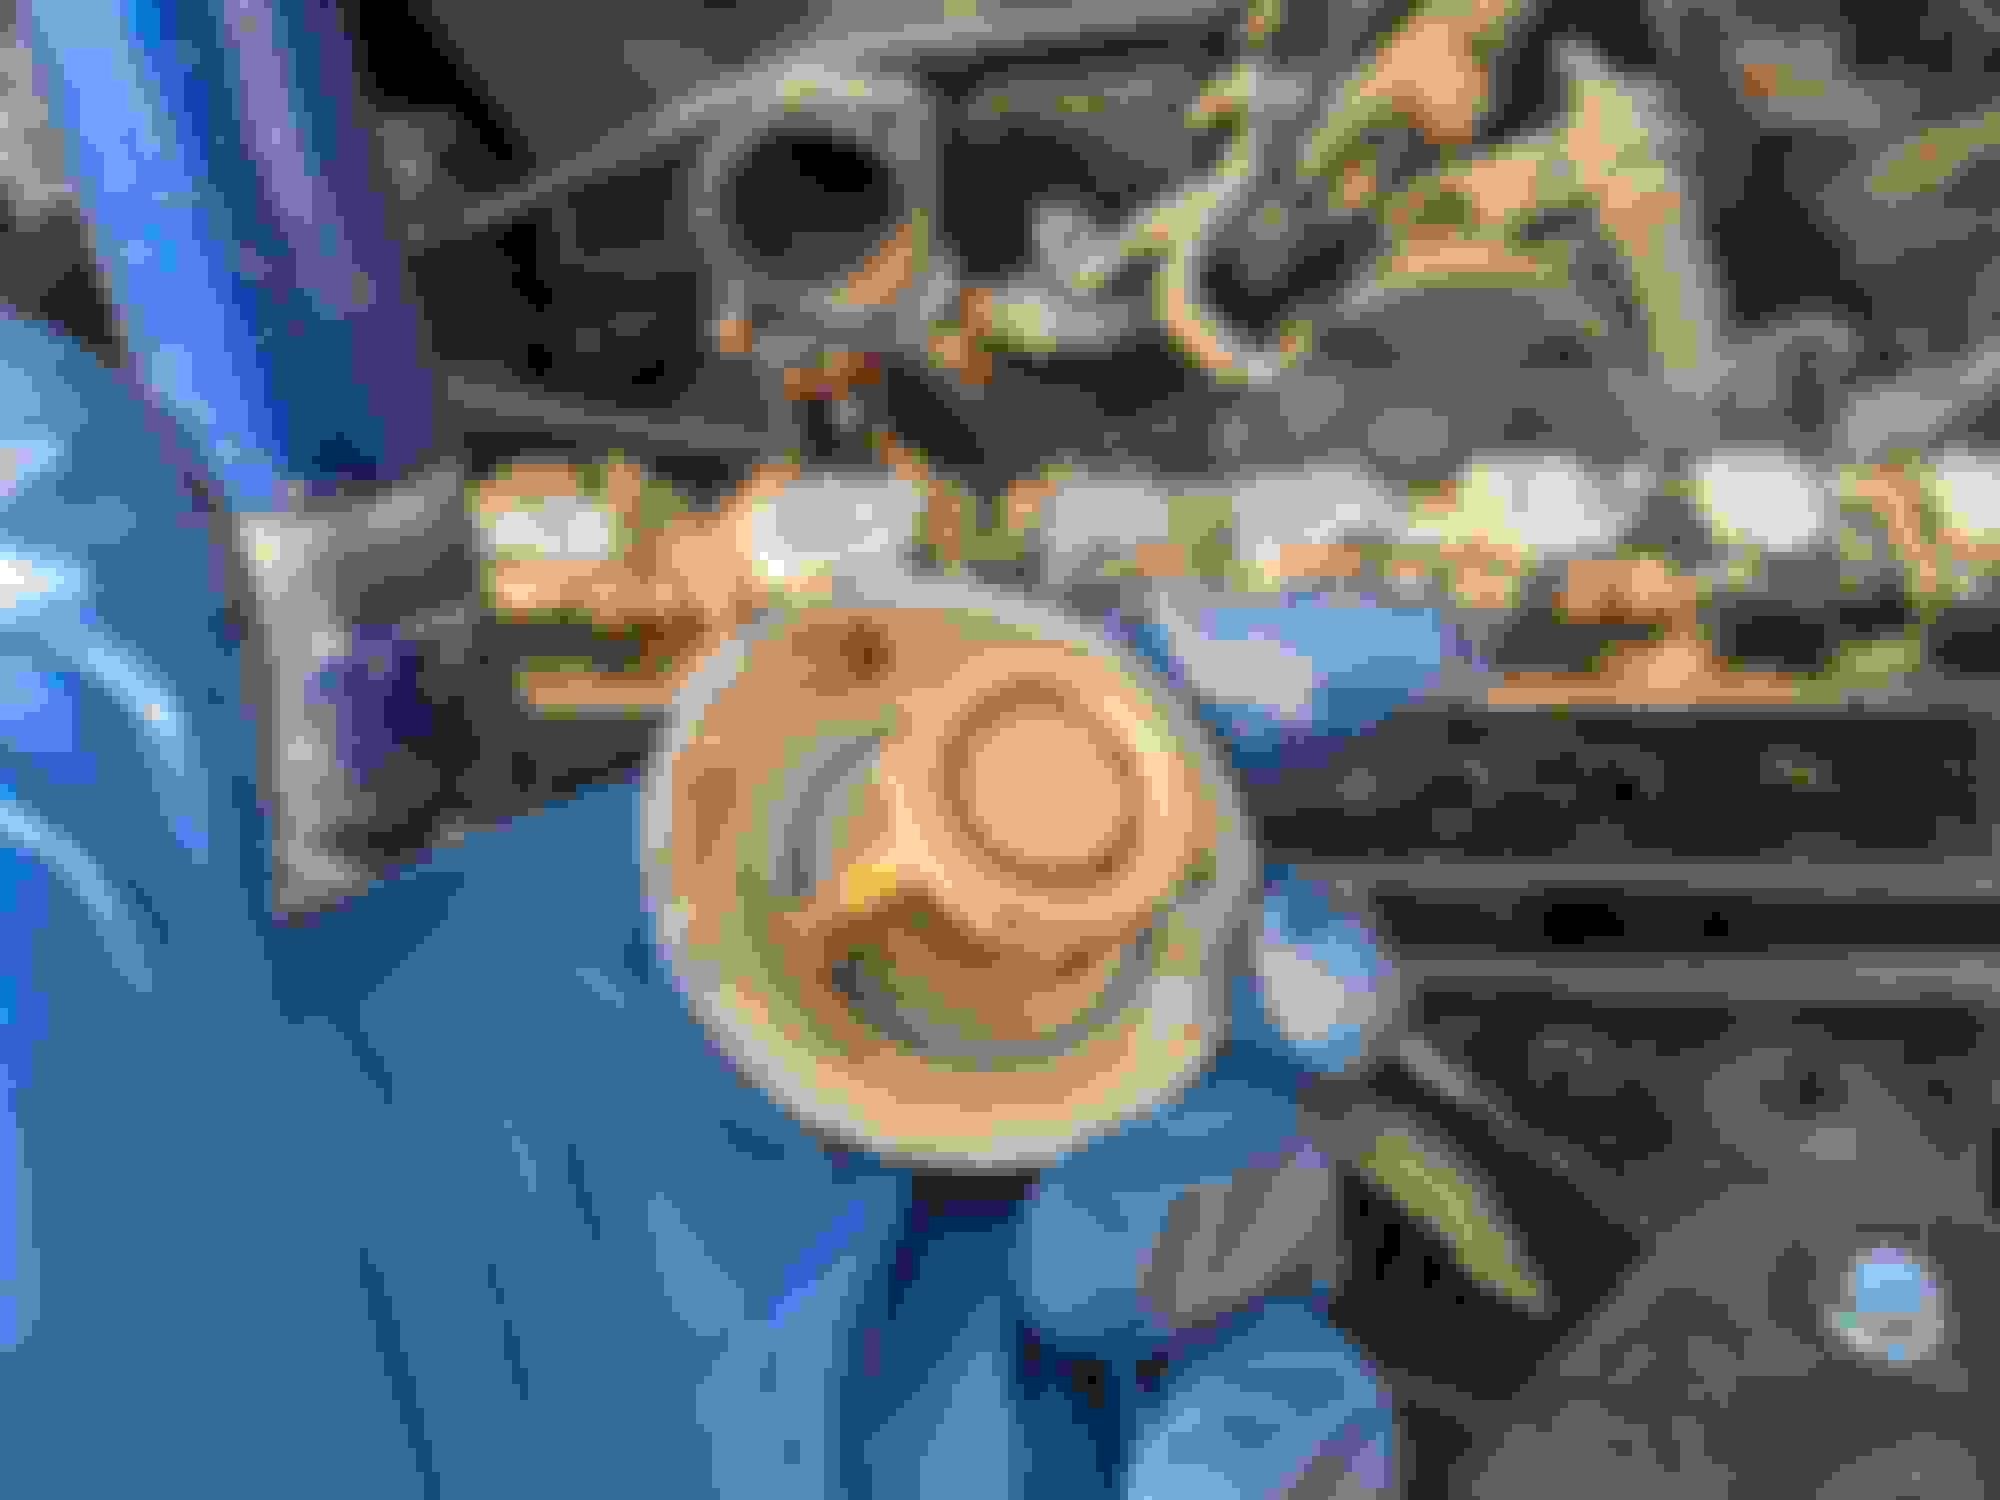
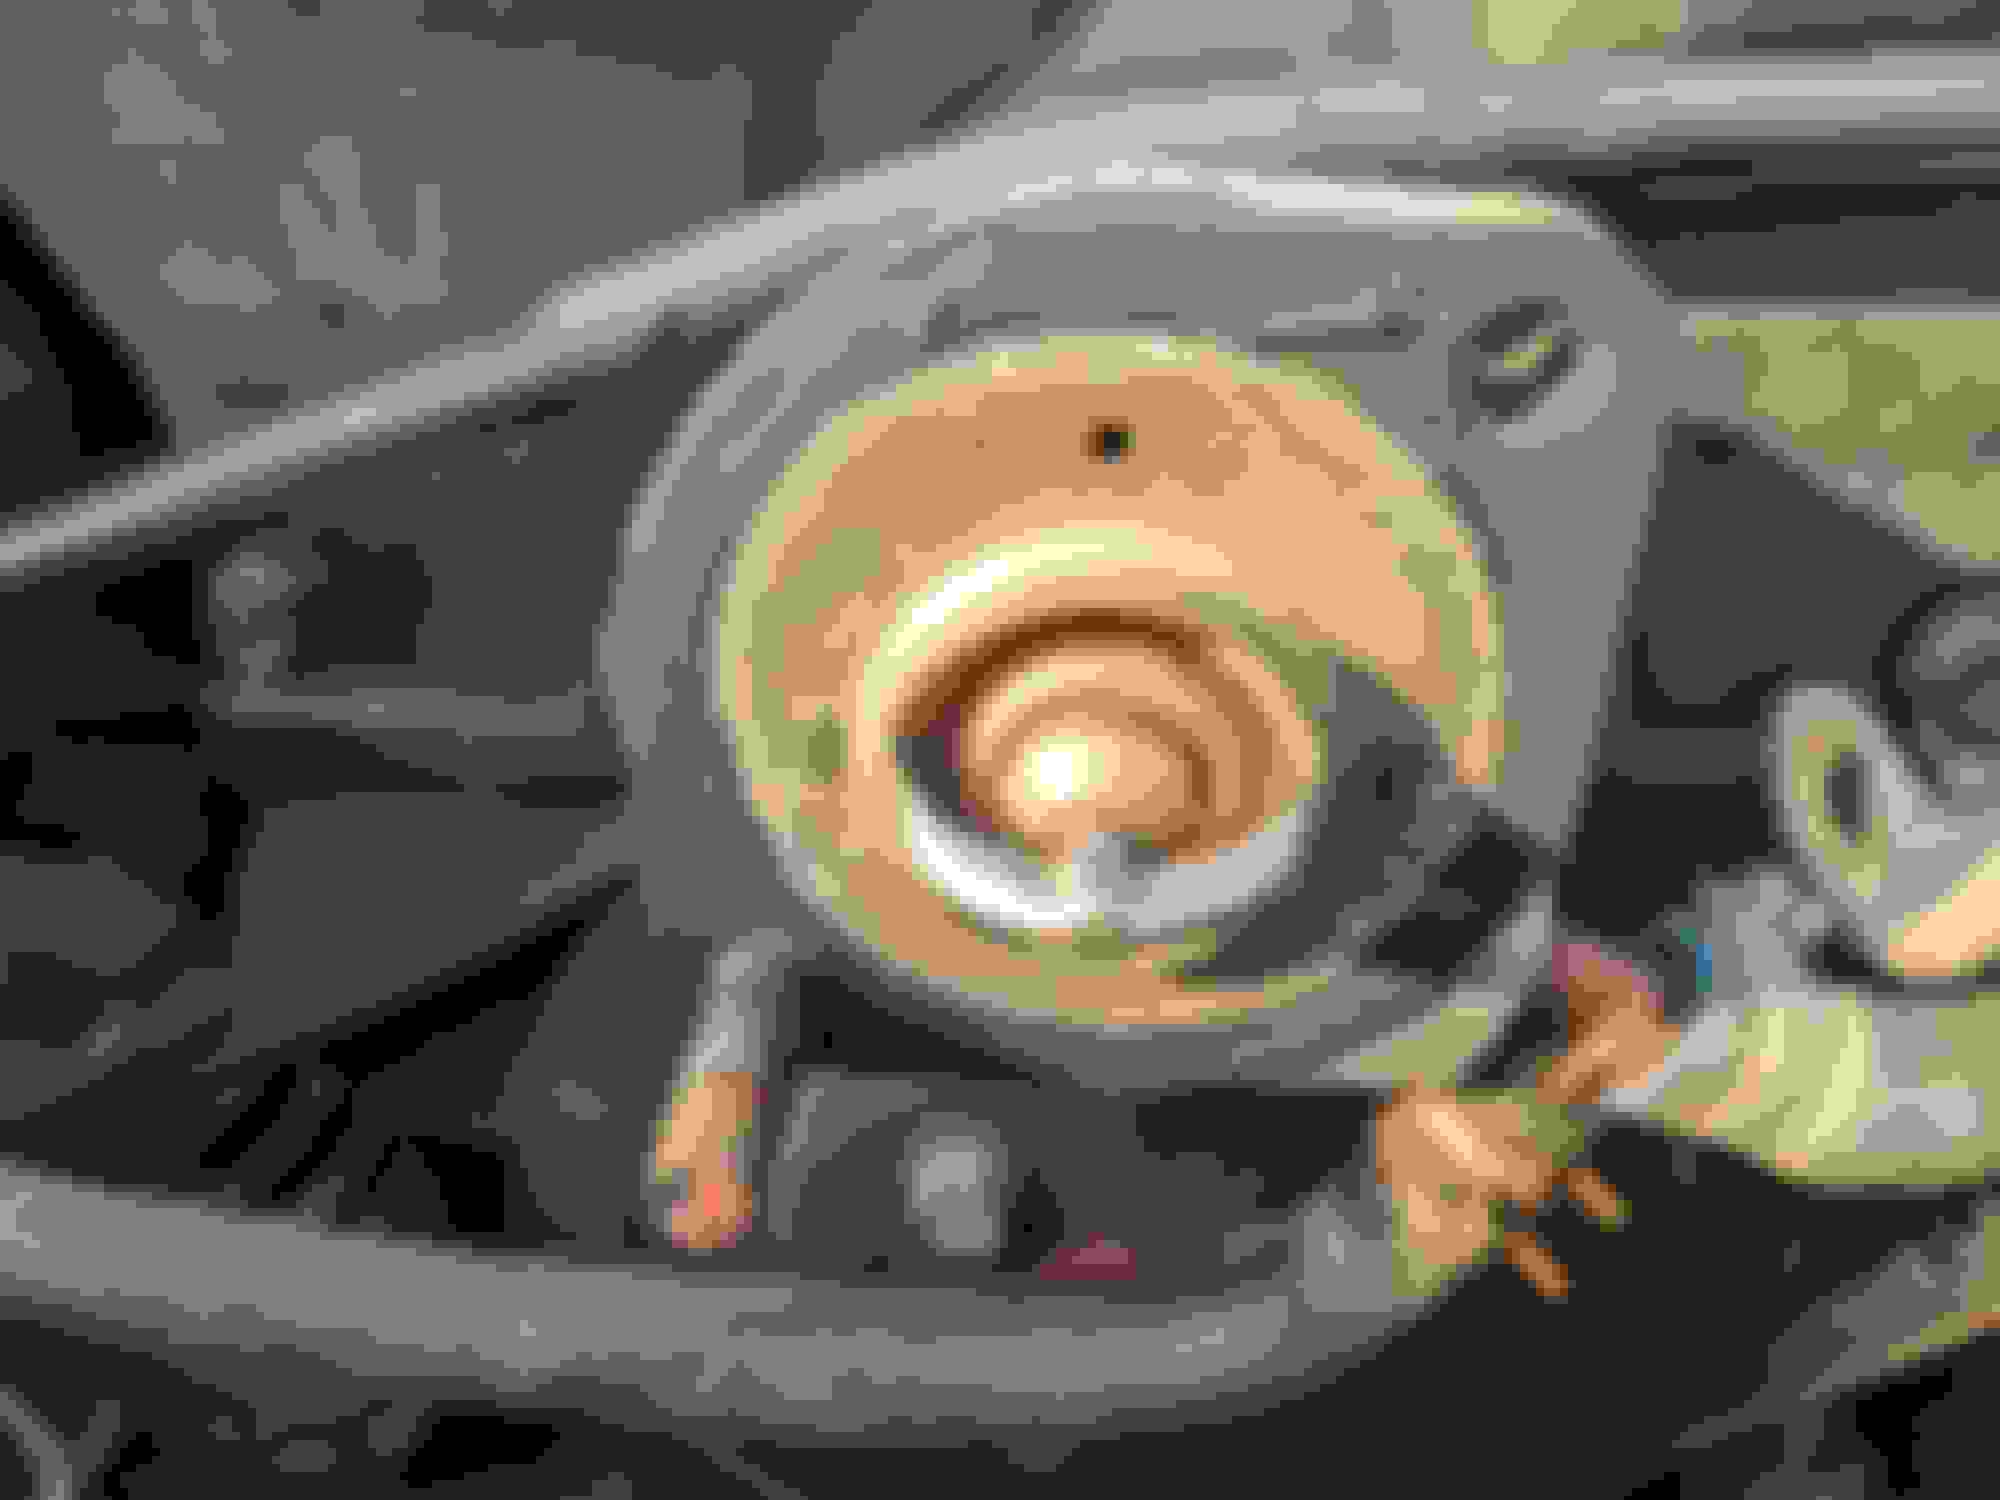
Fits like a champ! Just gotta remember to lube it up before it goes back together.
Of course before I can put that back in I still need to get the coolant block off plate off and back on again, and to do that I need to get the EGR tube out. Ungh. Forgot about that.
Thankfully none of the heat shield bolts stripped out. Phew.
According to m.net it's a 22mm. It was about this time I realized there's no damn way my 22mm open end is going to fit in there. I don't have a metric crowfoot that size, but I *DO* have an o2 sensor wrench!
The jaws aren't wide enough to get around the tube but that's easily resolved with a grinder. As it was now late and dark I figured I'd save the hot steel action until tomorrow. I blasted it with Kroil, hit it with the propane torch until it smoked, doused it again and it was time to call it a night. More gross insanity tomorrow.
I have an adjustable wrench that I cut down to about 4 inches long specifically for the EGR nut - but it's come in handy a few other times.
I briefly considered that, but didn't feel like cutting up a wrench. Might still do it though if the o2 sensor socket thing doesn't work out.
Originally Posted by rleete
How do you know if your CAS o-ring is leaking?
It's a Miata, of course it's leaking.
Hehe, exactly. Be Prepared!
Originally Posted by Midtenn
Came here for cliffhanger. Did not disappoint.
Originally Posted by msmola2002
I googled like a **** before I bought an x ring from MR. Apparently i didnt Google hard enough. Treefiddyish each. Nice.
Yeah, dude is selling those things for what, $12 EACH? **** that, its just an o-ring. Or I guess x-ring to be precise. I can almost guarantee he's just repackaging the McMaster-Carr ones at a huge profit. 5 minutes with a pair of calipers or a Google search turns up a #222 sized ring, after that its just materials selection.
EO2K's Quick Guide to Using Miata.net for Useful Information
Whenever you have an esoteric question about Miata things, the key is to plug it in to Google then open the first 5 results form Miata.net in different tabs. Each thread follows the same exact pattern:
Post 1: OP has a problem, asks for help
Post 2: Someone replies with a "I have the same problem" or OP bumps the thread.
Post 3: Someone else replies with a useless rambling anecdote from back when they had a MG, Volkswagen, Dodge Stratus, et al.
Post 4 & 5: This is where you find the answer to your question.
If for some reason the answer is not in post 4 or 5, close the tab and move to the next one. Do not, for any reason, read beyond post 4 or 5.
If anyone wants one of these o-rings LMK and I'll throw one in an envelope for you. I've got 4 spares I don't ever think I'll need. Ok, maybe I'll keep one, just in case...
I met up with @afm on Friday and he handed off some bits and pieces he had lying around the shop, including a factory plastic undertray and a set of door latches. I don't think I've ever seen an undertray on this car, hah!
As I puled out the screws for the latch and compared them to the latches I got from @afm something immediately became apparent:
Well, ****...
Here's my screw:
Compared to the one that came with his latches.
I'm pretty sure the problem is obvious at this point.
So once again I've made things difficult for myself. I searched around the inside of the car and actually found a container the PO left me that somehow had the original latch screws. Chipped the bondo out of the recessed tapers and reassembled.
Funny, OG latch works great now. Tossed the bumpers back in and door is back to 100%. Big props to @afm for parts and recommended solution
The car had power windows but there was something wrong with the drivers side, so the cable and motor assembly was removed but not included with the car. As I had nothing I figured screw it and ordered a complete manual drivers side regulator from Treasure Coast. (RIP PartsGroup )
Step 1 was rip apart the door and clean everything. WD-40 makes an excellent light solvent for this task.
There was so much trash jammed into the guide it doesn't surprise me that the motor burned out and cables stretched
Despite what m.net would have you think, 177k window bushing is in great shape.
So that'll get reinstalled.
After getting everything cleaned its time to grease it up.
Ahh, Shin-Etsu grease. The second best Honda thing to happen to the Miata since the K swap.
Greased up tracks, guides, regulator, cables, etc. Set the stops and now the drivers window goes up and down again! YUSSSS!
I pulled the dash bar out of the dash and chucked it back in the car, just to see what it looks like.
It's uncomfortable. I'm not sure how I feel about this. Also discovered something else I screwed up... if you unbolt the steering column, DO NOT LET IT HANG UNDER ITS OWN WEIGHT.
The wiggly bits of metal at the bottom of the column where it attaches to the firewall that collapse in the event of an impact with stretch and deform under the weight of the wheel, airbag, etc, and then you can't get the column back in.
So now its hanging by deez nutz until I have time to pull the column completely out and refuckulate it. NERRRRRR.
Turns out the modified o2 sensor socket was a perfect fit
I cannot believe I spent so much time screwing around with this, in both the NA and the NB, without a "proper" tool. This makes accessing the big *** 22mm nut a breeze. Also, don't bother reinstalling this without high temp anti seize compound. You have been warned.
The housing pretty much fell off as soon as I got the bolt and nut out, and the gasket came off with a fingernail.
I hate scraping gaskets and the back of the head is double worse so I gave something a try that I've always heard about.
This is horrible horrible **** and the can is probably 10 years old, but it seems to work great.
That was after 1 application. After 3 total is was perfectly clean so time to reassemble. New Fel-Pro 35251 gasket and some black goop and she's GTG
Now on to the front. Cleaned the same way as the rear and then dressed up with fresh RTV (because I didn't have another fancy gasket)
All metal 180� thermostat looked fine (other than being a little gross from soaking in rust water) so I boiled it to confirm function and decided to reinstall it.
After a jigglerectomy she's back where she came from. I always remove the jigglers from these things as it greatly helps to speed up the burping. Yes, it does allow a small amount of coolant to bypass the thermostat but something like a 3mm hole. It's really not that much coolant in the grand scheme of things.
Wipe off the excess RTV so I don't look like a complete tool with the hood open, torque to spec and she's all buttoned up on the front end as well.
At this point you are probably saying to yourself "Lol, this idiot should have installed a reroute while things are apart" and you know what? You are 100% correct. I've got a complete M-tuned reroute off the NB sitting in the garage but chose not to install it. What I'd really like for this engine is a Qmax reroute, but I don't want to dump an additional ~$300 into this project right now. I've got a Qmax on the NB and I think its great, so that's what I'd like to see on this engine eventually as well. Maybe after my credit card stops smoking I'll order one, or maybe I can find one in the classifieds.
So from here on out its hose replacement time.
The hose kit is all OEM hoses from one of the various Mazda parts dealers online and the clamps are full 304 stainless Norma clamps from McMaster-Carr. These are the same awesome clamps that 949 Supermiata ships with their reroute. At about $1 each these are some of the best basic inexpensive clamps I've used. They are offered in a ton of different sizes, but SAE 12 fits the heater core and SAE 24 fits the radiator hoses. In most cases parts store hoses are more expensive and much lower quality, and the OEM spring clamps that Mazda used originally are intended for single use, you aren't supposed to reused them. The bands on parts store clamps may be stainless but the drive worms are not and they end up rusting. I hate fighting garbage clamps so why not buy something cheaper AND higher quality at the same time?
https://www.mcmaster.com/5574K15/
Worm-Drive Clamps with Smooth Band for Soft Hose/Tube, 304 Stainless Steel, 3/4" to 1-1/4" Clamp ID
https://www.mcmaster.com/5574K35/
Worm-Drive Clamps with Smooth Band for Soft Hose and Tube, 304 Stainless Steel, 1-3/16" to 1-3/4" ID
7mm hex is convenient for tightening. These clamps come in a couple different widths, I just happened to buy the narrow one. You can get wider ones if you want to distribute the clamping force for some reason.
I probably could have gone with a size SAE 10 for the heater hoses in order to have a shorter "tail" but I wanted to use these for other stuff as well.
Ended up struggling to get the CAS teeth lined up with the cam and eventually gave up, pulled the valve cover and pulled the "cap" that holds the CAS and then reinstall was a breeze. Valve cover gasket was leaking anyway so no big loss.
After conferring with the POs we've concluded that none of us remember doing the timing belt on this motor, so that's most likely a 177k/mi original Mazda timing belt. There's some oil weeping around the cams and a buttload of oil on the front of the engine so I'd imagine the crank seal is leaking as well. I'll add timing belt & water pump service to my list of "**** to do later"
I'm pleasantly surprised with how clean the motor looks inside. Looks like all the high end synthetics and Brotella that all the POs ran for years really does pay off. Thanks guys!
Last edited by EO2K; Sep 20, 2020 at 02:22 PM.
Reason: corrected a word
New OEM valve cover grommet and PCV valve. The old one appears to be an all metal one from a Toyota (probably one of these) but there was oil coming out around the grommet so I just decided to replace it with stock.
New Fel-Pro VS 50569 R valve cover gasket from the FLAPS along with some black RTV and the cover is pack in place. Torqued to spec and left to sit while I continued to replace coolant hoses.
(which I use on literally every electrical connection in the car) installed to replace the generic FLAPS ones that wouldn't stay seated, FLAPS plugwires also don't seal to the valve cover so plug wells ended up full of water after my pressure washing shenanigans. The NGKs should make sure that is no longer an issue.
I replaced all the rubber in the cooling system EXCEPT for the two hoses going to the factory oil cooler/preheater. Someone put hose clamps on those connections and I wasn't prepared to fight them so I just let them ride for now. Deployed
AKA "magic funnel" with the nose of the car in the air and attempted, once again, to fill and burp the cooling system.
Somehow this thing was still holding 13psi I need to pull it out and find a replacement but for now I'm not going to touch it. I removed the funnel and tossed the cap back on the engine and walked away to go do something else and I let the engine run for about ~15min to let it cycle coolant.
And I came back to a puddle of water on the ground. Goddammit.
It was fairly obvious that it was spurting coolant out the rad cap and squeezing the hose made is straight up vomit. This is the second vehicle I've worked on this year with a trashed Stant radiator cap. I'm not sure I'm going to trust that brand anymore.
Shut it down, didn't bother to let it cool down because it hadn't built any pressure, then put new cap on it. Gates 31333 at 0.9 bar fits perfectly, though I'm surprised to see this is a re-boxed Motorad cap. It came up to temp and held pressure just fine. So NOW I can finally start flushing the rust out of the cooling system I've got one of the yellow bottles of Prestone cooling system flush in it at the moment, mostly because I had it on hand and I can get that started now. I'll let that hang out in there for the next ~3 days and do a bunch of hot/cold cycles, then give it 2-3 flush cycles with clear water to get it all out. After that I'll give the Evapo-Rust Thermocure that recommended a go. If Amazon had actually shipped it I wouldn't have bothered with the Prestone. /sigh.
Tired of screwing with coolant and hoses I decided to do my other least favorite automotive task and change the oil in the transmission. I don't like doing this cold but I can't exactly drive the car right now so I just let it drip for a couple of hours. I don't know what kind of fluid was in it, but it came out dark amber and slightly opaque. Very strange. The car hasn't really been driven in a long time so maybe it hasn't been hot enough to cook off condensation in the oil? Tough to tell. I was right and the aluminum drain plug gaskets that came from the FLAPS are for the transmission, not the oil pan. Lol Transmission is now full of fresh Amsoil 75W-90 GL-4 MTG. I've always used this in the past in both 5 and 6 speeds and its always done really well for me. Hopefully I can continue that streak.
So this is fun... the aftermarket magnetic drain plug on the right is from the same supplier that makes them for MR, but at 1/3 the price because you aren't paying the MR markup. Stainless body, 17mm hex so you can use a normal wrench, and super strong neodymium magnet. I bought this spare a bunch of years ago when I bought the ones for the NB. There wasn't a bunch of garbage on the stock magnet plug when I drained it so I figured I'd clean it up and put it back in. It's the same plug for both the trans and diff so this fancy one will go in the diff when I do the fluid service on it. I'd have done it today but found I was out of gear oil. I need to order a couple quarts of Amsoil Severe Gear 75W-90 SVG to restock my stash and get this thing changed.
So the cooling system is holding pressure, the engine is keeping the majority of its oil inside the block, the doors work and the windows are functional. Well, mostly functional. I'll cover this in more detail in a later post. I like where this is all going and I think the next step is going to be pulling the suspension apart to replaced the rotted out bump stops. That's a good time to do an inspection and repack with fresh lube on the front hubs. All in all pretty good progress for a weekend
Wow, that is way more thrashed than I expected. Reminds me a lot of the 94 Laguna Blue that I fixed up for Sonia. That thing was so disgusting, I can�t believe she went for a drive in it before I pulled out the seats and carpet while wearing a hazmat suit and spraying it down with Odo Ban😄
Those hose clamps are trick. I�d think Harbor Freight zip-ties would be more appropriate to this build but to each his own.🤷♂️
Good luck with the build, looking forward to the point in the build when you decide to graft on a different rear end just for the fun of it.
Same. The original plan was to fly out to fly out to Boston and drive it home but honestly, it would have never made it out of Massachusetts
Originally Posted by Cxracer
Those hose clamps are trick. I�d think Harbor Freight zip-ties would be more appropriate to this build but to each his own.🤷♂️
HAHAHA! In some cases HF zip ties would have probably been an upgrade Also, those aren't even the super nice ones that McMaster-Carr carries. They've got some super awesome stainless clamps with spring loaded crossbolts for constant tension that are TRULY trick, but for about $1/ea you can't beat these ones for value.
Originally Posted by Cxracer
Good luck with the build, looking forward to the point in the build when you decide to graft on a different rear end just for the fun of it.
Thanks! Also, oh lord, I don't think I want to tackle structural welding at this point. Mostly because I don't own a welder
Good luck with your revival project as well! I don't know what happened to your Silver NA but its looking pretty rough these days too.
Also, if anyone is reading this and has a bunch of random NA garbage around, I'd love to get my hands on an NA "air guide" that fits between the mouth of the bumper and the undertray below the radiator. I can't imagine one of you racecar guys doesn't have something lying around. Just holla atcha boi
As someone who currently has their transmission out of the car and therefore empty - where did the magnetic drain plug come from? Mine needs a new washer anyway, might as well replace the whole thing.


 As the car is grafted together from an NA6 & an NA8 perhaps it could be "Dirty NA7 Edition" ?
 0
0


 Ok, maybe I'll keep one, just in case...


 )
)


 Also, those aren't even the super nice ones that McMaster-Carr carries. They've got some super awesome stainless clamps with spring loaded crossbolts for constant tension that are TRULY trick, but for about $1/ea you can't beat these ones for value.


