When you click on links to various merchants on this site and make a purchase, this can result in this site earning a commission. Affiliate programs and affiliations include, but are not limited to, the eBay Partner Network.
My goodness, so many things have happened, where to begin?
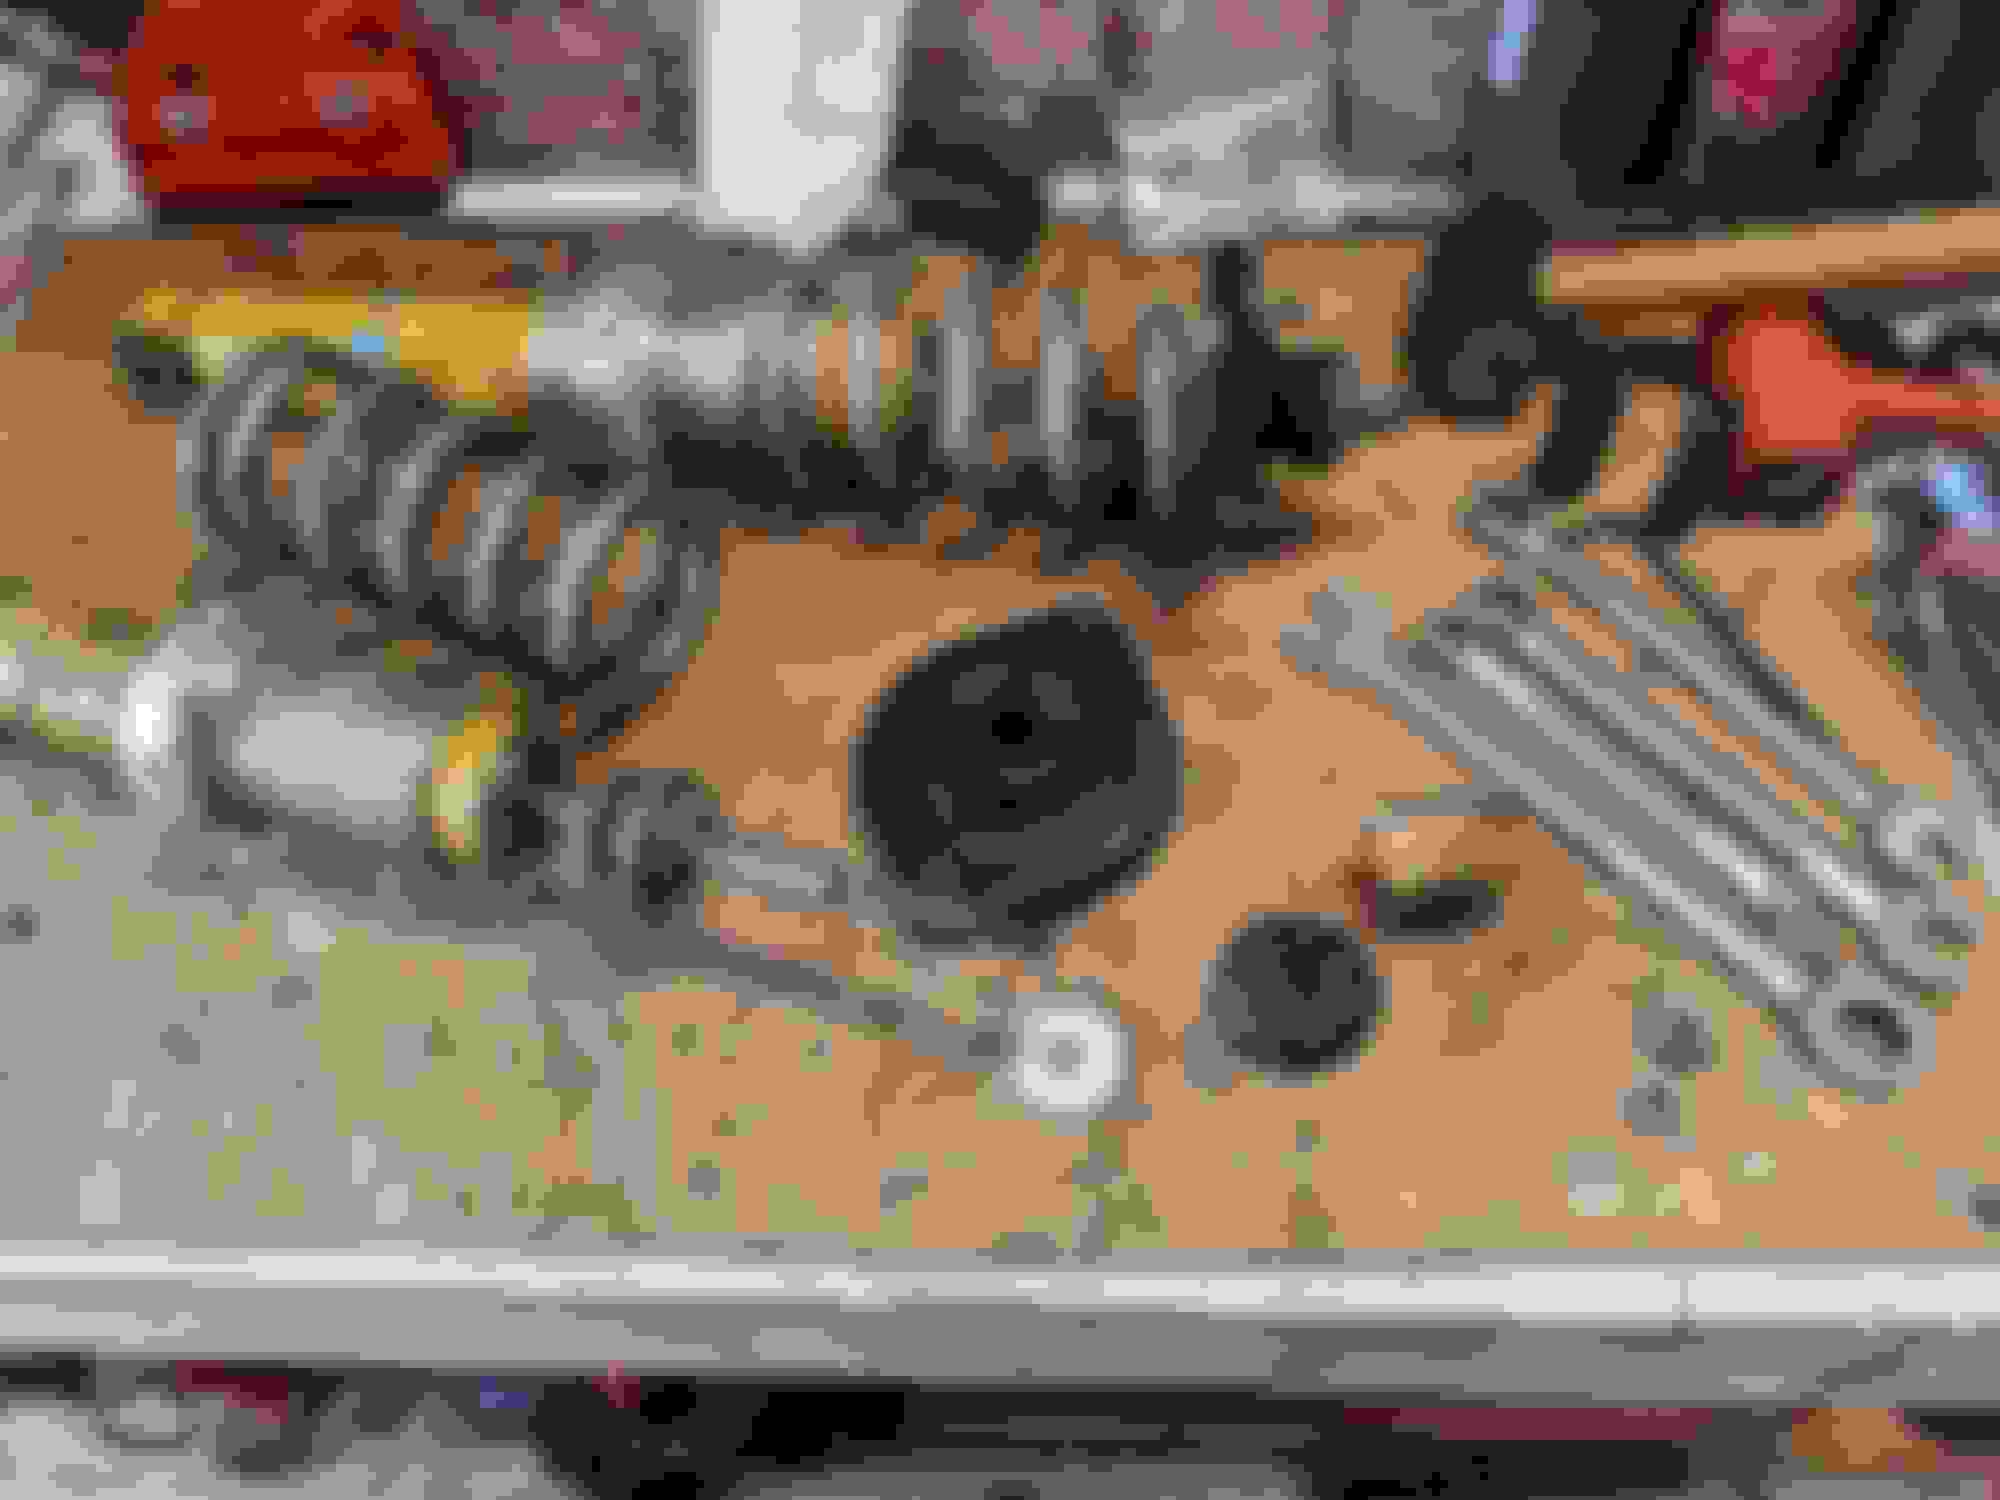
I'm still missing a couple parts for the Budget Bilstein "refresh" I mentioned previously but I had enough to do the fronts, so I went ahead and got those done. The rubber bushings were cracked/split/crushed in a lot of cases, and they were assembled without spring isolators (nothing technically wrong with this BTW) so I wanted to make sure I got those installed when things went back together.
Something that immediately jumped out at me was the spring collars not being anywhere near even on the threaded section and slapping a tape measure between the bottom of the shock and the sleeve showed a significant discrepancy. More on this later. But first step was to get it all pulled apart.
Kinda looks like this when it all comes apart. As you can see, bushing applications were somewhat inconsistent. It's not a huge issue but I got new bushings anyway.
Thankfully these are the sleeves that go over the snap ring in the Bilsteins to help keep them in place. The sleeves themselves are the same length so I measured the internal step.
and there was quite a discrepancy. Rather than cut down the body on the sleeve to allow clearance on the top end (you can read more about this in the Budget Bilstein thread) the PO who assembled these chose to throw the sleeves on a lathe and change the depth of the internal step. ******* awesome! Unfortunately at some point, the 2 that were modified for the front got mixed in with the ones for the rear and the car ended up with one of each at each end. Oops! I then pulled apart the rear suspension to confirm, juggled the sleeves and got it back where I wanted it. Nice.
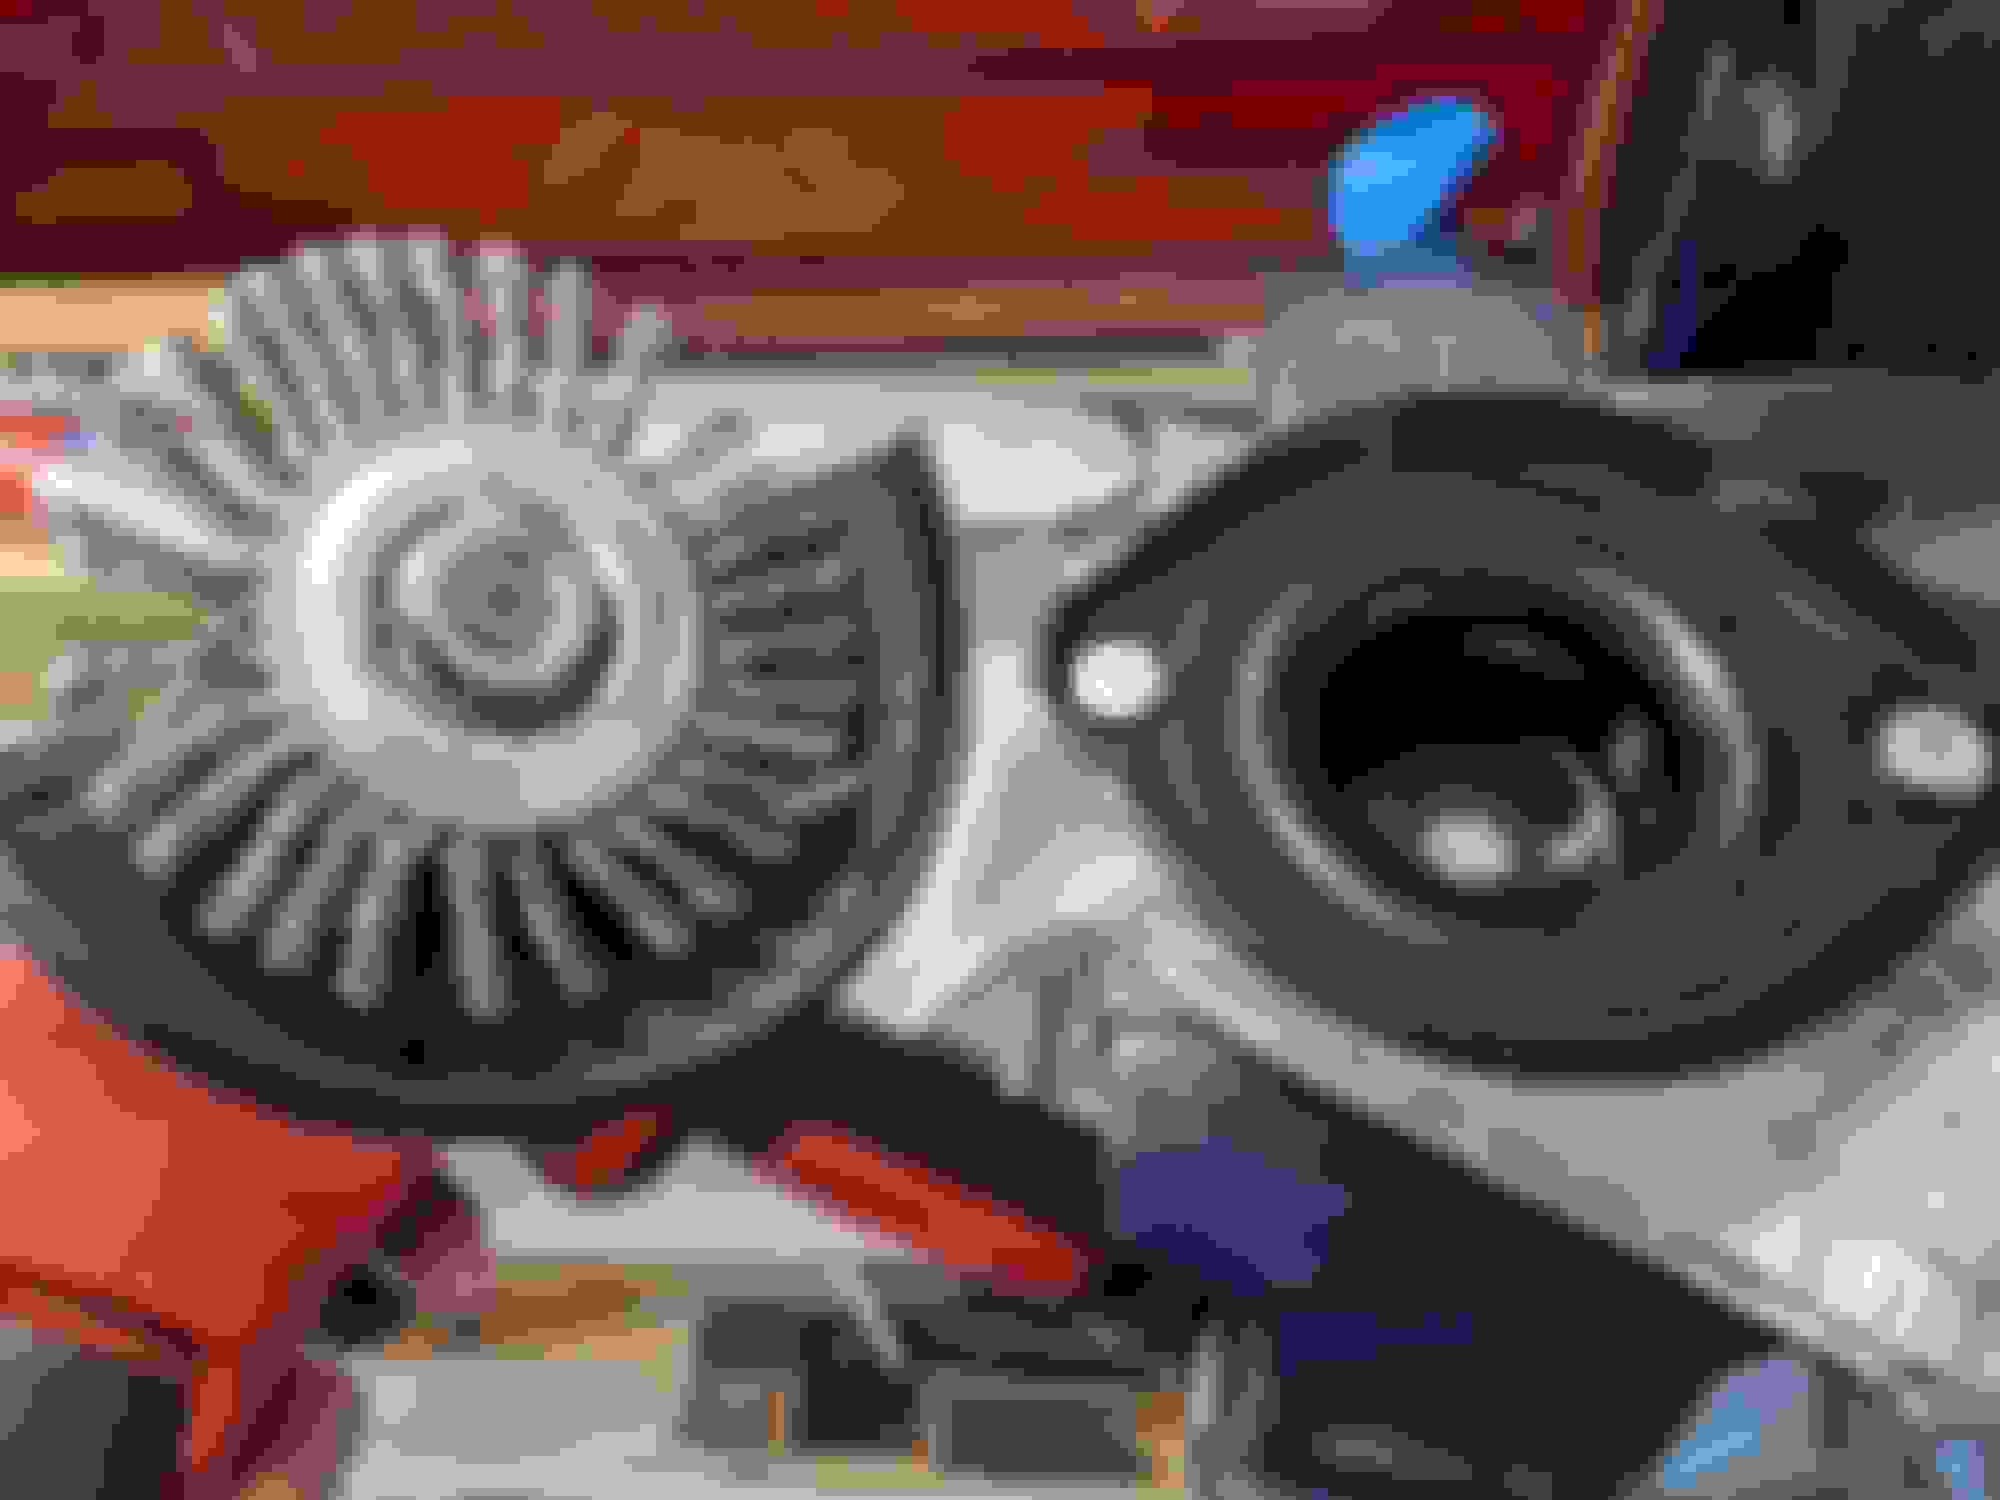
Snapped this pic so maybe someday I'll look up the source on these guys.
Here is one of the stock bushings and as you can see, she's looking pretty tired.
New and old bushings
New and old from another angle
And yet another angle. Not sure why I took all these pics.
I went ahead and cut the new bumpstops down to somewhere around 40-42mm, depending on where you measure them. I figured it wouldn't be out of place as they are about as straight as the rest of the car. I won't be running ultra low ride heights so the longer stops are fine for now. I can always trim them down if it becomes a problem.
Here is the stackup with the new bushings, washers, etc. The Japanese sourced "MazdaSpeed" bushings feel more firm than the ancient, smushed NB bushings that came out. For the equivalent of ~$2/ea I couldn't not replace them.
Here are the Maruha hats next to the stock NB hats. I don't understand why people are buying fabricated, overpriced, welded together garbage from US vendors when these things exist. Seriously people, get your heads straight.
Following the instructions for the Budget Bilsteins is says to glue the isolators to the top hats. As these things are powder coated or painted, I knew I was going to have to remove that in order to get the glue to bond to the steel.
That seriously hurt my soul.
I called both Energy Suspension and Loctite/Henkel and explained what I was trying to do. Energy said it was impossible, Loctite recommended their PowerGrab construction adhesive. So here we are.
Energy did mention that I would need to get the mold release compound off the poly if I was going to have any hope of getting something to stick, so the bushings took a ride in the dishwasher when wife wasn't looking Then everything got a through wipe down with acetone, glued it all up, and waited 24h per the instructions on the adhesive.
SPOILER ALERT! Adhesive didn't do **** except make a mess of things on the top hat. I'm not 100% convinced its possible or even advisable. Or maybe I just used the wrong adhesive. Meh. I'll try not to unseat the springs I guess.
Tossed this one in for shiggles. I should probably replace these bushings someday. Maybe. Meh.
The rear shocks appeared to have OE NB red foam bump stops which had completely disintegrated so I opted to move the stops that came on the car from the front to the rear so at least there would be something in the rear as long as I had it all apart. I opted not to replace any of the other bushings or add the isolators to the rears at this point as I know I'll have it apart again as soon as the hats for the rear get here.
The ride height in the front is jacked up but all in all I now feel a lot better about the suspension on this car.
Popped the top off in anticipation of a test drive and also installed the street rubber from the NB on it as they had a lot fewer dry rot cracks
A little "instagram angle" and she's looking pretty good! Ok, maybe good is being generous. How about we shoot for "less bad"
What I really REALLY need at this point is a set of hook spanners for adjusting the spring perches. Right now I'm just setting a piece of wood or a drift in there on the tooth and hitting it with a hammer to force them round. It works, but its not ideal.
+1 on real gauge readings, are the earlier setups hard to find in US?
they sell well over here - seen some senders @ �35 for used! and I sold a few pairs of sender/gauge for �35 within a day of advertising
I don't know how hard they are to find now but back 15-20 years ago when I was deep into this thing the source vehicles for retrofit gauge parts were only 7-10 years old as opposed to the 30 years old we are looking at now. There's been a lot of cars wrecked or dismantled in the last 30 years so there are potentially a lot more donor vehicles out there.
Originally Posted by Brap-Brap
Real OPG is nice but mine throws a fit WOT 4th gear above 4k rpm on track lol.
Originally Posted by Fireindc
Mine used to freak me out wiggling around at ~4k, seriously thought it was detonation on one of my old setups (some here have posted that you can see det through the OPG if it wiggles). Ended up mostly remedying this by fixing the wiring, getting the spade connector to clamp tighter on the OPG, and redoing the frail wiring.
However it still starts to freak out over 6k or so doing WOT pulls. I just ignore it now. I think it's engine harmonics at that RPM causing it.
Yep, I've read the same. The spade on the OPG is probably fine for a street car, but for extended high RPM use I'd rather use one of those SpecMiata style sender relocator chingaderas that move the sender to the firewall and connect it to the block with a piece of stainless braided hose. I may do this down the road but right now I'm still working on getting basic stuff up and functional.
Originally Posted by cowlover556
Read the whole things. This is amazing.
For those saying to dump the tub, you wouldn't divorce your wife just because she got hepatitis-supersyphilaids would you?
Keep making it niceish!
Thanks for following along!
I dunno, if we had been married for years and then suddenly she got diagnosed with gonorhepasyphilaids then the alarm bells would be ringing...
I don't want to put too much effort into making it nice, I'm just trying to get it to the point where I won't actively be repulsed by it
While we are talking about basics, something else I've never actually seen on this car is an air guide OR an undertray. Friend @afm handed off an old, dirty undertray he had lying around his garage and I happened to have an air guide left over from the NB so I got to work.
When I say I'm talking about basics, I mean this is BASIC Miata ****. YOU NEED DUCTING BETWEEN THE NOSE AND THE RADIATOR AND YOU NEED AN UNDERTRAY. This is not optional. I cannot stress this enough.
I cannot tell you how many Miata events, track days or forum threads I've seen where someone is crying about their car overheating. I've had drivers come up to me at HPDEs and ask what fan I'm using to keep my turbocharged NB cool when they can't keep their naturally asperated NA under control, even after spending $800 of FM's air flow kit. After a bit of probing they always admit that they removed the undertray and in most cases the air guide as well. Stop ******* doing that people!
For the record the NB has a reroute, good radiator, STOCK single fan, stock air guide and stock undertray. I was running 3x the stock power in that car and I never had temp issues. Ever.
</rant>
So... on with the undertray! Fortunately, it bolts right up. The NB air guide however does not.
But thanks to an 1/8" drill bit and about 40 zip ties I managed to get it in place.
Please ignore the enormous holes cut out in the air guide, those were added for the intercooler pipes on the NB. I'll rivet some plastic or aluminum over the holes eventually and make them whole again. Maybe.
Daylight and zip ties, aww yiss
So. Many. Zip. Ties. After they are all trimmed up, everything fits well enough. It's not super pretty but it should be functional, and nobody is going to pay that close attention anyway.
One of the simple places you can make an improvement on the NA chassis nose ducting is all the gaping holes in front of the core support. I really wanted to order a wrinkle black block off plate from Rad Roadster/Garbage Star/Circuit Dreamer but they appear to be out of stock everywhere, so it was time for a little CAD. For those of you who are new to this, that's Cardboard Aided Drafting. I like the fit of my CAD template so next step was to transfer it to the ABS sheet I picked up a couple weeks ago... only to discover it was about 5" too narrow. /sigh. I guess I should probably measure these things in the future and DIY blockoff plate will have to wait.
Dash, cluster, steering column and seats makes it look like a real car again!
I scrubbed down everything in the package tray area with a pretty hardcore disinfectant and then gave it fresh spritz or either matte black or matte while, as appropriate. Fire extinguisher that was saved from the Shitty VW project was temporarily mounted to roll bar for easy access should it be required.
That's not a safe location or mounting method, but its better than not having one at all. I'd really like to mount it on the passenger side on the front seat mount bolts, similar to the offering from BBFW, but fffffffuuuuuuuuuuu $100+ for a $3 piece of steel blasted out with a water jet with a bend and some holes in it. That's borderline robbery. But it is nice.
I needed a blinker bulb and the fuel tank has read empty since I got the car so first stop was the gas station and second stop was the auto farts store for a good ol' #1157A bulb.
Ludicrous ride height and dubious registration be dammed! I drove it!
Cooling system did just fine, as expected, and the car is only slightly darty on turn in, probably due to me screwing up the toe by adjusting the ride height. It also only took 3g of fuel which of course means there is something wrong with either the cluster, wiring or sender but I'll burn that bridge at a later date. The trans tunnel gets excruciatingly hot under normal driving (like, burn your leg hot) and all the little holes in the tunnel blast hot air into the bottom of your arm so some thermal management will need to happen at some point but for now, **** works great. It's loud, obnoxious, squeaky and hot. I love it.
That's not a safe location or mounting method, but its better than not having one at all. I'd really like to mount it on the passenger side on the front seat mount bolts, similar to the offering from BBFW, but fffffffuuuuuuuuuuu $100+ for a $3 piece of steel blasted out with a water jet with a bend and some holes in it. That's borderline robbery. But it is nice.
Yeah, that clip securing the extinguisher is nowhere near the extinguisher CoG, in an impact that is going to add leverage to the forces working on the clip. Changing the mount location won't change that. Frankly, I'd rather leave it at home and risk incineration than risk having a couple of kgs bouncing around in a crash.
Floor (seat) mounts are simple and someone with your CAD expertise could knock one up in five minutes. OK, ten. But get a better mount for the bottle. Aldi is the racer's first choice here - cheap, good mounts. Just have to look in the box to check the date on the bottle, and that it isn't one with the plastic mount (not an issue if you are replacing a time-expired one, but is in your case). The problem is they only appear irregularly, but there will be other sources.
Great write-up - you are a braver man than I Gunga Din, taking on that!!
Didn’t try the Gorilla glue, then? Haven’t used it, only have the 5X info.
The problem with mine was that the isolators would shift and allow the inside of the springs to rub the tops of the shock bodies. Was not a good thing.
Of course, mine were the much more basic ISC tophats with absolutely no spring location. Yours are extended NB tophats it looks like, so I think locating the isolater is much less important.
Something I've been fighting with since I took delivery of the car is ... how the **** am I going to register this thing? As you all probably know, California makes everything vehicle related incredibly difficult and registration is no exception. Out of state registration requires a bunch of additional hoops like a REG 31 Vehicle Verification and a REG 343 Application For Title or Registration on top of the last issued Out Of State Registration Certificate, Out of State Title and Out of State License Plate. This is of course on top of the normal SMOG Certificate, Certificate of Insurance, and the usual Registration, Transfer and Use fees and taxes. Usually the REG 31 can be completed by a sworn police officer, independent state licensed "vehicle verifier" (of which there are 6 for the entire state north of the bay area) or a DMV Employee, by appointment only. As DMV is currently in the throes of COVID induced insanity they are not taking new appointments for anything other than commercial drivers, so DMV employee wasn't an option. I also don't know any cops and didn't feel like rolling up on a police station in this thing so I checked that off as well. That left the independent verifier. For whatever reason none of them returned my calls for almost a month, including one who is a local here in town. Giving up on that route I decided to say FUCKIT and I scheduled a vacation day to deal with the DMV.
Started my day at 7:00 about 50th in line waiting to be processed into the DMV building when they opened at 8:00. After getting in, I spent another 40 minutes waiting for them to call my number.
Thanks to my proper prior planning and the diligence of the PO I had all my ducks in a row as far as documents were concerned. The DMV technician who helped me was legitimately shocked that I had come correct and I lamented "You know, if only I could get an appointment to get my VIN verification I could get this all done today." He then asked if I had driven the car, which I had, so he said "Pull it around back and we'll get this banged out." Innuendo aside I immediately grabbed the car, pulled around the building and we did the deed. After processing the paperwork he informed me that I needed to complete a SMOG check (which I knew) and then informed me that I wasn't supposed to be driving the vehicle on city streets without an operating permit, which I also knew. He then gave me the Holy Grail of DMV Documents:
You guys, this is like finding out that unicorns are real and that they've been cuckolding Santa Clause while banging The Tooth Fairy. Holy ****. I gotta tell you, I've been ******* with dubious cars with fucked up registrations and title issues for literally decades and never once have I been offered more than a couple single day operating permits. This is a motherfucking SIXTY DAY OPERATING PERMIT
More than happy with my score I thanked the dude for getting my verification done and offering me the permit, and I headed home satisfied that I'd got so much done before 10am.
...but what if I could do more?
Because I had started the paperwork at the DMV I had to complete the paperwork at the DMV (as seen on the lovely pink sticker) and I knew I'd have to take yet another vacation day to complete the registration after I completed the SMOG inspection. I didn't know how far I'd get with the registration so I hadn't bothered to get a smog done as they are only good for something like 30 days with regards to a vehicle transfer. I figured as long as I've got the whole day off, lets see if we can get this done. I called 4 local smog shops and of course none of them had any openings for the next 2-3 weeks. I was about to give up when I remembered the shop up in Paradise that had done the Brake and Light Inspection on my "totaled" WRX also did smog, so I gave them a ring. Turns out they had no appointments for the next hour so if I could get there in the next 25-30 minutes they could get it done today. Awesome. So throwing caution to the wind I jumped in and drove up to Paradise.
I made it just in time and the got the process started.
My car is an early 1995 so its still and OBD1 vehicle, and I haven't had to have an OBD1 vehicle smogged in the last decade so I really didn't know what to expect. Rather than just plug it in to the computer and check functions like an OBD2 vehicle, OBD1 requires a tailpipe sniffer and tests at different RPMs. The guys were able to confirm the aftermarket catalytic converter that's on the car is on the CA approved list and then confirmed there was no other fuckery going on with the emissions system by way of extensive visual and mechanical inspections. Nice.
The only thing that had me a little stressed was the evap system test because its not something I'd checked beforehand, and it seems to hold an awful lot of pressure.
It turns out that's exactly what its supposed to and it passed that test with flying colors.
In fact, its really REALLY ******* clean
Trust me, I'm a shocked as you guys are. Just goes to show you that even a 25 year old car, if properly maintained, can be just as clean as a new car. Sounds like CARB can GET REKT.
With SMOG Certificate in hand I zipped back to the DMV and got in line again, hoping to get to the pre-screening guy before they closed the doors at 11:30. This is patently stupid because the system automatically calls home to Sacramento and reports my SMOG status, but again, because I started the process at the DMV I had to complete it at the DMV. Unfortunately some lady 2 people ahead of me in line decided to tell her life story to the screener and the rest of us got boned and told to come back at 2:00. ****.
Went home and had lunch, drove back to the DMV at 1:30, spent another hour holding my dick, then got the chance to hand in my paperwork.
And den...
#victory
I'm so relieved to have this all done, its a huge weight off my mind. Car is now 100% street legal and insured and I can do as I please. My ONLY REGRET is that I only got to use my Unicorn Operating Permit for like, 4 hours
My car is an early 1995 so its still and OBD1 vehicle, and I haven't had to have an OBD1 vehicle smogged in the last decade so I really didn't know what to expect. Rather than just plug it in to the computer and check functions like an OBD2 vehicle, OBD1 requires a tailpipe sniffer and tests at different RPMs.
IME it's actually less work to get an OBD1 vehicle smogged than a 95-99 OBD2 one. The procedure is basically the same for both of them except that the OBD2 car also needs to hook up to the OBD2 port on the smog dyno, and those machines are so old at this point that most of the connectors are worn out and won't maintain good contact any more so the test fails halfway through with an 'abort'.
IME it's actually less work to get an OBD1 vehicle smogged than a 95-99 OBD2 one.
Not according to my smog tech. His words, and I quote:
OBD1 vehicles take about 3x more time and effort than an OBD2 vehicle, but we only get to charge $10 more because the fee structure is set by the state. Does that seem right to you?
I'm not a State Certified SMOG Technician so I have to take his word for it.
I dropped $10 in the beer fund and we talked about local breweries after the check was done, so no complaints here.
Yeah, that clip securing the extinguisher is nowhere near the extinguisher CoG, in an impact that is going to add leverage to the forces working on the clip. Changing the mount location won't change that. Frankly, I'd rather leave it at home and risk incineration than risk having a couple of kgs bouncing around in a crash.
Floor (seat) mounts are simple and someone with your CAD expertise could knock one up in five minutes. OK, ten. But get a better mount for the bottle. Aldi is the racer's first choice here - cheap, good mounts. Just have to look in the box to check the date on the bottle, and that it isn't one with the plastic mount (not an issue if you are replacing a time-expired one, but is in your case). The problem is they only appear irregularly, but there will be other sources.
This car has no airbags and is of somewhat dubious structural integrity. If I get in an accident fire extinguisher shaped flying object is probably going to be the least of my worries.
Oh! That reminds me, I need to order another one of these:
I appreciate your concern, and also that you copied my disclaimer with the image
Originally Posted by Gee Emm
Great write-up - you are a braver man than I Gunga Din, taking on that!!
Thanks!
Originally Posted by DNMakinson
Didn�t try the Gorilla glue, then? Haven�t used it, only have the 5X info.
The problem with mine was that the isolators would shift and allow the inside of the springs to rub the tops of the shock bodies. Was not a good thing.
DNM
I used what I had on hand, and what was recommended to me by the manufacturers. Who knows what it'll actually do in the end, maybe it'll still bond? Also, my legit FCMs did that rubbing in the rear, although with those the sleeve went all the way to the top. With the Budget Bilstein and shorter threaded sleeves I don't think there is enough side-to-side play under the top hat to allow the spring to contact the shock body so rubbing may not be an issue. With this setup I feel like things would need to go REALLY wrong for that contact to occur, but we'll see.
Originally Posted by Fireindc
I did mine like this and they've held up great:
Of course, mine were the much more basic ISC tophats with absolutely no spring location. Yours are extended NB tophats it looks like, so I think locating the isolater is much less important.
I saw that in the thread and it looked legit, but I think we're asking too much of the isolators as we expect them to serve 2 functions:
Keep the spring centered in the top hat to prevent spring on threaded sleeve contact
Prevent the steel spring from rubbing on the steel top hat and making a god awful racket
The screws will definitely keep the isolators in place, but I feel like the spring is just going to compress the poly and rub against the screw heads and make noise, and possibly defeat one of the purposes of the isolator. I didn't want to deal with that so I figured I try the glue. Looking at how it all goes together I think Objective #1 is kind of a lost cause with the Energy parts, but I'm happy to be wrong.
If we REALLY wanted to keep the springs centered I think we would be better served with something like an HDPE "hat" that sits between the ID of the spring and the inner most edge of the top hat. If it was made properly and had a large enough outer diameter there's no possibility of it allowing the spring to move laterally, and you wouldn't require glue to keep it in place. I mean, I'd probably still glue it simply for the convenience but it wouldn't be required like it like the poly ones do. I have a 3.5" diameter lump of HDPE and a lathe, but I can't be assed to try it out
Not according to my smog tech. His words, and I quote:
You know they didn't get rid of the smog dyno for all OBD2 cars, right? Only for model year 2000 and newer?
They literally do everything to test my 99 NB that they do on my 93 FD, except they ALSO read the codes and have to keep the computer happily communicating while it spins the rollers.
I must say, you make some progress! Other dudes (like me) would need a full year for all this **** and still can't pass SMOG or T�V or whatever
Really nice story and what a pain in the *** to register a vehicle. Germany isn't good either, but cali seems to be on another level of torturing people
I must say, you make some progress! Other dudes (like me) would need a full year for all this **** and still can't pass SMOG or T�V or whatever
Thanks! An awful lot of this has to do with me being incredibly bored right now, like REALLY bored. I've been working from home since March (it is currently Thursday, March 221st, 2020) and my job at the university is about half user facing infrastructure and half tier 3 or tier 4 support for said infrastructure. We've gone almost 100% online so the 15-20k clients that used to use the infrastructure that I support are no longer present, so they aren't having problems. Sufficed to say things are slow and I'm bored. Good news is my documentation is on point. lol
My borderline hypochondriac wife and I have no kids so we don't have that enormous time sink, and she's not willing to travel right now let alone go to the store so its not like we are taking vacation or really spending any money. Thank goodness we're both still employed but we're stuck at home twiddling our thumbs. My desk where I had my gaming computer is now my office desk so after spending all day working there I have about zero desire to spend hours playing video games, and with all the bloody fires going on right now the outdoor air quality is absolute ****, so I'm not going outside and doing anything productive. I work on the car in short bursts when the weather and air quality permit, and when the air is bad I throw on the respirator.
So really, the only project I've got going right now is the NA and I have plenty of time to scheme and order parts, then I can execute fairly quickly. I've been playing with Miatas for long enough that I'm not boobering around on faceballs or forums trying to figure out how to do things like swap the suspension, I've done the "Long Bolt Method" enough times that its second nature at this point. I've also racked up a fairly solid collection of quality tools in the last couple of decades and I find that helps immensely. I try my best not to go into things completely blind and I have a group of like minded friends who I can trust that I bounce ideas off of before starting a project. I also appriciate that they are willing to tell me when I'm smoking crack or being bitchy and negative. They are quire good friends after all But if there is something new to me I usually come here and search for someone who has the same problem/project and hopefully, if they've documented it well, I can learn from their mistakes and make my own projects go faster. My favorite threads have 5k word posts, lots of high resolution pictures, and part numbers or links to parts, so I try to do the same. Maybe my blathering will help someone else out at some point, I know a lot of people have helped me and they don't even know it.
But yeah, I'm bored. It also explains these enormous posts that I don't think anyone actually reads in detail
Originally Posted by der_vierte
Really nice story and what a pain in the *** to register a vehicle. Germany isn't good either, but cali seems to be on another level of torturing people
It sucks that this state has slid so far from its roots. Car and hotrod culture essentially started here back in the day and now the state borders on actively hostile to enthusiasts. Unfortunately I don't see that changing any time soon. In the grand scheme of things the registration story is probably just minutia in this thread, but I feel its important for people who aren't "from here" understand that I had to take a vacation day to register my car. I can't do it online and I couldn't do it through a 3rd party. It very easily could have been multiple days had I not gotten amazingly lucky with my SMOG Inspection. (Though to be fair, there aren't a whole lot of people living in Paradise, CA at the moment)
"California: literally worse than Germany" has a nice ring to it
I have read all your posts in this thread. I find your whole attitude mildly amusing, and the DMV shenanigans interesting, even if they don't apply to me.

 10-07-2020, 12:35 PM


 I won't be running ultra low ride heights so the longer stops are fine for now. I can always trim them down if it becomes a problem.
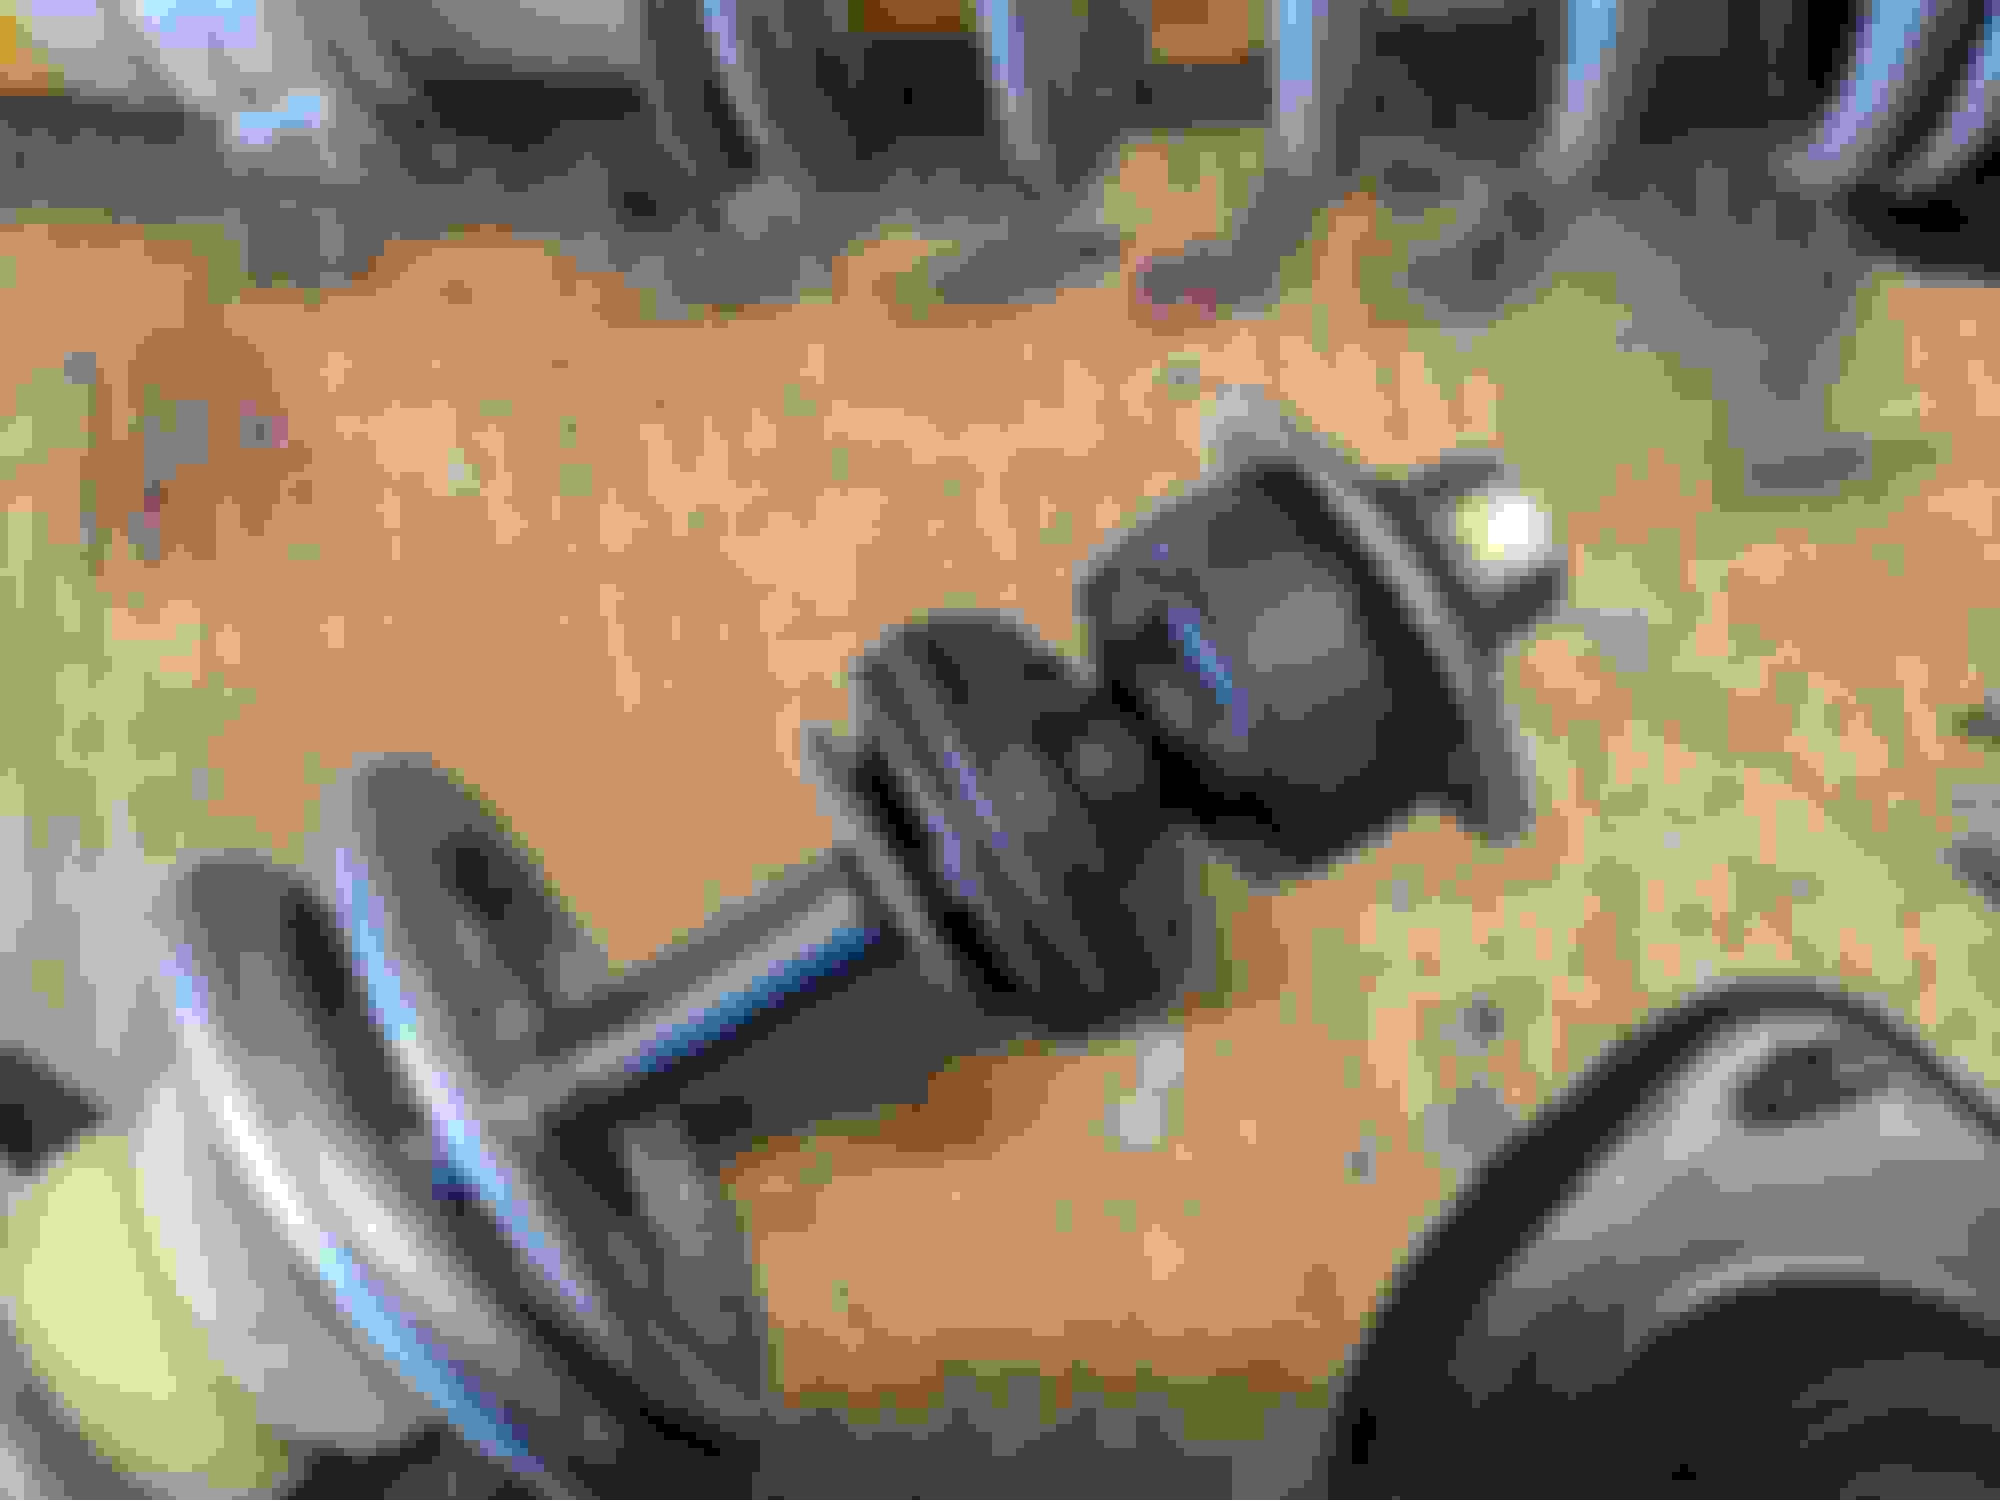


 0
0


 I'm not a State Certified SMOG Technician so I have to take his word for it.


 But if there is something new to me I usually come here and search for someone who has the same problem/project and hopefully, if they've documented it well, I can learn from their mistakes and make my own projects go faster. My favorite threads have 5k word posts, lots of high resolution pictures, and part numbers or links to parts, so I try to do the same. Maybe my blathering will help someone else out at some point, I know a lot of people have helped me and they don't even know it.


