When you click on links to various merchants on this site and make a purchase, this can result in this site earning a commission. Affiliate programs and affiliations include, but are not limited to, the eBay Partner Network.
Back in the day when I owned this car the first time, I always wanted one of these things. I was broke as hell and never got a chance to buy one before selling the car. I used the money to buy a YJ Wrangler that was a much better fit for living innawoods, but I still always wanted a JRSC. In fact, much later after I moved back to town, sold the YJ, and bought the orange NB in my signature I did buy a JRSC for that car, but never got around to installing it.
Now I'm older, not broke and probably just as stupid. Moss stopped selling these things more than a decade ago, but that hasn't stopped me from buying this one when it came up for sale. The seller is actually a member here on the forum but again, I'm not going to call them out unless they decide they want to step forward themselves. It's been a wild ride trying to find instructions and service parts for this thing, and its far from over. I still need to sort out fuel management for the thing and figure out how to get Moss to send me a CARB EO sticker, but those are future me problems. Right now I've got my hands full.
Fair warning, there is going to be A LOT of stupid supercharger content in this thread from here on out. You have been warned.
So a few weeks back, this showed up on my doorstep:
And this big *** pile of whatsit was spewed forth:
This was previously installed on a 1995 NA so I knew I had a pretty good shot of making it work
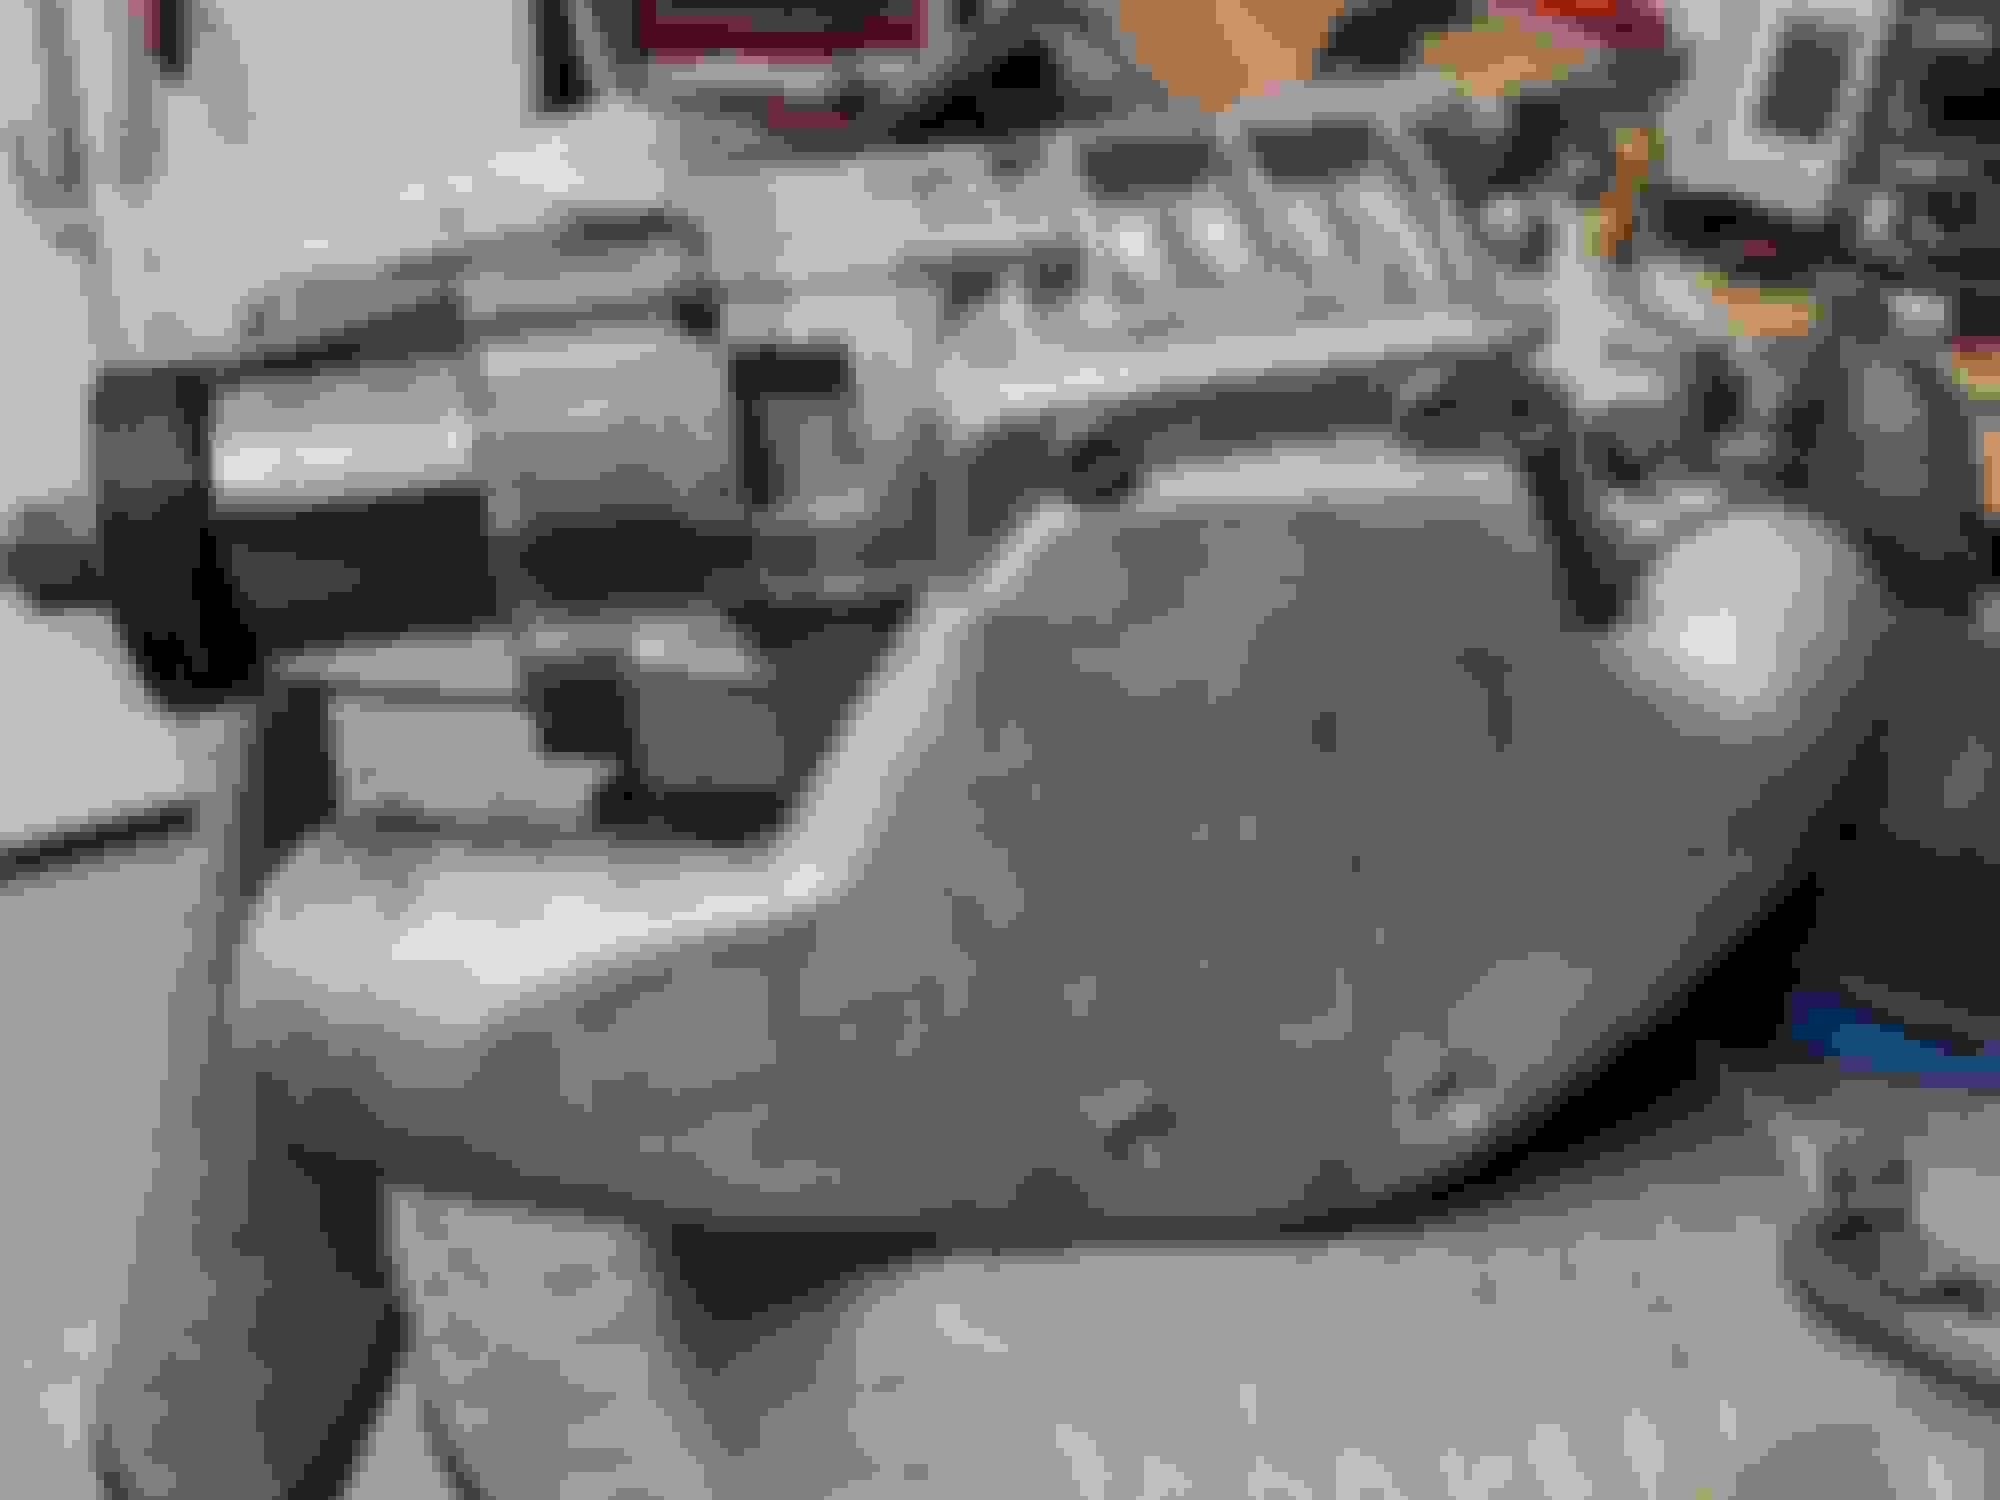
Here's the blower in all its majesty
So I downloaded a set of instructions and started going through the parts, trying to make sense of this mess.
A couple of things jumped out at me immediately... a bunch of these parts had been modified.
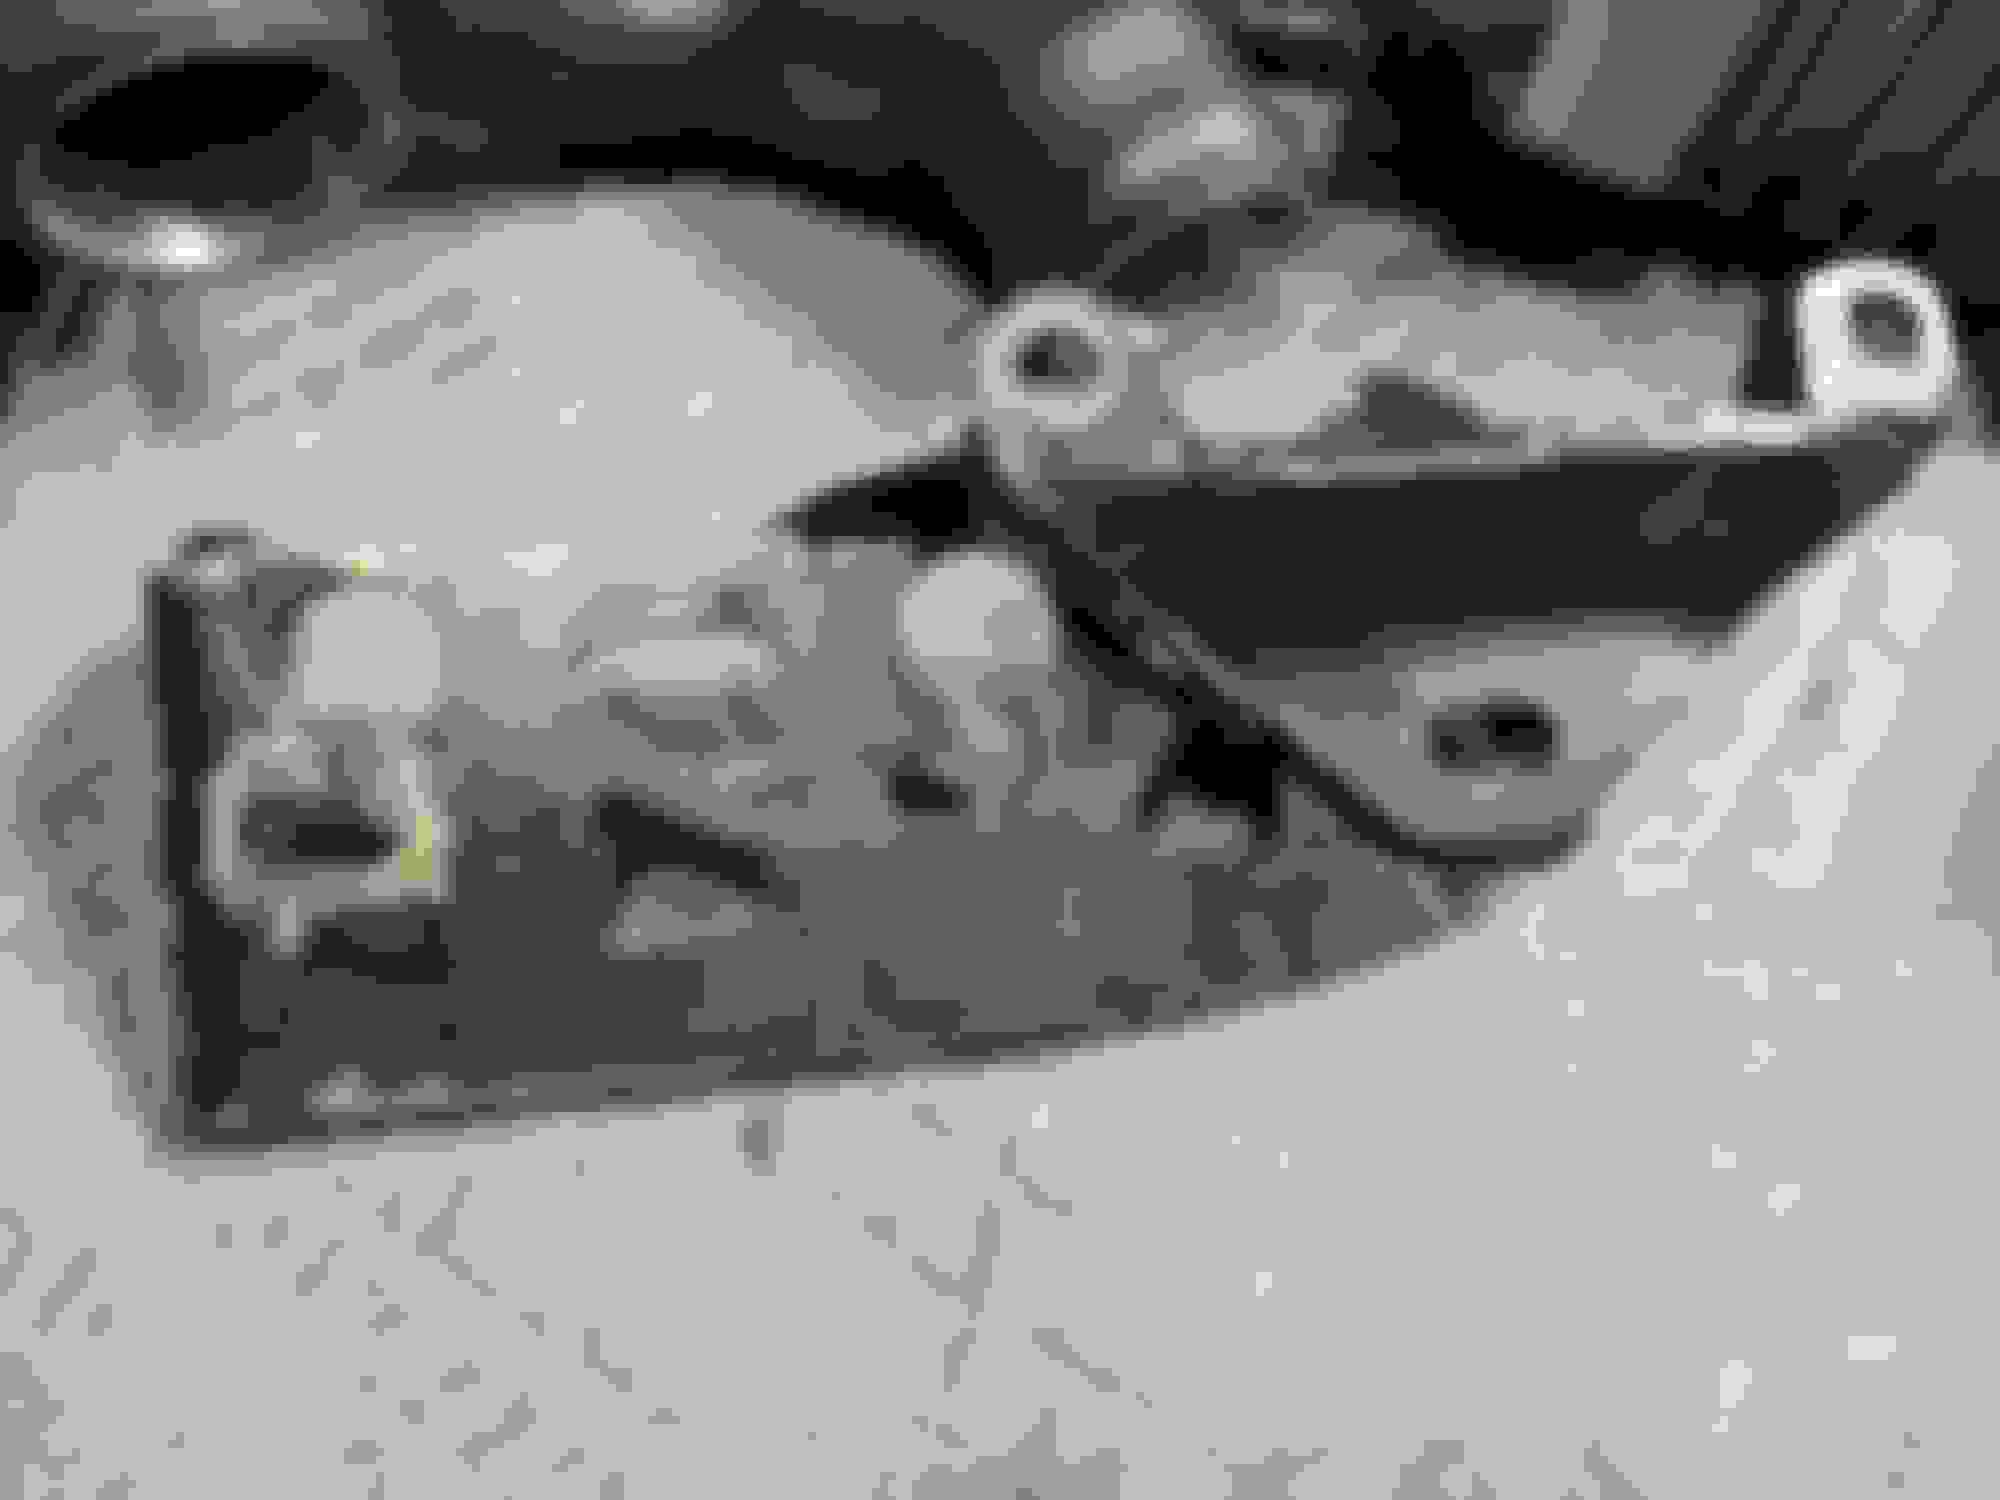
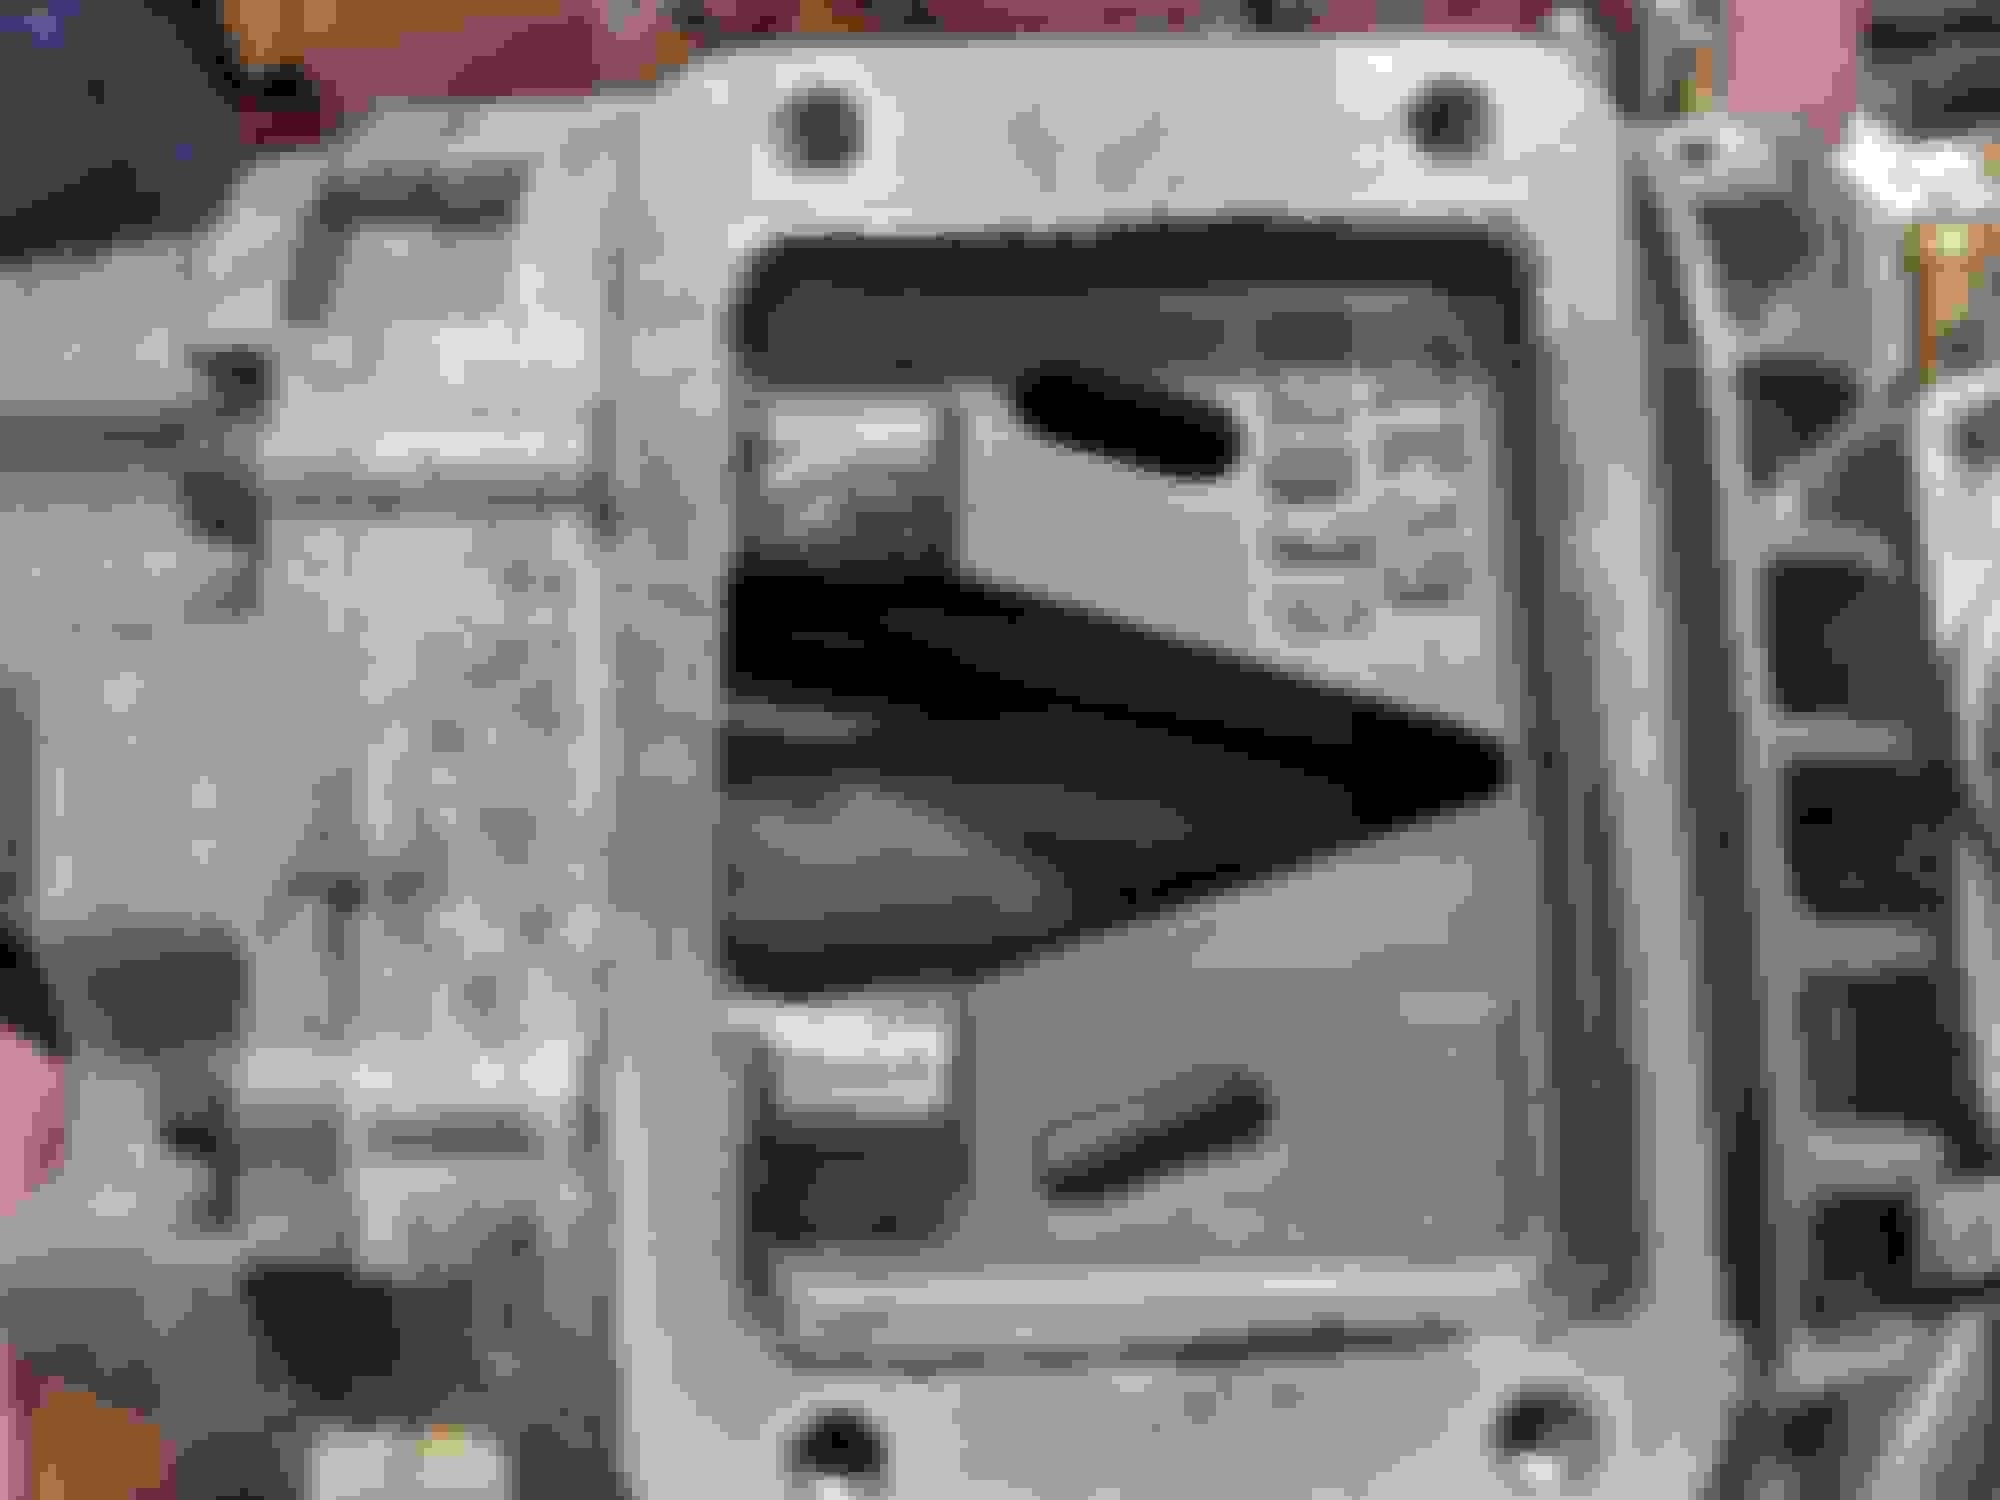
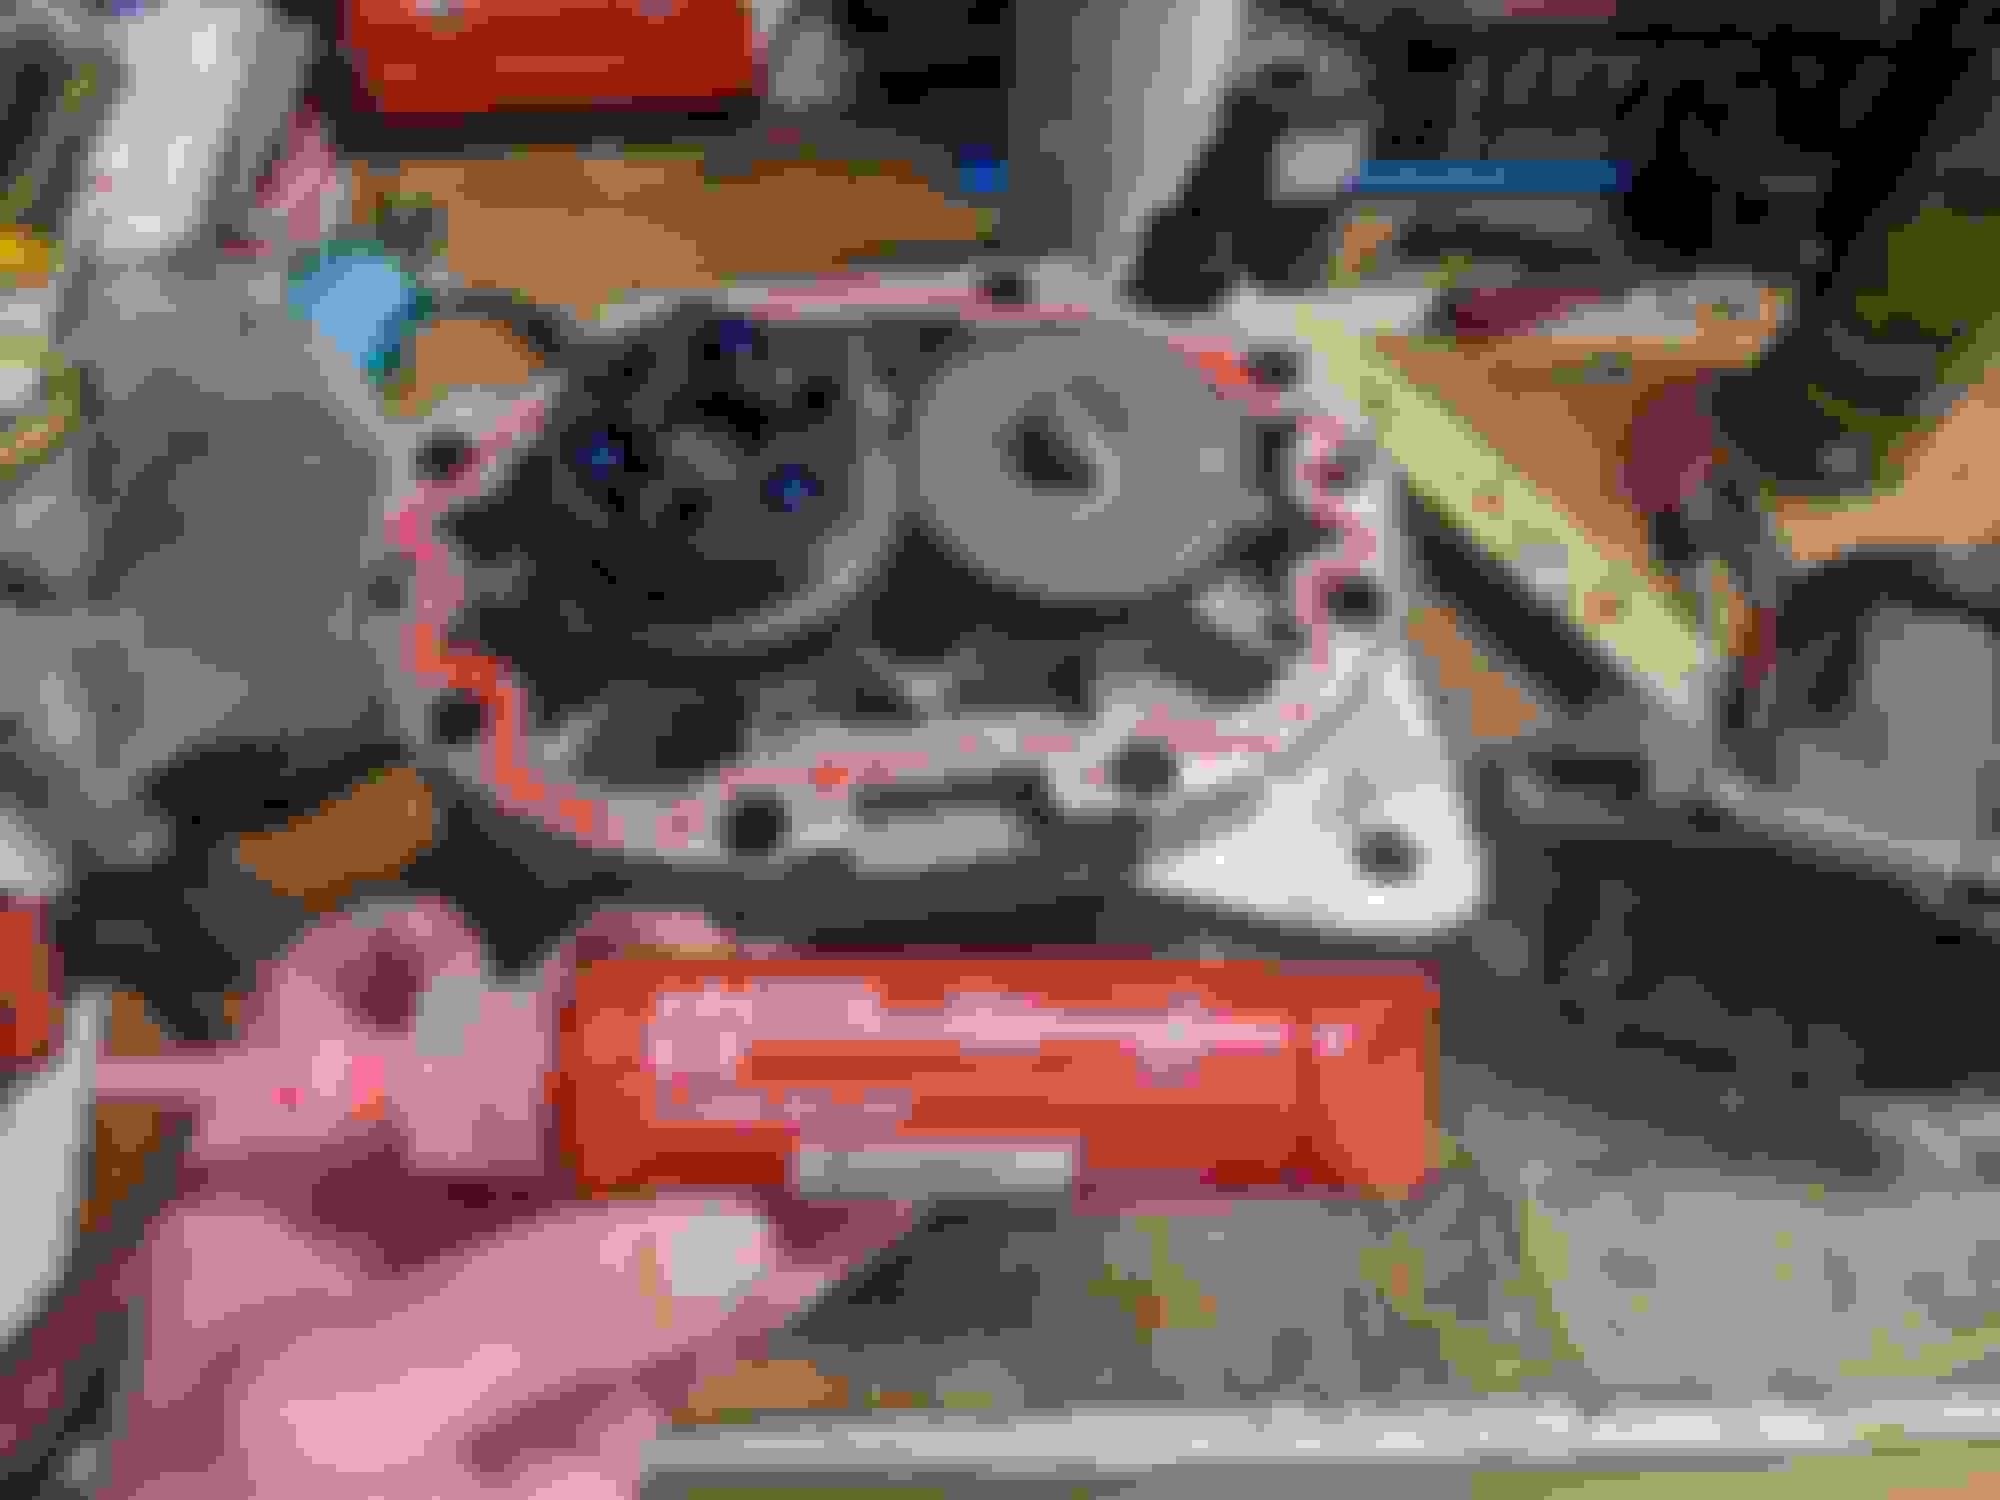
This is the supercharger mounting bracket:
This is actually supposed to be 3 separate pieces that someone has weldfucked into one unit, so there goes my adjustability.
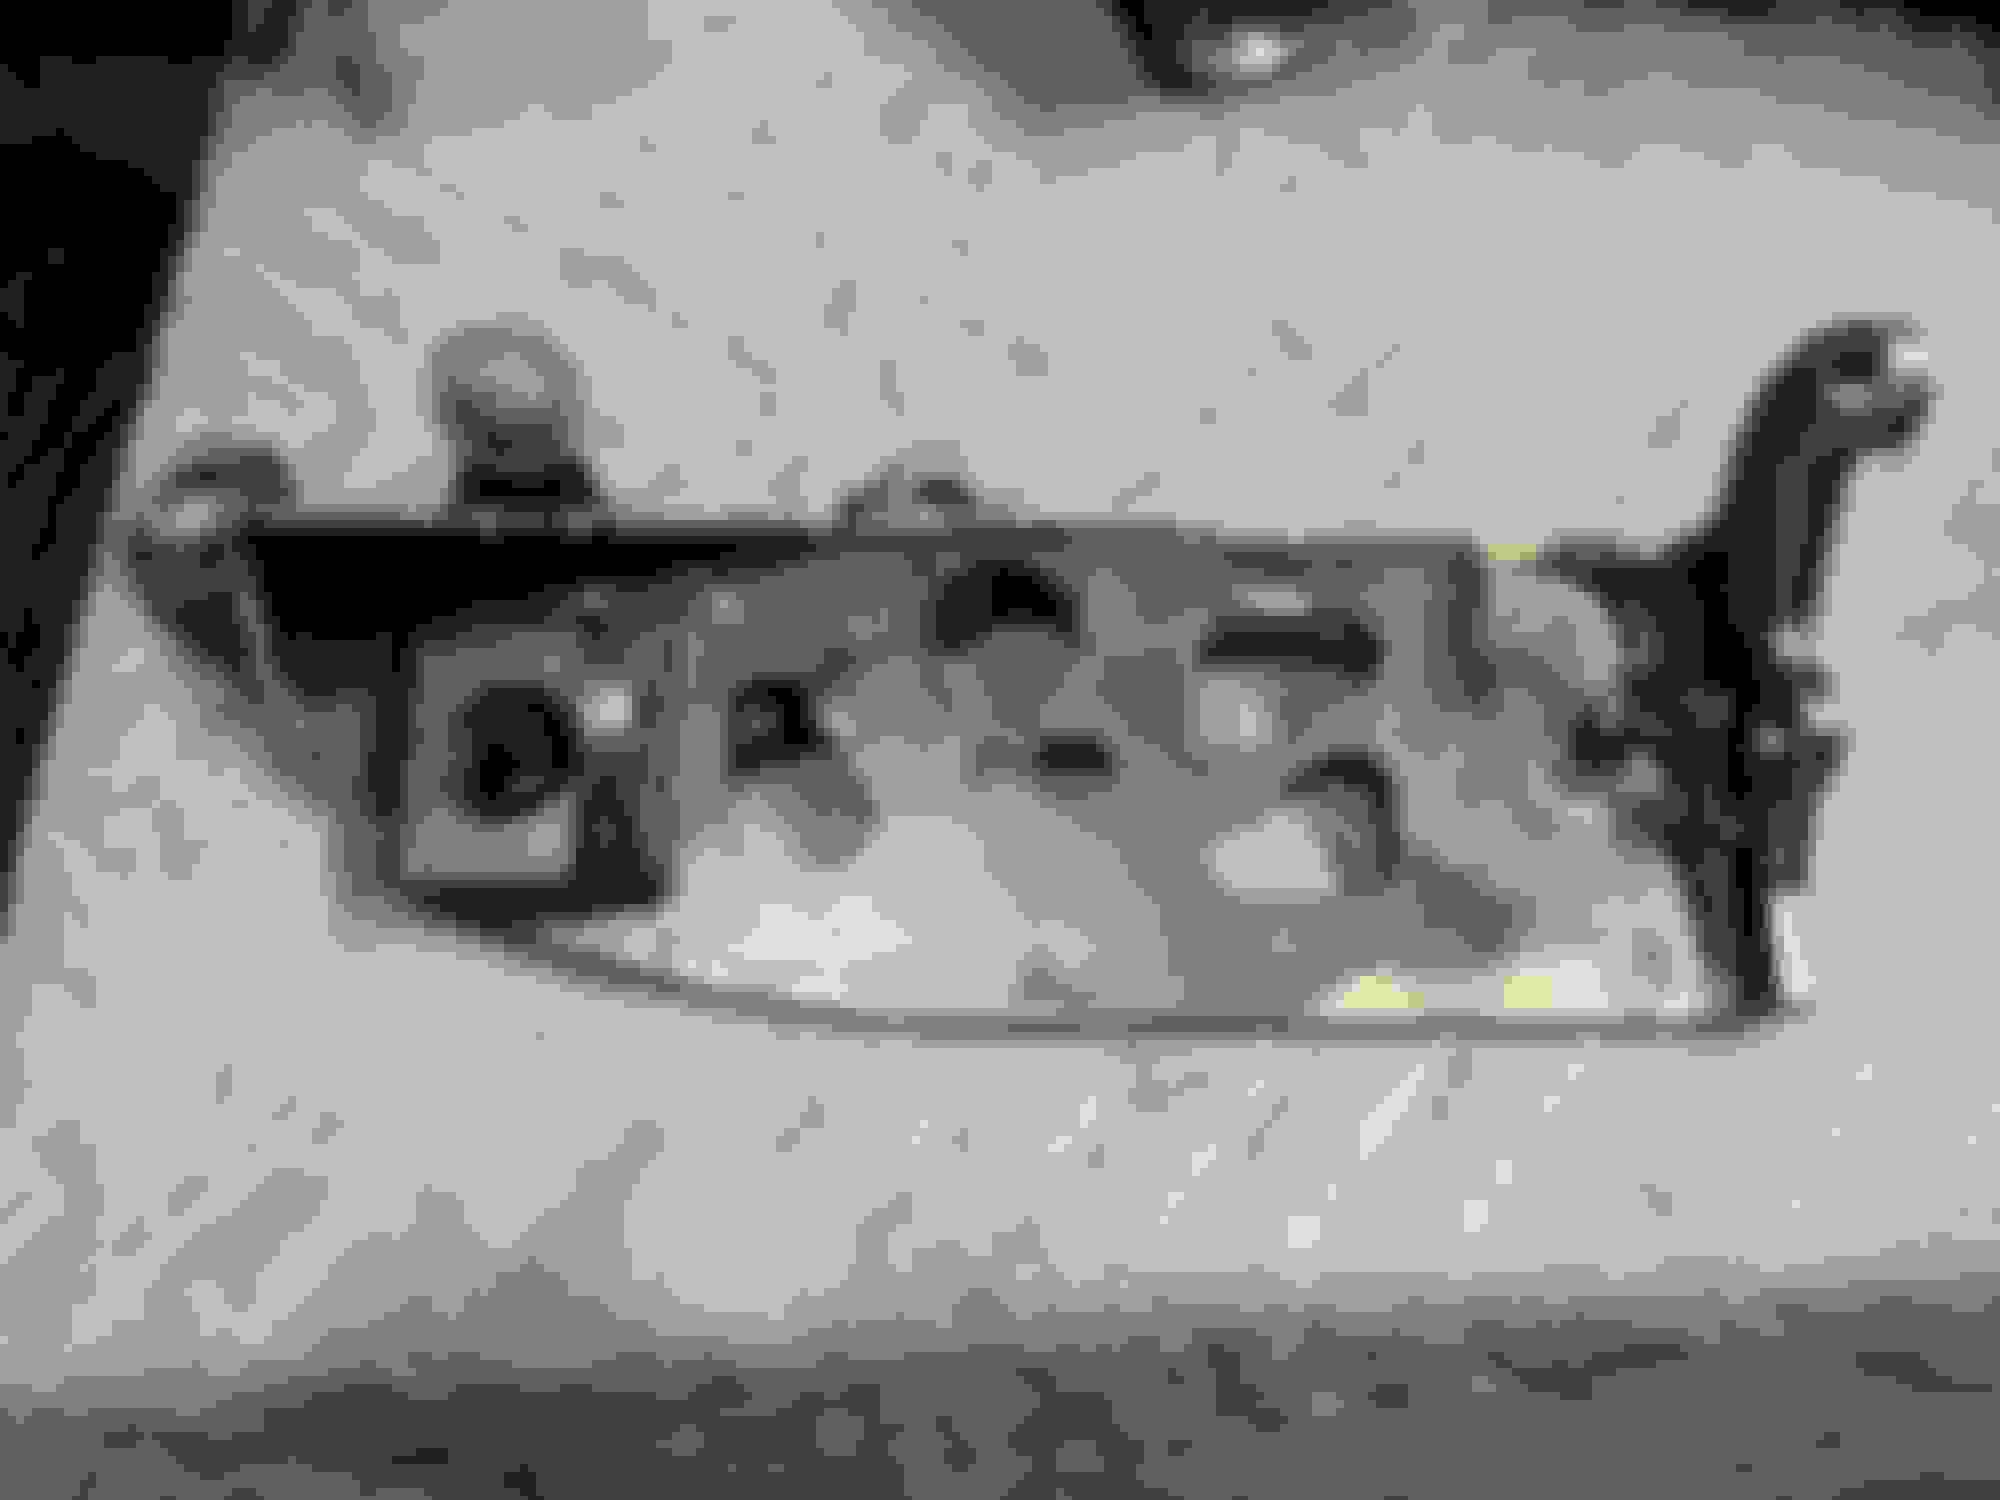
The dummy throttle body that bolts up to the intake manifold has also undergone some modification:
That's a Vibrant cast aluminum 90� that someone has welded on to the end, probably to fit with the custom fabricated 3" crossover pipe.
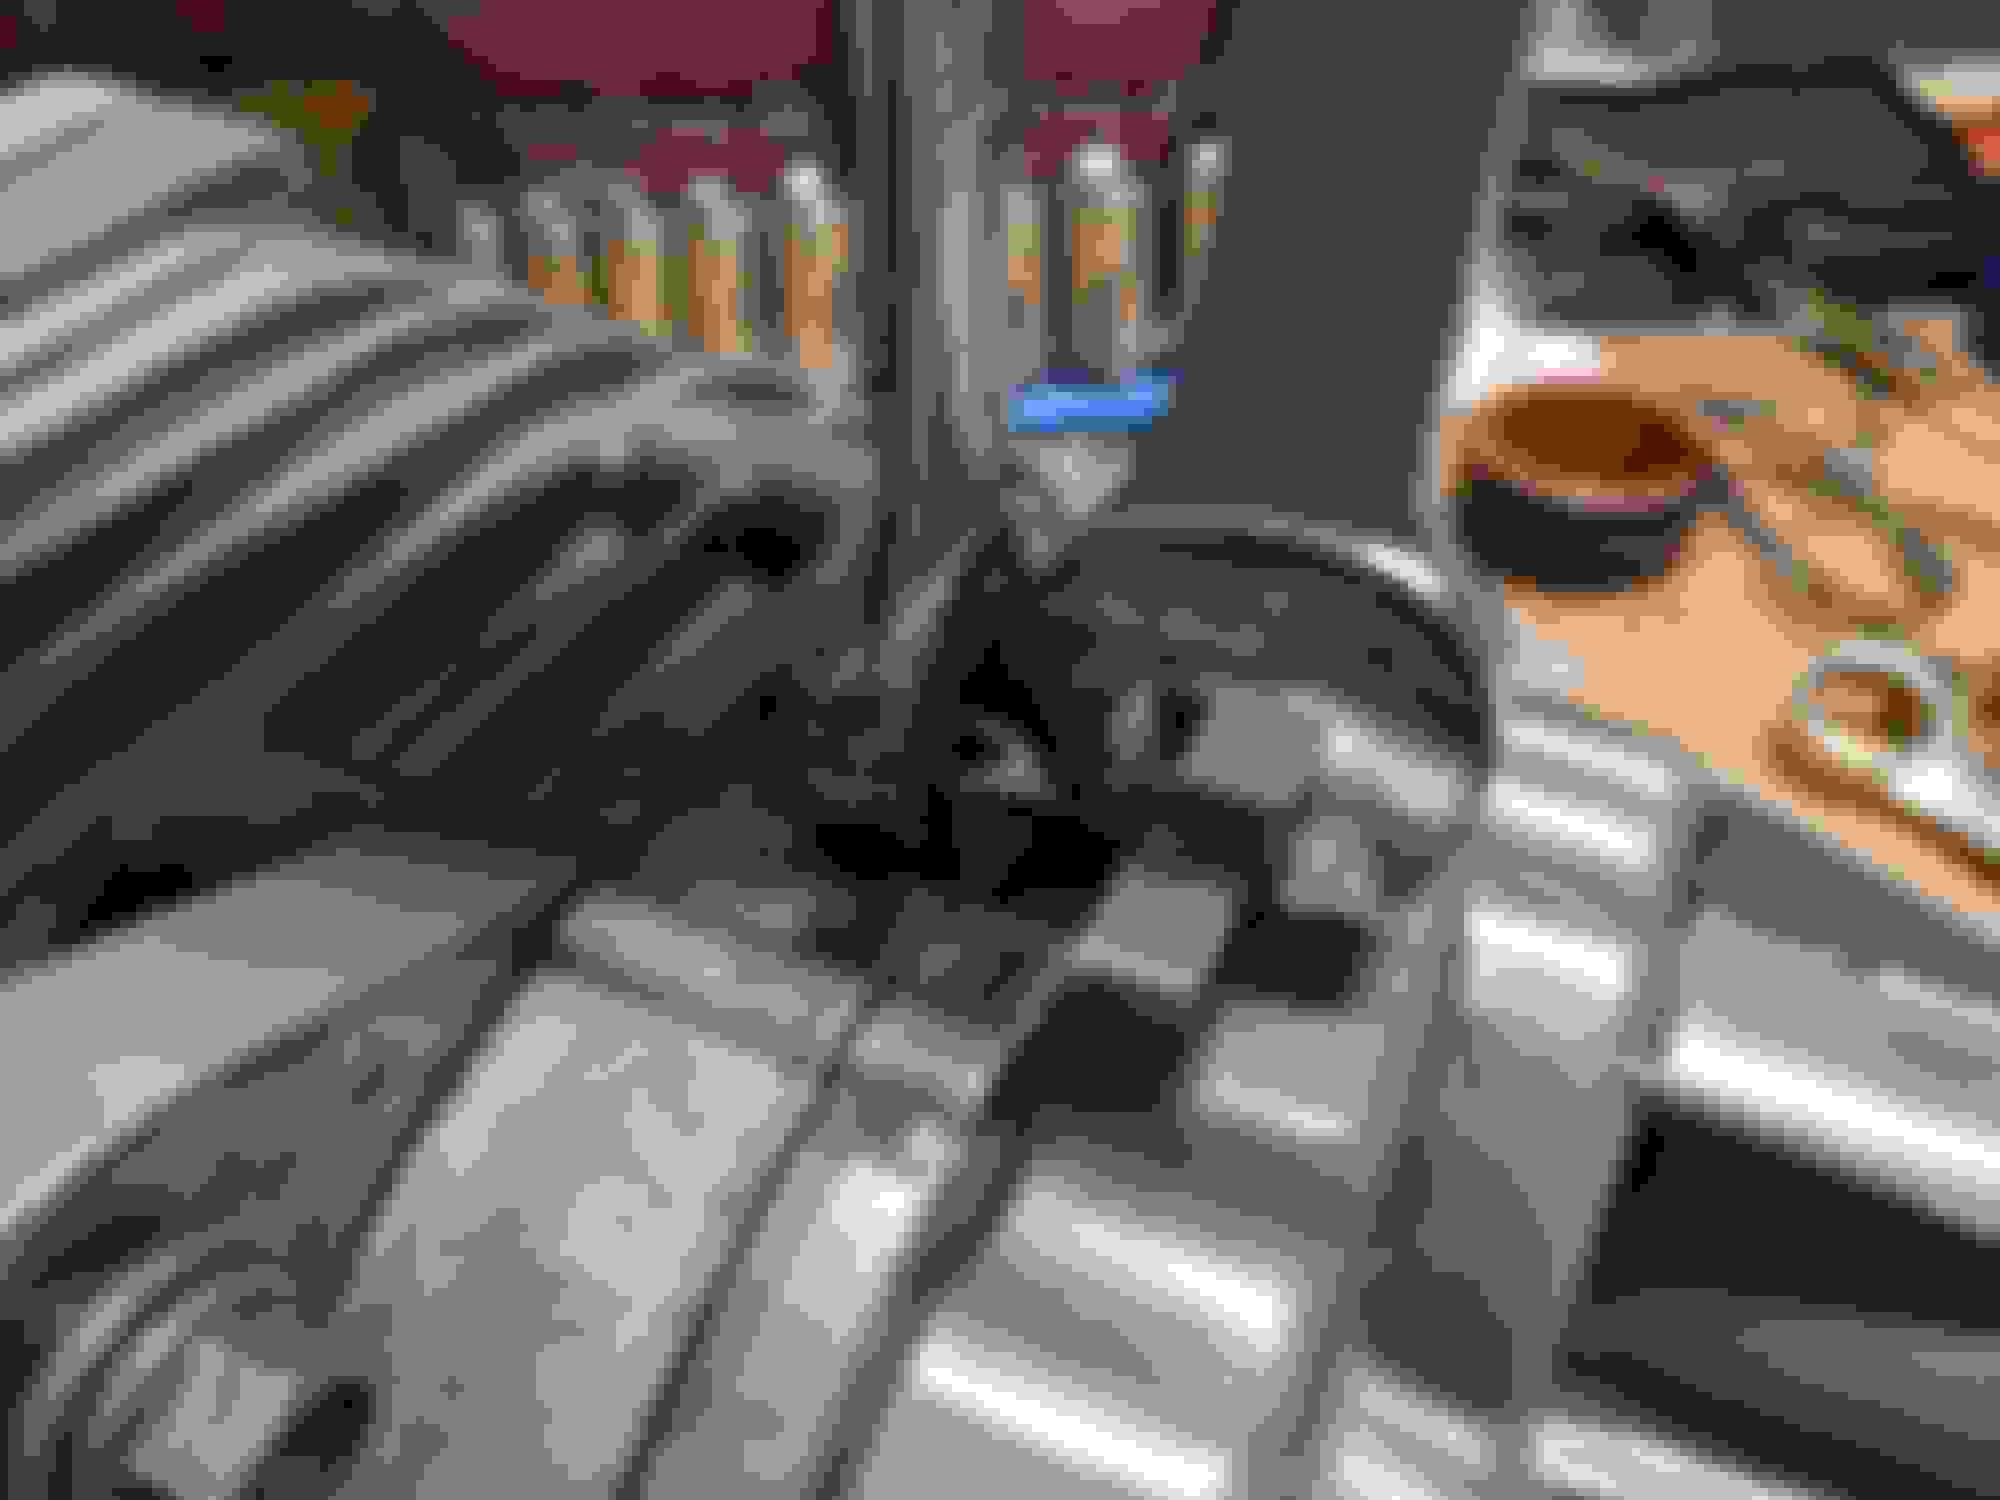
This is the first test fit
It's kinda like, real rough. There's a whole bunch more modified stuff in the kit, but these are the big things I wanted to get out there first.
Now to be fair, the guy I bought the kit from never installed it, he bought his NA with this stuff already installed and working so he had never really seen one of these "out of the box" and didn't know what to expect. I can't blame him for any of this fuckery, if anything I should have paid closer attention to the pics that he sent. Regardless, its here now and its not going away. Some of this I can correct, some of this is just going to be a mess. But that's ok, the car is a mess so this goes with the theme.
I'm committed to getting this working though it may take a while. Parts for these things aren't exactly growing on trees anymore.
That has the smallest TDR overdrive pulley on it. (Should be the 62.5mm one). Let me know if you need any help/reference pictures. I had both a super early sebring 1.6 kit, and a later JRSC 1.8 kit (it may have been for an NB?) That I mashed together and made work. If you are really lucky, the M45 has the exposed cup type rear needle bearigns that are $20 for a pair and easilly replaced with a press.
The earliest kits just used a RRAFPR and nothing else, but that pulley means you will likely be out of injector.
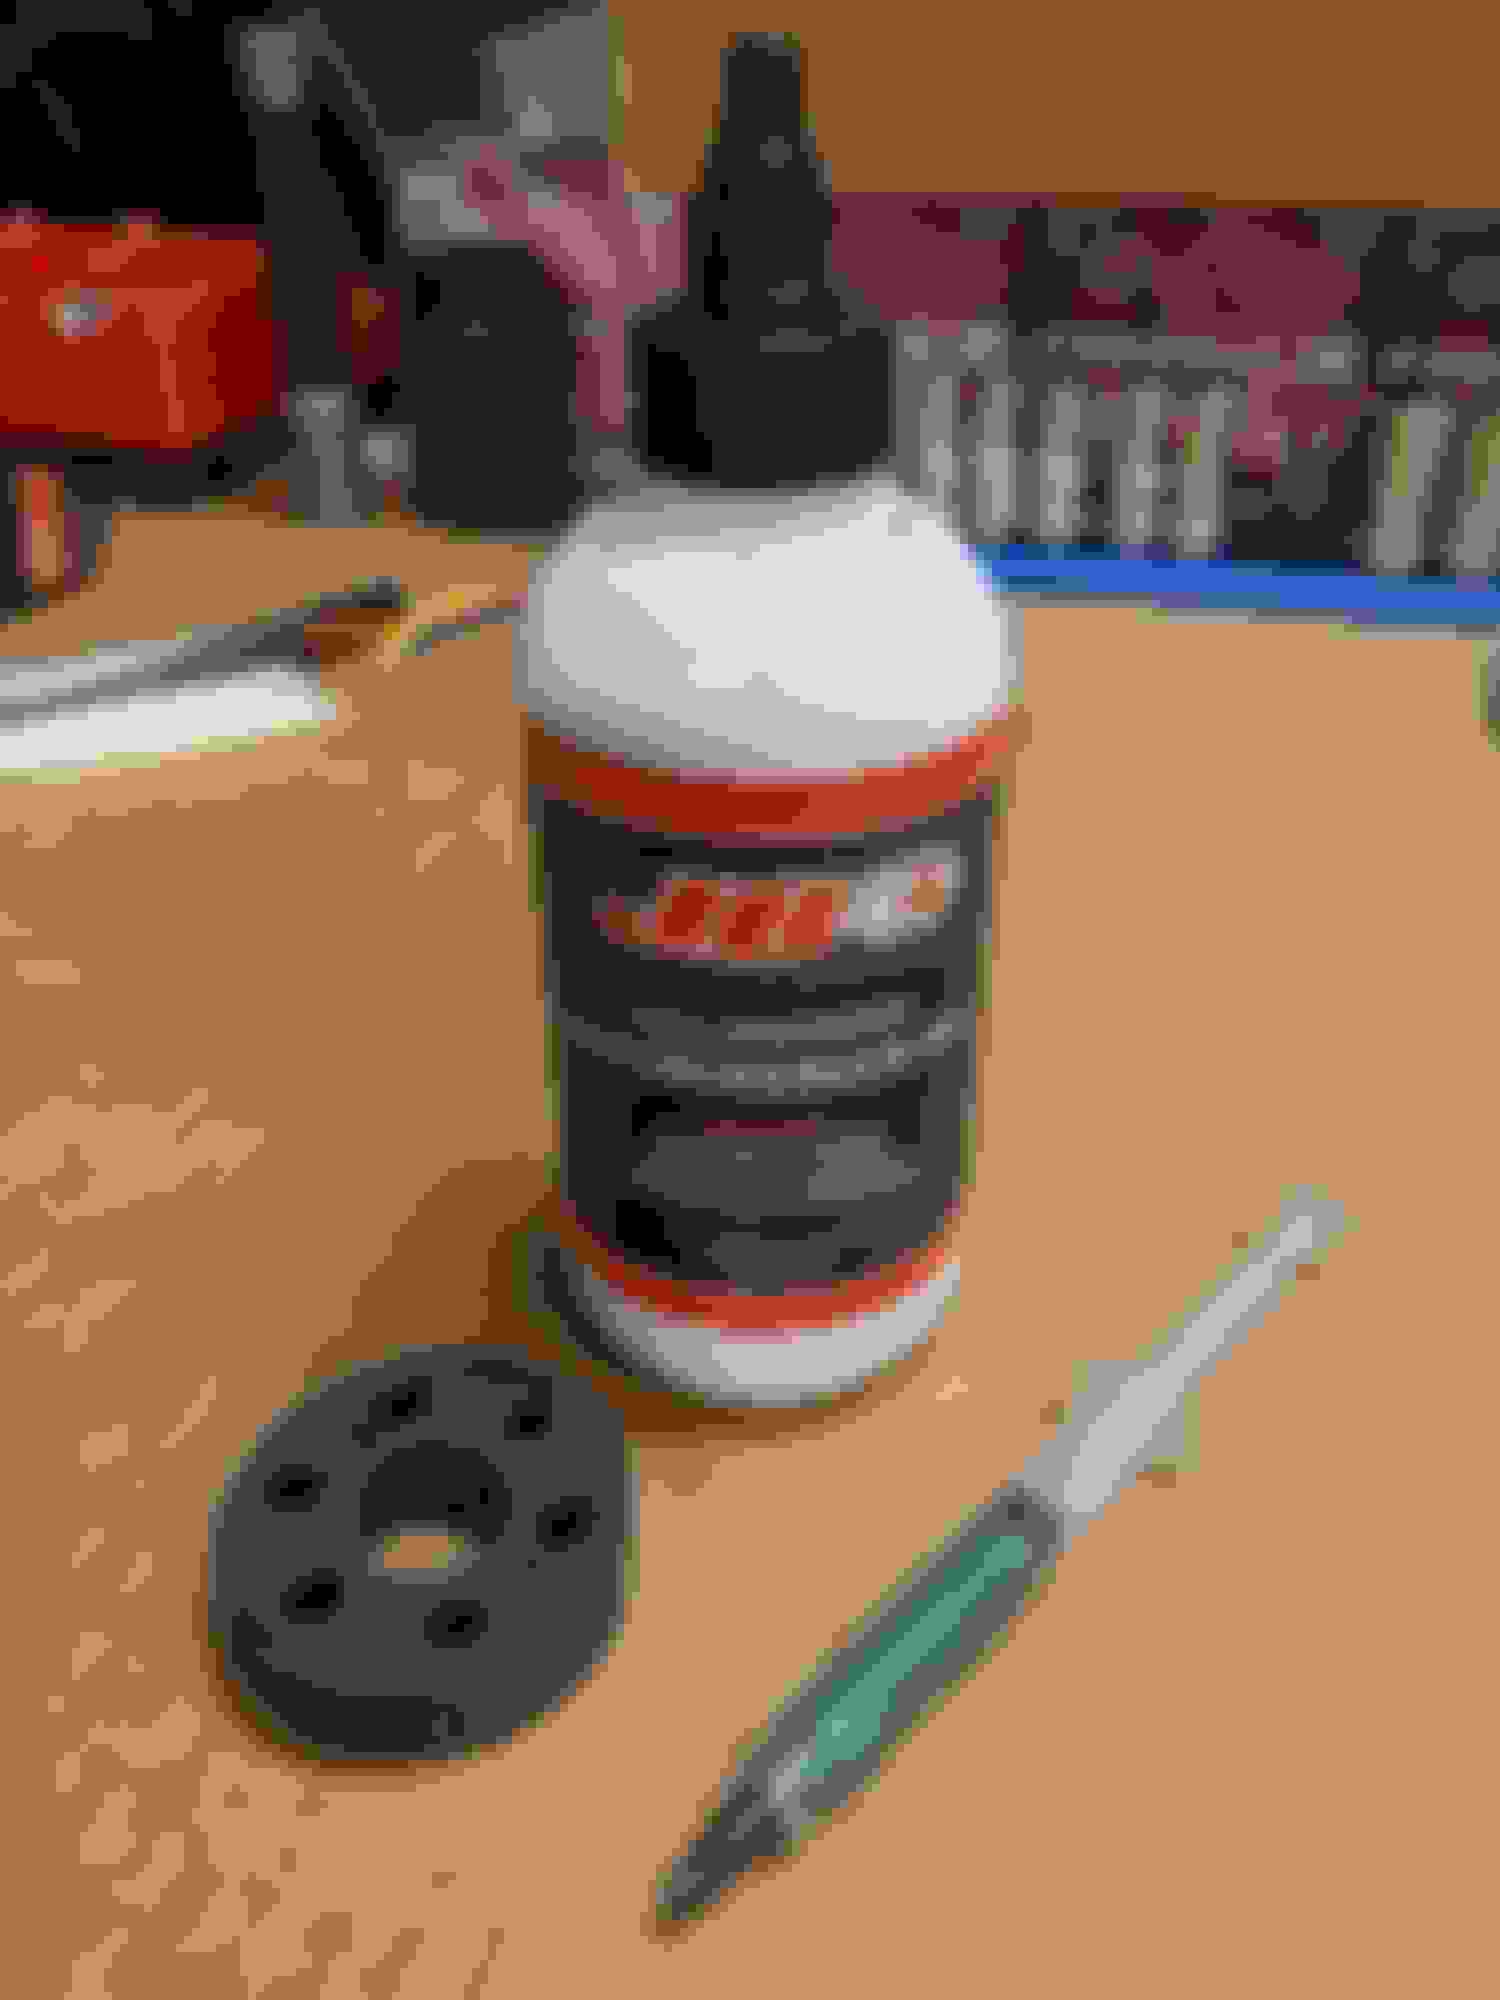
For those who don't know, the M45 has its own oil reservoir behind the nose that keeps the bearings and the gear set alive. It's supposed to be a "lifetime fill" but as the Mini Cooper and Merc C 230 Kompressor owners have learned, these things last a lot longer if you change the oil. Eaton specifies some very specific oil and luckily, its fairly easy to get through GM. The blower takes a bit over 4oz and its like $8 for a 4oz bottle. Two bottles were acquired quite easily from the internet. The guy I bought it from said the guy he bought the car from had changed the oil in the blower and replaced the drive coupler, but I wanted to change the oil anyway just as a fresh start. The oil is cheap and the service is simple.
Step one is to crack the drain/fill plug out...
And immediately, I have concerns.
Dumping this out proved to be ...uncomfortable.
I don't think its supposed to be that colour...
The smell is something else as well. It's not gear oil, and it has a very distinctive thick, rancid cooking oil scent to it. Bad joojoo here.
So it looks like we're going to have to go deeper than a simple oil change.
That has the smallest TDR overdrive pulley on it. (Should be the 62.5mm one). Let me know if you need any help/reference pictures. I had both a super early sebring 1.6 kit, and a later JRSC 1.8 kit (it may have been for an NB?) That I mashed together and made work. If you are really lucky, the M45 has the exposed cup type rear needle bearigns that are $20 for a pair and easilly replaced with a press.
The earliest kits just used a RRAFPR and nothing else, but that pulley means you will likely be out of injector.
Thanks man, I appreciate the information PLEASE feel free to jump in here if you see me screwing things up, I'm not an expert on any of this stuff, but I try to read the documentation and follow instructions as best I can. This is a "Gen 3" M45 as far as I can tell. I didn't take the bypass block off the backside of the blower head but it should have the exposed bearings, as you said. the bearings feel fine to me and the blower is actually surprisingly smooth. These are tough little units if not pushed past their limits. A bit of TLC and she should be good to go.
Right! I forgot the 1.8 ones came with a smaller plley. My one blower was a gen 1 with the pulley over the snout, and the other came with a 62.5mm TRD and a 72mm BRP (I think someone mixed in parts from the MP62 kit with that setup?).
Only thing that can't be easilly replaced on these is the rotor pack bearings and seals since you need a special set of tools to time the rotors to each other. Everything looks good so far! Well... Except that oil...
Eaton wants permatex abarobic gasket maker or whatever that stuff us, not RTV, for sealing things back up.
And TBH, I miss the whine and just ease of this kit, if I had another fall into my lap I wouldn't hesistate to slap it on my NB and just enjoy the extra 30hp.
It was at this point I decided that I was going to split the case.
First challenge was getting the output hosing off the case. Thankfully, someone before me had been in here with a tube of black RTV and glued this thing down. Wood wedge and hammer would be required to break the seal.
The RTV is excessive and it looks like a little DIY porting while they were at it. Oof.
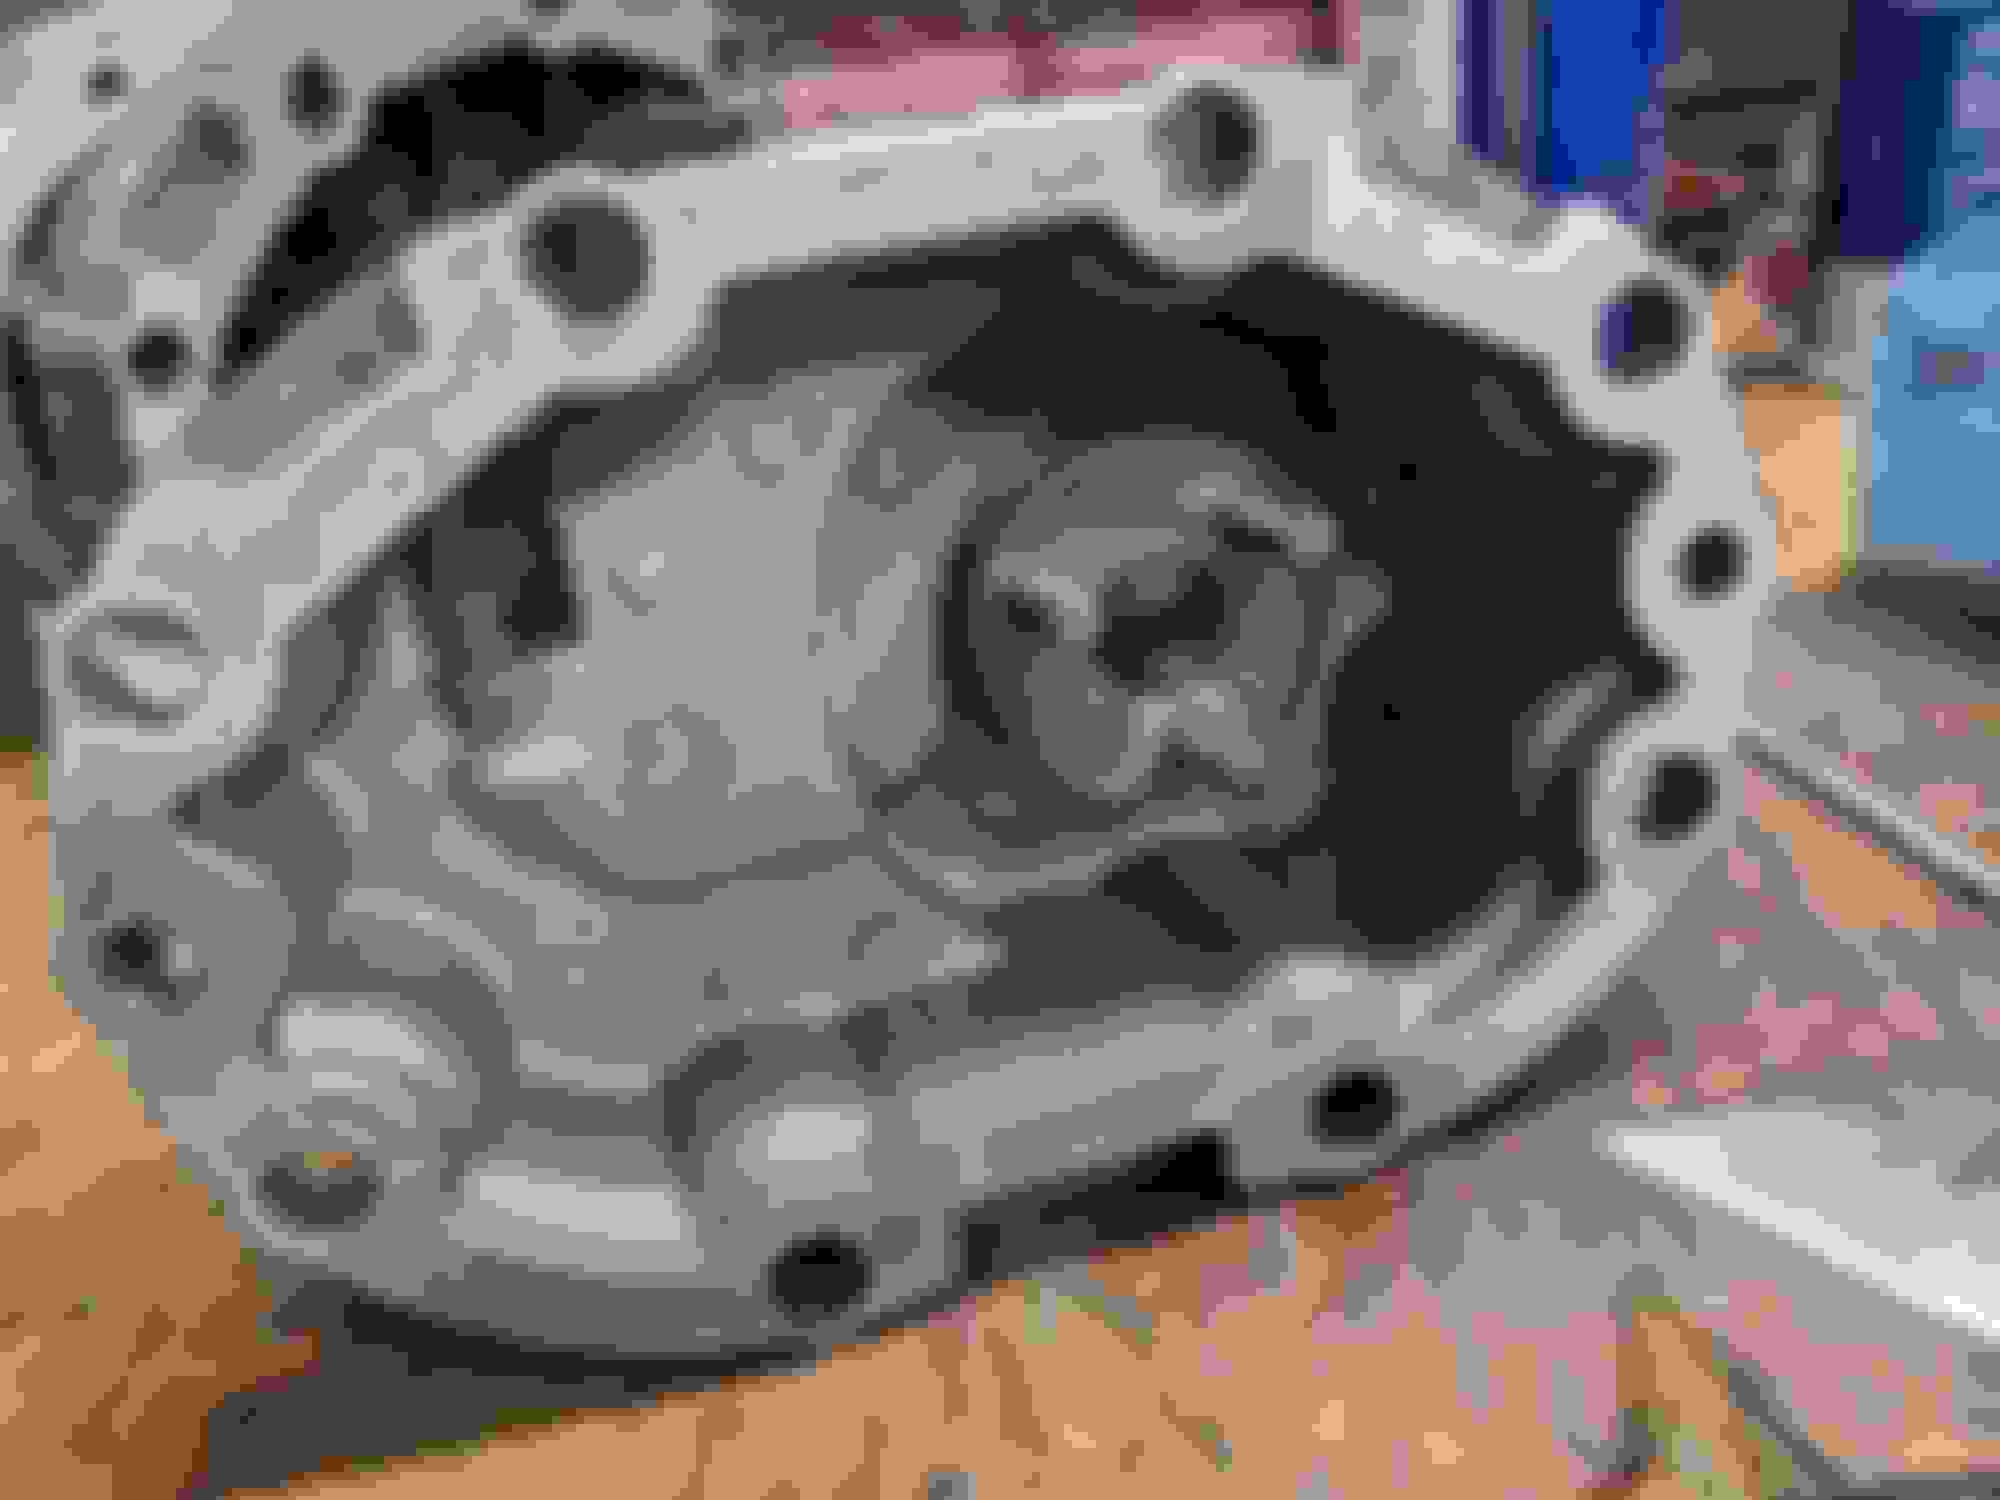
So there are 3 sections to the body on this thing, the nose, gear section, and the rotor housing. The gear section and the nose section holds the oil, bearings and seals for the front of the unit, and that's where we're trying to get into. Morons on the internet hammer screwdrivers into this interface but there's literally no reason to do that. With the application of some brainpower and a bit of ingenuity, its not hard to split the case on one of these things. Provided of course someone hasn't glued it together with black RTV. Ungh.
Anyway, a couple of wrenches made short work of splitting the housing.
Behold! Give me a long enough lever and I'll move the world!
This is hideous.
Here's the inside with some flash. Bleh.
As you can see, more black RTV. It's in everything, including the alignment pin holes. ARGH. Cleaning this is going to take a lot of damn effort.
Right side is what I was able to do with a carbide scraper and a razorblade. Originally this would have been a precision machined surface from Eaton. Black RTV guy made sure to scrape this with a dull beaver and almost get it clean. There's Eaton anaerobic gasket sealer under the black RTV, which is ridiculous, because how do you do this much damage and not get it clean?
Rotor section drops out as the rotors are attached to the gear section. Here's the needle bearing end with the Eaton factory blue dye bearing lube. I wiped them down and the surfaces are perfect.
There's a bunch of PCV blowby and general filth in here, but its nothing a simple wipedown can't take care of. There's no seal between the rotor housing and gear housing, its just a very nicely machined contact surface. It's not holding fluid (well, beyond air) so no sealant is required.
The goddamn RTV is impossible to remove from the cast interior surfaces so its time to step up my chemical game. Thanks internet!
These Ford guys aren't ******* around. No wonder every Ford dealership mechanic I've ever dealt with is a braindead fuckstick. This stuff works GREAT just don't get it on anything that you don't want to destroy (like seals or the rotor coating) and be DAMN SURE you use it in a well ventilated area. Open garage door at a minimum. Not playing here.
Once done cleaning out the muck its time to reseal with something more appropriate. For that, Henkel Loctite 510 Flange Sealant is recommended. Its an anaerobic sealant specifically designed for this type of application.
It doesn't take much, I actually ended up wiping most of this off, it only takes a paper thin layer to get the job done.
And lastly we refill the blower with Jon Bond PerformanceSynthetic Supercharger Oil and since I was already this far into it, a new Genuine Eaton C A R B O N F I B E R 3 Pin Drive Snout Coupler. The syringe contains replacement grease for the rear needle bearings, also sourced from JB. I believe its Nye Lubricants Rheotemp 600, which is the replacement for the discontinued Rheotemp 500, which was the original Eaton factory approved grease for these things. The JB oil is the most AMAZING blue color, which is awesome because that'll make it super easy to spot leaks. If it turns out this thing is hemorrhaging oil out the seals I'll know with a quickness.
Torque spec on the housing bolts is 19 ft/lbs, and away we go!
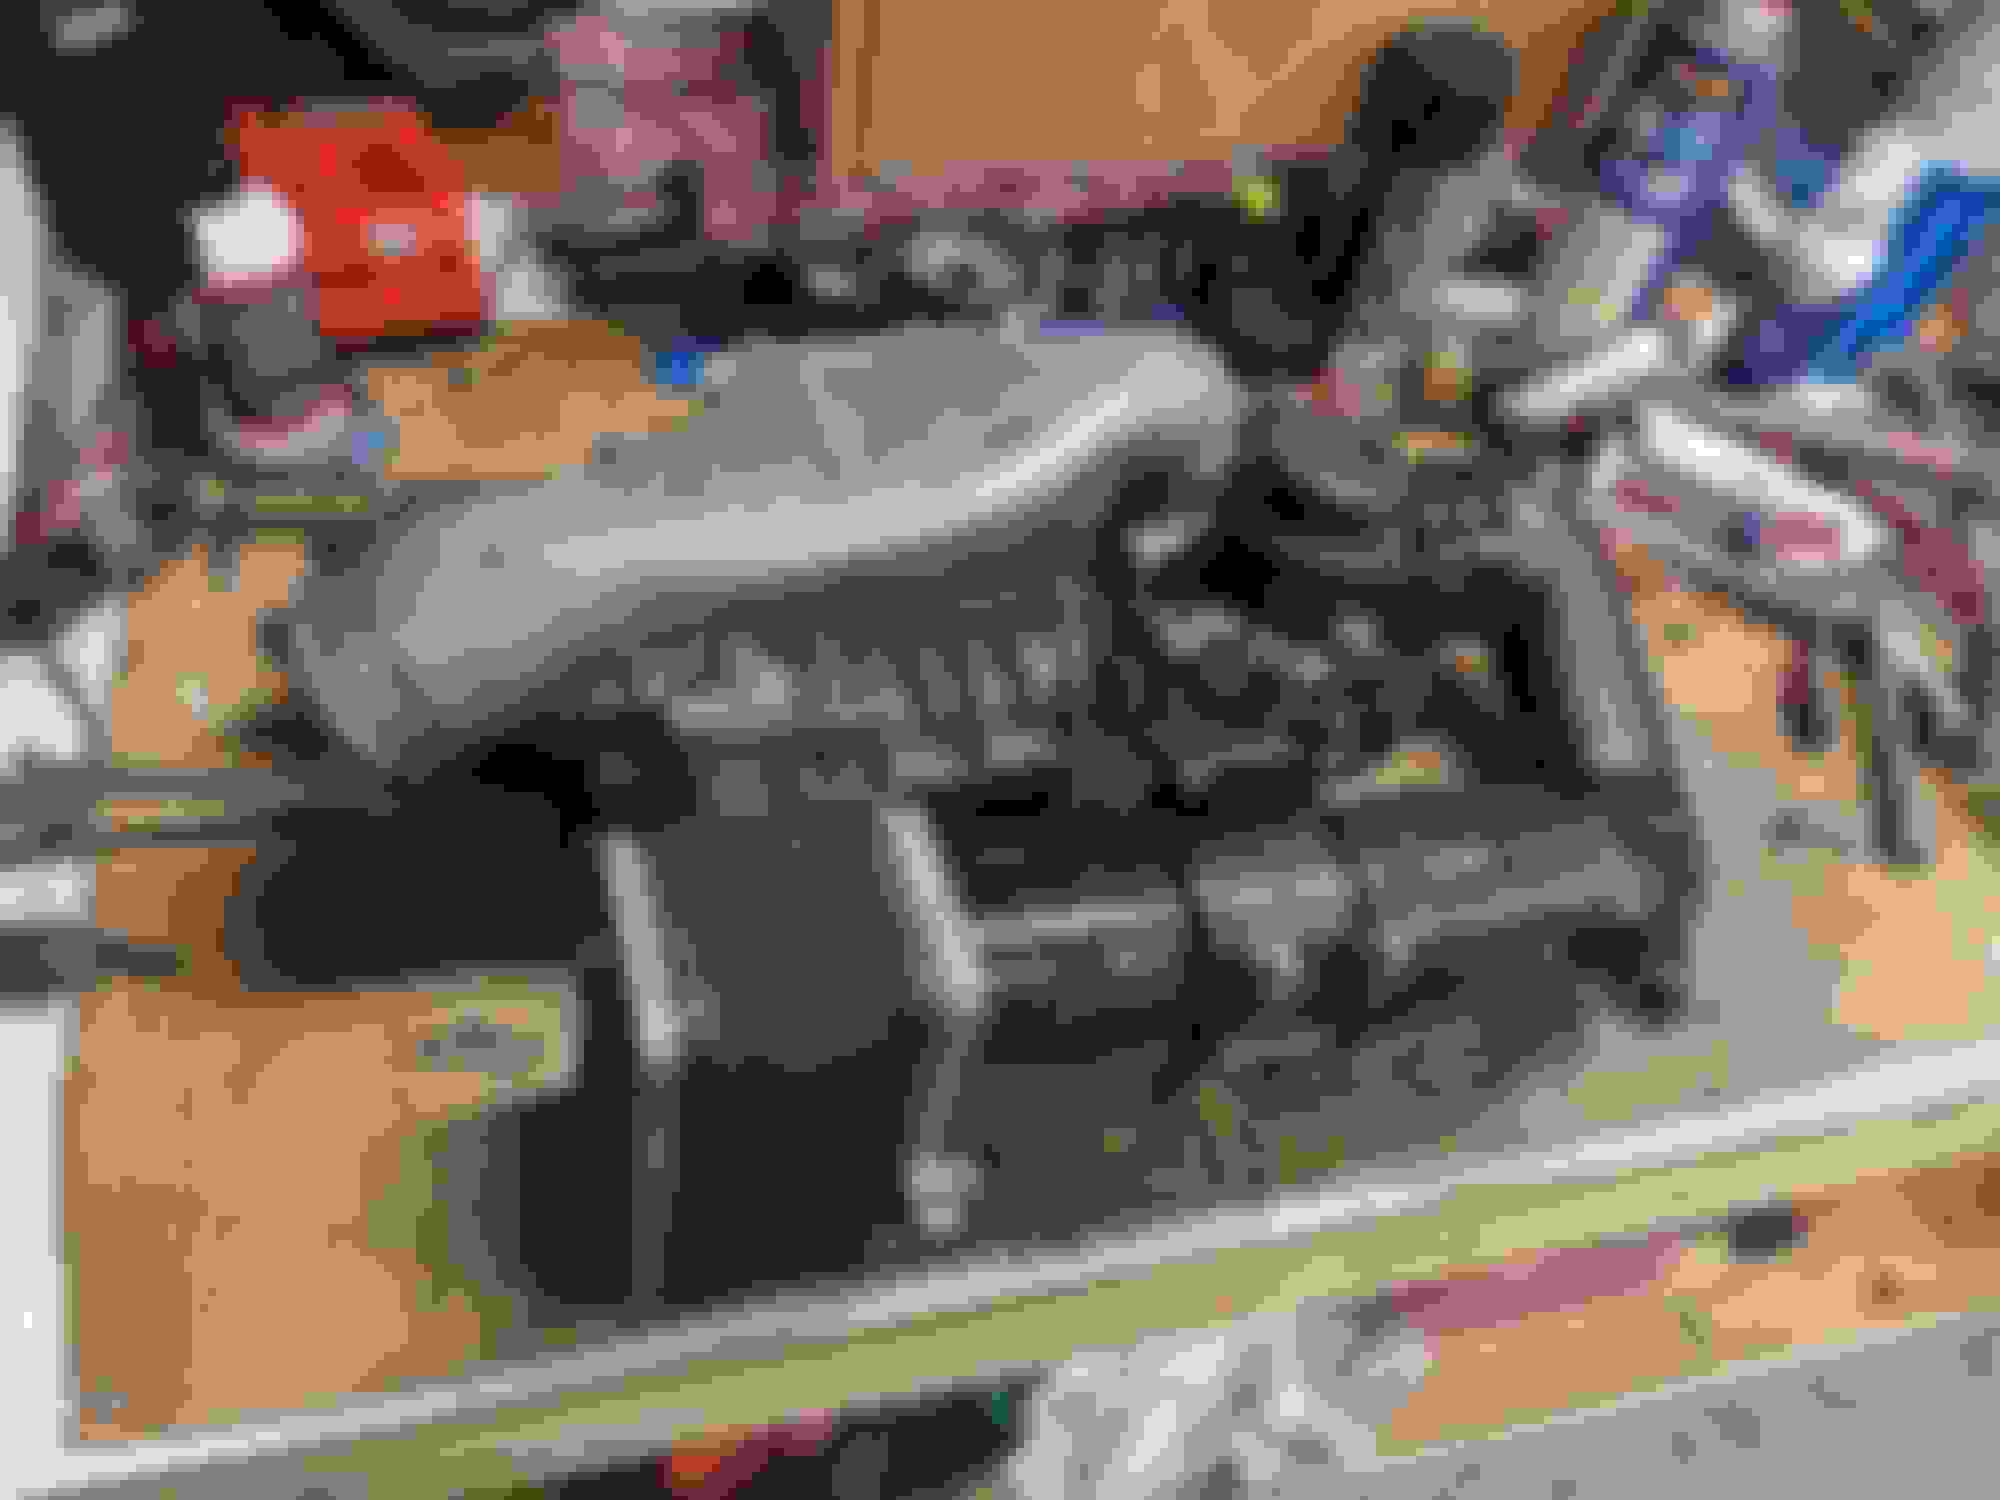
Test fit on the bench looks good the the new couplers, so next logical step was to get it into the car.
Is that a stud and a nut or a bolt and nut plugging a hole...
That's actually a nut I threw on there to keep me from losing the allen head screw that is used to hold the air filter assembly to the car.
The filter itself didn't actually come with the kit, I sent out a few emails looking for parts and Gary @ Trackdog Racing was kind enough to reply, and let me know he had an original filter assembly sitting in a box somewhere he'd be willing to sell me for a nominal fee. The guys at Moss were less helpful, they offered to sell me a new one for $220! I'm trying to keep this as emissions compliant as possible, so I opted to go with the stock filter housing, and bought a new Jackson Racing Supercharger Air Filter Element 999-030 from Moss. The one that came from Gary had seem better days and it was easy enough to replace it.
Please document application of loctite 242 to said screw so that I may sleep better this evening
Loctite and jamb nut. Belt and suspenders. But thank you for the concern, I'll definitely add that to my list of things when I finalize the install. Almost everything on this kit has gone together with either Loctite or Anti-seize
 11-10-2020, 06:52 PM


 4
4


 PLEASE feel free to jump in here if you see me screwing things up, I'm not an expert on any of this stuff, but I try to read the documentation and follow instructions as best I can. This is a "Gen 3" M45 as far as I can tell. I didn't take the bypass block off the backside of the blower head but it should have the exposed bearings, as you said. the bearings feel fine to me and the blower is actually surprisingly smooth. These are tough little units if not pushed past their limits. A bit of TLC and she should be good to go.


 I'm trying to keep this as emissions compliant as possible, so I opted to go with the stock filter housing, and bought a new Jackson Racing Supercharger Air Filter Element 999-030 from Moss. The one that came from Gary had seem better days and it was easy enough to replace it.


