
Astroboy's reliability build (pic intensive)


 But seriously, just saw the early build and didnt think it would hurt to ask. Sorry to get you started off on the wrong foot this morning

Reply
 0
0

0

Have you messed with adjusting the spring?
We'll have to get together and do some photo / car **** again soon. Thanks to some awesome peeps on MT.net I now have CS5. I need to learn more, and get some good RAW's to play with.
I am itching to play with cars. Evan is building his 99 motor now, and im modding my brothers subbie. . . But i need more. lol
Reply
0
0

Well damn. Let me know when you want to come over and wrench and we'll do it up. I'll be putting the blockoff plate on over the next few days and refilling the coolant so more or less when you want to come over I am game.
Also I went from no additional pressure on the spring to all of it. Leaked the same amount regardless.
Also I went from no additional pressure on the spring to all of it. Leaked the same amount regardless.
Reply
0
0
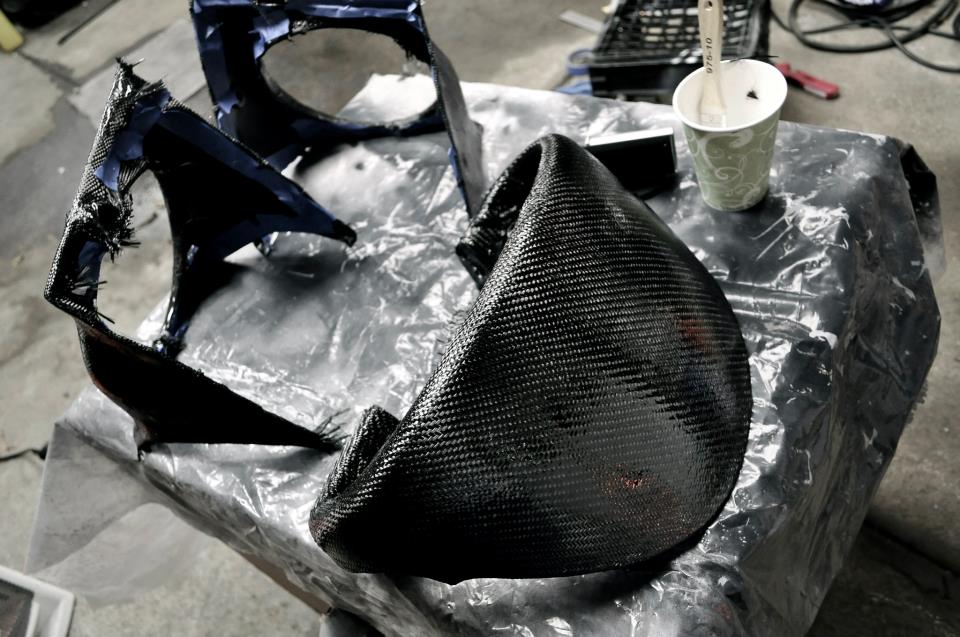
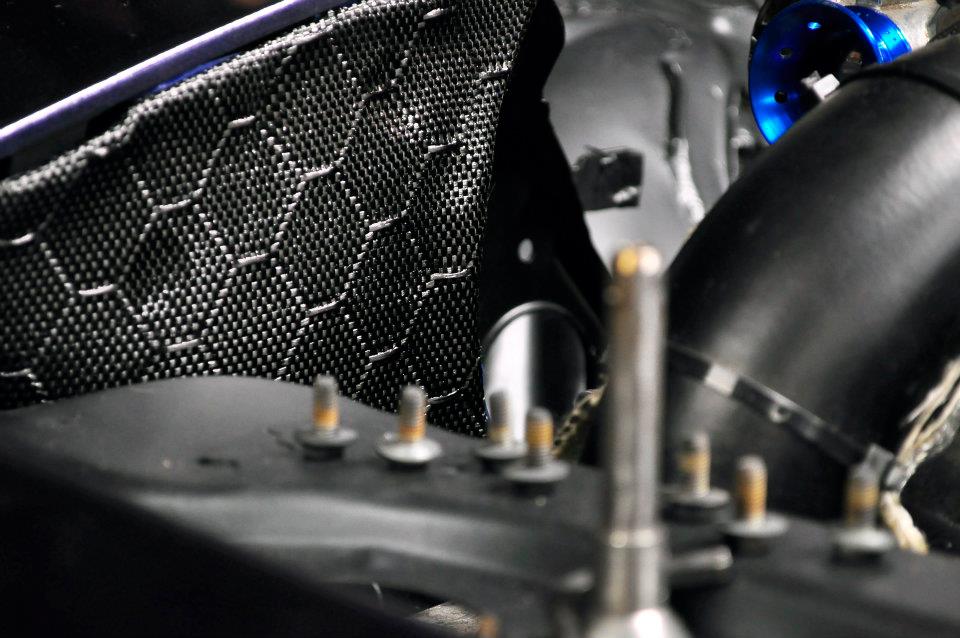
Today I actually put in work on her. I picked up a cluster cowl for $50 and $50 in cf wrapping materials that have been sitting around for about a month. Well today I played with my first carbon wrap...it came out ok but if I had put more effort into the headlight covers my results would have varied.
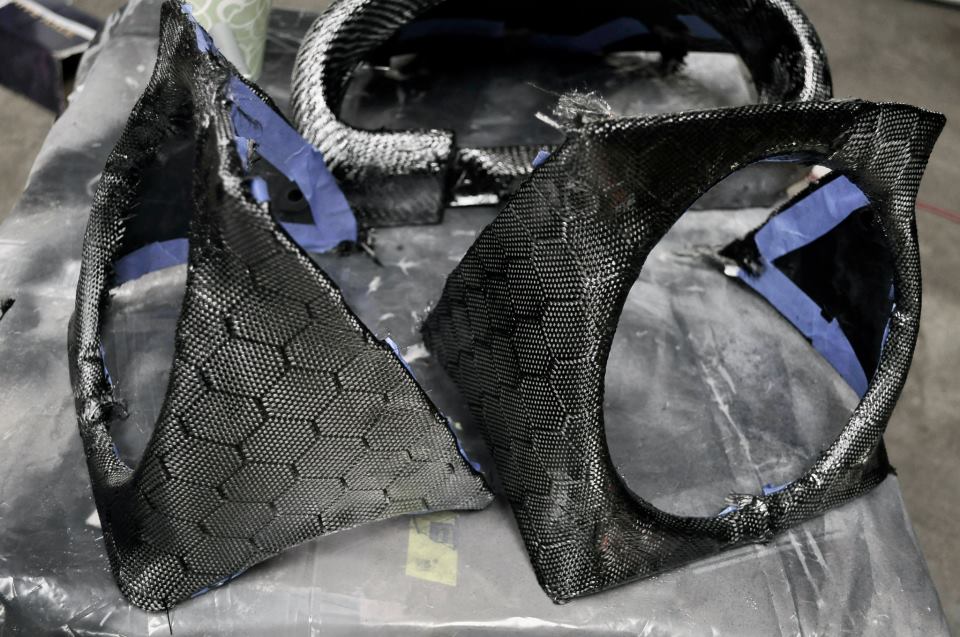
I also finished installing the passenger side headlight. Should be doing the coolant blockoff plate tomorrow. Then I can try running this ---- again.
I also finished installing the passenger side headlight. Should be doing the coolant blockoff plate tomorrow. Then I can try running this ---- again.
Reply
0
0


I threw the covers on to see how much I liked/disliked them and I am still on the fence. I am leaning towards the like side the more I look at them though.
Reply
0
0

How will that wrap hold up to the elements? Not to mention any heat the headlights give off. Just something to think about.
Maybe one day all of us CT miatae crew will have all our cars on the road at the same time. lol
Maybe one day all of us CT miatae crew will have all our cars on the road at the same time. lol
Reply
0
0

I like them because they are not just the normal black and they are different than I have seen in the past. I am very interested to see how they hold up. Is is wrap like 3m wrap or actual carbon fiber layed on with resin. From the pics it looks like real CF with resin.
Reply
0
0

There is a video a few pages back of it running
 Getting it moving seems to be the tricky part.
Reply
0
0
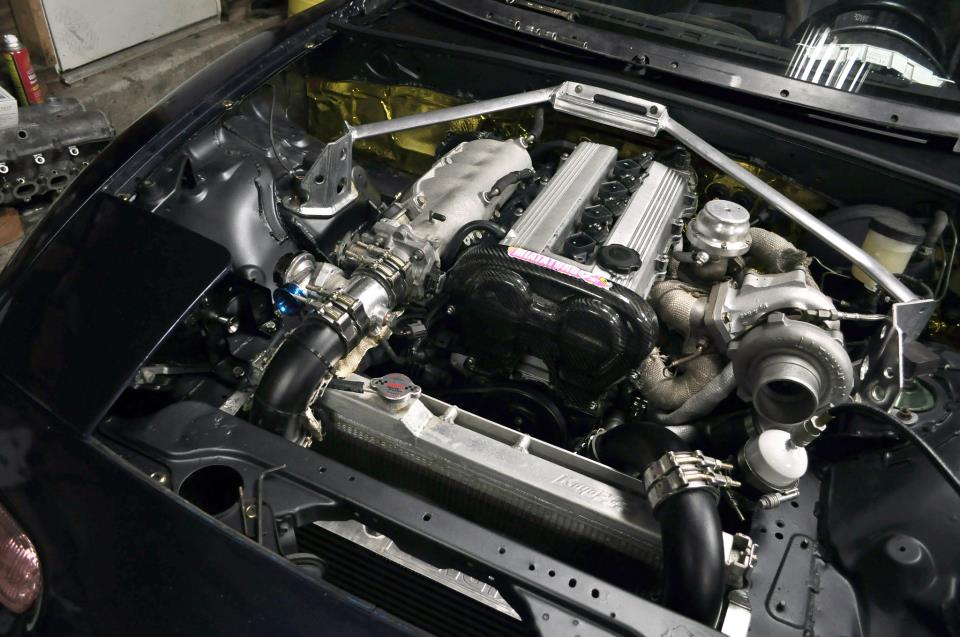
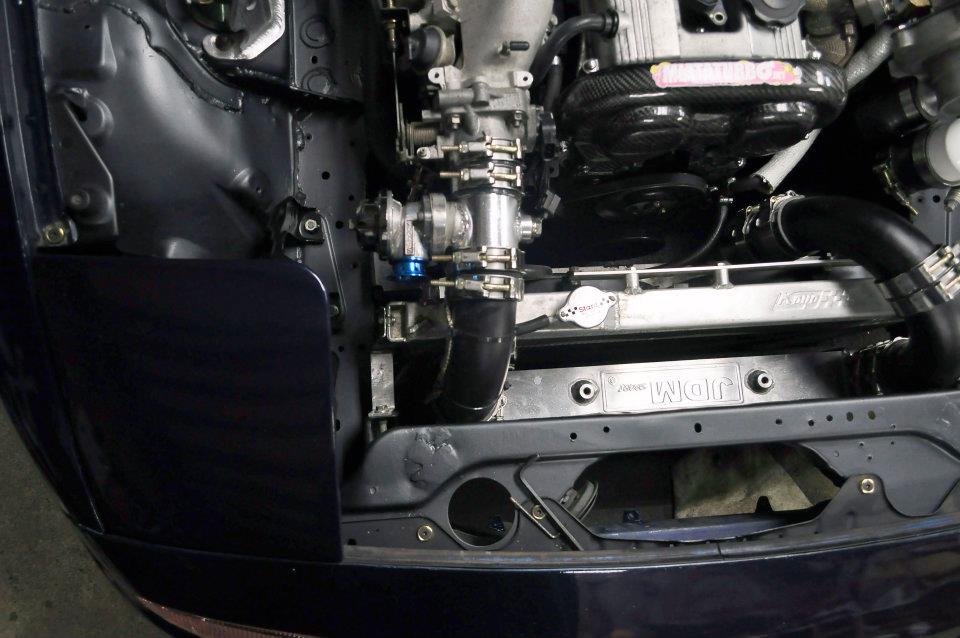
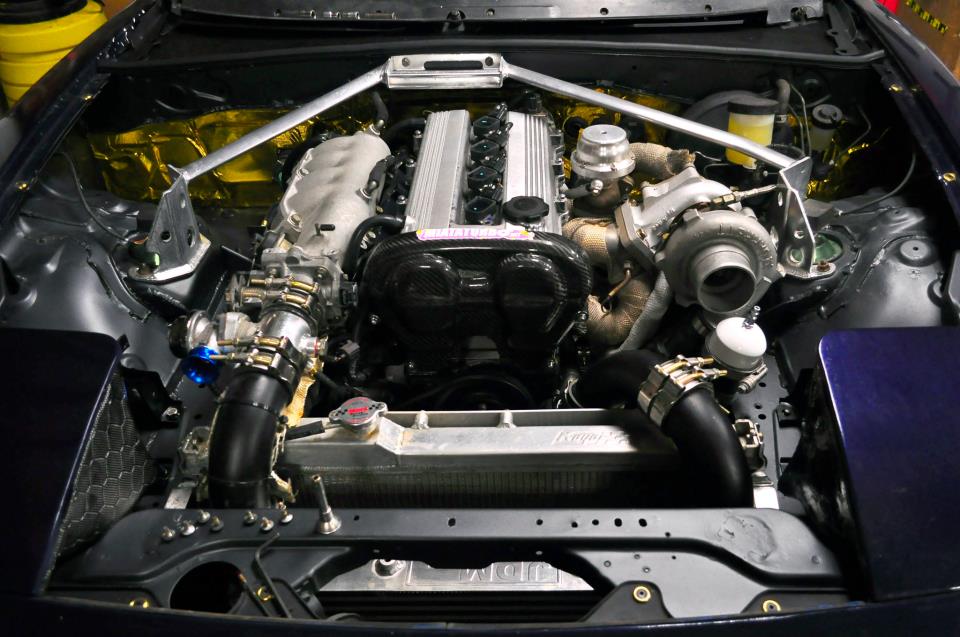
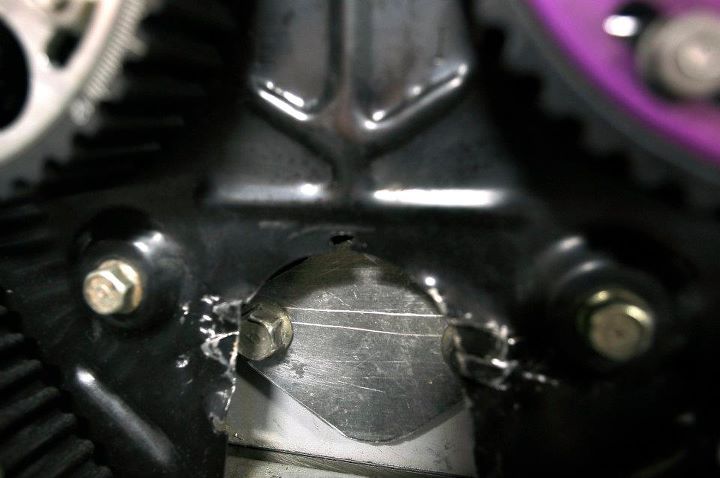
So the coolant blockoff plate is made and works; had to do it caveman style (hacksaw dremel and c clamps) though because of lack of access to proper tools. Also getting the bolts in required some tin snips. Can't see the hacking with the cover on though.
Also Dave came by and we got this bitch to move under her own power. The lifters need adjusting BADLY and something is not quite proper with the suspension/steering because there was some mean shaking at higher speeds. Nevertheless it stayed together, saw 24 in/hg on decel, and needs tuning badly. Afterwords we trial and error'd until the tps worked, calibrated it, and tried to figure out why the fans refuse to come on. Hopefully I can get him to post the vid in here along with the log.
PICS!
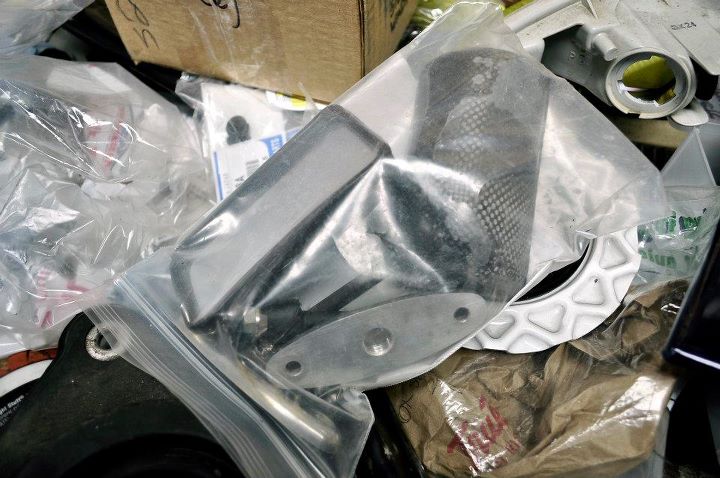
Also dug these out, I think I am going to clean em up and use them again.
Reply
0
0
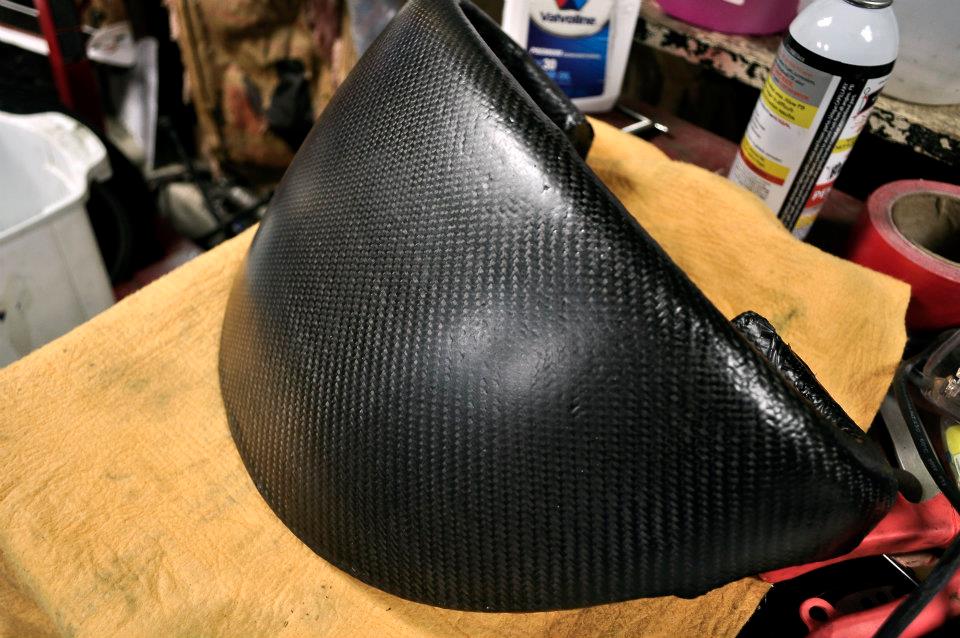
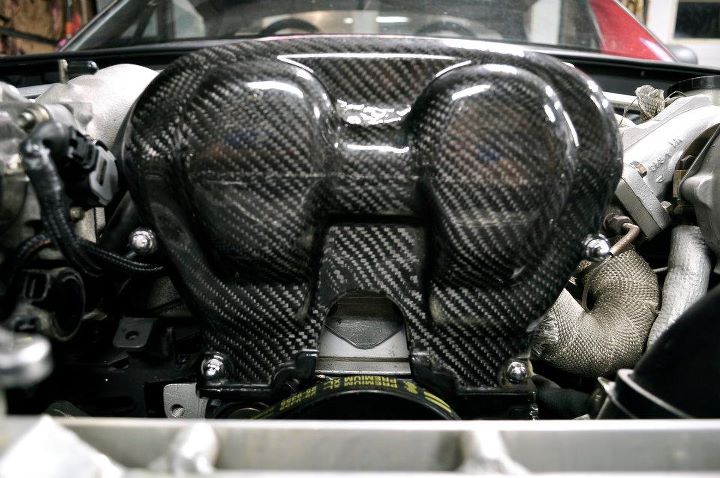
What did you use to adhear the CF to the cowl. I did the same kinda thing to my glove box door but I used standard fiberglass resin and it looks good still just not as good as it did. Is there some sort of cf specific resin? The cowl looks awesome.
Also anything APR haggard or not is still sweet. I need those to match my wing.
Also anything APR haggard or not is still sweet. I need those to match my wing.
Reply
0
0

I looked thru your old setup. Ill send you a PM with info on your fan setup. We had it right, but i messed with it before I left so now you just have to go back and change it to what it was originally.
The software should have been functioning correctly, so your wiring or something is causing the fans to not come on.
The software should have been functioning correctly, so your wiring or something is causing the fans to not come on.
Reply
0
0

What did you use to adhear the CF to the cowl. I did the same kinda thing to my glove box door but I used standard fiberglass resin and it looks good still just not as good as it did. Is there some sort of cf specific resin? The cowl looks awesome.
Also anything APR haggard or not is still sweet. I need those to match my wing.
Also anything APR haggard or not is still sweet. I need those to match my wing.
They are not ARP unfortunately :(
Thanks, next goal is to have it running well/tuned.
I looked thru your old setup. Ill send you a PM with info on your fan setup. We had it right, but i messed with it before I left so now you just have to go back and change it to what it was originally.
The software should have been functioning correctly, so your wiring or something is causing the fans to not come on.
The software should have been functioning correctly, so your wiring or something is causing the fans to not come on.
Do you have that video of the inaugural drive?
Nope, it is a 1/4" thick piece of aluminum that I cut to fit. I used some paper to make a template and cut it to fit with a hack saw and cleaned it up with a dremel.
Reply
0
0


