

The custom fabrication thread! (Post pics of stuff you have made)


Elite Member
Joined: Apr 2010
Posts: 2,826
Total Cats: 66
From: Newcastle, Australia
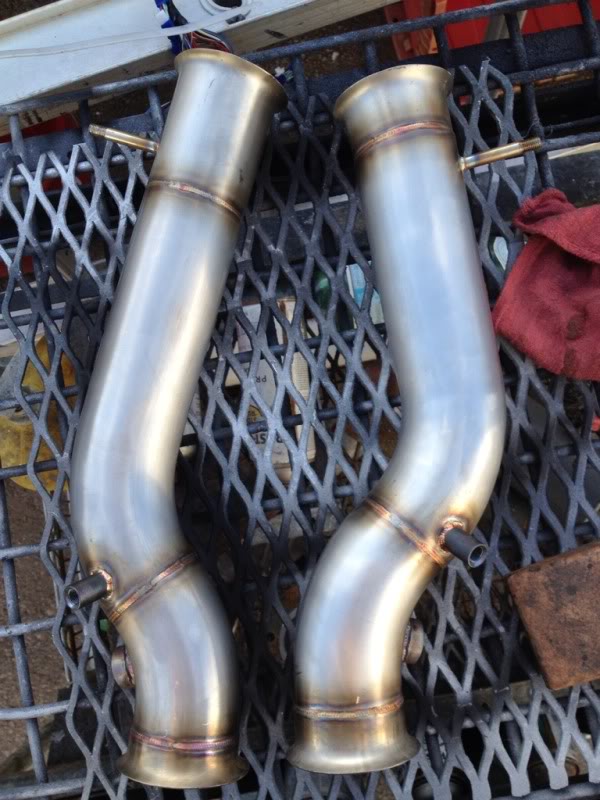
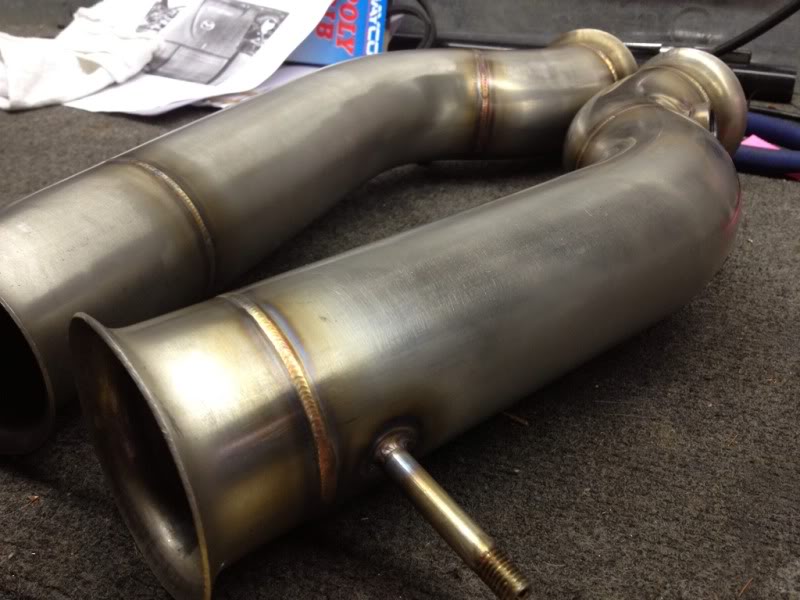
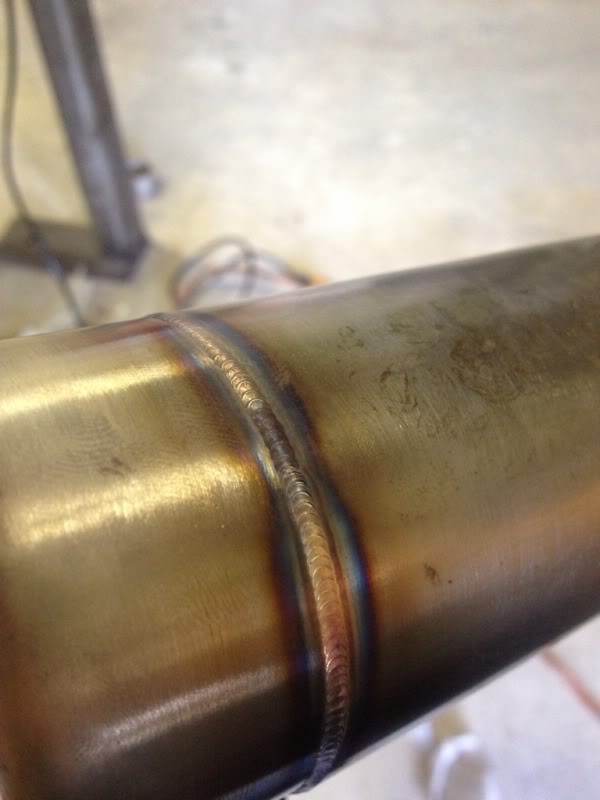
I saw this on fab life page.
I asked what cup and gasflow you used to get the excellent colour.
What I didnt ask though is what filler you are using. It looks like 308, but only a tiny bit of filler?
thanks,
Dann
I asked what cup and gasflow you used to get the excellent colour.
What I didnt ask though is what filler you are using. It looks like 308, but only a tiny bit of filler?
thanks,
Dann
Reply
 -2
-2

-2
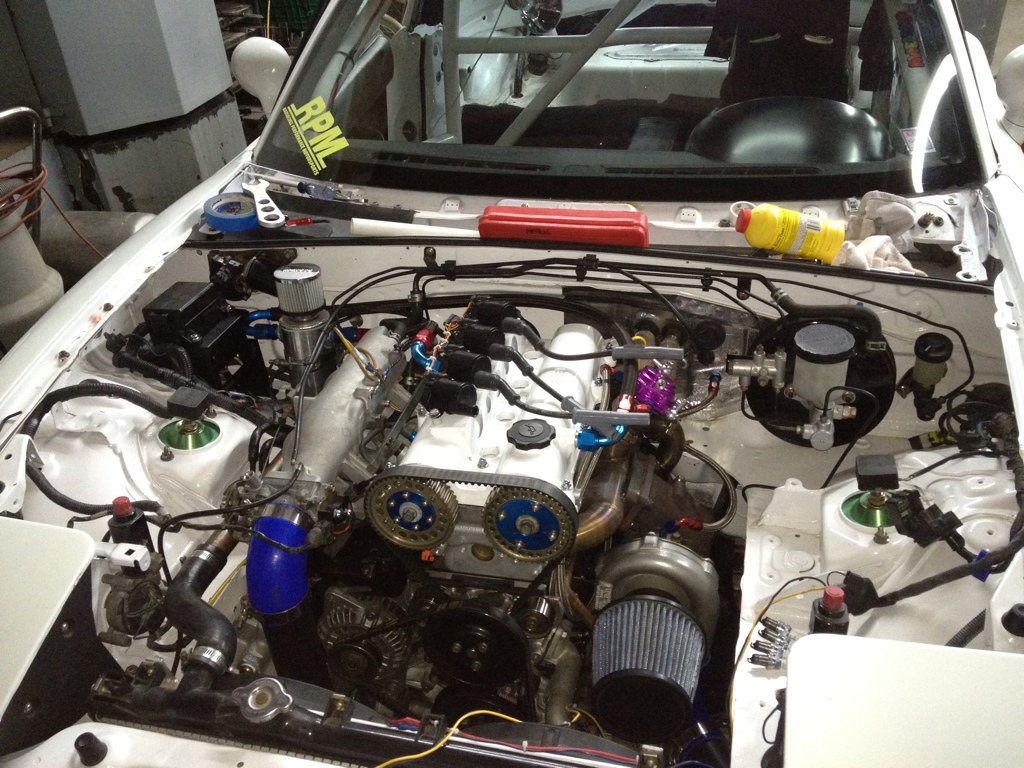
I know this is a small request, but can I see someone's valve cover that has been welded with a fitting for a catch can? just curious to see the configurations and am being lazy at sifting through build threads
Reply
0
0


that looks sweet, I was thinking something just like that but wasnt sure. Were those weld on bungs or just a threaded fitting cleaned and welded on once threaded in? Also, is that a mount for dedicated coils? So clean!
One more question, how did you get all the steel pressed in there on the hotside, did you just drill it out or somehow pull it out?
One more question, how did you get all the steel pressed in there on the hotside, did you just drill it out or somehow pull it out?
Reply
0
0
A little heat and a pair of pliers with some pulling and twisting motion and the steel nipple will come out. Those were weld in bungs and yes that is my coil mount. Finished result is this:

Reply
1
1

Junior Member
Joined: May 2008
Posts: 488
Total Cats: 17
From: Grants Pass, OR.
I'm running what looks to be the same catch can. I have both lines T'd into each other then into the can on one side and the other side runs to the intake tube between the air filter and the turbo. I don't see a vacuum line on yours? Nice looking work.
Reply
0
0
I never even thought about vacuum, it seems to be working great as it is now. I drain it once a week, a lot of water from the E85. Not trying to be a smartass, but how would vacuum to the can help any when the can is vented to atmosphere?
Reply
0
0
Junior Member
Joined: May 2008
Posts: 488
Total Cats: 17
From: Grants Pass, OR.
I was thinking the same thing, but everyone I've seen done at the track is that way. Mainly on high psi force inducted cars, maybe it helps. Maybe it isn't needed, but can't hurt I don't think. Anyway probably not necessary now that I think about it, one less hose.
Reply
0
0
All-round "Good Guy"

Joined: Dec 2009
Posts: 1,036
Total Cats: 266
From: Brisbane, AUSTRALIA
I've always wondered why you would have a vacuum hose AND breather too, surely the breather seriously diminishes any vacuum effect?
I suspect it just makes it easy to plug the breather when you need to be legal again.
I suspect it just makes it easy to plug the breather when you need to be legal again.
Reply
0
0


Senior Member
Joined: Dec 2012
Posts: 624
Total Cats: 81
From: Charlotte, NC
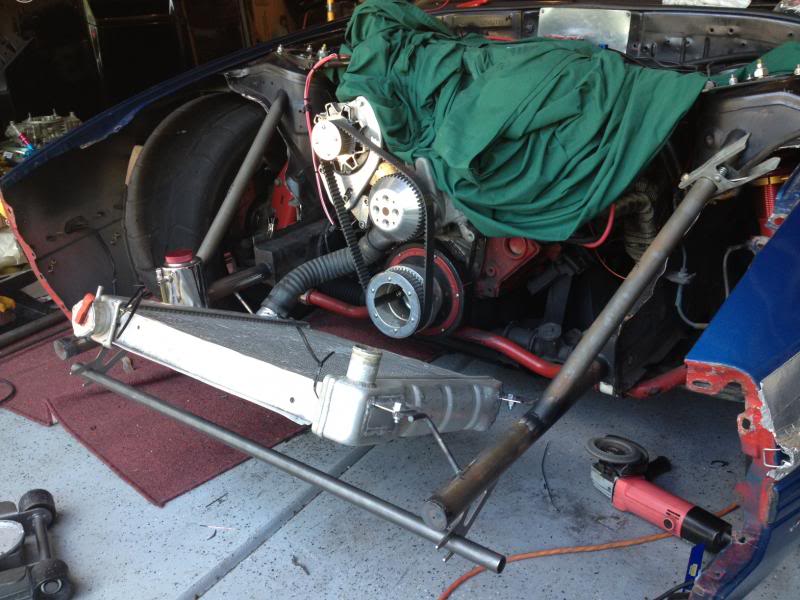
Been chipping away at the front end. Cut forward of the strut towers to transition to round tube, and laid the radiator forward more to give me the clearance to duct out the hood.
Had to reclock the inlet on the radiator to work with the water pump and weld some mounting tabs to it, but no real drama. The new front end is fiberglass, so that bar and two mounts hanging under the frame rails are part of the front end mounting kit from S&W. The whole front end can just slide into the receiver mounts, and then dzus around the fenders for easy removal.
I picked up a few clamshell mounts from A&A that I will eventually weld the splitter brackets to. I'm going to attempt to support the splitter far enough forward this time that I won't need the cable supports. Basically, there will be four brackets that clamp around the lower frame rail, and each bracket will have some round tube struts to support the splitter.
Old fenders are just dangling there so I can ballpark some dimensions while the nose is being made. I'm estimating about 100 lbs of weight off the stock front end with the new setup, maybe more. The core support area was surprisingly heavy, as was the plastic nose itself, headlights/motor assembly, etc. Will lose about 15 pounds or so from the hood as well.
Reply
0
0

Thread Starter
Junior Member
Joined: Jun 2010
Posts: 176
Total Cats: 4
Just a regular gas lense, 15 on the regulator, about 30 amps. It's just fused with a perfect fit, no filler.
Reply
0
0
Joined: Oct 2011
Posts: 5,732
Total Cats: 830
From: Detroit (the part with no rules or laws)
I just noticed. In my pictures above, the welds show a perfect example of welding a 304 flange to 316 pipe. That's why the welds were getting gray, while down around the flange they had nicer color to them.
Reply
0
0


