

The custom fabrication thread! (Post pics of stuff you have made)


Thread Starter
Junior Member
Joined: Jun 2010
Posts: 176
Total Cats: 4
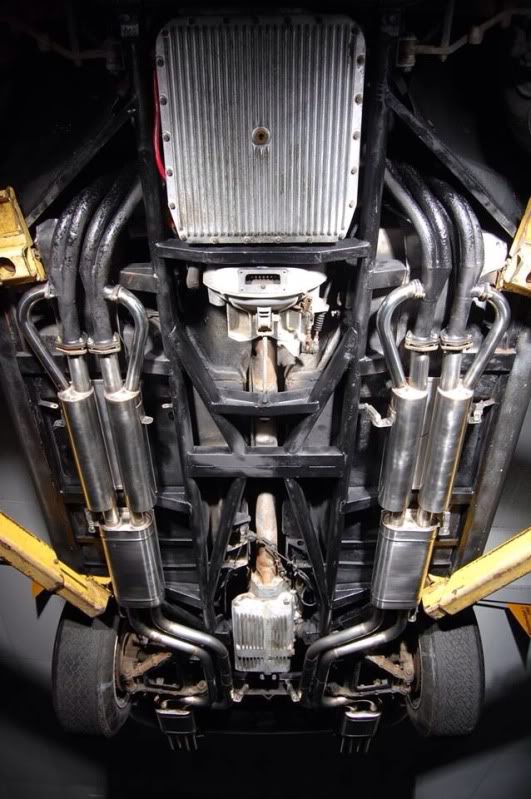
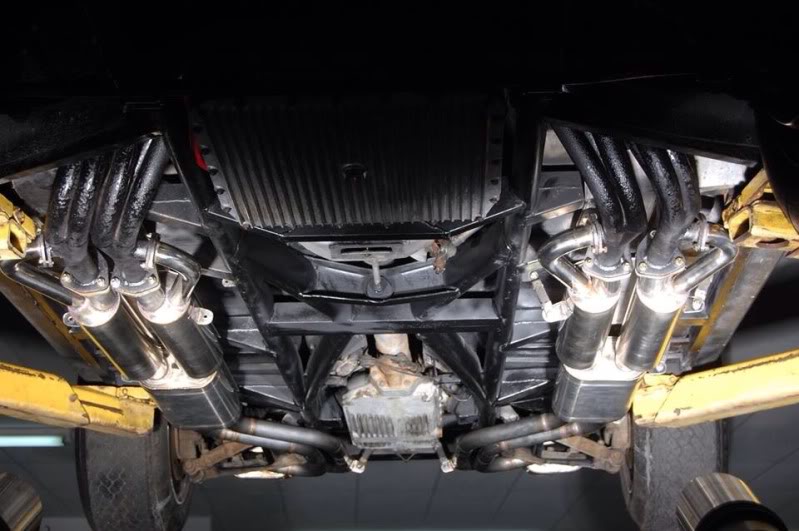
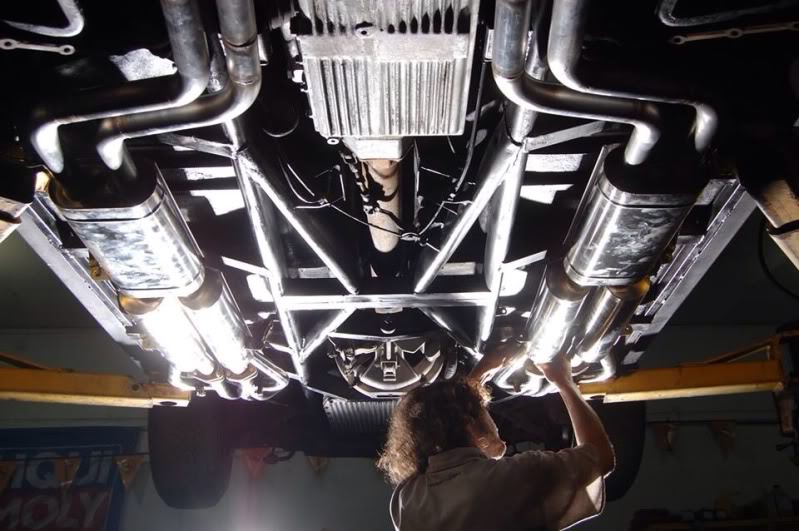
Finished this Ferrari gtb-4 Daytona Spyder exhaust. Full factory replica out of stainless, everything from the mufflers, to the resonance chambers, to the heat shields, all made from scratch.
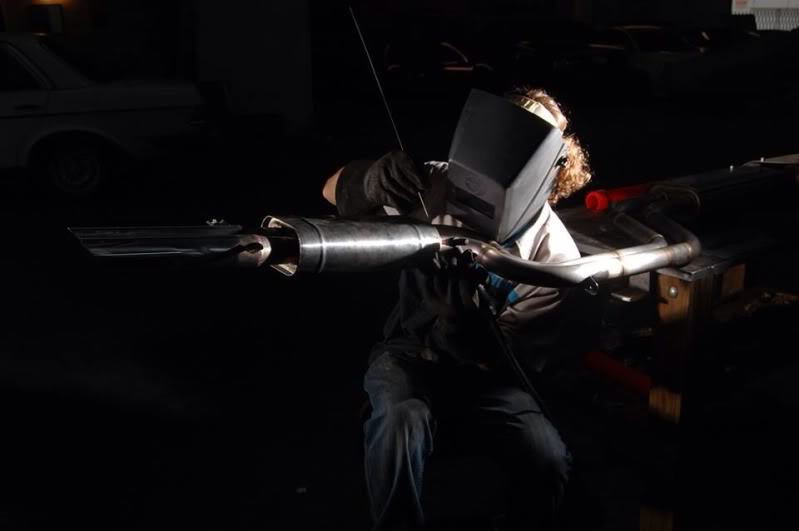
Also finished these equal length stepped camaro headers
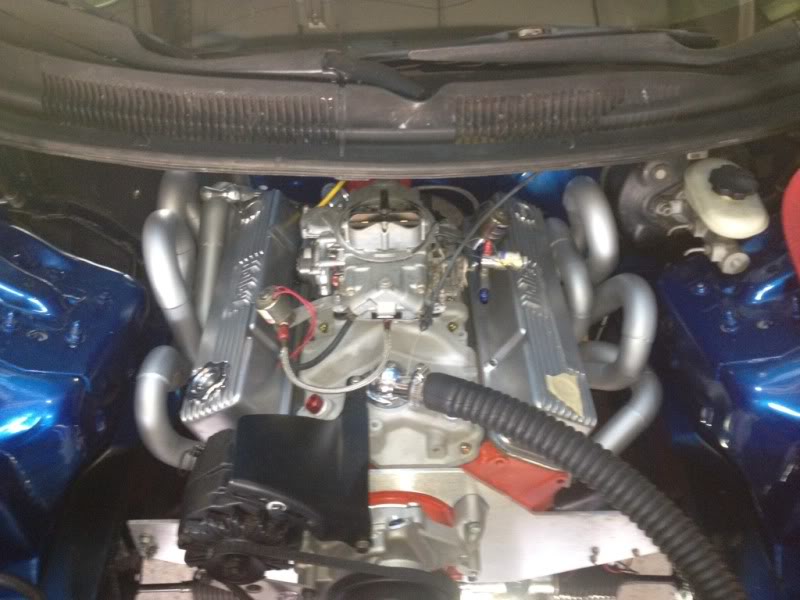
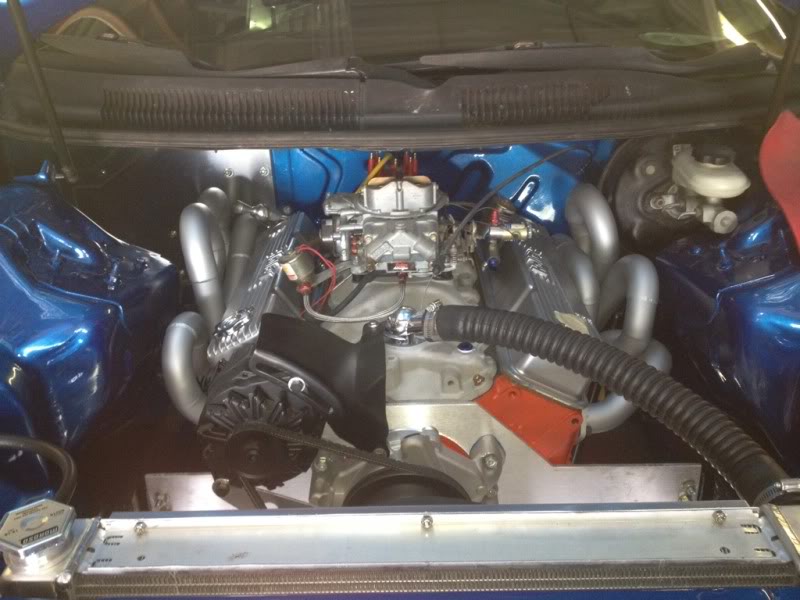
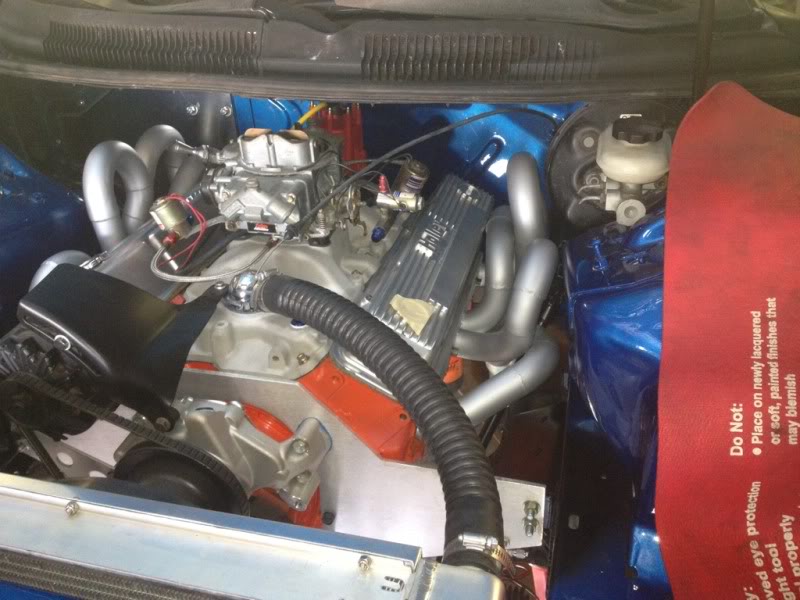
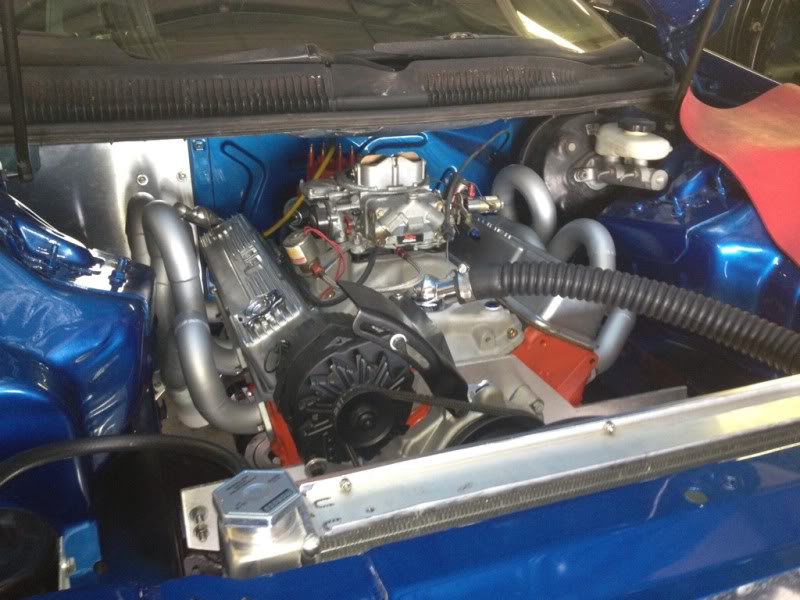
Also finished these equal length stepped camaro headers
Reply
 2
2

2

Thread Starter
Junior Member
Joined: Jun 2010
Posts: 176
Total Cats: 4
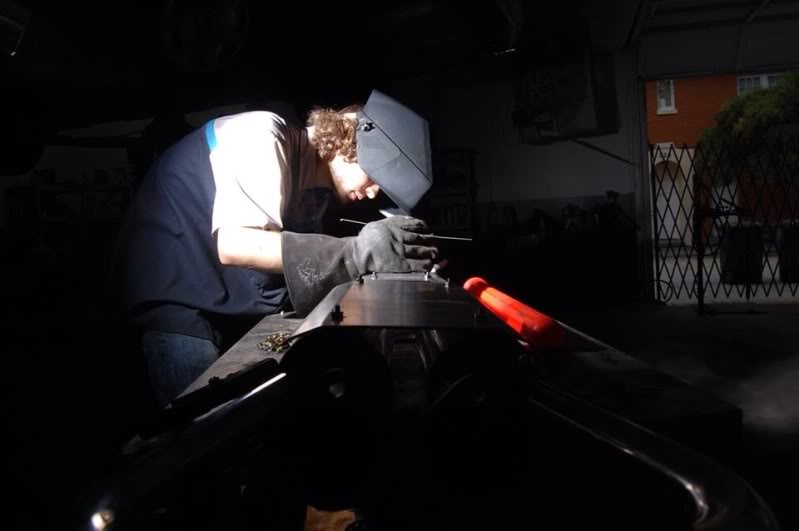
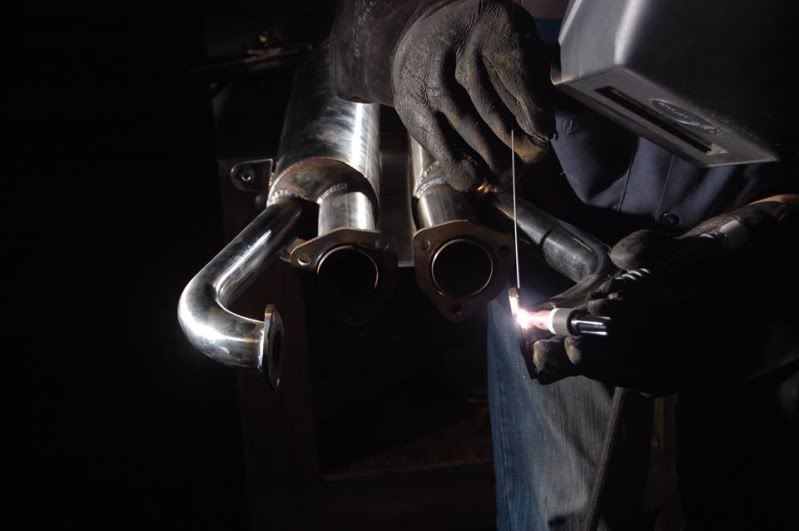
Once you get a grip you don't let go.. Haha. Really I prefer to weld without gloves, but I have this seemingly permenant little burn mark on my index finger where the arc keeps traveling through my filler from doing it too much. It's funny I didn't realize that's where it came from until I was in a circle of conversating welders who were talking about their similar mysterious burns. Haha
Reply
0
0


Thread Starter
Junior Member
Joined: Jun 2010
Posts: 176
Total Cats: 4
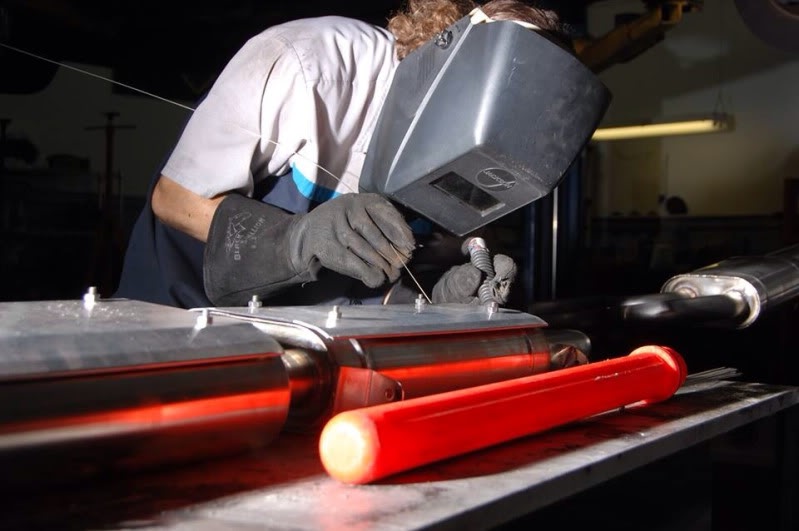
They are actually resonance chambers, not resonators. I suppose it's for that Ferrari sound, I just copied the stock setup as I was asked. They actually terminate inside that can, there's no connection back into the system. Weird right?
Reply
0
0
Do you still have that Ferrari? Can you unbolt those 2bolt flanges for the resonance pipes, slide a thin metal sheet in between the flanges & tell us if it changes the tone?
I would initially guess a short pipe like that would cancel higher ferrari-like frequencies. I did the math to cancel some of the cruising rpm drone on my Subaru and the pipe should have been woah long.
I would initially guess a short pipe like that would cancel higher ferrari-like frequencies. I did the math to cancel some of the cruising rpm drone on my Subaru and the pipe should have been woah long.
Reply
0
0
Thread Starter
Junior Member
Joined: Jun 2010
Posts: 176
Total Cats: 4
Sorry, I'm afraid I don't have the Ferrari anymore. When I did It was like that scene in ferris buelers day off though 
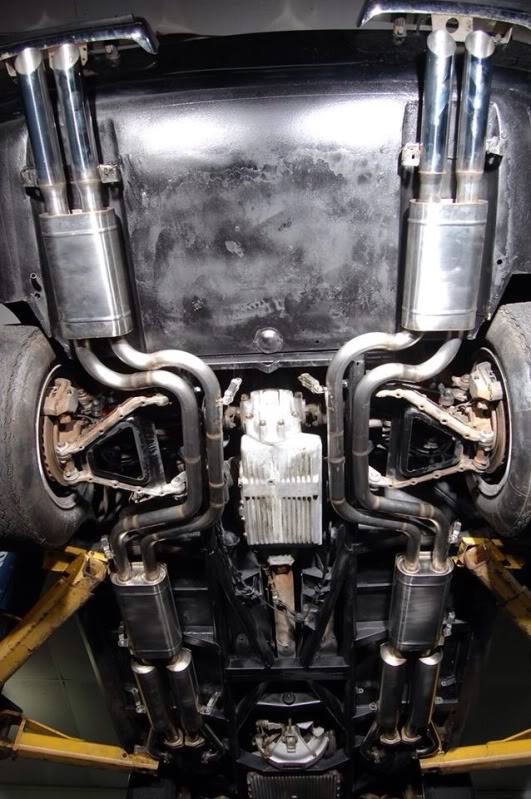
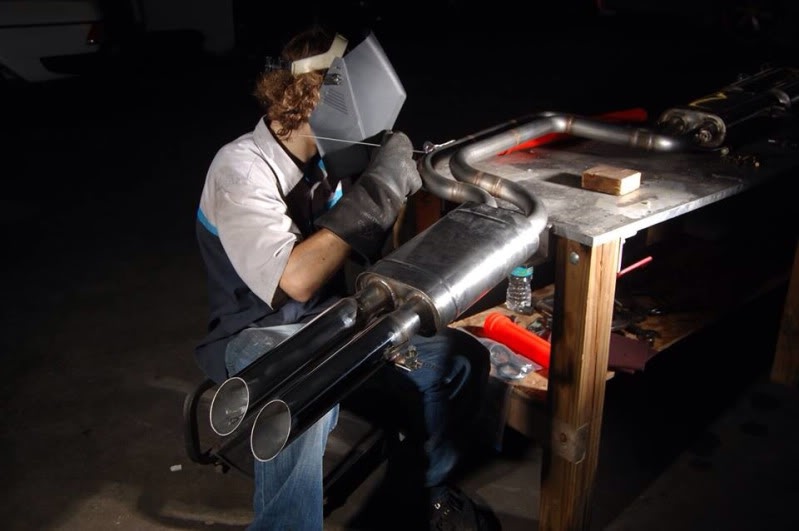
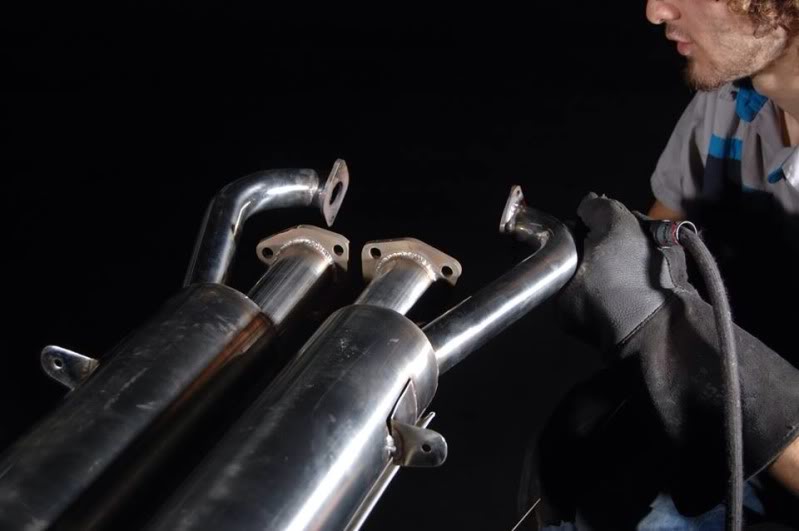
Here's some Lamborghini gallardo test pipes I just finished
If you're tig welding stainless, I recommend you get a giant gas lense. I just did, and am extremely pleased.
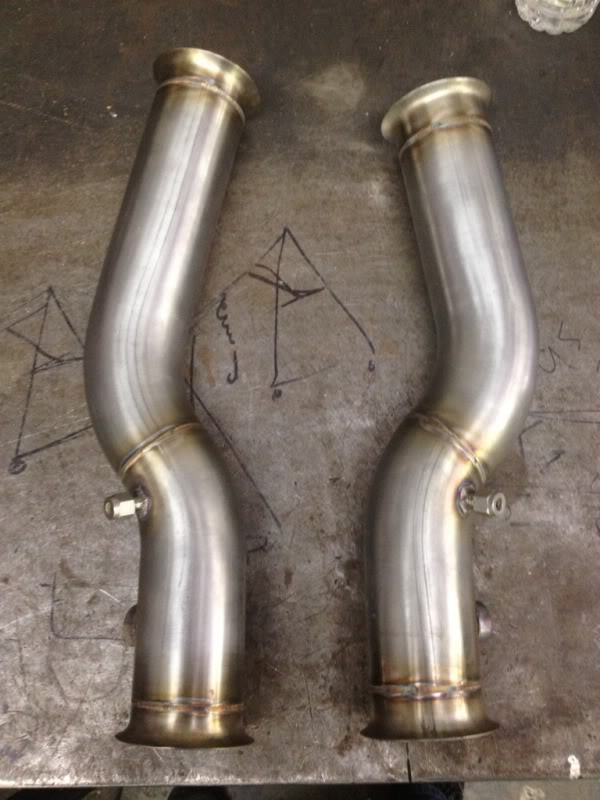
Here's some Lamborghini gallardo test pipes I just finished
If you're tig welding stainless, I recommend you get a giant gas lense. I just did, and am extremely pleased.
Reply
0
0

What part is sticking? the tungsten, or the filler rod, AWDracer?
if its the tungsten, you just need to practice welding flat peices to get steady and get used to the feeling of it. jumping right into pipe is the worst.
if it is the filler rod thats sticking it could be a few things. if your amperage is proper for the peice your welding, it could be that your filler rod is too big or you are dipping too much. if your amperage is too low and your filler rod is the right size, you will stick because the puddle is cooling off too much when you dip.
My suggestion to practicing is to grab a nice peice of ...moderately thick (1/8") aluminum and just start running lengths of beads down it just above the last bead you just made. see if you cant fill the 1/8" peice to be half inch thick just by building up the weld bead. you will have so much practice in on that and aluminum lets you build up the weld like that with no real issues as far as learning goes. the only down side is that the workpiece really gets hot.
Reply
0
0

Sorry, I'm afraid I don't have the Ferrari anymore. When I did It was like that scene in ferris buelers day off though
Here's some Lamborghini gallardo test pipes I just finished
If you're tig welding stainless, I recommend you get a giant gas lense. I just did, and am extremely pleased.
[IMG]stuff[/IMG]
[IMG]things[/IMG]
Here's some Lamborghini gallardo test pipes I just finished
If you're tig welding stainless, I recommend you get a giant gas lense. I just did, and am extremely pleased.
[IMG]stuff[/IMG]
[IMG]things[/IMG]
1.) When you say 'giant', how giant are we talking?
2.) Did you make a press fixture to make those vband flanges? How well do they seal?
Reply
0
0

Newb
Joined: Jun 2013
Posts: 34
Total Cats: 1
@shlammed
my practice was a very brief session of "hey wanna try this out" kind of thing. i picked up where my friend was practicing going uphill on an upright piece with no filler. once i got into it, i kept sticking and keeping the arc very little. thanks for the advice though, cant wait to go more with tig welding
my practice was a very brief session of "hey wanna try this out" kind of thing. i picked up where my friend was practicing going uphill on an upright piece with no filler. once i got into it, i kept sticking and keeping the arc very little. thanks for the advice though, cant wait to go more with tig welding
Reply
0
0
Thread Starter
Junior Member
Joined: Jun 2010
Posts: 176
Total Cats: 4
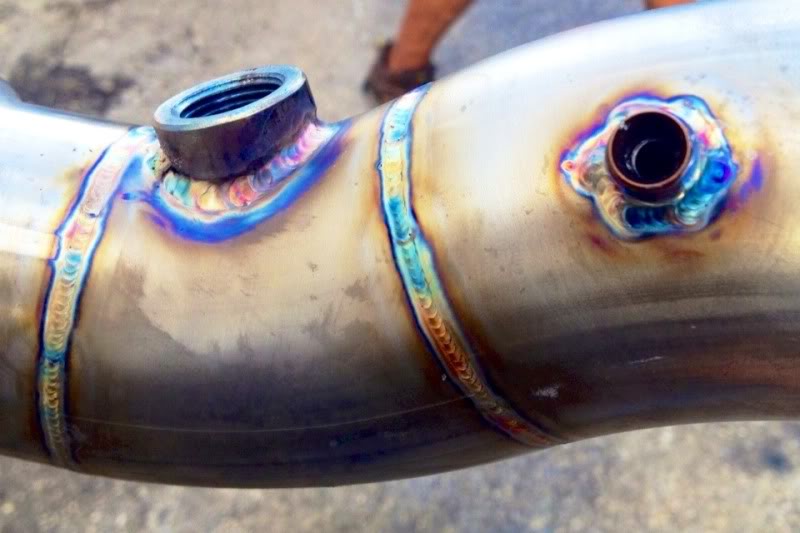
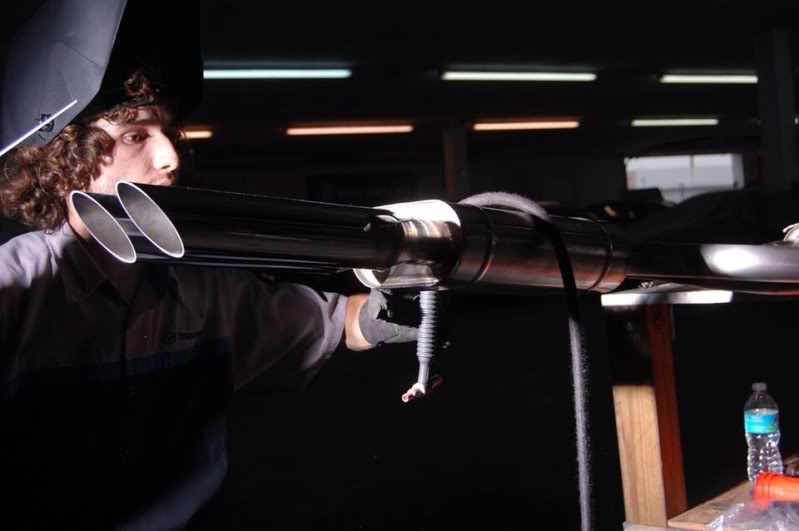
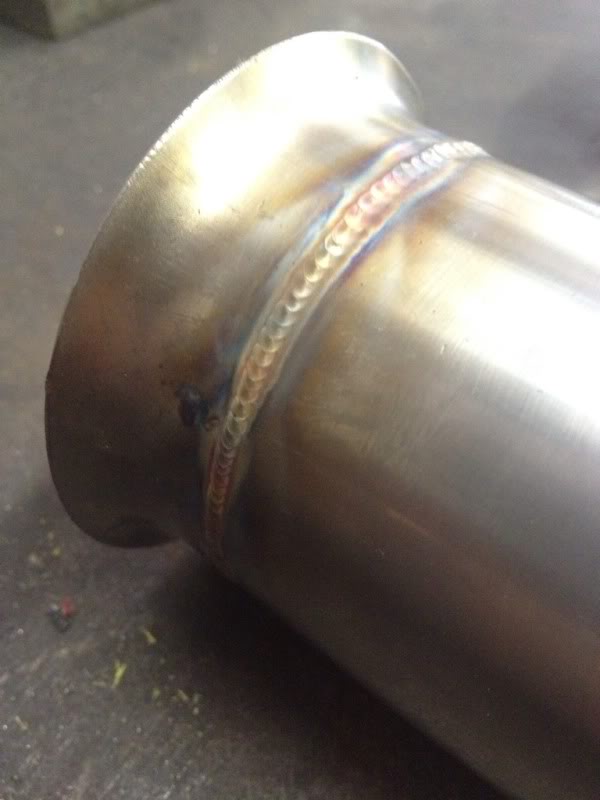
To answer your question about the flares. That's a factory lambo thing, there is a little stainless donut with a 45* chamfer that is squeezed between two flares clamps. I've gotta believe it seals, the clamps are pretty serious. As far as how I made them.... Haha. In a huge rush under a deadline, I couldn't find a piece of steel the right size for me to turn a chamfer onto the end. After about an hour of scratching my head, I happened to look at my empty argon bottle, and it's lid. The lid was just the right size for my 2.5" tube to get a 45* lip. Flaring 4 pieces in the press only took a few minutes at that point. I just sprayed the top with wd to keep it smooth.
Last edited by Boost_addict; Jun 29, 2013 at 11:20 AM.
Reply
0
0
Thread Starter
Junior Member
Joined: Jun 2010
Posts: 176
Total Cats: 4
In regaurds to aluminum:
I never use pure tungsten after someone showed me I didn't have to. It's just easier when the arc wants to wander less. You should try turning your balance up all the way, it's more effective totally clean like that, but you'll agree it'll make it easier. You look like you're afraid to really move fast though. You shouldn't, aluminum lets you just mash the pedal and dip dip dip dip. At least once a second. Try pushing yourself. Also, don't force the filler into the puddle, just brush it against the tip of the puddle, and you'll see it'll suck in the amount it needs.
Cont.
Personally I'd say unless you're getting a bead per second you're not going fast enough. Look for the keyhole right before it blows into a hole, that's where you want to dip before it blows into a hole. If you're not getting a keyhole without waiting forever, turn your heat up. I personally don't like the way my welds look unless I blast it and move real fast. If I don't dip on time ill blow a hole in my part to give you an idea. It makes it come out very nice and fast though.
Some other thread
Quote:
Originally Posted by shuiend
I have officially welded 2 pieces of metal together. I learned that turning up how much argon your torch outputs help
The first thing you want to do to sharpen your skills is to try welding without filler. Try just laying some beads using the "walking the cup method" on some flat steel. First things first, for all welds you Do from this point out, keep your tungsten a mm or 2 at max above the puddle. Its ok (reccomended) To get the tubgsten out just enough you can lay the cup against the metal, for more control. Make sure you have a 45-55 degree angle on the torch as Well. You'd be surprised how easy it is to lay a dime roll like that. Try not to give it too much heat, and don't move too slow. You'll know when you've got it right when they look beautiful, golden blue and silver. A really great way to manage the amount of heat as well as how long you stay In one spot at a time is to observe the orange hue around the outside of the weld. You don't want it much larger than 3-4 times the width of the weld it self on thin stuff, and maybe double on thick stuff. Then once you've got that down, practice doing butt welds with no filler, as well as outside corner joints and inside corner joints. This will make you very keen to how you actually manipulate the weld puddle. Once you are good at that add filler. You simply touch it to the leading edge of the puddle half way between dimes. It goes like this. Move torch, dip rod, move torch, dip rod. Don't force the filler in, it should "suck" the needed amount in if your in the sweet spot. This is a great basis to become an awesome welder. As others have said, keep your metal super clean. I brush it with (non contaminated) scotch brite and wipe it down with alcohol. Make sure you grind your tungsten to a fine point on a wheel that only sees tungsten. <--- very important. No wind either, it'll blow away your gas, and the post flow! You need the metal covered in gas till its not glowing anymore, or it'll contaminate (and turn grey) one tip I can give based on these photos right off hand aside from cleaning the metal is to either lower the amperage, speed up, or both.
If you read that a few times and google the terms you don't know you'll have kick *** welds, they're not too bad for a beginner as it is.
And. Make sure you post your new welds after practice.
Hope this helped, wish someone said it to me.
Just one thing I'd like to add, which took me from mediocre to pretty good just about instantly. I had a dude say to me "why are you trying so hard? This **** is easy! Here watch! Zap zap zap zap zap..." He was totally right. It's as simple as moving the tip of a pencil (your torch) an eighth of an inch at a time, it's easiest if its towards you, with the tip a mm above your surface, about once a second. If you can simultaneously touch another pencil (your filler) right after you move your torch pencil, right in front of it, lets say a 1/16th of an inch, then you're welding. It's usually best to do it in a rhythm of 3 steps if you were to think about it like that. 1 Hold torch in place, 2 dip filler right at the front of your puddle, 3 move the torch to the next bead. If you want to pulse the pedal, the apply amprage at step 1, and let off on step 3. In some circumstances you'll be pulsing your foot pedal, it can help you with control, I often do. I pusled the above picture. My point is this; It's honestly easy, if you can write, you can lay a dime row. You just need the right information. I encourage anybody to approach welding like its whatever, instead of some daunting task. It's all in your mindset, and if you think it's easy it will be.
Last edited by Boost_addict; Jun 26, 2013 at 06:46 PM.
Reply
0
0
Joined: Oct 2011
Posts: 5,732
Total Cats: 830
From: Detroit (the part with no rules or laws)
So, is everyone using 316L filler rod for 304/304L?
Just kind of a stupid question, but i'm going to just take some from work and that's all i've ever used, but i've never welded on 304.
Just kind of a stupid question, but i'm going to just take some from work and that's all i've ever used, but i've never welded on 304.
Reply
0
0


