When you click on links to various merchants on this site and make a purchase, this can result in this site earning a commission. Affiliate programs and affiliations include, but are not limited to, the eBay Partner Network.
I did the paint on the louvred bonnet. Pretty happy with how it turned out. Its all the same colour and its shiny Couple little bits in the top coat here and there but they will come out when I flat it back and buff it. I just accept that its part of spraying at home in the garage.
I've also made a start on the numbers game for the cylinder head. One thing I really want to avoid is only gaining CFM numbers on the flow bench by hogging out the inlet ports, increasing cross sectional area but reducing gas velocity and therefore moving the powerband into higher rpms, above the max rpm of the supercharger with the current pulley setup. I think the current powerband is well suited to the cars use, engine specification / longevity and supercharger size / rpm limitations. What I am really after is cylinder filling and blow down efficiency gains, but while retaining pretty much the same port area to keep the power curve where it is, but flattening it out more, retaining more torque after peak torque. On top of that I am looking to move the whole power curve upwards in power by increasing the compression a little.
So first thing I had to get right in my head was how being boosted effects port velocity. From my research it the numbers of 80m/s and 100m/s are given as approximately the average gas velocities in the ports that produce peak torque and peak power respectively. That's fine for NA, but how does being boosted effect that? I am moving twice as much air at 1bar than an equivalent NA engine, so surely my gas velocities must be twice as high for the same rpm and therefore my peak torque and peak power rpms will be half that of the NA engine - obviously this isn't the case.
But that doesn't account for the increase in density of the charge air. I plugged in some numbers into an air density calculator and low and behold at 1 bar and approx 45degC (a normal temp for me on boost) the density of air is roughly twice that of the ambient air. So the average gas velocity in the port is the same, it is just that this gas is twice as dense, and this is why the power band remains pretty similar to an NA engine.
So I built a little spreadsheet to look at average gas velocities in the BP4W head for given supercharger flow rates taking into account its volumetric efficiency at different engine rpms to see if there is anything that stands out.
I took some measurements off my spare BP4W casting to calculate cross sectional areas (still a bit rough).
My numbers seem to be slightly different to the numbers in this thread, so I will double check my cross sectional areas. Also the flow numbers on the thread are theoretical for an NA motor at 7krpm, whereas mine theoretical for my supercharger setup at 1bar boost. However the pattern shown between us is the same i.e fasted flow is at the port entry, next fastest is at the valve seat, then the throat around the location of the valve guides is the slowest.
My current head is already a little bigger at the port entry so when I plug in that information I end up with this graph:
I think these numbers tie up with the guide of 80m/s and 100m/s peak torque and power. I see peak torque between 5500-6000rpm, peak power somewhere a bit north of 7krpm.
In the thread I linked above it talks about how the target gas velocity changes as you move deeper into the port for a high performance engine. The target velocity decreases as you move from the port entry through to the valve seat, i.e the cross sectional area of the port has to increase slightly as you move deeper into the port. In my mind this makes sense, there are obstructions like valve stems and guides in the valve throat that will upset flow a little, and the final turn to the back of the valve and then the valve itself for the gas to negotiate. I figure these will reduce flow potential so the the cross section has to be opened up to maintain the same actual flow rates. The basic velocity / cross section equation doesn't factor in the obstructions, it just sees the larger cross section and so returns a lower average gas velocity value. That's my theory anyway take it with a pinch of salt it could be a load of rubbish.
Working from that theory my graph basically tells me my current port entry size and port throat, around the valve guides doesn't need to change, but that the valve seat area could do with opening up, to match up with the rest of the port. I have had a play about with the numbers and it looks like going to a larger valve, or more specifically an increase in valve seat opening area would certainly move the valve seat average gas velocities more towards an optimum value to match the rest of the port. However there are also other factors to consider such as the ability to have an optimised valve seat form / multi angle setup that could really boost low lift flow, so I can't just hog it all out. I think there is a balance to be struck.
So on the intake side that is really what I am looking to do - increase valve seat area while optimising seat angles and a better SSR blend to increase low lift flow to try and boost the total flow area across the intake valve cycle, in the hope it boosts cylinder filling at higher rpms, past peak torque. I don't see the need to try to be any fancier than that because I think any massive changes to port shape is going to be very hard for me to get consistent on all the ports.
On the intake side I also think that because I cannot step up the drive ratio on the supercharger any more to regain 'boost' as flow restriction in the head reduces I am unlikely to see a large step power increase. I ran a few numbers and because of the air charge density drops as boost pressure drops this seems to counteract the increase in volumetric flow rate benefit gained, i.e you flow more volume of a less dense air charge, which also makes sense bearing in mind it is a positive displacement supercharger, what I do with the cylinder head doesn't change the amount of air the supercharger ingests per rev, within sensible limits. I essentially have a set mass flow rate of air to play with, governed by the supercharger speed and ambient conditions (air temperature and pressure at supercharger inlet)
I also ran some rough calcs on potential reductions of AITs. Even if I achieved a 10% increase in volumetric flow through the head, the reduction in manifold pressure and therefore heat at the supercharger outlet that brings (approx 15degC), because of the chargecooler I would not see anywhere near all of that reduction at the ports where it matters. I estimate I would see a 3degC reduction going from the data I have. This is due to the reduction in the efficiency of the chargecooler due to the lower delta in temperatures between the new lower outlet temp and the same charge cooler coolant temperature. I don't think this 3degC as really any benefit unless it is the 3degC that tips me into AIT spark retard on the ECU. Same reasoning as above, supercharger ingests fixed mass flow rate of air . Now I can use the water injection to stave off any high temp det issues anyway, and just back off the AIT spark retard on the ECU.
There is one benefit that I do think can give a small step change in power across the rev range - running the supercharger at a lower 'boost' because of a better flowing cylinder head will reduce the power required to drive the supercharger. Unlikely to be too much. From the one efficiency sheet I have for my supercharger it takes 32kW / 43hp to spin it at 18000rpm at PR 2:1 / 1bar boost. If I achieved a 10% increase in flow through the head (I think I would be very very lucky to get near that) then I guess ball park I could expect drive requirements to drop by a similar amount, or a whole 4.3hp - but I guess it all counts.
Where I do think real gains could be made is on the exhaust ports. Increasing the exhaust port flow, particularly at low lifts when the valve is just starting to open to get the exhaust gas evacuated as quickly as possible. This is to reduce pumping losses and so hp losses on the upstroke / allow a later exhaust valve opening point for the equivalent amount of exhaust gas removed from the cylinder, increasing power stroke duration. This is all about reducing waste, improving efficiency and so the total power output from my fixed amount of air supplied from the supercharger. I'm going to take a look at what valve sizes can be used / are available, valve seat angles and general port geometry.
I managed to get hold of another BP4W head this time complete with cams (BP5A and BP4W) I am going to measure them and compare to my current cams. I like my current cams because they have a decent increase in lift but one thing I have noticed about them is that the initial lift rates seems to be a little lazy. They are 264 seat to seat but well under 200deg @ 0.05". It doesn't strike me as making the best use of my shim under buckets, the lower weight and potential higher valve acceleration that can allow. Ideally I want something short and sharp, particularly if I can improve low lift flow in the head. This will keep overlap at bay as the increase in flow allows me to retard the exhaust cam. I may choose to use the stock cams for a bit instead, I am going to keep an open mind and see what results I can get with the flow bench whenever I get the time to do that.
Anyway that turned into a bit of a brain dump / essay of my current thinking on what I am going to do / try to achieve with the new cylinder head. I think that's enough for now. And for the professional engine builders on here please stop chuckling at the back
I like to think I run an equal opportunities engine where all cylinders are welcome and encouraged to contribute. Going to tear into it tomorrow evening, and give the valves a little wiggle in the guides from above with them slightly off the seat. Not exactly scientific but hopefully enough to tell me if there is any major guide wear. I will also be able to look at the valve stem and feel for any wear / scoring anything obvious that would cause a seal to fail.
I got the new bonnet on the car yesterday and I'm really happy with it. I think it fits the look of the car and it certainly removes heat from the bay. No specific temp data but after a drive I could feel the heat venting out through them and when I opened the bonnet I didn't get the same blast of hot air. I also felt the temp of the intake tract and it felt a lot cooler. Still warm but not hot like it was before.
Soooo without meaning to jinx anything the signs are good on the valve seal replacement job.
I used the Car Passion method (thanks Greg) of feeding nylon rope into each cylinder to hold the valves in place. I used 8mm nylon rope and it worked really well, and the bonus of not using a compressor was it was silent so I could do it late in the evening.
Its a fiddly job but didn't take as long as I thought it would. It took me about 5hrs, including some adaptions I made to the tool to make it fit better onto the available mounting points.
My tips would be have a magnetic pick up tool hovering over the retainer as you compress the valve spring. Last thing you need is a little collet flying into an oil drain hole when it is freed.
I found loading the collets back into the retainer then compressing the lot back onto the valve using my fingers to manipulate the collets onto the stem groove the easiest method. If I needed to do any further poking I used a non magnetic tool. When I tried poking them in with a screwdriver that was a little bit magnetically charged the magnetism would normally pull them out of position when you wanted to extract.
I gave the valves a wiggle to check clearances when I had removed the seals, and in doing so all I really worked out was how futile trying to tell what the clearance was by wiggling them. They didn't feel overly loose though and there wasn't any visible wear or damage to the valve stem, so that is a good sign. Also checked lash clearances and they hadn't moved so that is another good sign.
Anyway, I fired the car up yesterday morning and it smoked pretty bad and smelt like burning oil on start up and then quite a bit of blue smoke if it was revved. Not a good sign.
But I took it for a drive to warm it up and check for the tell tale puff on acceleration. I didn't see anymore puffing and when I got the car back it wasn't smoking at idle or when revved now its warm.
I started it up this morning and there is no smoke or smell, and no blue smoke when revved. So I think yesterdays smoke was probably just excess oil that had got down the guides from me doing the seals, lubricating them etc.
I'll continue to keep an eye on it and oil consumption (I always do anyway) but it looks to have atleast improved the situation.
So few jobs left to do, I need to repair the front indicator housing I knocked out on the last autosolo, and also repair the rear paintwork of the car.
I have always struggled with the laquer on my car of parts that I have painted. When relatively fresh, say the first 6 months when water drops stay on it it clouds the surface of the paint and leaves little holographic white marks on it. They do disappear a while after the water has been removed but still a bit odd. The latest issue is a crazing in the laquer that appeared over the winter on the bootlid and RH rear qtr (the qtr I didn't have to repair from the crash). This needs to be sanded back and repainted because it just looks rubbish in person.
I used a different type of laquer on my bonnet and it doesn't suffer from the issue with holograms, even though the paint is really new. So I hope repainting the rear of the car with the new laquer will give me better results. There is a car show mid June so I am going to try and get it done for then. Painting in warmer weather is just so much easier so I will take the opportunity to do a better job on the repaired lh qtr too. Hopefully get it looking nice for the summer.
Well done! That rope method is quite old and works well most of the time. Tip for the collets vs screwdrivers, a small dab of grease does a good job in "sticking" them to the valve stem for installation.
Well done! That rope method is quite old and works well most of the time. Tip for the collets vs screwdrivers, a small dab of grease does a good job in "sticking" them to the valve stem for installation.
Thanks Harry. I was a little worried the rope would get tangled and not pull out but it was fine. It was harder to get it in down the long spark plug bores tbh, always found the edge of the hole and snag.
The grease is a good tip. Not sure why I didn't use it this time I normally do when assembling heads (off the engine) but it has been a while.
Over the weekend I took the car on a longer trip, taking in about 200miles and annoyingly the tell tale puff is back and the engine did use a bit of oil, estimate between 0.2 and 0.3litres.
Its manageable in the short term but my absolute pet hate is smoke and excessive oil use.
I think its the valve guides from the symptoms so I have ordered a full set.
I've decided to tone down the cylinder head development idea. I'd rather sort the oil usage out sooner rather than later, and the flow bench etc was going to take a long time to do properly.
The plan I think will be to pull the head after my Autosolo at the start of July, which gives me a just over a month until the next trackday.
I am going to implement some upgrades into the head, I will work the SSR, give it a skim to bump compression and probably get the machine shop to grind multi angle seats as well as replace the guides.
Only proviso on the multi angle seats is if it can be done without massively altering the shimming in the head for valve lash. I really want to avoid having to do any significant reshimming as getting different sized shims can take forever.
Unsure if I will pull the block at this point, I sort of feel I should just to check out the rings for completeness, but I should be able to assess fairly well with the head off.
Update: I'm not going to bother with multi angle seats.
I can't think of a way they could be cut leaving the shimming close to where it is and retain stock valve seat widths. I don't want to run thinner seats, I don't want to deal with the increase in wear for what if anything is likely to be a minimal gain.
I will concentrate on the SSR and check / optimise de-shrouding and hopefully fixing the oil use issue.
Only proviso on the multi angle seats is if it can be done without massively altering the shimming in the head for valve lash. I really want to avoid having to do any significant reshimming as getting different sized shims can take forever.
.
I'm surprised. Even here, where we often have supply issues, shims are available overnight delivery usually, certainly been my experience when I have needed them.
In that case there must be some shim thicknessers around, see if you can arrange to borrow/use one, or get a sheet of glass and some wet and dry, lay in a few thicker-than-you-think-you-will-need shims ahead of time, and thickness your own. Grinding the valve tips also works I hear, not been my practice though.
Well maybe I've been looking in the wrong places but I've always found getting pre ground lash caps for the subs a bit a long winded process. Although there are new vendors in the UK now since I last had to buy these things.
I have a selection of spares and what is on the head currently but they are all within the 2.55 to 2.25mm range. So it doesn't take much to take me out of range of my shims.
I don't mind making small adjustments with wet and dry if needed (I have already done this on a couple of them in the head) but I don't like taking too much out of them by hand in case I take them out of flat and start putting shear loads into the tops of the valve stems.
I can get hold of a set size of lash cap in sets of say 8 quite easily, but then you have to do a lot of hand sanding to get them to size, or buy loads more than you need.
I think probably best thing to do is take the head off in July, get the valve guides inspected, measured and replaced as required, see what has to be done with the valve seats and go from there. Worst comes to worst I have to put my spare BP4W on the car for the August track day. Not ideal but not really an issue either. This would give me time to source lash caps if required.
Its been a while got some good and not so good updates.
I will start with the bad - I think I have now isolated the cause of the oil use and I think it is pistons / rings. I finally managed to get some decent, in-focus boroscope pics and was able to see detonation damage on the tops of all the pistons. Cyl 4, as before had oil on top, but I could make out the classic wash around its perimeter. I went to see a couple of mates with a turbo Mx5s and we went out for a drive. They noticed the dark smoke through the entire acceleration, not just a puff at the start. Also oil usage increases when the car is driven harder. I went to a trackday yesterday, about 150miles away. It was wet on the drive down so had to take it easy and the car only used about 200ml of oil. On track it then used that amount in a 10minute session. I have also noticed when driving the car around locally slowly it doesn't use any measurable amount of oil.
So anyway, luckily Bofi racing here had a set of Supertech 84mm 9:1 pistons on the shelf, I got a spare un overbored block from one of my mates and I found a new machine shop here in Coventry that look good and seem to be able to turn things around quick. I'm going to do the rebuild after the Autosolo next weekend.
I think the detonation damage has come from the vacuum issue I had in March, where the ECU thought I was at 2psi when actually I would have been at 14-15psi. It happened a few times as I was trying to diagnose and it was very violent. Retrospectively it also tallies in, I first noticed an increase in oil usage at the first trackday I did with the exhaust and water injection at Cadwell at the start of April. The first long / hard driving trip after sorting the vacuum hose.
I'm a bit annoyed about it, but I am also sort of happy that I am confident in what is causing it now and how to fix it.
This is cyl 4, wet with oil. You can see it is cleaner around the outside and also roughness from detonation. This is one of the other pistons, not oily but you can see erosion. Another one of the dry pistons, again, it's erroded and obviously had a hard time.
Anyway onto the good stuff. I went to Mighty 5s Llandow trackday yesterday. Weather looked shocking the day before but in the end we had a bit of a wet morning but a dry afternoon.
It was a great event, great bunch of people and great cars.
I also finally managed to get some dry weather 10-15min track session datalogs, and some in car and out of car footage to share.
I was really happy with how the whole car performed, despite the hurt pistons and having to keep the oil topped up.
In non engine related stuff the coilovers were excellent. Llandow has some quite harsh curbs that really to be fast you have to take. The Meister R Clubraces were noticeably smoother than my old Zetas over these curbs. They took the massive sudden compression without upsetting the car, despite the increase in spring rate. I'm no damper expert, but I was very impressed and pleased with them.
Also I feel like previously I have been a little hard on the AD08RS, I really enjoyed driving on them yesterday. In the wet they still had good grip and were nice and predictable. In the dry they were certainly a little looser than my old MRF ZTRs, but they still had great grip, survived really well and were really predictable. By the end of the day I was really confident on them. The last set of corners before the start finish straight at LLandow is a tight, but fast 4th gear chicane that you bounce over the curbs before a long right hander that is really two corners. I was able to just get the car slightly rotating through the first section of the fast corner, before trailing the brakes to get the car rotating more into the last apex and then full power from the apex to the exit of the corner. There's not a lot of runoff and you are going pretty quick, but the setup felt manageable and progressive to do that reliably.
The brakes as per Cadwell were great again, I was able to get the bias right were I wanted it and was reliably taking massive chunks out of gaps to people into hard braking zones. It just feels very confidence inspiring with good feel and well matched to the available tyre grip. The pads and disks both ends of the car have lived to tell the tale no issue.
Onto engine stuff!
I really wanted to find out what the AIT/MATs do on a long track session, and if they just escalate out of control or not.
This snap of one of my datalogs one of my laps towards the end of a session.
MAT is in green on the top section. Ambient temps were in the low 20degCs, so a pretty typical summer day here. You can see temps climb with load and rpm before quickly dropping away again in braking zones and in the corners. Temps oscillate between 45 and 52.4degC all session. The 52.4degC was a quick peak at the end of a straight before quickly dropping off again.
I was only revving the car to about 7krpm, I didn't want to push my luck too much knowing the pistons are hurt, so there is probably a couple of degrees to add to these temps if I was revving up to 7.5+krpm, but I am very happy with the trend I see, which is basically quite warm, but under control and only pulling 0.5deg of timing at the very hottest points.
I new the car wasn't pulling any significant timing because the power stayed consistent all run, but it's good to finally get the data to back it up.
EGT distribution I think probably could do with a bit of improvement. 2 and 3 run hottest (leaner, more air), 1 and 4 cooler (richer, less air). I'm not massively surprised at this. In the intake manifold 2 and 3 are in the middle and have a full port circumference radiused entry, promoting best flow. 1 and 4 are at the ends so really only have 75% of the port entry radiused. The very end sections have the walls of the manifold very close to them preventing a good radius. I don't really have a decent baseline to compare to really, but a 70degC spread between hottest and coldest probably could do with a bit of tweaking. Doesn't seem to cause any issues, but maybe a little bit of power could be found by trying to improve the 1 and 4 ports and maybe make the alterations in the ECU to run sequential fuel with individual trim.
So hopefully once I have sorted the pistons, and with it the oil issue it will be a good solid setup for track use.
The exhaust back hangers fell out again, like they did at Cadwell. It was probably the harsh curbs. So I need to do something better there but that's no real issue.
I've dropped the pistons and block off at the machine shop.
The pistons are the same as last time, Supertech 9:1 84mm.
Interestingly the minimum piston to wall clearance seems to have been increased slightly by Supertech in the last 6 months.
I know these pistons were ordered sometime end of last year, my friend had to wait about 6 months for them and I believe the supplier here in the UK bought in a few sets at the same time.
In the spec sheet in the box the minimum clearance is 0.00236". I asked Supertech at the beginning of June this year for the piston spec sheet for these same pistons and the minimum clearance is 0.00276".
Anyway, I am going with a 0.0035" clearance so it is immaterial. This is just due to the forced induction, warm aits and track use, but hopefully still sensible and quiet for the road use.
I think they were bored to the minimum clearance last time, but that engine was built before well before this more powerful supercharger setup.
Need to decide on ring gap next, I will probably go one up from street turbo.
I was entered in another Autotest yesterday, back at Curborough Sprint Course. It was a fun day, great to see some friends again and the weather was great.
Not going to lie though, a bit disappointed in my driving. I think I covered last time wrong tests (missing gates, going the wrong way etc) are all heavily punished by applying the best time in class +30secs, and there are no drop scores.
I set myself the target of driving the day with no wrong tests (I got one last time). Decided instead to go one better and get two.
One was fairly spectacular throwing the car sideways through a plastic barrier on a slalom. I thought i'd got footage of this but apparently not when I checked the camera later. I'm not entirely sure how I did it but I think I was trying out using 3rd gear, and I think I was going to change down to 2nd. I think I either miss timed my heel and toe or didn't catch a slide correctly with only one hand on the wheel. No damage to the car that won't wash off but a bit annoying.
The other was far less spectacular. Went the wrong side of a gate and there wasn't any going back.
Very frustrating to be honest because without the time penalties my times are good enough to win the class and be in the ballpark for overall win. But there we go. The winning cars don't drop time on penalties, I am well aware there is a lesson in there somewhere .
Here is a couple of videos of the two faster courses. I can see there is probably some time in a couple of the corners were my lines are a little off, but I think I need to concentrate on consistency rather than speed at the moment.
The third slow tight course is just a bit painful to watch on video. I definitely need to learn how to more confidently flick the car around the tight hairpins. I am treading a bit of a middle ground at the moment where I get the car slowed down and get the lock on fine, but I need a bit more confidence with my clutch kick, because a tighter exit would really help open up the line after the corner. The surface is also gravelly on this test so I don't want to overcook it, but if I am too wussy the car will understeer on the power. Finding the balance of risk vs speed is tricky.
When I got back home I started tearing down the car for the engine rebuild. Supercharger and chargecooler is off. There isn't any wet oil in the sc / cc system which is great, the supercharger seal definitely was leaking. Also there isn't any shavings in there either, which is great news.
On the cylinder head port 4 has a little bit of oil on the walls near the valve. Not sure whether that is because piston 4 obviously has a problem from my boroscope, or if the guides are worn. I will check them out anyway. All the other ports are dry which is a good sign.
Hopefully the head will be off later today and fingers crossed it isn't a mess from detonation.
I've decided not to go mad on the cylinder head, with bigger valves. I'm going to do a better job of the short side radius, shrouding and there area areas in the ports that could have been cleaned up better. I do have some Supertech inner valve springs to fit, converting me to a light double spring. This is just for piece of mind for a 7700rpm limit and 1bar boost.
I read this great thread on valve seats (thanks Madjak, Pat, Ted) and headwork on this forum. It made me realise that there was no way I was going to be able to do a proper job of big valves in the 3-4weeks I have to try to turn the engine around to get it run in for the next trackday, and I spent all my money on pistons anyway . But having a go with those Neway cutters is certainly something I would like to do in the future. https://www.miataturbo.net/engine-pe...porting-89998/
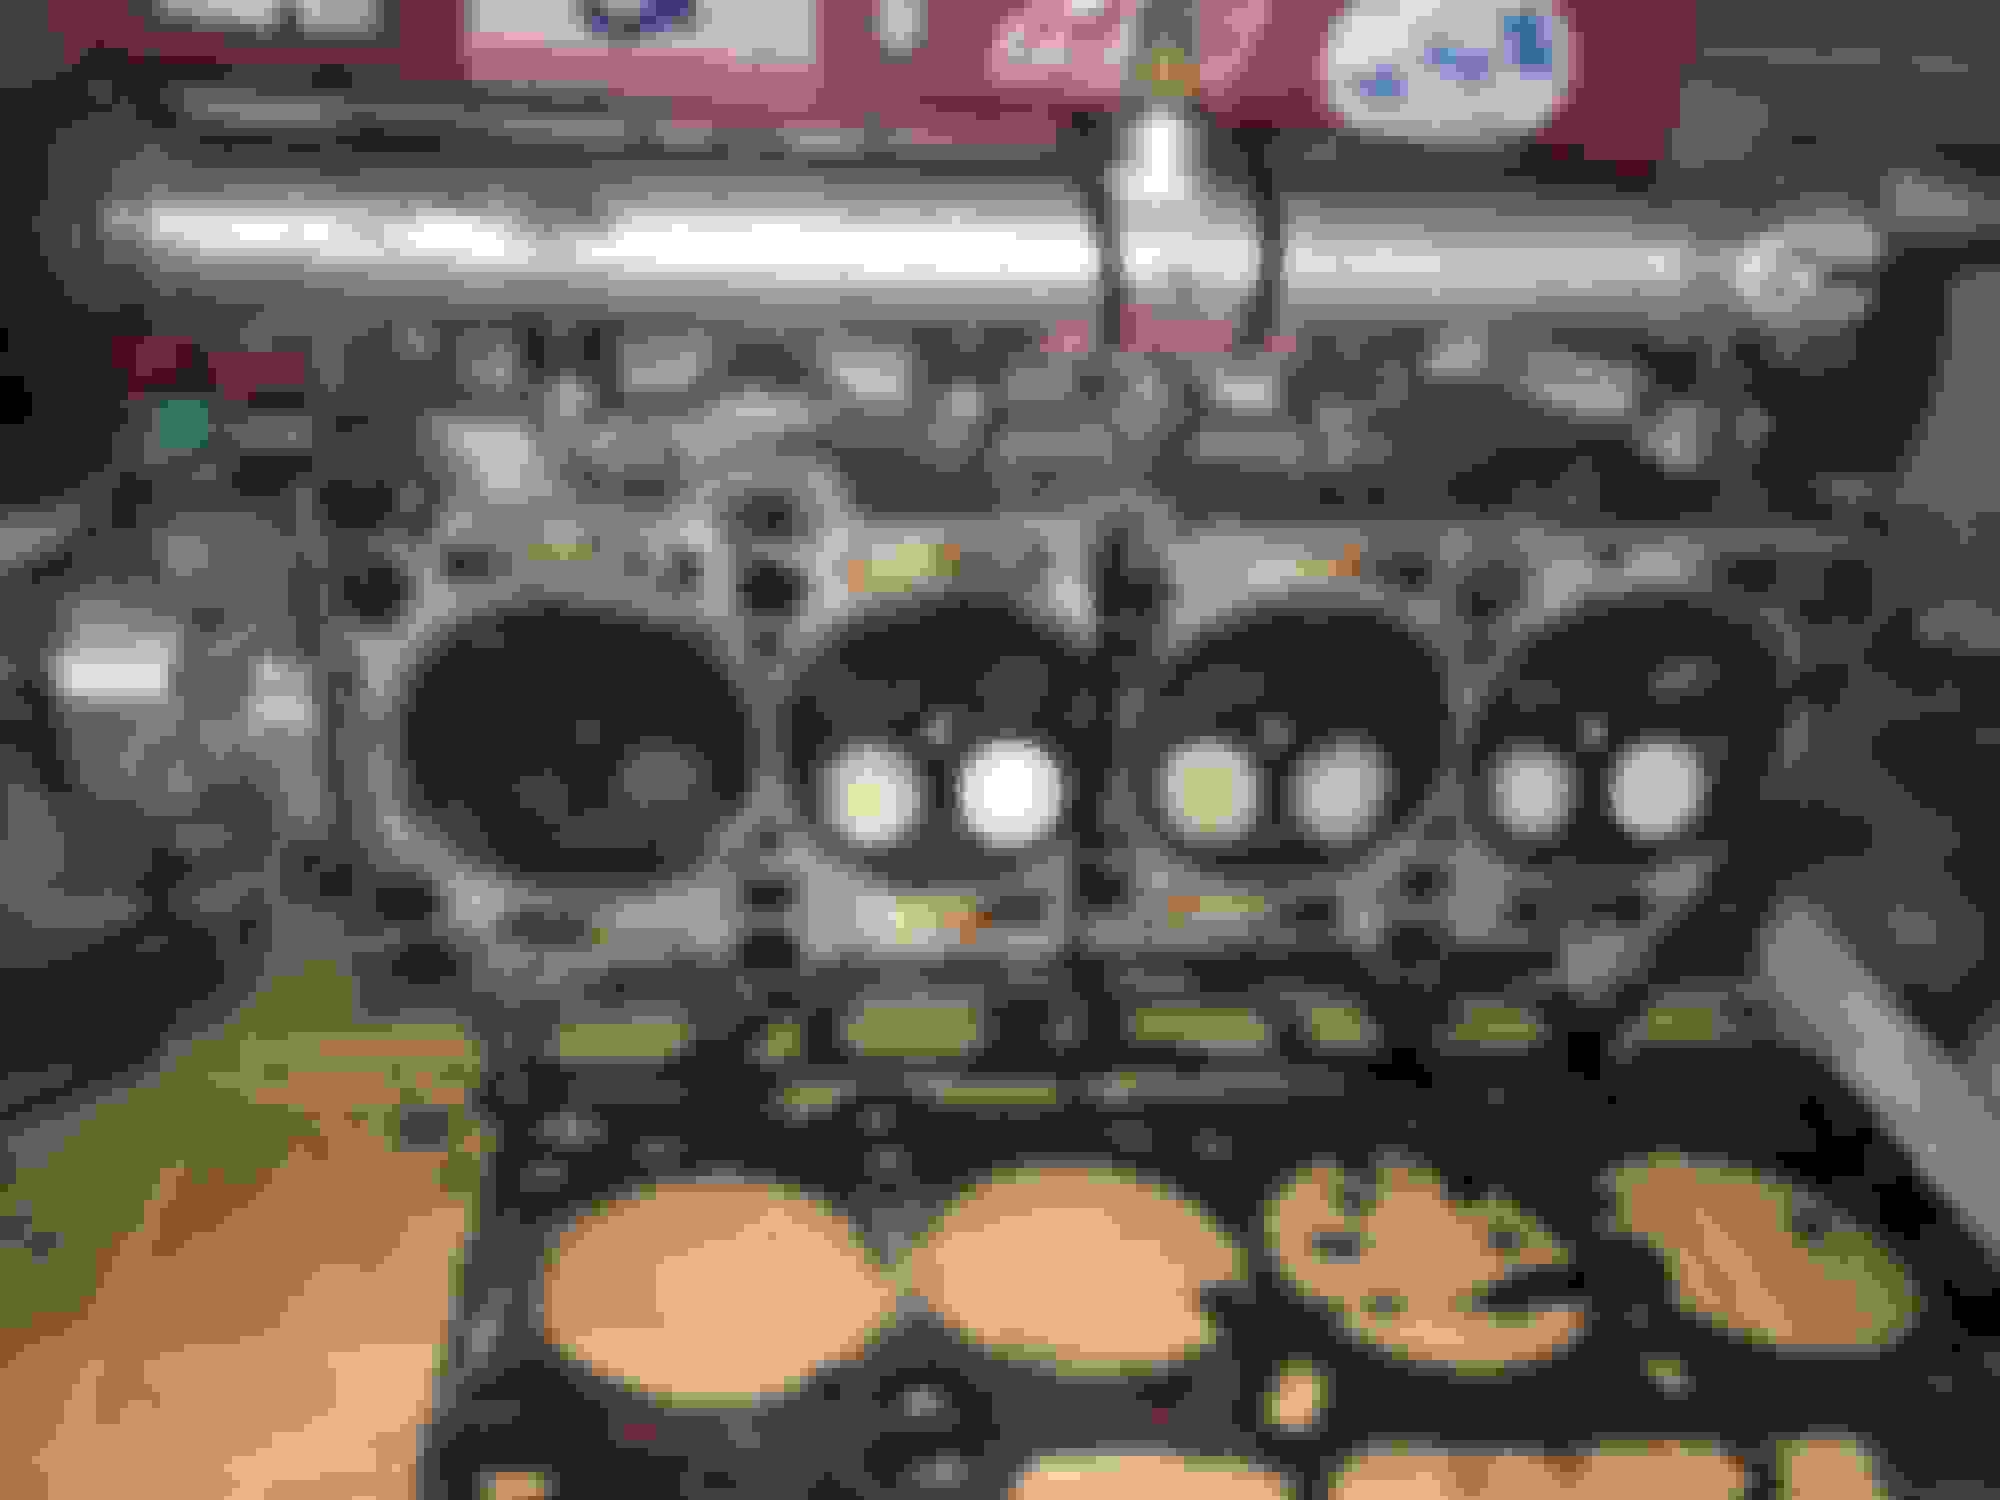
I got the head off and to be honest it's not as bad as I thought.
The rough texture on the tops of the pistons is actually gritty black stuff - I think its burnt oil, it crumbles between your fingers.
When you scrape off the black gritty stuff the piston tops look very good. Only tells half the story, but not as bad as the boroscope made it look.
The gritty stuff seems to be washed away from the edges of the pistons so I do think rings are the main issue. I will have to get the short block out the car to see what is going on there.
The combustion chambers in the head are also fine, no horrible melted messes. Interestingly all the exhaust valves are white except for cylinder 4 which are darker, which I think backs up it was cylinder 4 burning the most oil.
Cyl 4 has darker exhaust valves Seems to be burnt oil on the crowns. See they tend to be cleaner at the edges Cyl 4 (after a bit of a wipe) Cyl 3 Cyl 2 Cyl 1
Continued working the combustion chambers. Chamber 1 is pretty much finished now I think.
I have deshrouded both the exhaust and inlet valves as far as I dare, taking into account the 84mm bore.
Not sure if I am going to remove the little lip / step in the head around the valve seats or not at the moment. Having a little step just outside the seat doesn't strike me as something that would improve performance.
I also measured the thickness of my current seats, they are well over the stock 1.1mm / 1.8mm widths so I think I will ask the machine shop to put a small 30deg cut into the seats, as I have a bit of width there to spare.
I have measured the cc of an unmodified chamber and my new modified unshrouded chamber. 46cc and 47cc respectively (my head has been skimmed 20thou previously).
With the 4cc pistons, 0.5mm piston to deck, 0.9mm head gasket that gives a CR of 9.15 unmodified and 9.0 modified. I will step that back up to around 9.5 with a skim at the machine shop, and they took 3thou off the new block deck when I had it rebored. I'm not going to obsess about getting it bang on 9.5, but in that area and equal across all cylinders. ccing modified and unmodified chambers Cleaned up and deshrouded chamber. Not sure whether to blend out the lip around the seats.
 05-21-2021, 06:14 PM


 1
1


 Going to tear into it tomorrow evening, and give the valves a little wiggle in the guides from above with them slightly off the seat. Not exactly scientific but hopefully enough to tell me if there is any major guide wear. I will also be able to look at the valve stem and feel for any wear / scoring anything obvious that would cause a seal to fail.


 .
. . But having a go with those Neway cutters is certainly something I would like to do in the future. https://www.miataturbo.net/engine-pe...porting-89998/